
VIDEO TUTORIAL:
1. WHICH LEATHER SHOULD I CHOOSE TO MAKE A BELT?
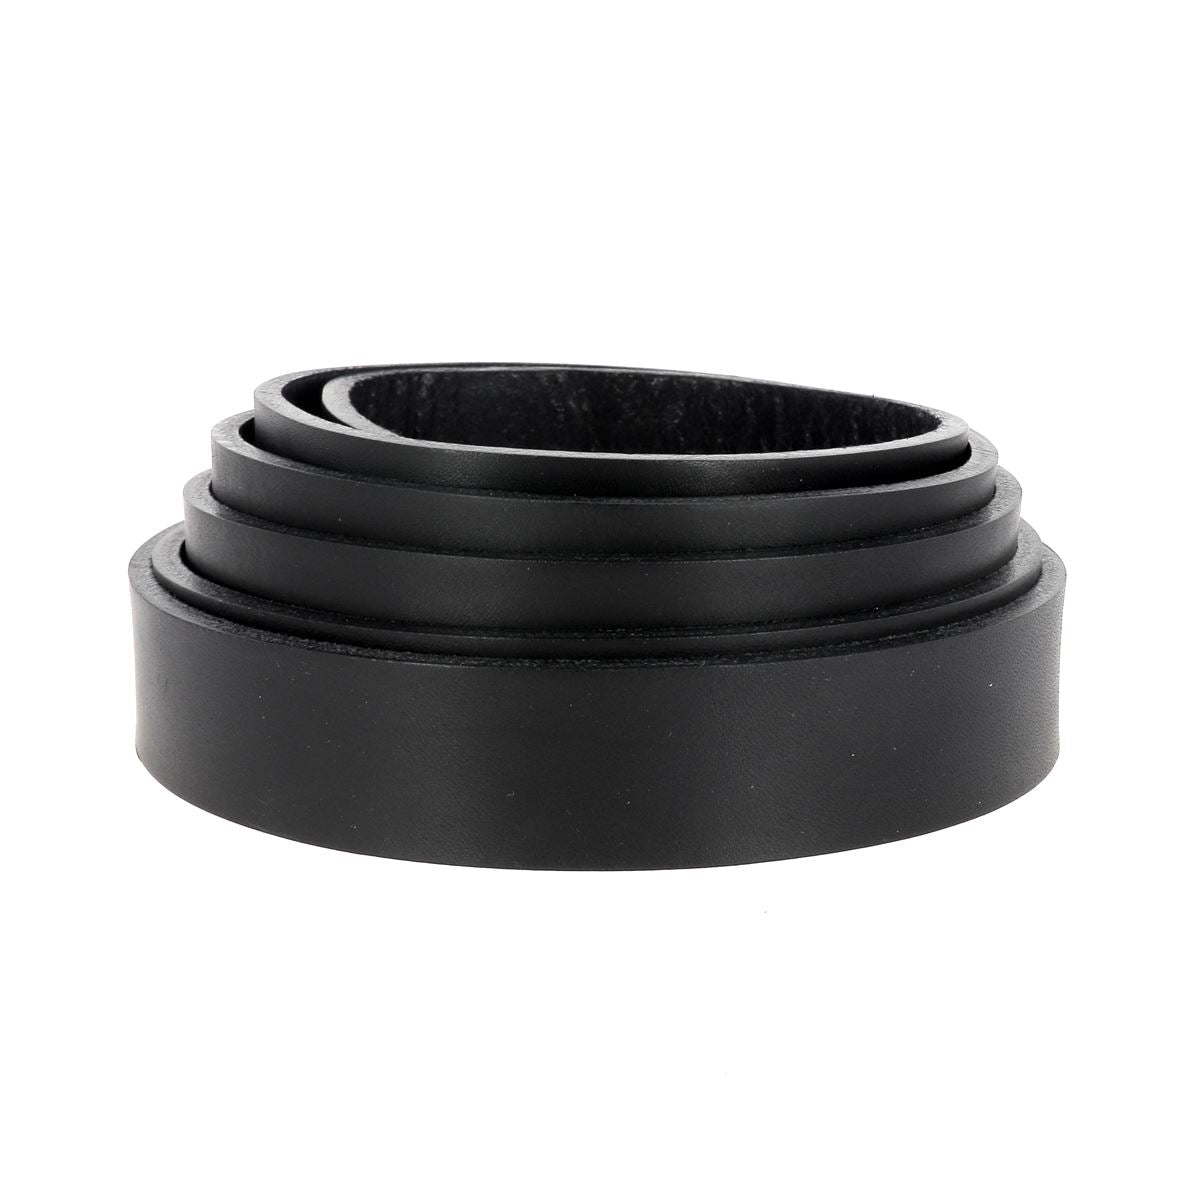
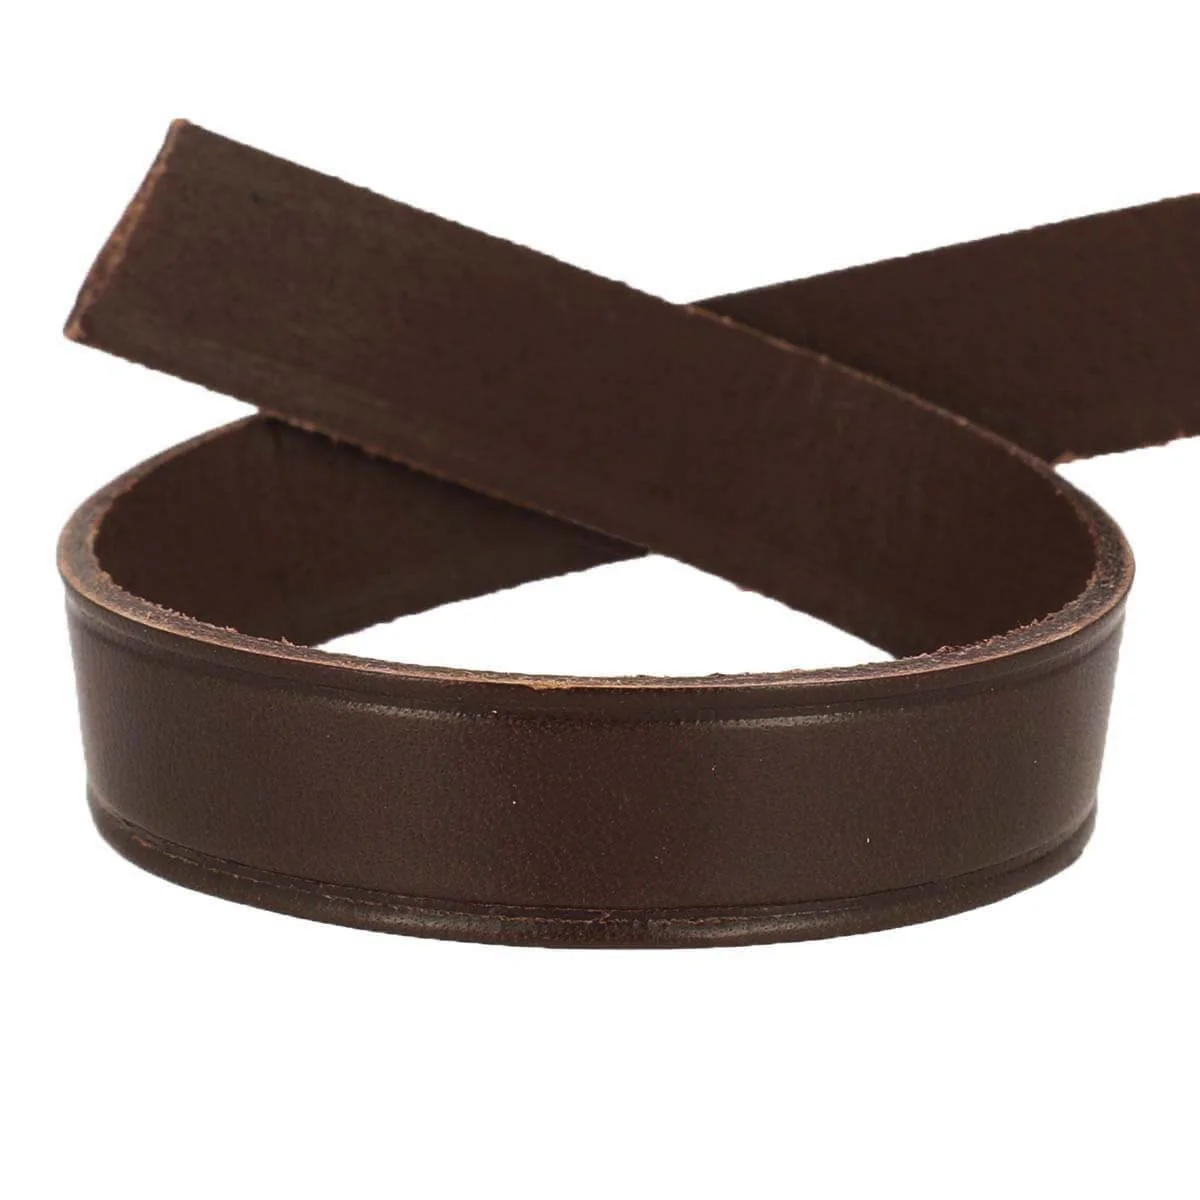
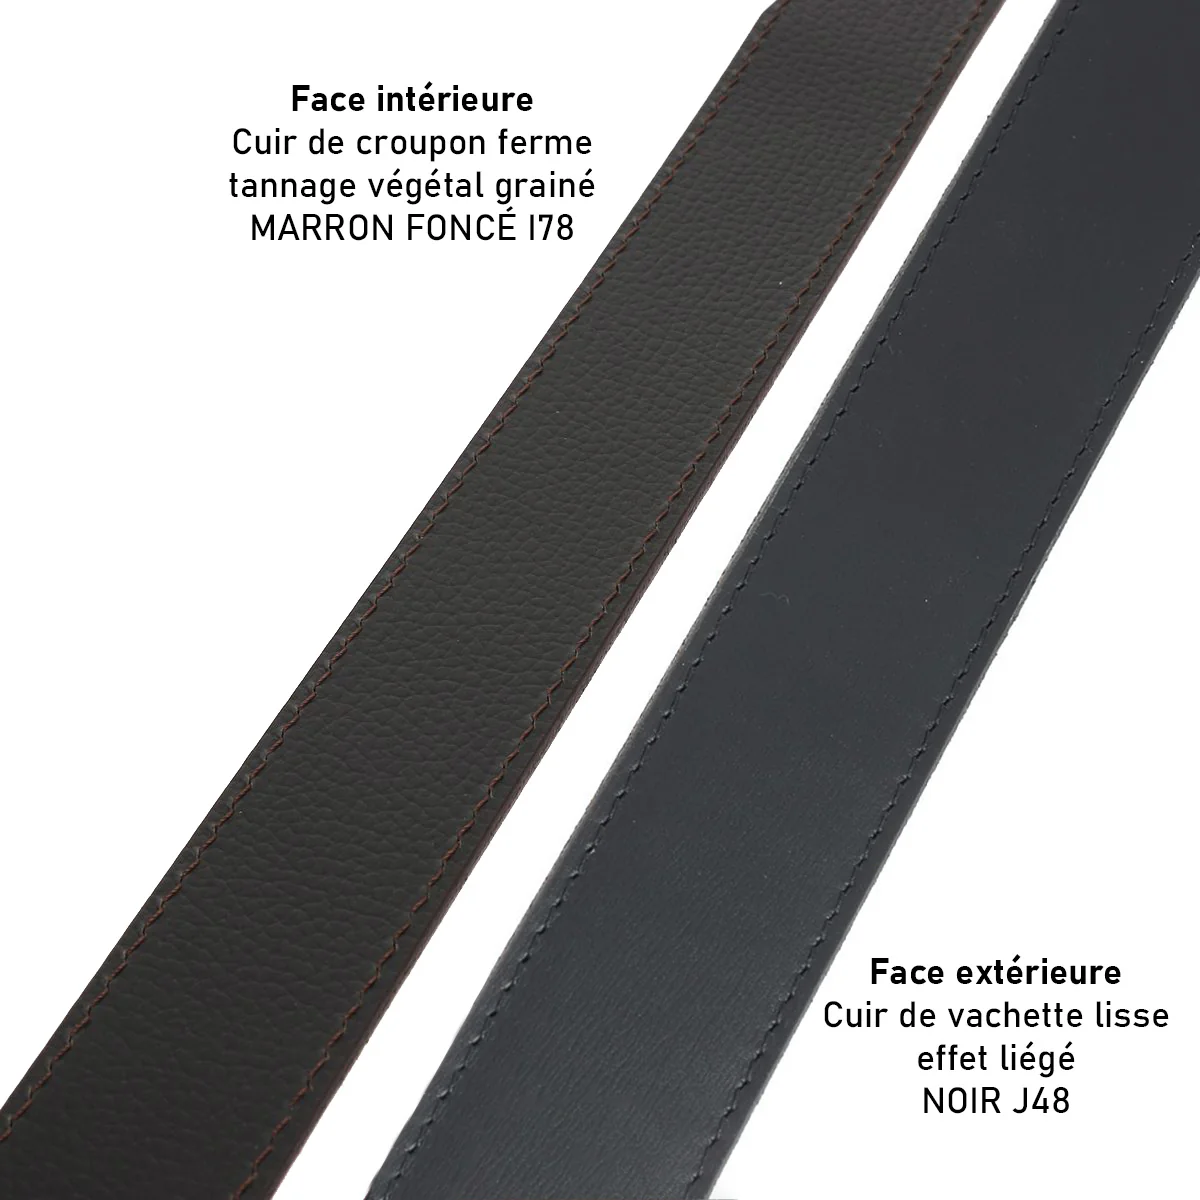
We recommend choosing vegetable-tanned leather (i.e., leather without heavy metals: use of vegetable tannins) that is at least 3 mm thick. Ideally , cowhide leather is best for making a belt. The preferred parts of the leather are the butt : this is the finest part of the leather (and therefore the most expensive) or the collar, which remains a very strong part of the leather.
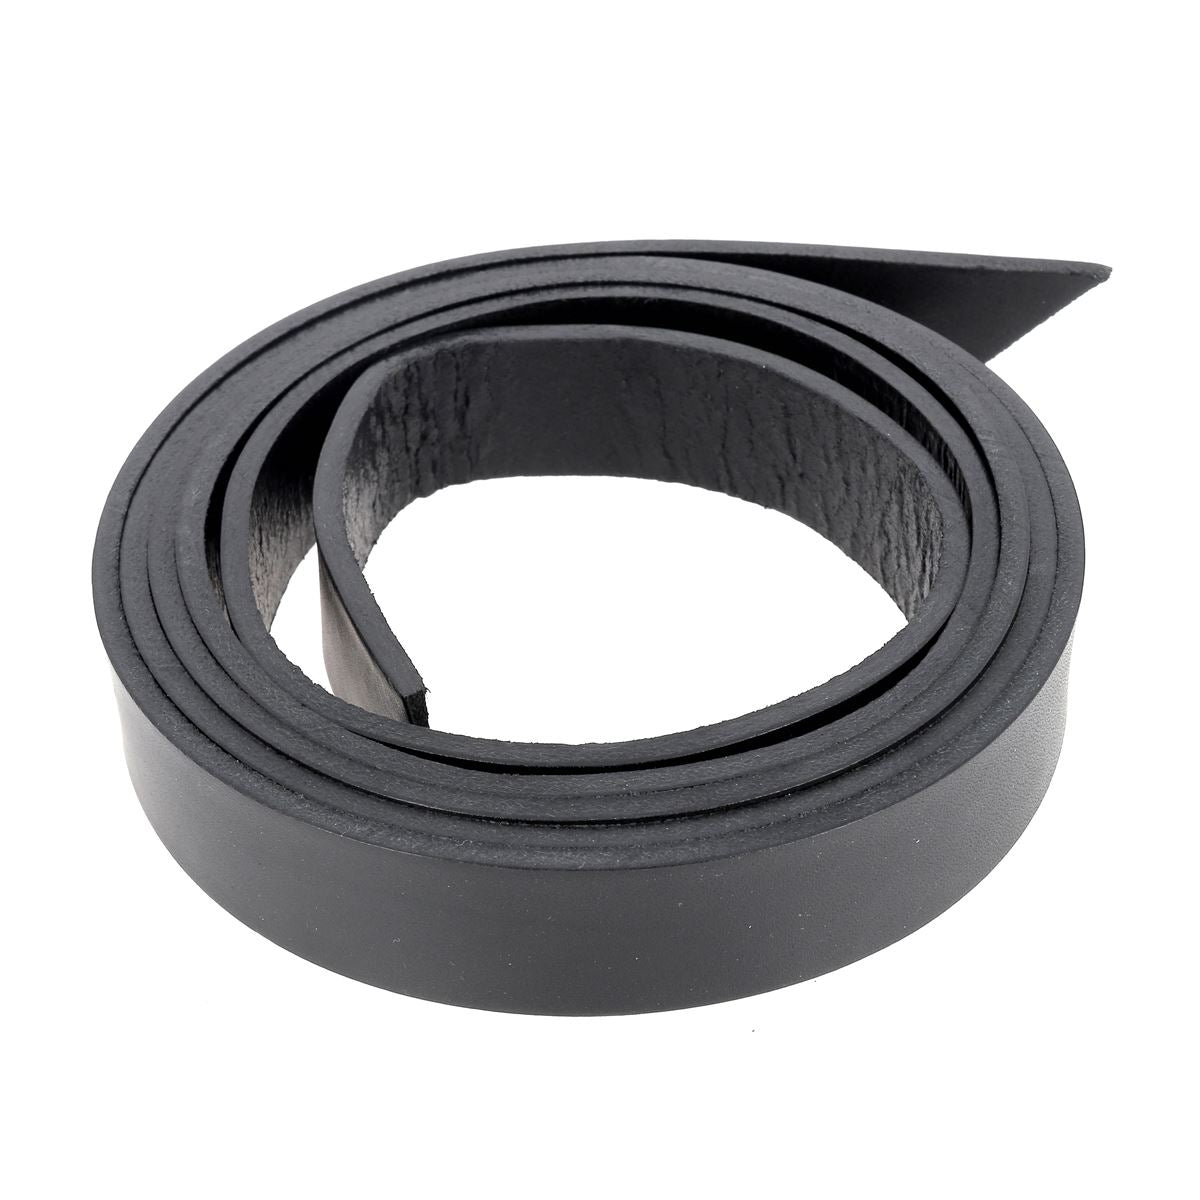
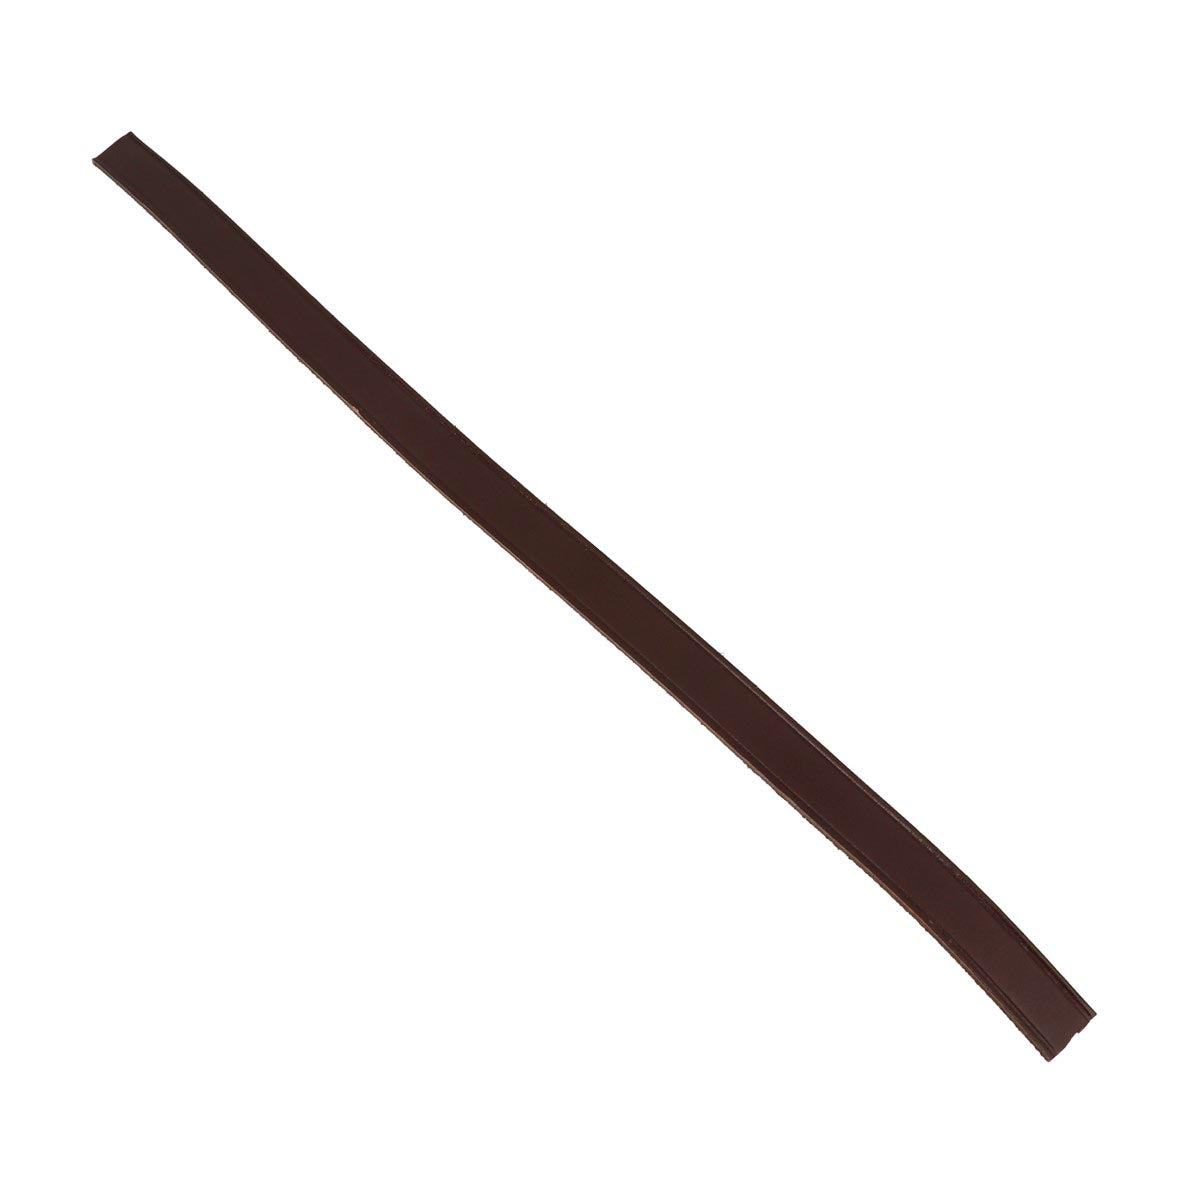
You can choose a leather strap directly (already cut) or take a whole hide and cut your own strips using a strap cutter.


ADVICE :
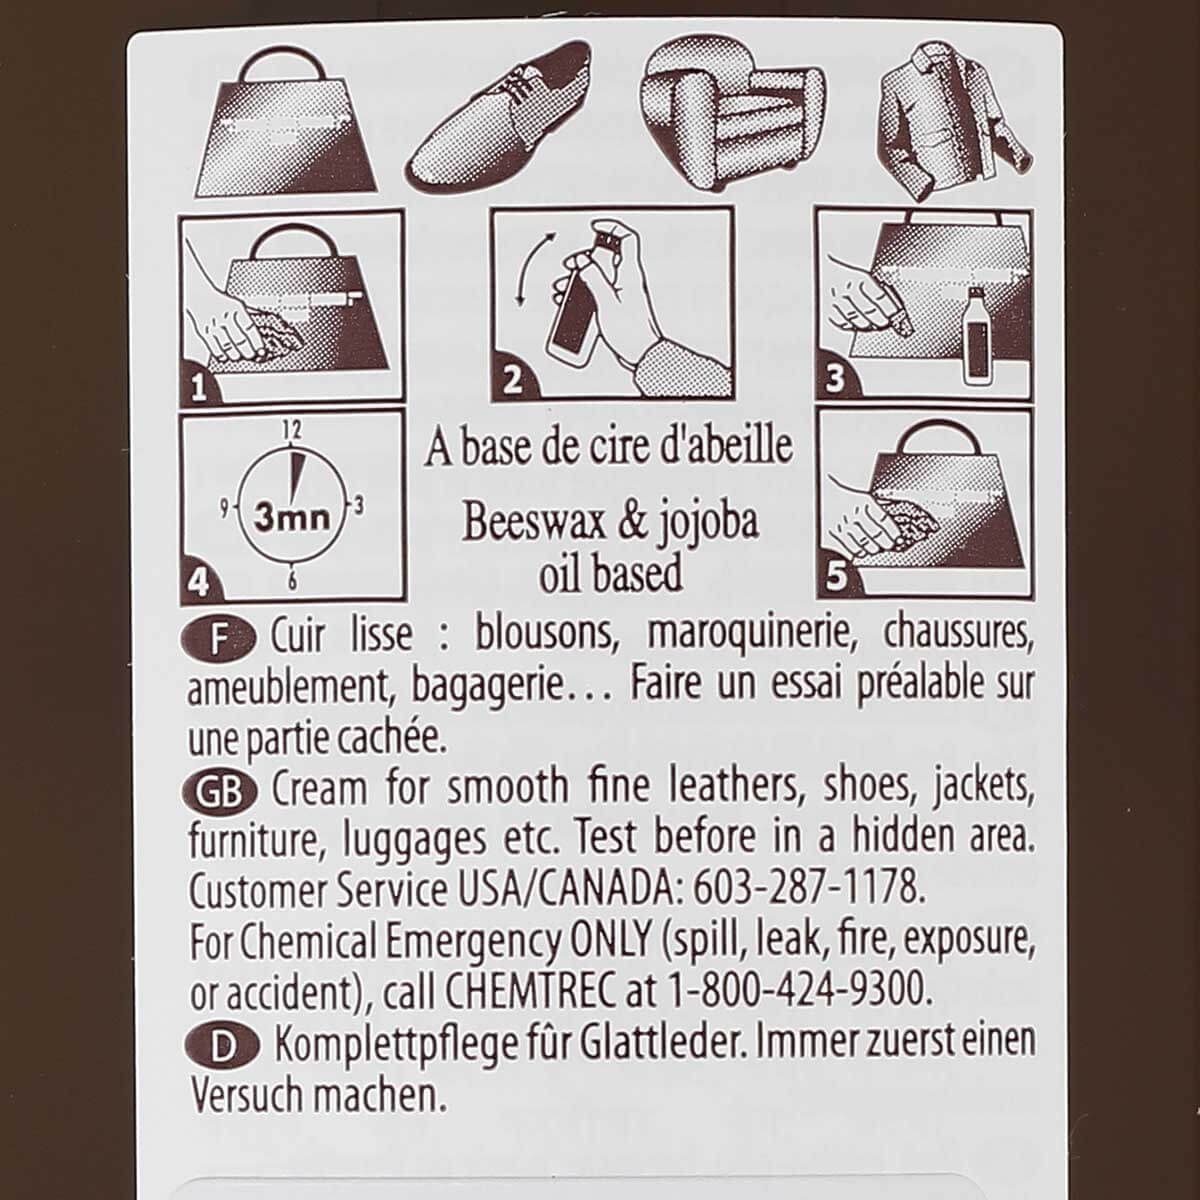
Depending on where the strips are stored and the season (high heat, for example), the leather can become very dry and therefore difficult to work with. We recommend nourishing the crust side and the edges with neatsfoot oil before any work (to prevent the grain from cracking). Do not nourish pull-up, greasy, or already nourished leather.

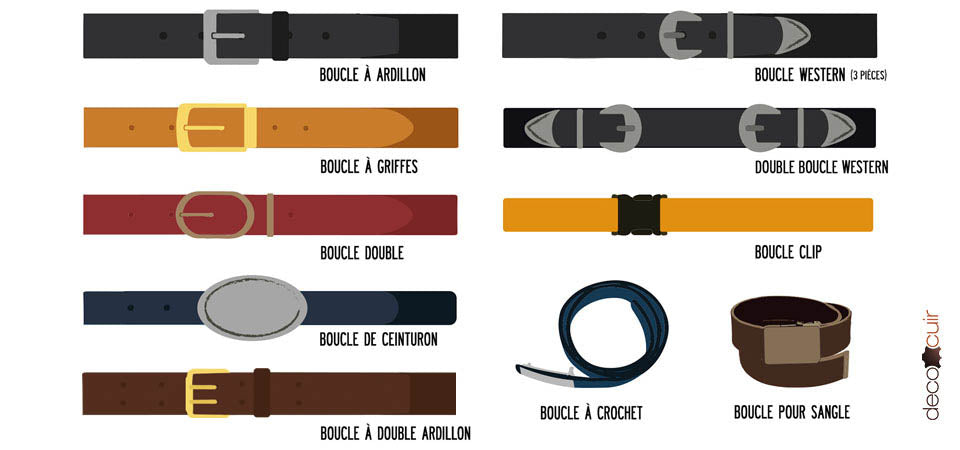
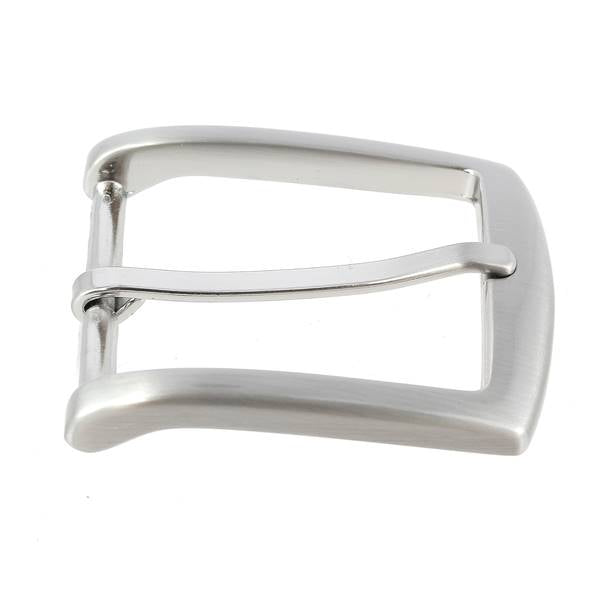
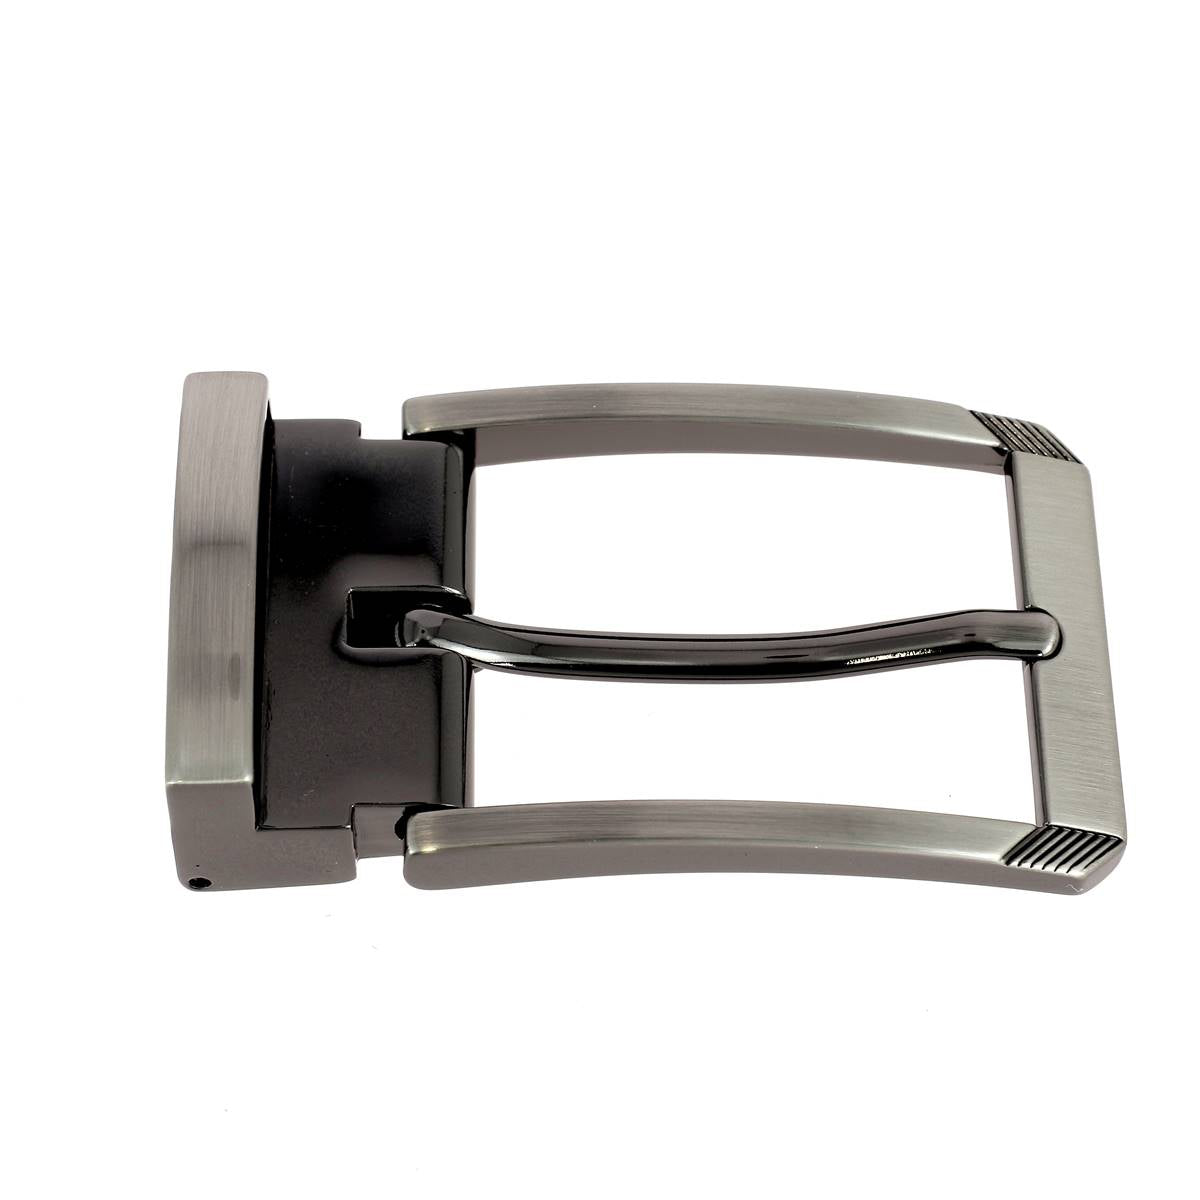
2. WHICH BELT BUCKLE SHOULD I CHOOSE?
The choice of buckle is individual, depending on the desired aesthetic. Belts are most often made with a pin buckle or a prong buckle.
But there are many variations: double buckle, double prong buckle, western buckle, belt buckle, etc.
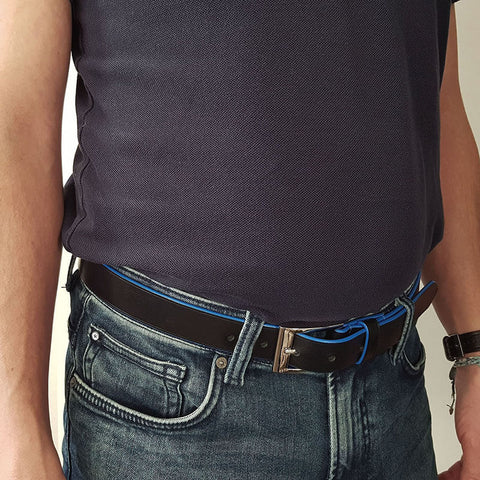
WHAT WIDTH SHOULD I HAVE MY BELT?
The width of your belt will depend on the width of the buckle you select (or vice versa). The average belt width is 35 mm (standard).


3. HOW TO CHOOSE THE LENGTH OF YOUR BELT?
SIZE GUIDE
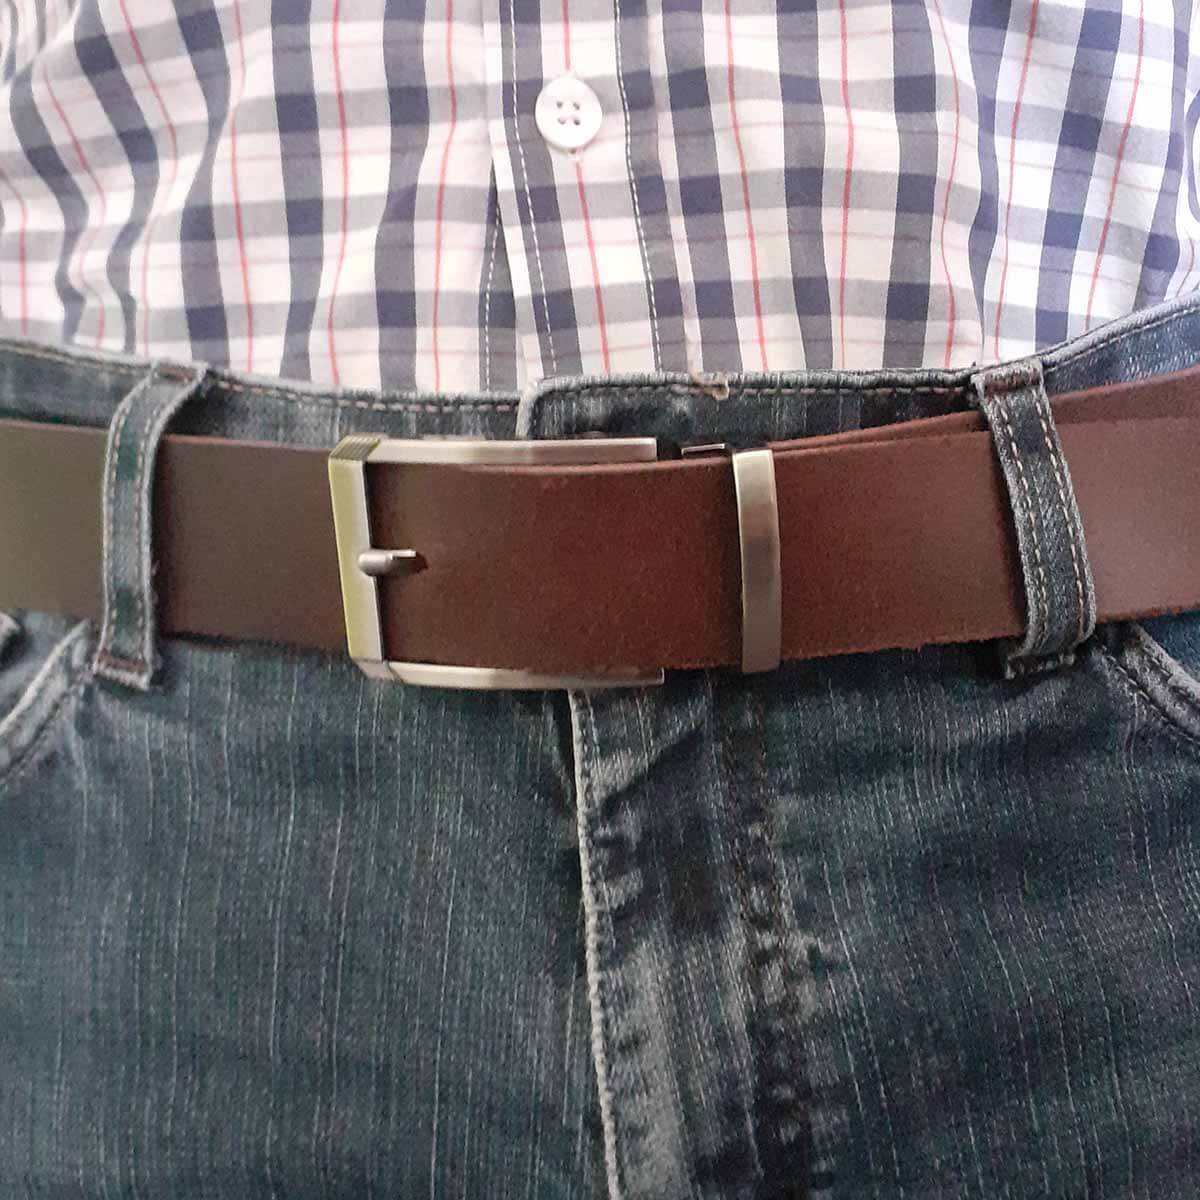
Generally, the commercial belt size corresponds to the distance between the buckle and the 3rd hole. You should be able to tighten your belt at the third hole without leaving tightening marks on the leather: this is the ideal size.

If you want to make your own belt: take one of your belts and measure the length between the end of the leather at the buckle and the hole you usually use OR measure your waist directly. To this measurement add 15 cm for the end of the belt and about 10-12 cm for the loop. You now know the length of strap needed!
The table below is given for information purposes only (it is by no means an absolute truth) .
To know the total length of strap needed we subtracted 5 cm from the commercial size (average length of a belt buckle) and added 26 cm to our measurement: 15 cm for the last 2 holes/end of the belt and approximately 11 cm for the loop.
| Pants size EUR |
Pants size US |
"Commercial" size of the belt (in cm) |
Total strap length (in cm) |
| 34 | 24 | 80 | 101 |
| 36 | 26 | 82 | 103 |
| 38 | 28 | 85 | 106 |
| 40 | 30 | 90 | 111 |
| 42 | 32 | 95 | 116 |
| 44 | 34 | 100 | 121 |
| 46 | 36 | 105 | 126 |
| 48 | 38 | 107 | 128 |
| 50 | 40 | 110 | 131 |
| 52 | 42 | 115 | 136 |
| 54 | 44 | 120 | 140 |
| www.decocuir.com |

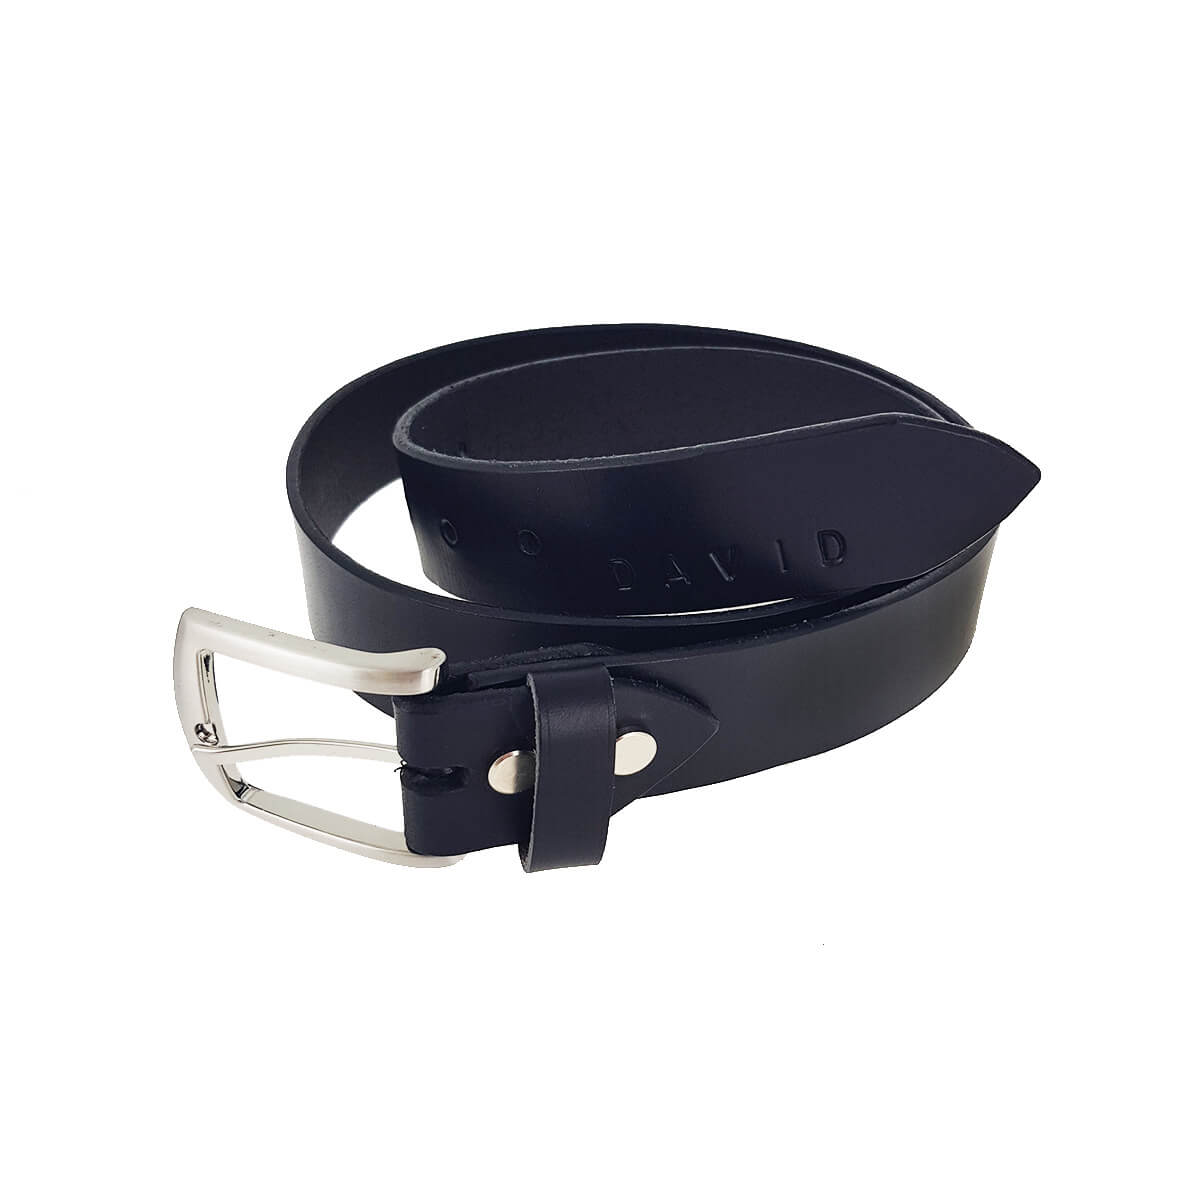
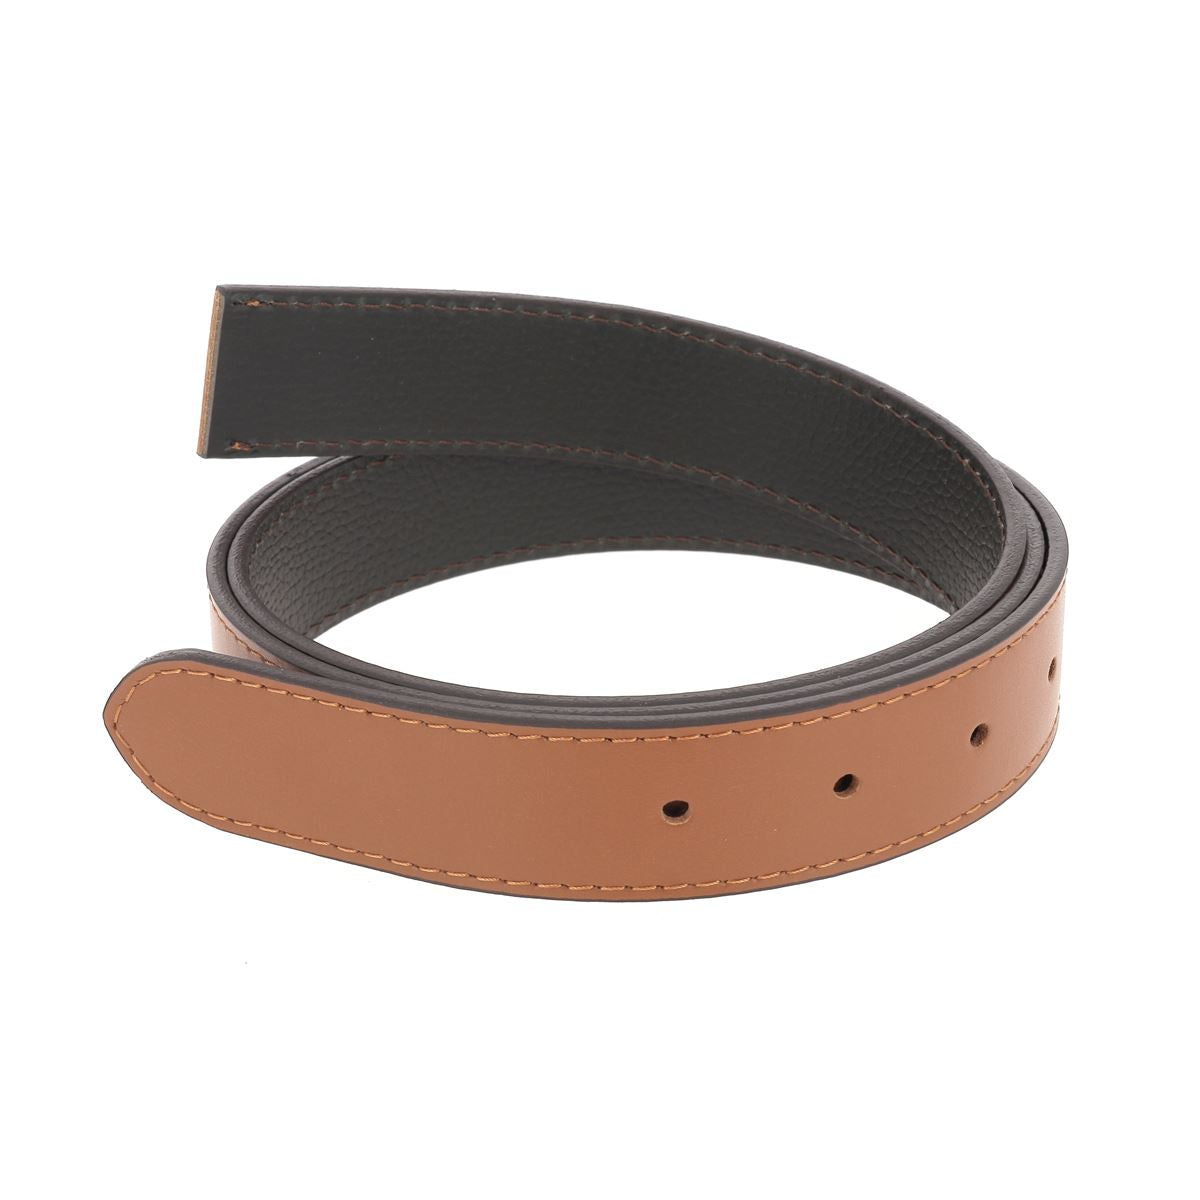
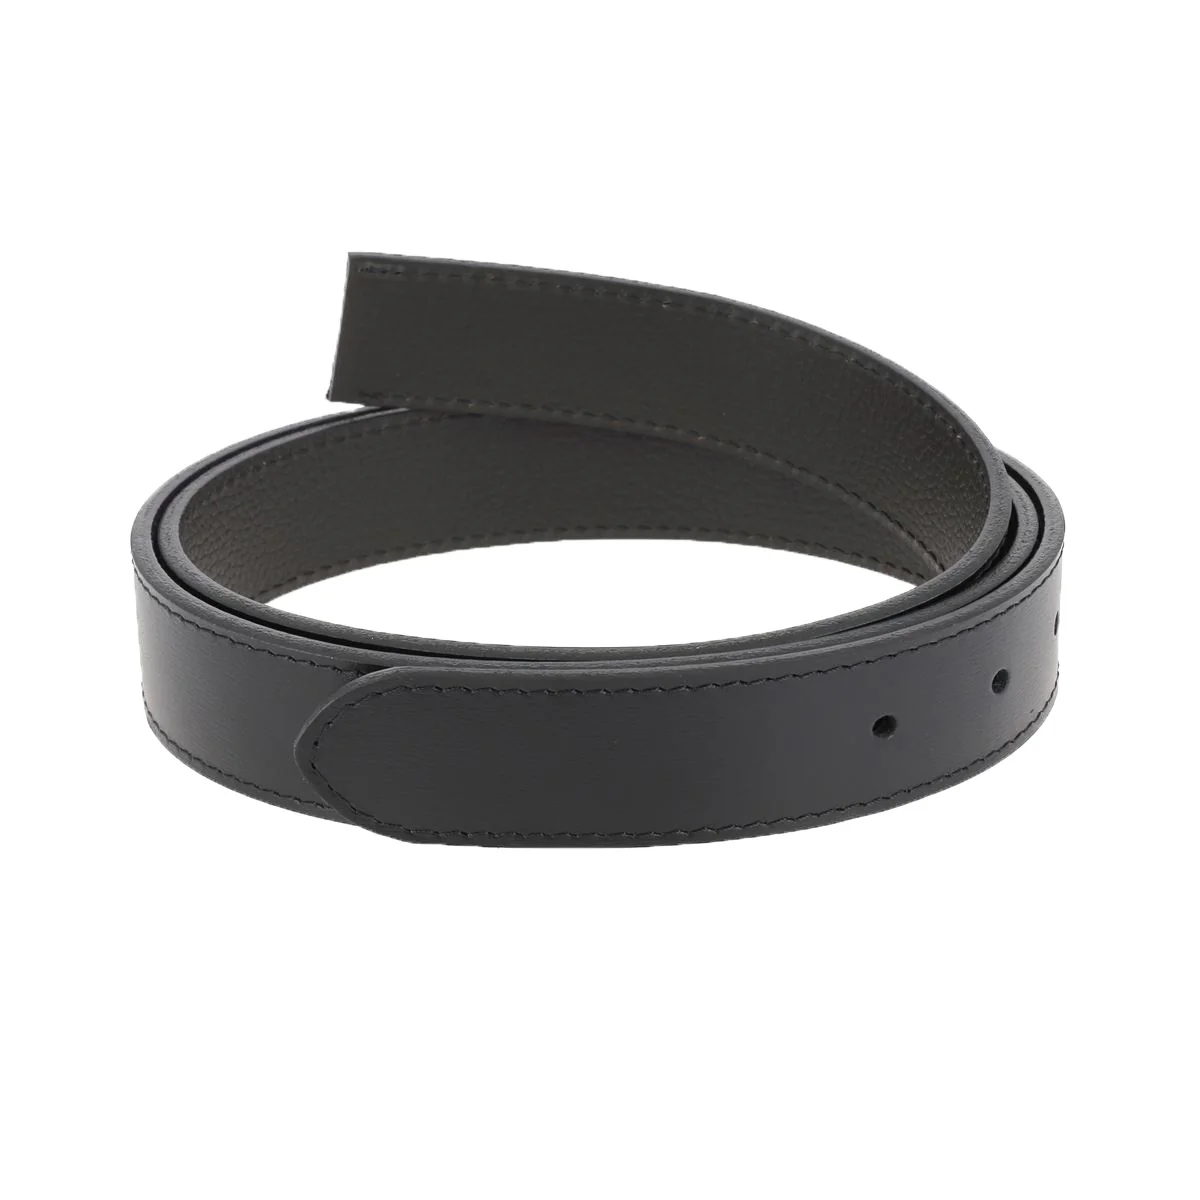
For this tutorial, we made two size 40 belts, with a total length of 111 cm. The black belt is 30 mm wide and the tan London belt is 34 mm wide.
Tip (if you have to create a lot of belts): create belt length markers in your workshop to save time and improve accuracy.
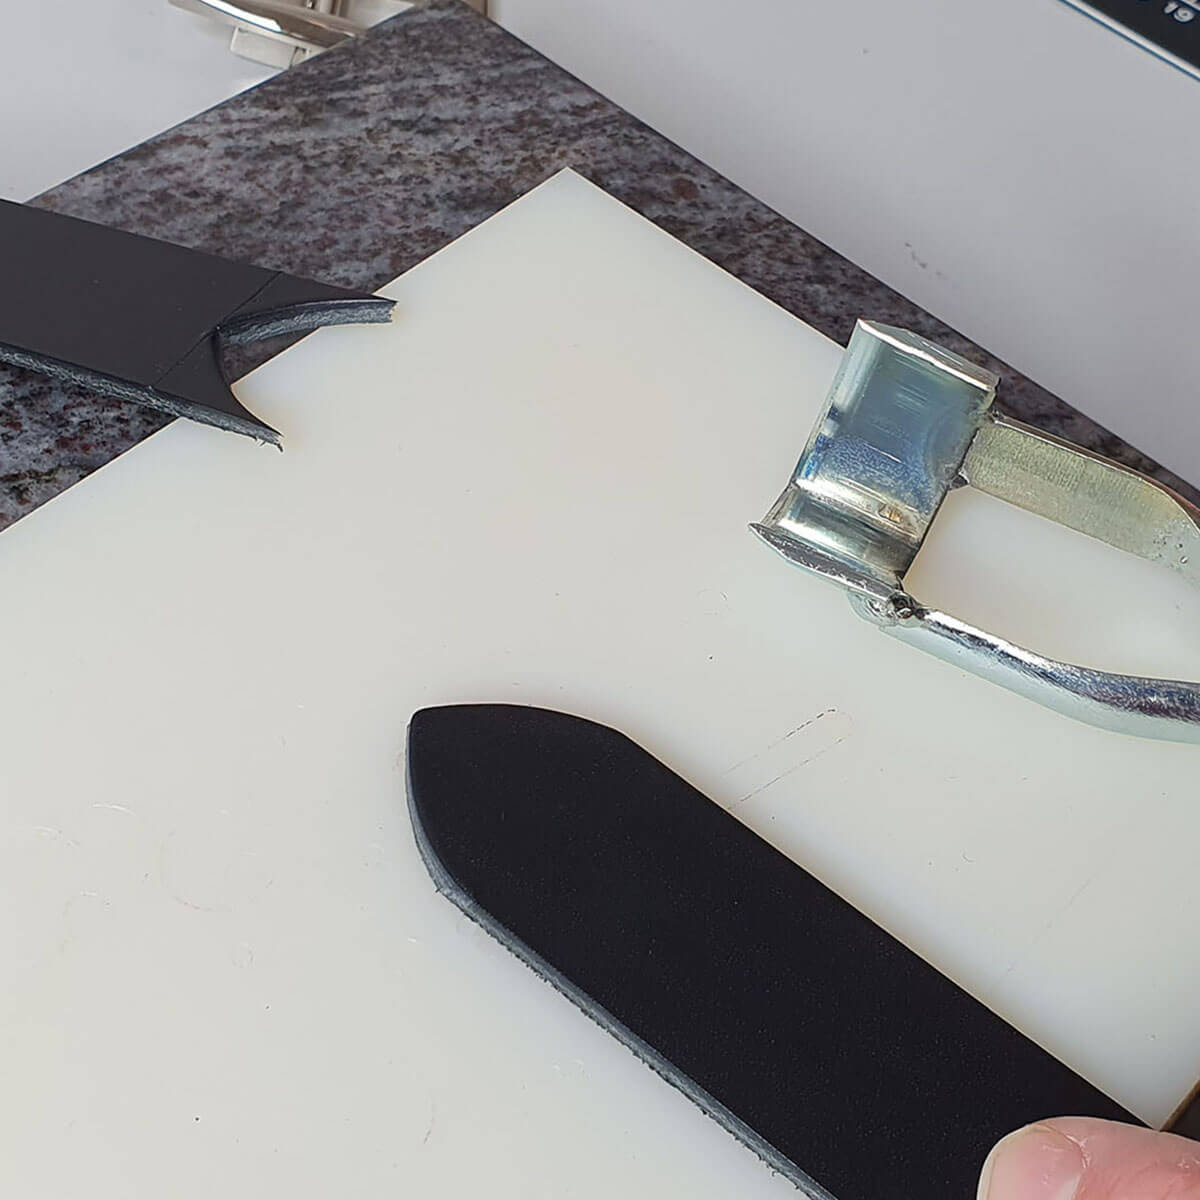
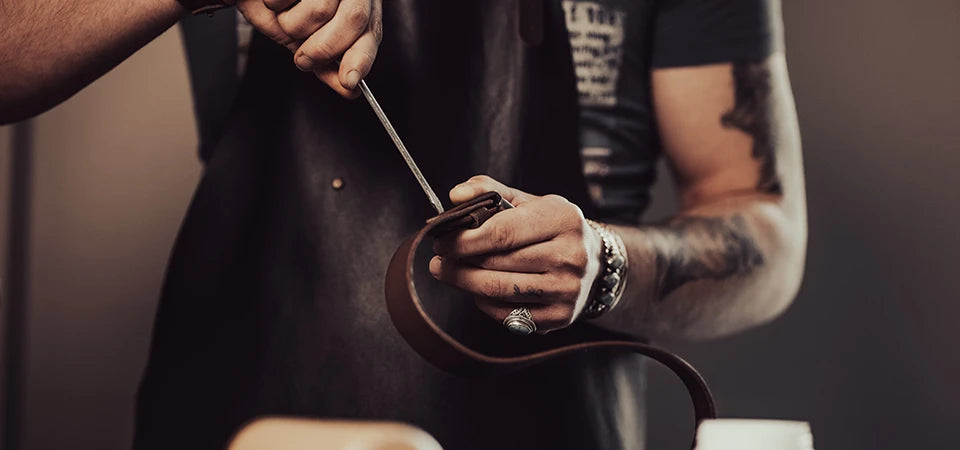
4. HOW TO WORK THE BELT END?
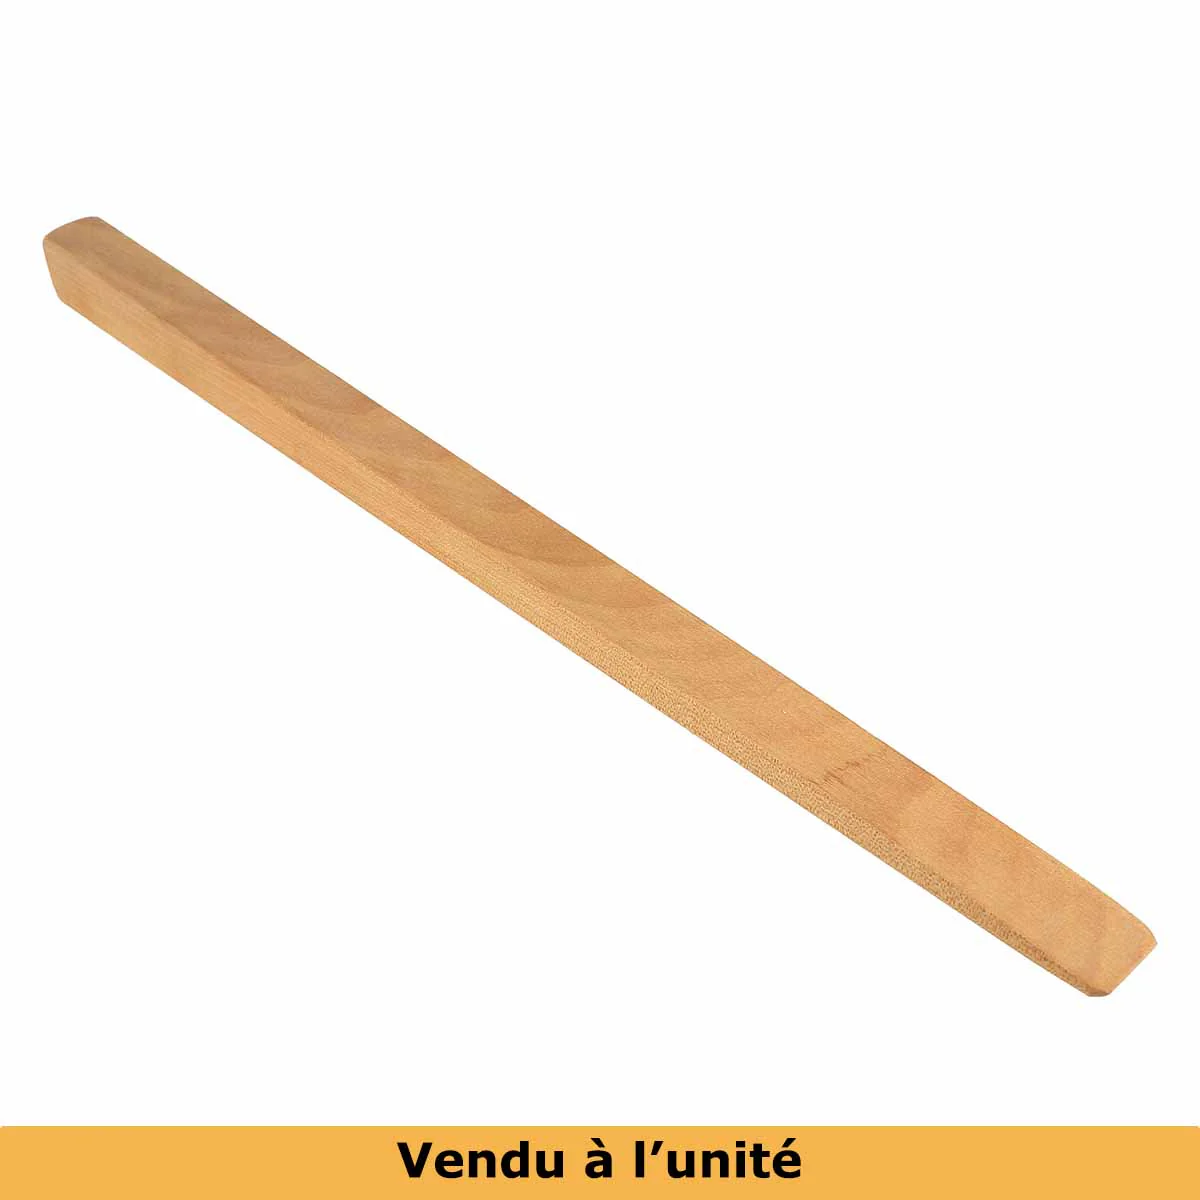
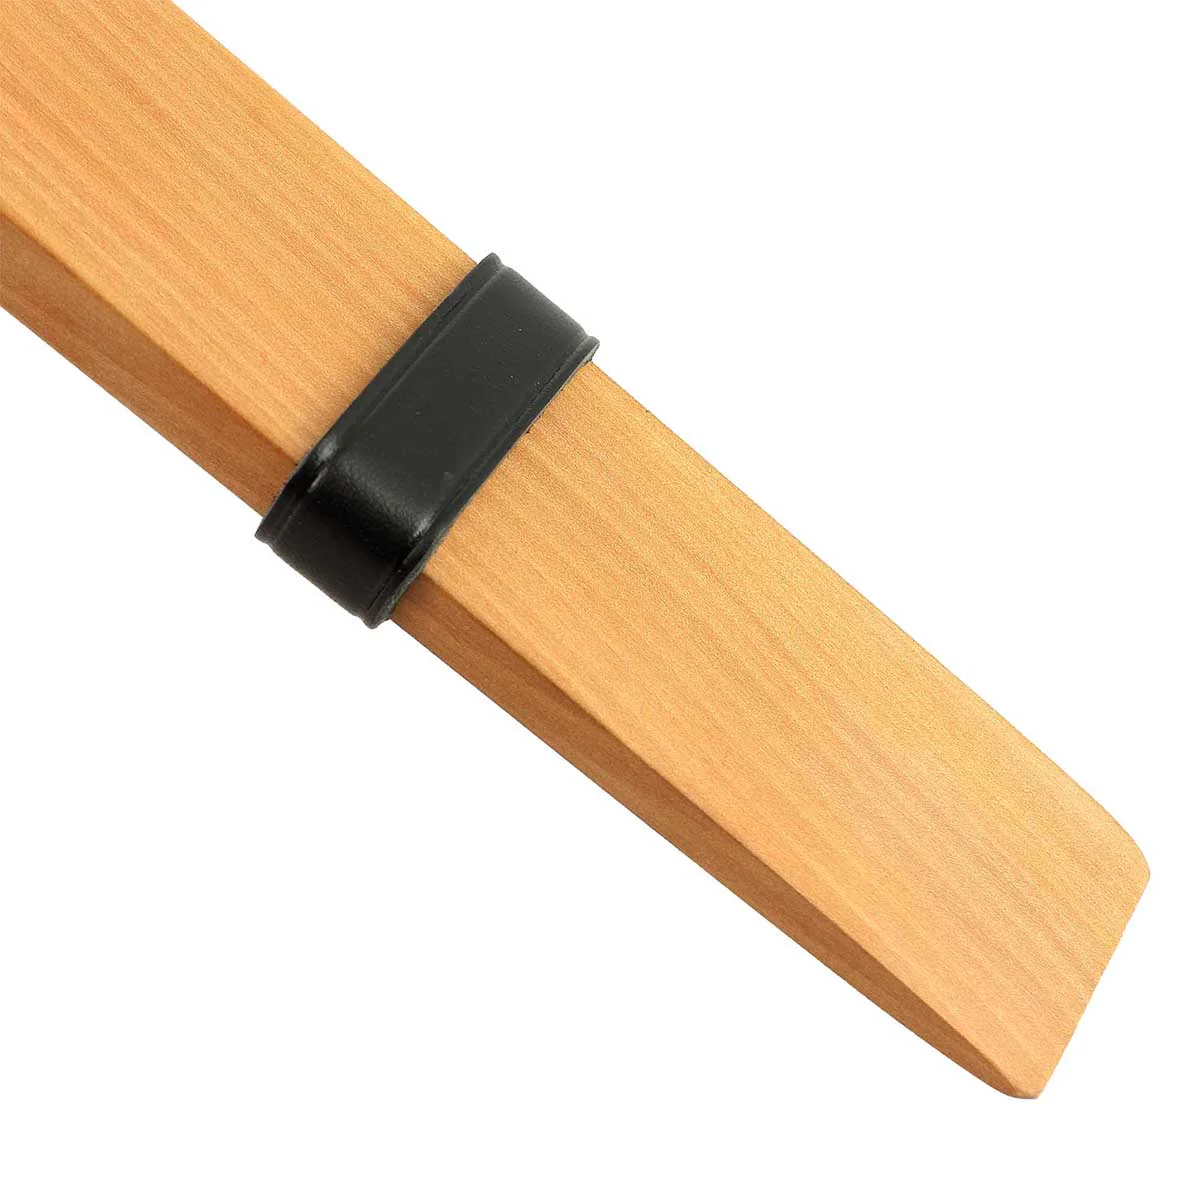
After having defined the length of the strap, you must cut it and work at the same time on the end of the belt using:
- of a belt end cutter
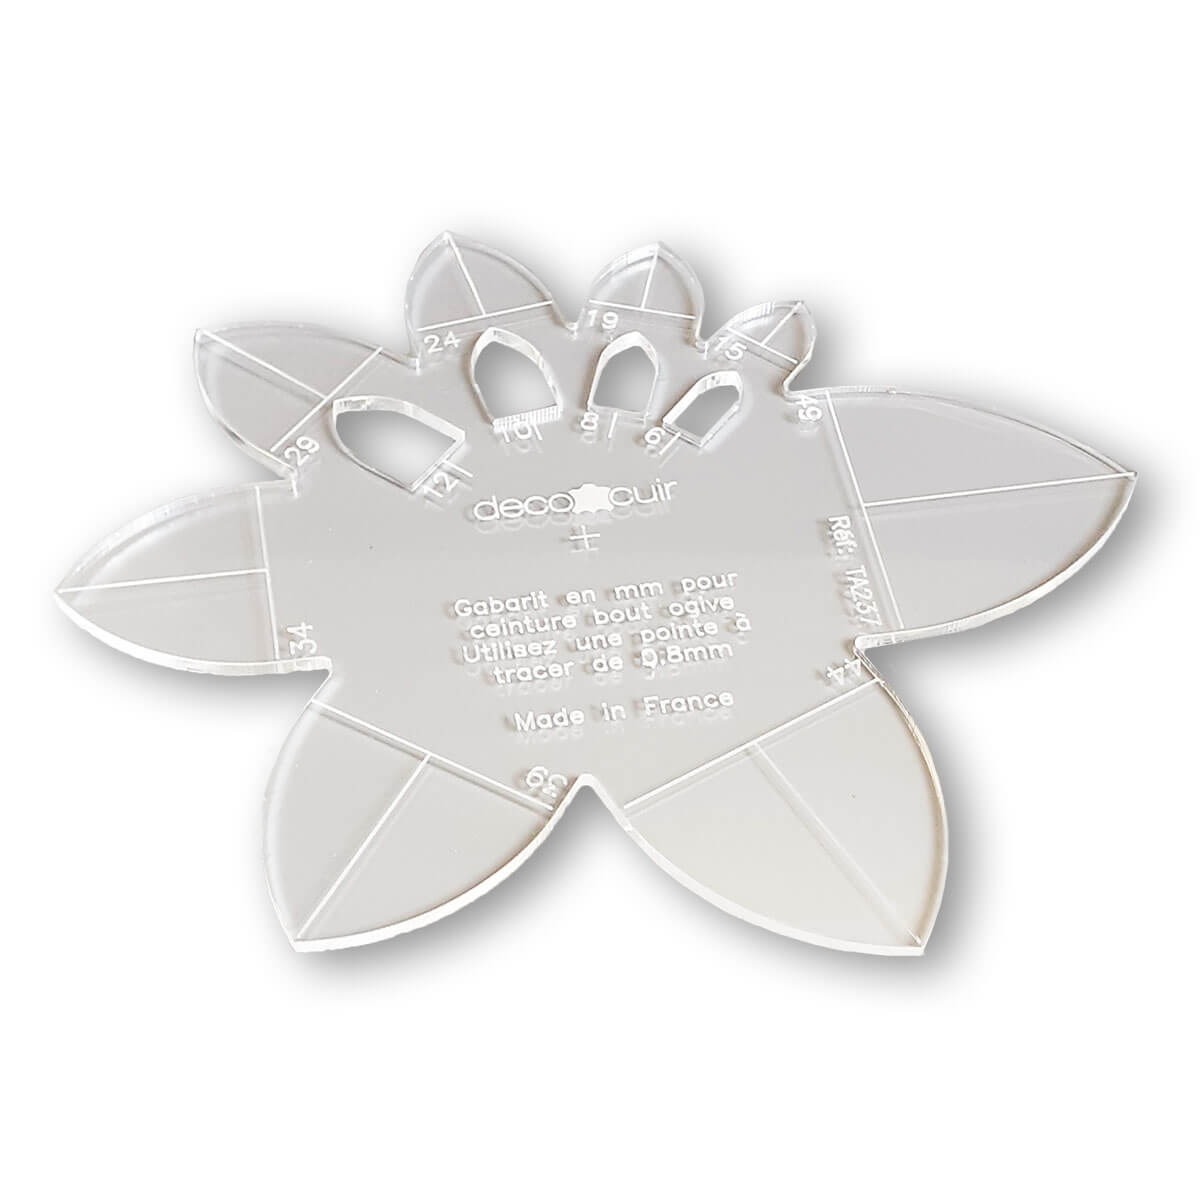
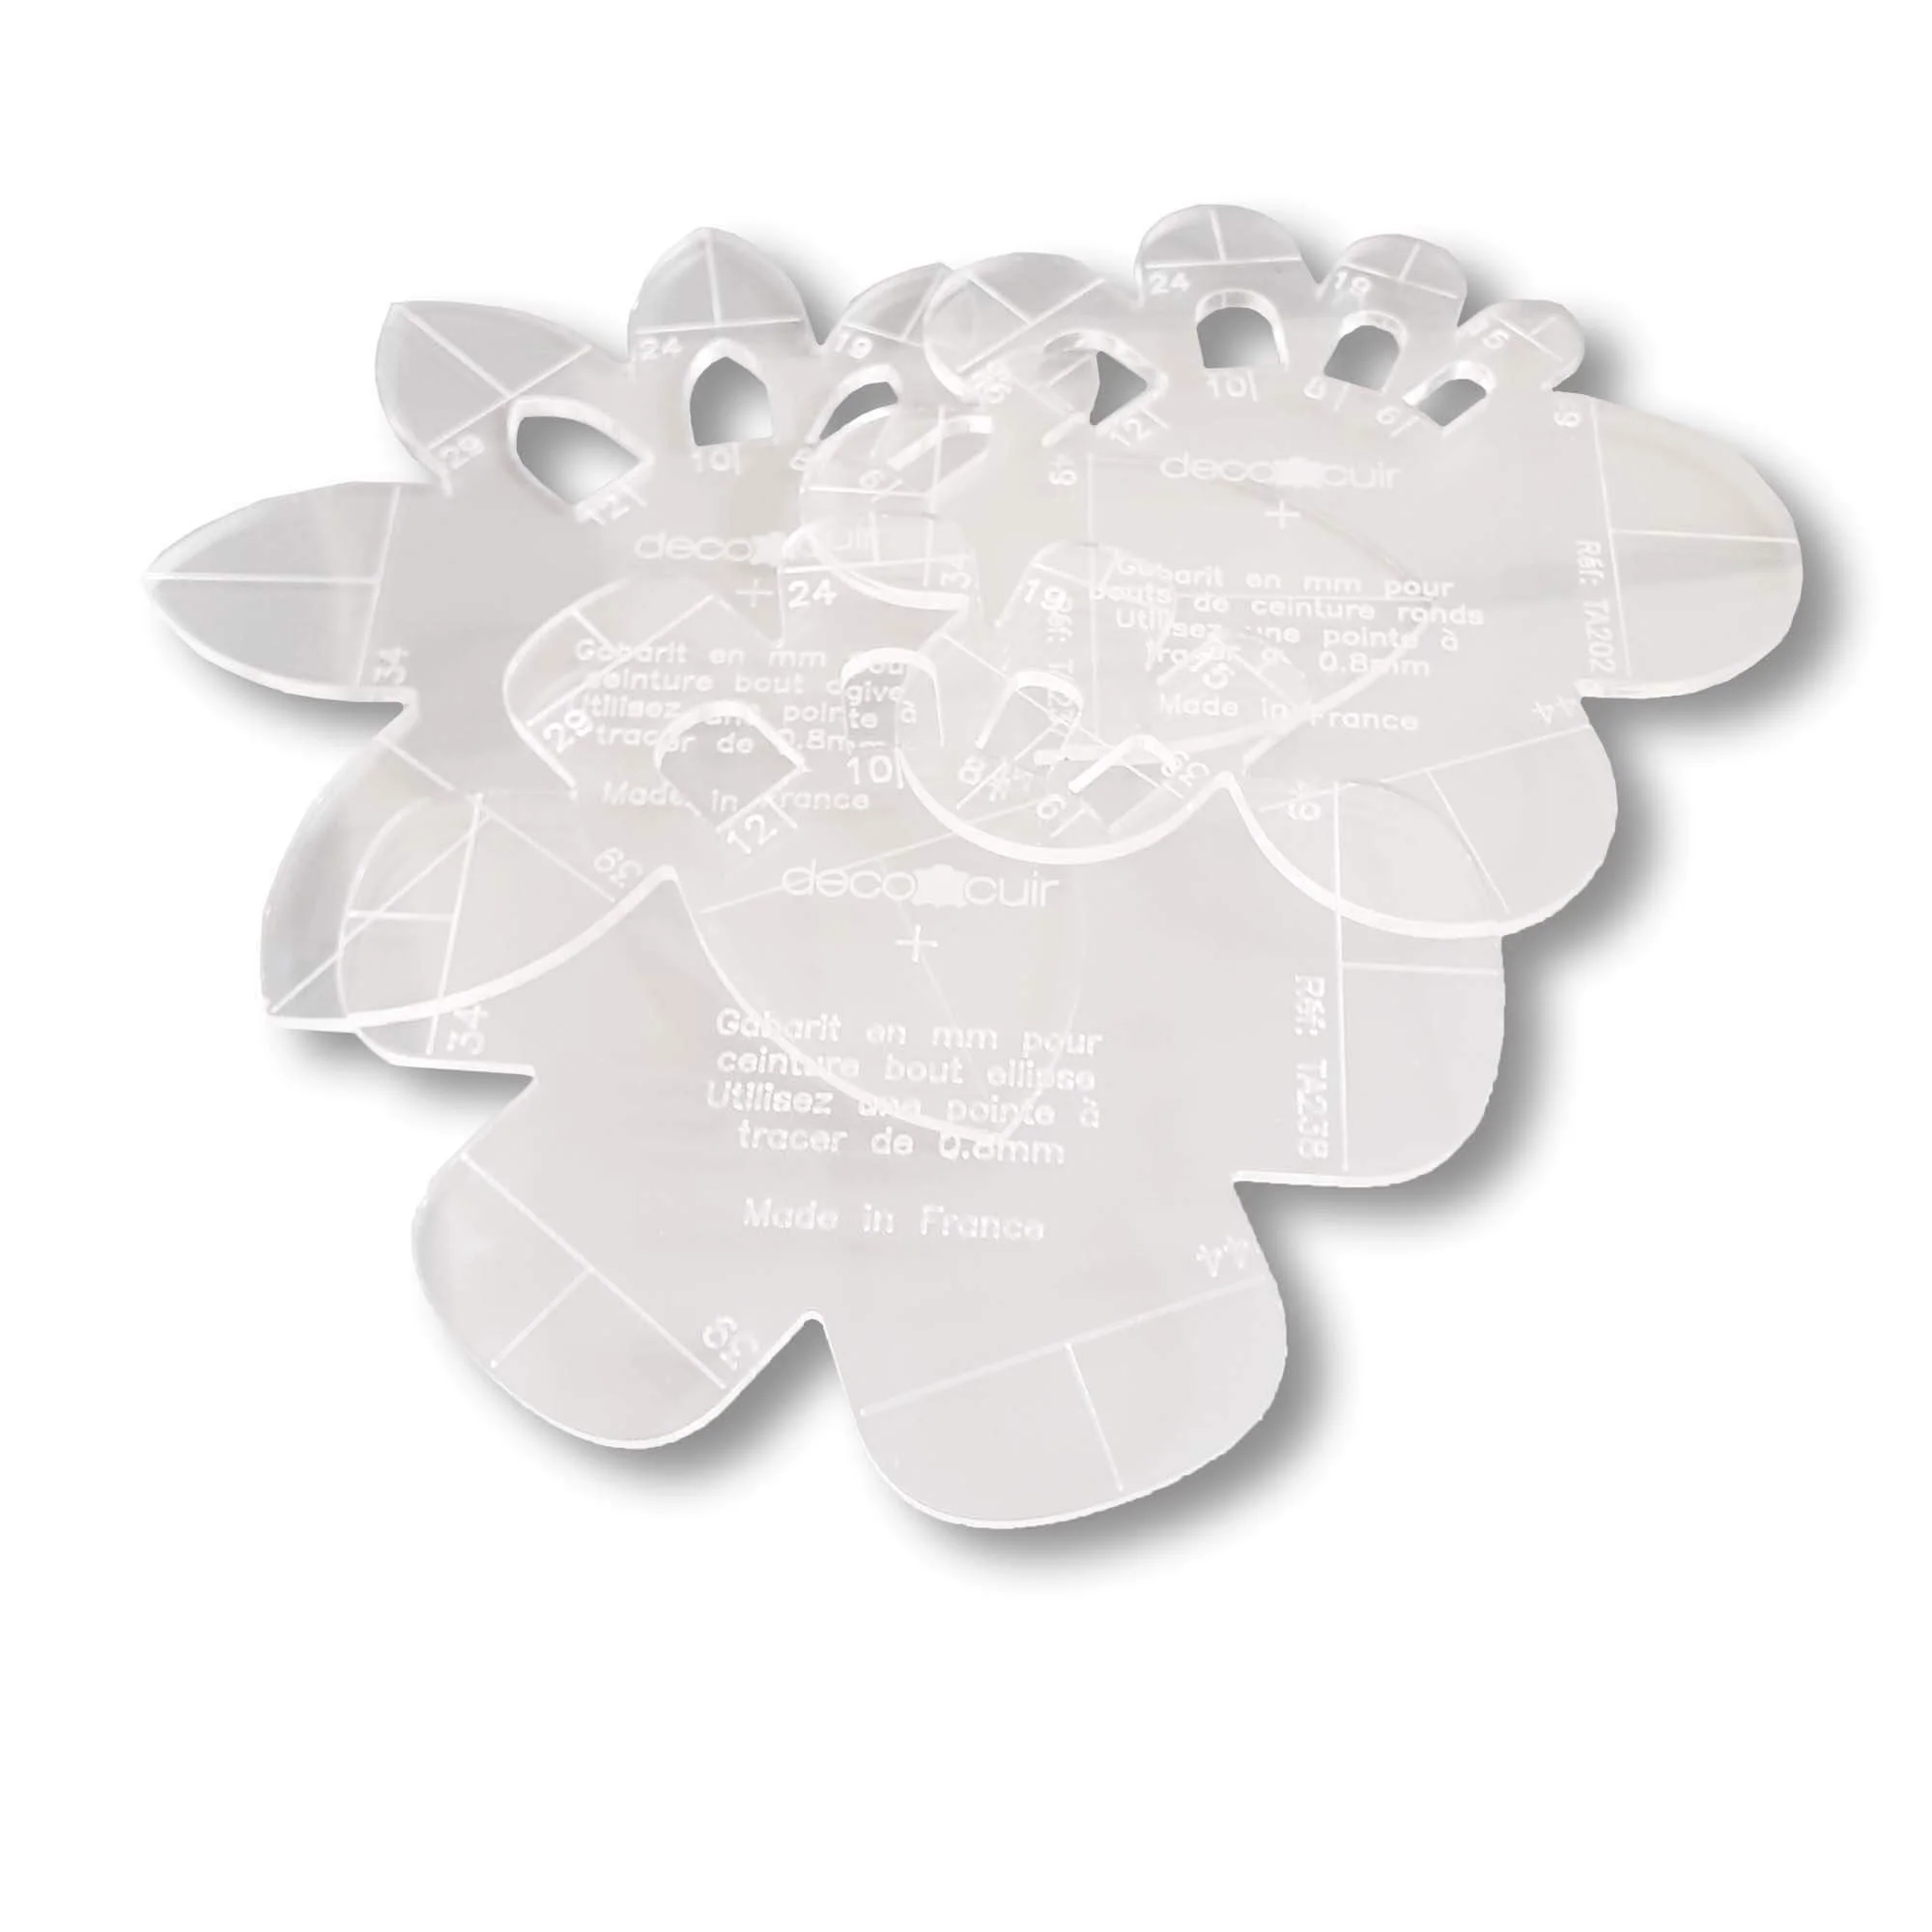
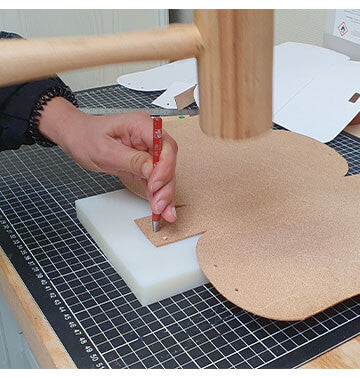
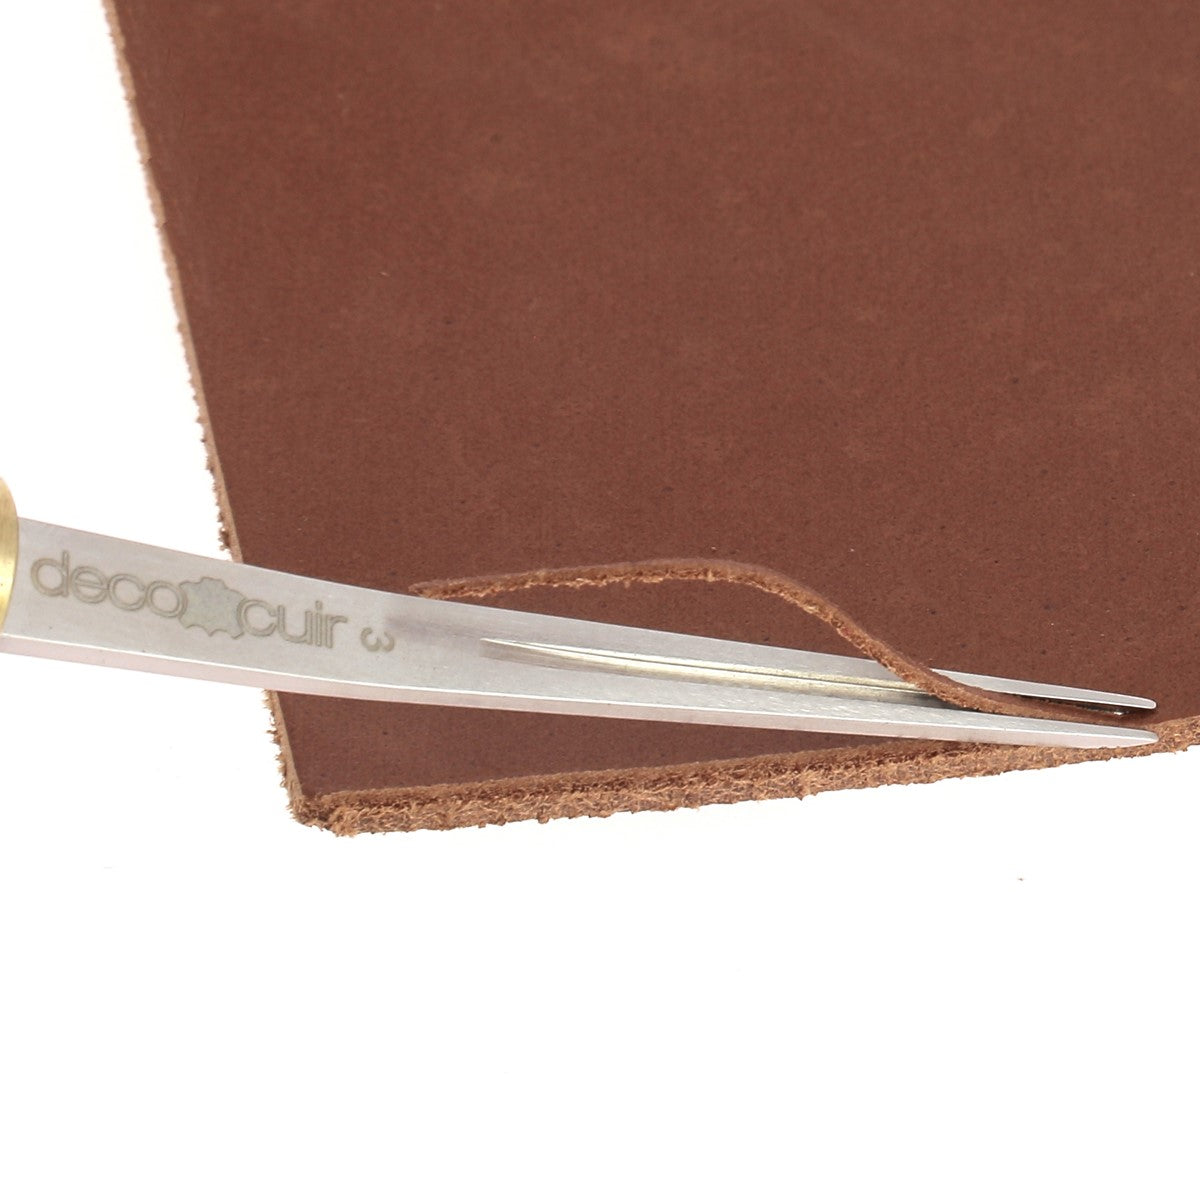
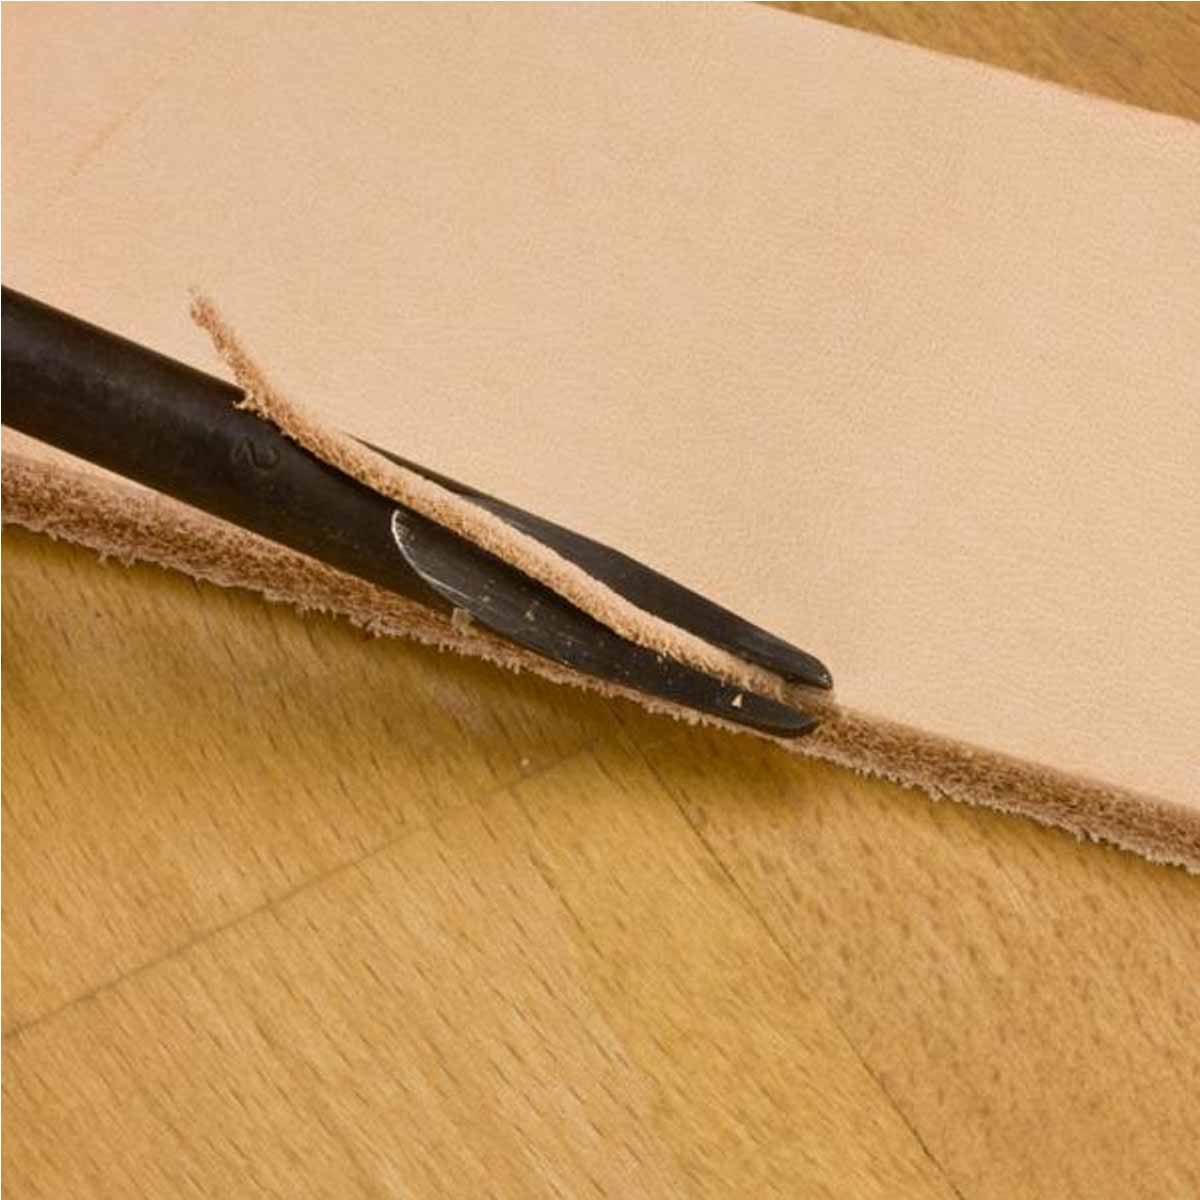
- a plexiglass template and a cutting tool (be careful not to cut in one go but in quarters otherwise you risk not having a nice cut - see video).
Several shapes are possible: round, ogive, saddle, trapezoid...


Here's a video showing how to use the quartering technique to cut a round cleanly. Here, we're using a straight paring knife.


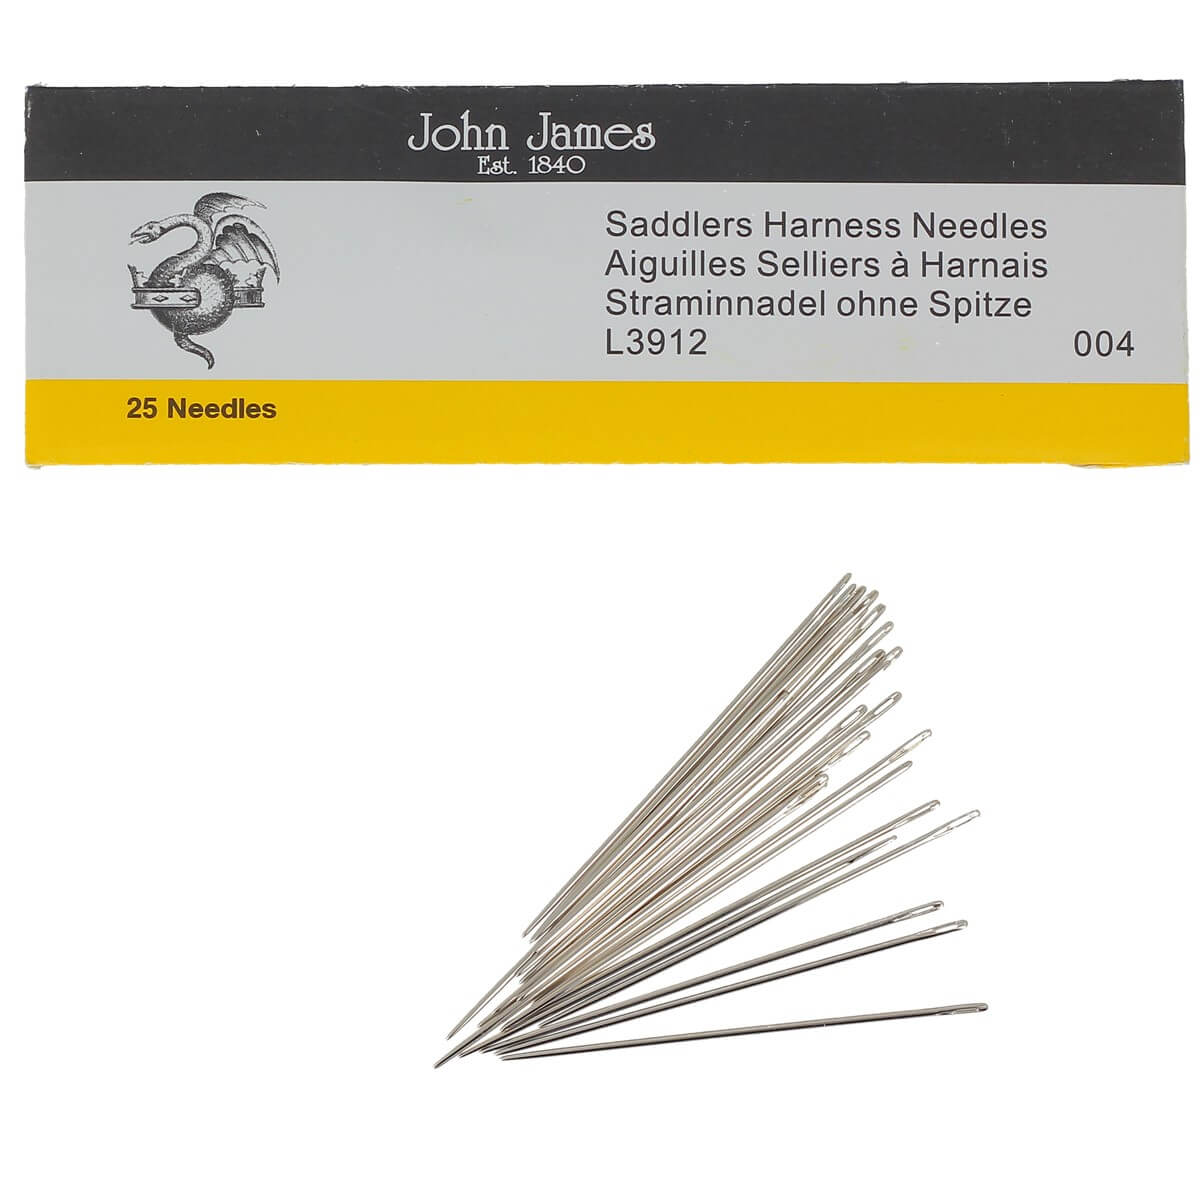
5. HOW TO MAKE HOLES IN A LEATHER BELT?
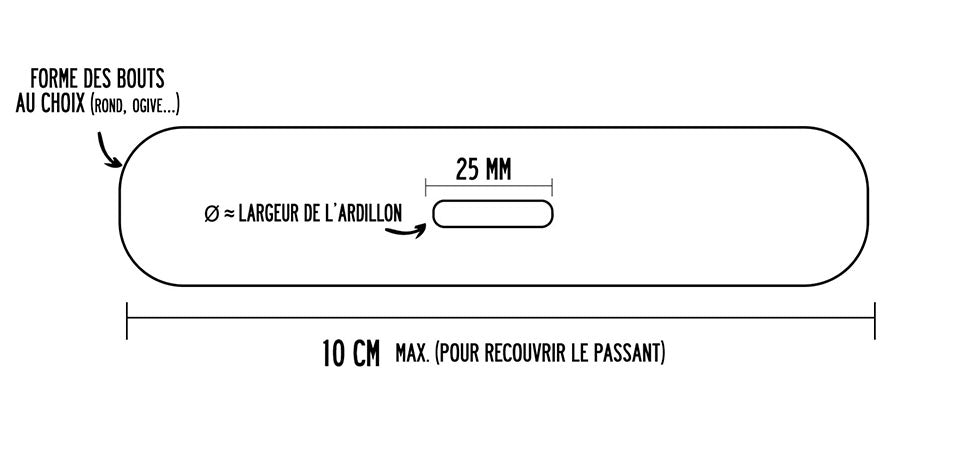
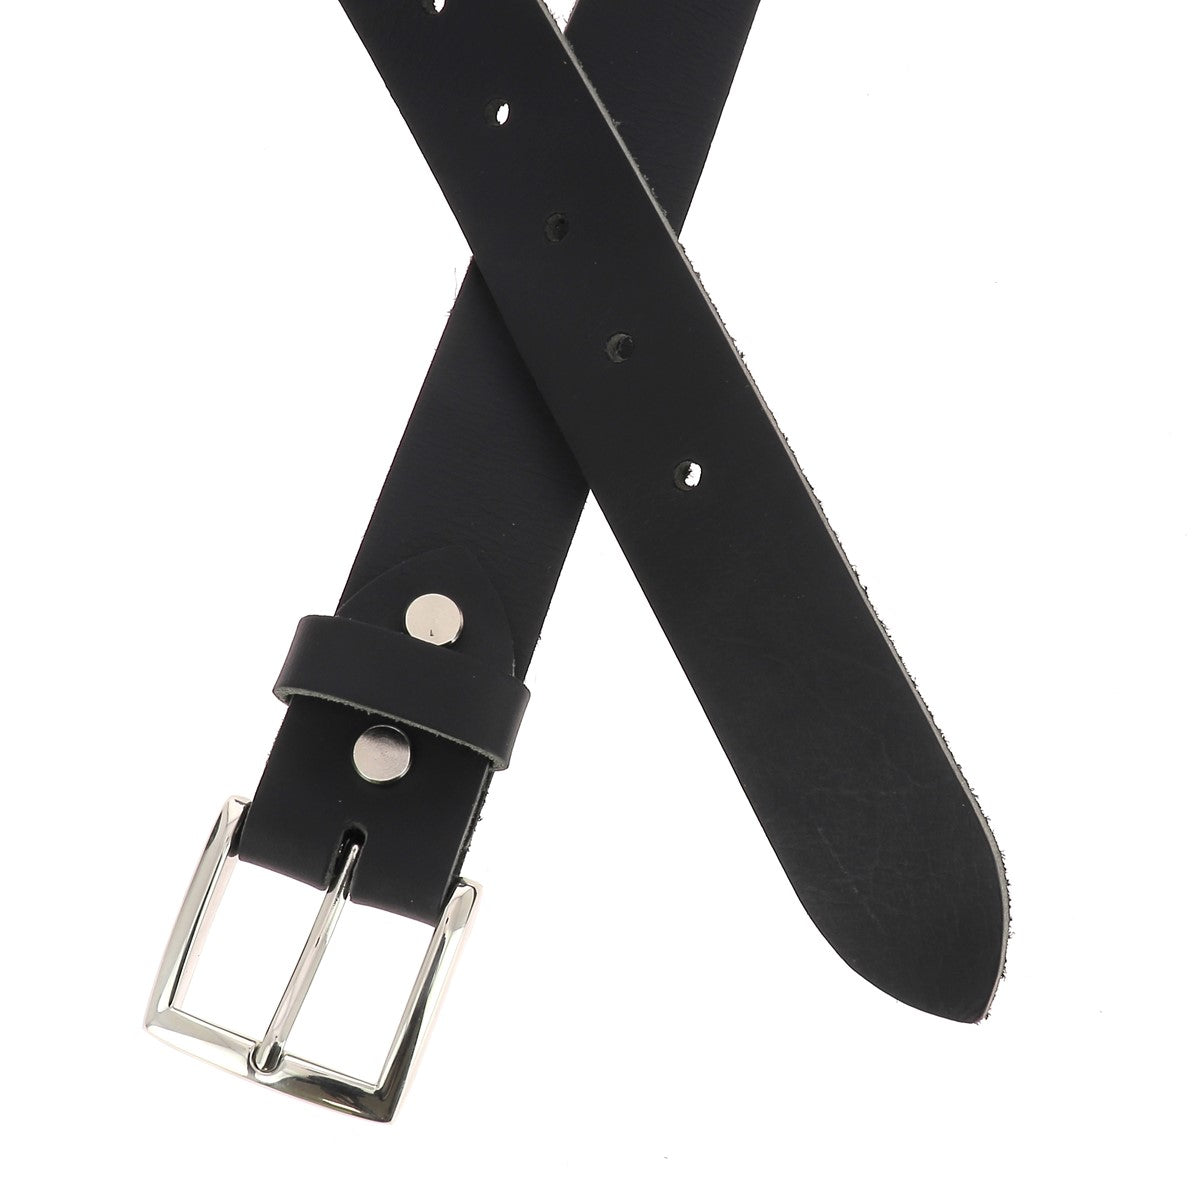
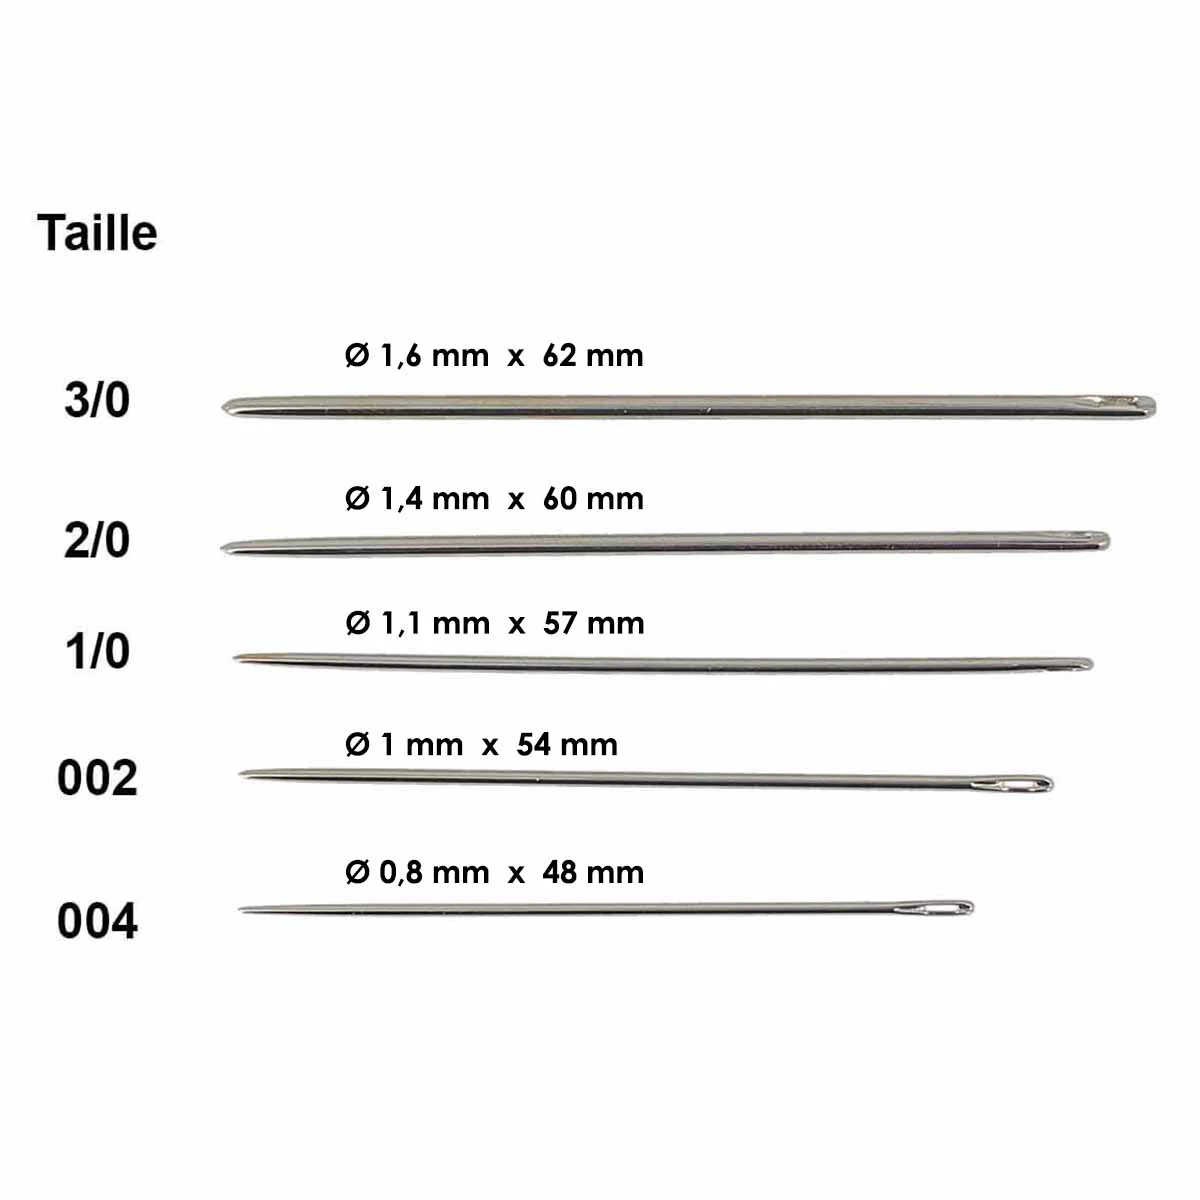
A leather belt generally has 5 holes with an average spacing of 2.5 cm (center to center). The choice of hole diameter is made according to the width of the buckle pin (on average: 3.5 / 4 mm in diameter). The first hole is located 10 cm from the edge.
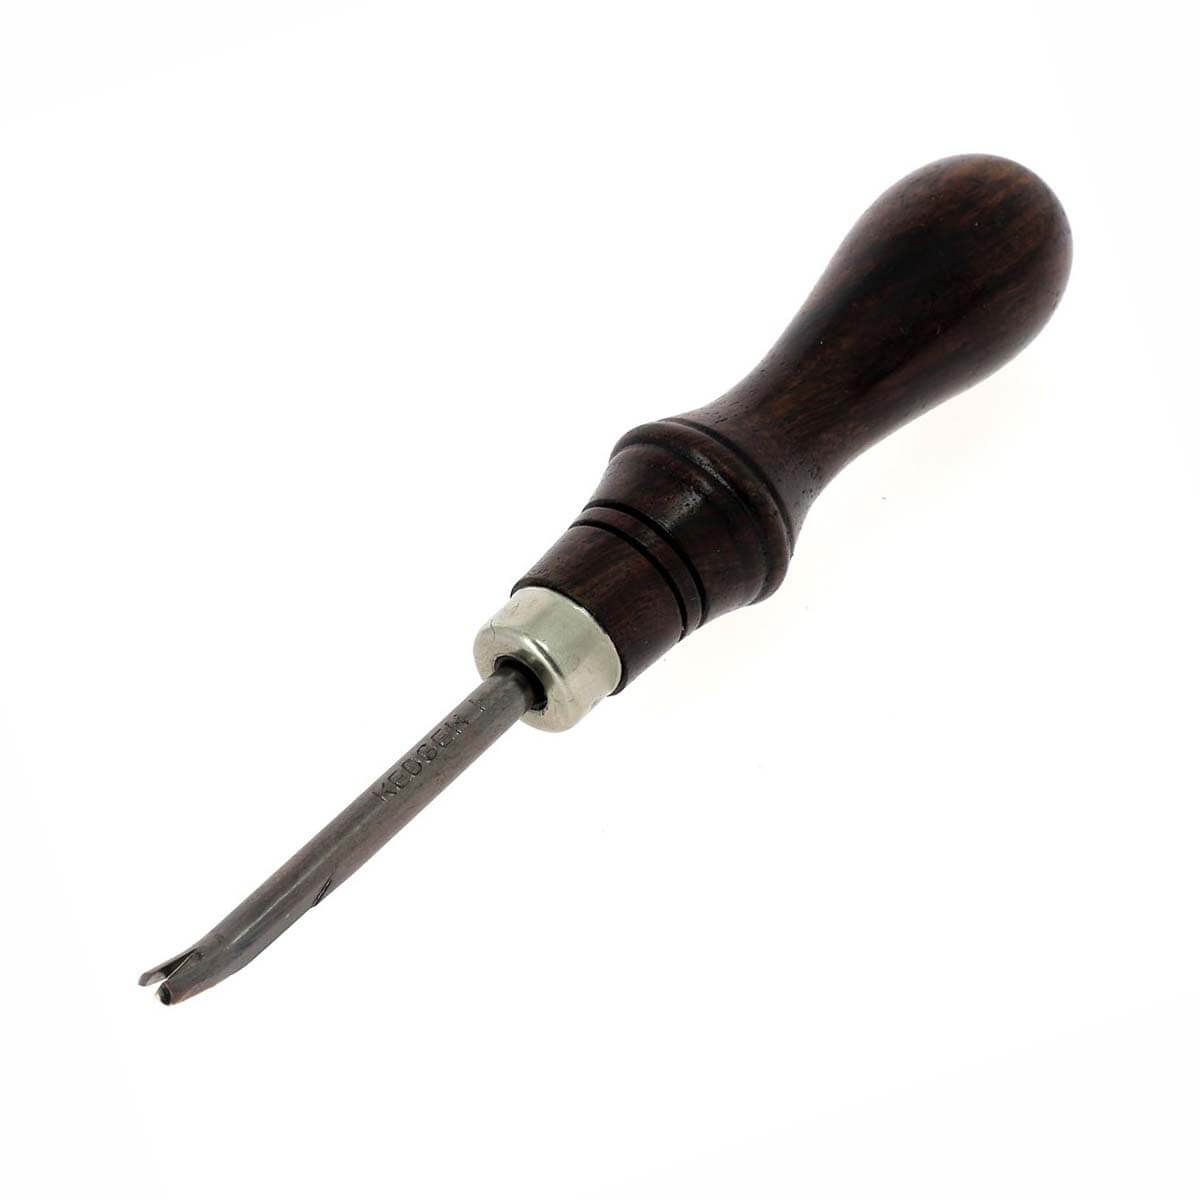
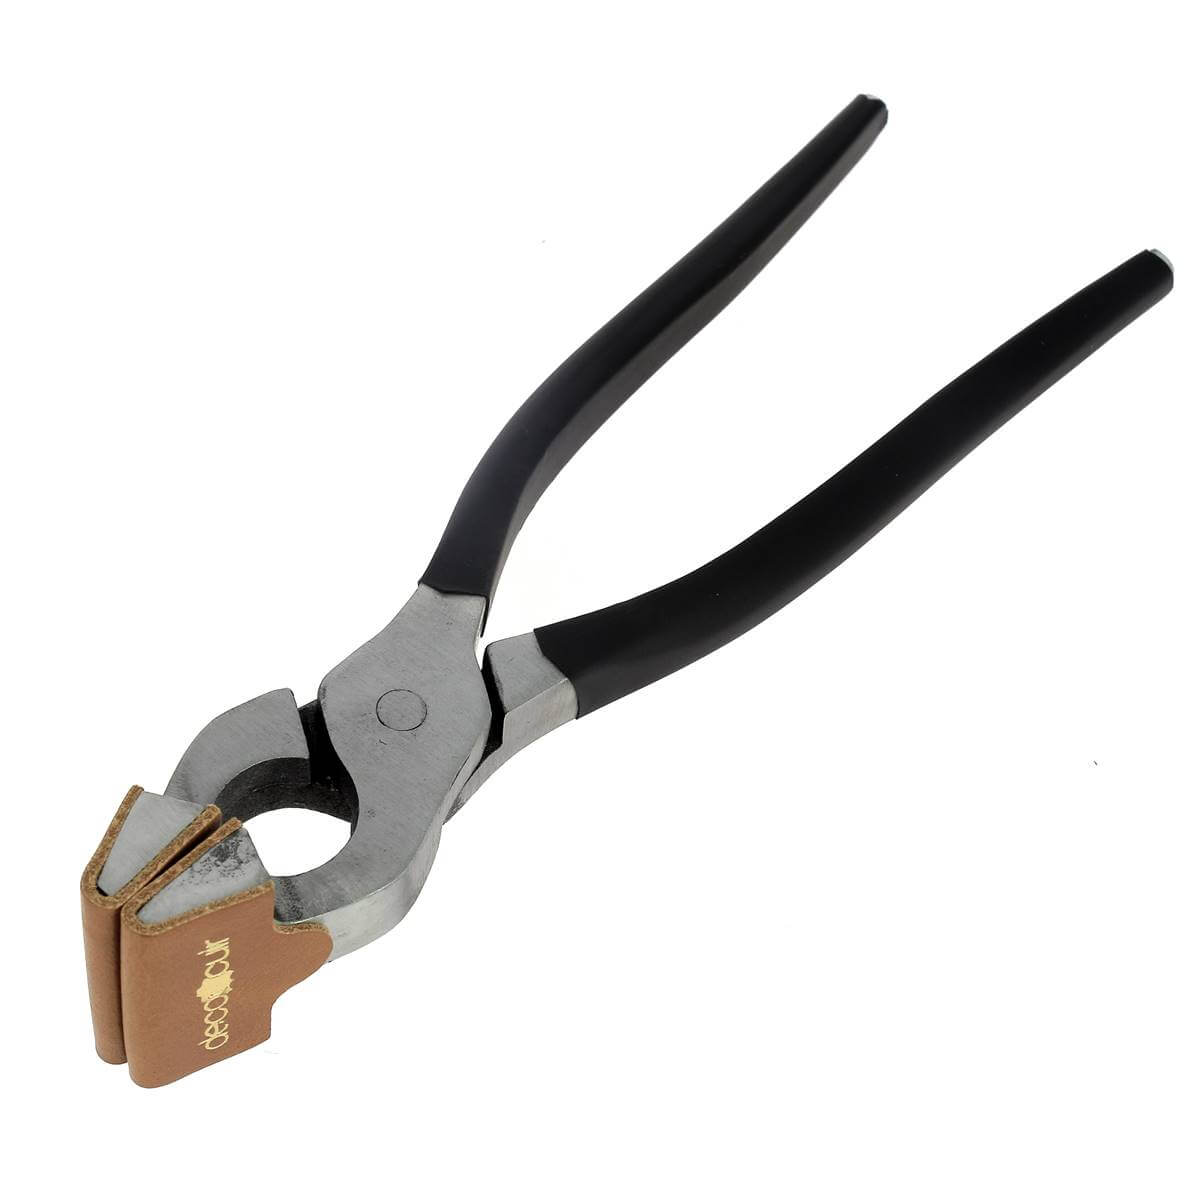
You can use the Deco Cuir self-centering template to make your holes more quickly and precisely.


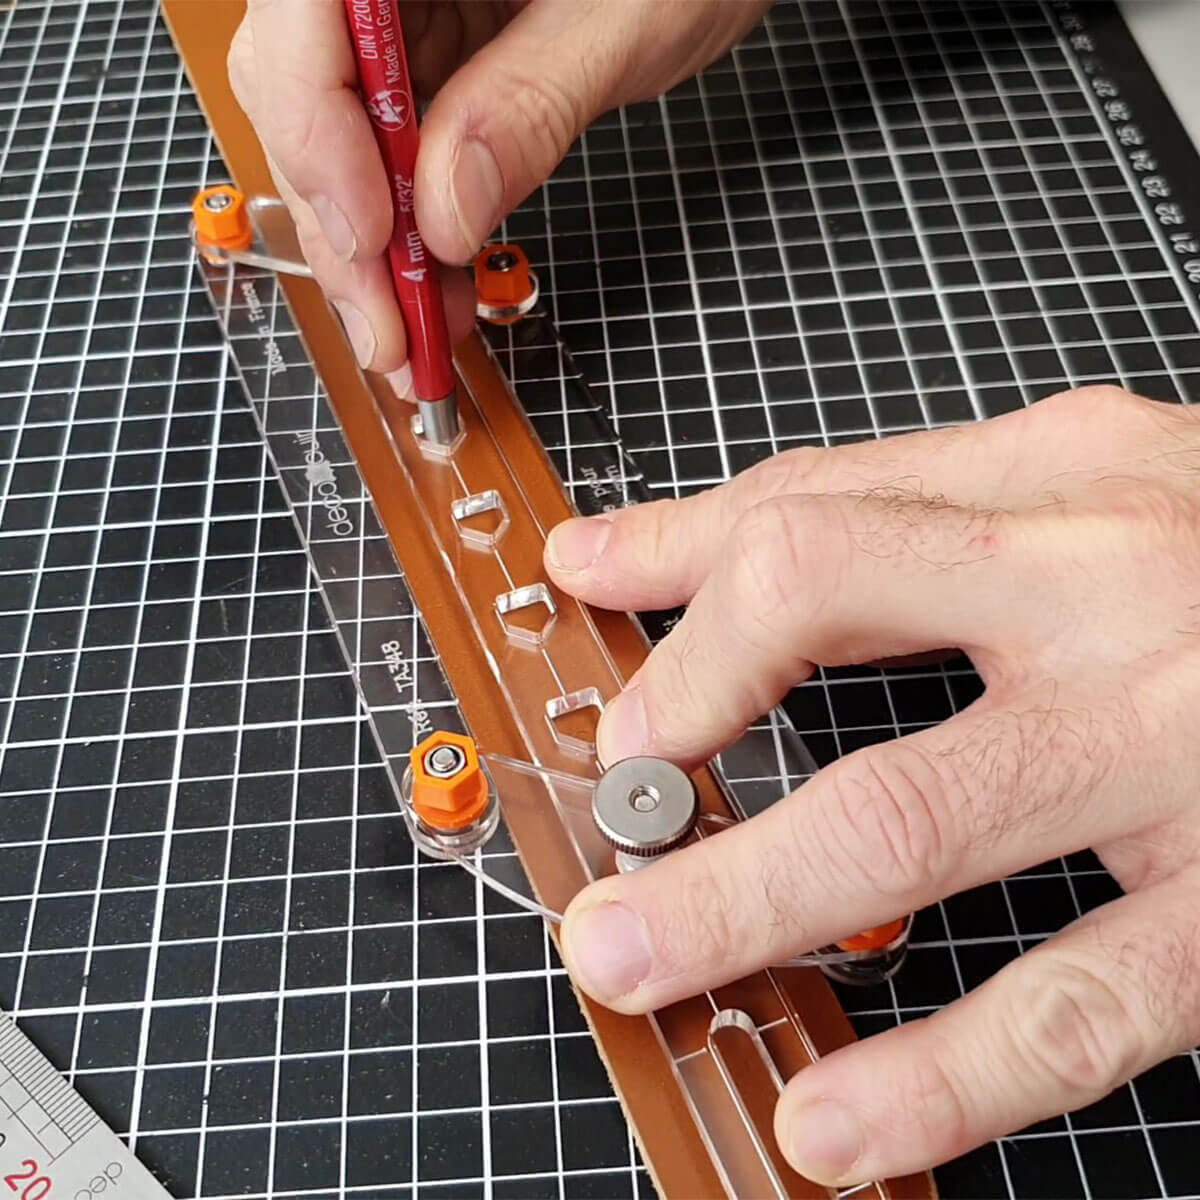
THE 5 BELT HOLES

6. WHAT SIZE RING FOR MY BELT BUCKLE?
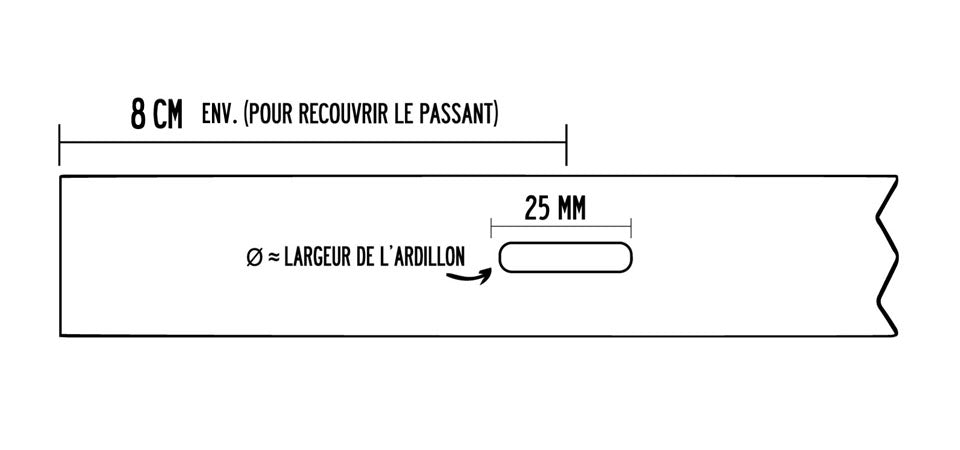
The sash is the oblong hole that allows the buckle's tongue to pass through.
Set the cutting width according to the size of the barb and the length according to the thickness of the leather (standard length: 25 mm).
The loop is generally located about 8-10 cm from the edge . Be careful if you have chosen a claw buckle, skip this step there is no need to make a loop.
Tip: You can moisten the strap (split side) at the bending area to prevent the leather from getting damaged and also to flex the leather more easily.
BELT WITH SEAM:
Make the chapure directly on the leather strap.
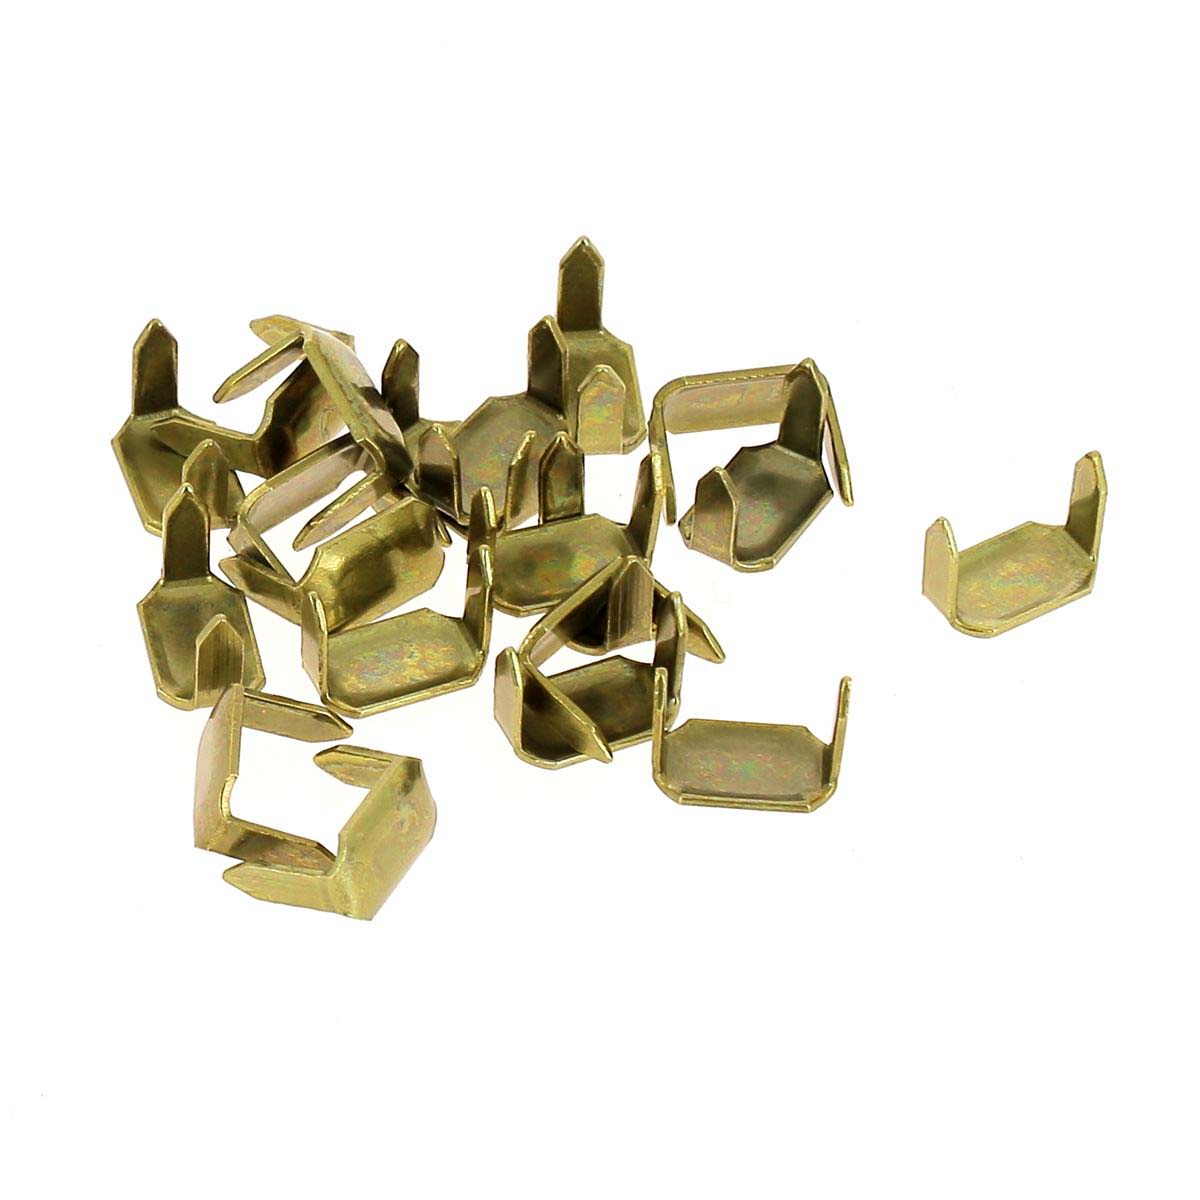
BELT WITH CHICAGO SCREWS OR RIVETS (SEAMLESS):
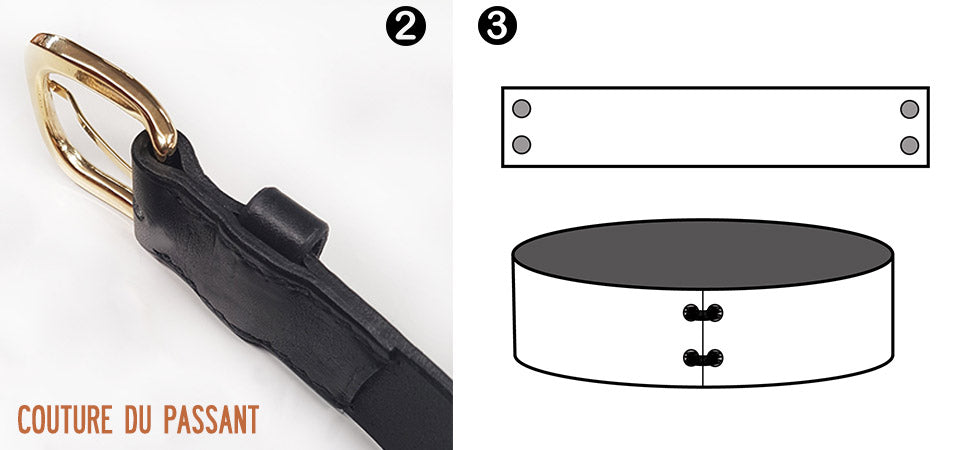
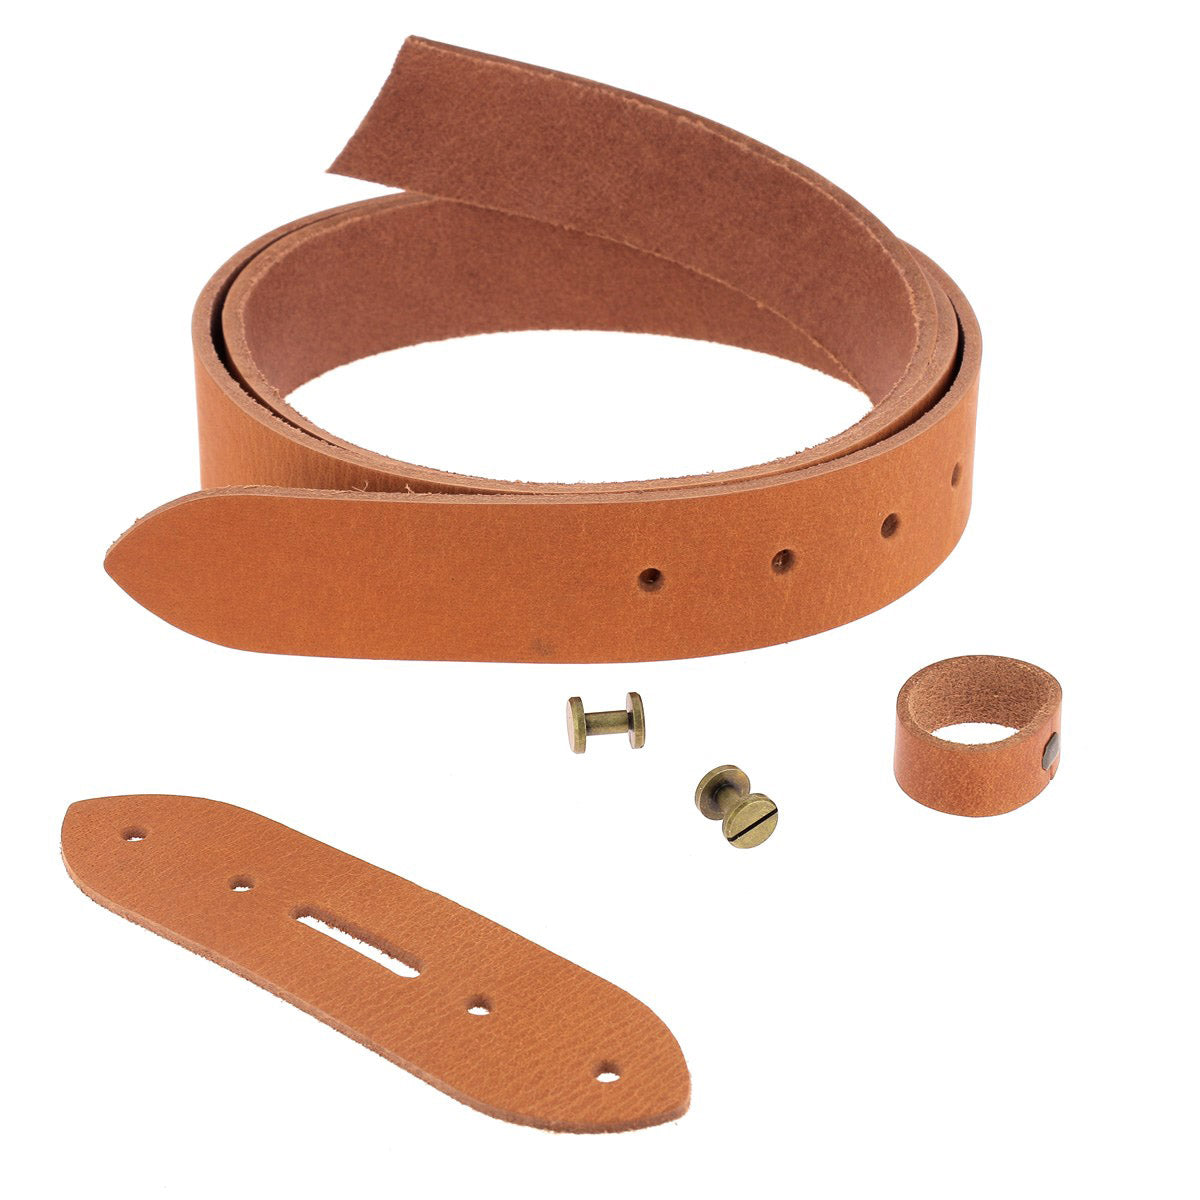
From the leather strap: Cut a 12-13 cm strip and make the loop. This piece, at least 10 cm long, will allow you to attach the belt buckle to your leather strap using Chicago screws or rivets. Its main advantage: it can be repositioned at will if you want to shorten the leather strap.
This part can be completely slit/thickened to avoid significant excess thickness.
2 SOLUTIONS FOR MAKING A SASH
1- Using a cookie cutter.
2- Make 2 holes using a round punch then join them with a cutter and a ruler.


7. SQUARE THE LEATHER
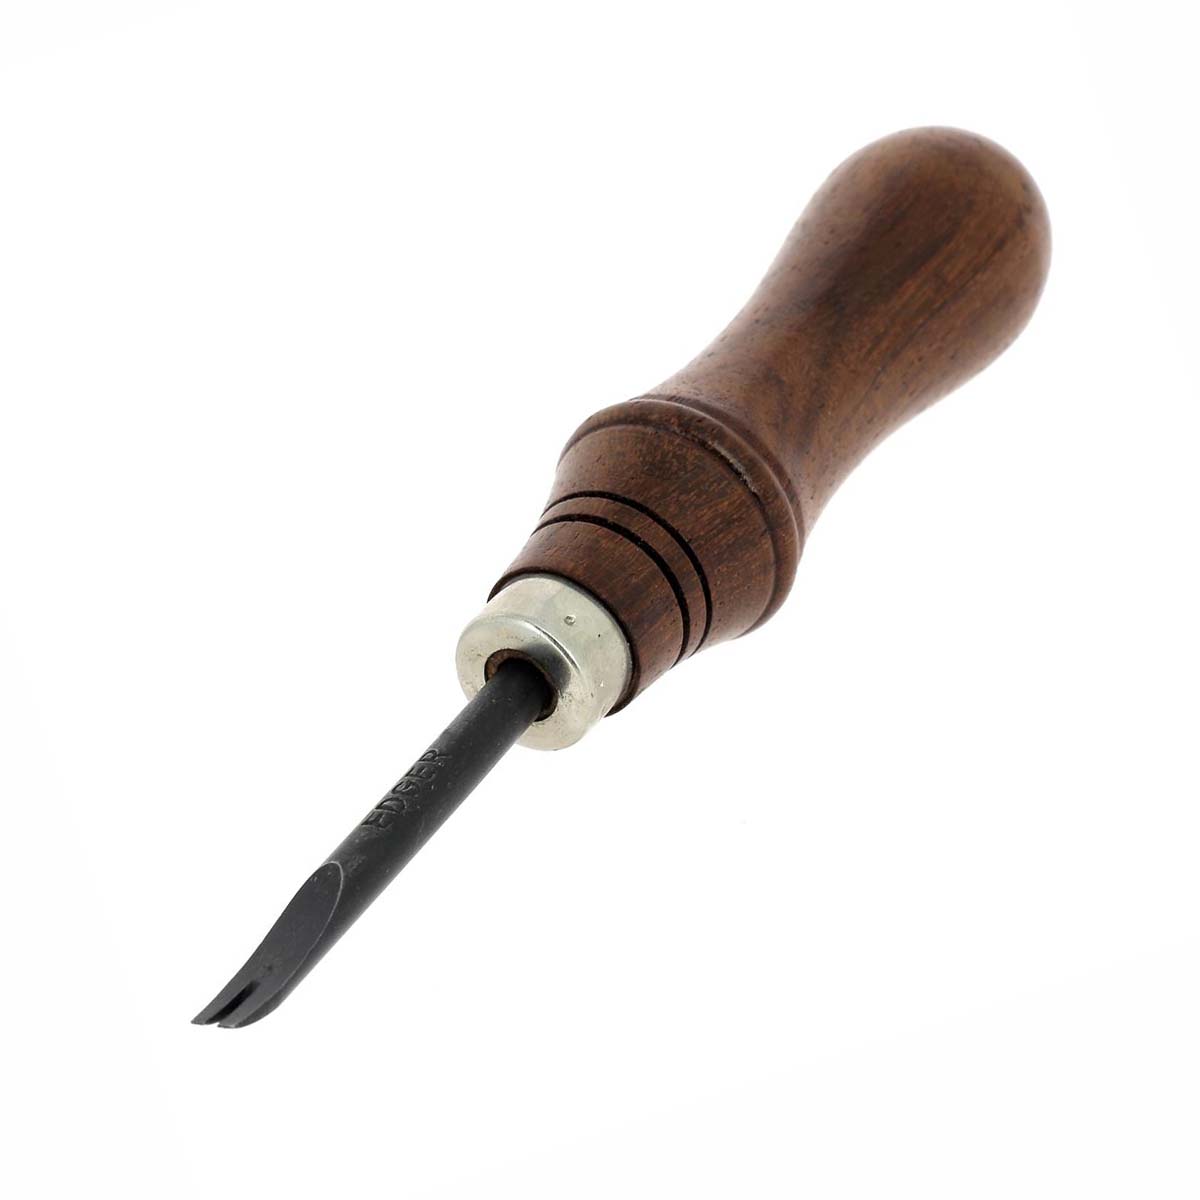
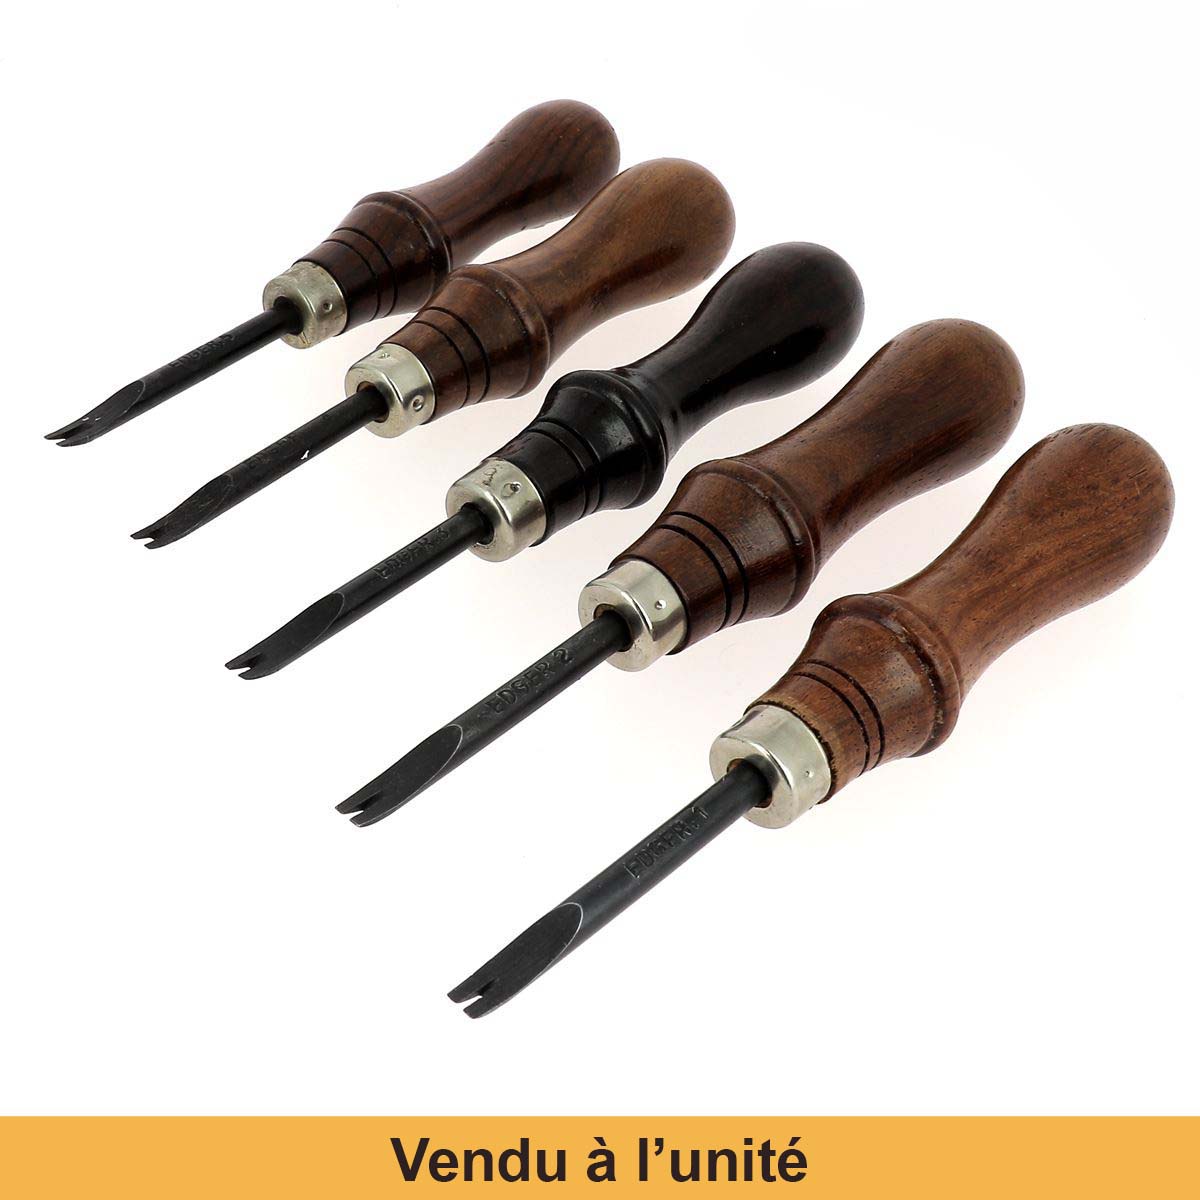
Using a size 2 edger: chamfer the leather on the grain side and the crust side (on both sides of the leather). The edger makes the edges more rounded to reduce friction (comfort and aesthetics).
If you are a beginner or if your leather is thin, we advise you to make the decorative fillet (see step 9) before chamfering the leather: to be sure of having a straight fillet.


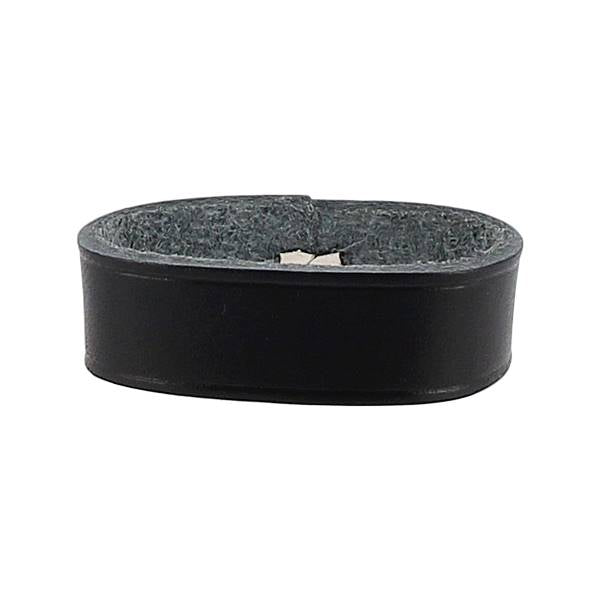
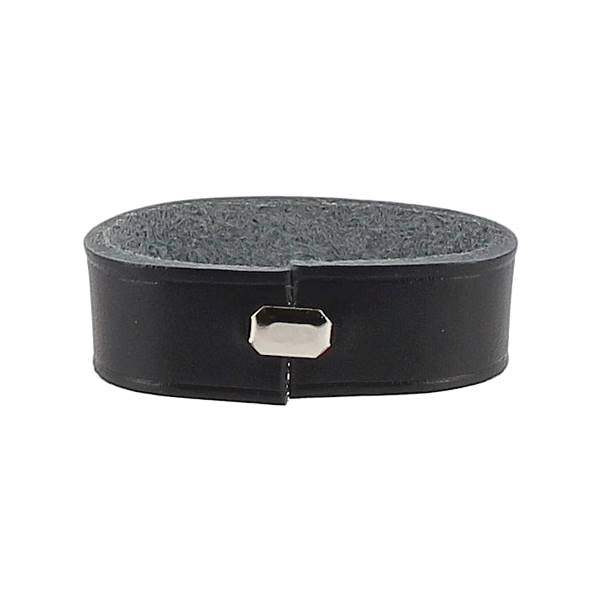
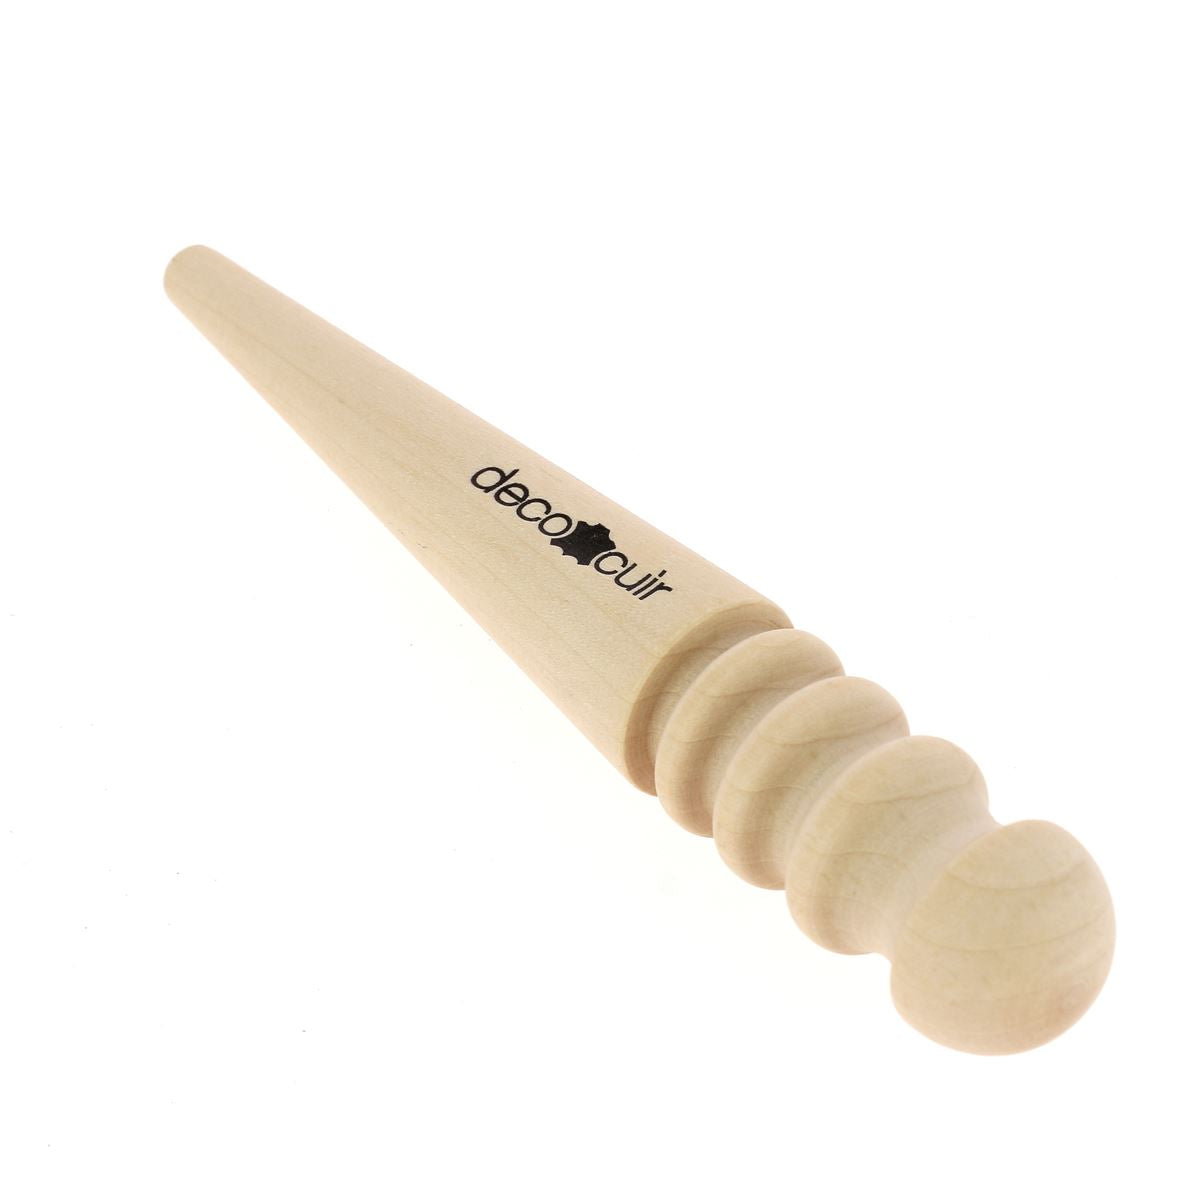
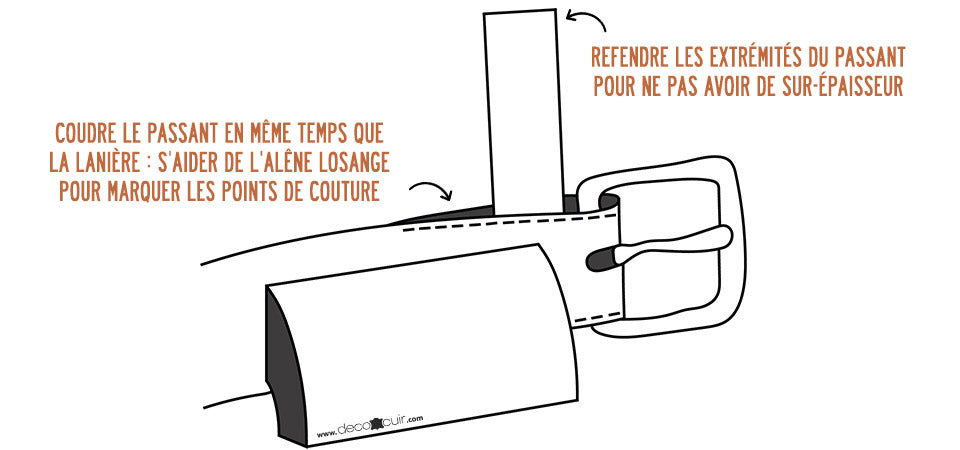
8. HOW TO MAKE A BELT LOOP?
The loop holds the end of the buckle in place once it is attached: it must perfectly fit the width of your belt.
To determine its length, add the dimensions of 2x belt width and 4x belt thickness.
For example, for a strap 35 mm wide and 3 mm thick, the loop will have a length of: 82 mm (35x2) + (3x4).
The belt loop is generally made from thinner leather (split leather) than that of the belt.
Standard dimensions:
- Loop width: 13 mm
- Leather thickness: 2 mm
In addition, the standard states that the loop must be located 3 stitches from the loop. This must of course be adjusted depending on the choice of loop (e.g. for a double loop, the loop cannot be at 3 stitches).

As for assembling the loop, there are several options available to you. We invite you to watch our video (at the beginning of this tutorial) or refer to step 11 to learn more. The different possibilities are:
1- Assembling the loop with a staple.
2- Split the ends of the loop and integrate it into the seam of the strap.
3- Sewing the ends of the loop.
Possibility of using a belt loop pliers or mandrel: the belt loop pliers attach to the saddler's pliers (reducer) and allow you to hold the leather belt loop when hand sewing (saddle stitch). The mandrel will allow you to make and shape (to the right size) your belt loops.
4- Choose a metal loop.


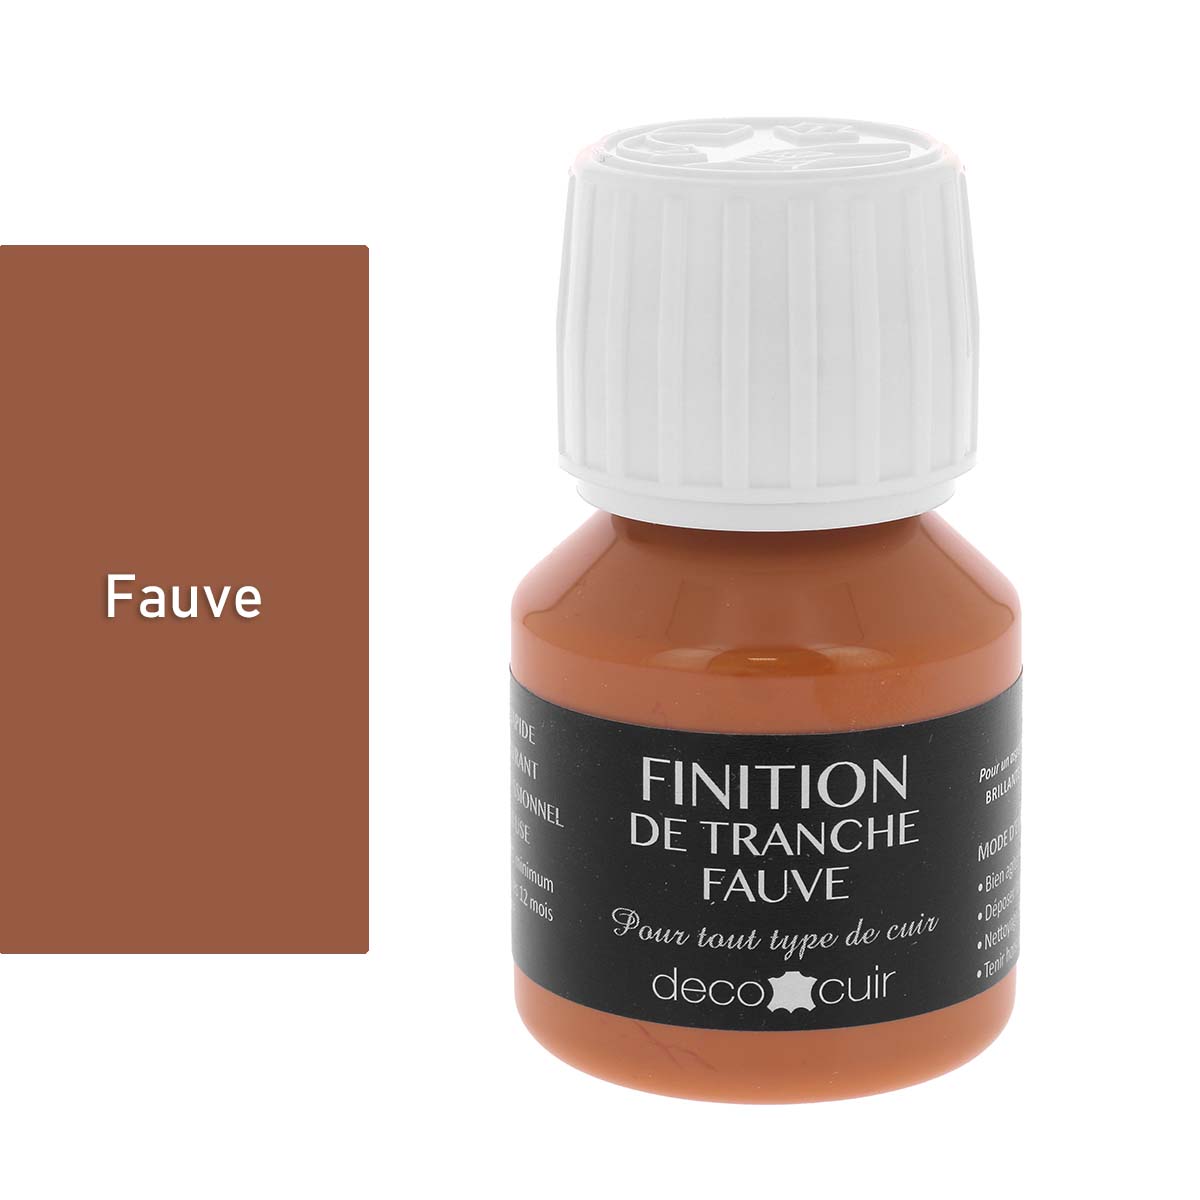
9. DECORATIVE NETTING AND SLICE WORK
To obtain beautiful finishes, there are several ways of working vegetable tanned leather:
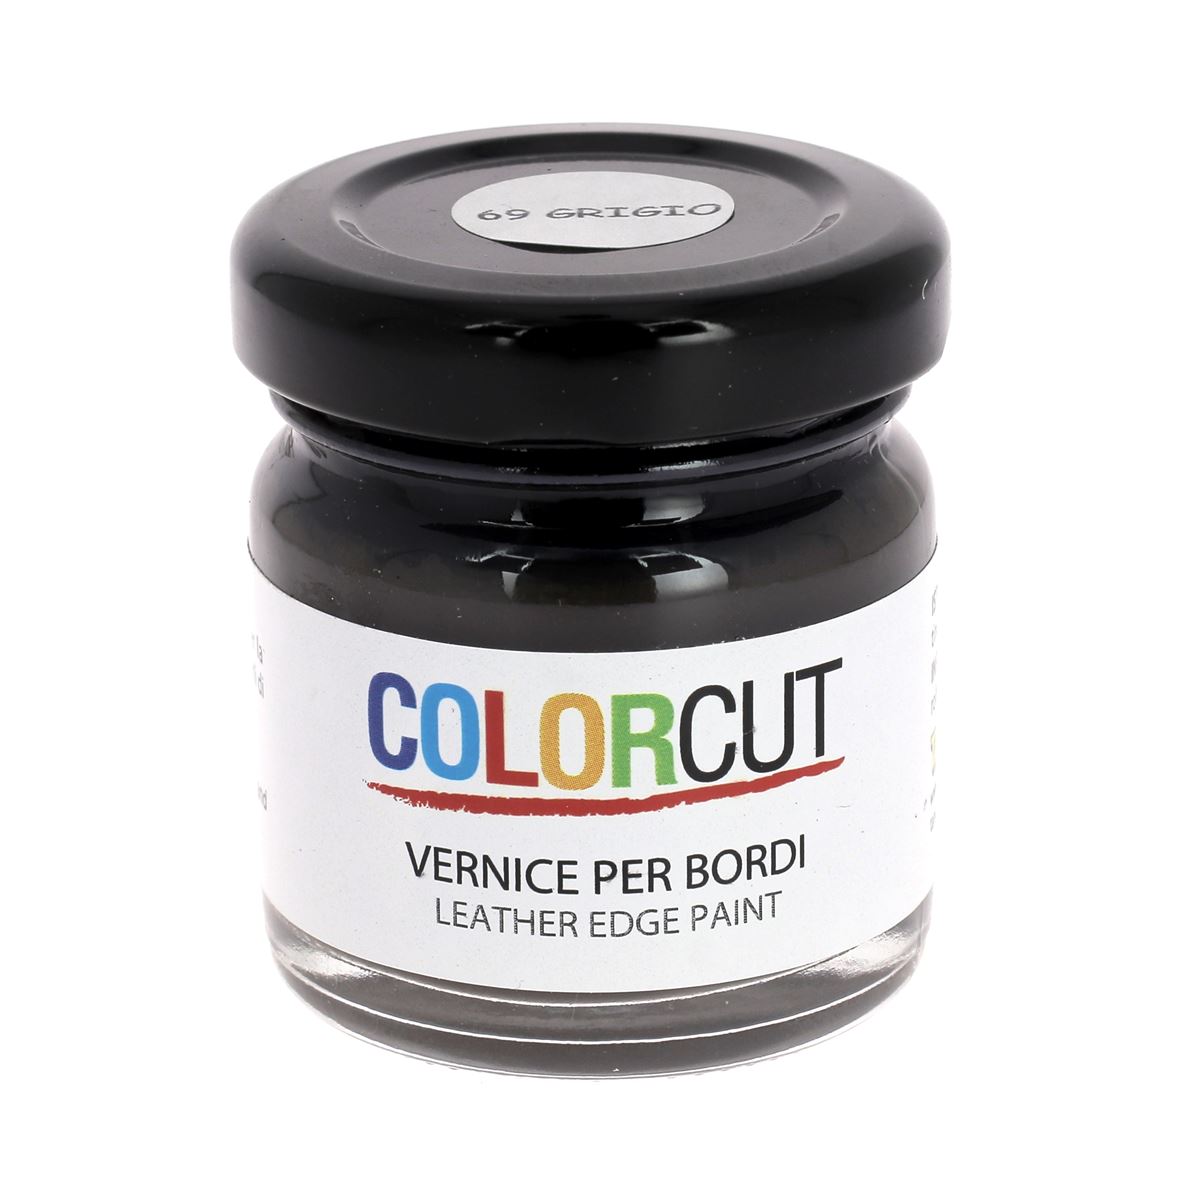
- Work the slices with a slice finish or a finishing gum (tokonole, gum arabic, gum tragacanth).
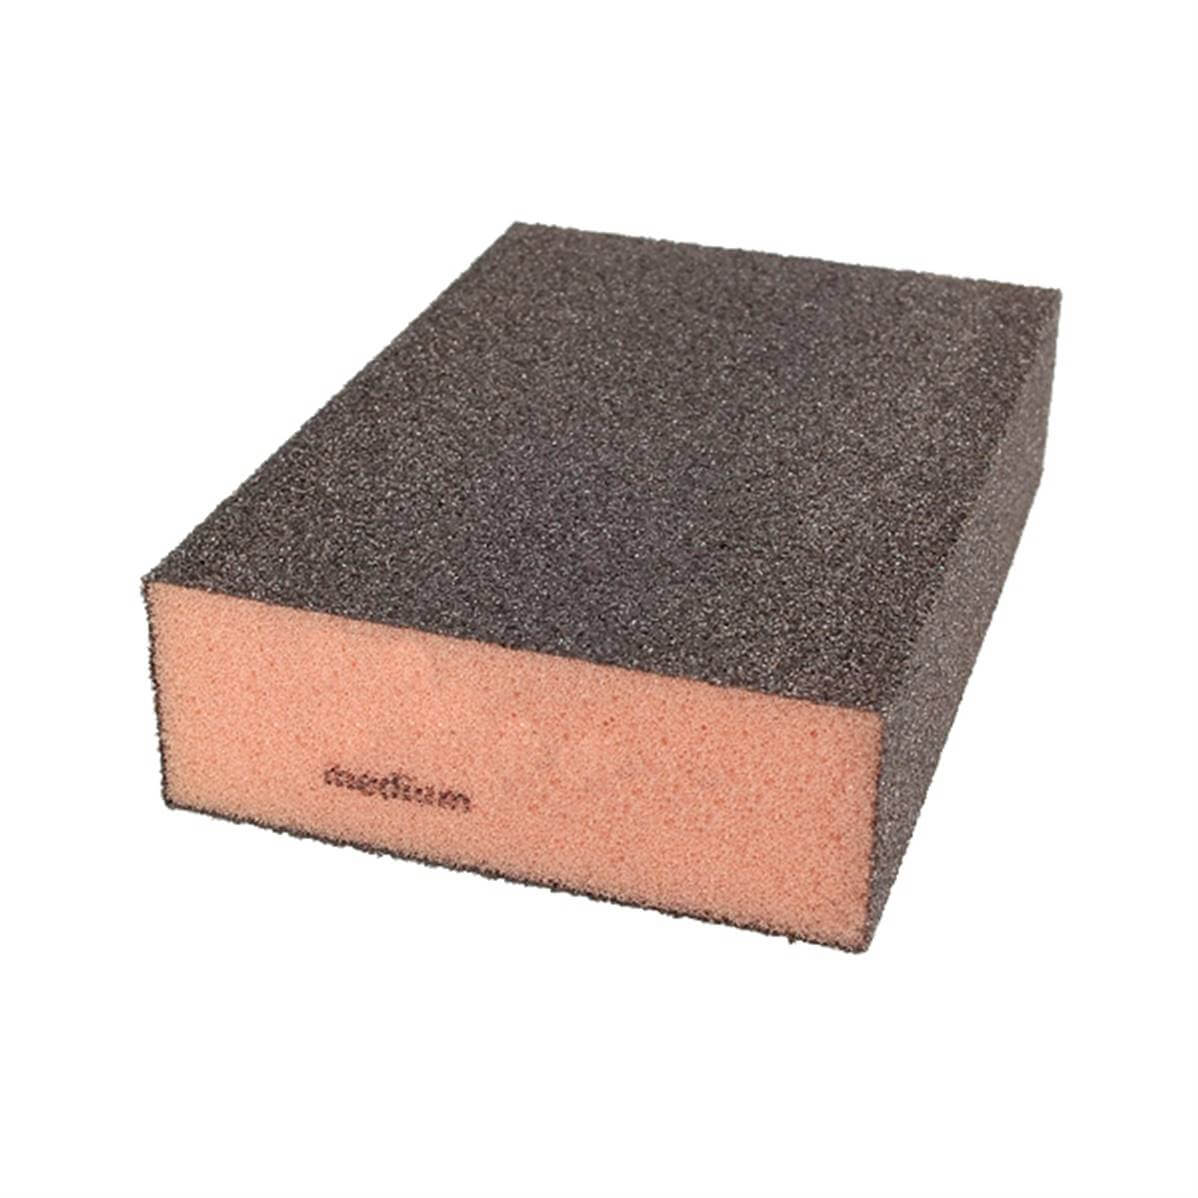
- Sand the edges with a fine abrasive sponge.
- Apply a first coat of dye (light coat) with the tool of your choice (awl, brush, roller pen, etc.).
- Sand the slices again.
- Apply a second coat of stain.
- Optional: wax the slices with beeswax.
- Decorative fillet 2 mm from the edge: hot marking (threading iron) or cold marking (former, leatherworker's fillet iron) of the leather.
To go even further in detail, you can also make a decorative net on the crust side.
Little tips to make your belt even more unique: work the edges with a changing color, mark your belt with stamps (for example alphabets), emboss the leather (embossing wheel)...


HOW TO WORK THE CRUST SIDE OF THE BELT?
You can work the crust side of the belt with a finishing eraser (if the leather is very fuzzy): the eraser helps to stick the leather fibers together. You can also let the leather develop a patina over time.

EXPAND YOUR KNOWLEDGE WITH ONE OF OUR GUIDES:
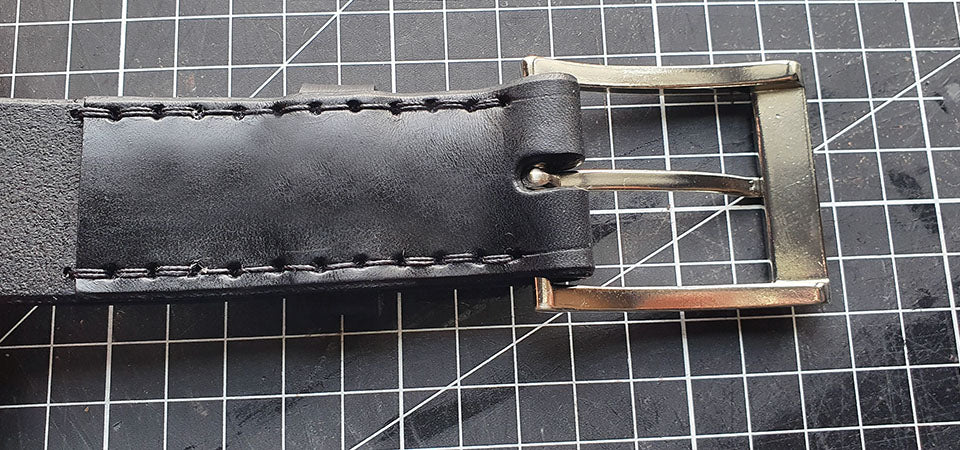
10. HOW TO ATTACH THE BUCKLE TO THE BELT? WITH OR WITHOUT SEWING.
1- ATTACH THE BUCKLE WITH CHICAGO SCREWS OR RIVETS
FAVORITE METHOD
Discover our 2 complete kits to get started in making leather belts (kits with or without tools):
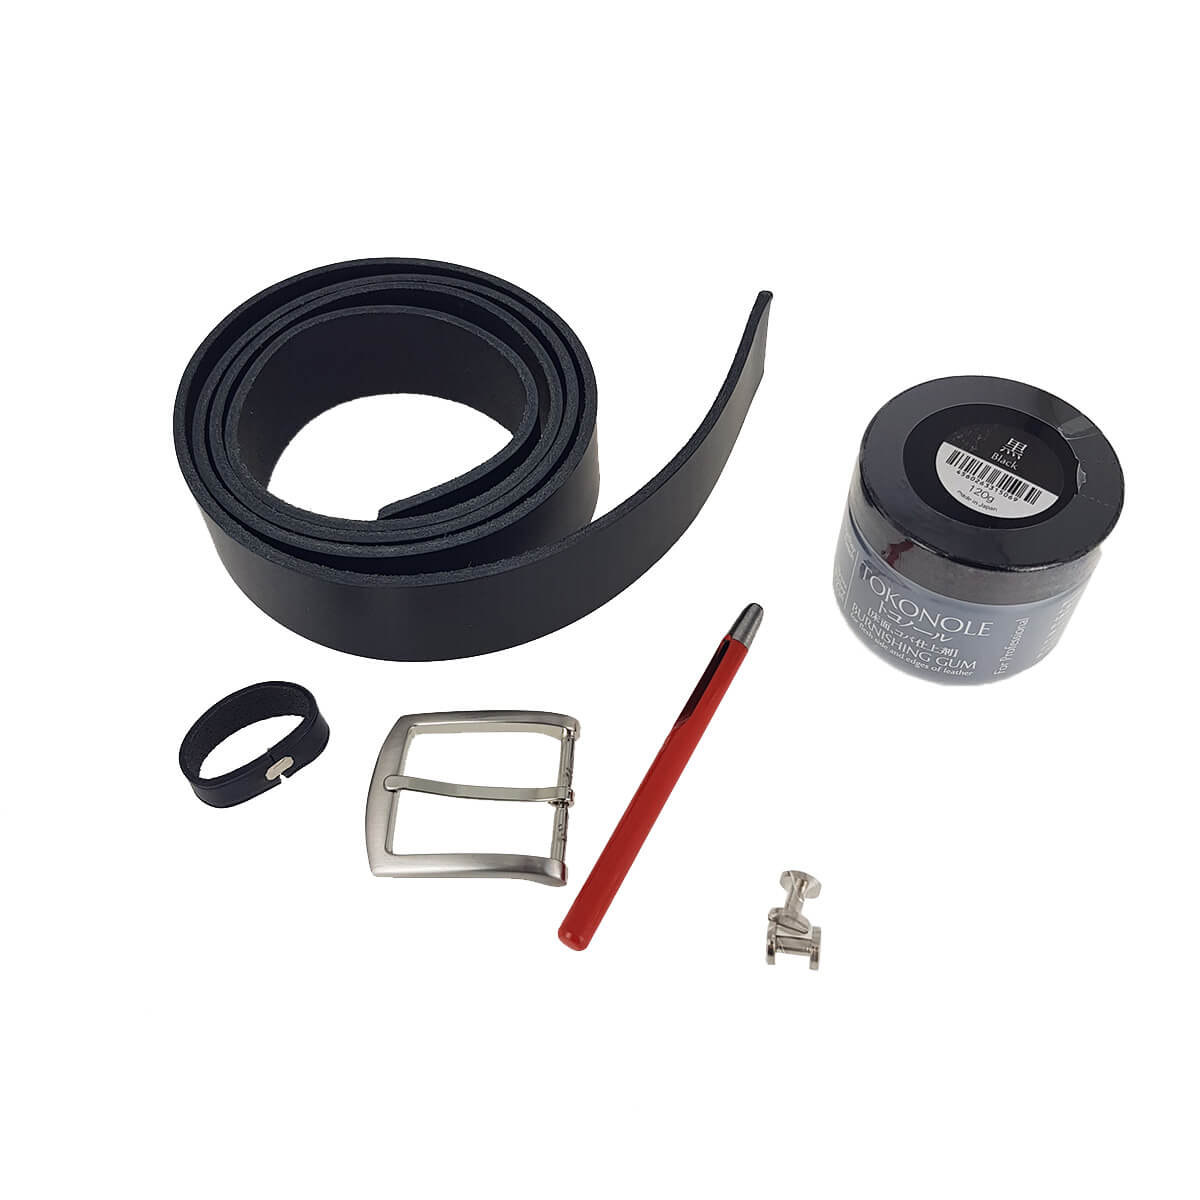
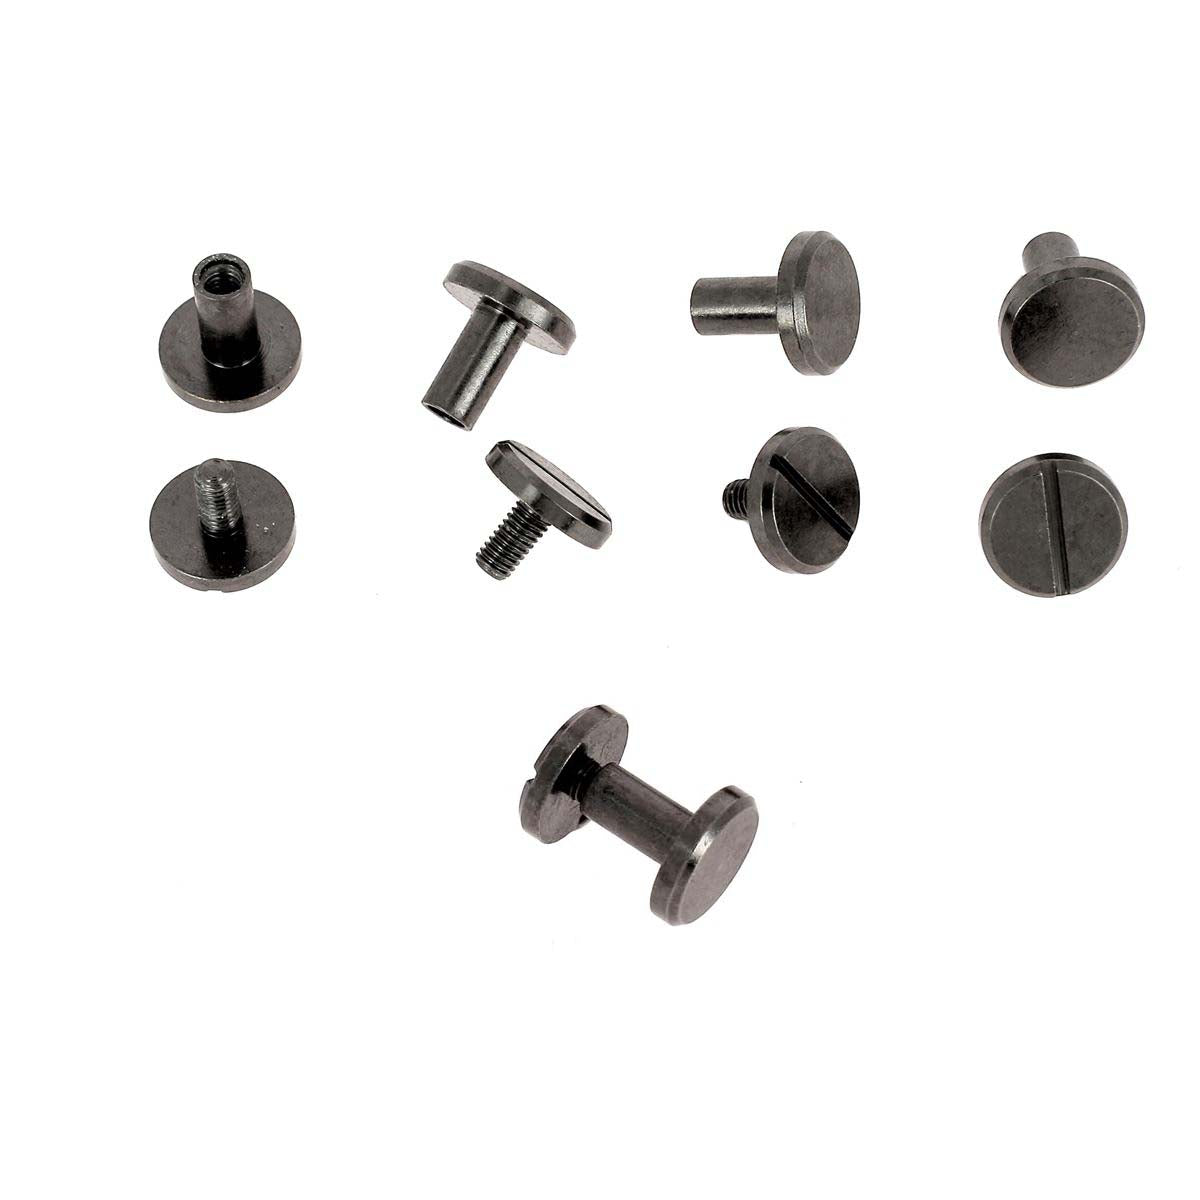


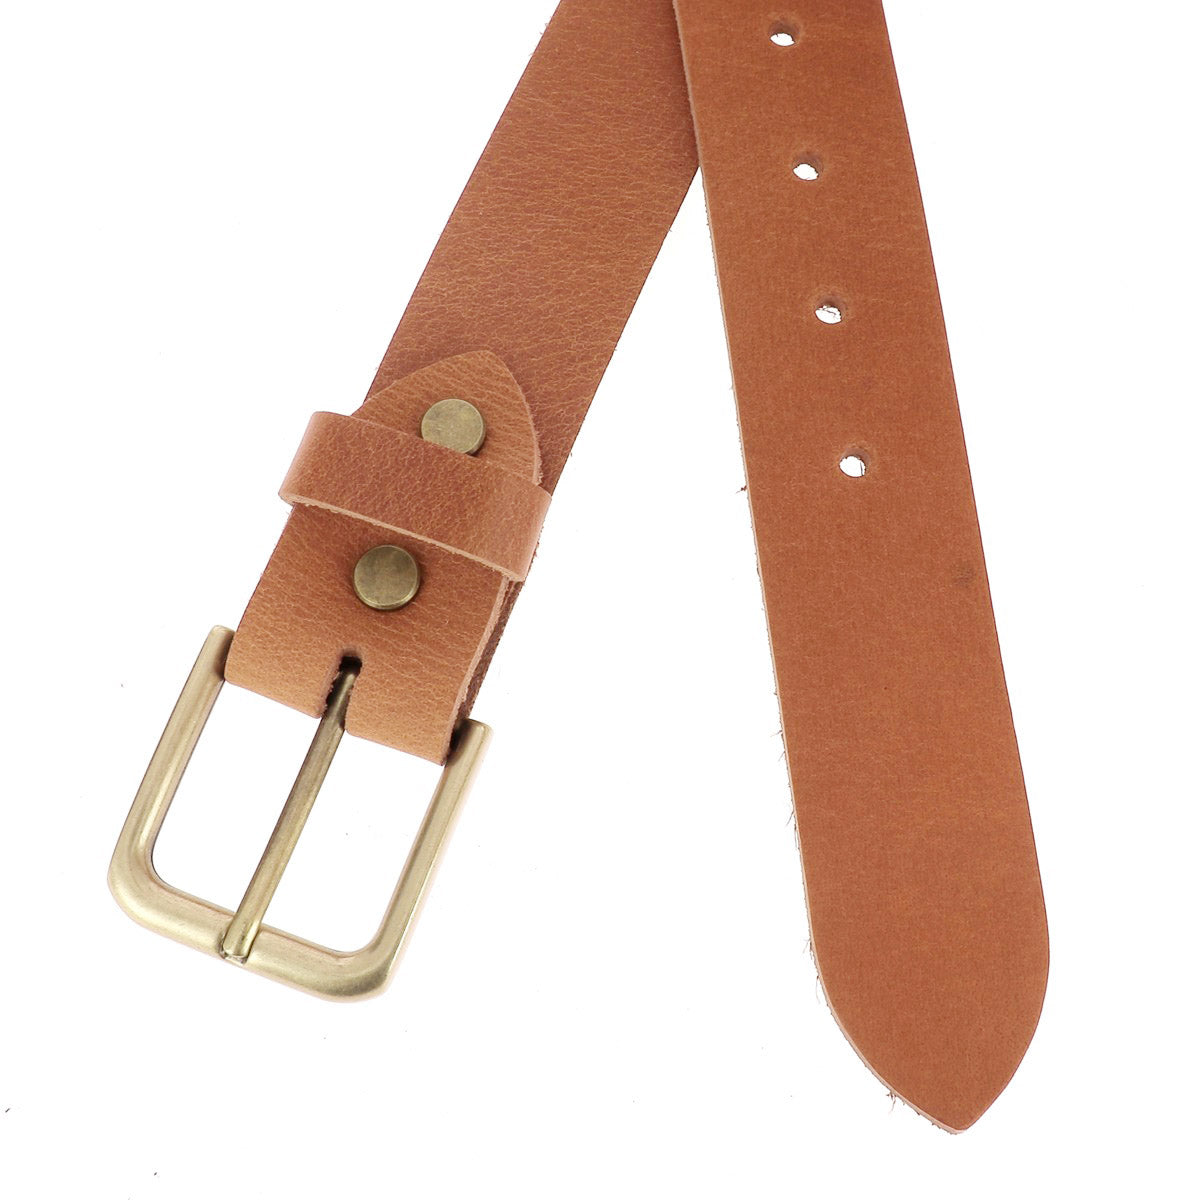


If you choose the Chicago screw version, you can adjust the length of the belt (shorten it) as you wish (useful if you don't know the person's height). In addition, you can change the belt buckle if it no longer suits you.
Note: we recommend choosing screws with a diameter of 10 mm and a center distance of 8 mm.
See step 6 for the small 12-13 cm strip with the chapure.
Make 2 holes 1.5 and 4 cm from each end of the 12-13 cm strip. Pass the buckle pin through the loop. Then pass the belt loop through. Position the 12-13 cm strip on the leather strap and mark the position of the holes then drill. Screw in the Chicago screws while wedging the belt loop.


2- CHOOSE A CLAW BUCKLE
A prong belt buckle is very easy to install: simply clip it on/fold the prongs onto the end of the leather strap. There is no need to make a bezel to install a prong buckle.


Take the opportunity to discover our vegetable-tanned leather belts, sewn in Brittany by an artisan. All that's left is to choose a claw buckle!


3- ATTACH THE LOOP WITH A HORIZONTAL SEAM
For any belt (with stitching) it is recommended to use hand stitching and more specifically saddle stitching. You will be sure to have a strong seam.
Method #3: Sew an 8cm seam along both lengths (parallel to the edge). This requires a bit of skill as you have to insert the loop between the two layers of leather and integrate it into the seam.
This is the technique most appreciated by craftsmen because there is little friction on the wire and therefore more resistance.


4- ATTACH THE BUCKLE WITH A HORIZONTAL HOLE STITCH
This method is generally chosen for beginners who do not have the tools or technique to do a saddle stitch.
Tips:
- Read our guide on simplified sewing (leather holes).
- Download the paper template to drill your strap.
- The steps are almost the same as method 3. We recommend trimming the end of your strap to avoid creating excess thickness. The hole diameter is 1.5 mm (we recommend making the holes smaller by 0.9 mm / 1 mm).
 |
 |


5- ATTACH THE LOOP WITH A VERTICAL SEAM
This method is generally chosen for machine sewing. It allows for a movable loop and requires a little less technique than the previous method. The seam will be more prone to friction.
Tips:
- To have a nice point on the sides: do not scratch them but only work them with the round awl.
- Roughen the crust side of the leather before gluing and sewing to strengthen the adhesion of the glue (use a leather rasp) .
- Start and finish the seam with a saddle stitch.
- To avoid weakening the leather: do not scratch too close to the edge (at least 0.5 cm).


10. HOW TO MAKE A BELT WITH CURVE?
Craftsmen sometimes use SALPA to reinforce or add volume to their belts. SALPA is usually found between two layers of leather. We recommend choosing vegetable-tanned leather that is relatively soft.


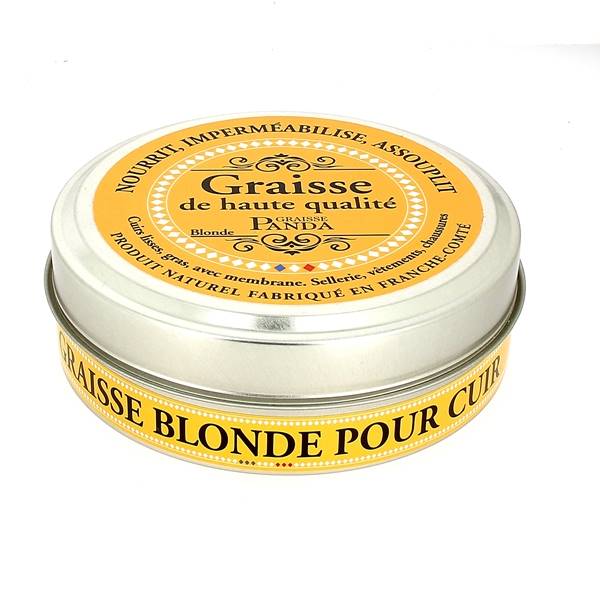
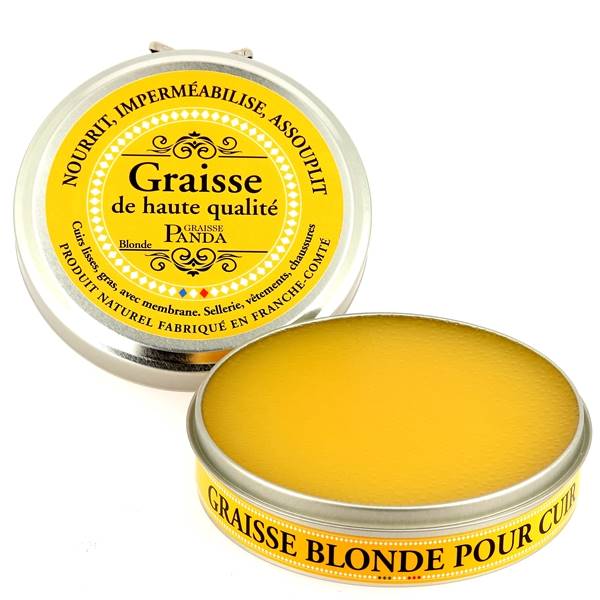
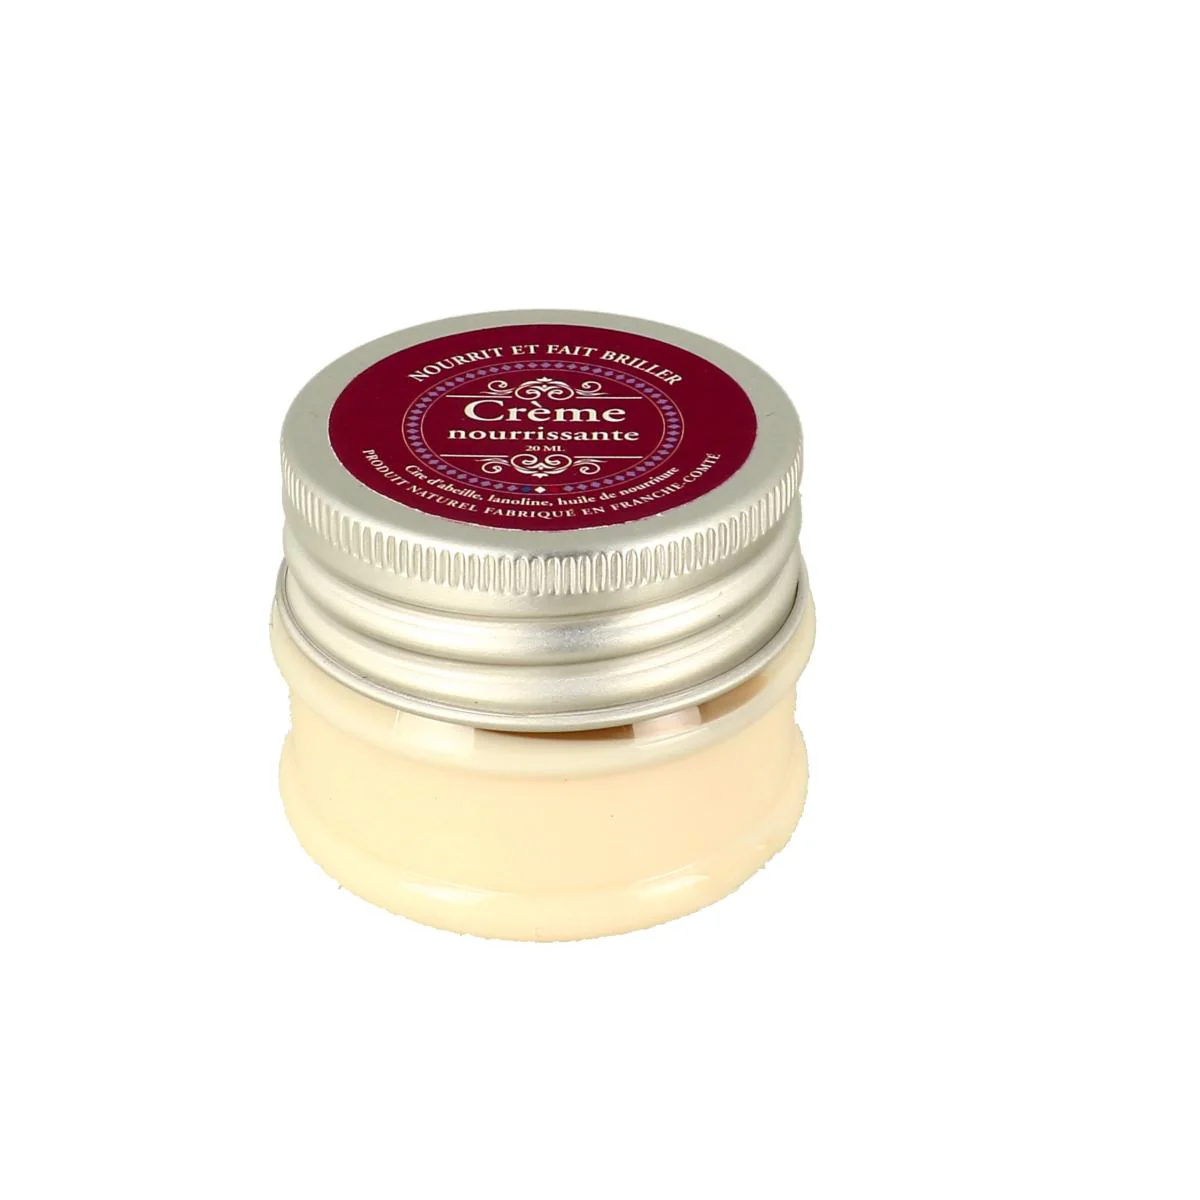
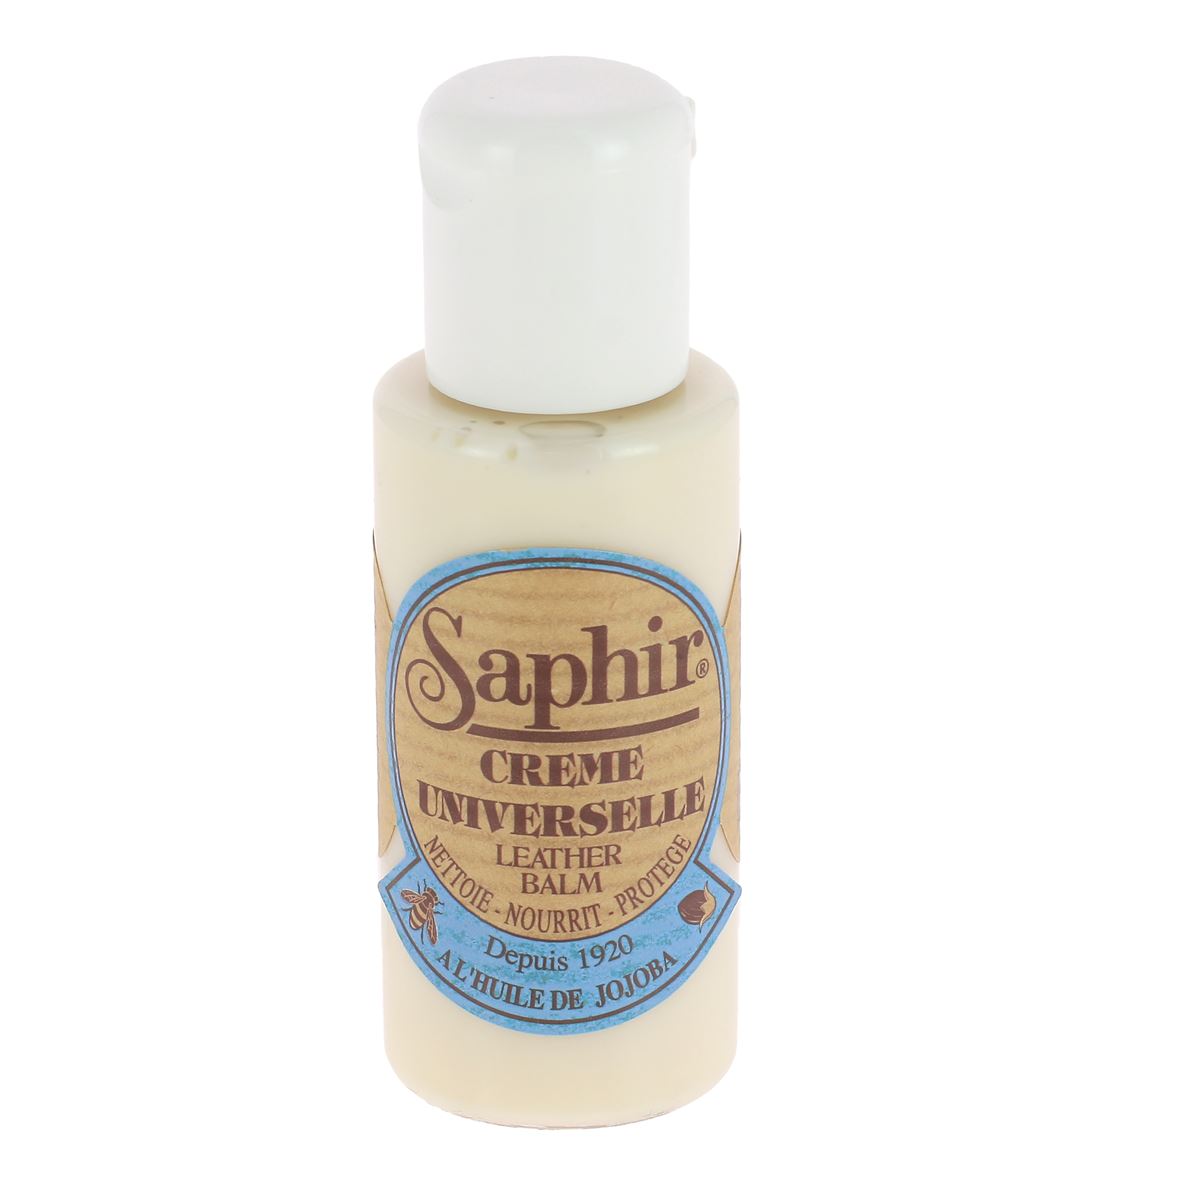
11. HOW DO I PROTECT AND NOURISH MY LEATHER BELT?
Before enjoying your belt, don't forget to wax or grease it (except for nourished leather). You can then maintain your leather with a nourishing cream and shoe polish. We recommend Panda Blonde Grease.


IT'S OVER! WHAT'S YOUR FAVORITE VERSION?
 |
 |
WHERE CAN I TAKE A WORKSHOP TO MAKE MY LEATHER BELT?
For an afternoon, come and make your own leather belt in our workshop located in Campbon between Nantes and Saint-Nazaire (44 - Loire Atlantique).


6 comments
Deco Cuir
Bonjour,
Nous vous invitons à sélectionner un cuir tannage végétal pour la partie intérieure (qui peut rentrer en contact avec la peau).
Il faudrait un cuir pas trop épais (environ 1,2 / 1,4 mm d’épaisseur). Exemple : https://www.decocuir.com/products/laniere-cuir-croupon-graine-tannage-vegetal-marron-fonce-i78-38mm-80cm?pos=1&fid=72da94b0b&ss=c
Pour la partie extérieure il faut privilégier un cuir de veau/vachette d’environ 1,9 / 2 mm d’épaisseur. Nous avons aussi des lanières de 1,9 mm d’épaisseur : https://www.decocuir.com/collections/laniere-sangle-cuir-ceinture-anses-maroquinerie?sortby=price-ascending&filter.p.m.filtre.epaisseur=1.9+mm&filter.p.m.filtre.epaisseur=2+mm&filter.v.price.gte=&filter.v.price.lte=
Enfin vous pouvez aussi sélectionner une lanière en cuir de 3,4 mm d’épaisseur et la doubler avec du cuir de porc : https://www.decocuir.com/collections/peau-cuir-porc-velours-souple
Généralement l’épaisseur d’une ceinture se situe entre 3 et 4 mm.
Si cela peut vous intéresser, des ceintures cousues et déjà doublées sont en vente sur notre site : https://www.decocuir.com/collections/ceinture-en-cuir-cousue
Bonne journée,
L’équipe Deco Cuir
Audrey
Bonjour,
Je souhaite réaliser une ceinture doublée. Quelles épaisseurs de lanières de cuir dois-je choisir pour la partie principale et la doublure ?
Anonymous
Bonjour Nathalie,
Nous n’avons pas prévu, pour le moment, de faire un tutoriel pour apprendre à faire des ceintures bombées mais c’est une très bonne idée. En revanche nous venons de rentrer en stock de la sugherite pour permettre de renforcer et donner un côté bombé à vos lanières https://www.decocuir.com/products/renfort-interieure-sugherite-ceinture-poignee-anse-sac-longueur-1m
Bonne journée 😊
L’équipe Deco Cuir
Saillant
Bonjour,
Pouvez-vous prévoir un tutoriel pour fabriquer une ceinture bombée ?
Cordialement.
Anonymous
J’adore vos tutoriels car il sont simples et faciles à réaliser.
Anonymous
Merci pour ce tutoriel hyper intéressant pour des ceintures en cuir de grande qualité. J’achète régulièrement chez vous et je ne suis jamais déçu.