


How to install hardware?
For your sewing projects (fabric, leather, imitation leather...), installing hardware is often necessary: eyelets, snaps, rivets...
Each of these accessories must be installed with an appropriate tool and setting die/set. There are 3 tools for installing a rivet, eyelet, or snap on your creations: the hand press tool, the manual press pliers, and the bench press.
The choice of installation tool should be based on your use and your budget.
-
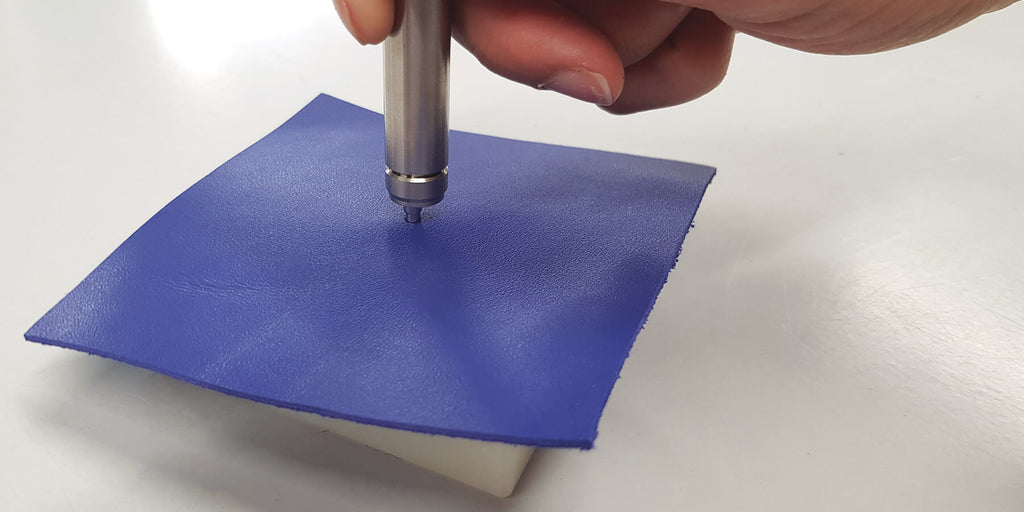
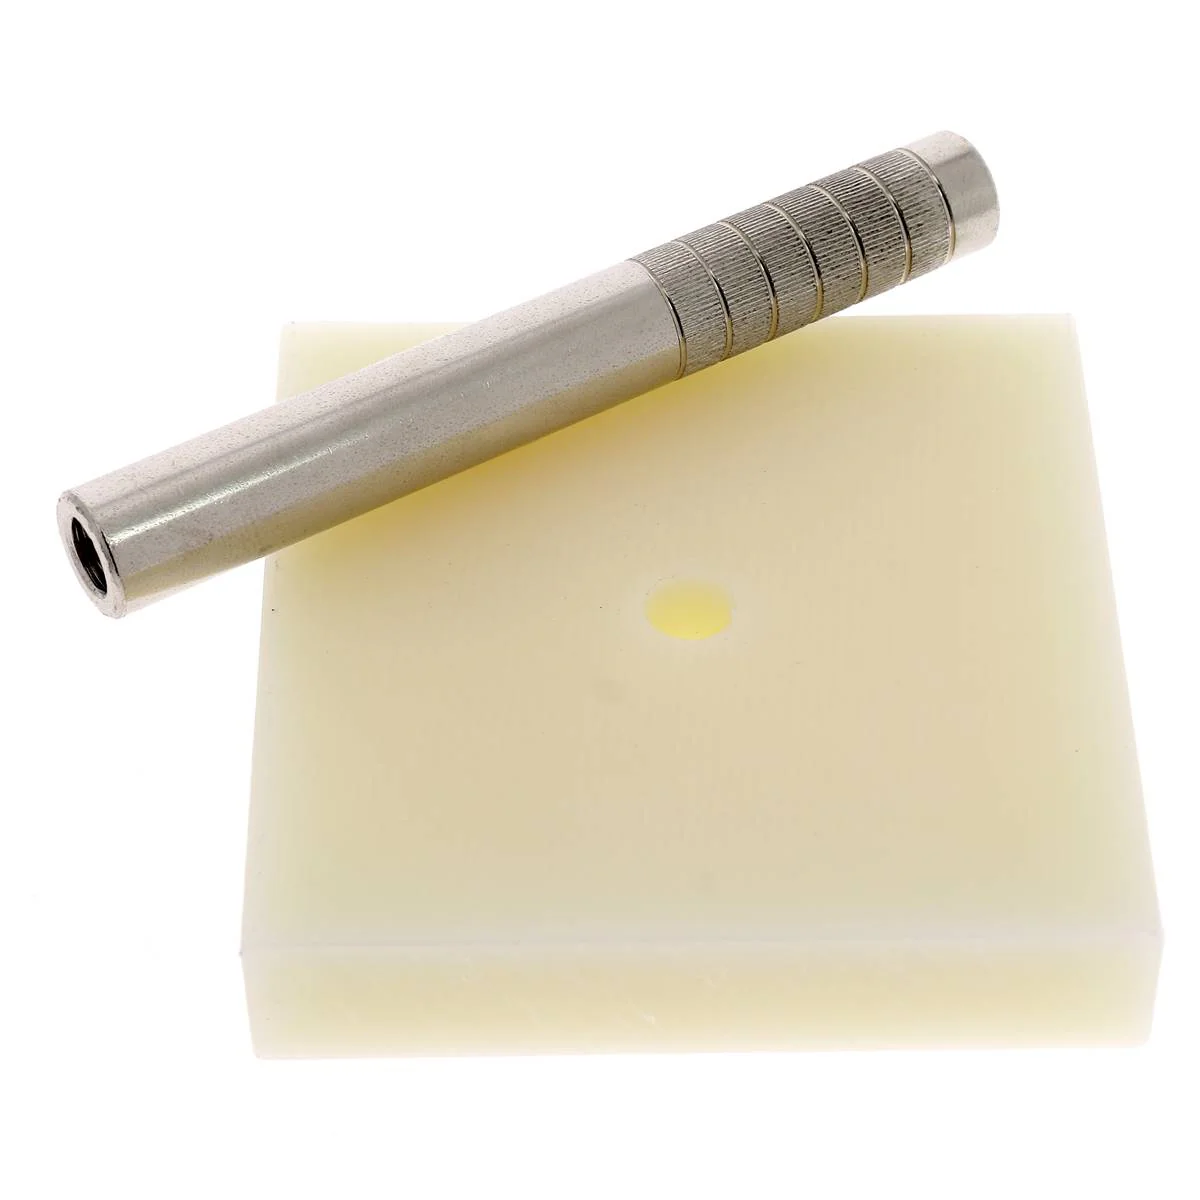
THE HAND PRESS TOOL: practical for installing accessories anywhere on your creation. It doesn't require special strength.
Ease of installation: installation is not very difficult, but you need to be comfortable handling a hammer. Prior trials are necessary to master the technique. You should use a heavy hammer of at least 500g to install accessories more easily. Prefer wooden mallets, which do not damage your tools, unlike steel sledges. Note that using a hammer can be noisy for your neighbors or prevent children from sleeping.
Installation quality:
- Requires the correct striking motion on the accessory with adequate force.
- Possible variations in appearance between several accessories placed next to each other.


-
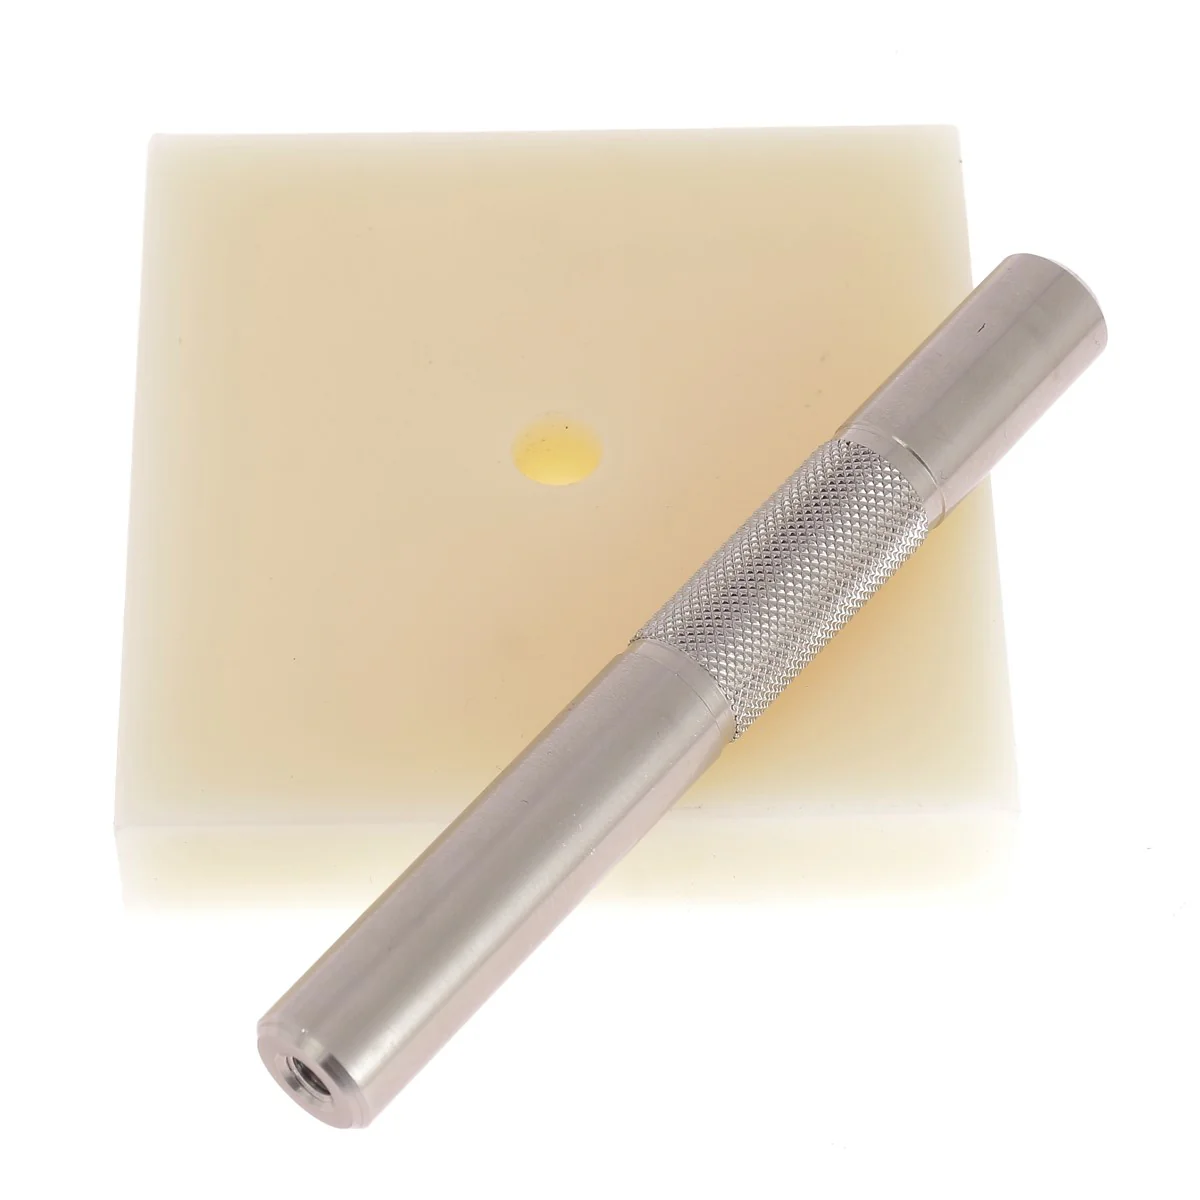
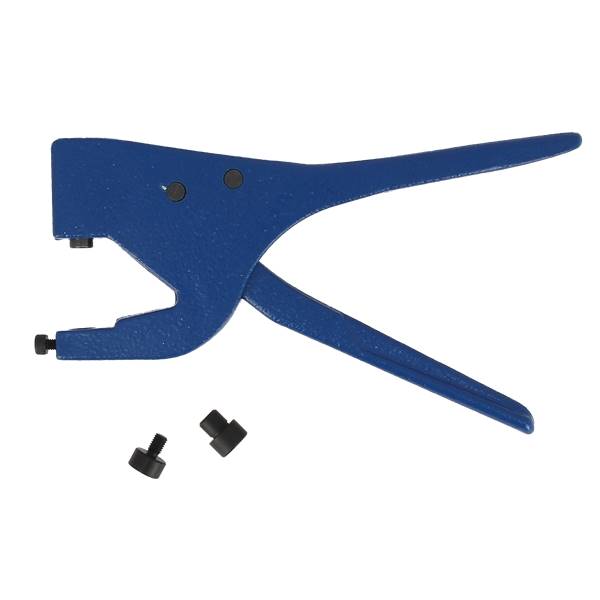
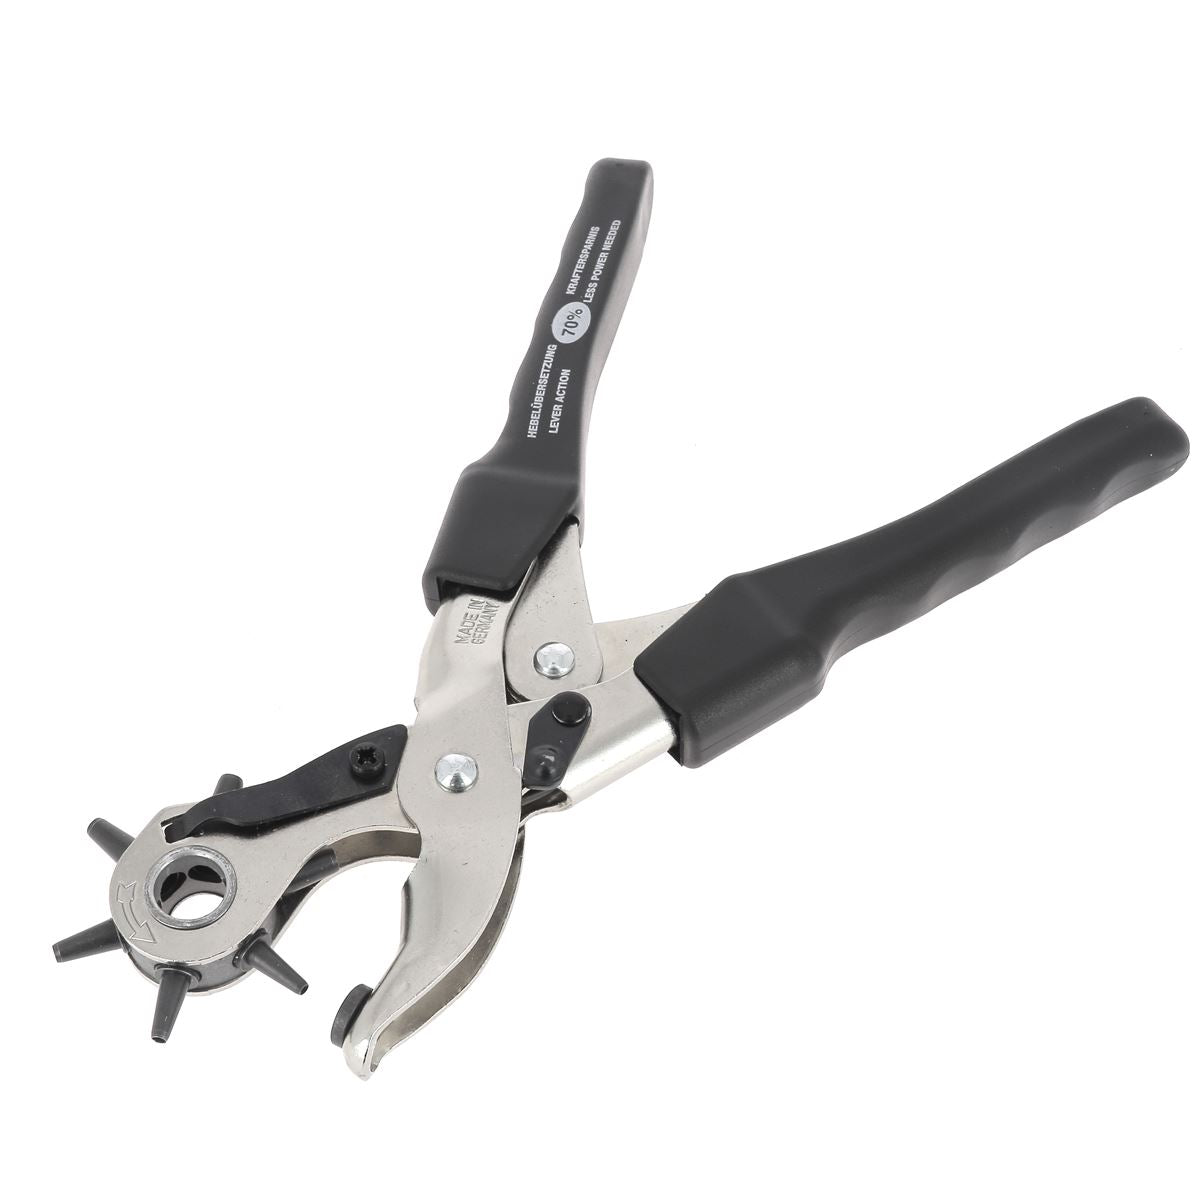
THE MANUAL HAND PRESS PLIERS: practical for installing rivets. We do not recommend it for installing snaps as it requires a lot of wrist strength.
Ease of installation: using lever pliers allows you to control the force manually applied to the accessory to achieve the correct tightness. Be careful, the shape of the pliers does not allow for installing accessories in the center of large pieces of leather. It should also be noted that installing 12mm diameter snap fasteners requires a certain amount of hand strength. This tool allows accessories to be installed silently, which can be an advantage when working on projects at home in the evening.
Installation quality: this piece provides good, controlled tightening when installing your accessories, ensuring optimal installation quality.




-
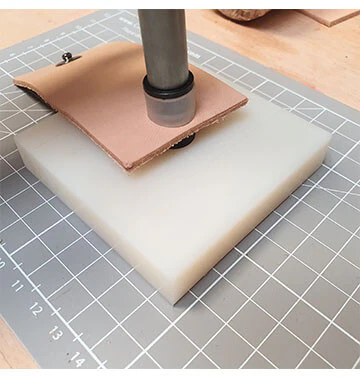
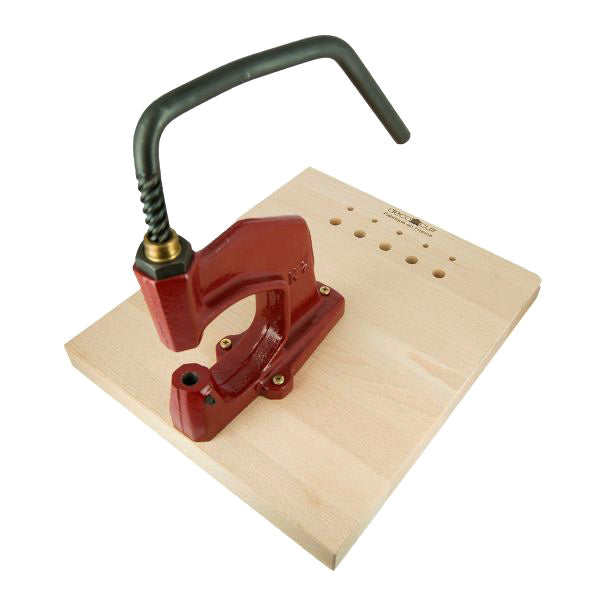
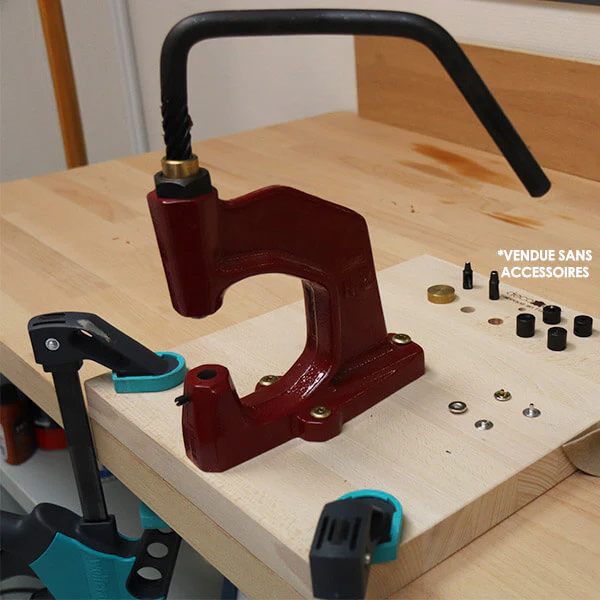
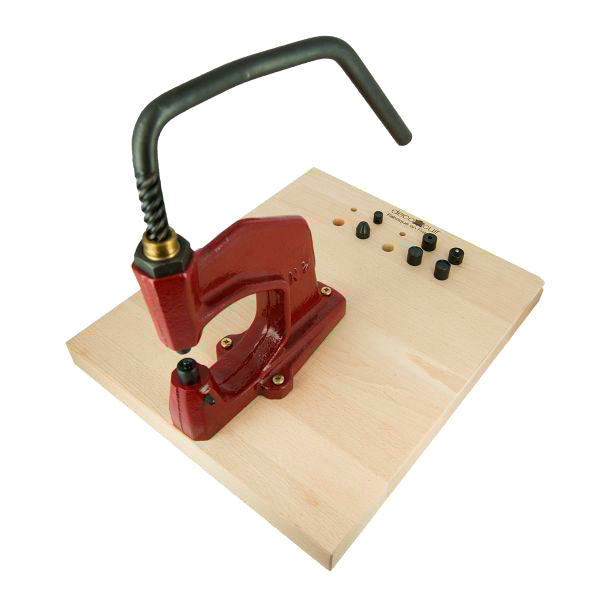
THE BENCH PRESS: perfect for professional installation of your accessories. It will save you a lot of time if you regularly install accessories on your creations.
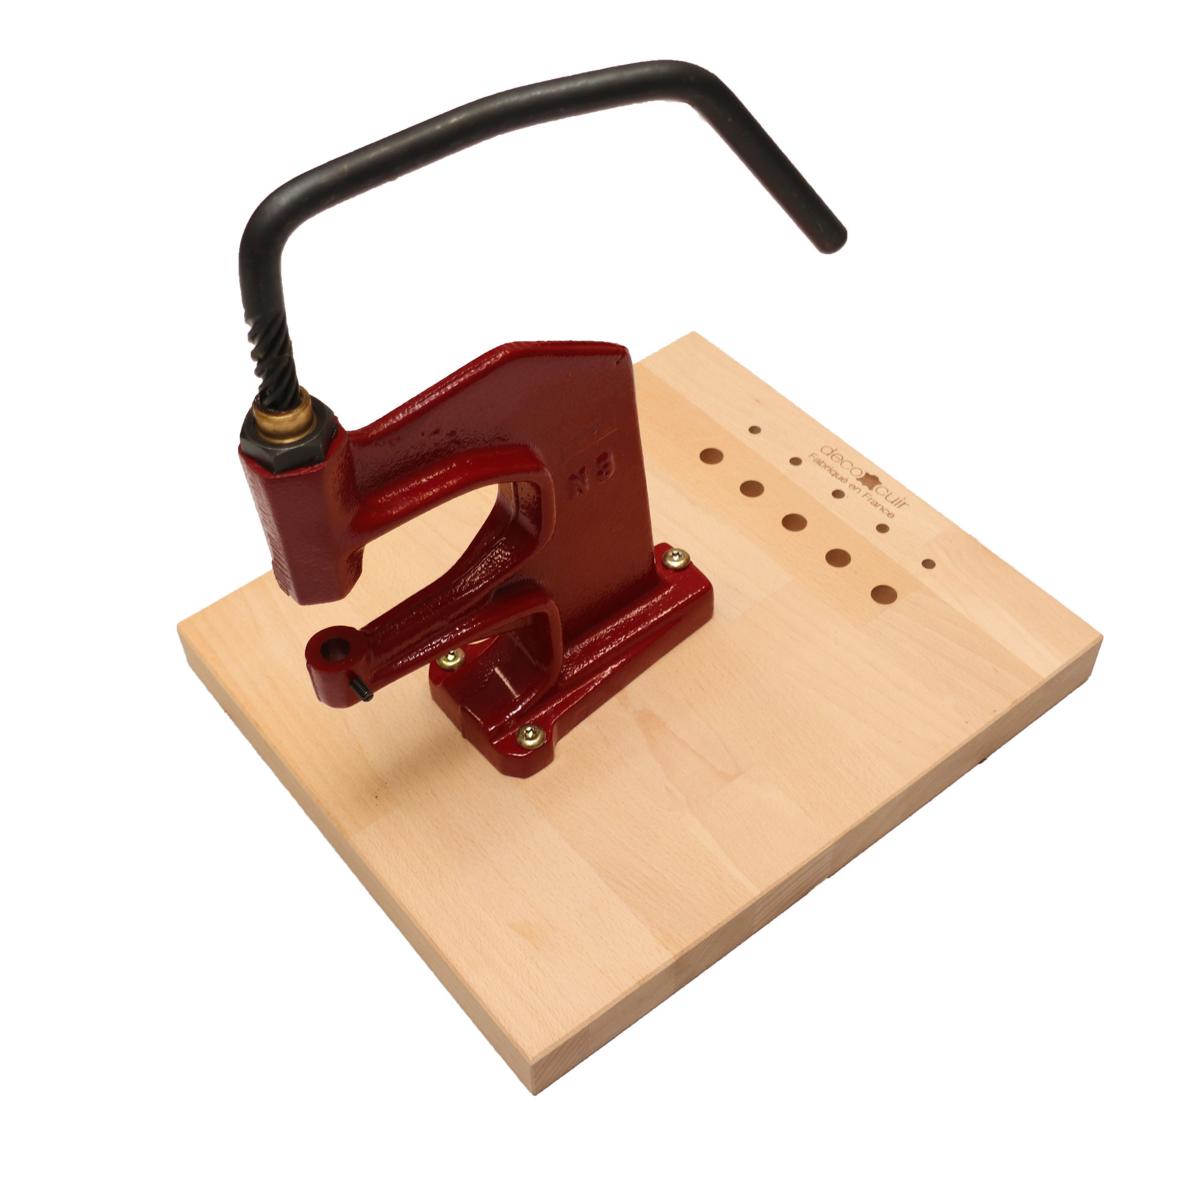
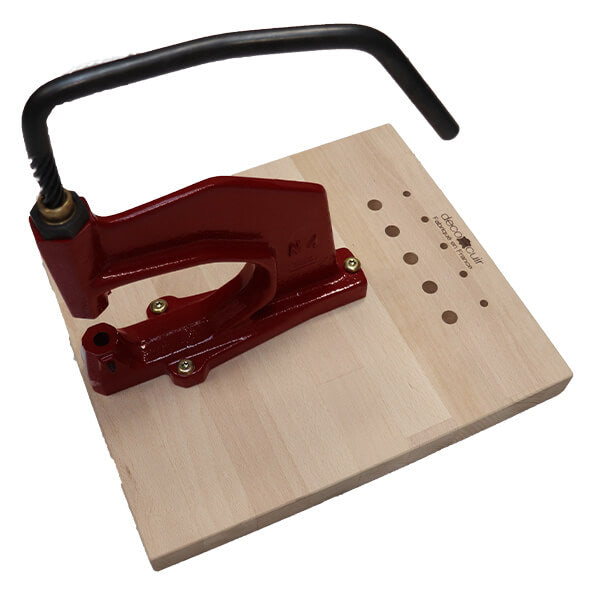
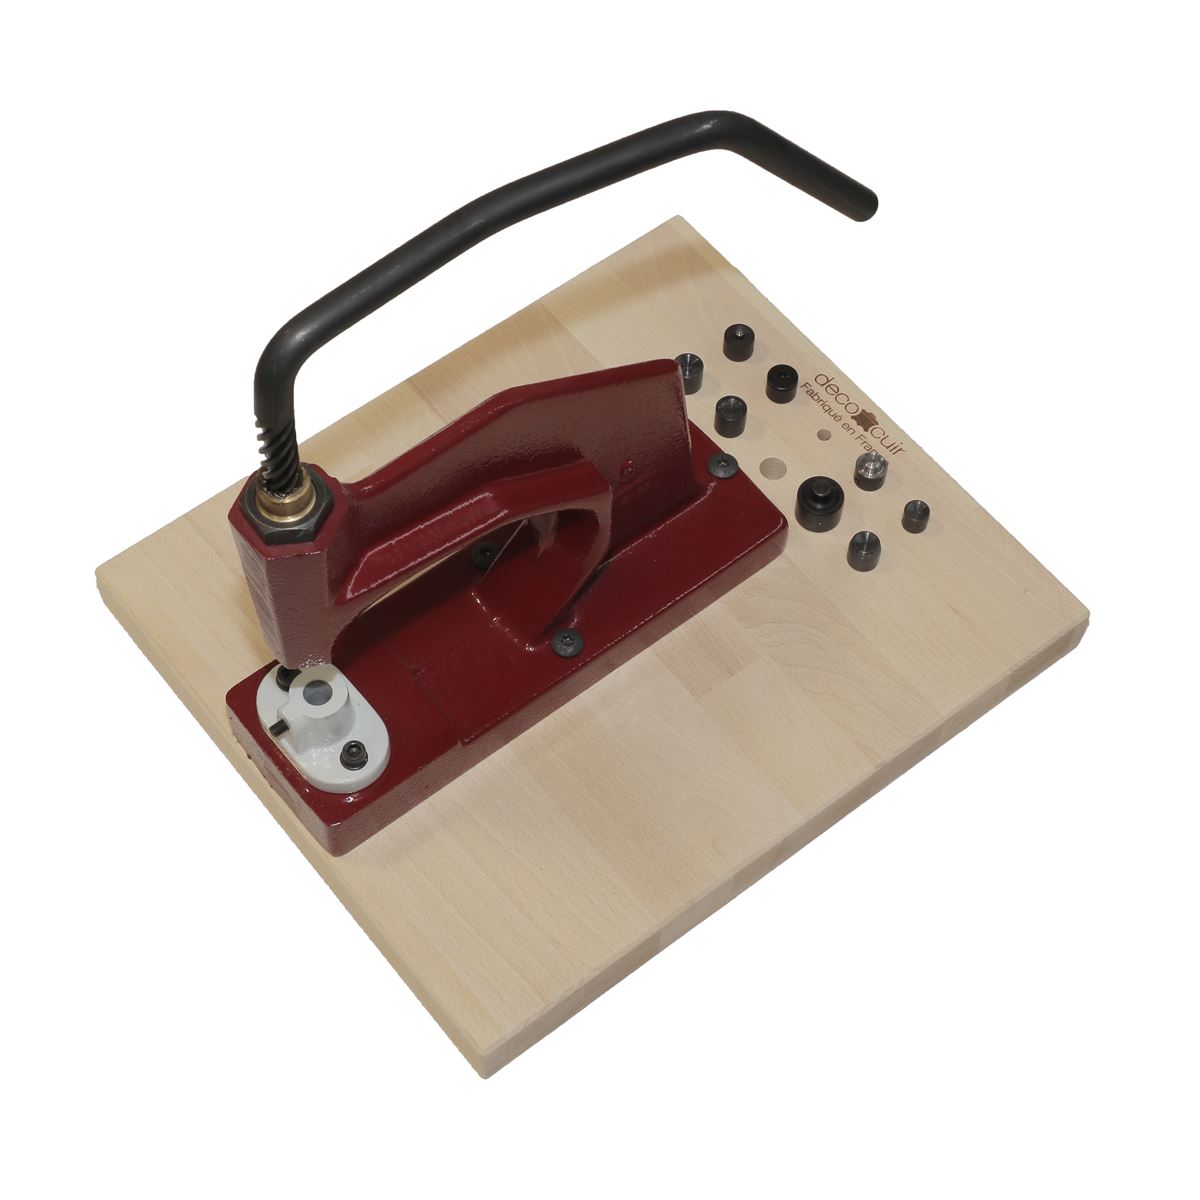
It is a professional and quality tool. The purchase of a bench press should be considered an investment that will pay for itself in the long term. There are several sizes of presses. The larger it is, the more powerful it will be and therefore suitable for installing large accessories. There are also several shapes. The N3 with its raised base allows accessories to be installed on pieces that are already closed. Presses also allow you to make holes by replacing the setting dies with press-adapted punches and a brass or Ertalon anvil called a "TAS". However, note that small presses (2 and 3) may not be able to make large diameter holes (generally greater than 12 mm), but this depends on the firmness and thickness of the leather.
Installation quality: the bench press has a strong pressing force, allowing accessories to be installed with perfect tightening. The rotating handle that lowers the setting die allows you to control the force applied to your accessory. This tool allows you to install your accessories silently and professionally.
Note: if you have already invested in a PINCE hand press tool or a blue manual press plier before acquiring a bench press, and you already have setting dies, an adapter exists that allows you to use the PINCE setting dies on the bench press.
Which press to choose according to my use?
| Use for rivets and eyelets | ||||
| Diameter | Press N2 | Press N3 | Press N4 | Press N5 |
| Up to 12 mm | ✔ | ✔ | ✔ | ✔ |
| 13 to 15 mm | ⚠ | ✔ | ✔ | ✔ |
| 16 to 20 mm | ✘ | ⚠ | ✔ | ✔ |
| 21 to 25 mm | ✘ | ⚠ | ⚠ | ✔ |
| Greater than 26 mm | ✘ | ✘ | ✘ | ⚠ |
| Use for punches | |||
| Hole Diameter | Press N2 - N3 | Press N4 | Press N5 |
| 1 to 10 mm | ✔ | ✔ | ✔ |
| 11 to 15 mm | ⚠ | ✔ | ✔ |
| 16 to 18 mm | ✘ | ⚠ | ✔ |
| 19 to 20 mm | ✘ | ⚠ | ⚠ |
| 21 to 25 mm | ✘ | ✘ | ⚠ |
✔ For all types of leather
⚠ For thin and soft leather
✘ Not recommended
The values above are indicative and may vary up or down depending on the material of the accessories (brass, iron, stainless steel, aluminum) and the thickness of the leather.
What do the numbers for each bench press mean: N2 - N3 - N4 - N5?
The higher the number, the larger the handle will be, and therefore the more force the press will have. The internal cavity dimensions will also be larger (easier to reach the center of a large piece). For installing accessories on thick materials, we recommend using the N4 press.
What is the difference between "S" and "N" presses?
The main difference between "N" and "S" bench presses is the brand; the dimensions (within a few millimeters) are the same, as are the setting dies. The best-sellers are the N3 and N4 presses.






After selecting the installation tool, you need to have the appropriate setting die for installing your accessory (see guide for rivets, snap fasteners, or eyelets).
Before attaching an accessory, it is also necessary to pierce (at the spot where your accessory will be placed) your fabric, leather, or faux leather with a round punch, a compound-lever plier, or a bench press (with the appropriate die).





How to install a rivet?
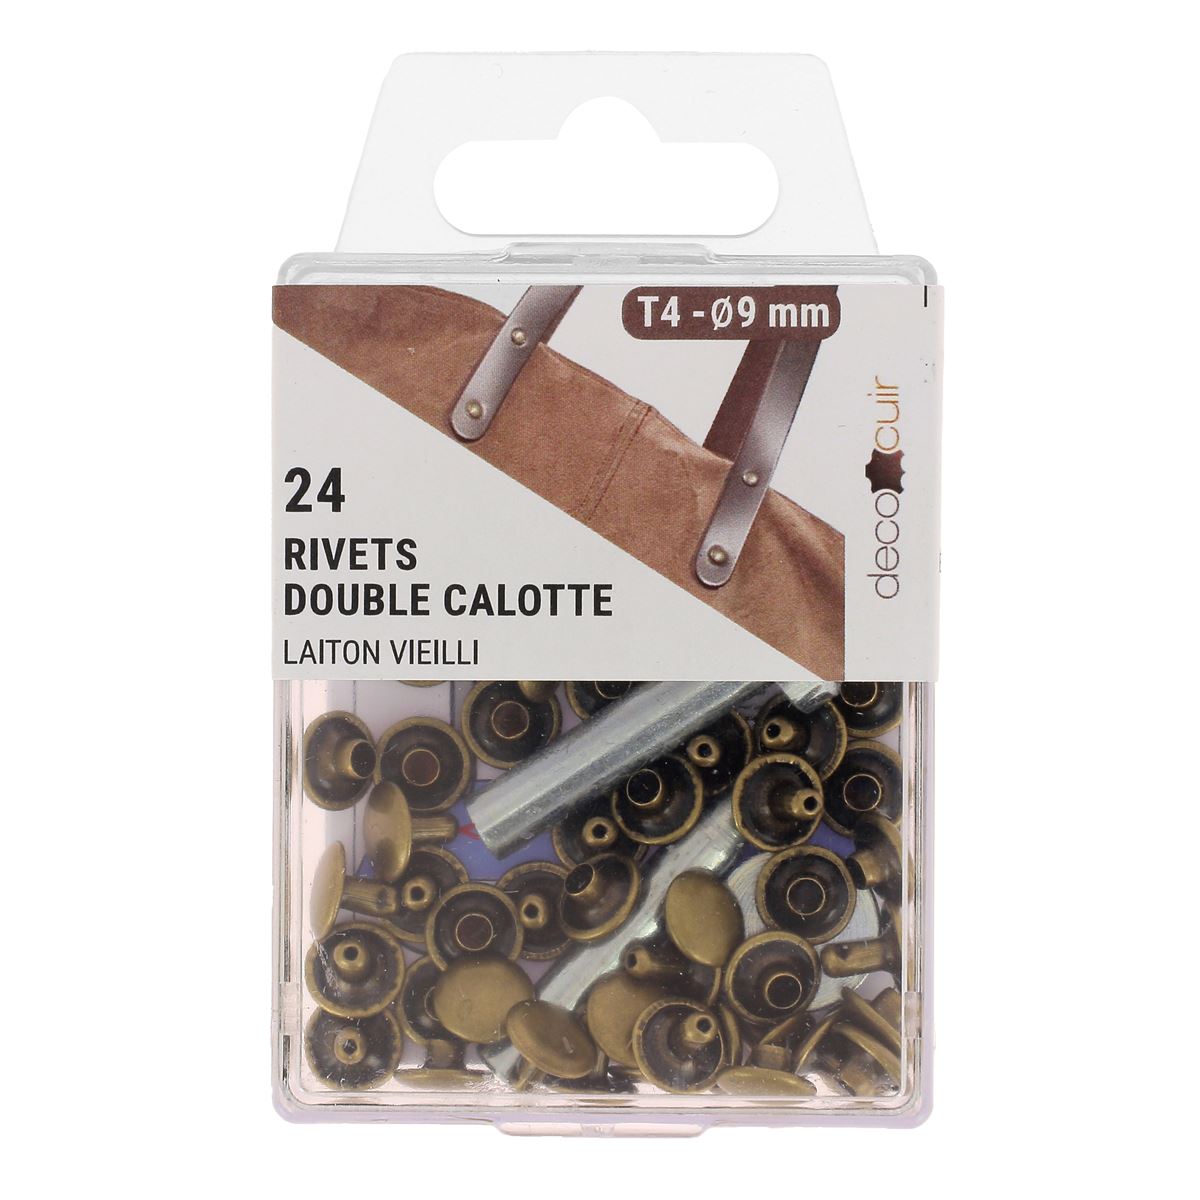
On our website, we offer 5 "standard" rivet sizes: T1 to T6.

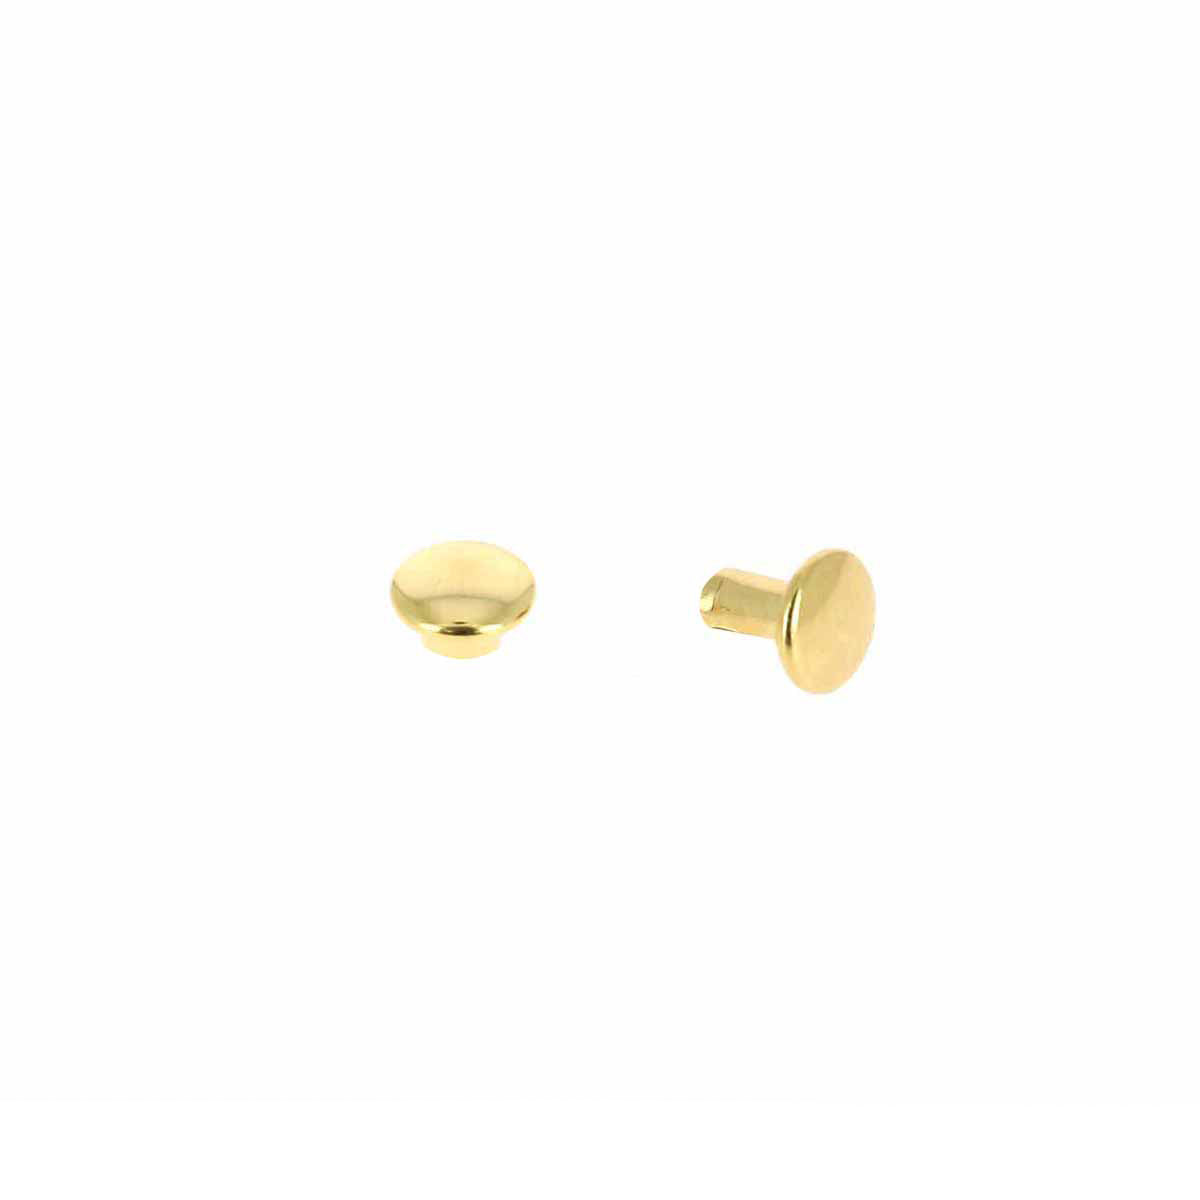
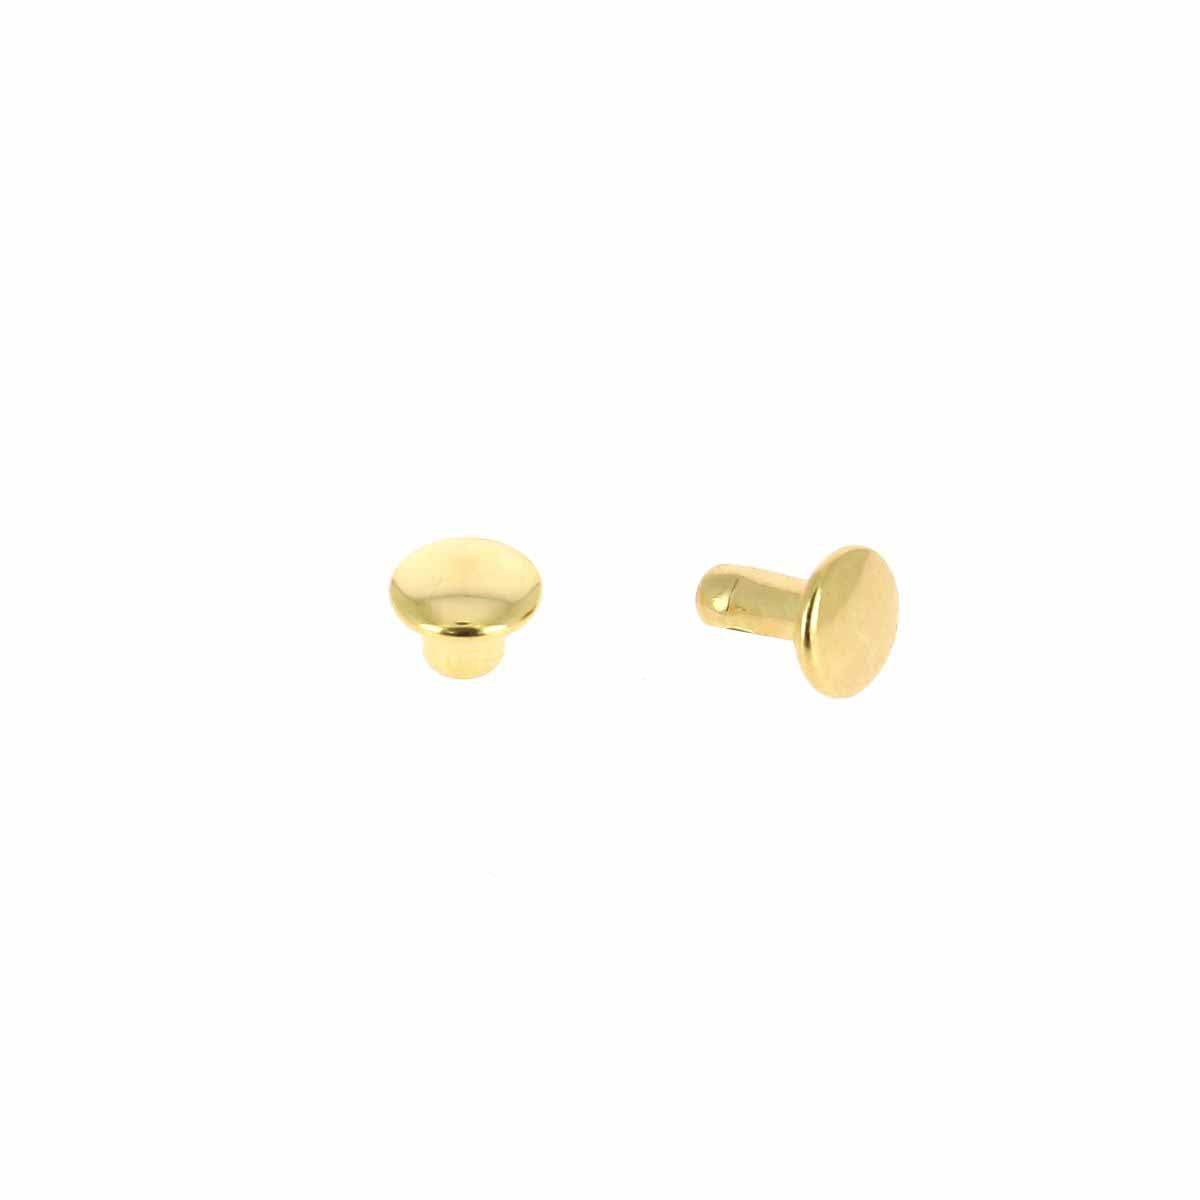
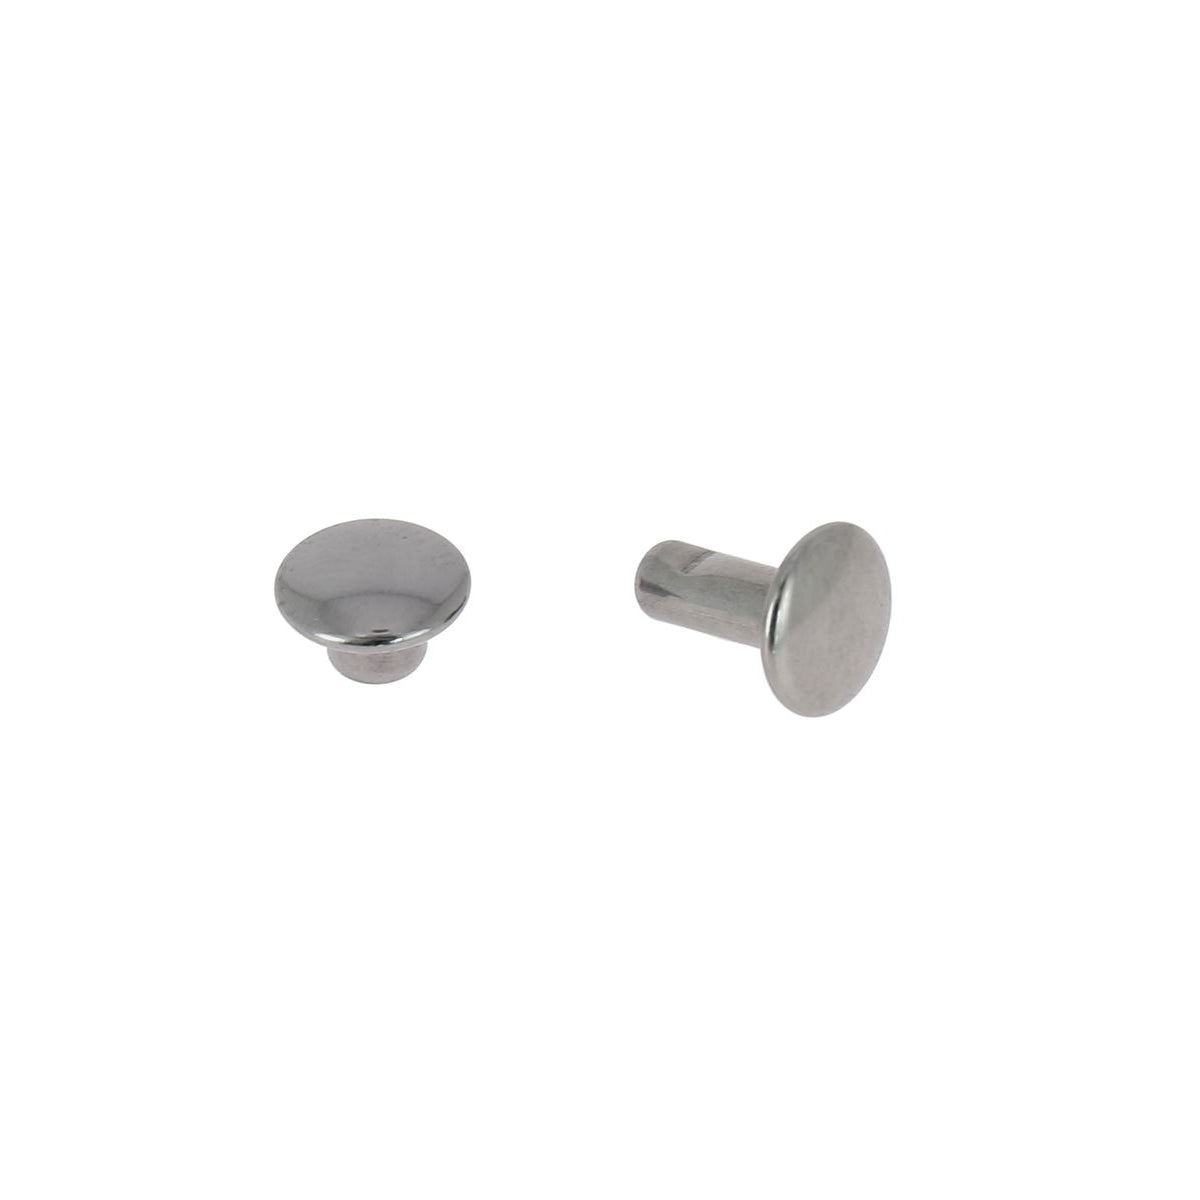
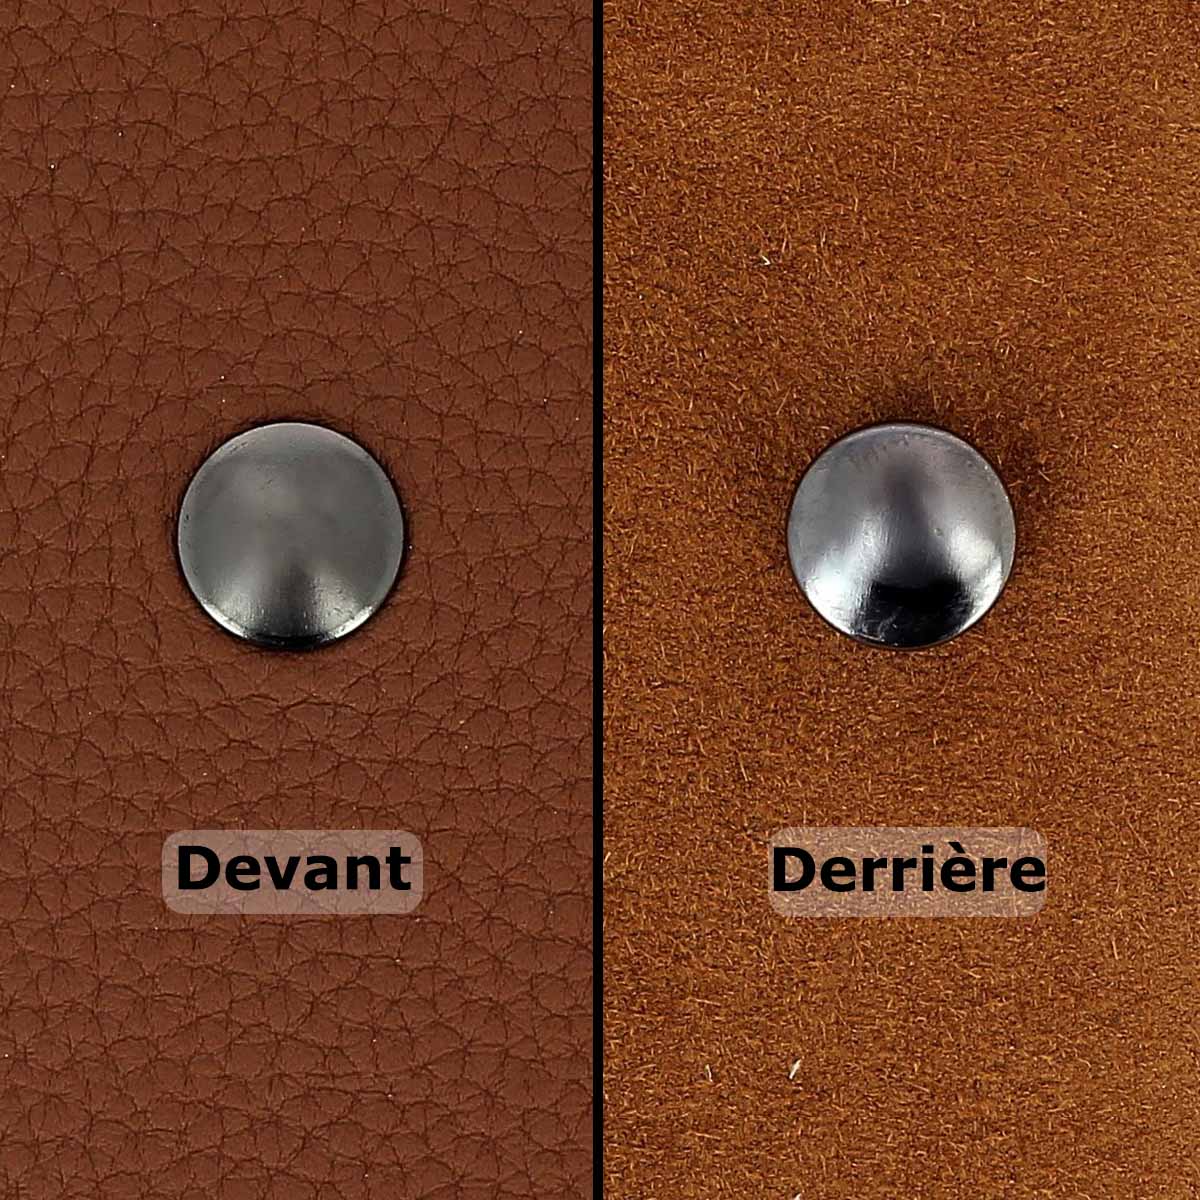
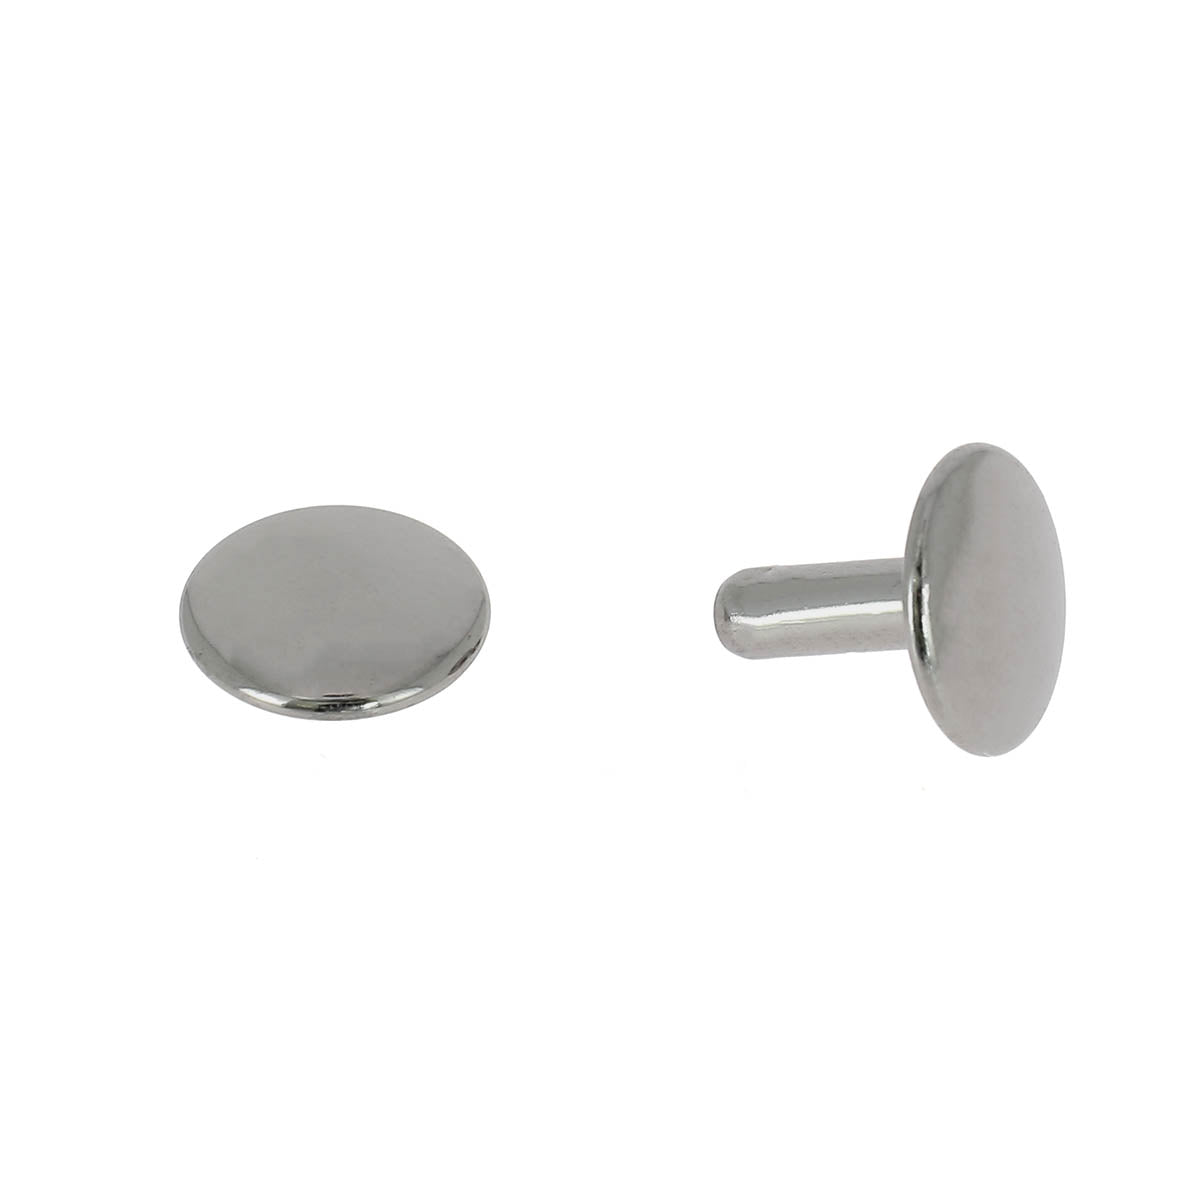
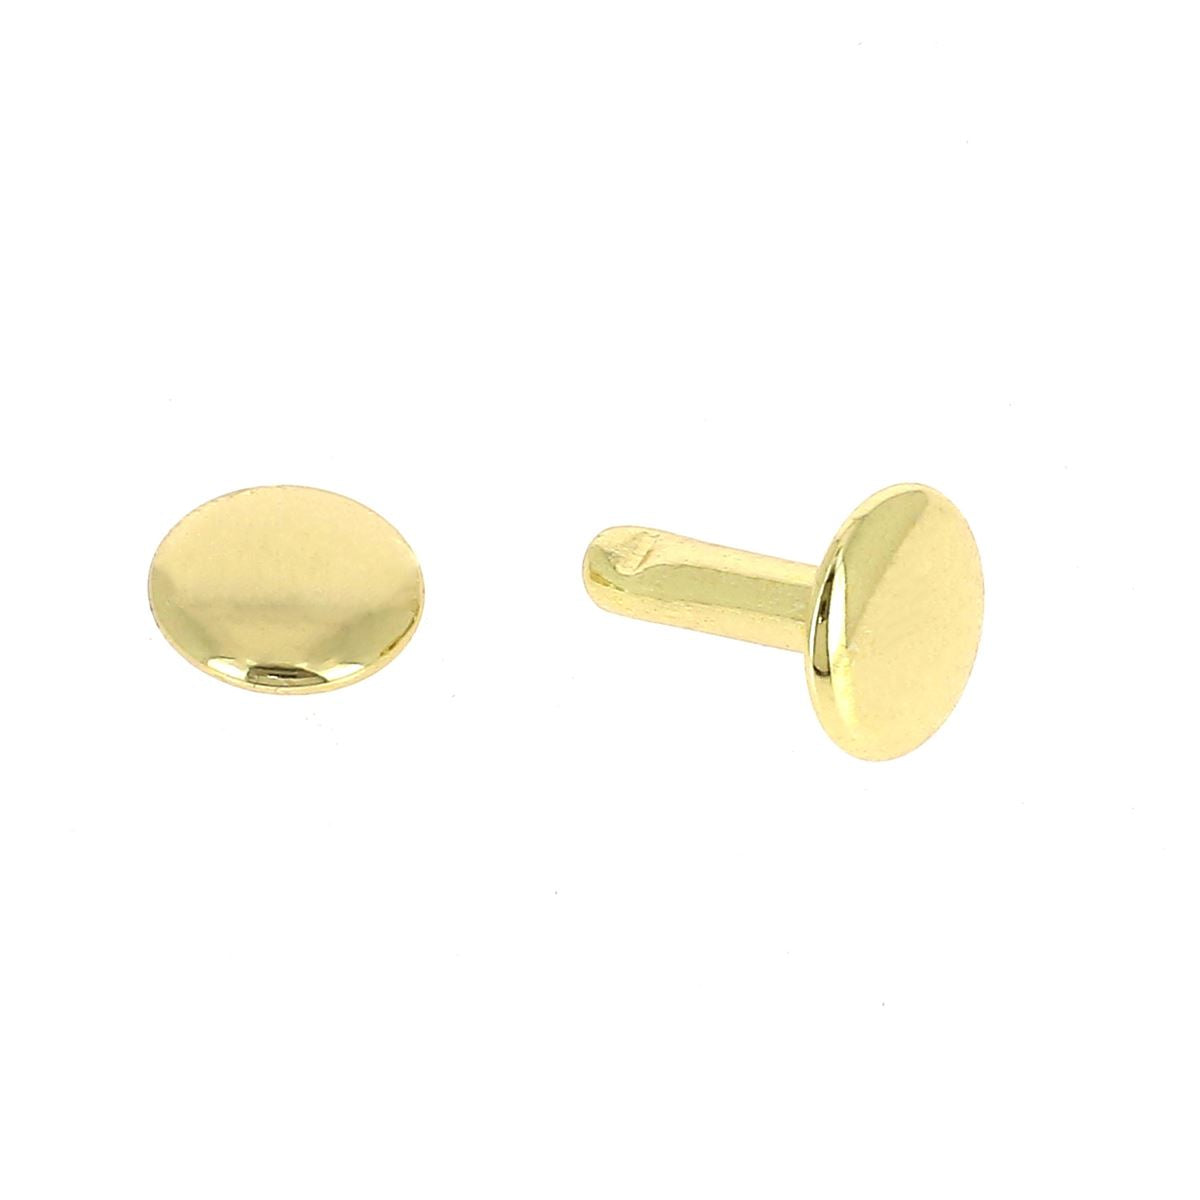
There are two types of rivets: single cap rivets (1 head (conical shape) on one side) and double cap rivets (1 head on each side of the rivet).
Choosing the material of the accessory: you need to pay attention to the material used (under the surface finish). Steel ones are economical but can oxidize after some time and damage your creation. Brass ones are a bit more expensive, they will not rust, and your creation will retain its shine for a long time. Deco Cuir mainly offers brass accessories.
Single cap rivets are generally used when the post (lower part of the rivet) is hidden by a lining or another layer of leather, fabric, etc.
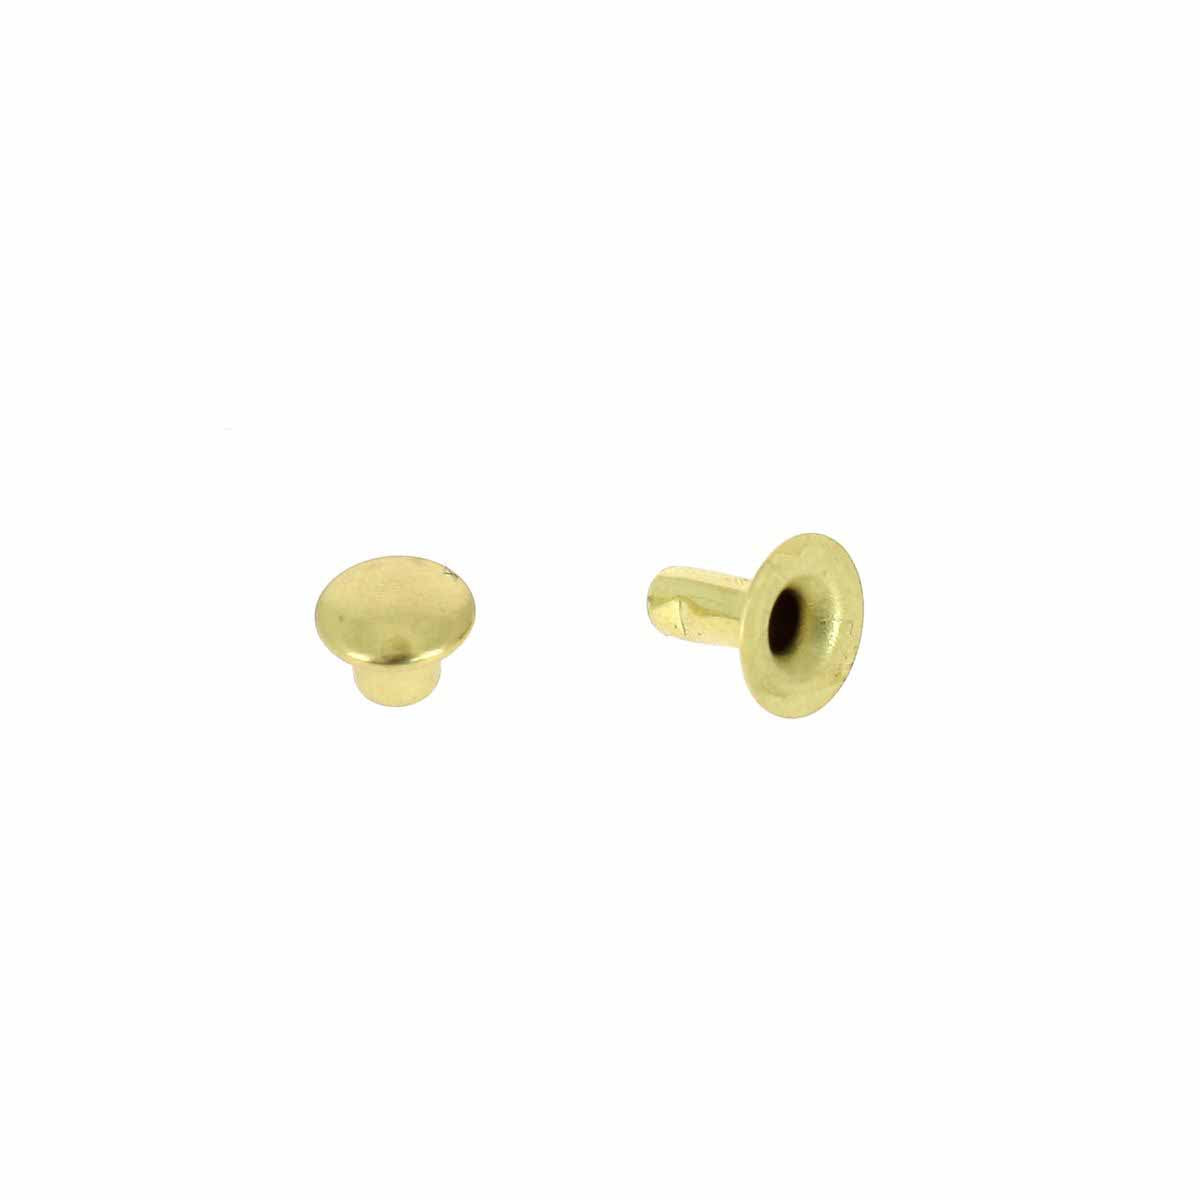


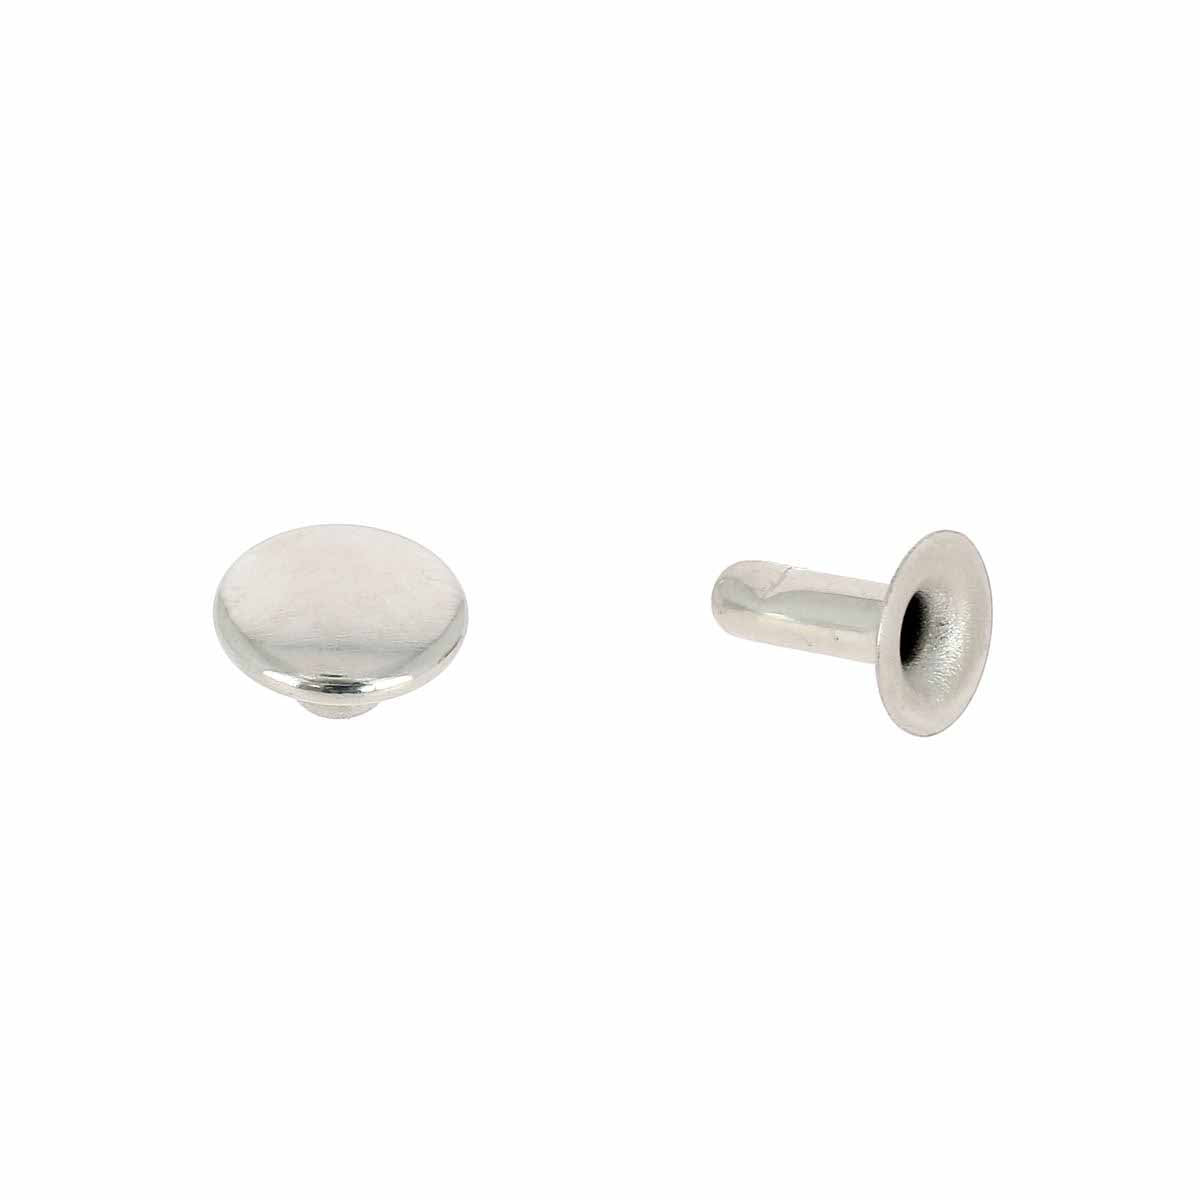

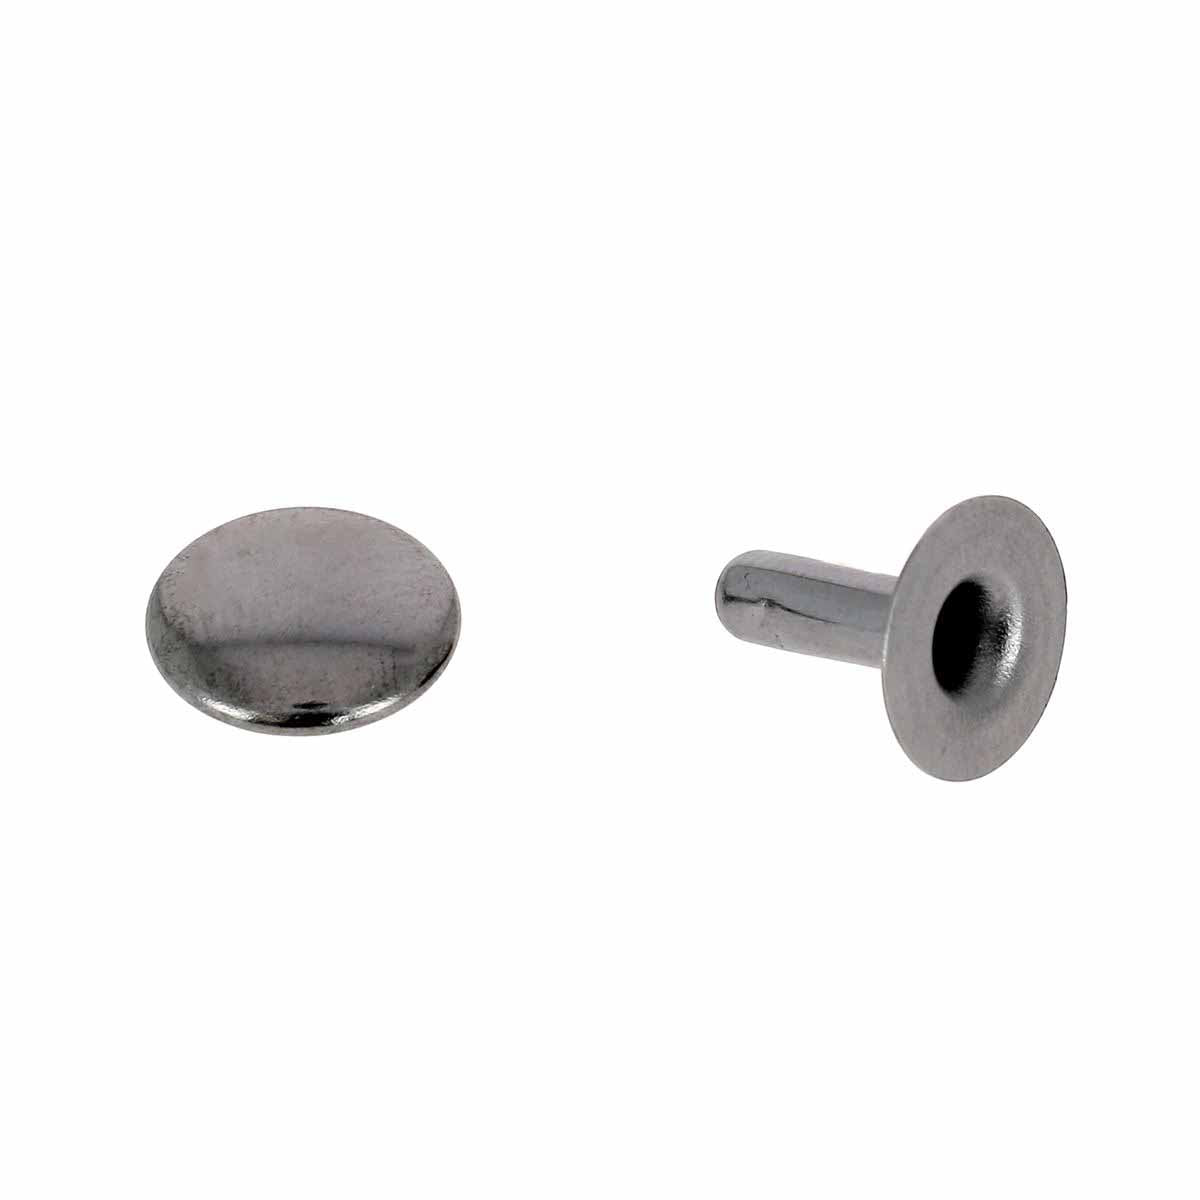

Double cap rivets are generally used when the post (lower part of the rivet) is visible on both sides of your creation.






How to fasten a rivet to your creation?
After making a hole at the rivet's location on the 2 parts to be assembled, you will need to use an setting tool and a setting die/anvil set to install a rivet.
Earlier in the guide, we presented the 3 existing setting tools: a striking handle, a manual press plier, and a bench press.
If you have a manual press plier or a PINCE striking handle kit, here are the appropriate setting die sets. Be sure to select the setting die/anvil set according to the size of your rivet (T1 to T6) and its type (single or double cap).


If you already have PINCE setting die sets and have just acquired a bench press, there are adapters available to use them with your press.


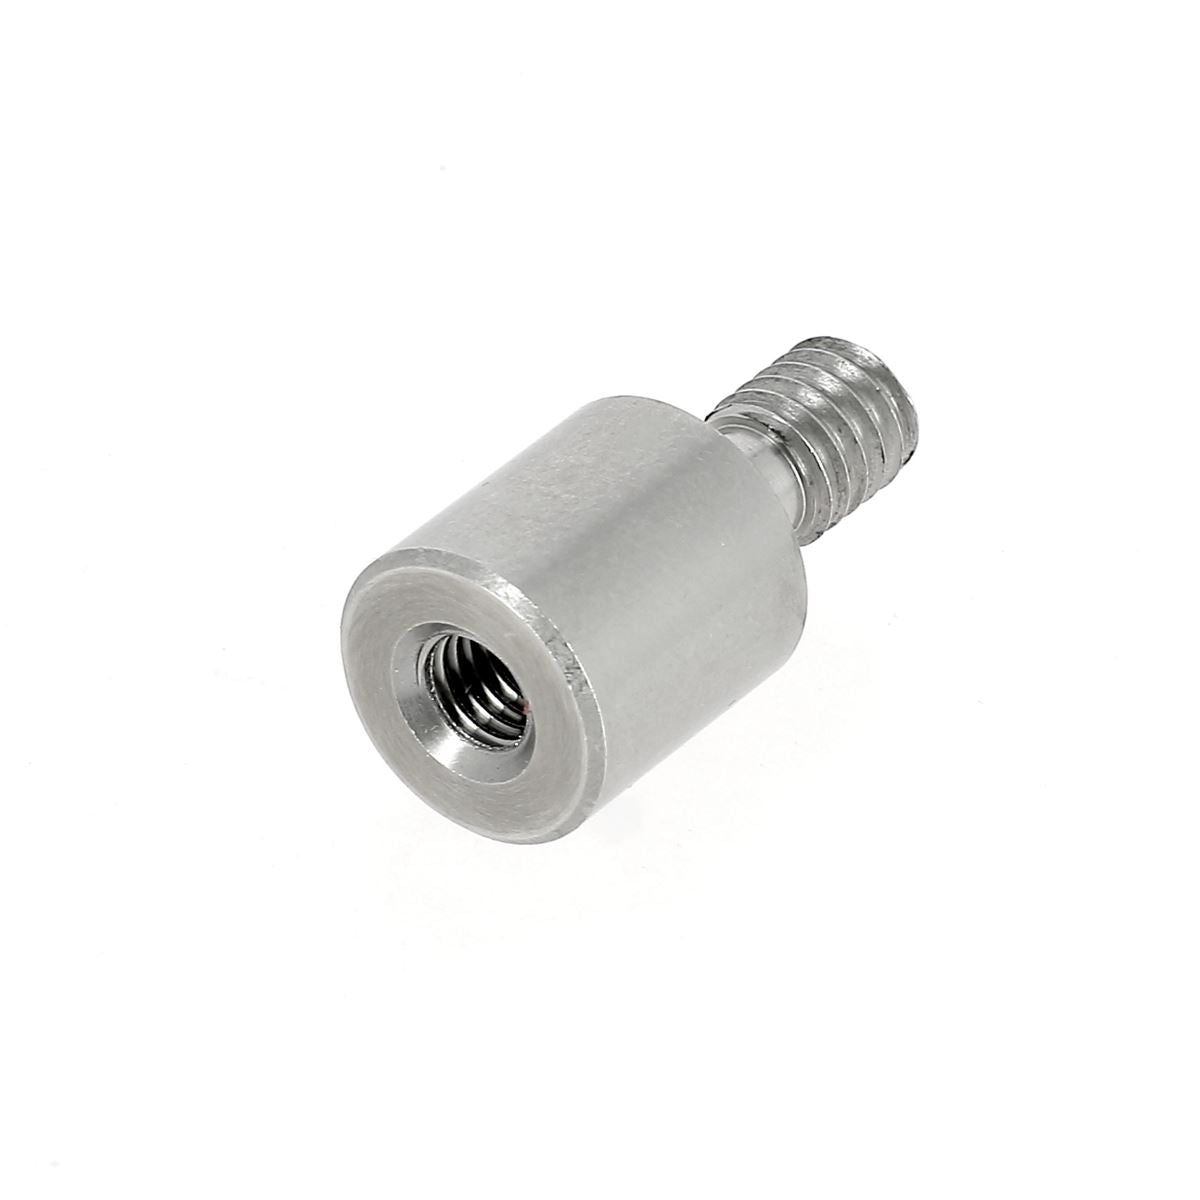

Unlike the striking handle and manual plier, which use the same setting die/anvil sets, the bench press has its own setting die sets. Be sure to select the setting die/anvil set according to the size of your rivet (T1 to T6) and its type (single or double cap).


Is there a complete kit?
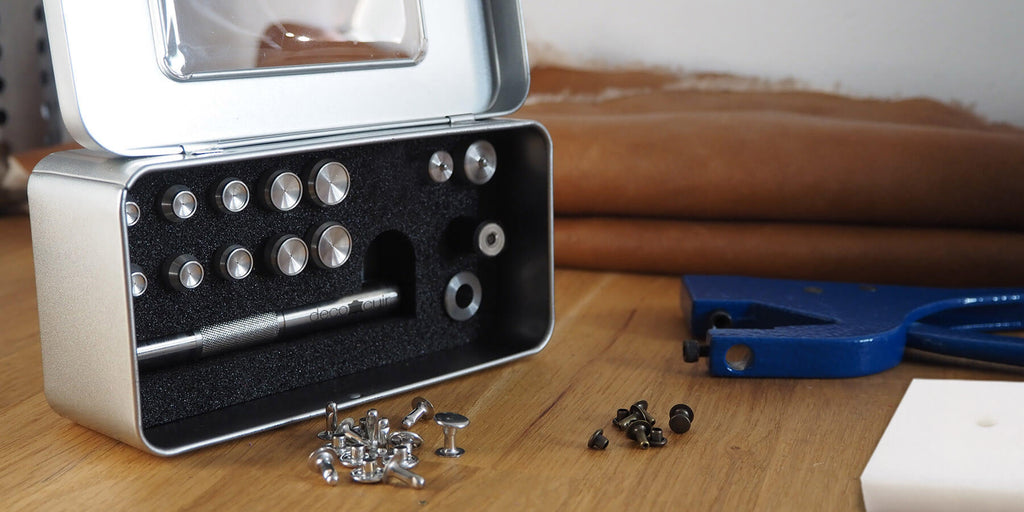
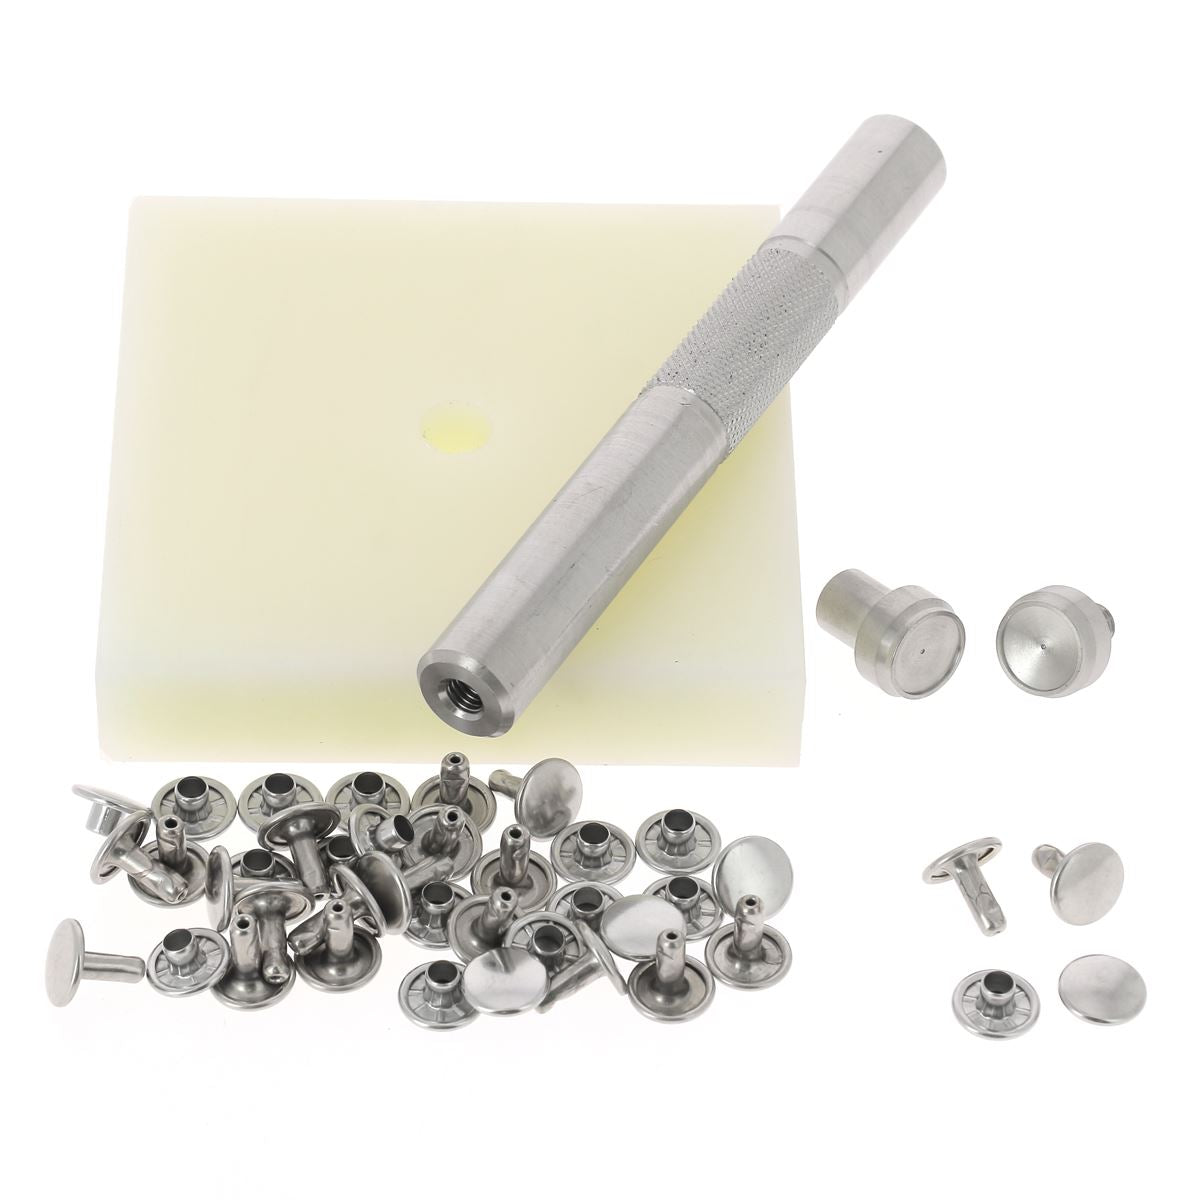
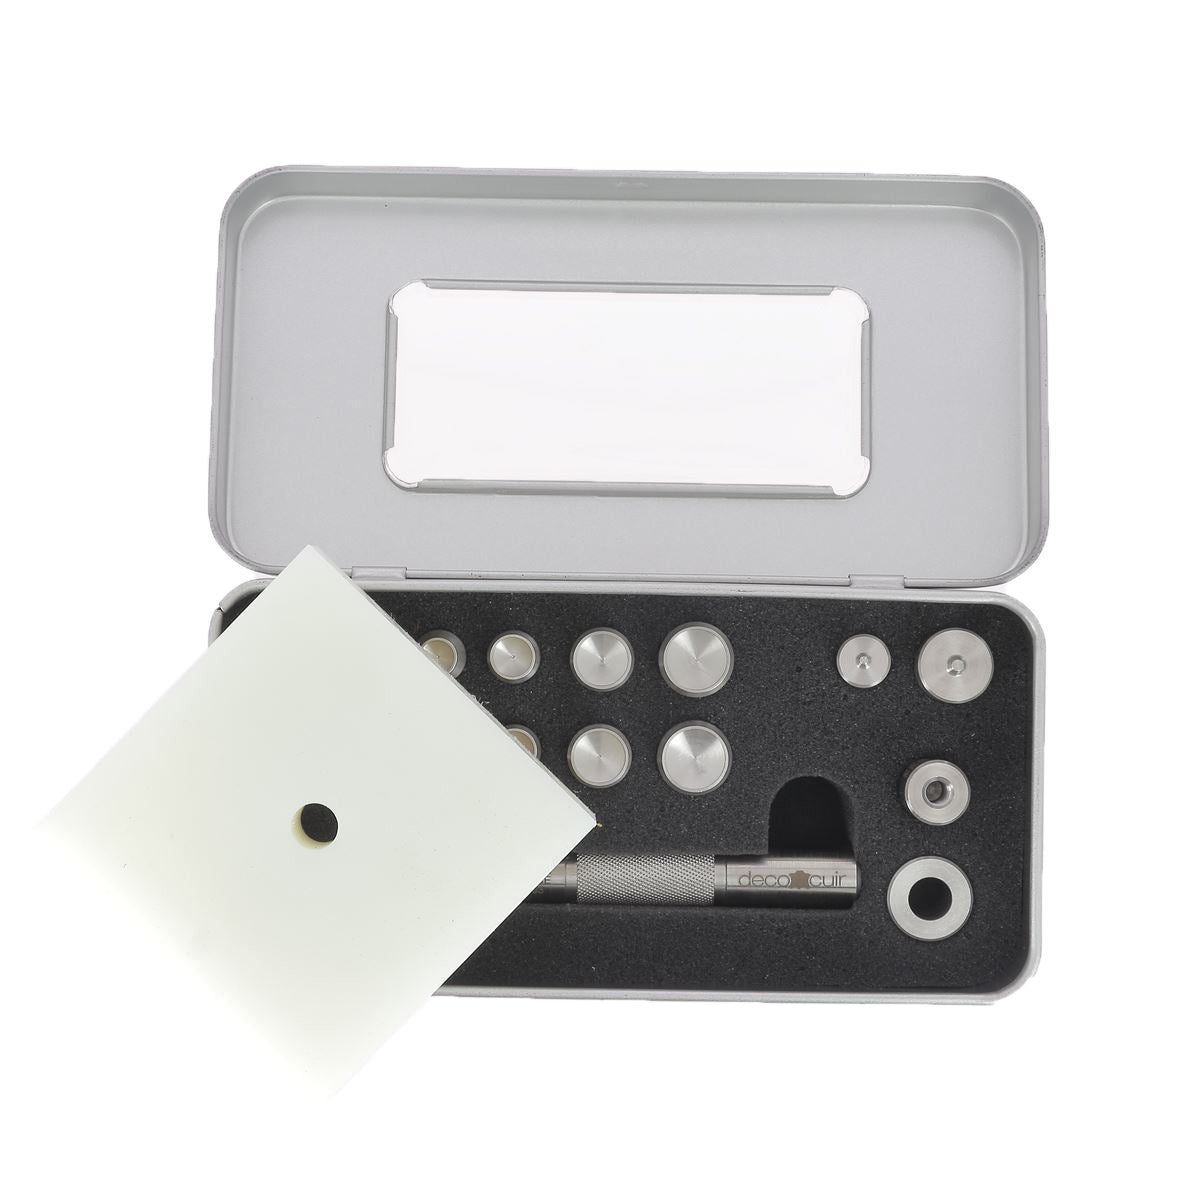
Discover the exclusive Deco Cuir product for rivet installation! A complete kit with all single and double cap setting die sets (in STAINLESS STEEL), the press adapter, and the striking handle with its Ertalon plate.
All setting die sets are also compatible with the blue manual plier. With the striking handle and the Ertalon plate, you can also install your snap fasteners with the PINCE setting die sets for snap fasteners (sold separately).




Below is a summary video of the 3 methods for installing a single or double cap rivet.
We also sell boxes of rivets with the setting tool included!
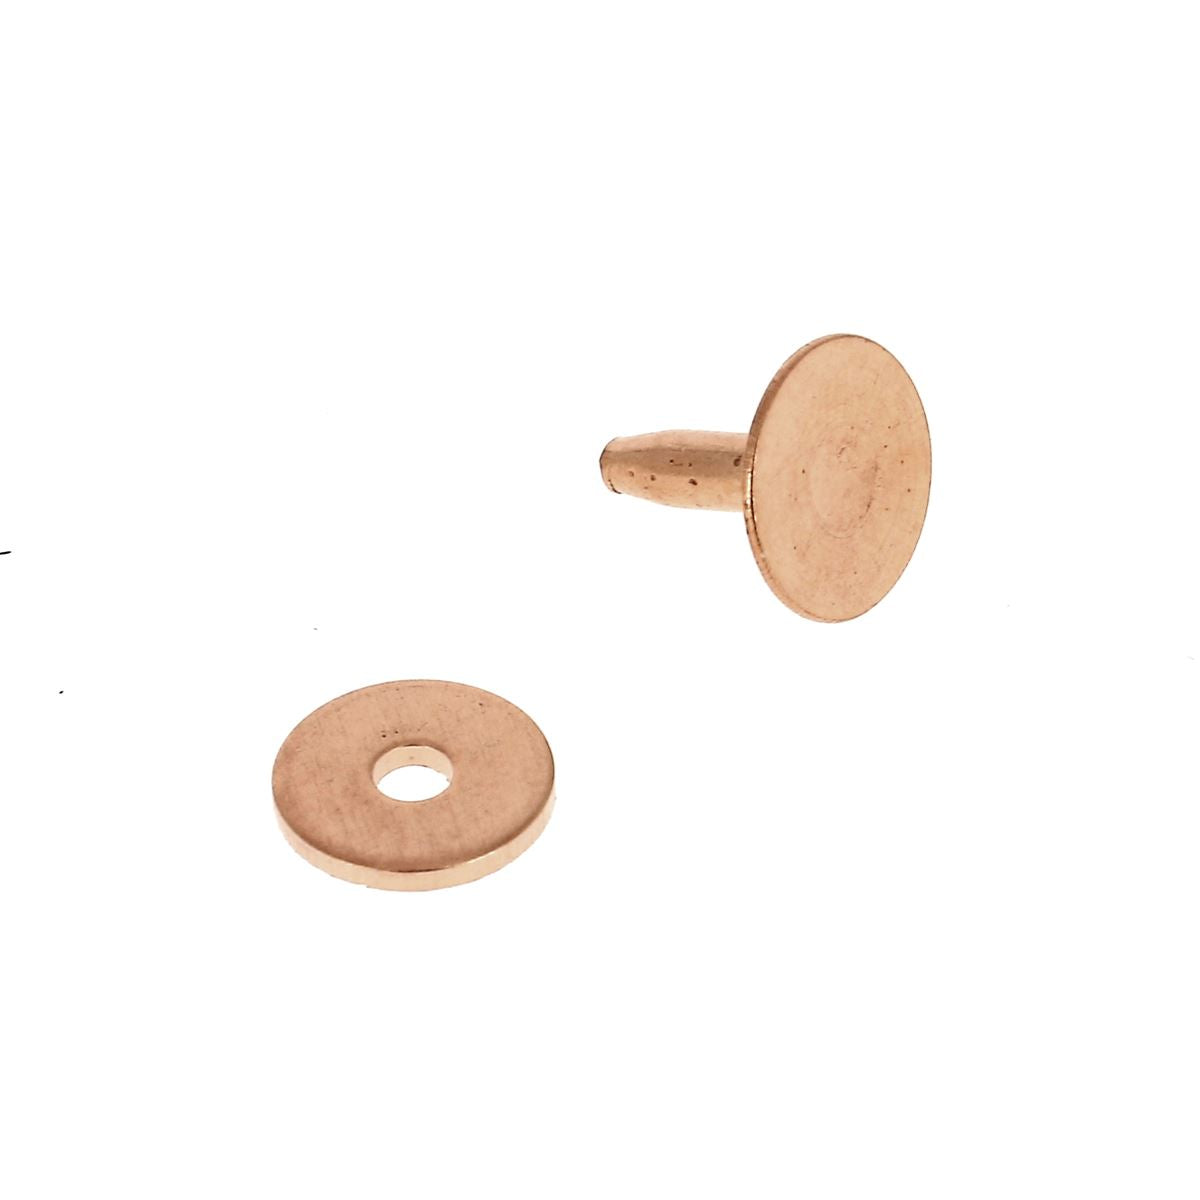
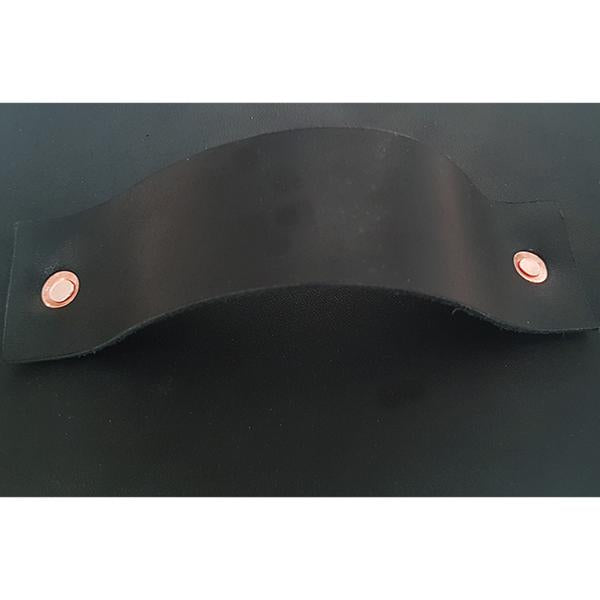
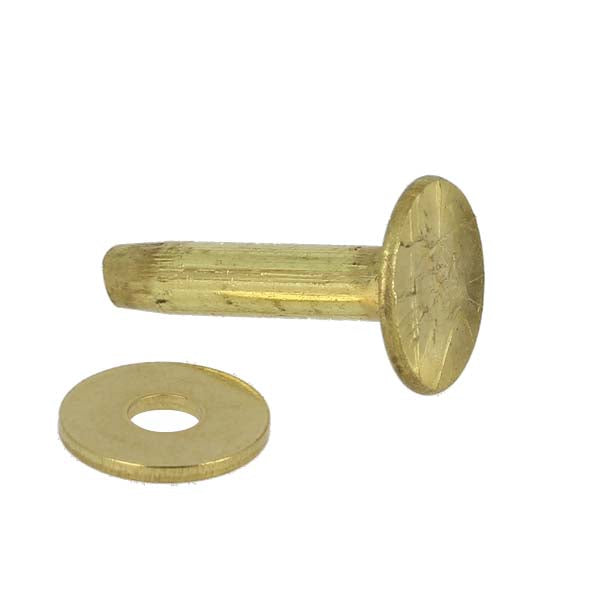
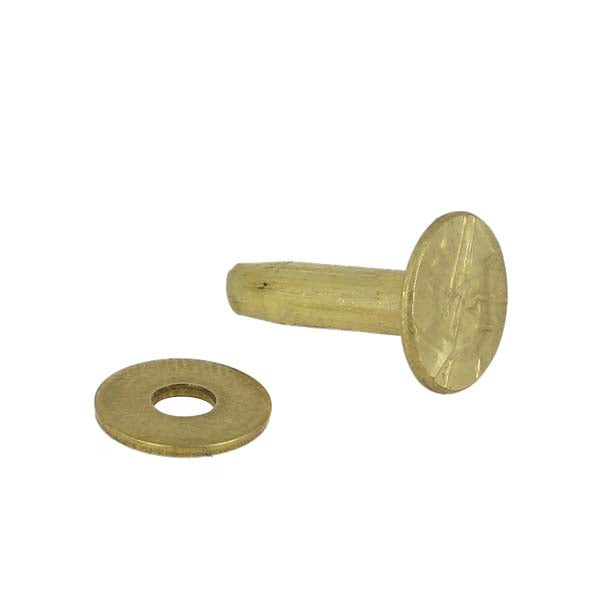
How to install a clinch rivet?









How to install a snap fastener?
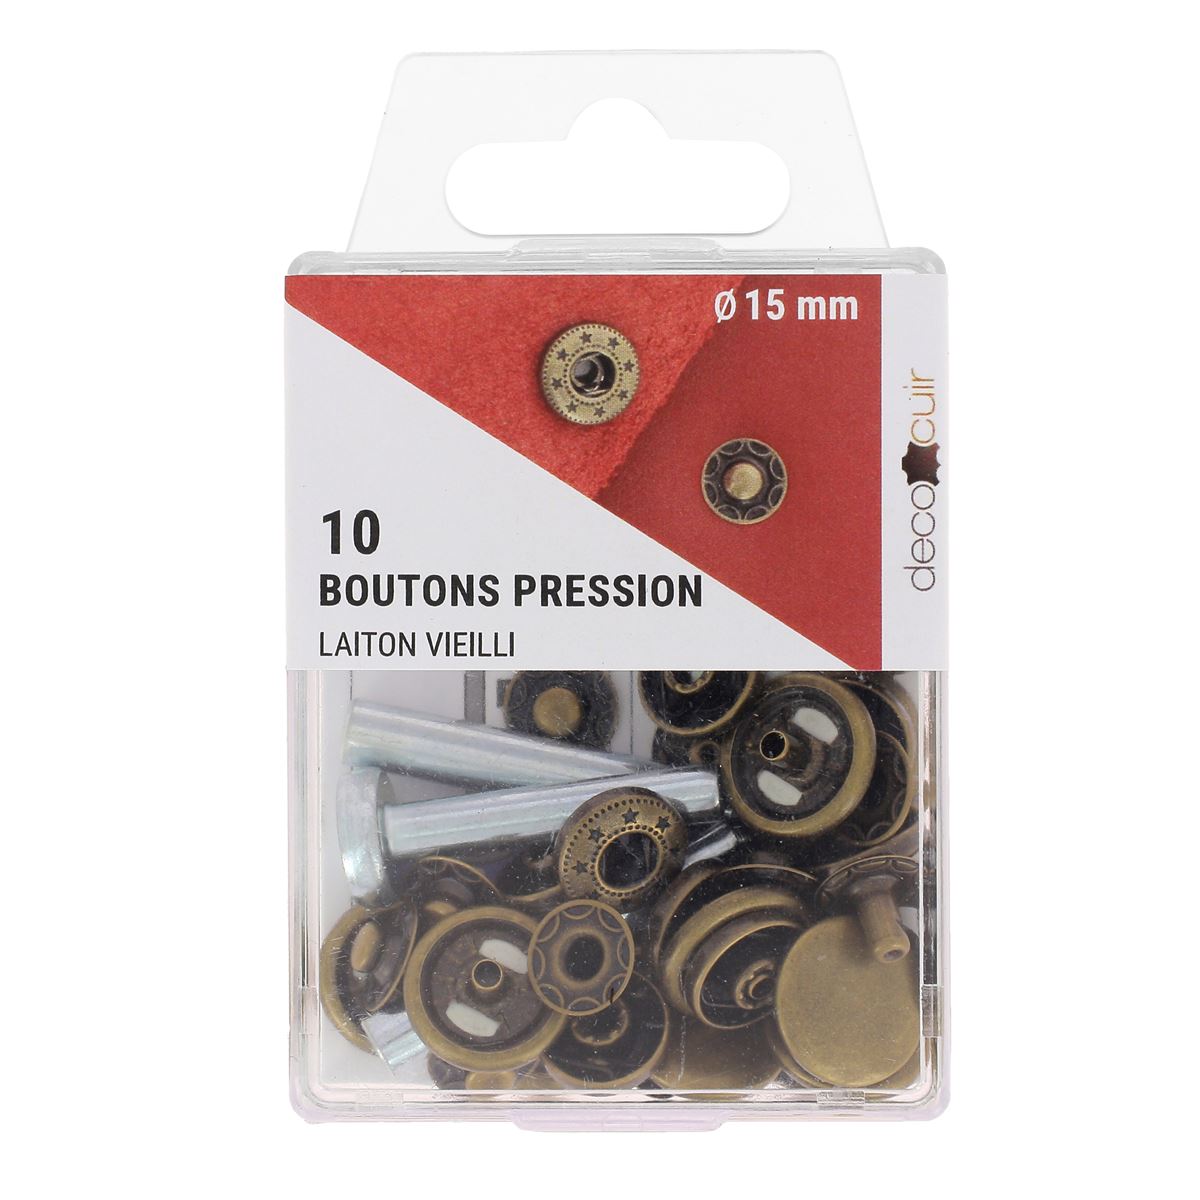
On our website, we offer several snap fastener diameters: 10.5 mm, 12 mm, 15mm...
There are two types of snap fasteners: standard snap fasteners (S-spring)...

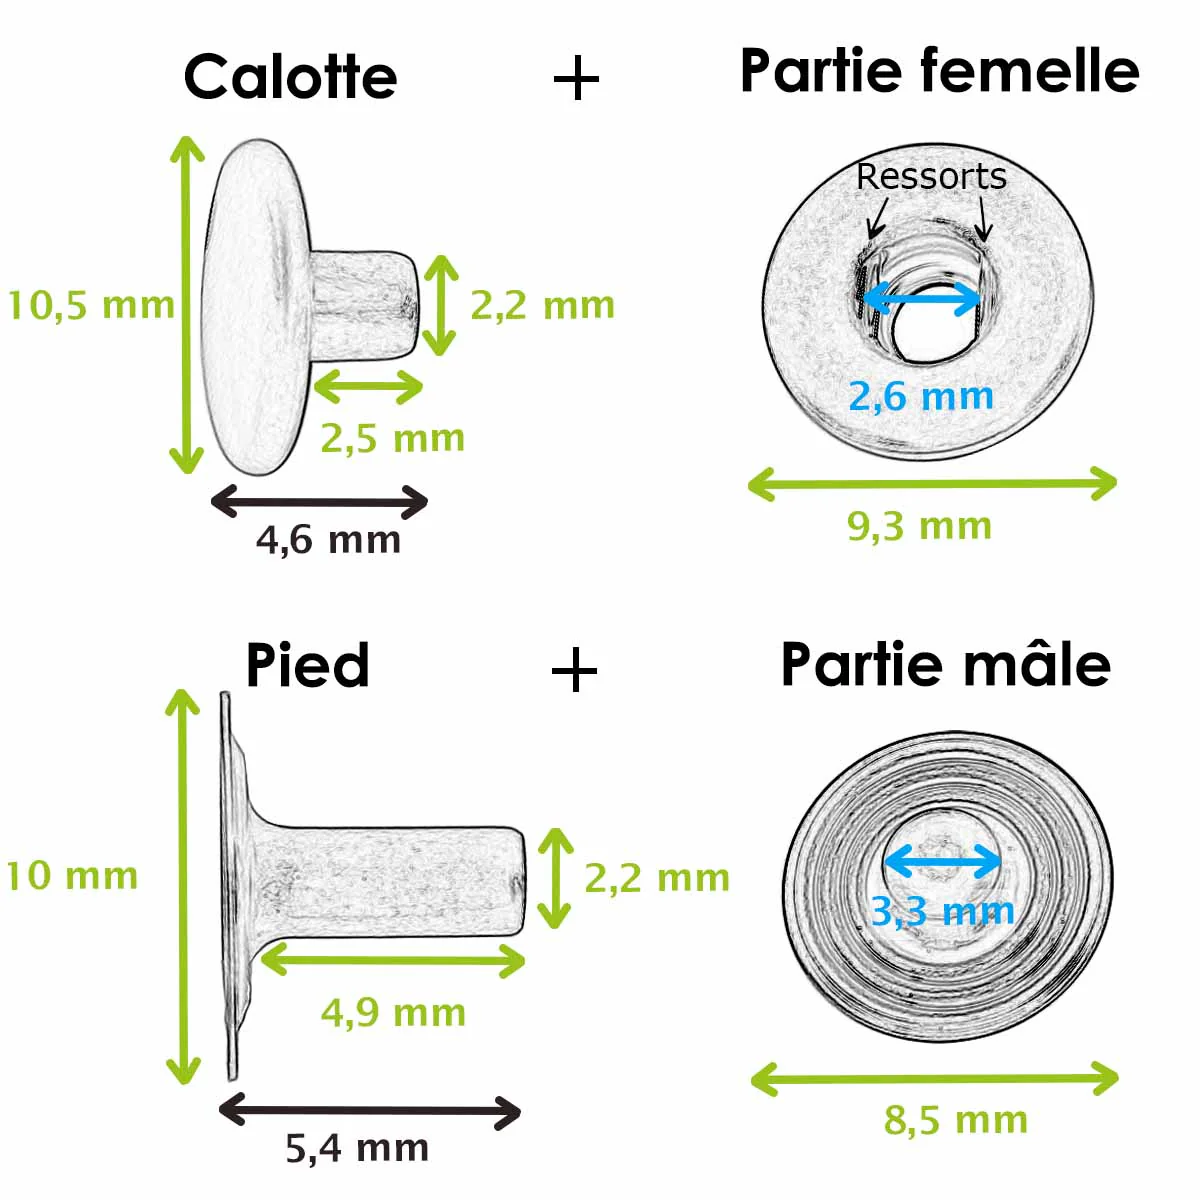

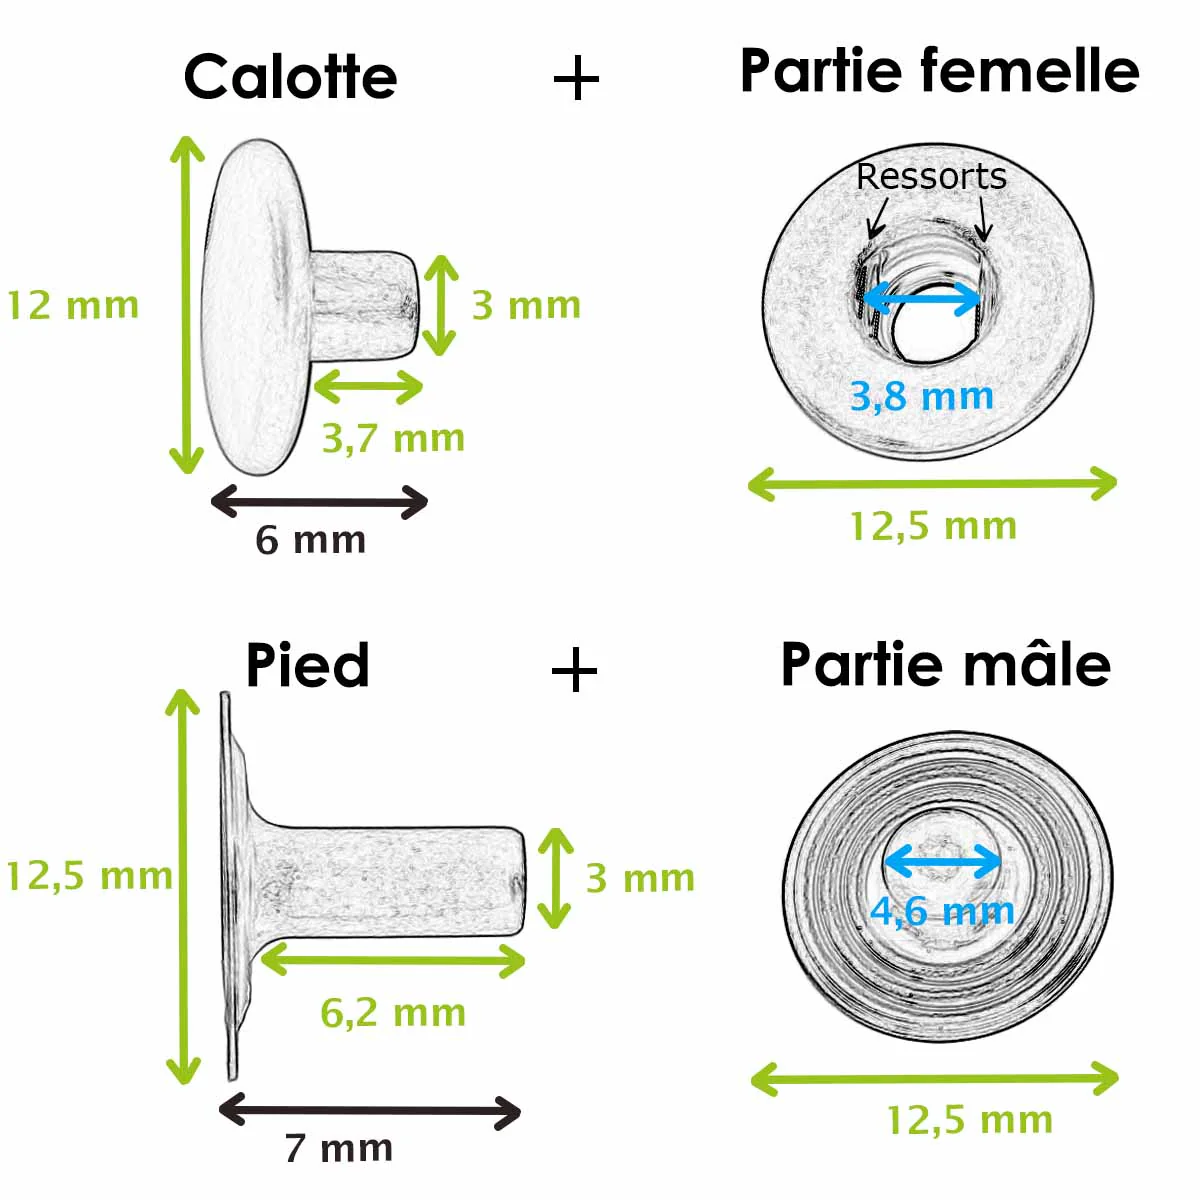
...and heavy-duty snap fasteners (ring spring). Heavy-duty snap fasteners withstand greater pressure than standard snap fasteners. They can only be installed with a bench press or the PRESS striking handle kit.

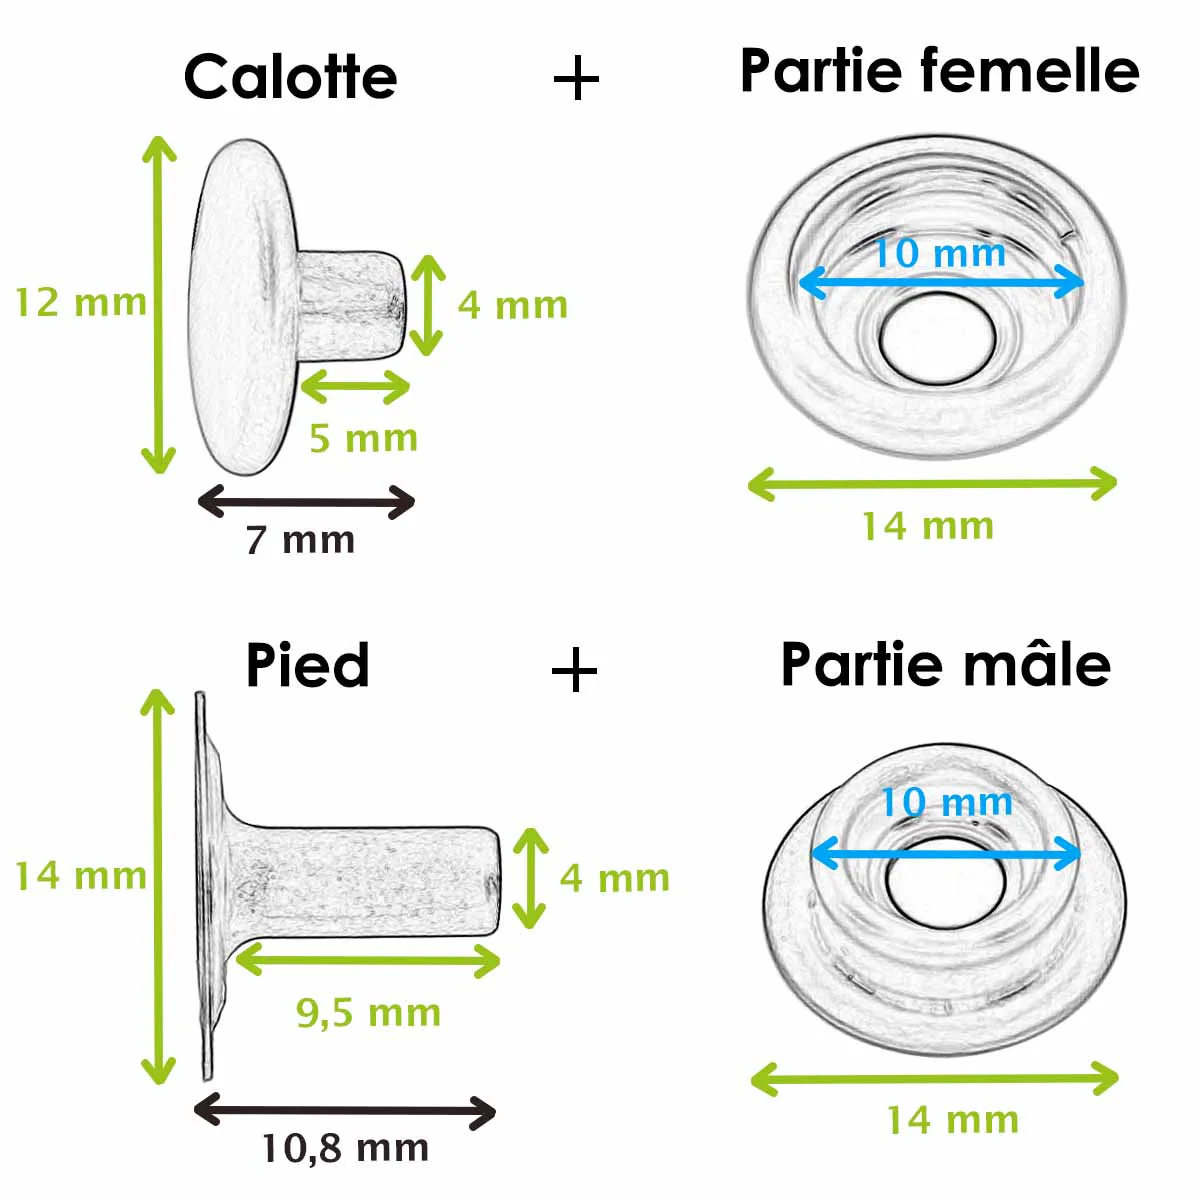



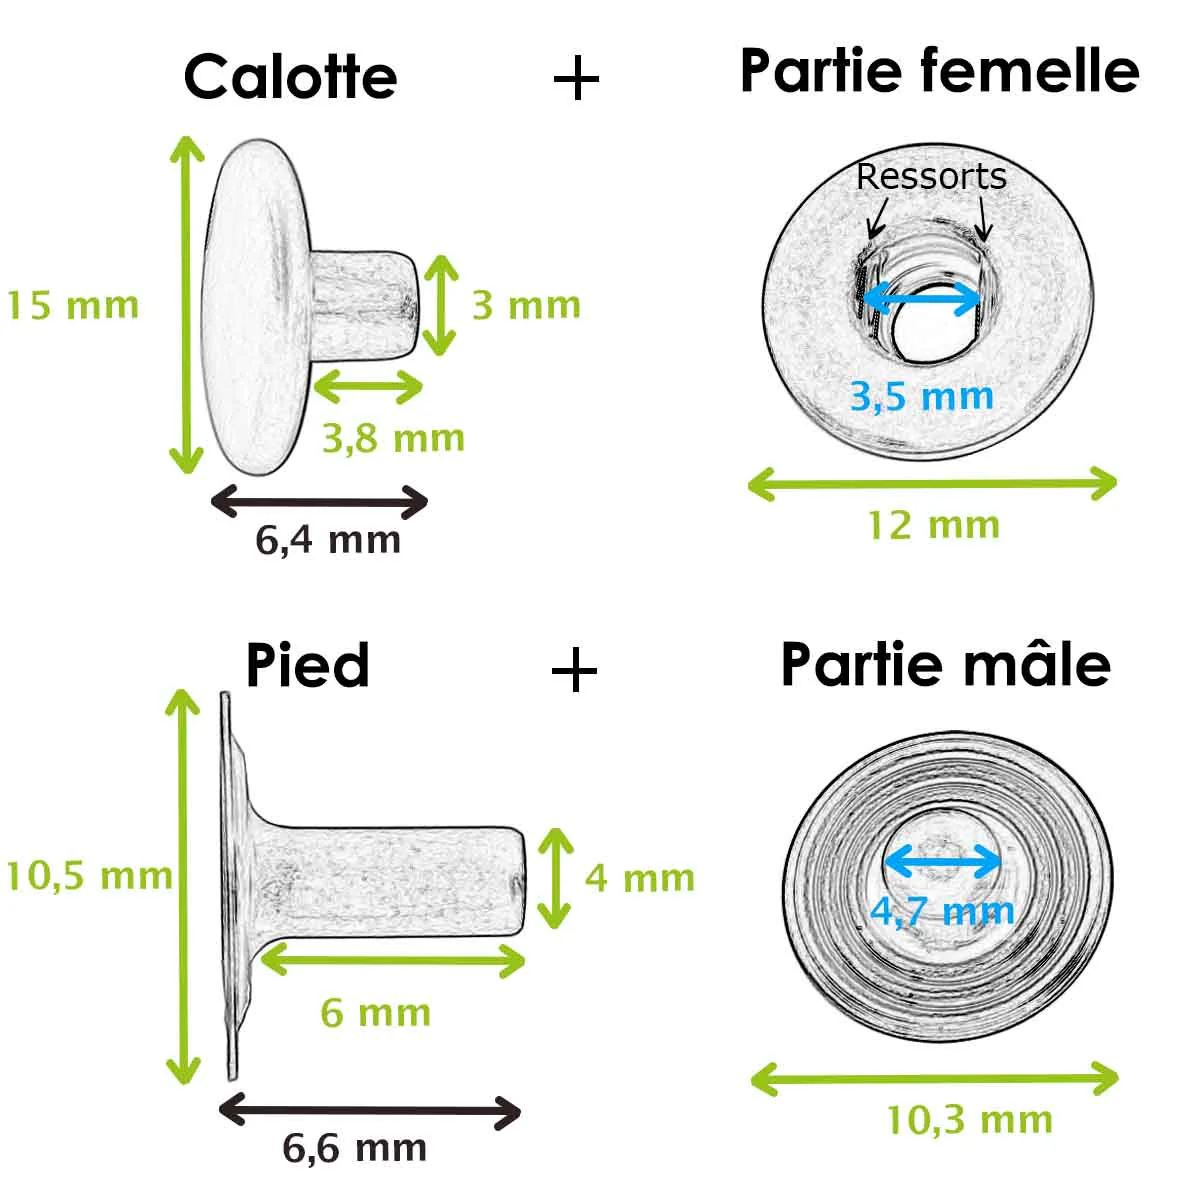
For installing the snap fastener, the post is assembled with the male part and the head/cap with the female part (see image below).

Choosing the material of the accessory: you need to pay attention to the material used (under the surface finish). Steel ones are economical but can oxidize after some time and damage your creation. Brass ones are a bit more expensive, they will not rust, and your creation will retain its shine for a long time. Deco Cuir mainly offers brass accessories.
After making a hole at the location of the head (generally the hole diameter is larger than that of the post) and the post of the snap fastener, you will need to use a setting tool and a setting die/anvil set to install the parts.
We introduced the 3 existing setting tools at the beginning of this guide: a striking handle, a manual press plier, and a bench press.
If you have a manual press plier or a PINCE striking handle kit, here are the appropriate setting die sets. Be sure to select the setting die/anvil set according to the diameter of the snap fastener. Heavy-duty snap fasteners can only be installed with a bench press.


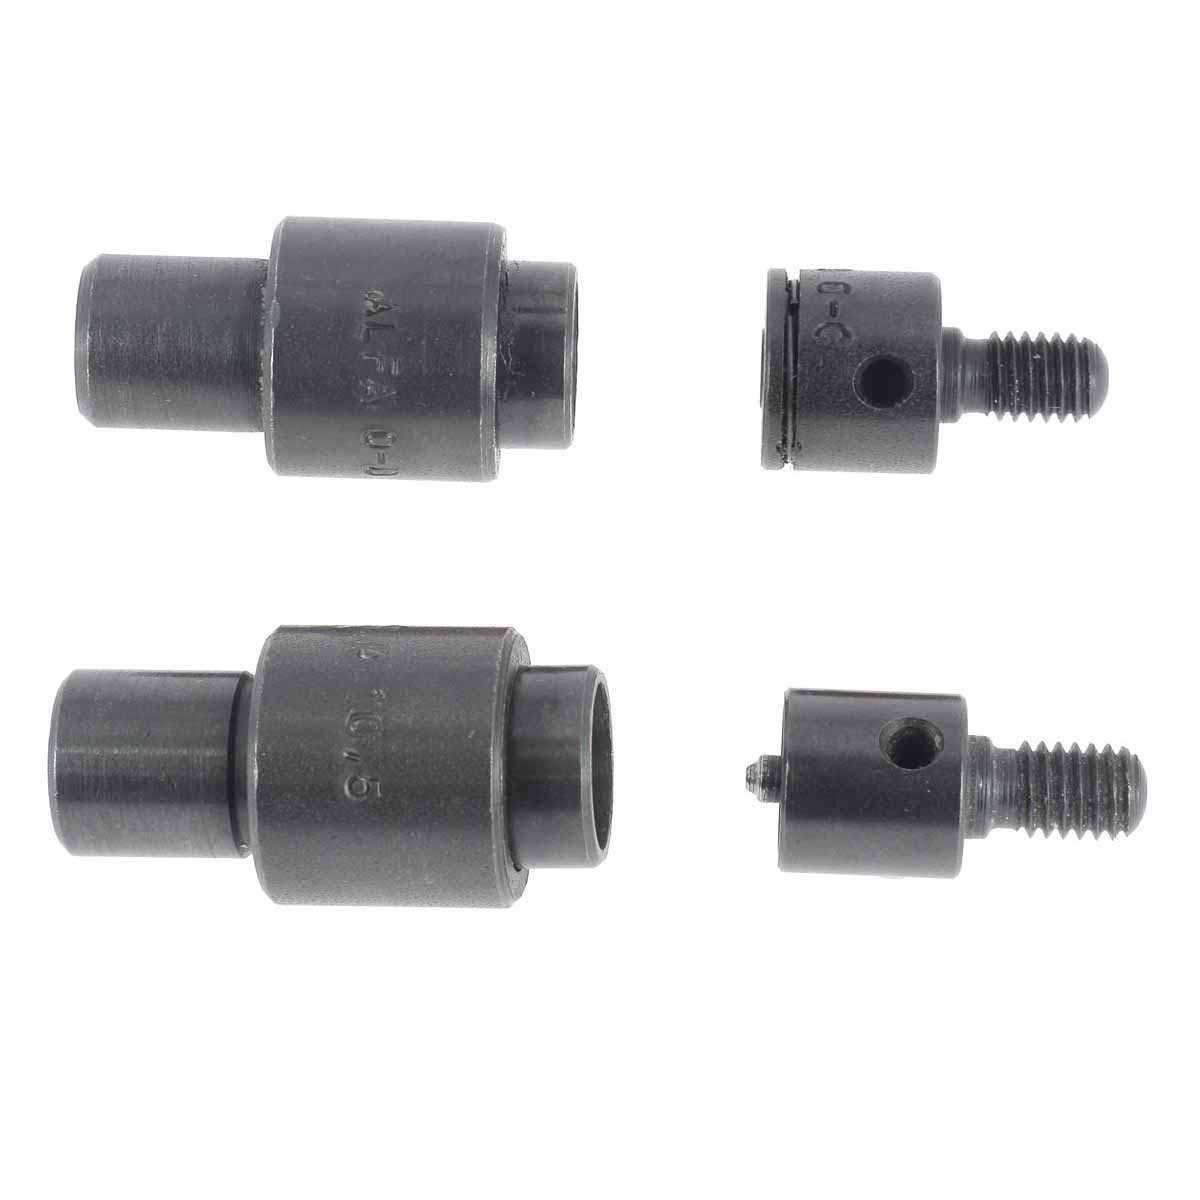
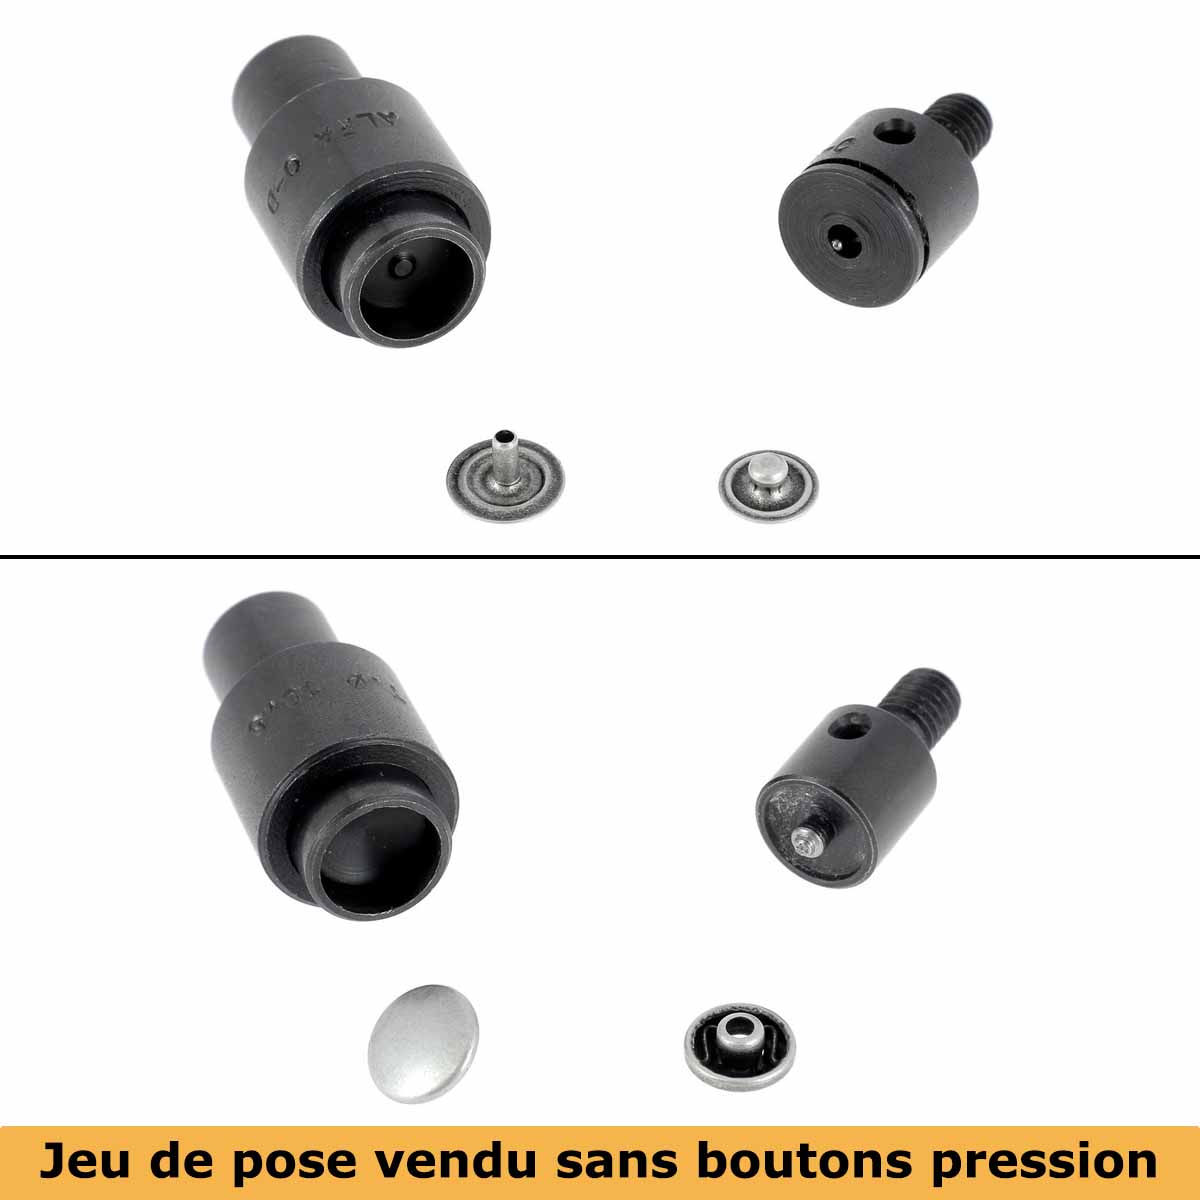
3 methods for installing a snap fastener.
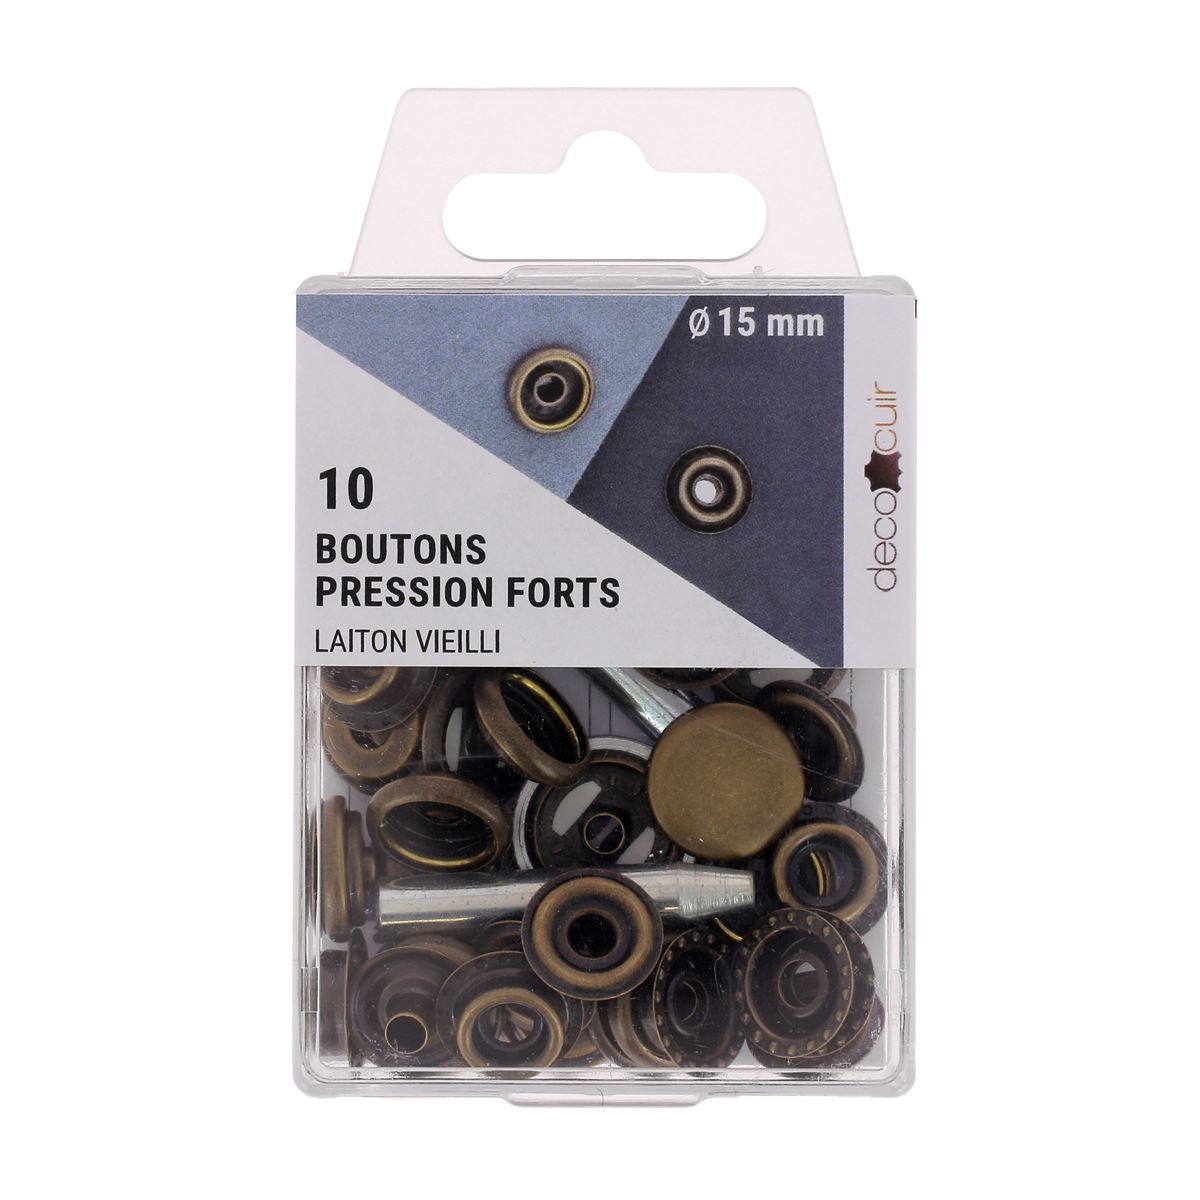
We also sell boxes of standard or heavy-duty snap fasteners with the setting tool included!
How to remove a snap fastener or rivet?
A rivet or snap fastener poorly installed? Here's the solution to easily remove them without damaging your creation!
You've spent hours creating a perfect piece, but a single misplaced snap or rivet can compromise everything. Don't let these mistakes ruin your leather creations anymore! This striking handle and anvils are specially designed to easily remove snap fasteners and rivets, without damaging the leather.
These tools allow you to remove:
- Single and double cap rivets from T2
- Male and female parts of heavy-duty snap fasteners (ring spring)
- Female parts of S-spring snap fasteners (to remove the male part, you need to use cutting pliers).


How to cover a metal snap fastener with leather?
How to install an eyelet?


The different types of eyelets and their installation tools.
We also sell boxes of star-opening or roll-up eyelets with the installation tool included!
How to install an accessory without specific tools?
Some accessories can be installed without specific tools or with a simple screwdriver. This is the case for:
- Magnetic snaps
- Round claw eyelets
- Chicago screws
- Collar buttons
Accessory price: these accessories are the most expensive because they are made of more parts and are produced in limited quantities. Nevertheless, installing accessories without special tools allows you to disassemble them to reuse them on a new piece of leather or to re-install them better.
Tool price: there is no specific tool required for their installation. The use of a screwdriver, cutter, or hammer may sometimes be necessary.
Ease of installation: these accessories have been developed for DIY enthusiasts; their installation is generally easy.
Quality of installation: Deco Cuir has selected well-designed accessories for you, offering satisfactory installation quality.
 |

|


2 comments
Deco Cuir
Bonjour,
Quand nous regardons l’historique de vos commandes nous constatons que vous avez acheté des rivets et les jeux de pose pour presse d’établi. Je vous invite à regarder la vidéo suivante à partir de la minute 2 :20 : https://youtu.be/WF1KNuuasec?si=UE1LBRzLIOU0tmpd&t=140 pour savoir comment les poser.
Vous n’êtes pas obligée de percer votre matière à l’aide de la presse d’établi, vous pouvez utiliser un simple emporte-pièce.
Bonne journée,
L’équipe Deco Cuir
Anne France PUISEUX
Bonjour
J ai achete des pressions aimamtees avec les emporte pieces pour presse mais je cherche un tuto pour savoir comment faire car je n y arrive pas;
Merci bcp
Bonne soiree