Leather dyeing is one of the 3 pillars of leather work with embossing and saddle stitch sewing (do not hesitate to see the respective guides) . Many questions arise when you want to dye your vegetable-tanned leather pieces for the first time. With the help of our trainer Anthony Hervy (Nocam leather), we have tried to answer all your questions in this guide with 2 videos (leather dyeing and airbrush dyeing).
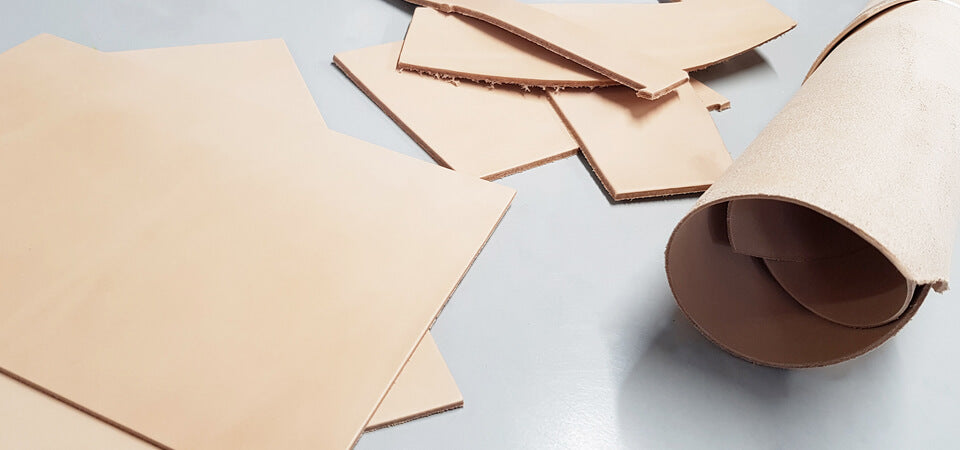
WHAT TYPE OF LEATHER CAN YOU DYE?
We advise you to select natural vegetable tanned leather. It is possible to dye mineral vegetable tanned leather (chrome tanning) with an airbrush but it is necessary to remove the finishes with a stripper (e.g. Deglazer from Fiebing's) and the final color remains uncertain.
WHY DO WE SAY “DYE” AND NOT “DYE” LEATHER?
To dye leather is to impregnate something with a color: to give it a coloring different from the original one.
To tint is to uniformly cover something with a light coloring: to give it a tint.
HOW TO RESTORE OR RENOVATE A JACKET, AN ARMCHAIR, A JACKET, A LEATHER BAG?
Please note , this guide does not concern the recoloring/renovation of leather but the dyeing of natural vegetable tanned leather. Using a balm or grease is ideal for maintaining, shining and renovating leather. To recolor the leather, you can choose a Juvacuir recolorant from the Saphir range. The recolorant allows you to repigment leather with a similar shade.
VIEW THE RECOLORANTS >
BEFORE/AFTER RECOLORING: 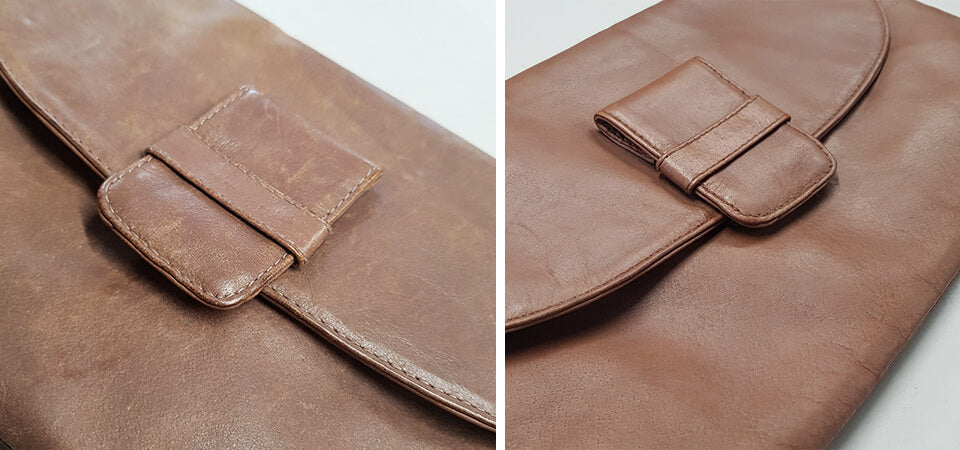
WHAT IS THE DIFFERENCE BETWEEN LEATHER PAINT AND DYE?
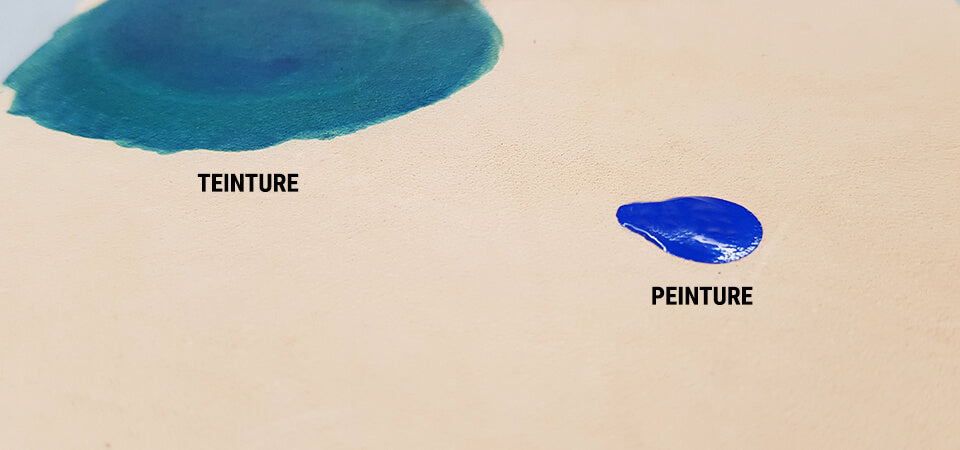
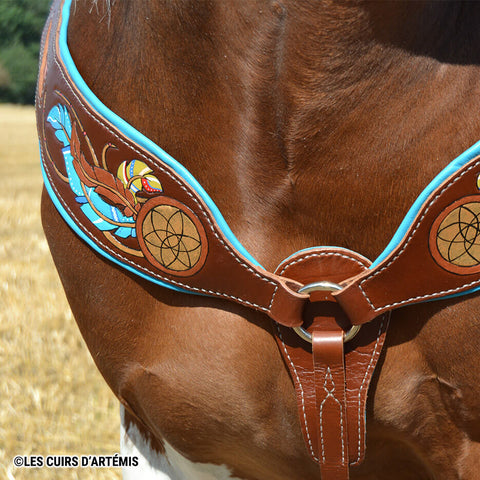
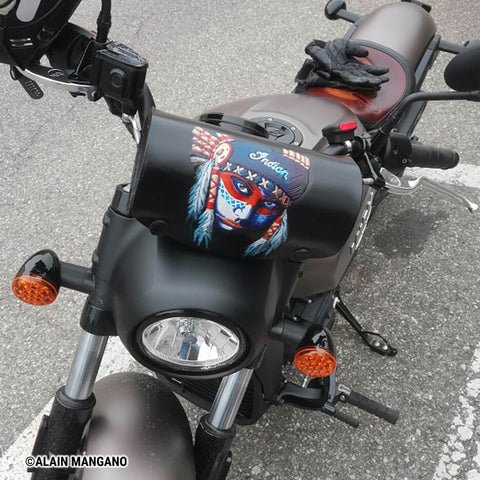
Unlike a dye which impregnates the leather, acrylic paint remains on the surface and is deposited on the leather. Paint (Angelus, Cova Color, etc.) is mainly used to highlight designs or patterns (moulds or modeling).
VIEW LEATHER PAINTS >
Water-based paint is a paint mixing acrylic (color) with water as a solvent.
EXAMPLES OF CREATIONS WITH THE USE OF LEATHER PAINTS:
 |
 |
*Edge or edge-dyed finishes are also acrylic finishes (they do not penetrate the leather but remain on the surface). Generally called edge dyes, they are in fact “edge paints” ( misnomer ).
SEE THE GUIDE ON WORKING SLICES >
WHAT ARE THE DIFFERENT DYE FAMILIES?
There are three main families of dyes: aqueous (water), alcohol and oil-based dyes . All dyes are composed of pigments and a liquid that can be called “transit” or transport. 
WATER-BASED LEATHER DYES
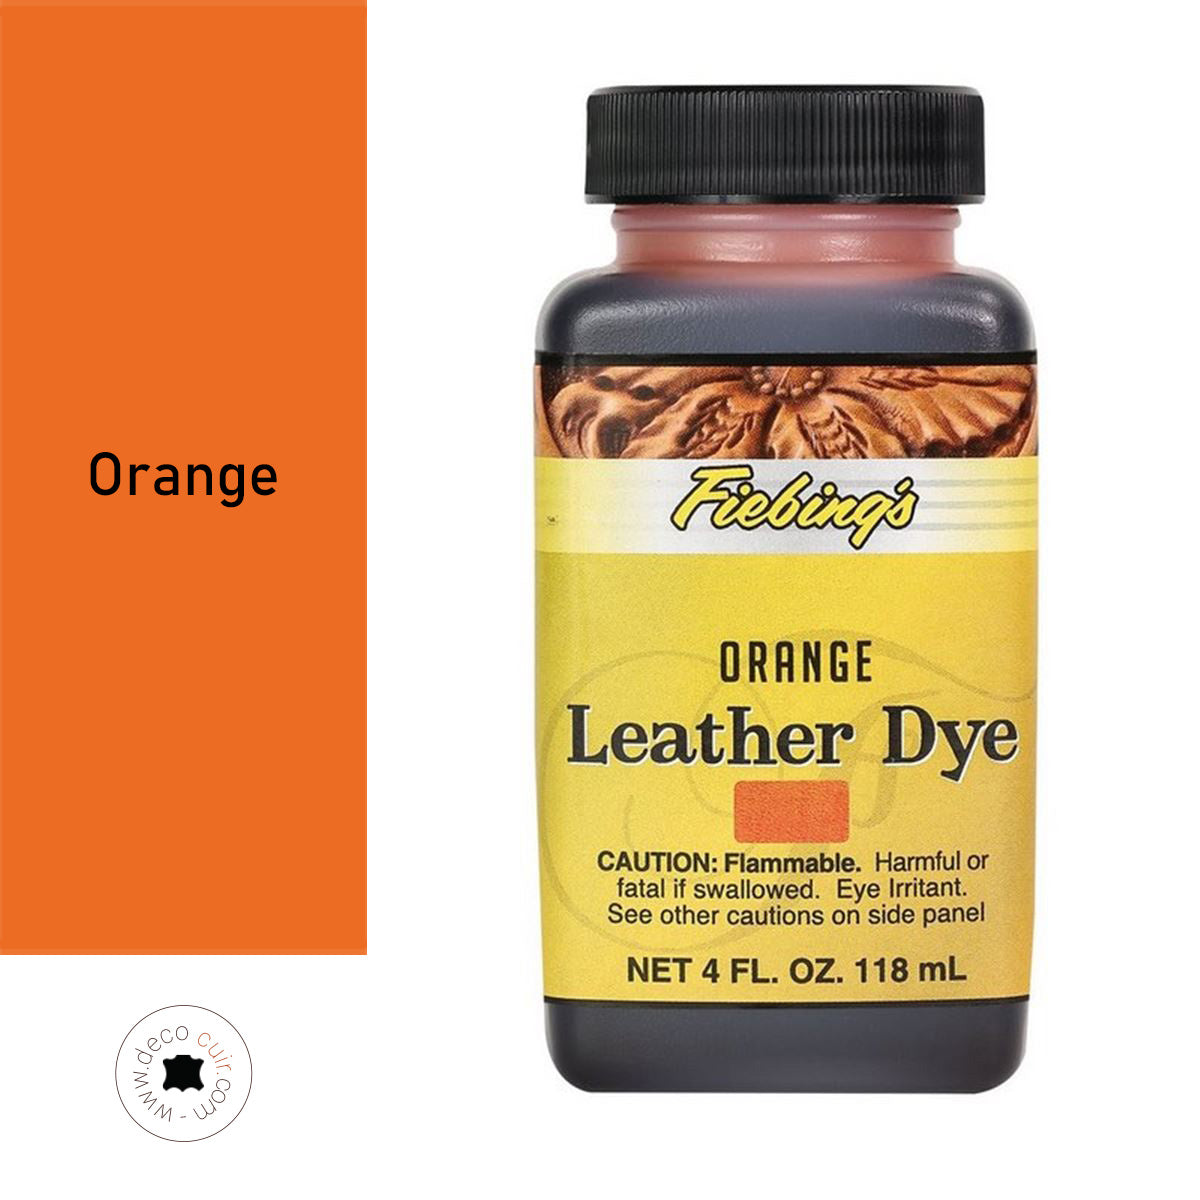
Water-based dyes are ideal for beginners because they do not dry quickly (greasier dyes): which limits the risk of marks on the leather. The coloring is less vivid than an alcohol-based dye and their lifespan is shorter (but they are more economical).
These dyes are more in line with respect for the environment and health. If you want a less concentrated leather color, it is easier to dilute them with water.
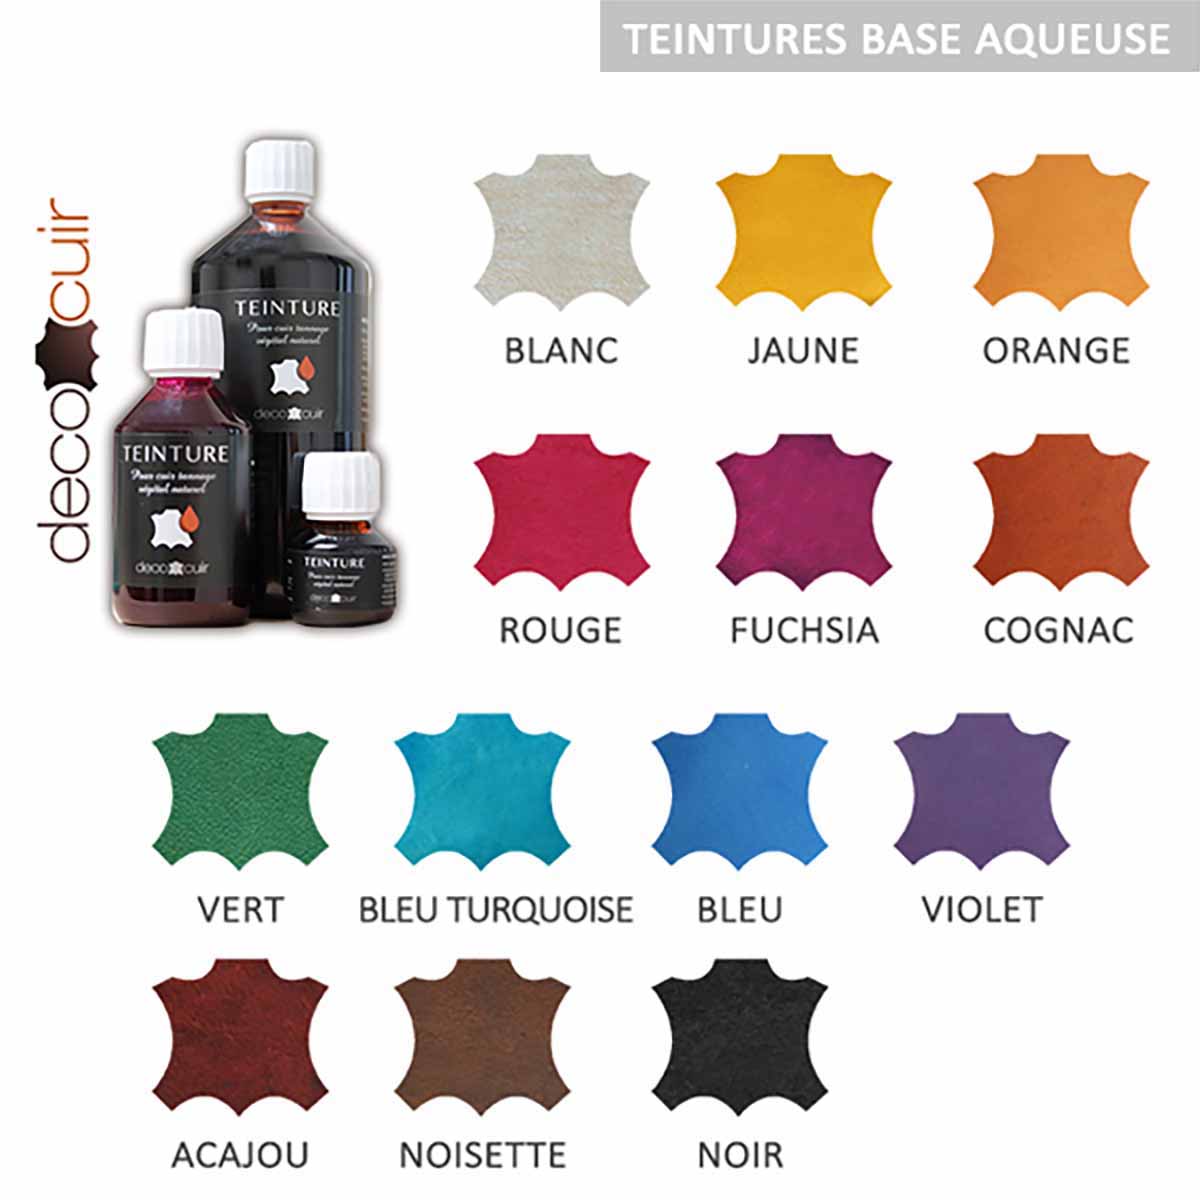
- Deco Cuir and Eco-Flo water-based dyes are entry-level dyes.
- Eco-Flo 2 in 1 Water-Based Leather Dye tints and protects leather , all combined in one product.
- WATERSTAIN water-based stain has more coverage than Eco Flo 2 in 1. It is a high-end stain composed of a mixture of natural and synthetic waxes, dyes and binders with high penetration power. . It will not rub off and is easy to apply.
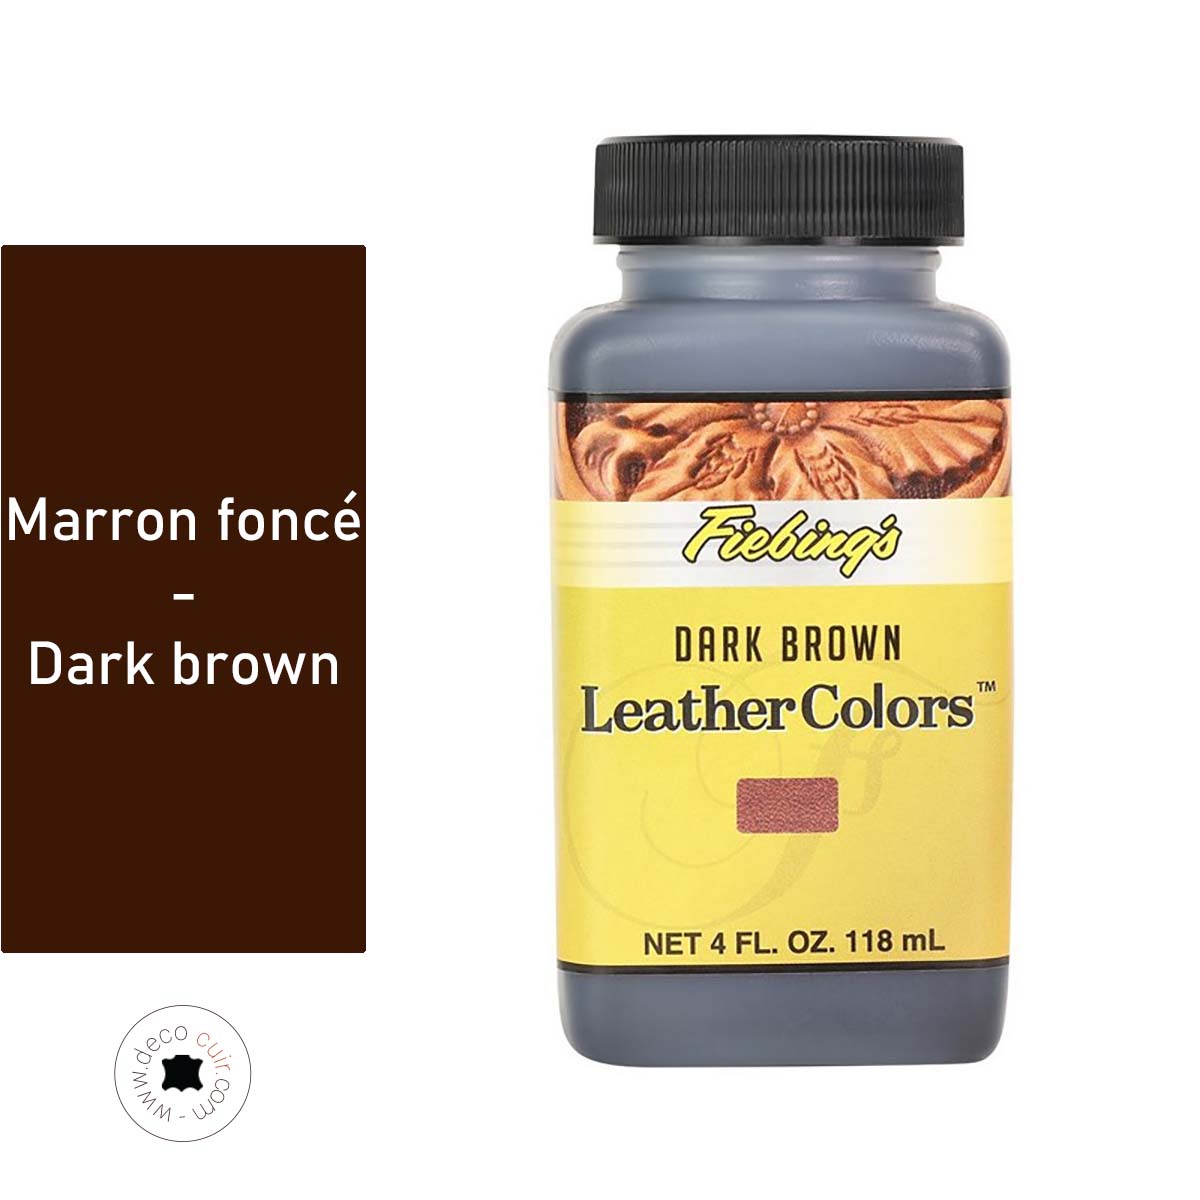
- Fiebing's Leather Colors institutional stain is the professional water-based stain from the Fiebing's brand (originally created for hospitals and schools).
ALCOHOL-BASED LEATHER DYES
Alcohol-based dyes are very penetrating with bright colors and good durability over time . Unlike a water-based dye, these dyes contain an alcohol-based solvent: they should be used in well-ventilated spaces. In case of intensive use, vapor extraction equipment is necessary. Alcohol-based dyes can be diluted with Fiebing's Dye Reducer to make the colors lighter or thin the dye.
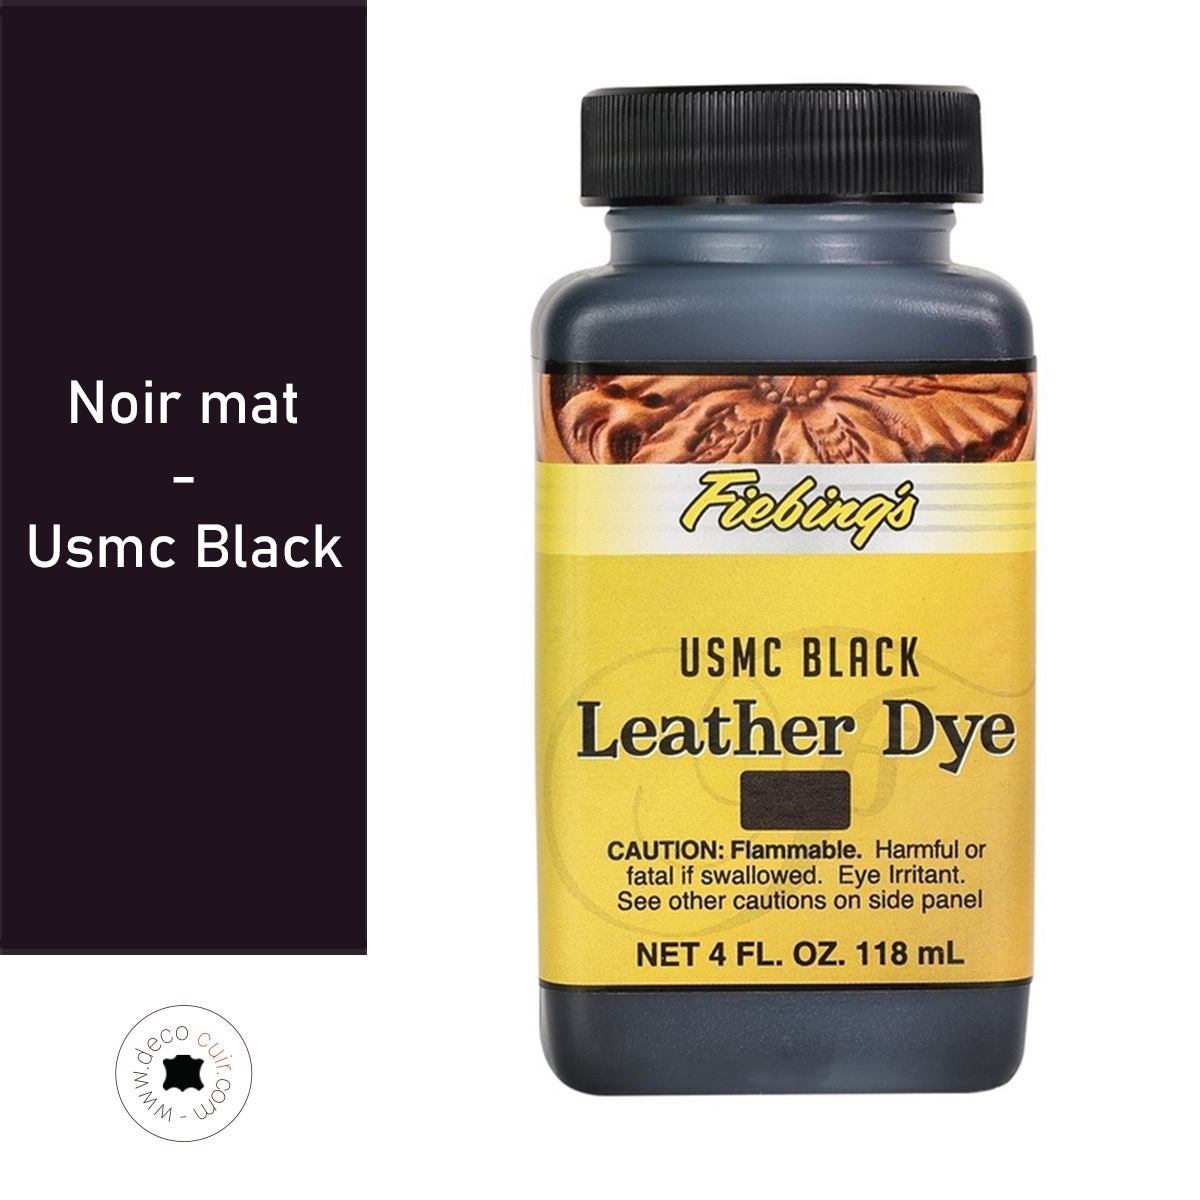
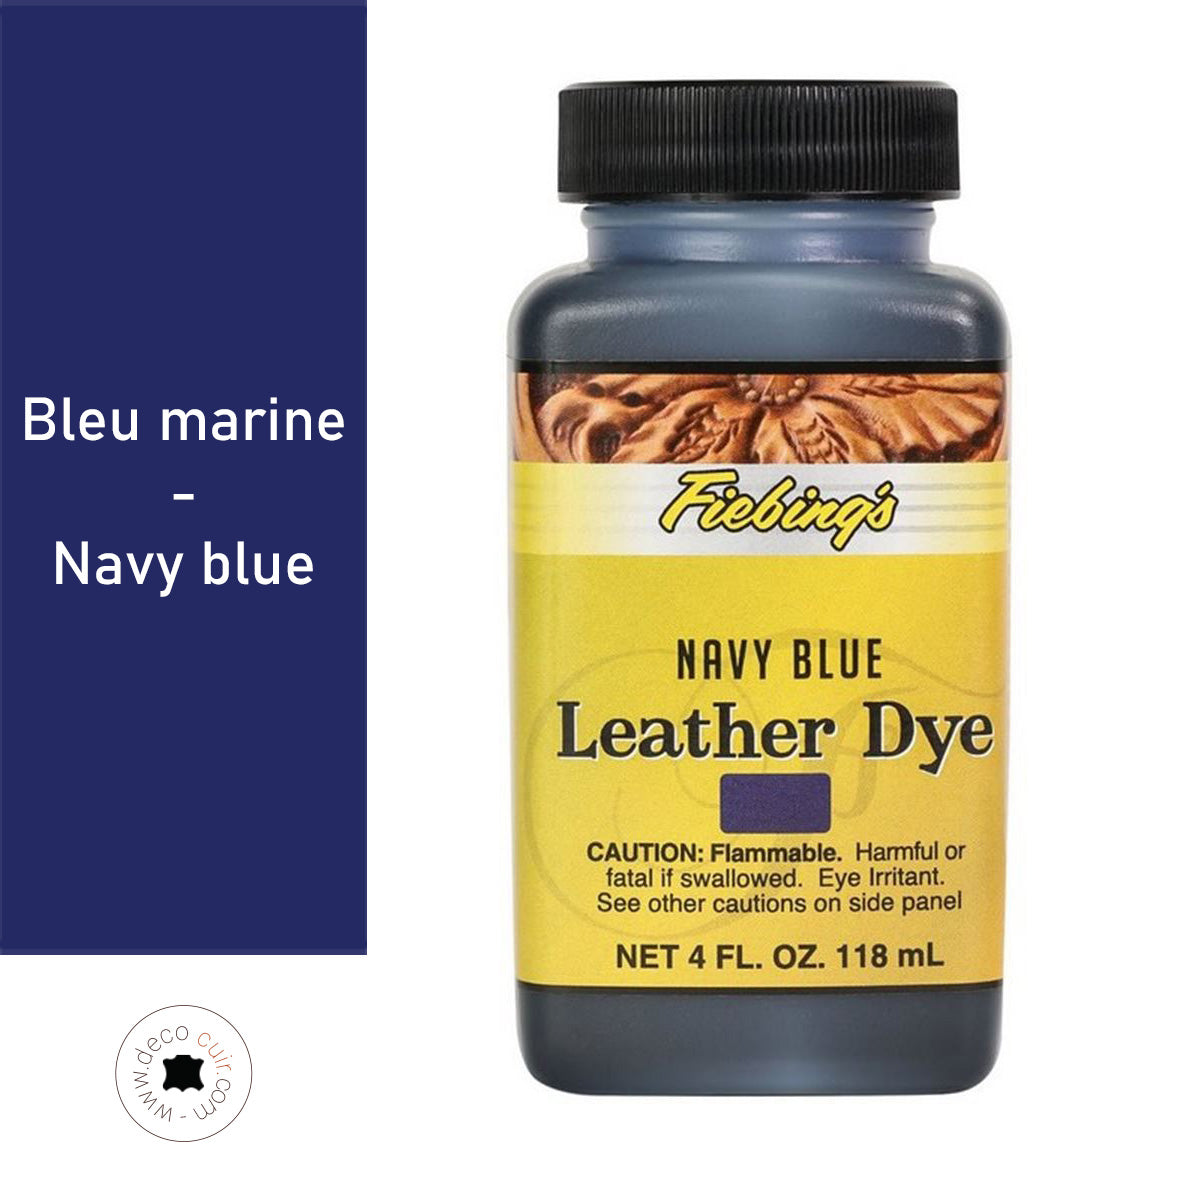
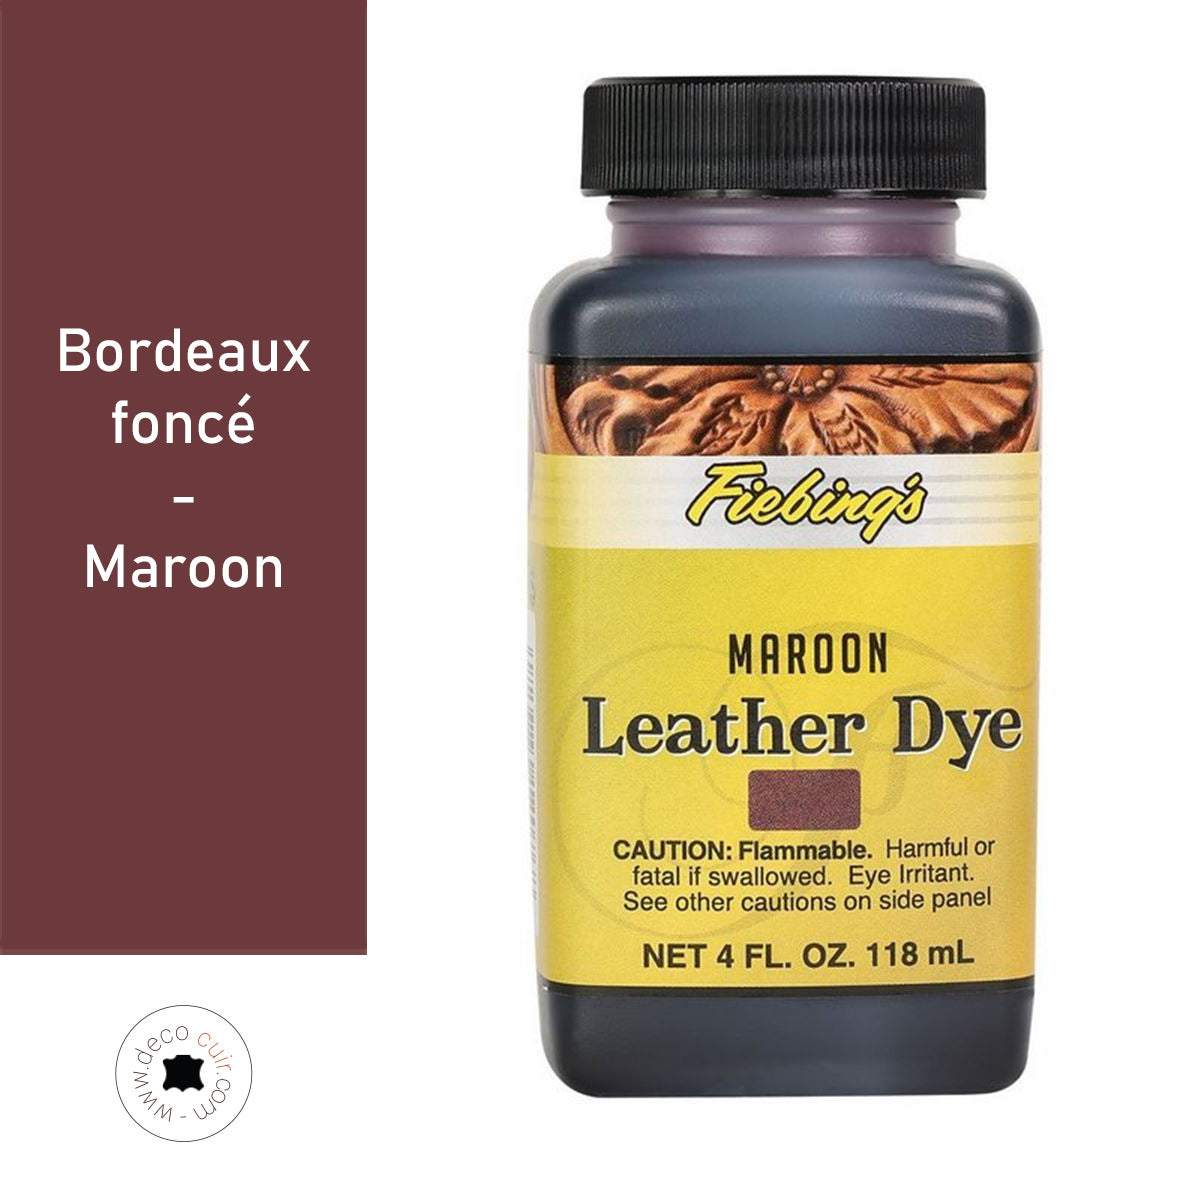
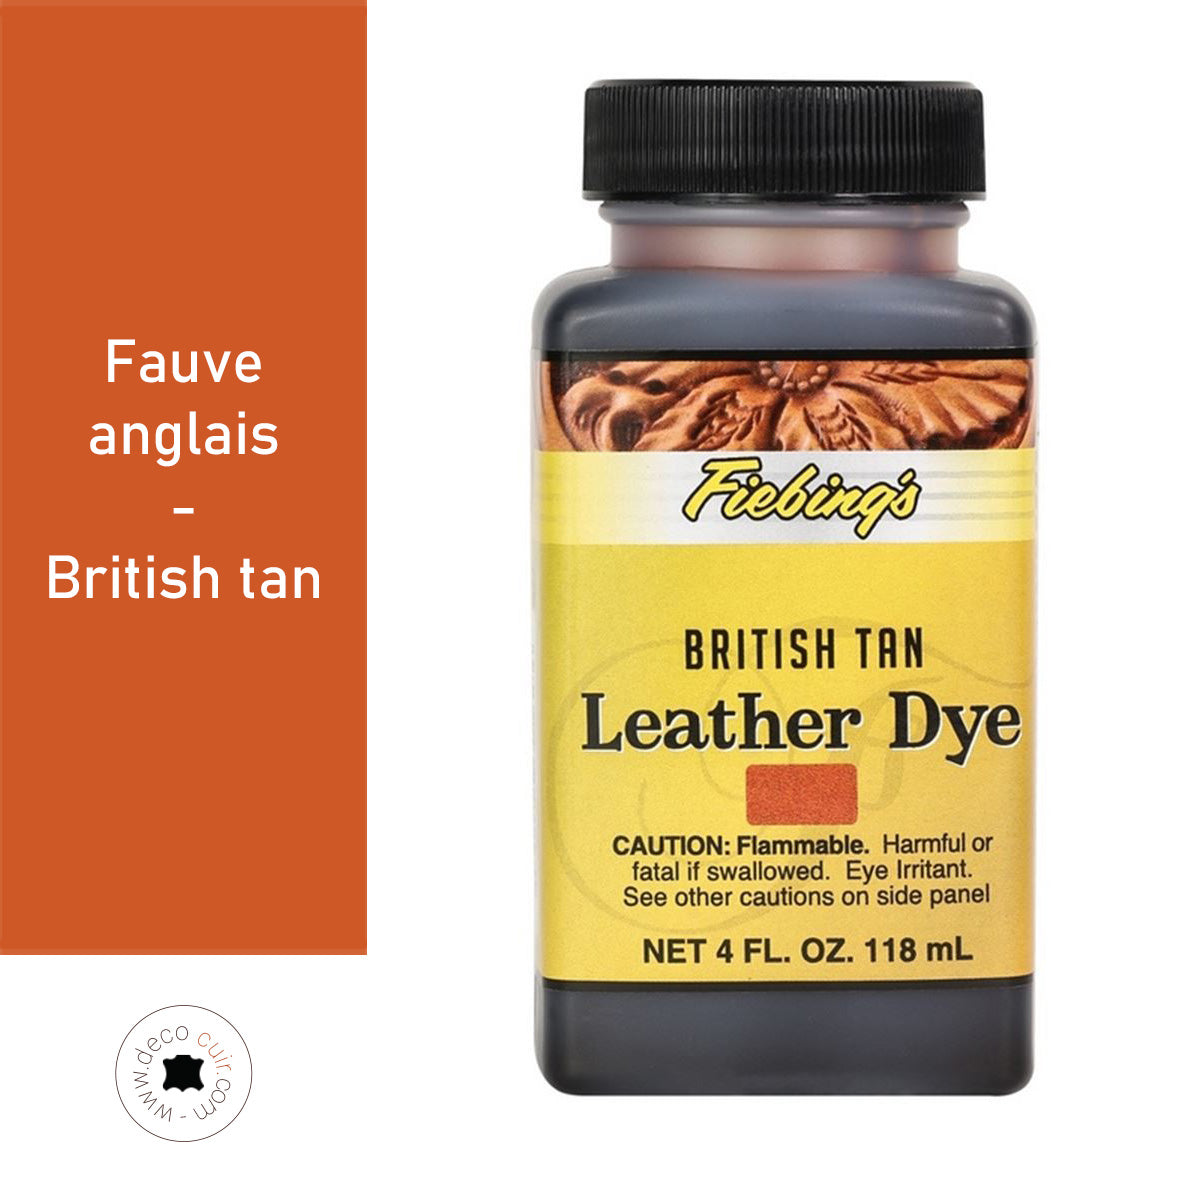
- Fiebing's Professional Leather Dye is the best-seller in the alcohol-based dye market.
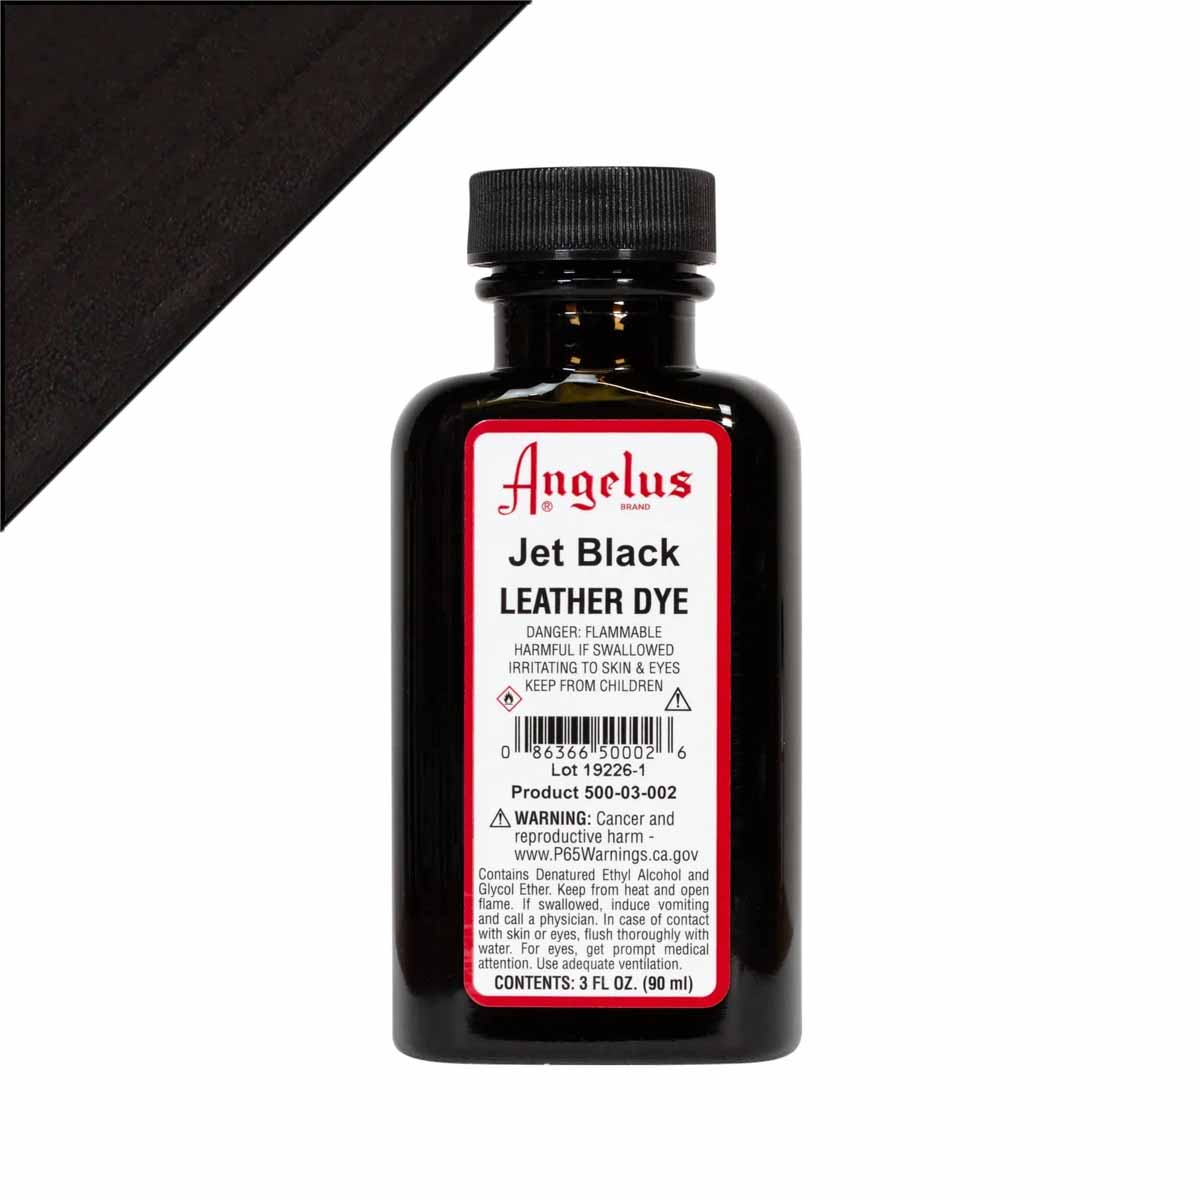
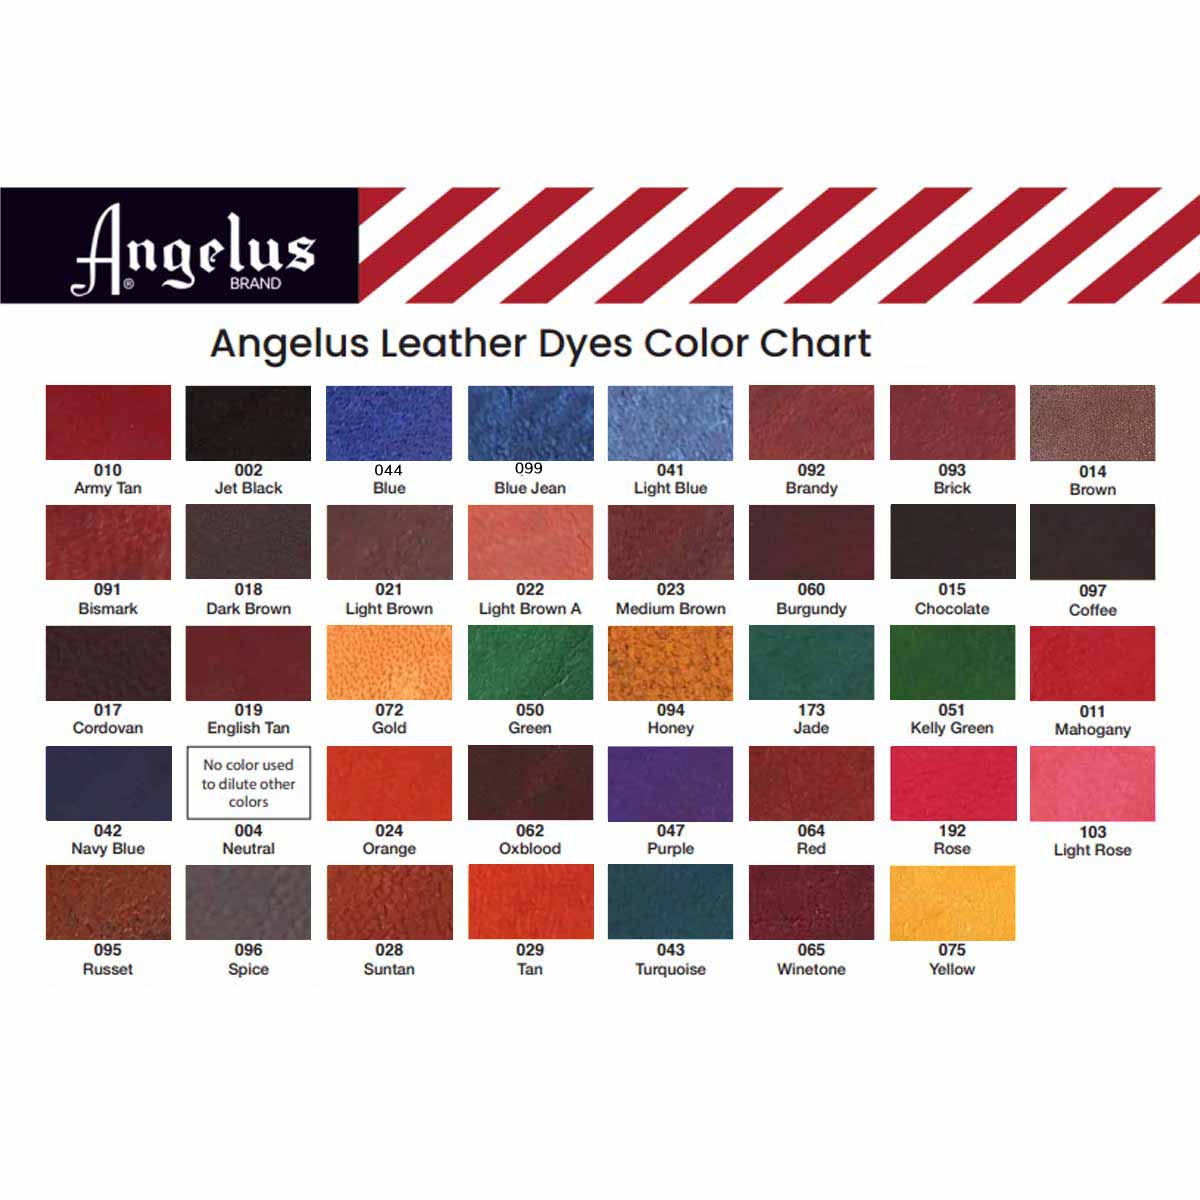
- Angelus Leather Dye penetrates deeply into leather. It is perfect for restoring or coloring your smooth leather.
ALCOHOL AND OIL BASED LEATHER DYES
Alcohol and oil-based stains are high-end stains that offer very good quality results. The oil has the advantage of nourishing the leather, facilitating the penetration of pigments and uniforming the color (avoid differences in color during application). It is the favorite stain of professionals .
- Fiebing's Pro Dye is ideal for tinting large areas! The color has a satin and natural appearance.
WHICH LEATHER DYE TO CHOOSE?
The choice of stain is made according to your project, the desired finish and your budget.
It is possible to mix each family of dyes to create your own shades. The more layers of dye you add, the more your color will evolve. You must therefore do your own tests to arrive at the desired shade.
You should also know that blue and green dyes tend to age poorly if your creations are subject to UV (yellowing).
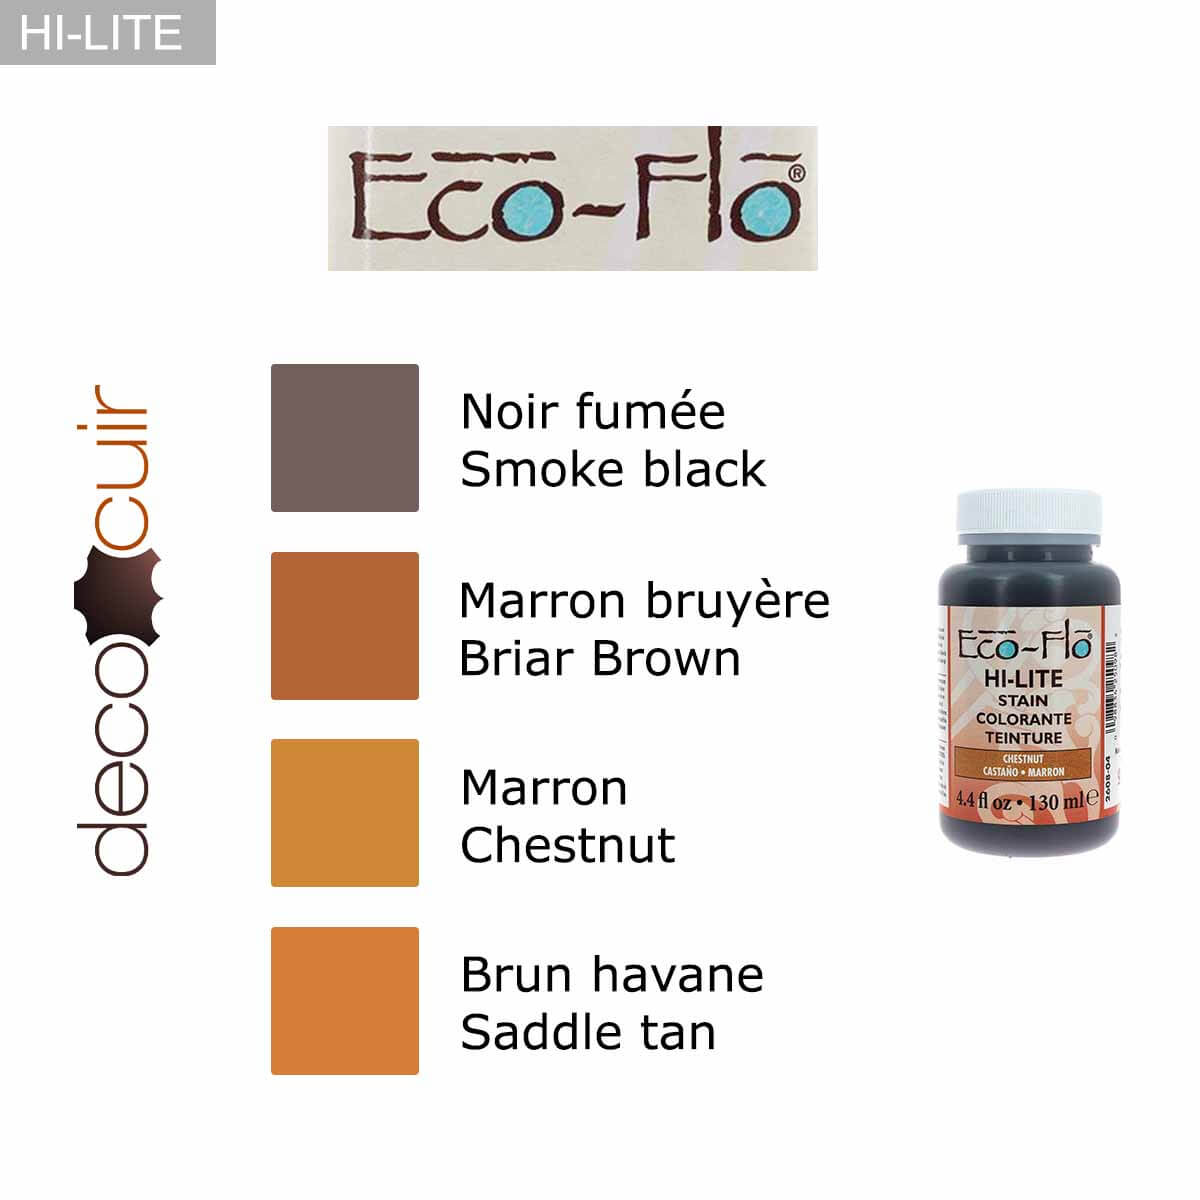
EX. WATER-BASED LEATHER DECOR DYES 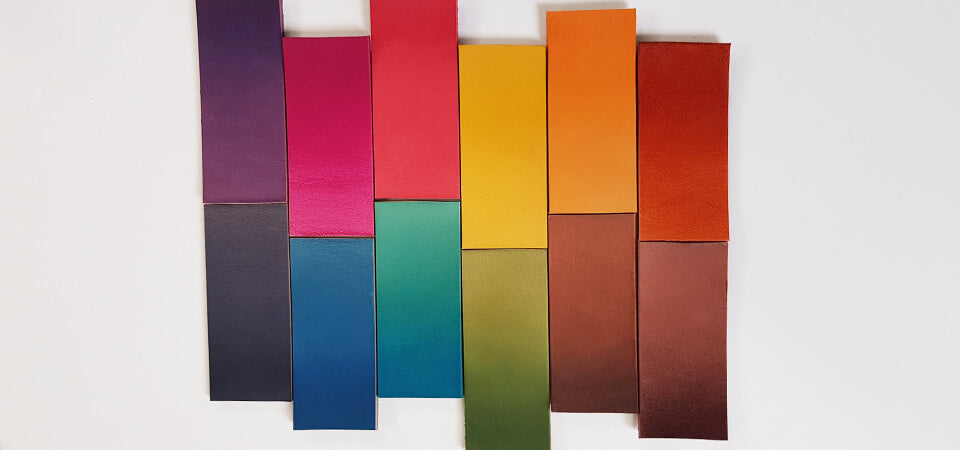
IS IT POSSIBLE TO DYE LEATHER WHITE?
It is not possible to dye natural vegetable tanned leather white but it is possible to paint it ( the result will not be the same ). White dye is used exclusively to dilute/lighten other dyes.
Tanneries have difficulty offering white vegetable-tanned leathers because there is a risk of yellowing with time and UV rays. 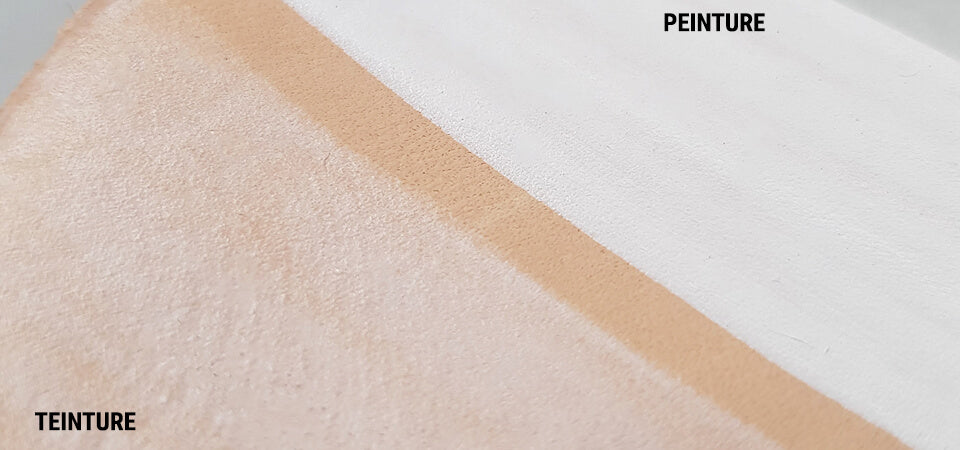
LEATHER PATINA
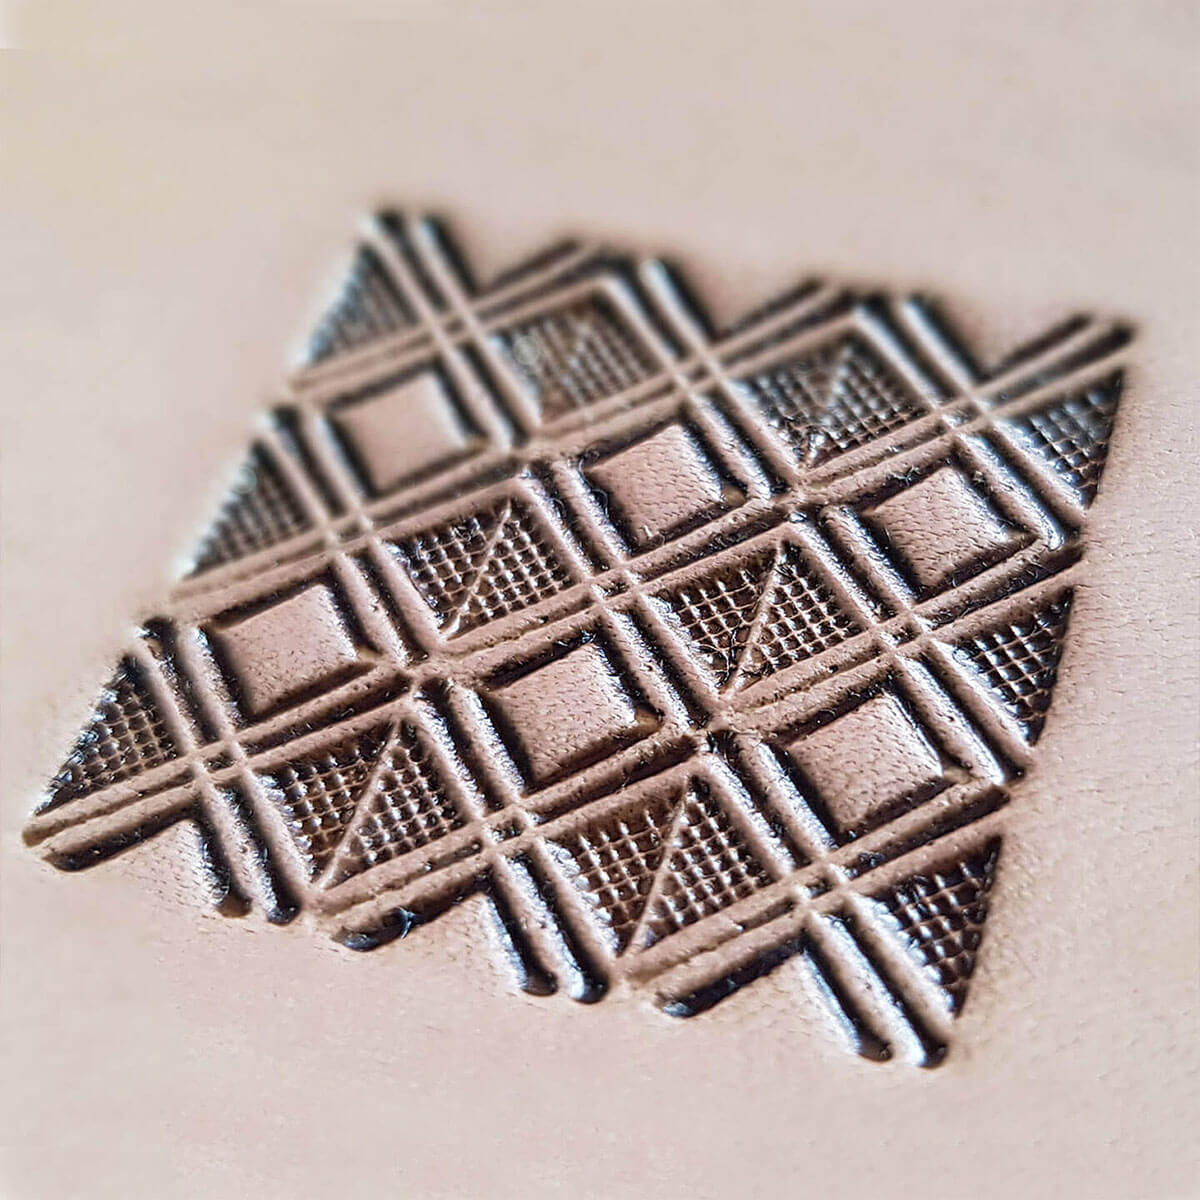
Leather patinas are generally used before or after dyeing, sometimes they even tint the leather directly to bring out the patterns of embossing work or give an antique/aged appearance to your creation. To find out more about leather refinishing, see our guide!
GUIDE TO LEATHER REPUSHING >
ANTIQUE GEL (FIEBING'S OR ECO-FLO)
The antique gel is a 2 in 1 product : it tints your leather giving it an aged appearance and it highlights your embossing work. The work of pushing the leather is highlighted with the obtaining of dark hollows . It is the most used patina: the gel is thick and easy to apply.
Use :
- Apply the desired amount of antique gel to a soft cloth or sheep's wool .
- Work it into the leather using small circular movements until the entire surface has taken on a uniform color.
- Immediately remove excess with a soft, clean cloth and continue rubbing to obtain a shiny surface.
- Let the leather dry then finish with a finish.
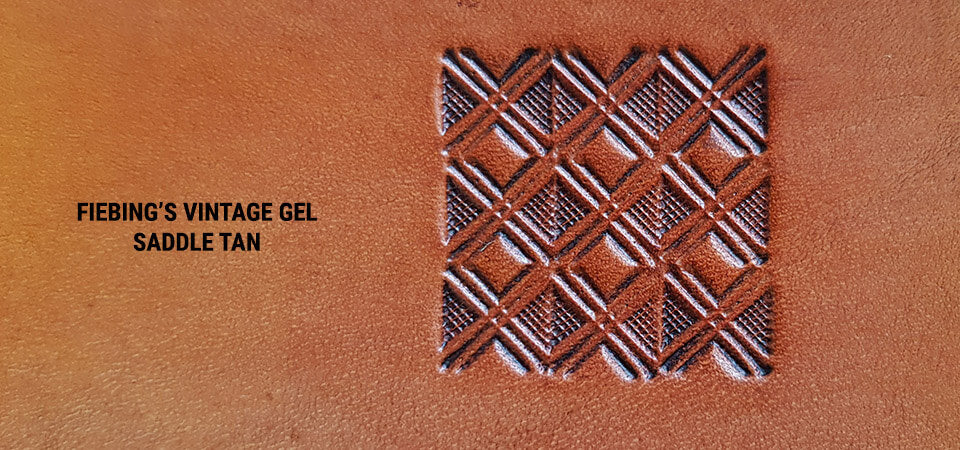
FIEBING'S ANTIQUE LEATHER STAIN
Fiebing's Antique Leather Stain is generally used as a finish after staining . It gives your color an antique effect . This patina was created by Fiebing's for schools, hospitals and other institutions because it is water-based (safe - acrylic patina).
Use :
- Apply the patina in circular motions using a damp sponge, a piece of sheep's wool or an applicator pad.
- Let it dry for a few minutes then wipe off the excess with a cloth. The little extra: for a better result, wipe one last time with a damp sponge.
- Apply a finish .
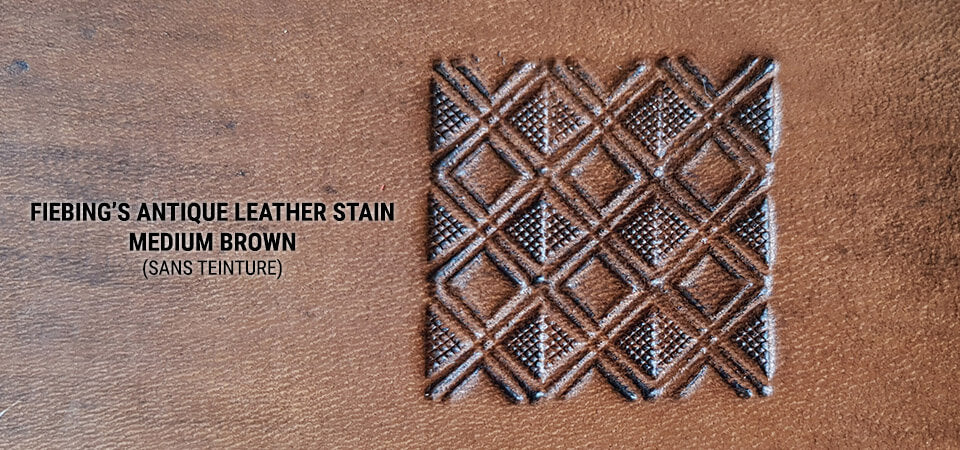
It is possible to apply the patina after a wood filler/stain blocker such as Pro-Resist or RTC . The patina will give relief and an antique side to your embossing work by “filling” the hollows. See the photo below ©Yves Lesire .
WATCH THE RTC/PRO-RESIST VIDEO AND GUIDE >
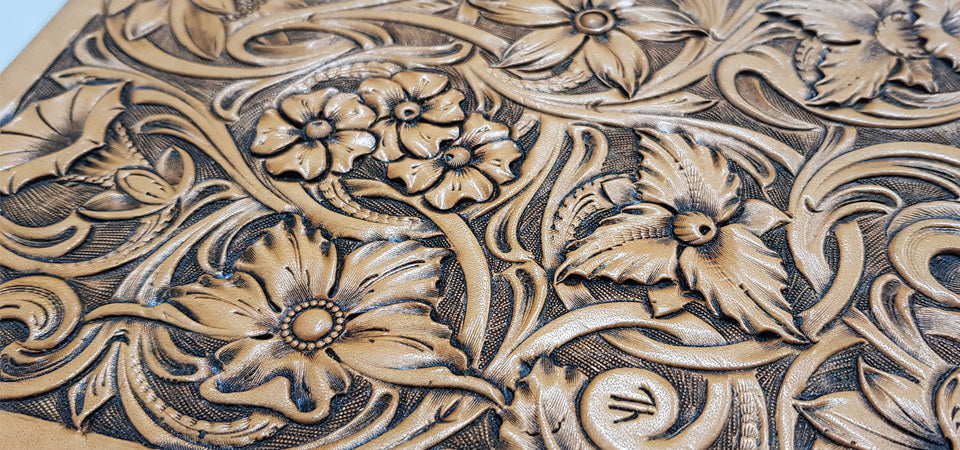
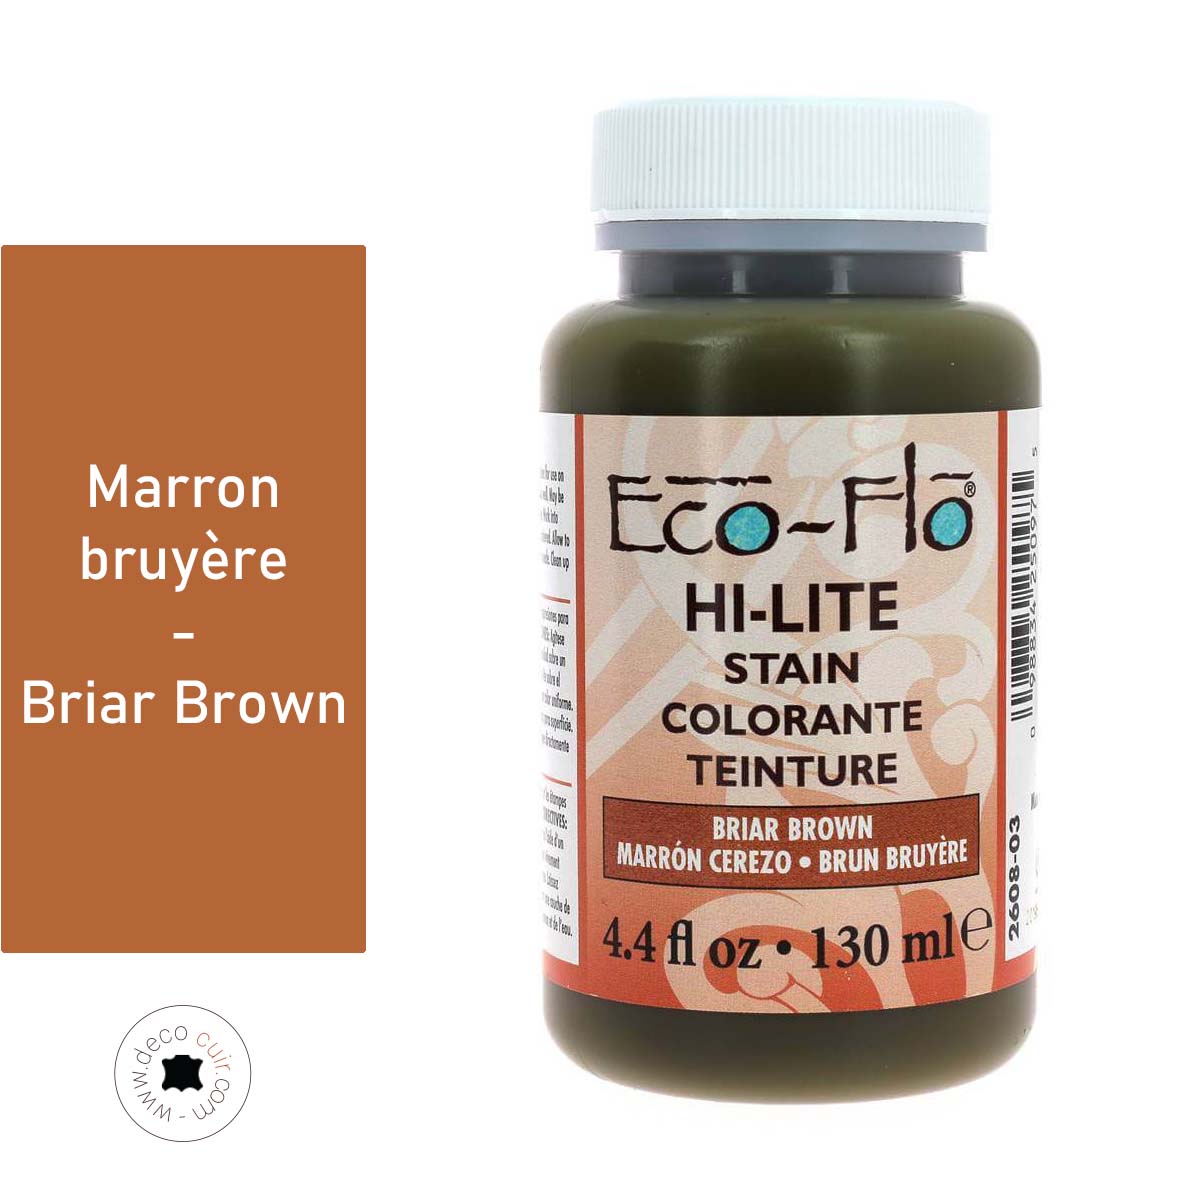
HI-LITER FROM FIEBING'S OR HI-LITE FROM ECO-FLO
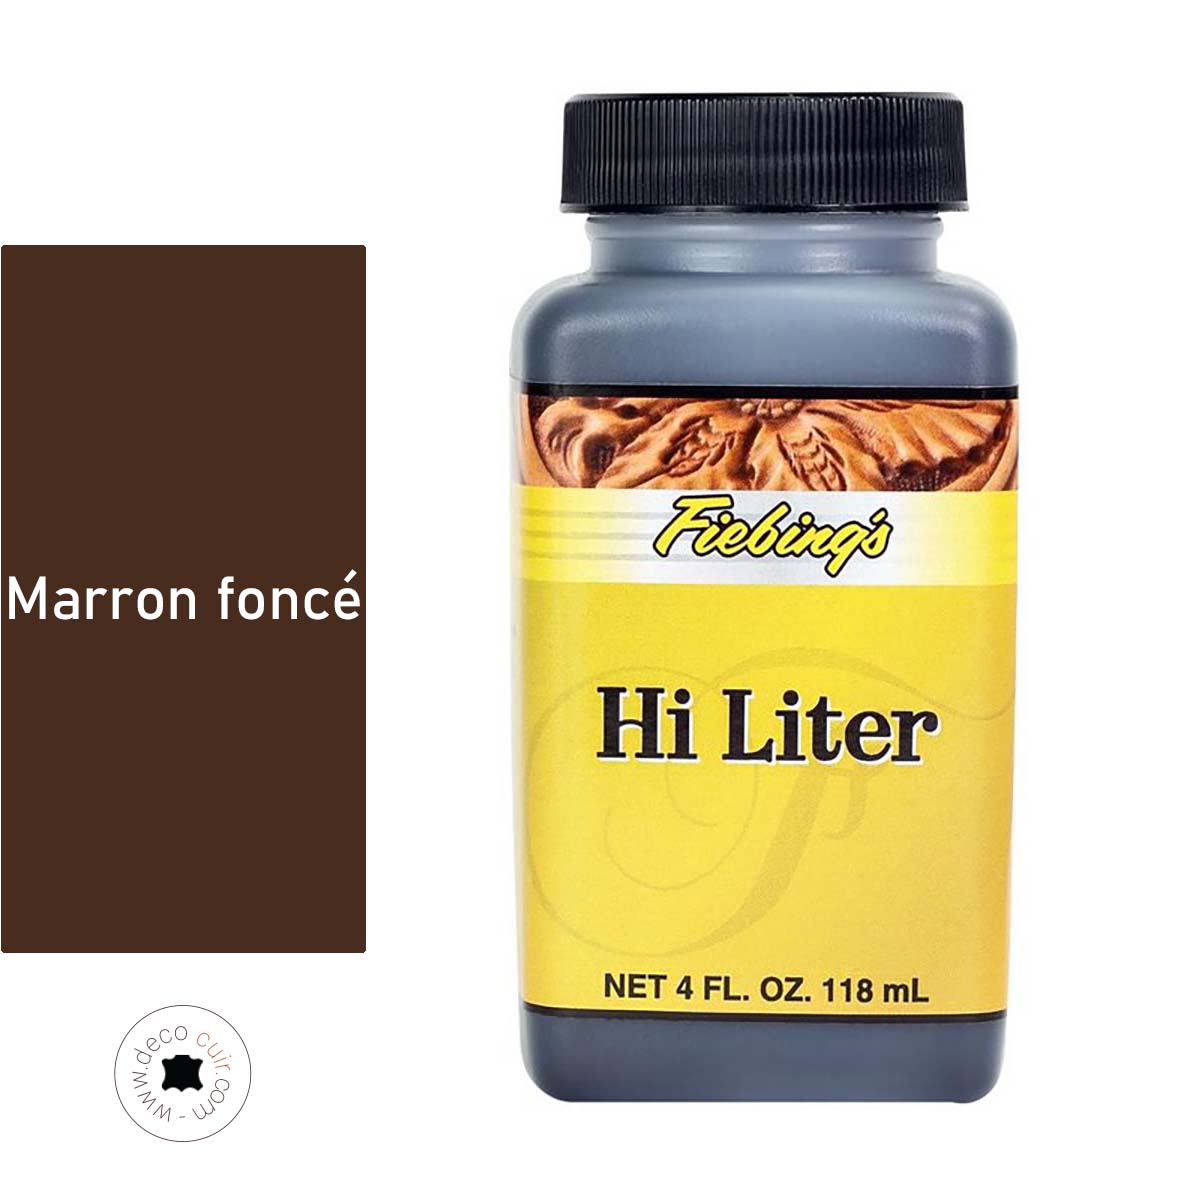
Fiebing's hi-liter lightly colors the leather (light brown tint) and darkens the recessed parts (dark brown). The patina highlights the embossing work by revealing maximum contrast. Our favorite for quickly obtaining a beautiful natural and shiny finish .
Use :
- Apply the patina with a damp sponge or damp applicator pad and work it well into all the cutouts/reliefs.
- Wipe off excess product with a damp sponge.
- Apply a finish .
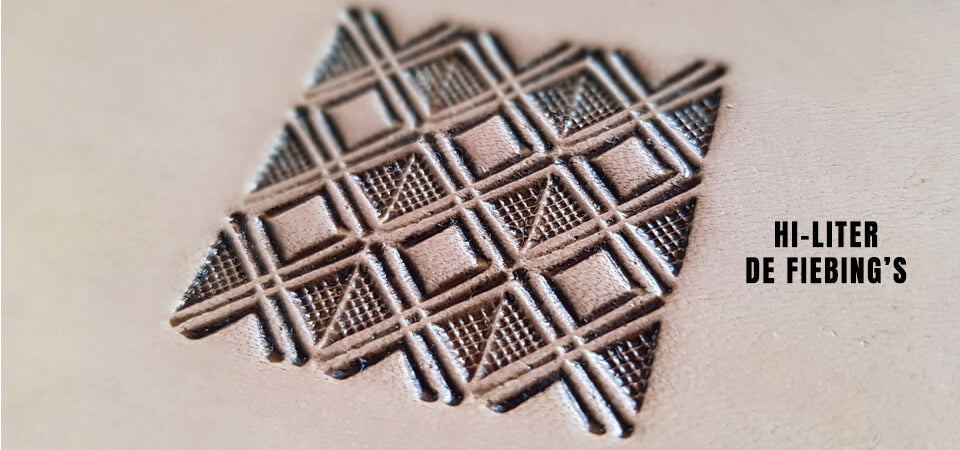
FIEBING'S ANTIQUE FINISH
Fiebing's Antique Finish Patina is a soft, shiny patina that emphasizes embossing with a subtle two-tone effect . Fiebing's Antique Finish patina is also applied as an additional finish after dyeing (Leather Dye or Pro Dye) to give the leather a natural and more powerful ( antique ) appearance. This patina is solvent-based.
Use :
- Apply the patina with a woolen pad or soft cloth and work it in well with circular movements.
- Apply a finish .
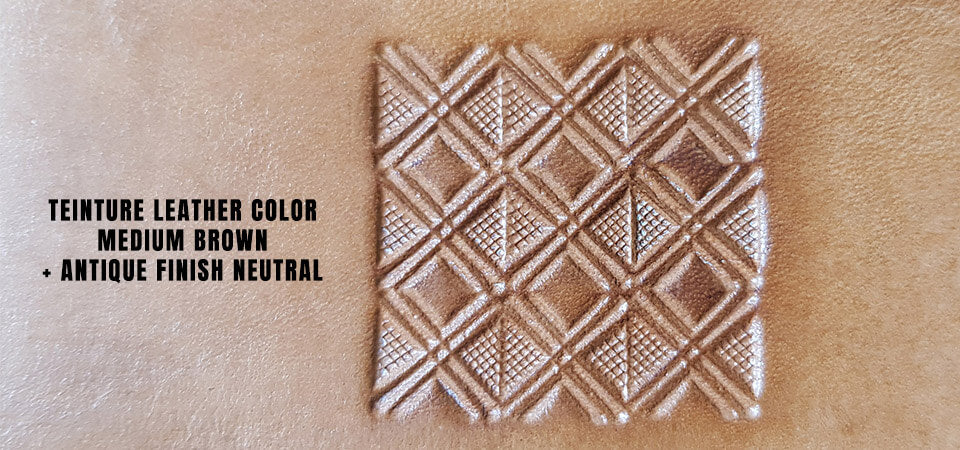
CAUTION: patinas are very sensitive to water; it is necessary to protect them with grease or varnish.
ARE THERE “NATURAL” DYES?
Vegetable tanned leather can be dyed with natural dyes: walnut husk, tea, coffee, olive oil ( be careful to choose your oil carefully )... You can also create your own techniques by dyeing the leather with vegetable tanned leather. soap ( see the video and photo below ) or shaving foam. Don’t hesitate to share your discoveries with us! 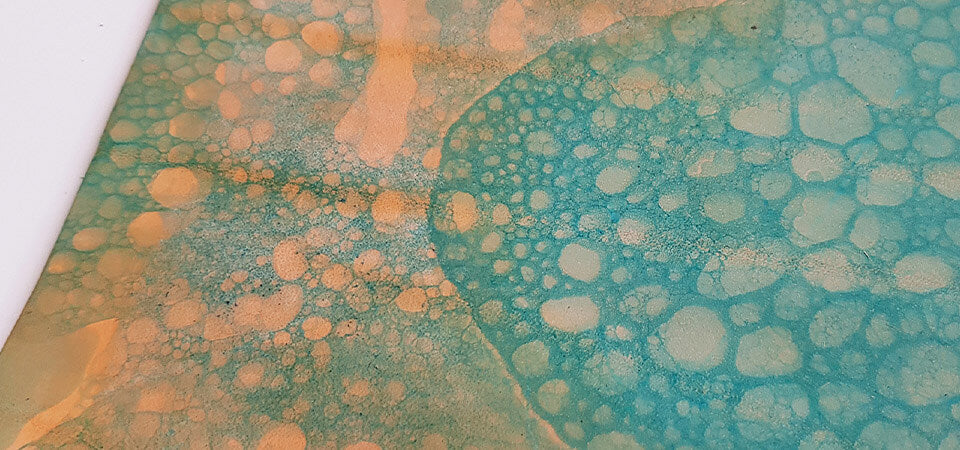
HOW TO DYE NATURAL VEGETABLE TANNED LEATHER?
Do you want to have a homogeneous result and not have marks on your leather when dyeing?
There is no "magic" method but good practices that we explain to you throughout this guide. Training and testing are the key to success: your movements must become mechanical.
PRECAUTIONS TO TAKE BEFORE TINTING LEATHER
- Protect your work surface and work in a well-ventilated room if you use an alcohol-based product (solvent).
- Make sure your workspace is clean . Any trace of grease or perspiration would prevent the dye from penetrating: if necessary, use Fiebing's Dye Prep product (compatible with all dyes) to prepare your leather. To remove finishes, we advise you to apply Fiebing's DEGLAZER degreaser preparer before dyeing.
- Protect your hands with nitrile gloves (this will keep you from looking like a Smurf).
- Dye your piece before cutting the leather to have homogeneous edges and not to have overflows on the edges (ideal even if it is less economical).
- Shake the pot before dyeing.
- Apply the stain in a thin layer with drying time to avoid a cardboard effect.
- Experiment as each leather reacts differently to the dyeing process.
SHOULD YOU MOISTEN THE LEATHER BEFORE DYEING?
Everyone has their own method. Our opinion: we do not think it is necessary to moisten the leather before dyeing. The application of the stain and the result are similar ( see the video at minute 3:32 ). However, we strongly recommend moistening your sponge before dyeing so that it is "less thirsty", makes it easier to glide and does not scratch the leather. Be careful not to drown the leather.
Regarding the application of alcohol-based dyes : we advise you to apply 100% neat 's foot oil before dyeing. The oil facilitates application and limits marks on the leather ( see video at minute 5:25 ). 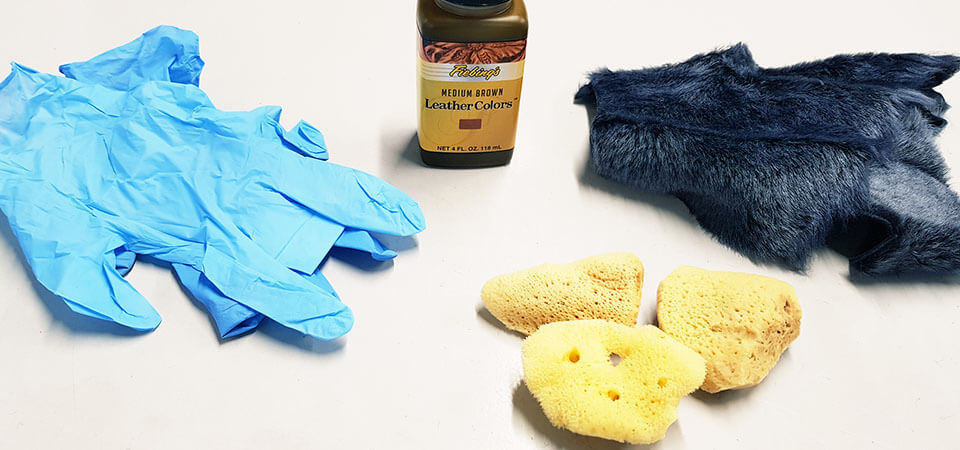
HOW TO DYE LEATHER BY HAND?
The ideal is to tint the leather with a natural sponge or sheep's wool ( with the hairs cut close ).
- Remember to moisten your sponge so that it doesn't get too thirsty.
- Do not press the sponge too much to avoid marks (use light movements).
- Dye the leather in a circular manner : the more dye there is, the more you will have to enlarge the movement (with each new layer).
- Try to follow the direction of the veining as much as possible .
If you want to dye the leather with a cloth: we advise you to make a ball ( see the video at minute 12:26 ) to prevent the cloth from polishing the leather and the dye from not holding.
After applying the dye you need to let it dry/soak into the leather. Between each coat and after the last coat, it is essential to polish the leather with a soft cloth to block the pores and avoid transfer/bleeding. Do not press too hard and wait for the cloth to slide off on its own (buffing) .
WHAT TO DO AFTER THE LAST COAT OF STAIN?
After letting the dye soak in and then polish your leather, you can nourish it with neatsfoot oil . Since dye tends to dry out leather, oil will restore suppleness to your creation.
Be careful to select real neatsfoot oil and not oil “based on” or “type of” neatsfoot which contain vegetable and mineral oil and which greatly darken the leather.
Tip : if you have work in progress but you don't have time to finish it, you absolutely must oil it otherwise the leather will work (curl ). 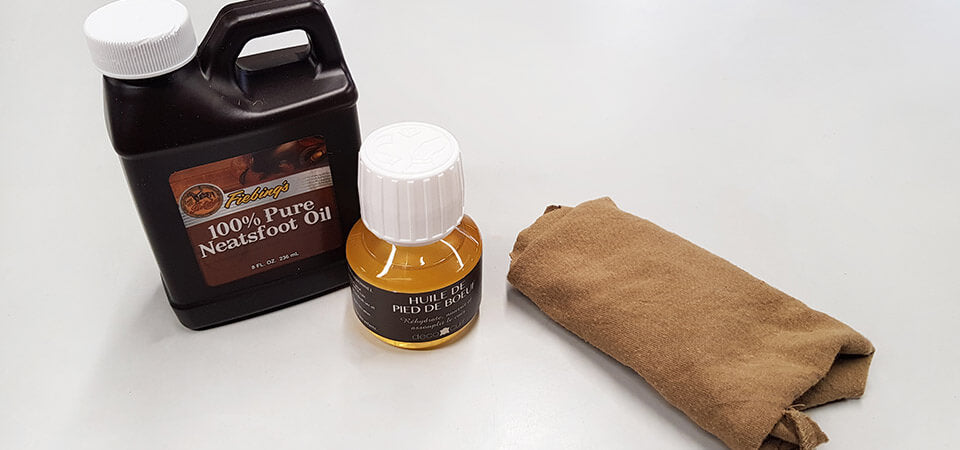
HOW TO DYE LEATHER WITH AIRBRUSH?
WHICH DYE TO CHOOSE?
To tint your leather with an airbrush, we advise you to favor alcohol-based dyes because they are more fluid (e.g. Leather Dye from Fiebing's ). You can also use water-based dyes ( aqueous base ) but they are more difficult to use ( risk of droplets ).
We do not recommend oil and alcohol-based dyes ( e.g. Pro Dye from Fiebing's ): the oil risks being propelled last and therefore risks staining your leather.
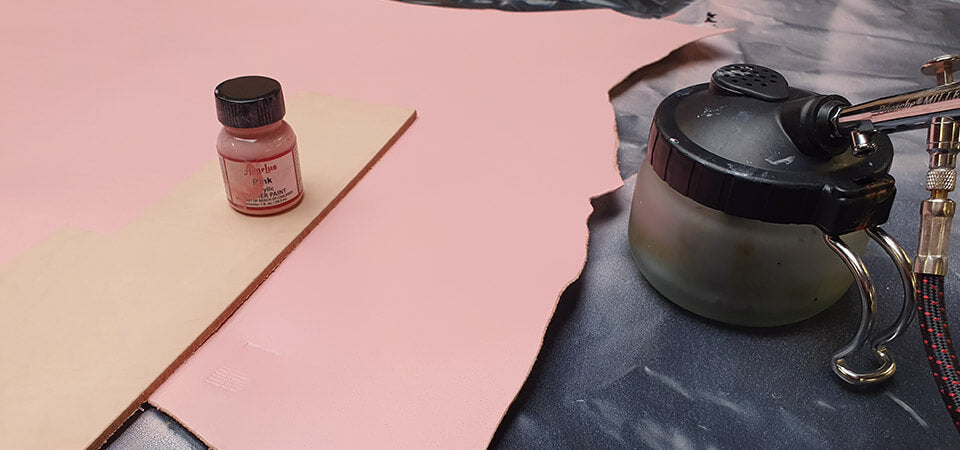
You can also use the airbrush with leather paints but you will need to dilute them . The perfect dilution for the vast majority of paints is to have the consistency of milk. Find Angelus 2-THIN paint thinner (ref. WA066) in our store.
Example of result: Angelus leather paint (on natural vegetable tanned leather).
PREREQUISITES
Dyeing leather with an airbrush has several advantages: faster, more efficient and more economical than dyeing leather with a sponge ( less dye is used ). There is no need to moisten the leather because the pressure is so strong that the dye penetrates directly into the leather.
- Work in a ventilated space .
- Wear a mask and protect your workspace .
- Adjust the airbrush pressure by referring to the instructions for your equipment. In our case the pressure must be between 20 and 55 PSI. We work around 30 PSI.
- Remember to turn off the compressor when not in use to avoid overheating (maximum 1 hour continuously).
- Release air from compressor before tinting (water droplets may form in nozzle).
THE AIRBRUSH WE SELECTED
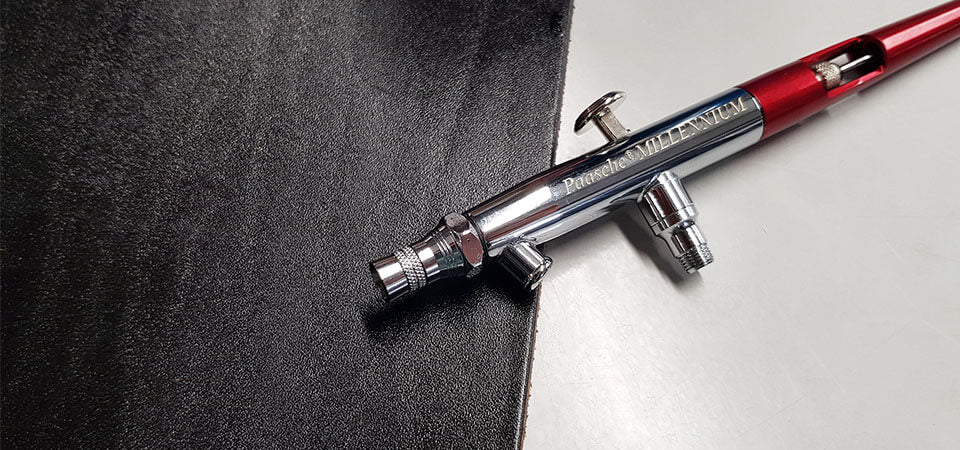
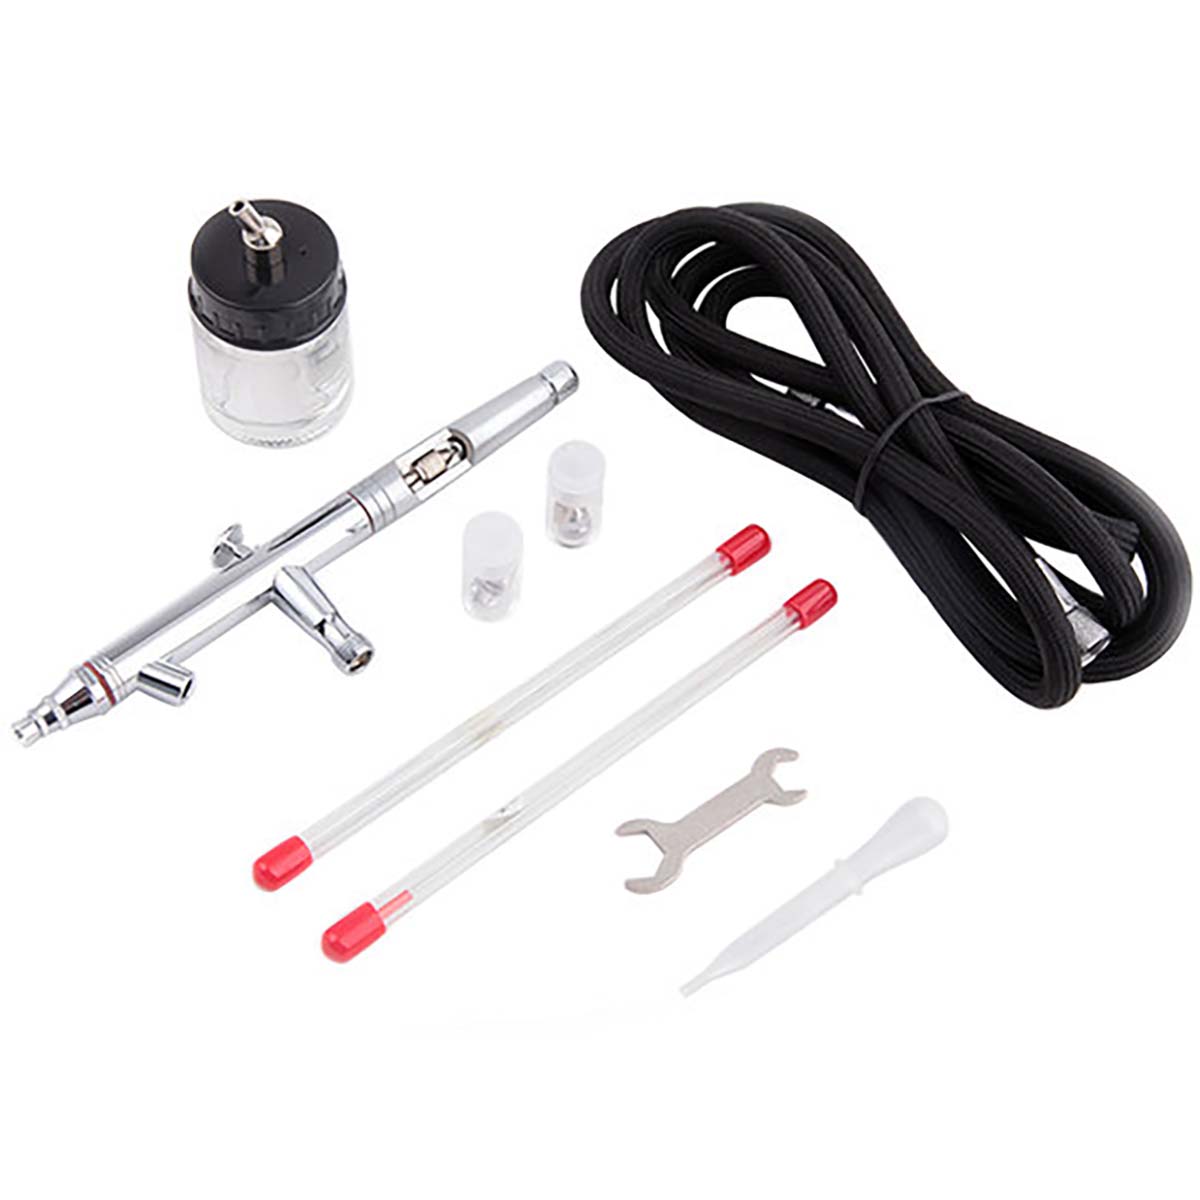
We recommend the Paasche Millenium professional airbrush. It is a suction and double action airbrush.
A LITTLE BIT OF TECHNIQUE"
- A vacuum airbrush has the dye reservoir below the gun, allowing for a large capacity of dye to spray. However, this type of airbrush is more difficult to master.
- A gravity airbrush is more precise (the dye goes down) but there is less dye to spray.
“ Dual action ” airbrushes separate air flow and dye flow. When you press the trigger, the compressed air is released from the compressor then, by pulling it back (while still holding down), the dye comes gradually. 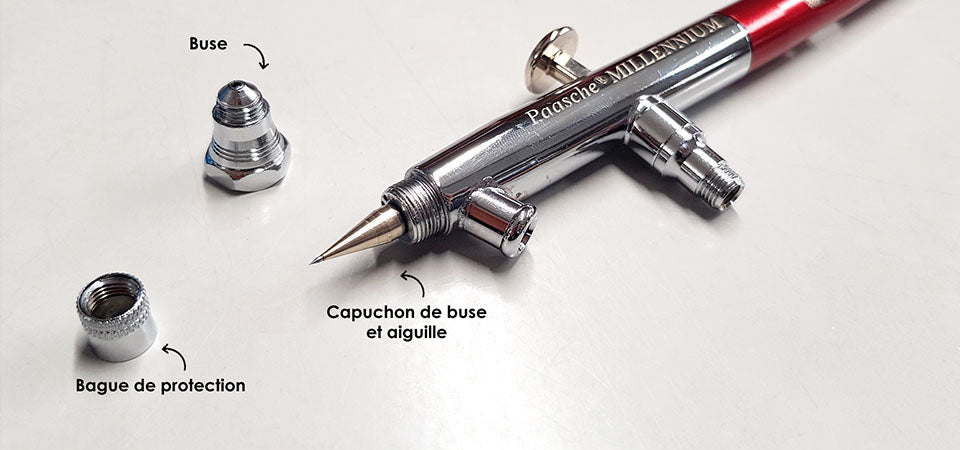
HOW TO CLEAN THE AIRBRUSH?
If you dye the leather with an alcohol-based dye, you will need to clean the material with acetone ( see the end of our video ). An airbrush cleaning station is also highly recommended.
HOW TO DYE THE SPLIT SIDE OF LEATHER?
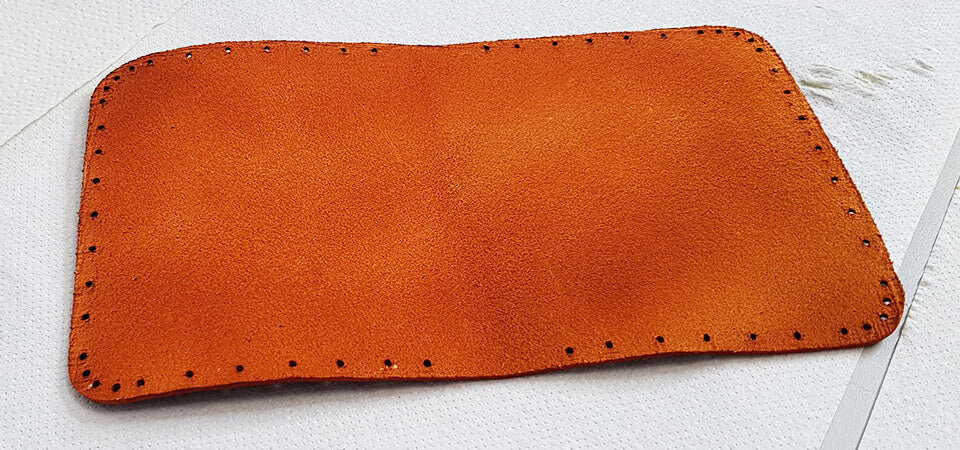
If you wish to tint the crust/flesh side of your leather we advise you to do so with an airbrush . The dye penetrates and dries almost instantly because it is propelled by compressed air.
We do not recommend tinting the flesh side with a sponge as there is a risk of migration towards the flower side . In addition, tinting the crust side weakens/stiffens the leather. Using an airbrush only tints the leather on the surface and has less tendency to harden it.
Second option: you can tint the crust side with Tokonole : black, brown or neutral finishing gum (which you can mix with dye).
SEE THE TOKONOLE GUIDE >
WHAT TO DO IF MY DESIGN CONTAINS WRINKLES?
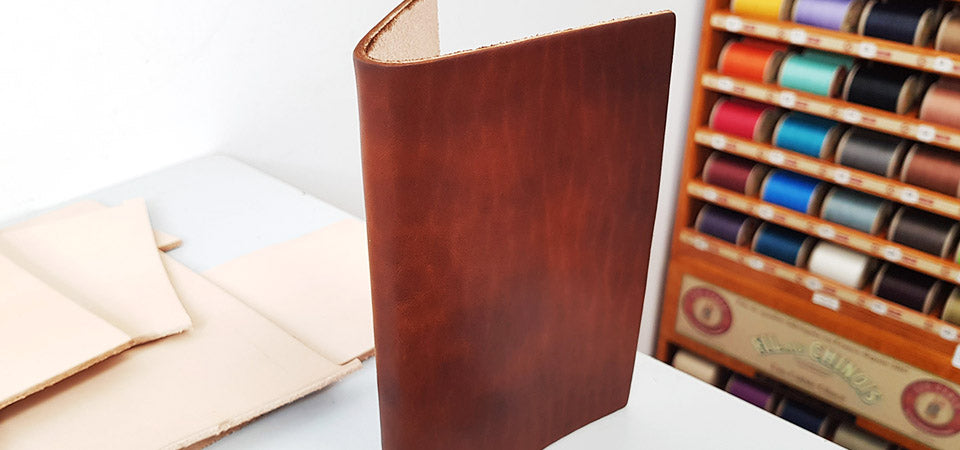
If your creation contains areas of fold, it is first of all advisable to " put it in a boat ": that is to say, to remove material from the place of the fold using a stitching groover/ gouge or a French abat-carre (make a furrow).
The fold areas that are dyed tend to lighten ( see the dyeing video at minute 10:30 ), do not hesitate to tap your sponge with dye on this area.
VIEW FROWS/GOUGS >
WHAT IS DIP DYEING LEATHER?
Diving leather dyeing involves dipping your leather in a tank of water and dye (usually oil/alcohol dye - ProDye from Fiebing's).
Corter Leather is one of the protagonists of this “ Floating Leather Dye ” technique, particularly with the combination of different shades to obtain marbled leathers or with a “Tie and Dye” effect.
We have to be honest, this dyeing method dries out the leather a lot and is not very "economical" but the result is worth it!
Go to minute 15:26 of our dyeing video. 
SEE THE MARBLING PAINT GUIDE >

HOW TO FIX THE COLOR?
WHAT TO PUT ON YOUR LEATHER AFTER DYEING?
You are not required to put a varnish on your creation after dyeing unless it may be subject to bad weather (handbag, motorcycle bag, etc.). We advise you to allow a drying time of 24-48 hours between the application of a stain and the finish.
The choice of finish is made according to your habits, your budget and your creation.
THE DIFFERENT FINISHES:
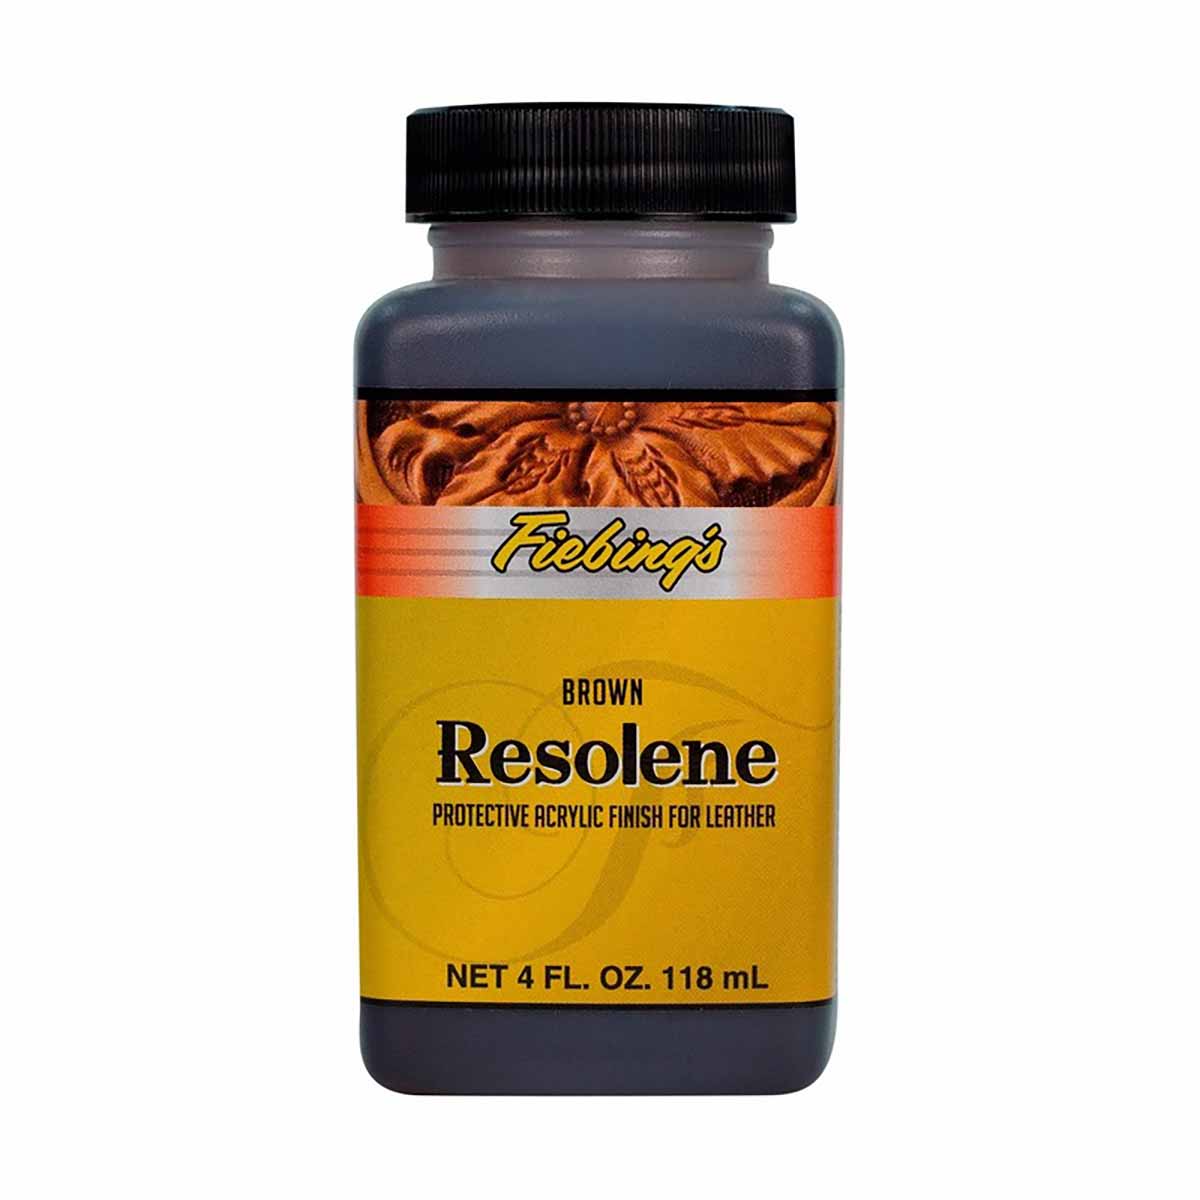
- RESOLENE FROM FIEBING'S : THE most used finish. It prevents the leather from fading and protects it from bad weather. It is a thin, flexible, slightly shiny and waterproof varnish. Be careful, this varnish must be applied in a thin layer otherwise it risks cracking in the fold areas and creating bubbles. This dye is perfect for shoes and bags.
Image translated by Deco Cuir and produced by Fiebing's. 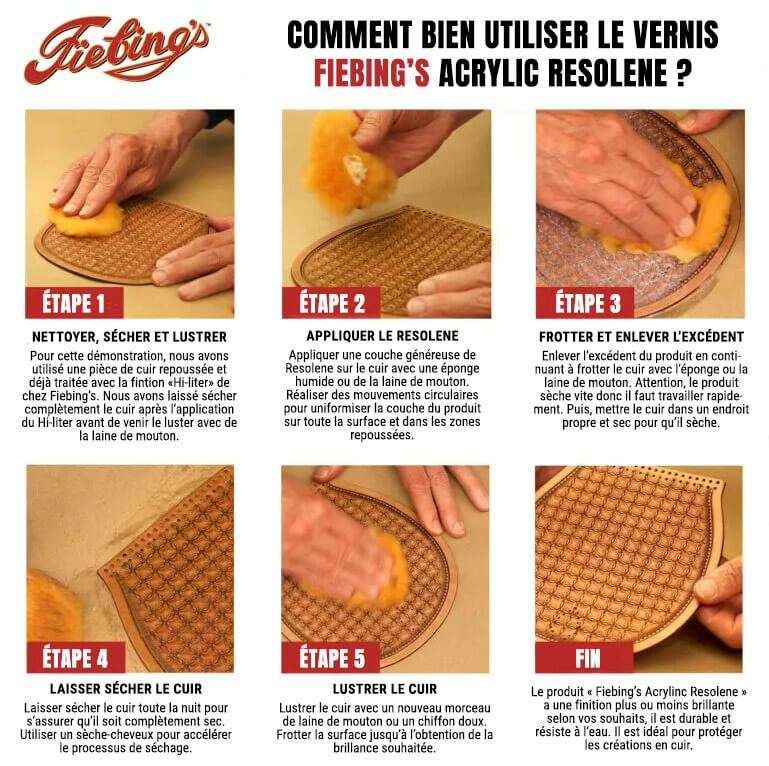
- LEATHER DECO FIXATIVE : on the grain side: the fixative helps to fix the dyes and provides protection to the leather. The varnish is slightly shiny and waterproof.
- SATIN SHENE OR SUPER SHENE FROM ECO-FLO : water-based , low VOC, durable, water-repellent, flexible and acrylic-based finish. It can be applied to natural vegetable tanned leather or to all antique dyes and gels in the Eco-Flo range.
The finish can also be used as a blocker if you wish to protect areas from dye or antique gel: apply 2 coats of Satin Shene (matte finish) or Super Shene (glossy finish) to the areas to be blocked then tint your leather.
- INSTITUTIONAL LEATHER FINISH : this finish has been specially designed for schools, nurseries, hospitals and prisons. It is a non-toxic, non-flammable, water-based finish. Once dry, the result is similar to what you get with Fiebing's Resolene . Finish to be applied with a spray bottle, soft cloth, sponge or brush.
- LEATHER SHEEN : 2 in 1 acrylic-based product which prevents the leather from drying out while giving it a shiny side. The varnish layer is water resistant and very flexible, it is the most natural finish that resists water (waxed finish). It can be applied to all types of leather items.
- TAN KOTE : Tan Kote is not a water resistant finish. It is a dehydrated natural resin-based finish that is generally used for belts. The result is natural and satiny.
- LEATHER BALM : balm, without waterproofing function. It softens and makes the leather shine. Ideal for belts and boots.
- FIEBING'S PRO-RESIST or BEE NATURAL LEATHERCARE RTC : these are products specially designed for color blocking to be applied before using an antique finish. They also work as water, dust and sun resistant protection.
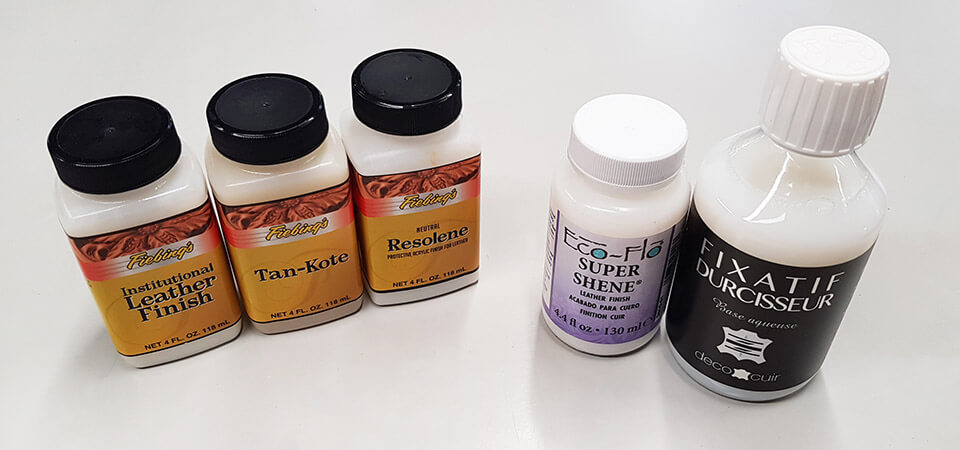
RESOLENE and INSTITUTIONAL LEATHER FINISH from Fiebing's as well as FIXATIVE from Deco Cuir react in the same way both in terms of protection and finish (all 3 have a glossy finish). 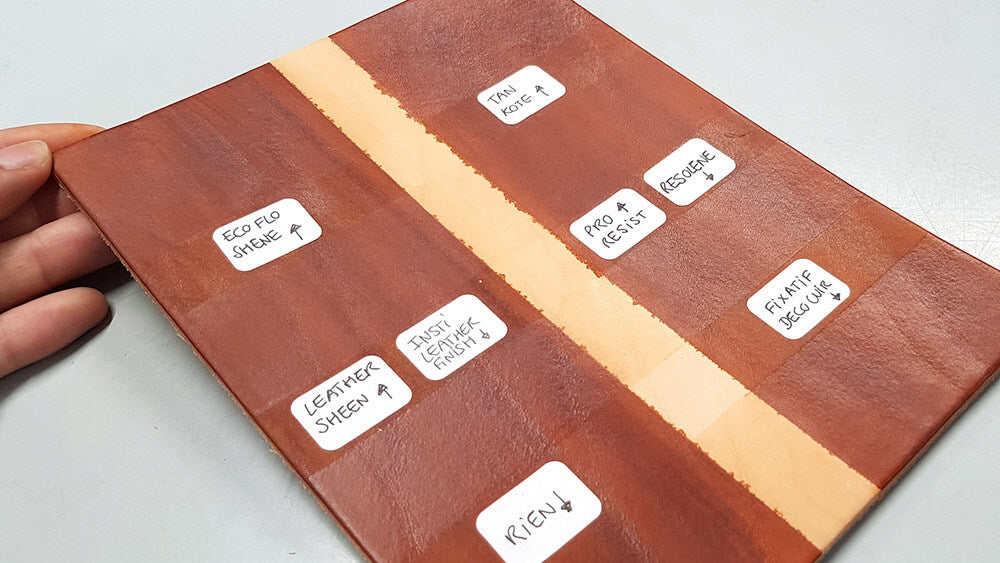
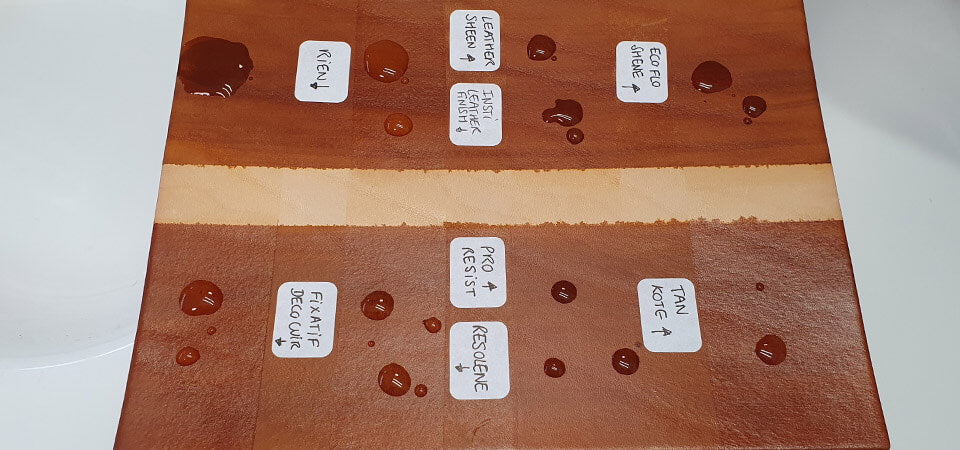
WATERPROOF FINISHING TEST
We have tested each product for you on each dye. This first table highlights finishes that resist bad weather (water repellent) and prevent bleeding . To do this we put a drop of water on each finish and stain and then saw if any stains formed.
| Stains and Finishes | Super Shene | Satin Shene | Hardening fixative | Resolene | Pro-resist | RTC | Tan Kote | Leather Sheen | Insti. Leather Finish |
| Leather Deco | + | + | ++ | ++ | -- | -- | -- | + | ++ |
| Eco-Flo | + | + | + | + | -- | -- | -- | - | ++ |
| Eco-Flo ALL-IN-ONE | + | + | ++ | ++ | - | - | -- | + | ++ |
| Eco-Flo Waterstain | + | + | ++ | ++ | - | - | -- | + | ++ |
| Fiebing's Institute. Leather Colors | - | - | ++ | ++ | - | - | -- | -- | ++ |
| Fiebing's Leather DYE | - | - | + | + | ++ | ++ | + | - | ++ |
| Fiebing's PRO DYE | + | + | ++ | ++ | ++ | ++ | + | -- | ++ |
++ Fits perfectly | + Suitable | - Not suitable | -- Not suitable at all
FIEBING'S COMPATIBILITY TABLE (PROVIDED BY THE BRAND)
*The edges of the leather are always worked after having been finished with edge paint or eraser. Do not wax/grease the leather before working on it (e.g. Carnauba cream or Leather Balm).
| Leather Sheen | Insti. Leather Finish | Resolene | Leather Balm | Tan Kote | |
| Fiebing's Leather DYE | HAS | HAS | HAS | HAS | HAS |
| Fiebing's Pro DYE | HAS | HAS | HAS | HAS | HAS |
| Fiebing's Institutional Leather Colors | HAS | HAS | HAS | HAS | HAS |
| Fiebing's Antique Finish | A-B | A-B | A-B | A-B | A-B |
| Fiebing's Hi-Liter | HAS | HAS | HAS | AB | AB |
| Fiebing's Vintage Gel | N/C | N/C | N/C | N/C | N/C |
| Fiebing's Antique Leather Stain | HAS | HAS | HAS | HAS | HAS |
A = Yes but the finish can cause the color to bleed a little.
B = Yes but be sure to remove excess ANTIQUE GEL from the surface before applying a finish. Allow the antique to dry completely or the finish may stretch, crack and peel.
ECO-FLO COMPATIBILITY TABLE (PROVIDED BY THE BRAND)
*The edges of the leather are always worked after having been finished with edge paint or eraser. Do not wax/grease the leather before working on it (e.g. Carnauba cream).
| Super Shene | Satin Shene | Top Finish | |
| Eco-Flo | A-C | A-C | ~ |
| Eco-Flo ALL-IN-ONE | A-D | HAS | ~ |
| Eco-Flo Hi-LITE | A-C | A-C | ~ |
| Cova Colors | HAS | HAS | ~ |
| Antique Frost | A - B - C | A - B - C | ~ |
A = Yes but the finish can cause the color to bleed a little.
B = Yes but be sure to remove excess ANTIQUE GEL from the surface before applying a finish. Allow the antique to dry completely or the finish may stretch, crack and peel.
C= Warning: the finish can act as a “BLOCKER” if used before applying the stain/patina.
D= No, do not use on items that will be bent or flexed.
HOW TO MAINTAIN YOUR LEATHER?
HOW WILL YOUR CREATION AGAGE?
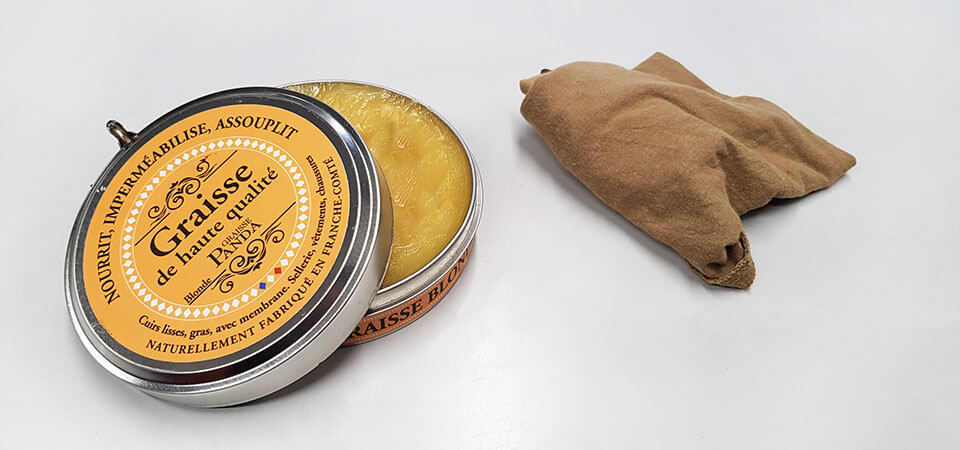
We advise you to maintain your creation regularly and if necessary (e.g. every month for a bag) with a grease or a balm . You can also clean your leather with glycerin soap.
In the long term, water-based dye tends to "fad" more quickly, so don't hesitate to dye it darker.
VIEW BALMS AND FATS >
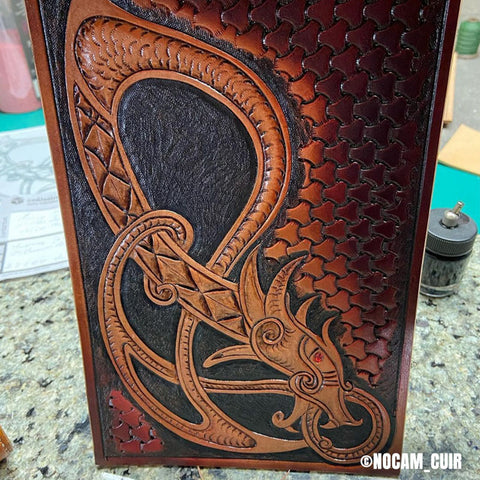
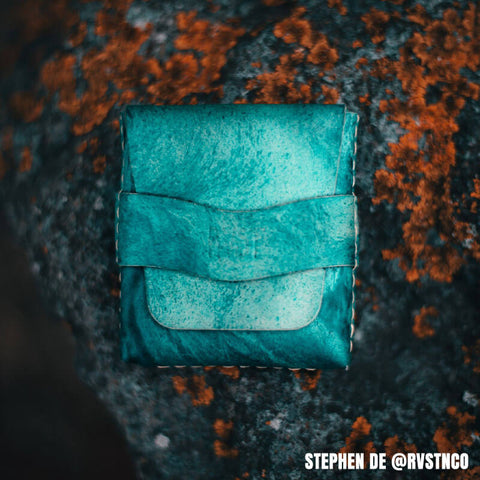
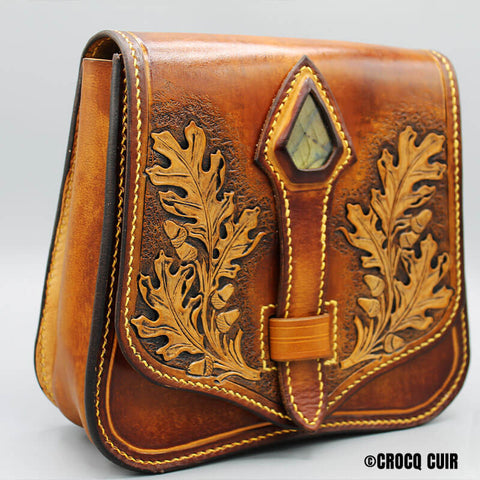
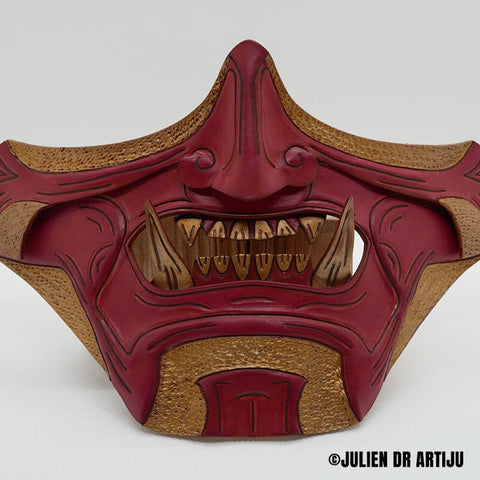
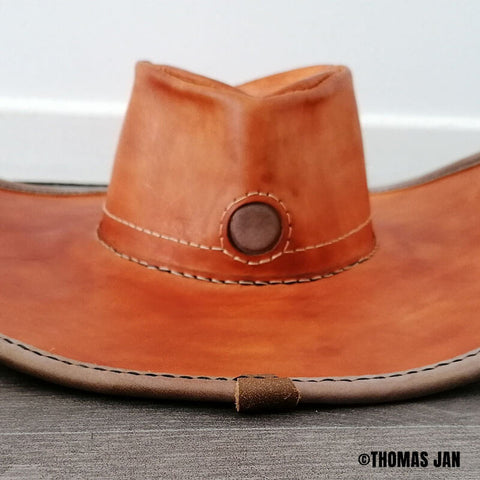
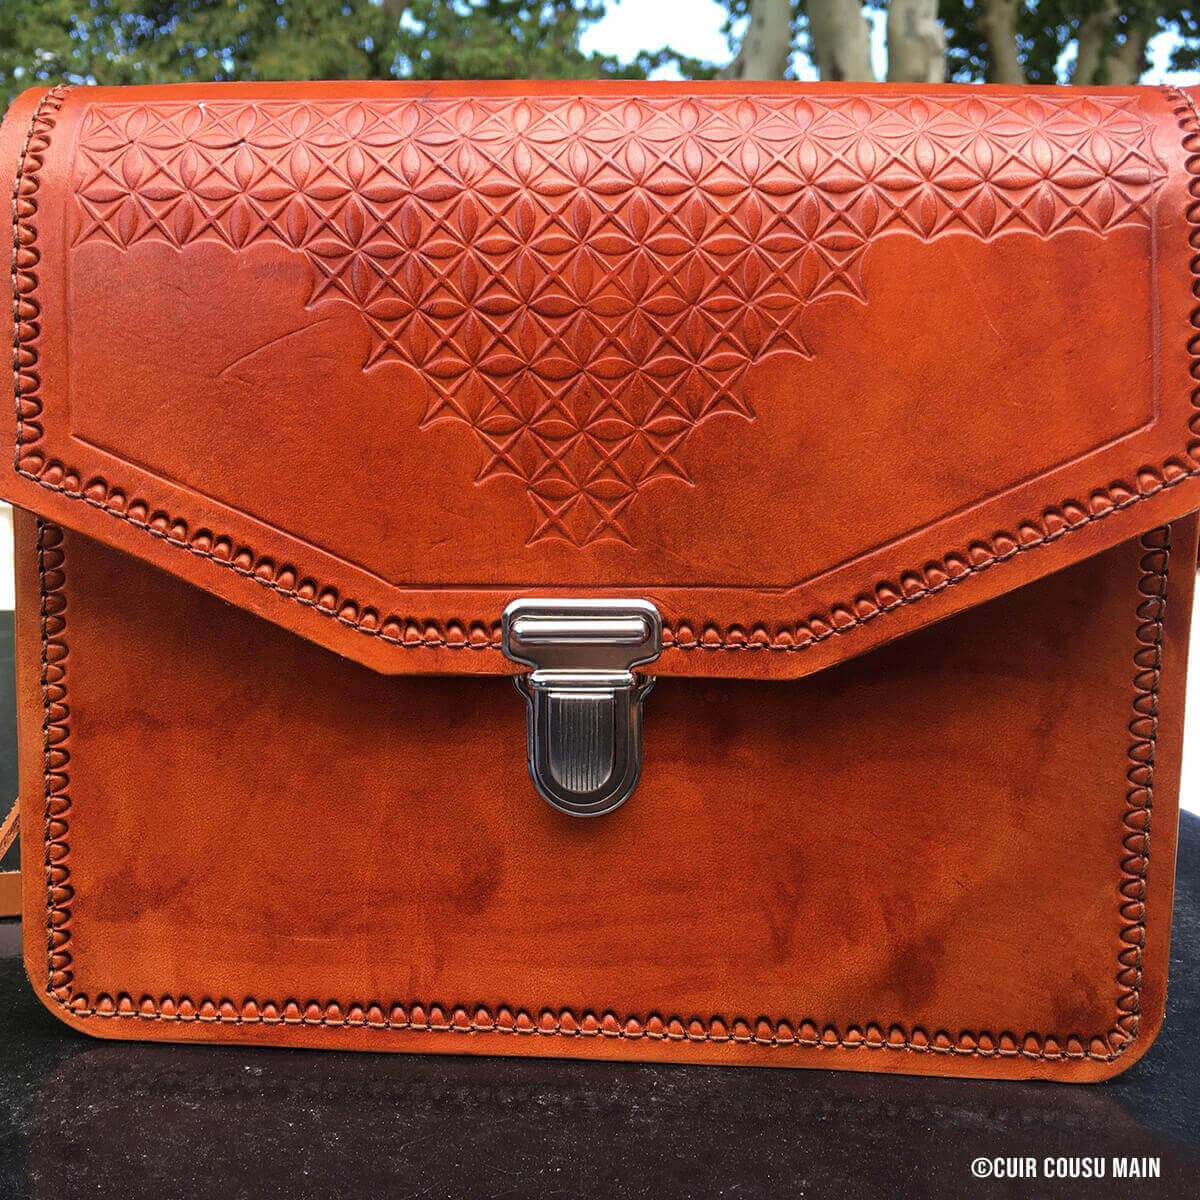
SOME CREATIONS FROM OUR CUSTOMERS:
 |
 |
 |
 |
 |
 |
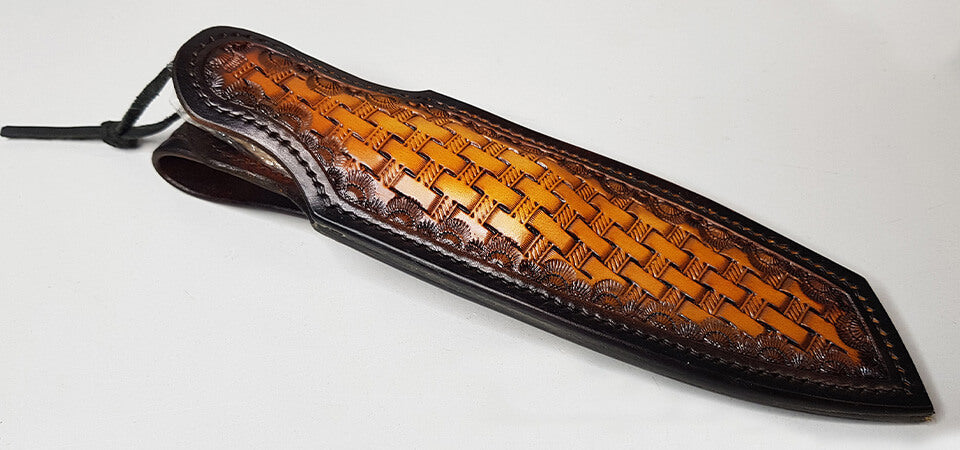
FREE TUTORIAL: LEATHER KNIFE CASE >
With the participation of leather craftsman Anthony Hervy (©nocam_cuir).
VIEW YOUR INSTAGRAM ACCOUNT >

























14 comments
Deco Cuir
Bonjour,
Après avoir appliqué la peinture Angelus, il est recommandé d’appliquer une finition acrylique pour rendre la peinture plus résistante. Vous pouvez sélectionner une finition Angelus : https://www.decocuir.com/collections/finition-peinture-cuir-angelus ou bien un vernis tel que le Bag Kote ou Resolene : https://www.decocuir.com/collections/teinture-cuir-protection-resolene Bonne journée, l’équipe Deco Cuir
Lyse Beaudoin
Après avoir estampillé et teint un cuir végétal et appliqué une protection Super shene si j’applique une peinture acrylique Angélus sur les motifs estampillés ,dois-je je remettre une protection comme Saddle Lac?
Deco Cuir
Bonjour, voici des produits d’entretien pour le nettoyage d’un cuir velours :
- Détacheur Terre De Sommières – 200g – Hussard Avel https://www.decocuir.com/products/detacheur-terre-sommieres-avel
- Gomme pour cuirs finition velours https://www.decocuir.com/products/gomme-daim-velours-nubuck-nettoyer-entretien
- Nettoyant Omnidaim Nubuck https://www.decocuir.com/products/nettoyant-omnidaim-nubuck-liquide-saphir
L’équipe Deco Cuir
Ela
Bonjour, je voudrai rénover un sac en cuir velours bleu/gris moyennement foncé. Je na connais pas la nature de la coloration d’origine. Il faut le nettoyer au préalable – il y a des traces de frottements. Auriez-vous la possibilité de m’indiquer quel produit utiliser et le lien vers une méthode appropriée ? Merci beaucoup
DECO CUIR
Bonjour Frédéric,
Vous avez la possibilité d’enregistrer votre page web en PDF. Une fois sur la page souhaitée, cliquez sur les trois petits points en haut à droite de votre navigateur. Puis, cliquez sur « Imprimer ». Choisissez ensuite la destination « Enregistrer au format PDF ».
Bonne journée,
L’équipe Deco Cuir
CASSOUS Frédéric
Quel dommage que tous vos guides ne soient pas téléchargeables au format pdf! cela permettrait de pourvoir les lire tranquillement hors connexion.
DECO CUIR
Bonjour Marine,
Il est très compliqué de teinter un cuir déjà teinté : celui-ci a sûrement reçu des finitions (verni, imperméabilisation…). De plus il faut se poser la question du tannage : végétal ou minéral. Les teintures pour cuir sont réservées à un cuir tannage végétal. Enfin pour pouvoir teinter un cuir déjà teinté il faut avant tout le « décaper » et risquer d’abîmer la fleur du cuir.
Nous vous conseillons davantage la recoloration du cuir et aussi son entretien. N’hésitez pas à consulter le guide suivant :
https://www.decocuir.com/blogs/blog-tutoriel-patron-cuir/guide-entretien-du-cuir
Bonne journée,
L’équipe Deco Cuir
Marine
Bonjour,
J’ai un fauteuil club à teindre, c’est un cuir marron clair mais je voudrais rendre la teinte plus foncée. Est ce que je dois le teinter ? Je ne sais pas s’il est mieux d’utiliser une teinte aqueuse, à base d’alcool ou alcool et huile. J’aimerais éviter au maximum les traces. Dois je finir par l’application d’un fixateur ? Sachant que c’est un fauteuil qui reste à l’intérieur il ne risquera pas les intempéries.
Merci d’avance pour votre retour
Bonne journée
Anonymous
Bonjour Hervé,
Oui vous pouvez utilisez de la crème carnauba sur votre cuir teinté. On l’utilise généralement pour la finition de cuirs fraîchement teints ou naturels.
Nous ne l’avons pas testé en interne mais vous avez toutes les instructions sur cette fiche article : https://www.decocuir.com/products/creme-cire-carnauba-cuir-fiebing-946ml
Bonne journée,
L’équipe Deco Cuir
Mannino Hervé
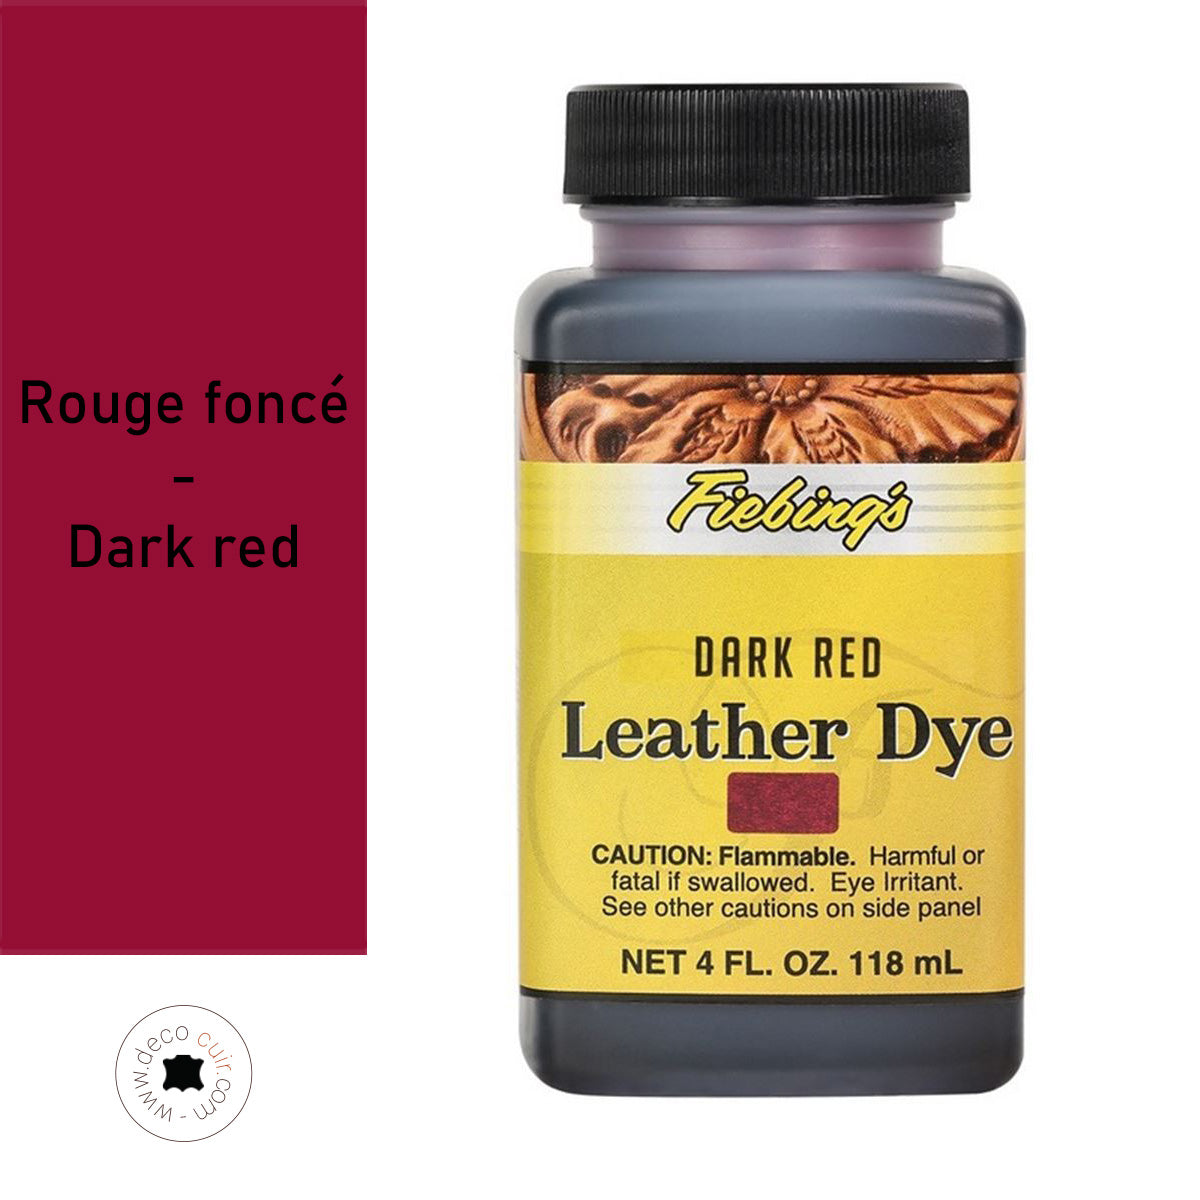
Bonjour, j’ai teinté un cuir TV en rouge pour une ceinture avec Leather Dye rouge foncé, très bon rendu. J’ai de la crème Carnauba, est ce que je peux l’appliquer en finition ? Merci par avance.
Anonymous
Bonjour Sabine,
Pour teinter du cuir en jaune, nous vous conseillons du cuir tannage végétal naturel.
Nous avons des chutes, des morceaux et des peaux :
https://www.decocuir.com/products/500g-chutes-cuir-collet-tannage-vegetal-naturel-classic-1mm
https://www.decocuir.com/collections/cuir-morceaux-piece-collet-vegetal-naturel-classic-1er-choix-belgique
Bonne journée,
L’équipe Deco Cuir
Sabine
Bonjour,
Je souhaiterais teinter du cuir en jaune. J’ai acheté une teinture à base d’eau et fait des essais sur des chutes de cuir déjà en ma possession, mais avec des résultats très mauvais (soit le cuir avait reçu un traitement au préalable qui ne laissait pas pénétrer la teinture, soit la teinte marron de départ était trop foncée pour voir quoi que ce soit). Parmi les morceaux ou chutes de cuir en stock chez vous, quel type serait le plus recommandé (idéalement épaisseur entre 1.2-1.8mm) pour être teinté en jaune (base eau)?
Merci
Anonymous
Bonjour Félix,
Merci pour votre commentaire sur notre guide teinture.
Effectivement, vous pouvez mettre plusieurs couches de teinture à base d’eau Deco Cuir : jusqu’à ce que vous obteniez la teinte souhaitée (ne pas oublier de lustrer le cuir avec un chiffon doux pour boucher les pores et ne pas avoir de transfert/dégorgements entre chaque couche).
Enfin en ce qui concerne le vernis nous vous conseillons de l’appliquer uniquement quand votre sera assemblée et terminée (pour éviter que le vernis craque s’il y a des plis, par exemple).
Bonne journée,
L’équipe Deco Cuir
Anonymous
Bonjour,
Pour être certains d’avoir bien compris.
Je peux teindre plusieurs couche avec une teinture DecoCuir,
Puis huiler le cuir avec huile véritable de pied de boeuf après polissage du cuir, pour le rendre plus souple et l’hydrater.
Et 24h-48h plus tard utiliser un finisher SUPER SHENE DE ECO-FLO, pour le rendre imperméable ?
Merci
Bonne journée