


THE NECESSARY MATERIALS
To complete this tutorial, you will need the following supplies:
- 1 piece of CLASSIC natural vegetable tanned collar leather - Thickness 2.5 mm (maximum 3 mm) - 30 x 40 cm
- 1 T3 rivet in aged brass finish
- 1 pot of Hi-Liter embossing dye - Fiebing's
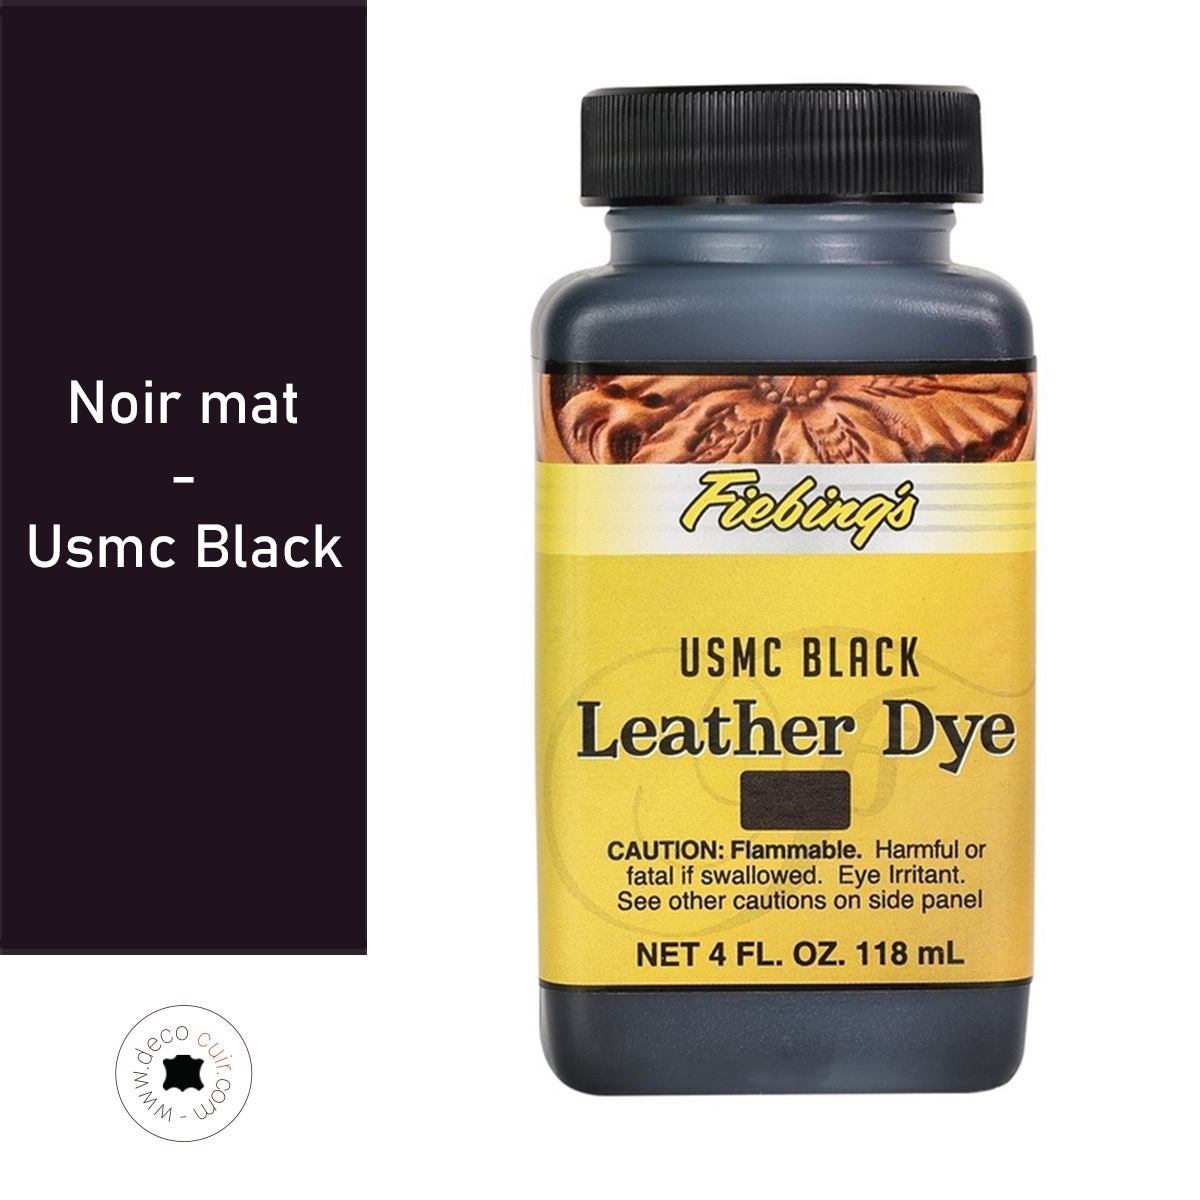
- 2 pots of leather dye - Fiebing's Leather dye - Tan and Black
- 1 250 ml jar of liquid neoprene glue
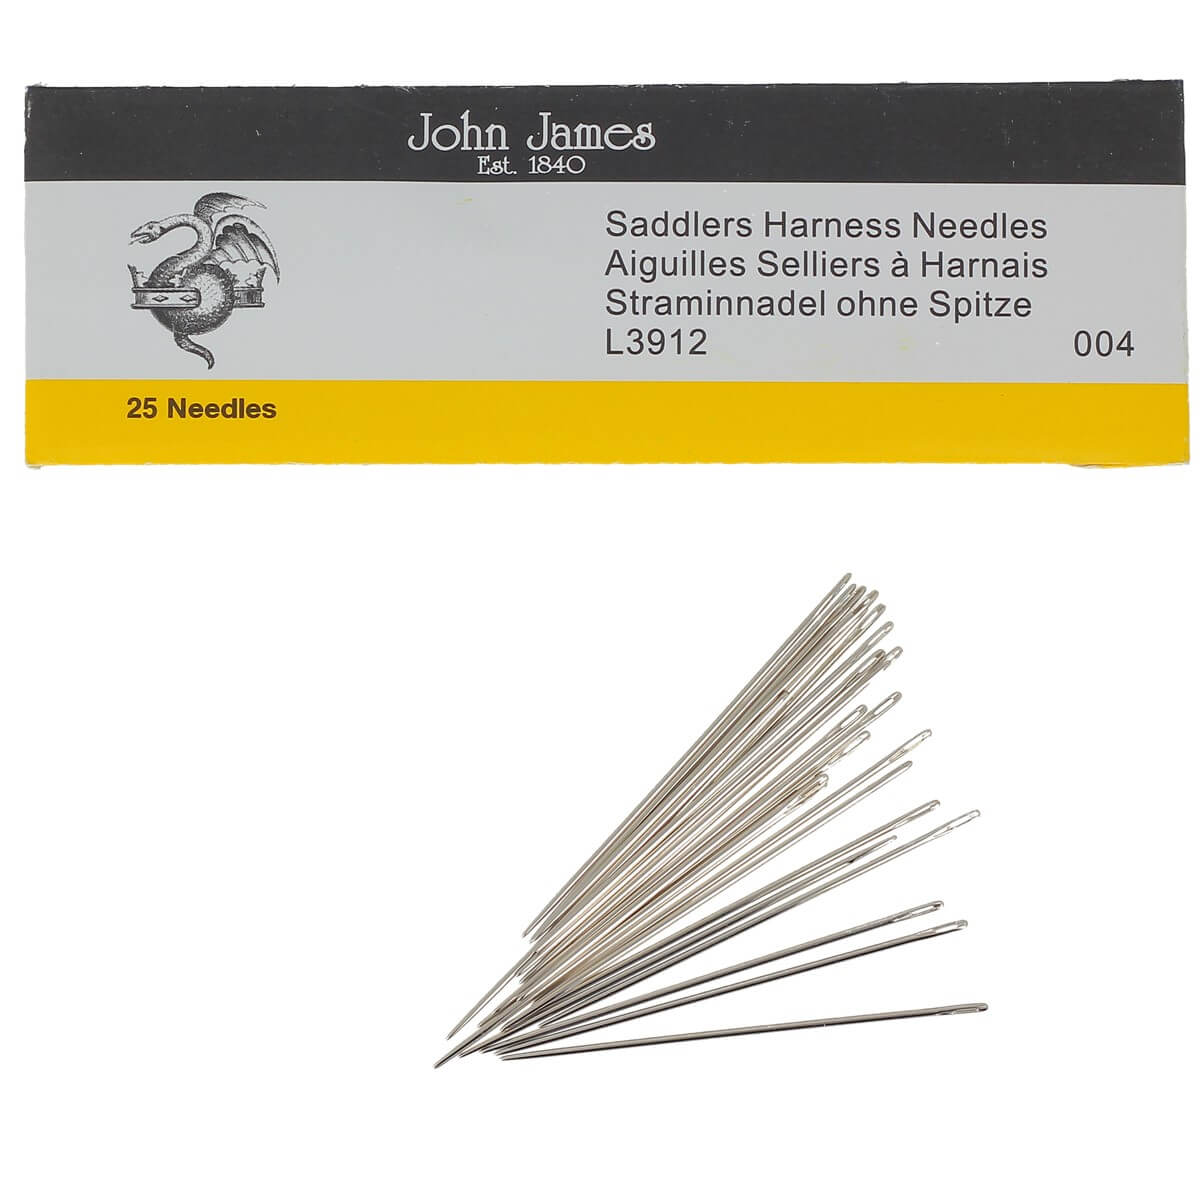
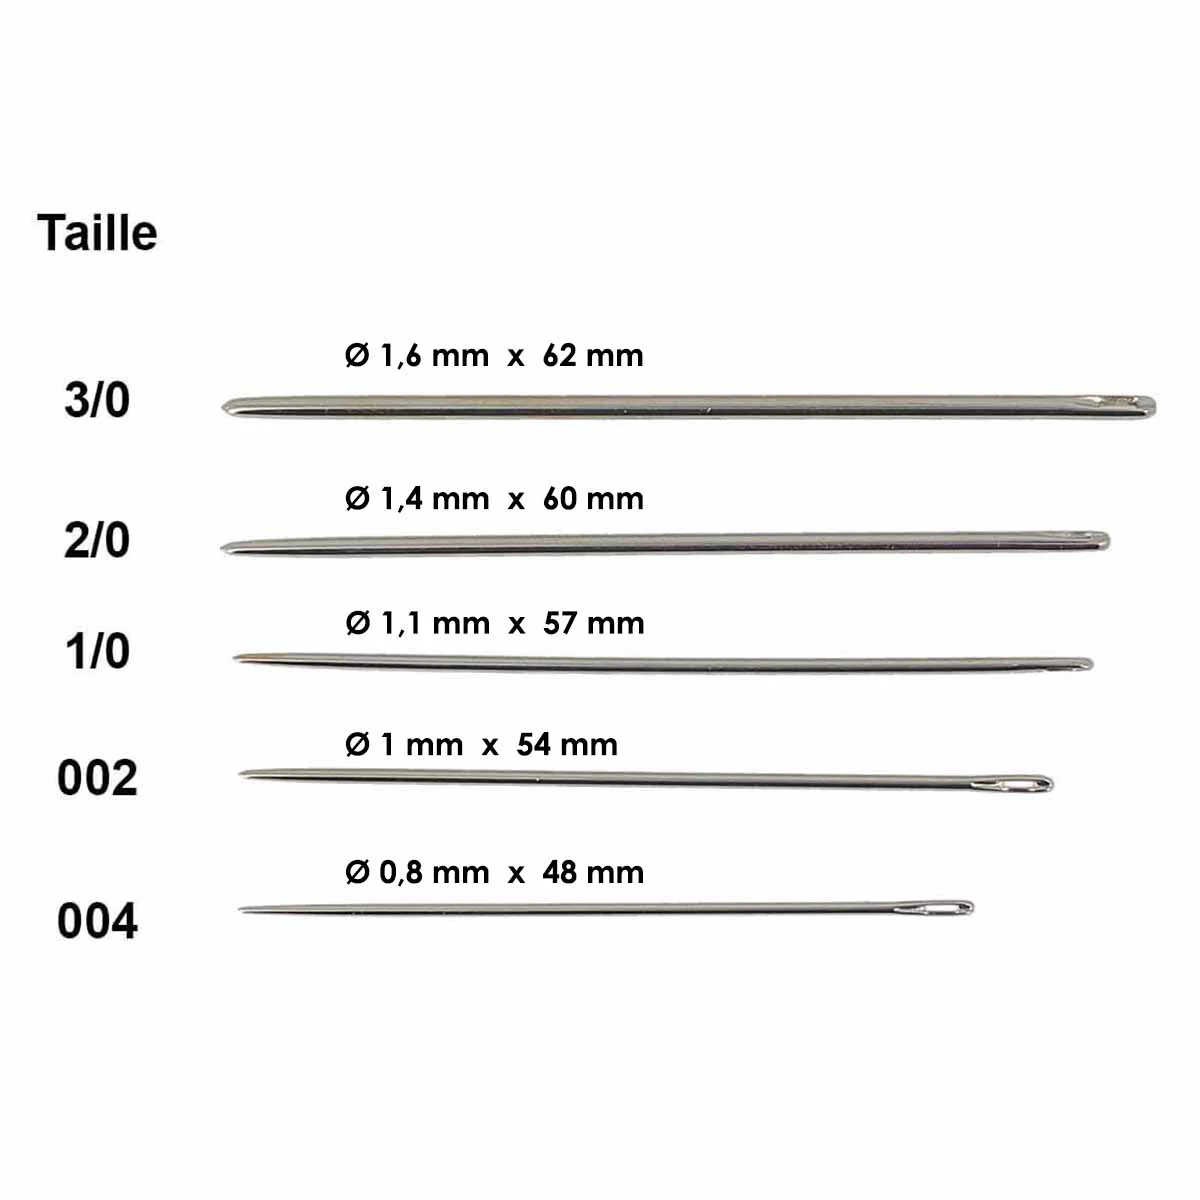
- 2 saddle needles - Round tip - Size 2/0
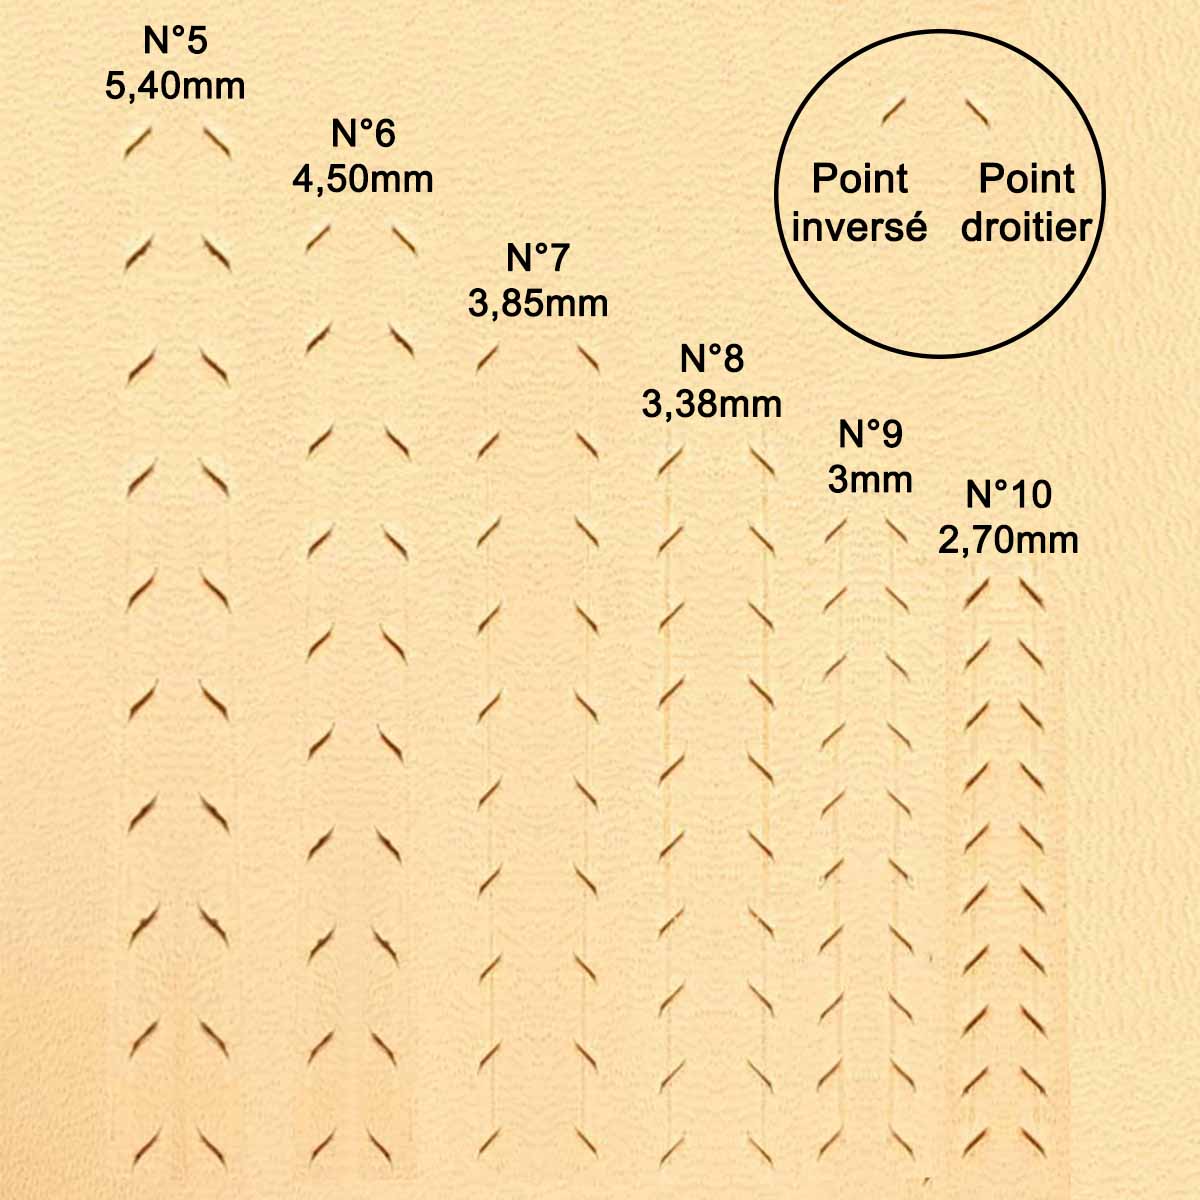
- 1 set of 3 Deco Cuir punching claws - Center distance 3 mm
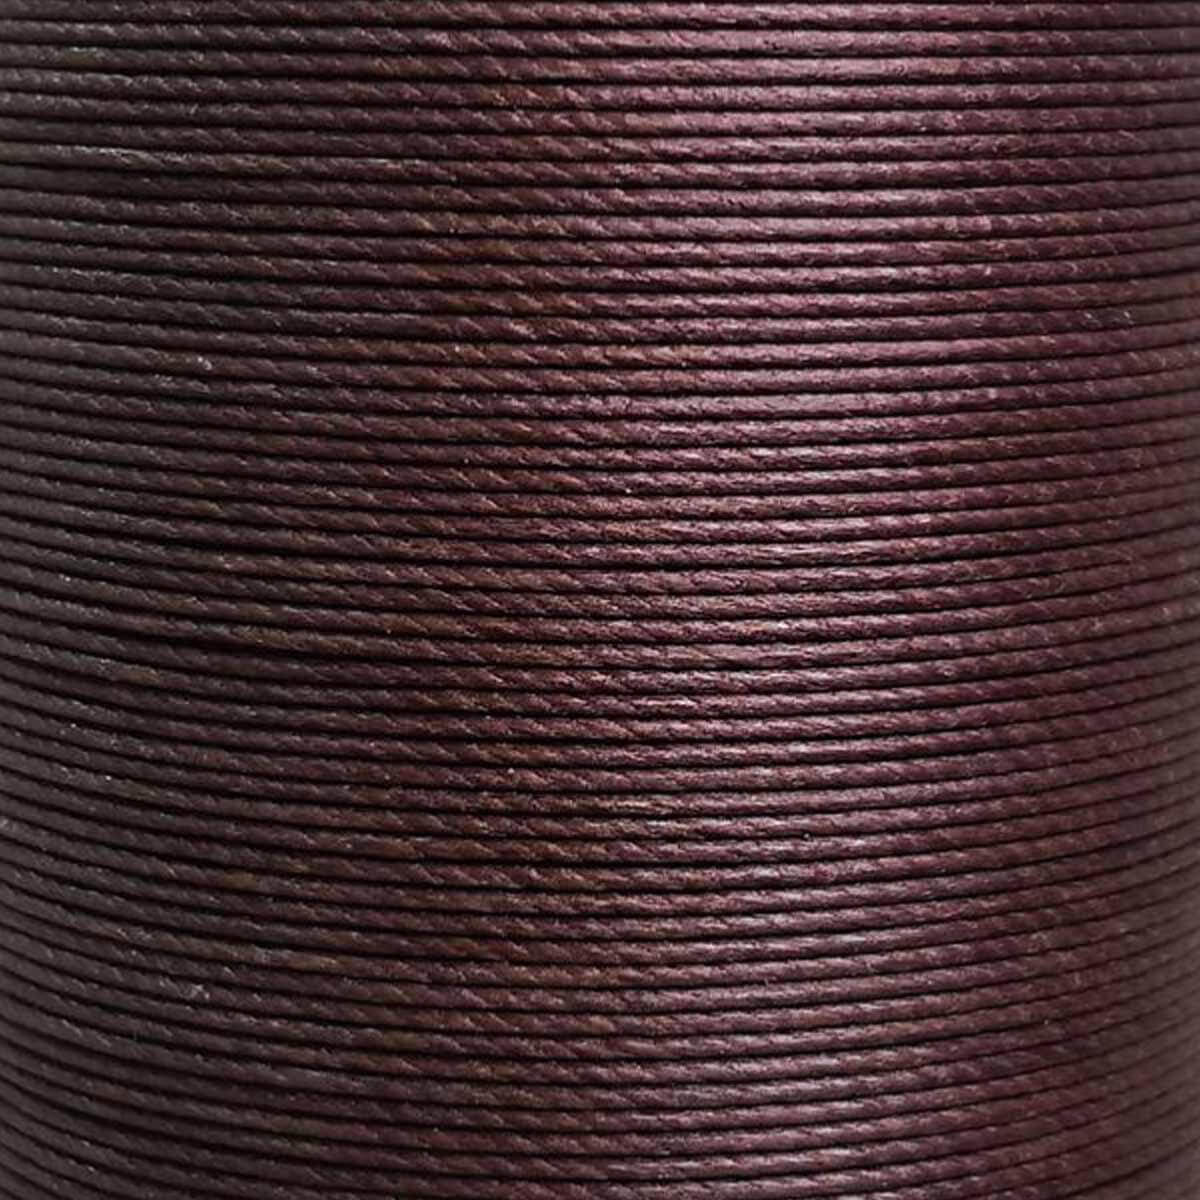
- 1 box of 8m of MeiSi super fine waxed linen thread M50 - 0.55 mm - COFFEE - MS002
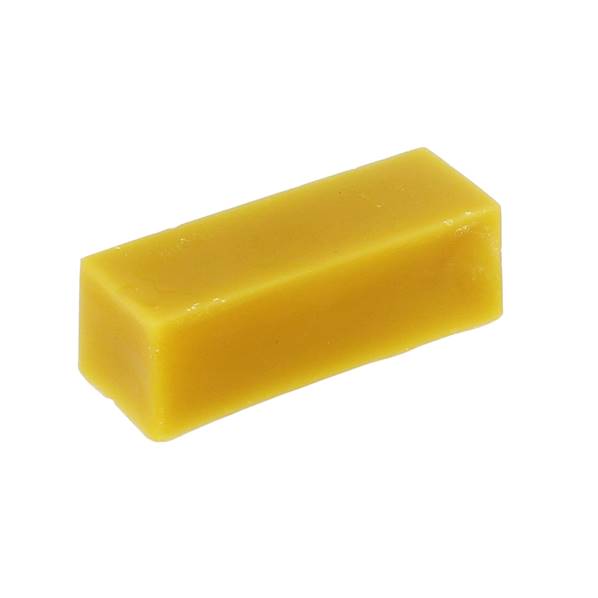
- 1 bar of Deco Cuir beeswax - 50 grams
- 1 jar of Tokonole - Leather finishing eraser - 120g
- 1 TANDY LEATHER handle stamp - 7 mm large grid beveler - 6802 - B802
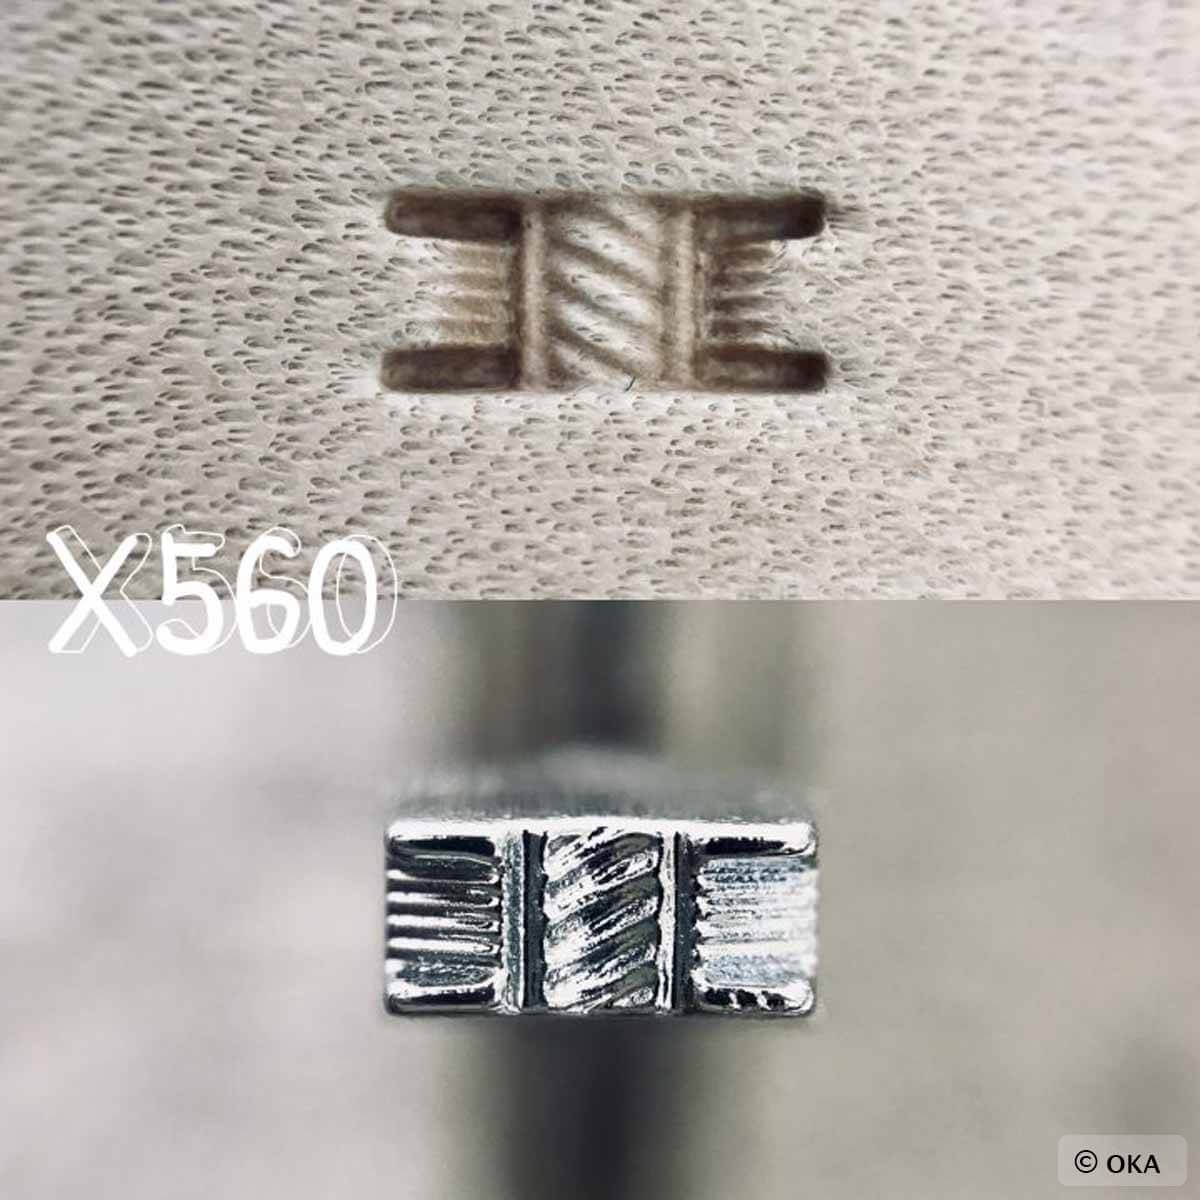
- 1 OKA handle stamp - Basketweave bias tape - 11 mm (REF X510)
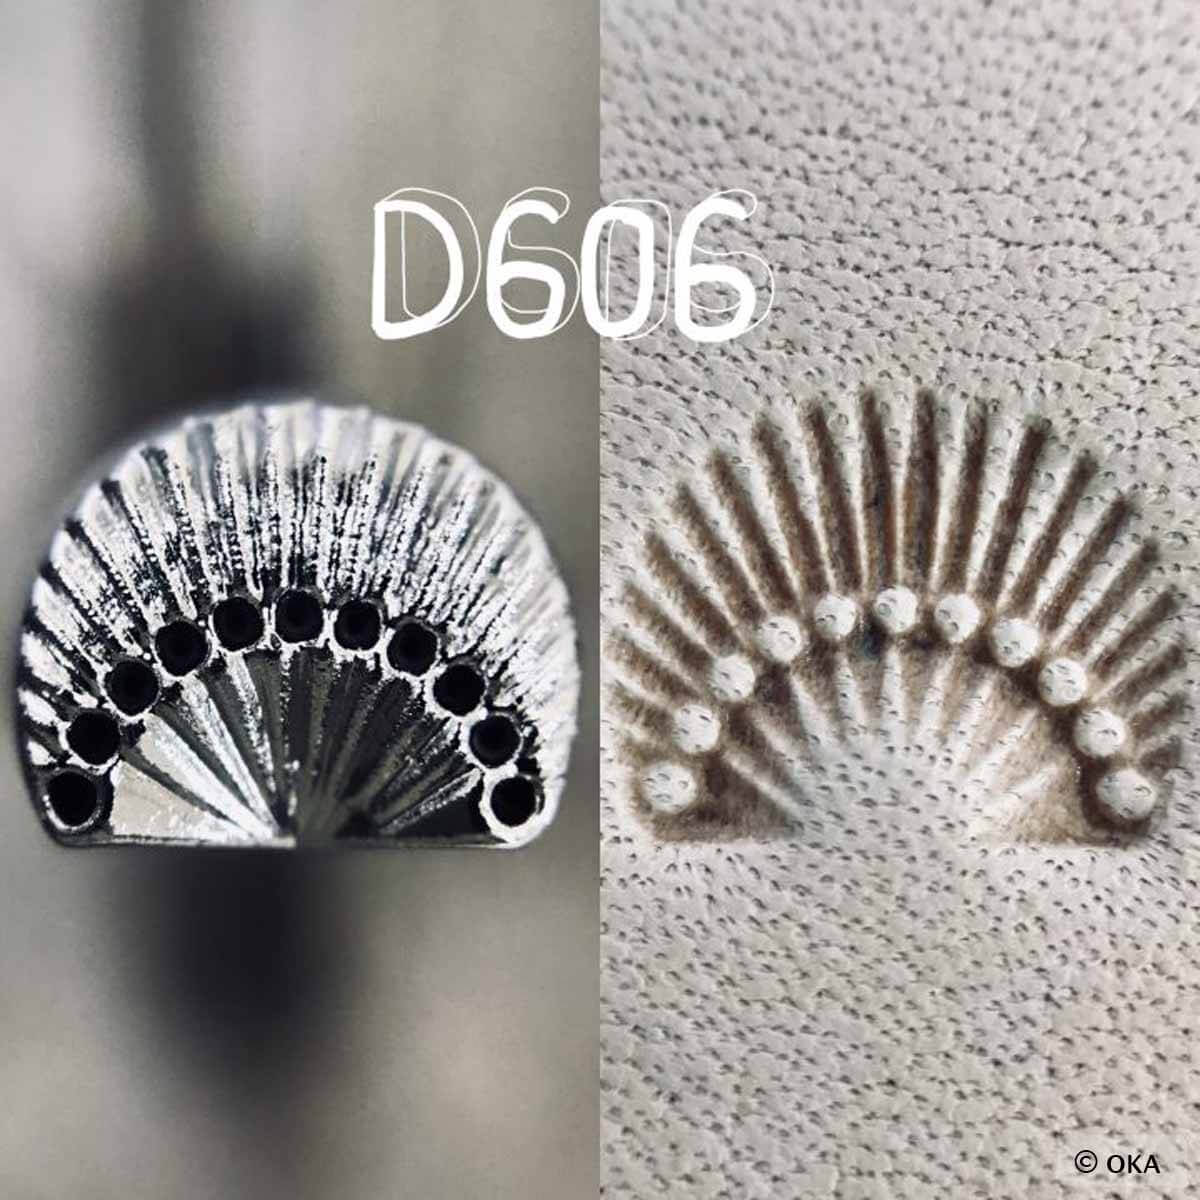
- 1 OKA handle stamp - Border - D606
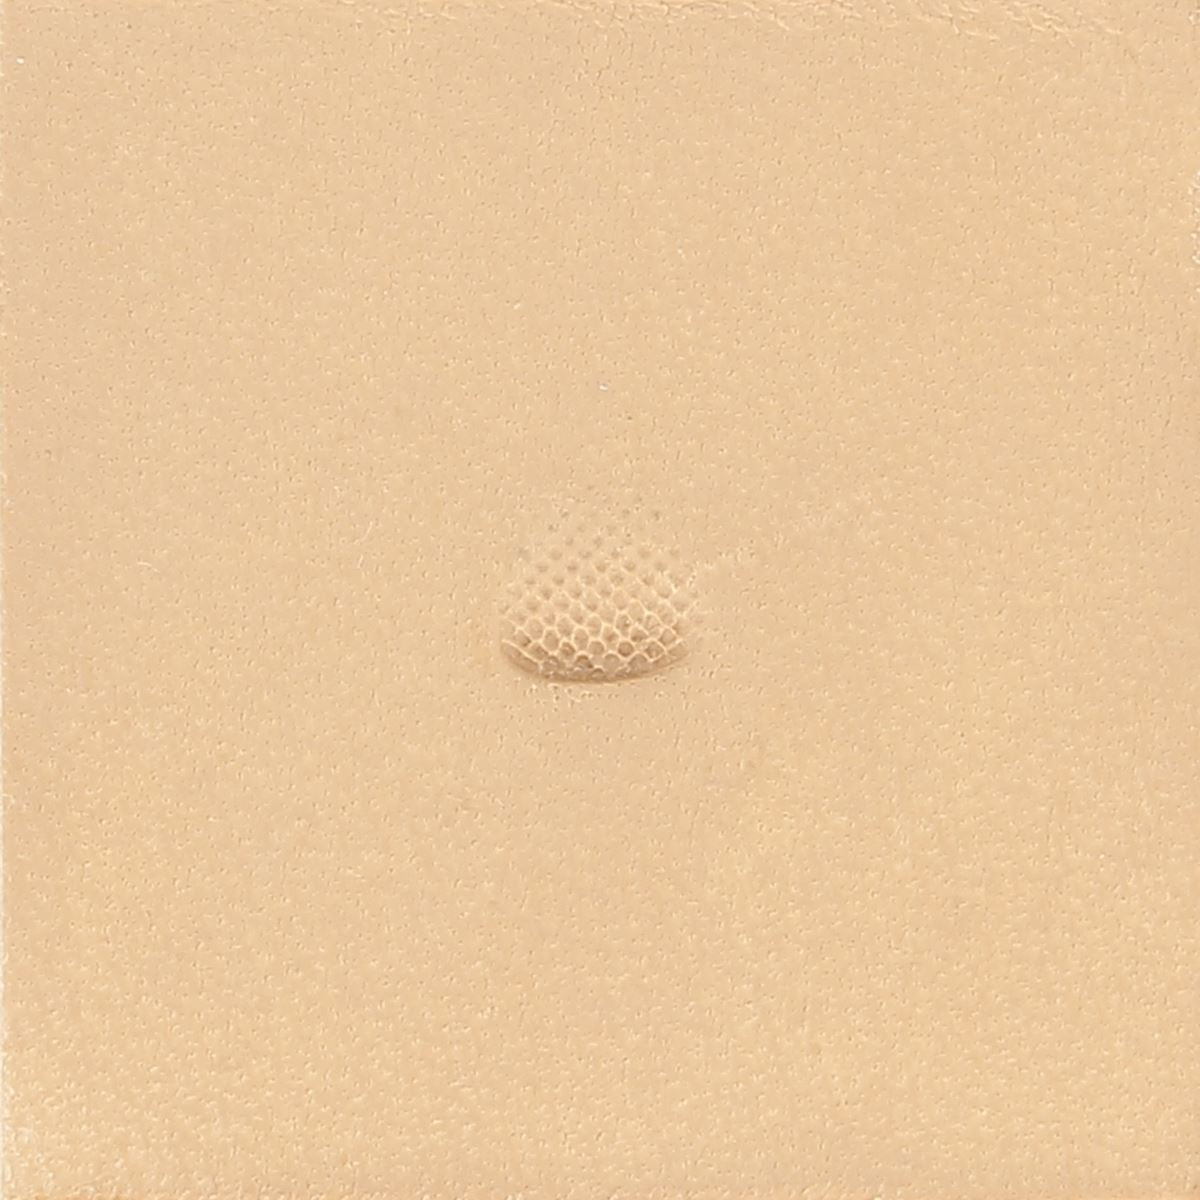
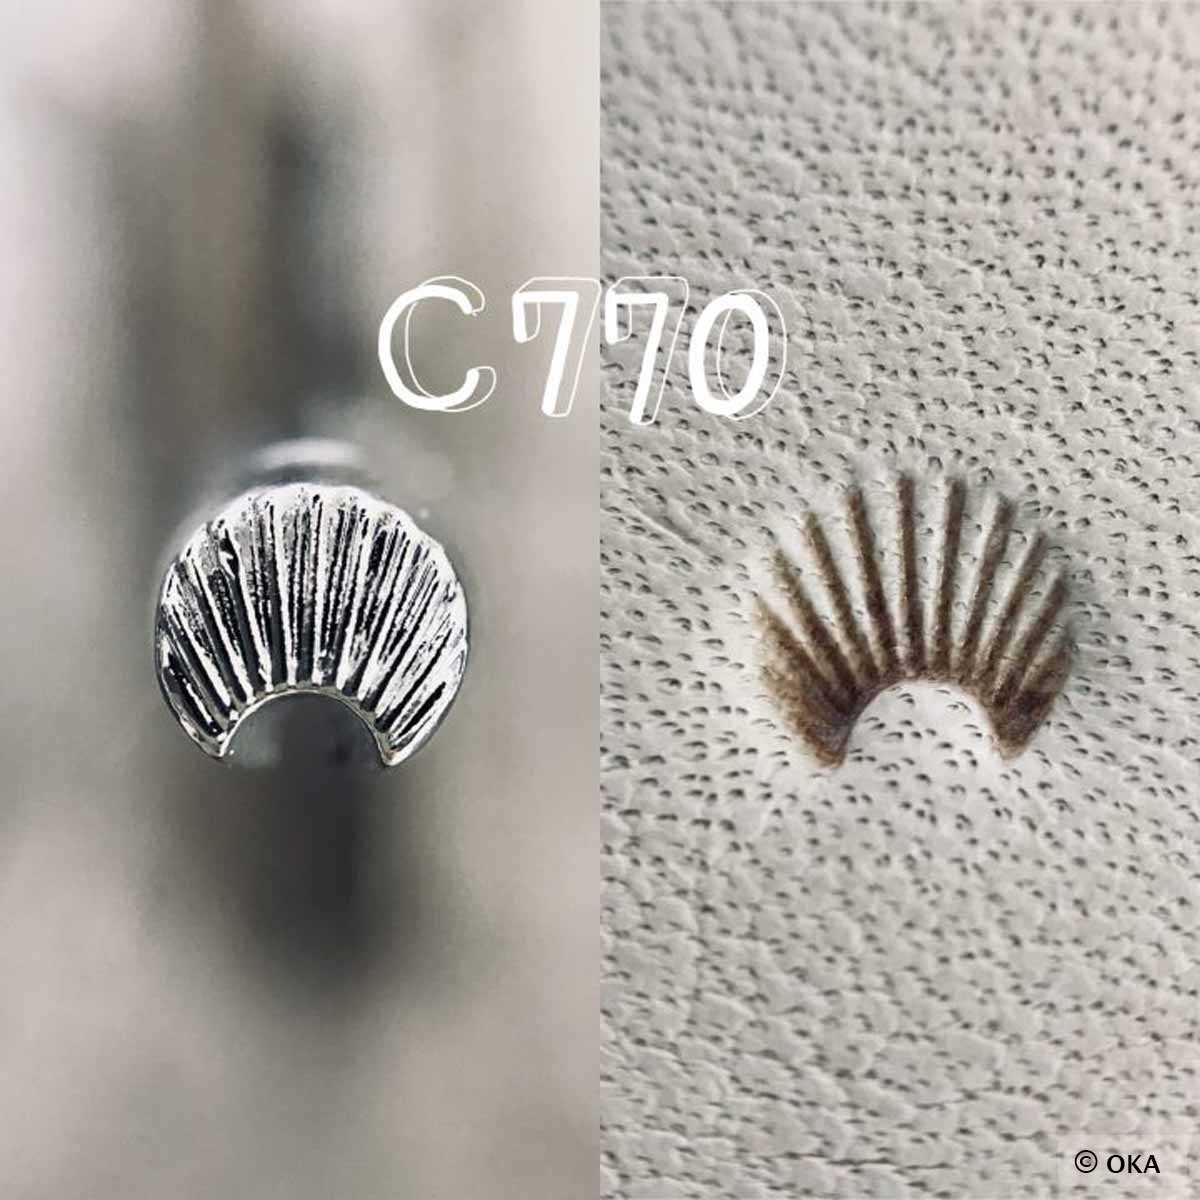
- 1 OKA handle stamp - Camouflage 4.6mm - C770
And the following material:
- 1 cutter
- 1 Deco Cuir paring knife
- 1 compass
- 1 abrasive sponge
- 1 jar of leather preparation for modeling - Eco-Flo Easy Carve concentrate
- 1 PRO Adjustable Swivel Opening Knife - Swivel - With 7/32" Blade Attachment - OKA
- 1 maul
- 1 marble
- 1 mallet
- 1 straight T2 tile cutter
- 1 diamond-shaped awl
- 1 round awl
- 1 block of cork
- 1 saddler's pliers
- 1 joiner's hammer
- 1 glue grater
- 1 3 mm cookie cutter
- 1 set of T3 rivet fittings
- 1 brush / sponge
- 1 smoothing knife
TUTORIAL VIDEO
1. PATRONAGE
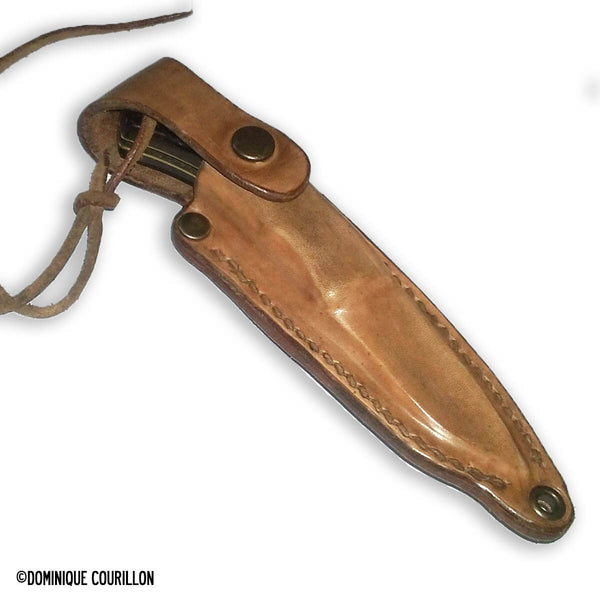
Option A: Case with a fold on the back
Place your knife on a sheet of paper folded in half. Draw an axis and place the edge of the knife on the back and on the edge of the axis. Fold the knife to the side and trace the outline. Then make the symmetry on the other axis of the sheet.
Add at least 5 mm margin around the edges of the knife.
 |
 |
Option B: Two-piece flat case
For this tutorial, we chose to make this second option: a two-piece flat case.
Trace the outline of the knife on a sheet of paper.
Take the thickness of the knife (here 15 mm at its thickest). Divide this figure by 2 (i.e. 7.5 mm here) and add 1.5 mm (i.e. 9 mm here).
Add the 9 mm around the pattern traced on the sheet.
Caution: Do not take into account the rounded shape of the handle, otherwise the knife blade will not fit into the sheath. In fact, the blade is often wider than the handle (see 3rd photo).
 |
 |

The shape of the handle can be customized to your liking! Here, we've created a rounded shape.
The best thing is to make or transfer your pattern onto cardboard. 
The martyr play
The martyr piece will serve to protect the seam when the knife blade passes over it. It corresponds to the margin added around the pattern (here 9 mm), it will be a "hollowed out" piece. It stops about 4 cm above the knife blade.
 |
 |
Belt loop pattern
Next, work the loop to be able to hang the sheath on your belt. The loop measures approximately 20 cm in length and at its widest point 3.5 cm in width. The width of the loop should be determined according to the thickness of the blade (so as not to interfere with the sewing). 

2. TRACE THE PATTERN ON THE SPLIT SIDE OF THE LEATHER
Trace the pattern twice on the crust side of the vegetable tanned leather (2.5 mm thick). Be sure to turn the pattern in both directions to make the two pieces symmetrical. Then trace the loop and the martyr piece (it will be hollowed out later). 
3. CUT THE LEATHER PIECES
Cut the 4 pieces with a cutter or a slicer. Always keep the cutting tool straight and do not cut all at once. 
Hollow out the martyr piece by drawing a line 8/9 mm from the edge (inside) using a dry-point compass. Then, cut the martyr piece.
 |
|

For the rounded edges of the loop (bullnose end shape), use a punch to get a cleaner cut.
Then, lightly sand the edges and trim the ends of the loop to avoid having too much leather. 
4. SHOOT THE PASSER-BY
Square the edges of the loop on both sides (grain and crust). On the crust side, only square the straight lines because the ogive ends will be sewn. 
More information on using the tile cutter here:
SEE THE GUIDE >
5. WORK ON ROUNDINGS
Work the curves of the main parts with an abrasive sponge. 
6. DRAW THE SEAM LINE
Using the dry point compass, trace the seam line on the 2 main pieces because it will be a seam with a double seam.
Use the distance between the edge and the center of one side of the martyred piece as a guide to know where to draw the seam line.
 |
|

7. DRAW THE DECORATION LINE
Still using the drypoint compass, draw a decorative line 3 mm from the stitching line. This will be the boundary for the embossing work.
*Draw only one line on the loop. 
8. LEATHER EMBOSSING WORK
Moisten the leather with a modeling preparation (here a mixture of water and Easy Carve). Then open the decorative line with a swivel knife.
WHAT IS LEATHER EMBOSSING >

Push the leather back onto the decorative line with the Beveler large grid stamp (Ref: 6802) . Do not try to have too much depth: just a demarcation line in relation to the seam.
 |
|

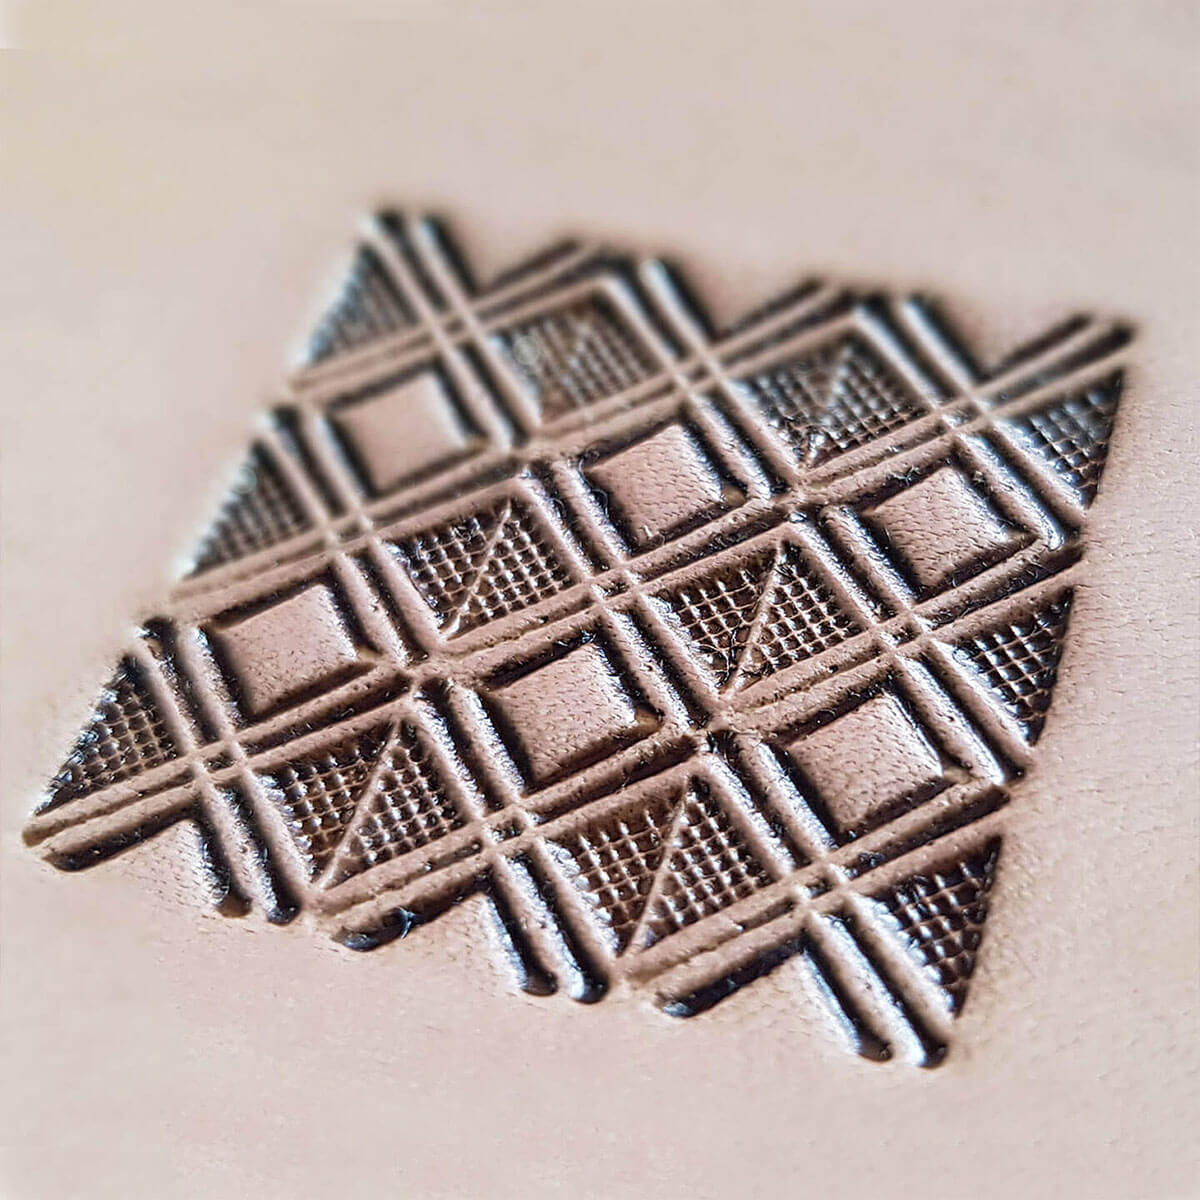
Basketweave technique:
Moisten the leather again with the mixture of water and Easy Carve. Then draw (with a scriber) a reference line using 2 dots.
Position the maul on the handle ( Basketweave bias tape 11mm - X510 ) as close as possible to one edge. Then, strike the maul on each side of the line. Be careful to tilt it at the edges so as not to exceed the decorative line. Have a maul heavy enough so as not to have to strike twice.
To learn the Basketweave technique, watch the video between minutes 12:35 and 19:03.
 |
|

To fill gaps on the edges, use the handle stamps: Border 12.5 mm - 6606 and Camouflage 4.6 mm - C770 .
Don't forget to do the same work on the loop. 
9. POSITION THE PASSER-BY
Using a round awl, mark the position of the rivet on the main piece (which will hold the top of the loop). Then, pierce the leather with a 3mm punch.
Mark the position of the loop on the leather then use a rasp to facilitate attachment when gluing the loop to the leather. 
10. PATINATES THE LEATHER
Apply a patina to the leather to bring out the embossing. Here, we use Fiebing's Hi-Liter Embossing Dye.
Start by lightly dampening the leather (with water only). Then apply the Hi-Liter to the leather with a dab. Wipe the surface with a cloth and let it dry. 
11. WORK THE SPLIT SIDE OF THE LEATHER
The ideal way to work the crust side of the leather would be to dye it with an airbrush so as not to soak the leather and "stain" the grain side. Here, we use Leather Dye Tan dye.
If you do not have an airbrush, we recommend working the crust side only with Tokonole (black, brown or neutral).
For more information on dyeing leather with an airbrush, check out our guide:
SEE THE AIRBRUSH GUIDE >

12. MARK THE STITCHES
Mark the stitching points with punching claws at a center distance of 3 mm .
Given the thickness to be sewn, we chose to do a saddle stitch with a double claw (to have a beautiful slanted stitch on both sides). Claw the 2 pieces of leather and exceptionally: start clawing the second piece on the left.
At the handle of the knife, there will be a decorative seam: scratch this part last. 
13. PUNCH THE SEWING HOLES
Using a block of cork and a diamond-shaped awl, pierce the sewing holes. When sewing, only the remaining piece (located between the two main pieces) will need to be pierced. 
14. DO DECORATIVE STITCHING
At the handle, square the slices on the grain side and the crust side. Then, sew the decorative seam.
Here we used a coffee-colored Meisi linen thread (M50) and Size 002 needles. Start by cutting a thread 4 to 5 times the length of the surface to be sewn and then thread a needle through each end of the thread.
To learn about needle threading techniques and saddle stitch sewing, see our guide:
SEE THE GUIDE >
 |
|

15. WORKING THE PASSING-BY
Work the edges of the loop with tokonole. Mark the position of the rivet on the loop, then pierce the leather. Place the single-cap T3 rivet with the appropriate setting tool.
Using neoprene glue, glue the two ends of the loop together. Then, glue the loop to the designated location on the main piece. 
16. SEW THE LOOP
Mark the stitching points with the punching claws (3 mm center distance). Then, pierce the stitching points with a diamond-shaped awl and a block of cork (go through the 3 layers of leather).
Sew a double stitch (2 wraps) to reinforce the fastening. Remember to hammer the seam well to prevent the threads from sticking out and the knife blade from getting caught in them.  PS: Be careful, don't do as we did: remember to clean your work area thoroughly so as not to "stain" the leather after dyeing.
17. GLUE THE MARTYR PIECE
Using neoprene glue, glue the martyr piece edge to edge on the main piece. Cut off the excess leather and check the thickness of the knife with the thickness of the martyr piece.
Before gluing the second part, sand the flower part of the martyr piece to facilitate the adhesion of the glue.
Then, glue the second piece edge to edge onto the martyr piece. 

18. FINAL SADDLE STITCH
Still using double stitching and saddle stitch, sew the knife case.
Finish the seam with 3 backstitching stitches and bring the thread out through the edge. 


19. WORKING THE SLICES
Even out the slices with a cutter, then sand and square. Sand again to round the slice. 
20. MOULD THE LEATHER
Start by putting the smoothing knife in the knife case.
Protect the knife with plastic wrap. If the blade is steel, it must be well protected (in this case, the blade is stainless steel). Then moisten the inside of the sheath with water before placing the knife inside.
Mold the shape of the handle by pressing with your fingers. 
21. TINTING THE LEATHER
Tint the leather with an airbrush or sponge.
Here we start by airbrushing on a coat of Fiebing's Leather Dye Tan. Then we use Fiebing's Leather Dye Black for the edges and ends of the case.
To learn more about dyeing leather, check out our guide:
SEE THE DYEING GUIDE >


22. WORKING THE SLICES
Apply tokonole to the edge of the knife case and smooth with the smoother to make it shine. 
23. NOURISH AND PROTECT LEATHER
Apply 100% neatsfoot oil to the case and let it penetrate.
The next day, waterproof the leather or apply a varnish (e.g. RESOLENE from Fiebing's). 
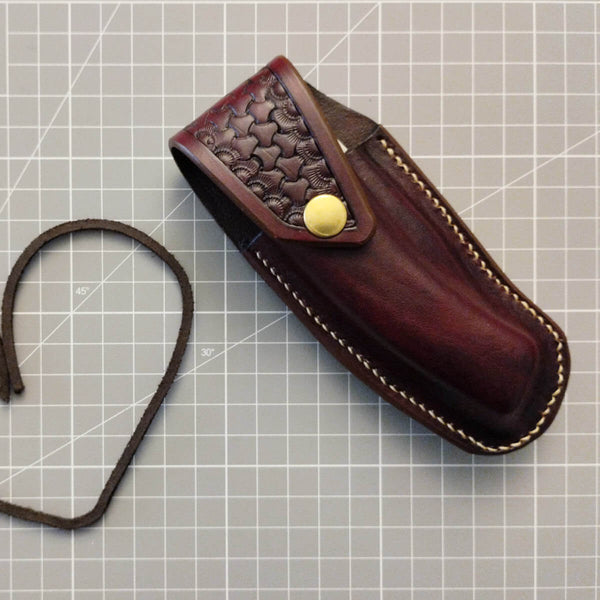
YOUR KNIFE SHEATH IS COMPLETE!
After several months, the leather will develop a patina. 


With the participation of leather craftsman Anthony Hervy (©nocam_cuir).
SEE HIS INSTAGRAM >
![]()


1 comment
Anonymous
Merci pour ce tutoriel très complet !