
There are various bag clasps available for your sewing projects:
- Magnetic button / Magnetic clasp
- Turnstile clasp
- Schoolbag clasp / Tuck
- Swivel clasp
- LOXX clasp
- Other bag clasps
And let's not forget the snap fasteners, zippers, and carabiners!

1. Choosing the right bag clasp: balancing style and practicality
Let us guide you in choosing the unique accessory that will make all the difference!
The importance of choosing the clasp
It's important to choose a clasp that's appropriate for the intended use of your bag or pouch. A bag clasp has two essential roles: it keeps your belongings secure while also contributing to the overall aesthetic of your creation. A poor choice can compromise not only the bag's practicality but also its design.
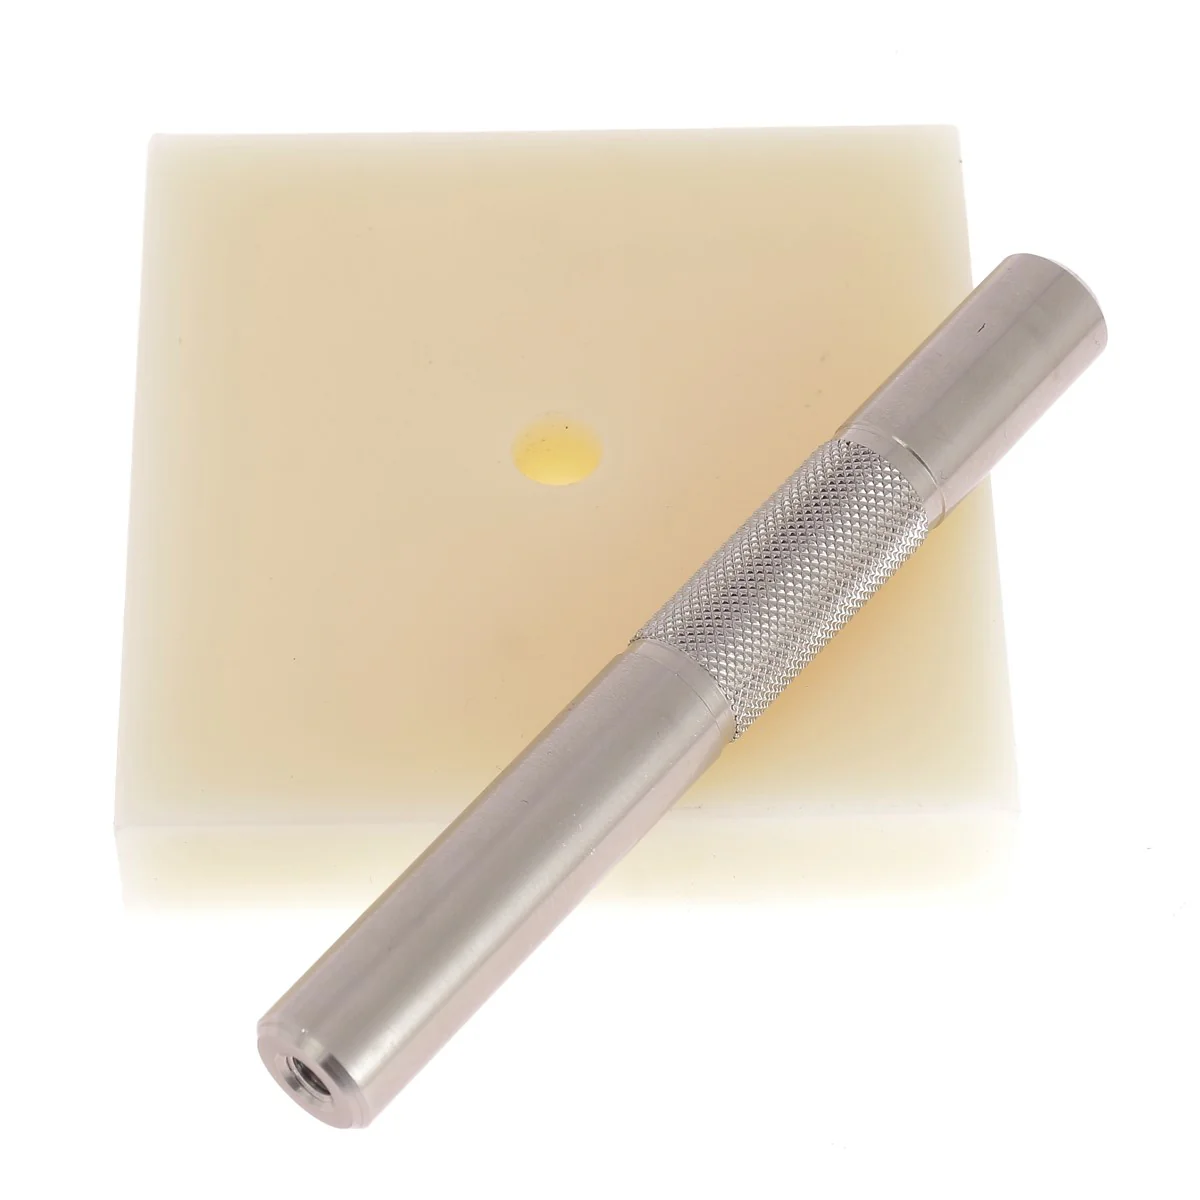
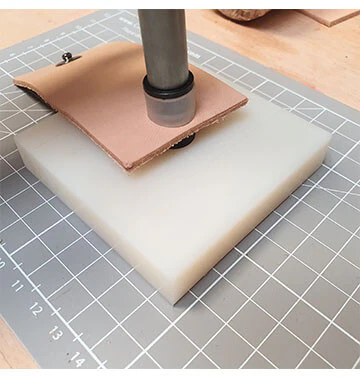
2. A very handy tool
Thanks to this ingenious tool, no more clumsy or overly long cuts with a cutter! It ensures clean and precise cuts in your leather, imitation leather, fabric... for attaching your claw clasps.
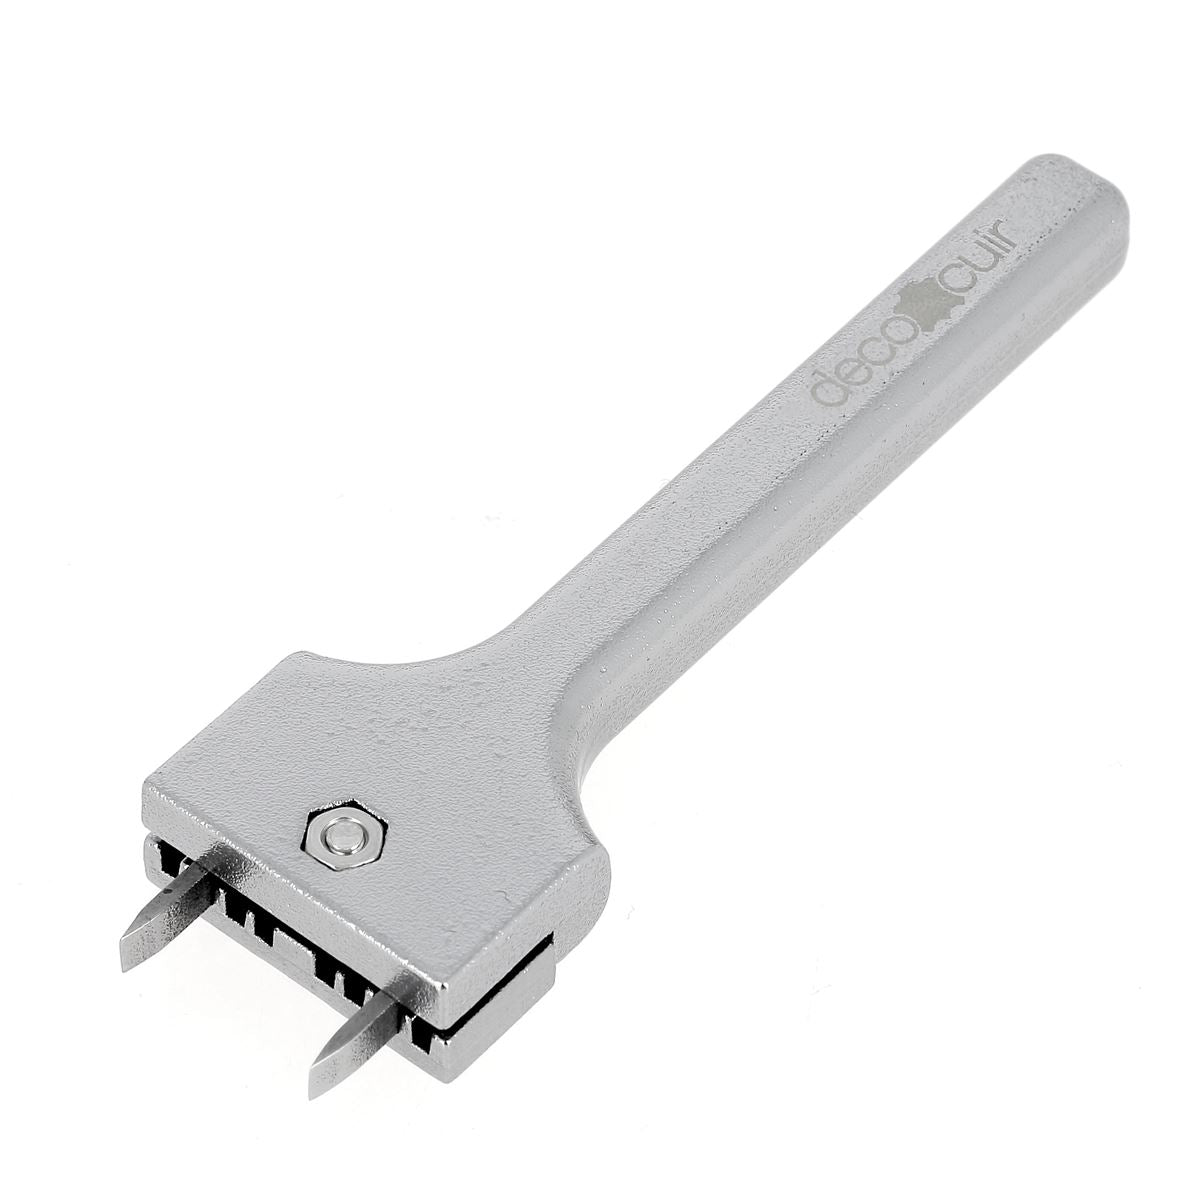

Watch the video ⬇️🎥
3. The different types of clasps and their method of attachment
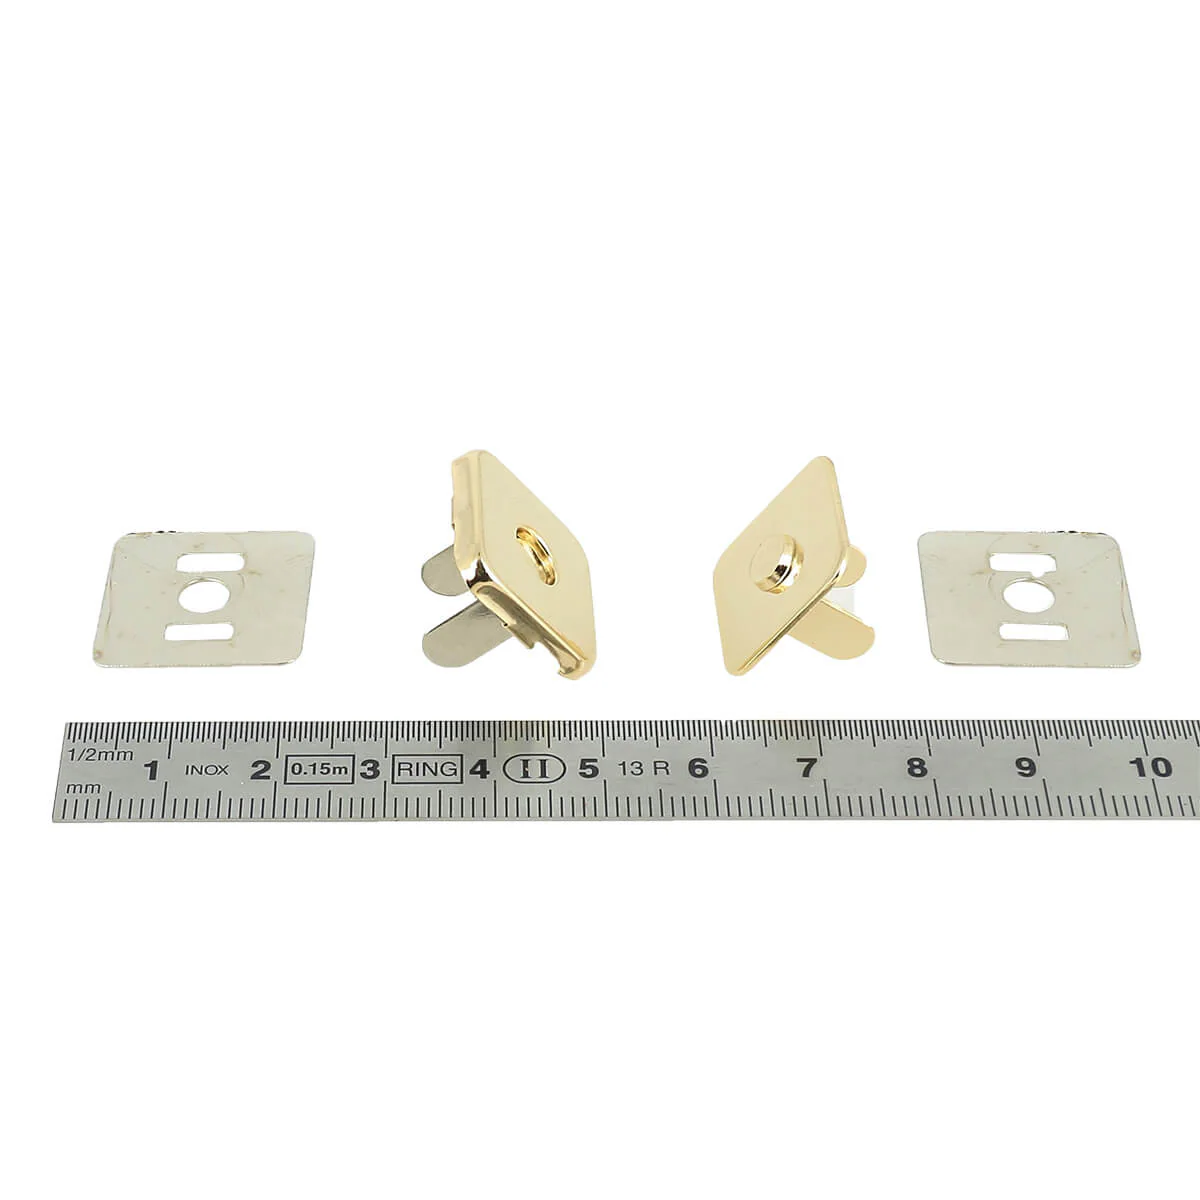
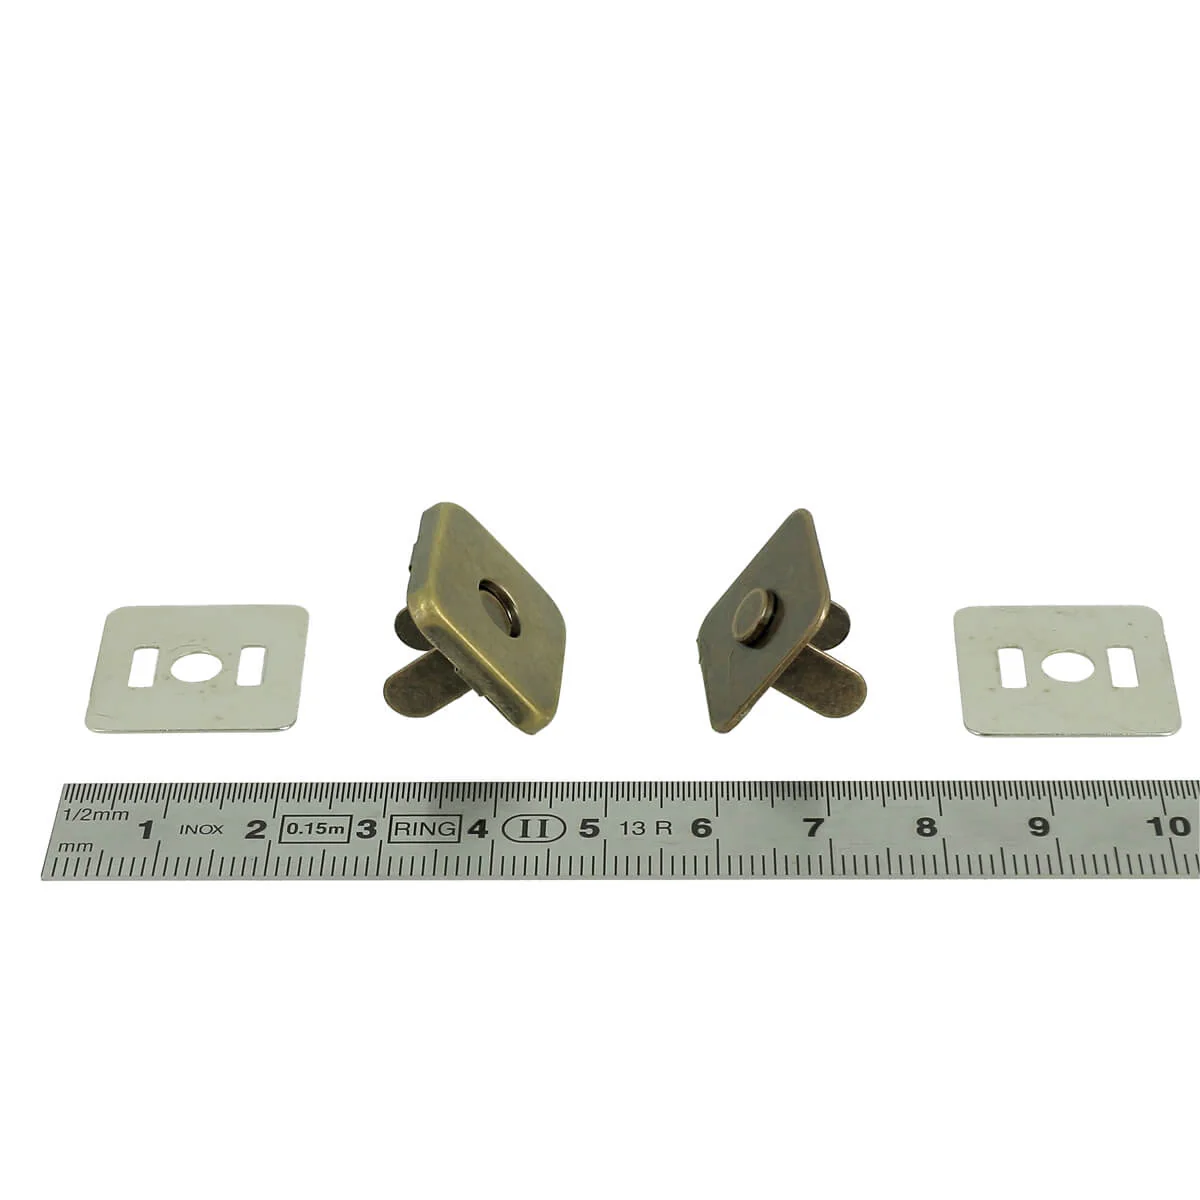
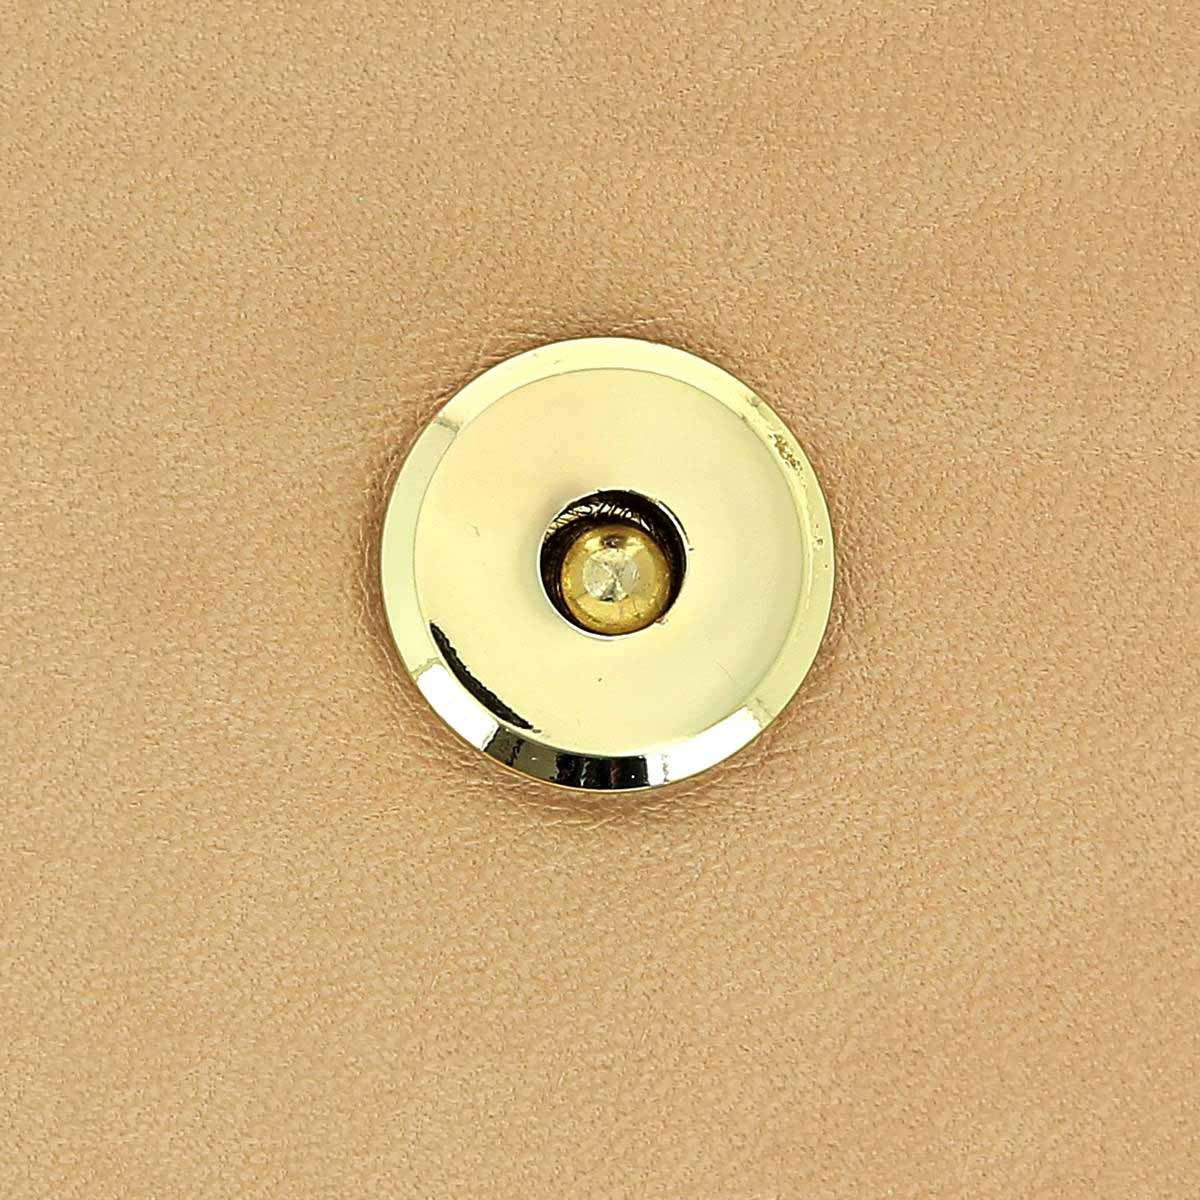
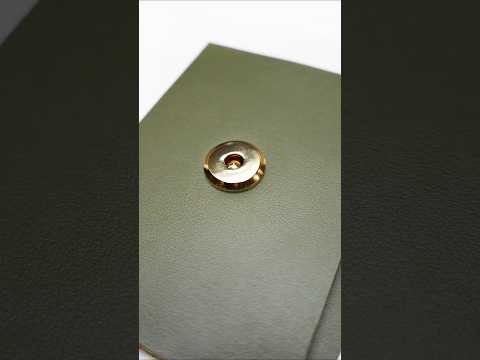
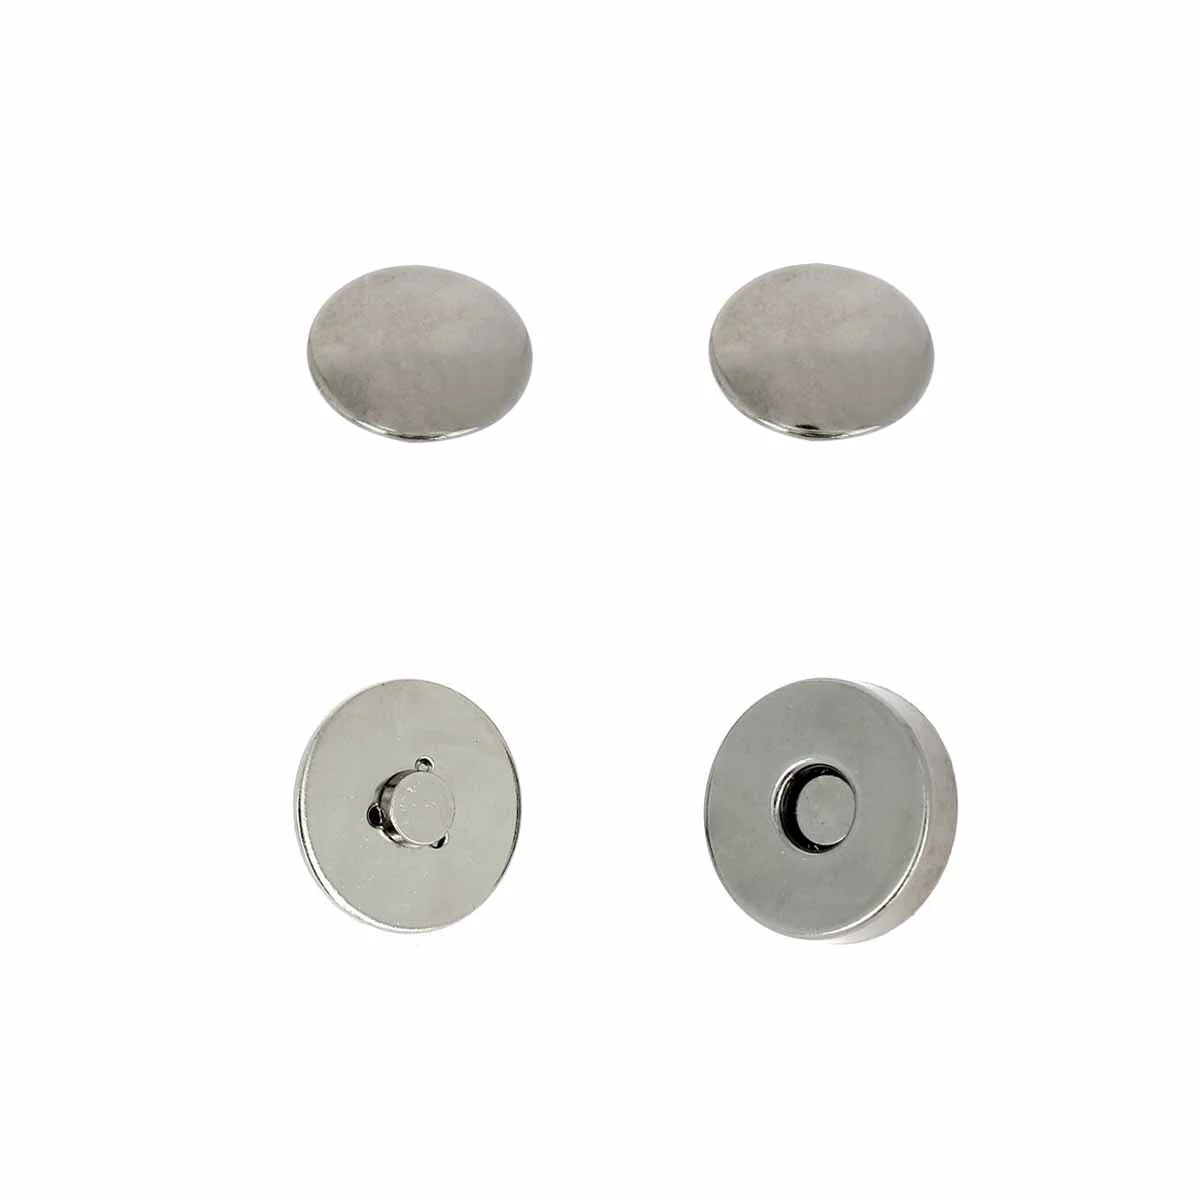
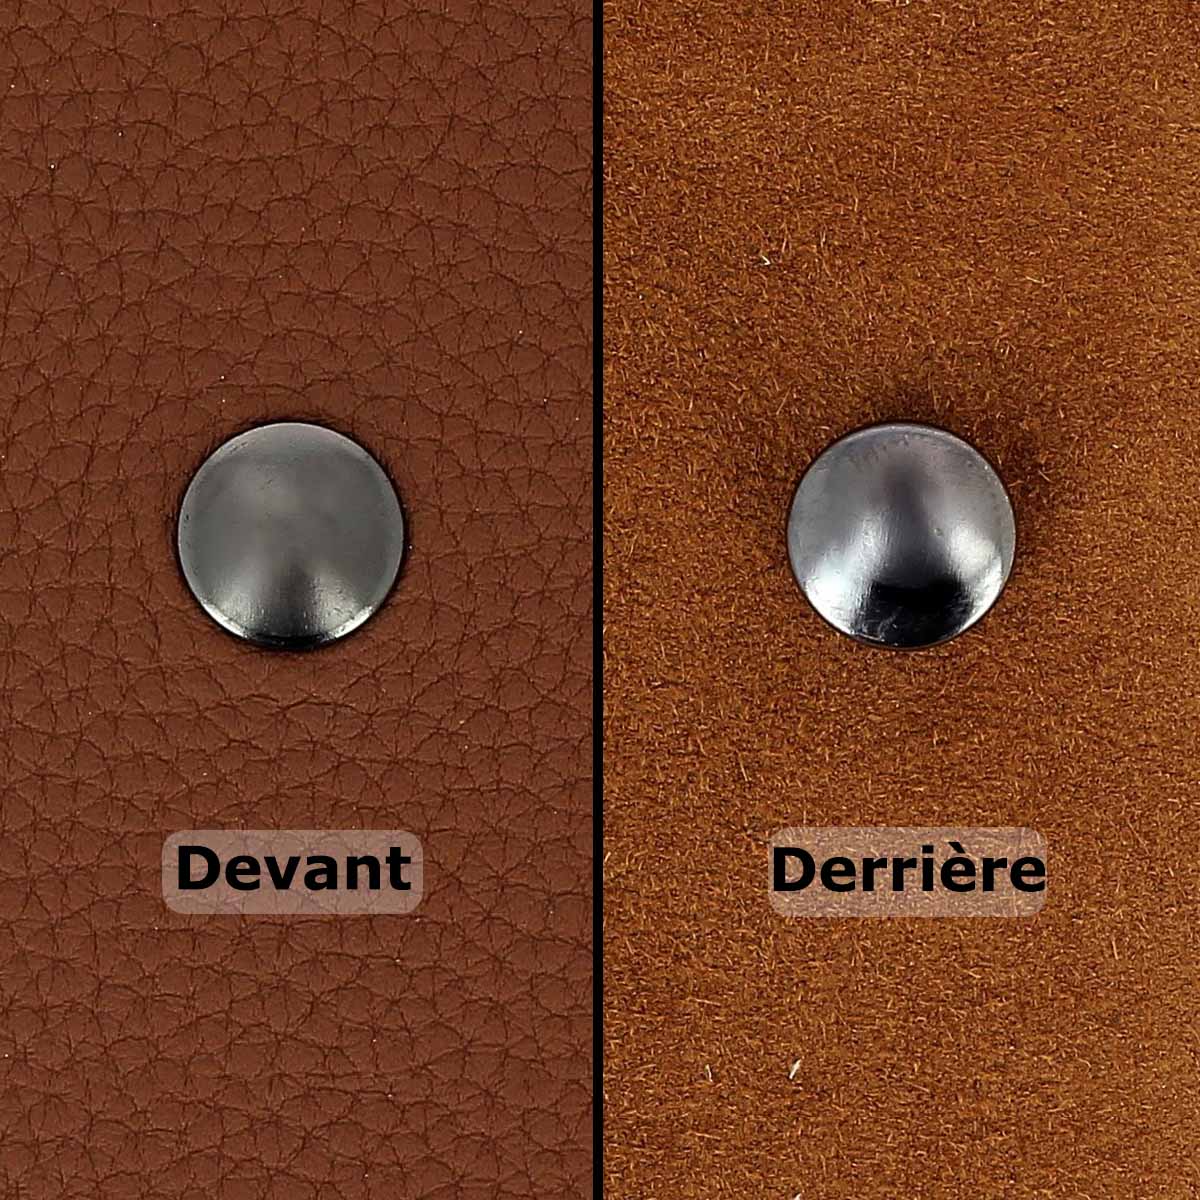
The magnetic button / magnetic TOP clasp
Easy to attach and use, the magnetic TOP clasp is very popular for handbags and clutches. It offers an elegant and discreet closure because the clasp head is usually hidden in the lining (simple magnetic TOP). Several variations of magnetic clasps are available: POLO, rivet-on, with different head shapes (round, triangular, rectangular)... Its only drawback: it may lack security if the bag is frequently handled or heavily loaded.
 ©La Popeline Factory ©La Popeline Factory POLO magnetic clasp
|
 POLO magnetic clasp
|
 ©Deco Cuir
Rectangular magnetic clasp
|
 ©Bjornarok_leather
Magnetic rivet clasp
|
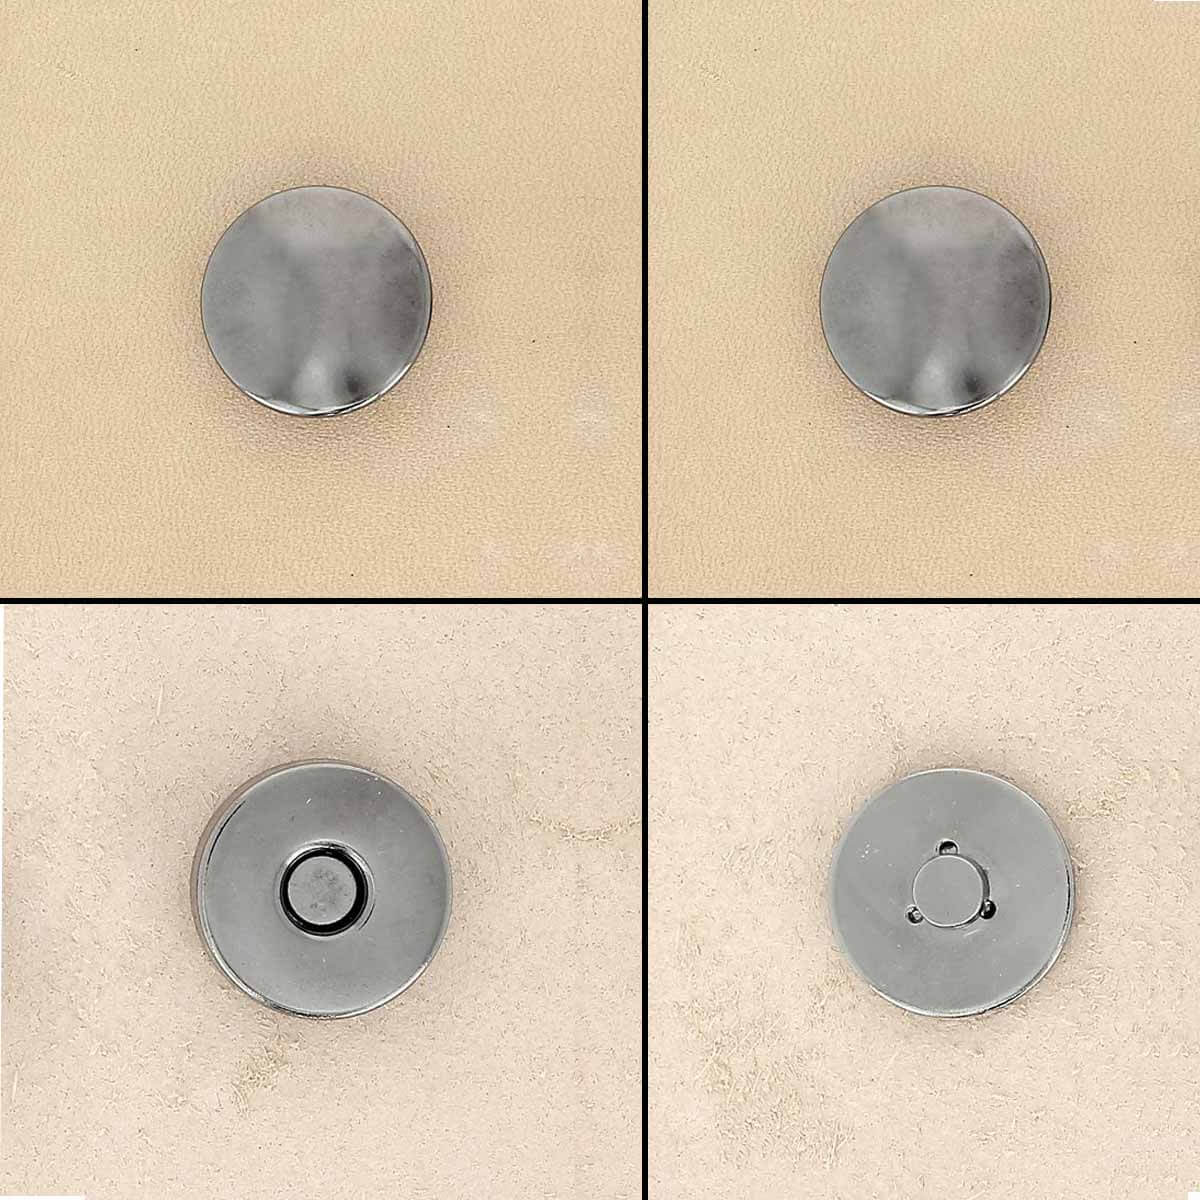
How to install a "simple" magnetic top?
- Mark the location: locate and mark with a silver pencil the location of the clasp on the flap and the body of the bag.
- Make the incisions to insert the metal rods using a cutter or the TB272 tool.
- To fix the front part: insert the part of the clasp that attaches to the flap, place the metal support on the reverse side (flesh side) and fold the metal tabs outwards (to avoid excess thickness) using a ruler.
- Repeat the process for the second part of the magnetic top.
- Test the closure: check that the clasp opens and closes correctly before using the bag or sewing a lining.
 |
 |
 |
 |


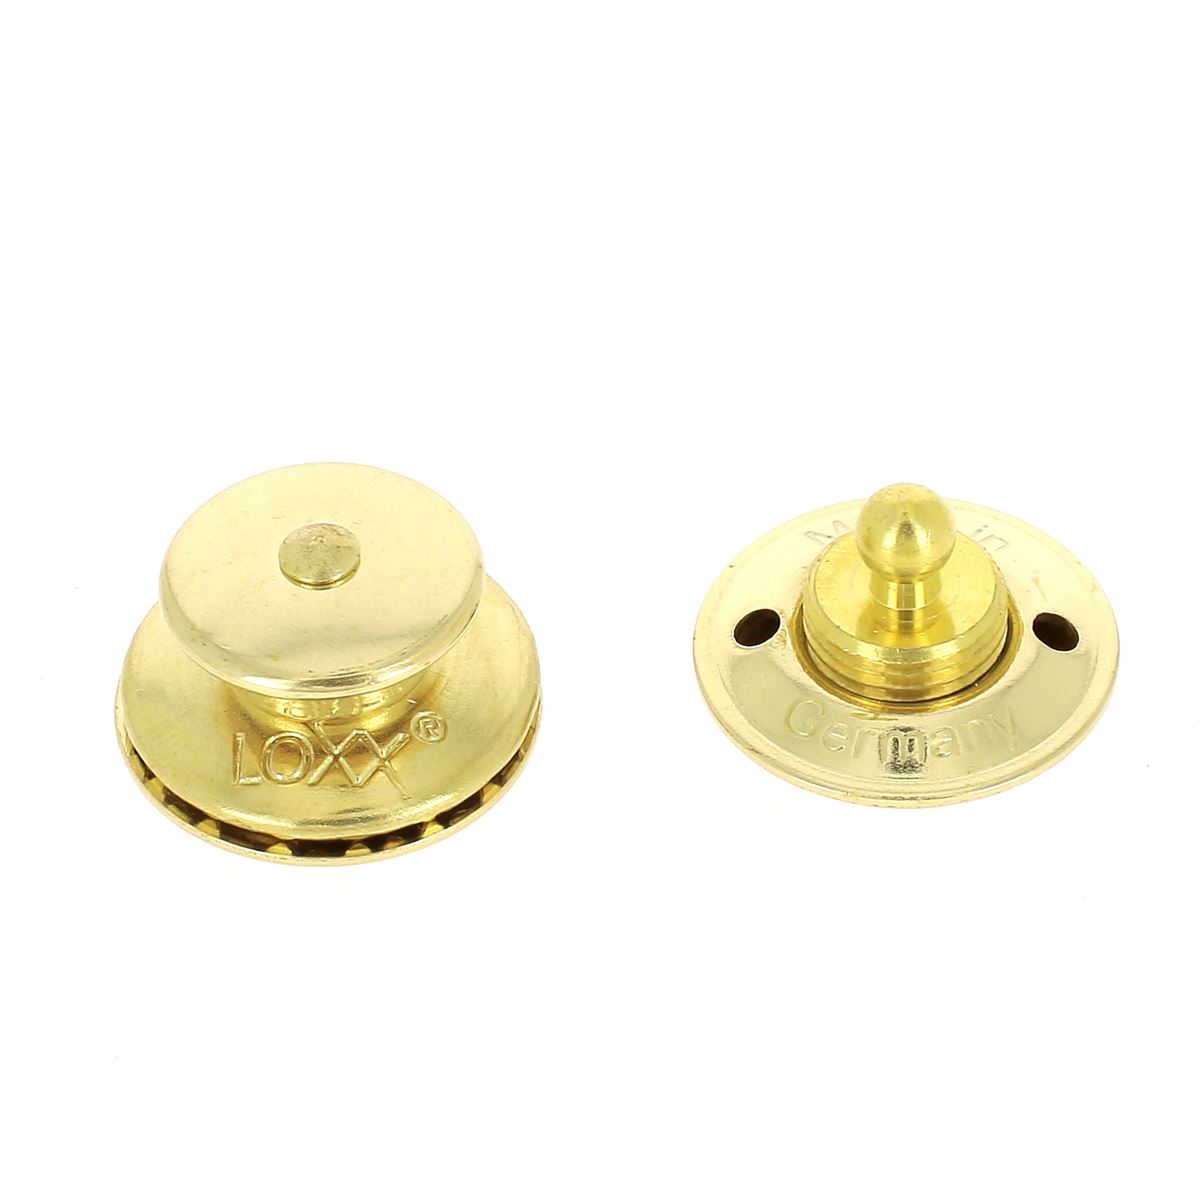
How to install a magnetic "POLO" ⌀ 17 mm top?
- Mark the location: locate and mark with a silver pencil the location of the clasp on the flap and the body of the bag.
- Drill a 10 mm diameter hole using a punch. Then, screw the magnetic top head onto the flap. The head should be seated on a 3/4 mm thickness.
- Attach the second part: make the incisions to insert the metal rods using a cutter or the TB272 tool. Insert the part of the clasp that attaches to the body of the bag, place the metal support on the reverse (flesh side) and fold the metal tabs outwards (to avoid excess thickness) using a ruler.
- Test the closure: check that the clasp opens and closes correctly before using the bag.
Watch the video ⬇️🎥


How to install a riveted magnetic top
- Mark the location: locate and mark with a silver pencil the location of the clasp on the flap and the body of the bag.
- Drill 2 holes of ⌀ 3 mm using a punch.
- Using the setting sets, the handle and the ertalon plate: position the 2 parts of the riveting clasp on a thickness between 2.5 and 5 mm.
- Test the closure: check that the clasp opens and closes correctly before using the bag or sewing a lining.

 |
 |
 |
 > End of the installation of the first part < |
 |
 |


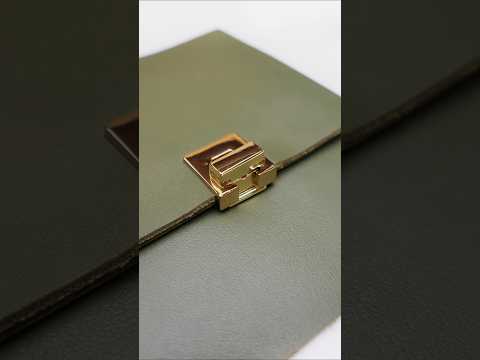
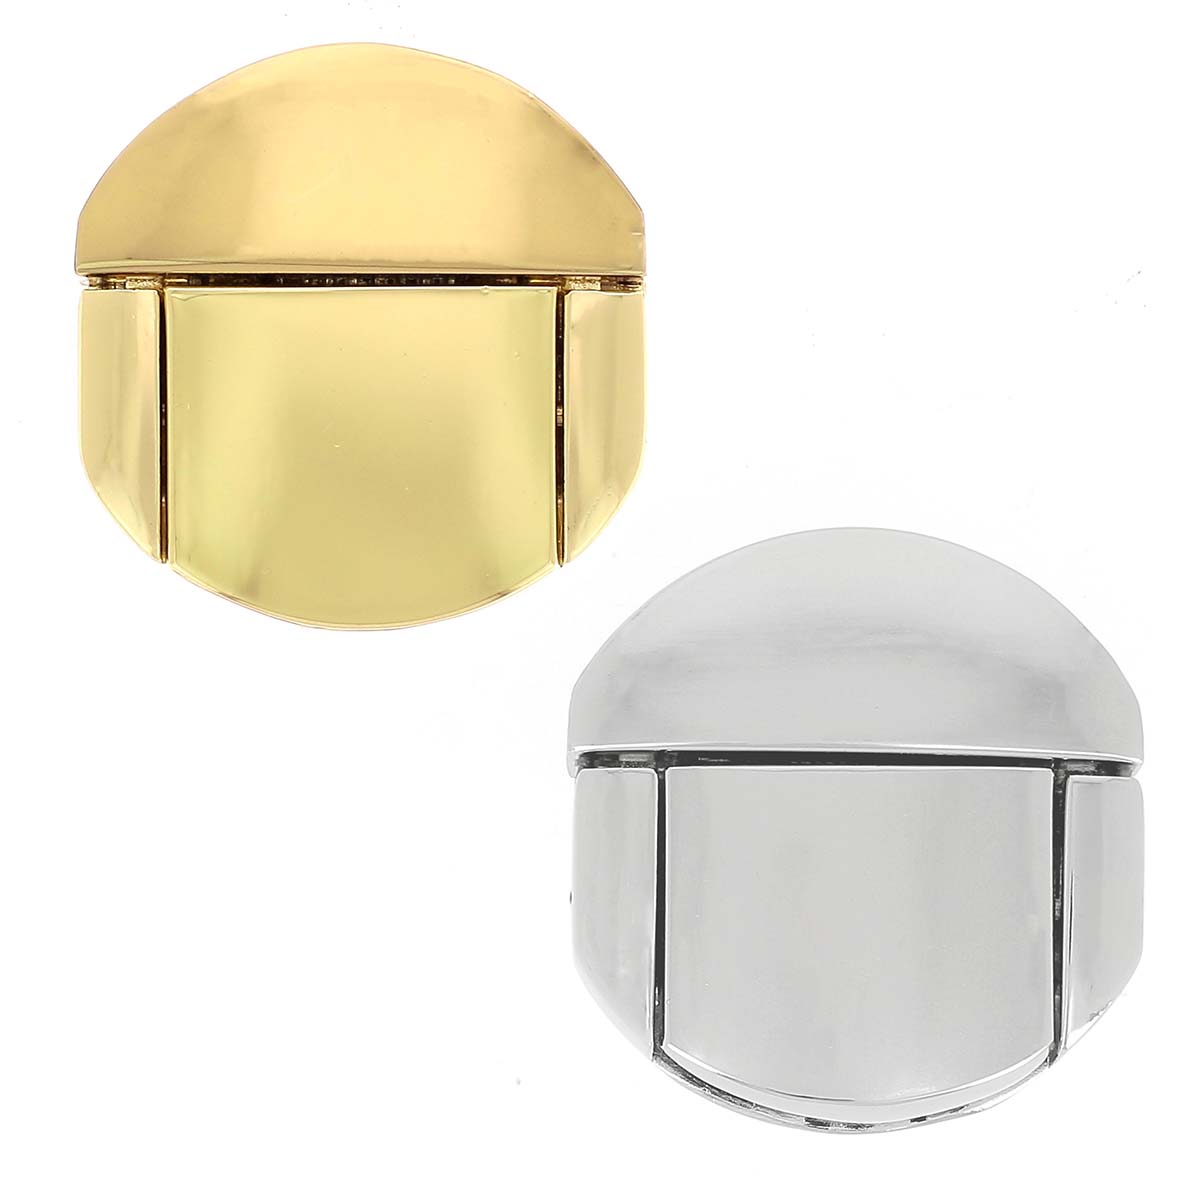
Other magnetic clasps


Watch the video to see how to assemble the square magnetic clasp ⬇️🎥
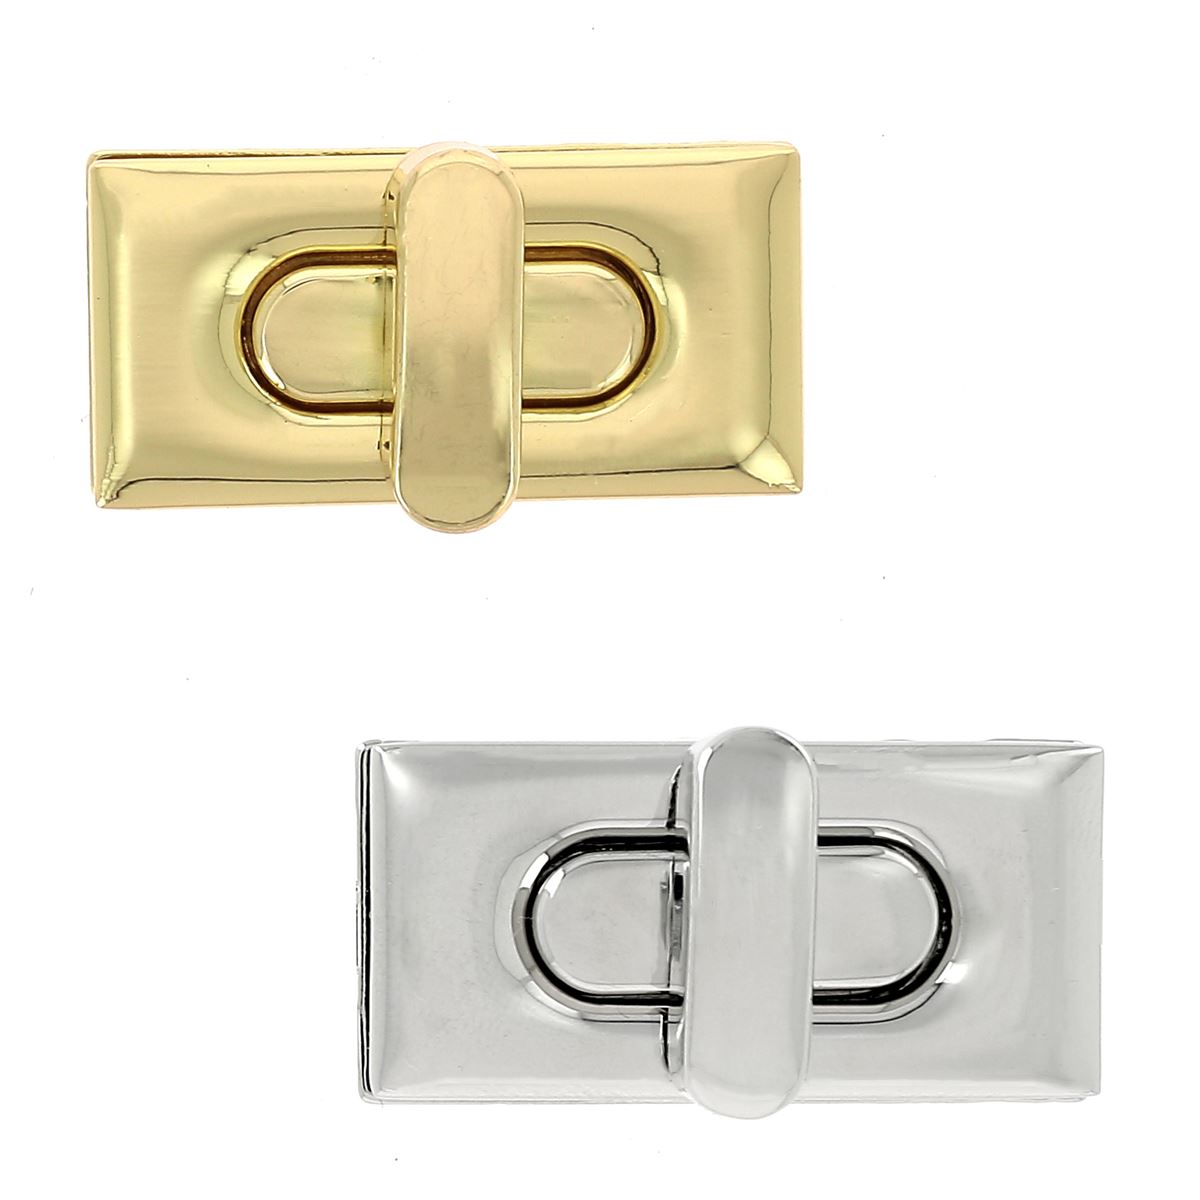
The turnlock clasp
This clasp is frequently used, combining aesthetics and security. It adds a chic and sophisticated touch and is ideal for city bags or structured handbags.
 ©Kevin RFT
|
 ©Deco Cuir
|
How do I install a turnlock clasp?
- Mark the location: locate and mark with a silver pencil the location of the clasp on the flap using the back plate (the one that will be screwed to the back of the clasp).
- Cut out the rectangle using a craft knife and punch the holes using a hole punch. Then, insert and screw the two parts of the clasp head into place. The head should be positioned on a surface approximately 3 mm thick.
- Attach the second part: make the incisions to insert the metal rods using a cutter or the TB272 tool. Insert the part of the clasp that attaches to the body of the bag, place the metal support on the reverse (flesh side) and fold the metal tabs inwards using a ruler.
- Test the closure: check that the clasp opens and closes correctly before using the bag.
Watch the video ⬇️🎥


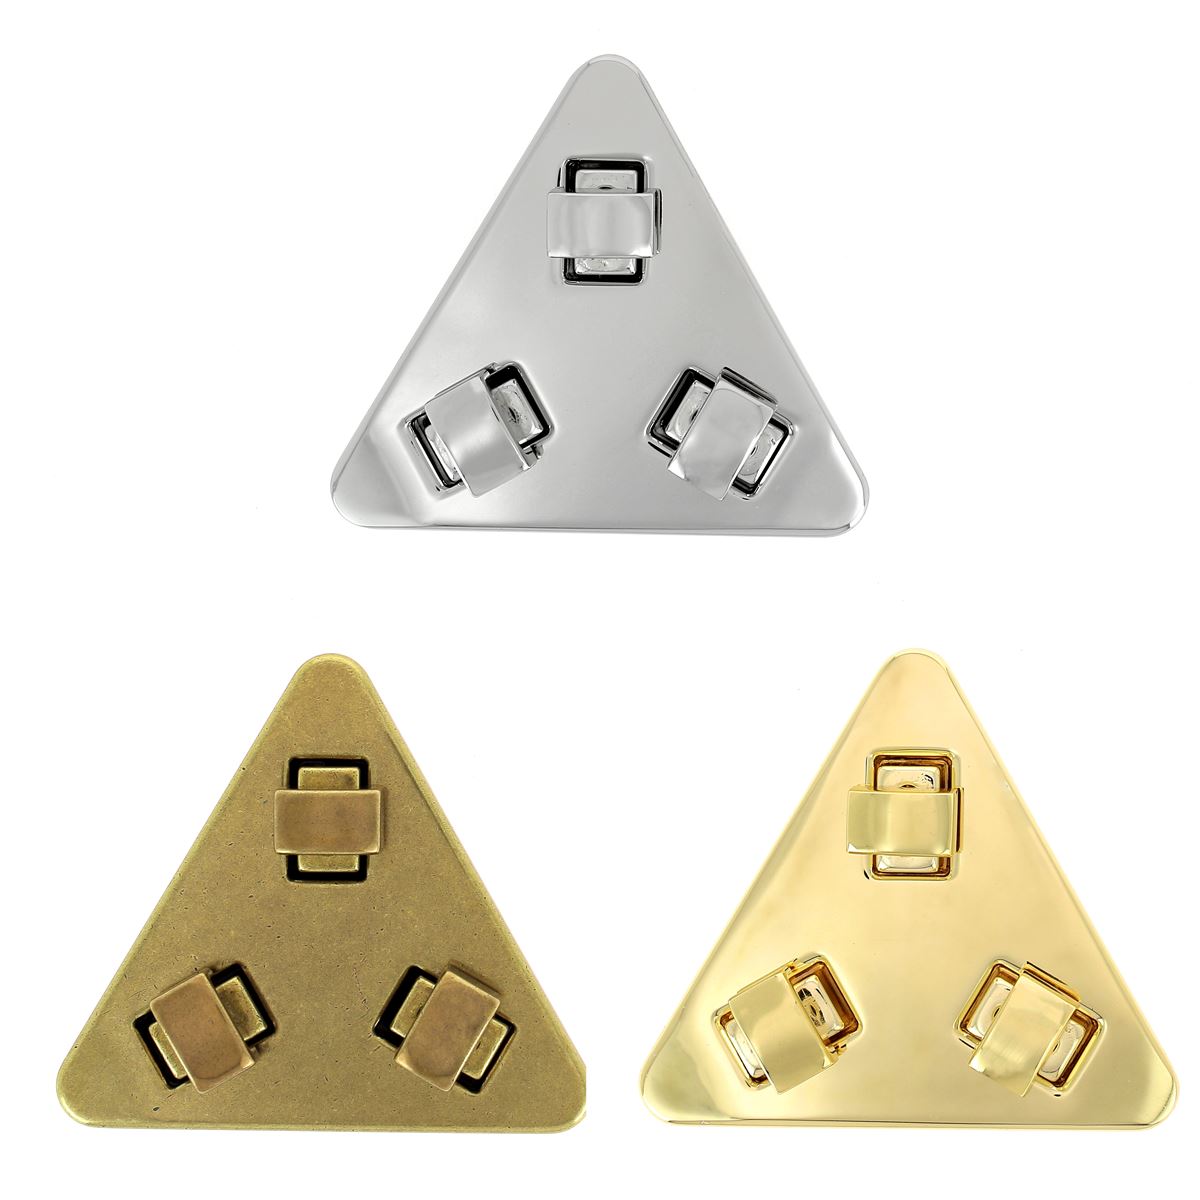
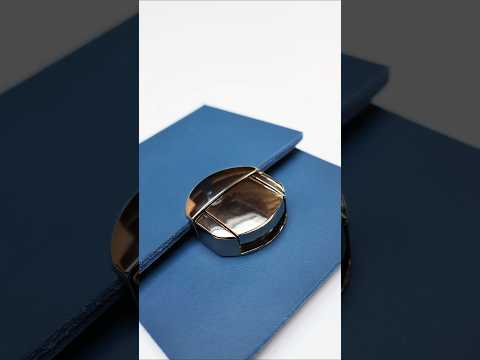
Other types of turnlock clasps
We love this small, square turnlock clasp which is out of the ordinary (ref. AA426).
Watch the video ⬇️🎥


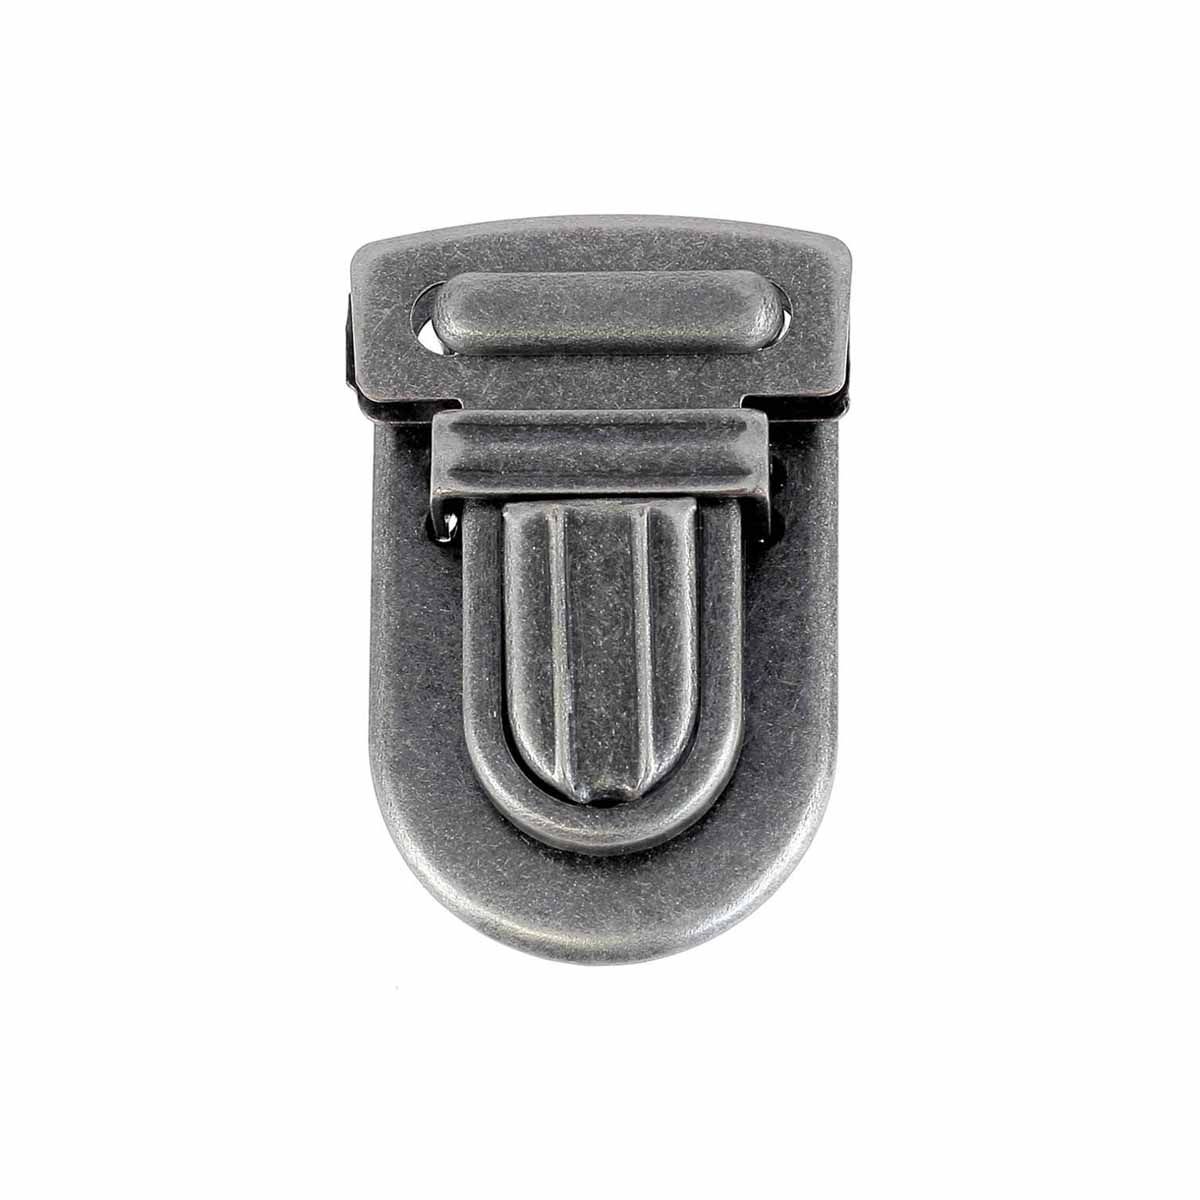
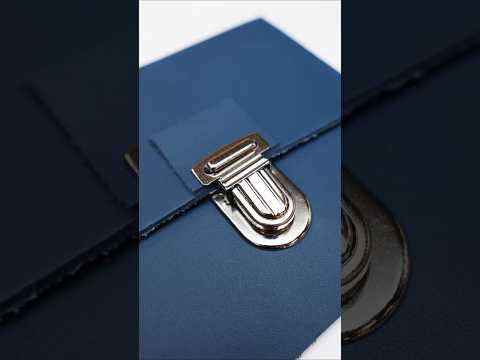
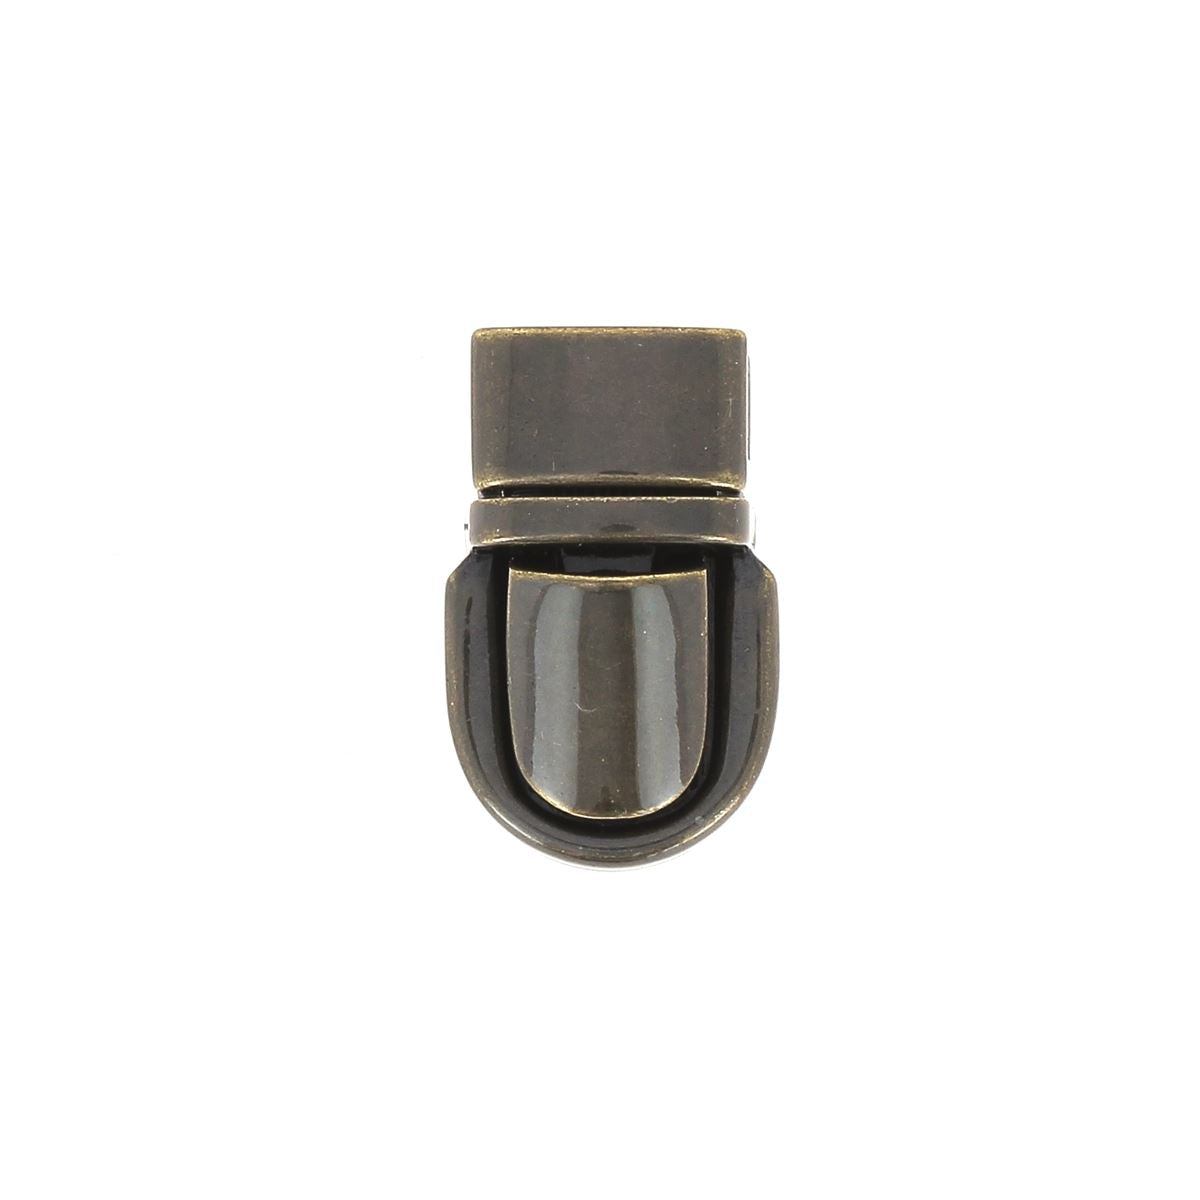
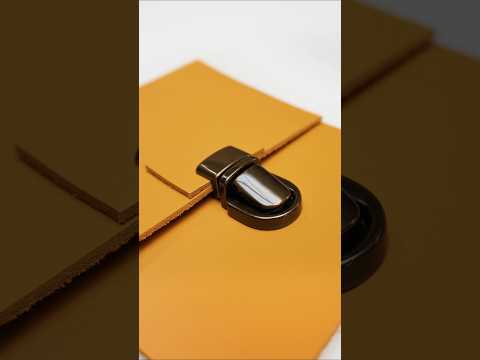
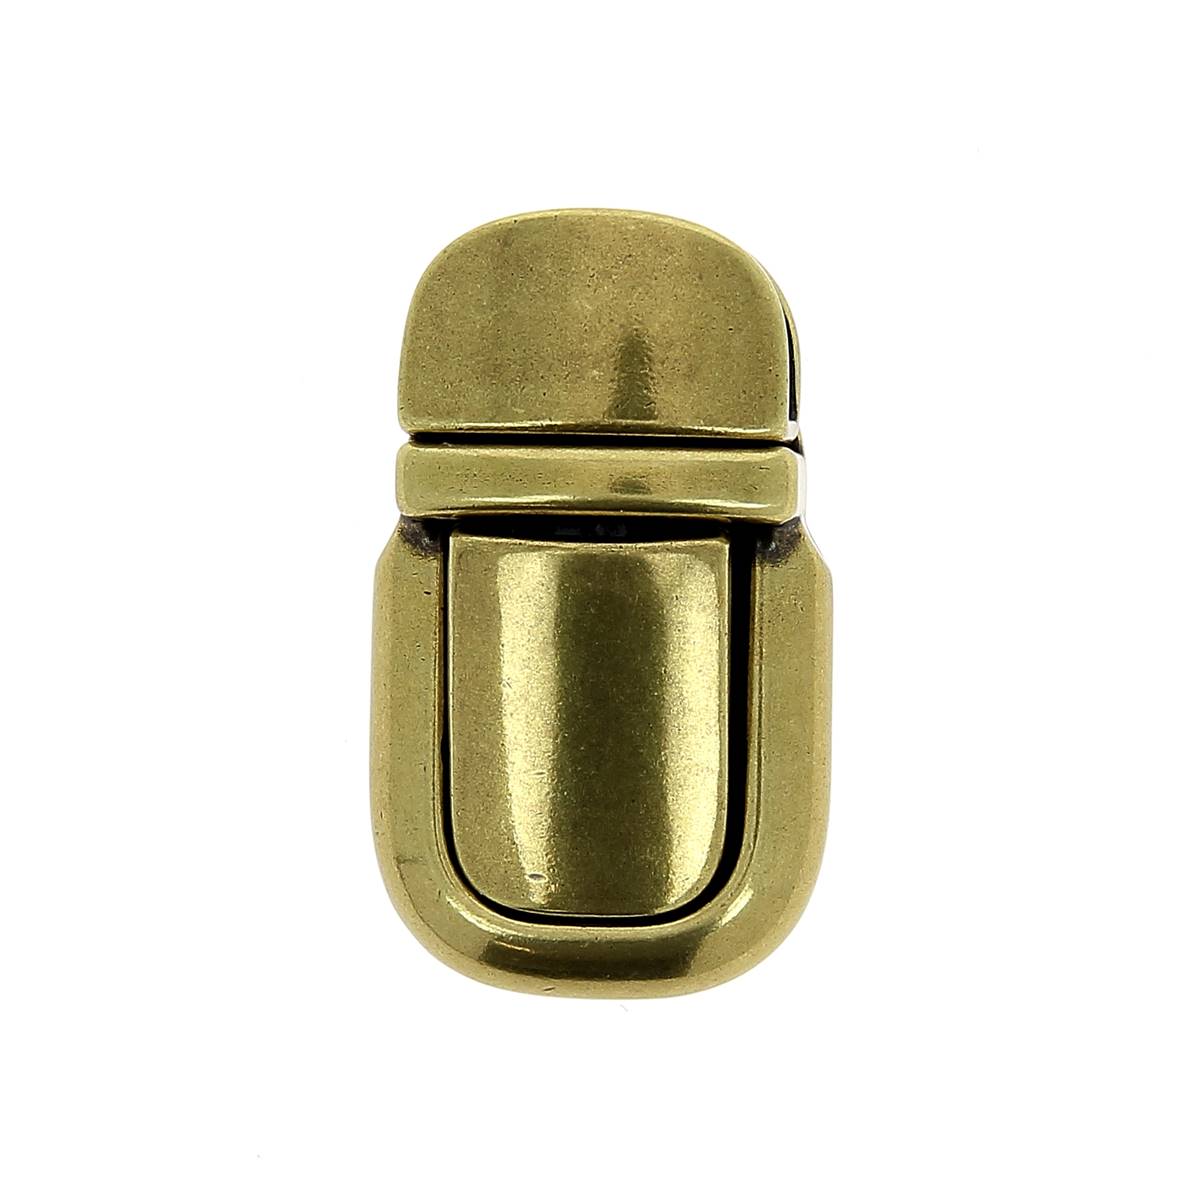
The schoolbag clasp
This sturdy clasp is often used on business bags, briefcases, and small pouches. It guarantees a secure closure and a classic design, perfect for a timeless style.
 ©C Serra
|
 ©Laurence's workshop
|
 ©Steam Lilith Couture
|
 ©Ollivo Julie
|
How do I attach a schoolbag clasp?
- Mark the locations: trace the position of the clasp on the flap and on the base of the bag. Pay attention to the thickness of the flap when positioning the clasp head (otherwise, add reinforcement or a tab).
- Drill 2 holes of ⌀ 3 mm using a punch.
- To attach the metal plate: insert the back plate of the clasp inside the bag and secure it by folding the metal tabs inwards.
- Attach the second part: make the incisions to insert the metal tabs using a cutter or the TB272 tool. Insert the part of the clasp that attaches to the body of the bag, place the metal support on the reverse (flesh side) and fold the metal tabs inwards using a ruler.
- Test the closure: check that the clasp works properly and that it keeps the bag closed correctly.
Watch the videos ⬇️🎥
For this second clasp, the head is fixed with two screws. Use a round awl to pre-drill the leather before screwing (the screw will anchor itself into the material; we do not recommend drilling the leather before screwing).


The swivel clasp
This type of clasp deserves to be known; it can bring security and authenticity to your bag.
 ©Arnaud T
|
 ©Christmas Lights
|
How do I attach a swivel clasp to a bag?
- Mark the locations: trace the location of the clasp on the flap and on the base of the bag (position of the 4 holes).
- Drill 4 holes of ⌀ 4 mm using a punch.
- Using the setting sets, the handle and the ertalon plate: set the 4 T3 single or double cap rivets.
- Test the closure: check that the clasp works properly and that it keeps the bag closed correctly.
Watch the video ⬇️🎥


The LOXX clasp
This type of closure, once engaged, offers exceptional resistance to being pulled open. It therefore provides excellent security for your creations. The LOXX clasp is generally used to attach guitar straps to the instrument, but it can also add a touch of originality to your bags.
 ©Fabrice Richez
|
 ©James Berry
|
How to install a LOXX self-locking door?
- Mark the locations: trace the location of the clasp on the flap and on the base of the bag.
- Drill 2 holes of ⌀10 mm using a punch.
- Screw in the first part of the clasp. Use the LOXX key to tighten it securely.
- Position and screw in the second part of the clasp.
- Test the closure: check that the clasp works properly and that it keeps the bag closed correctly.
Watch the video ⬇️🎥


Other bag clasps
We offer over 80 different bag clasps on our website www.decocuir.com

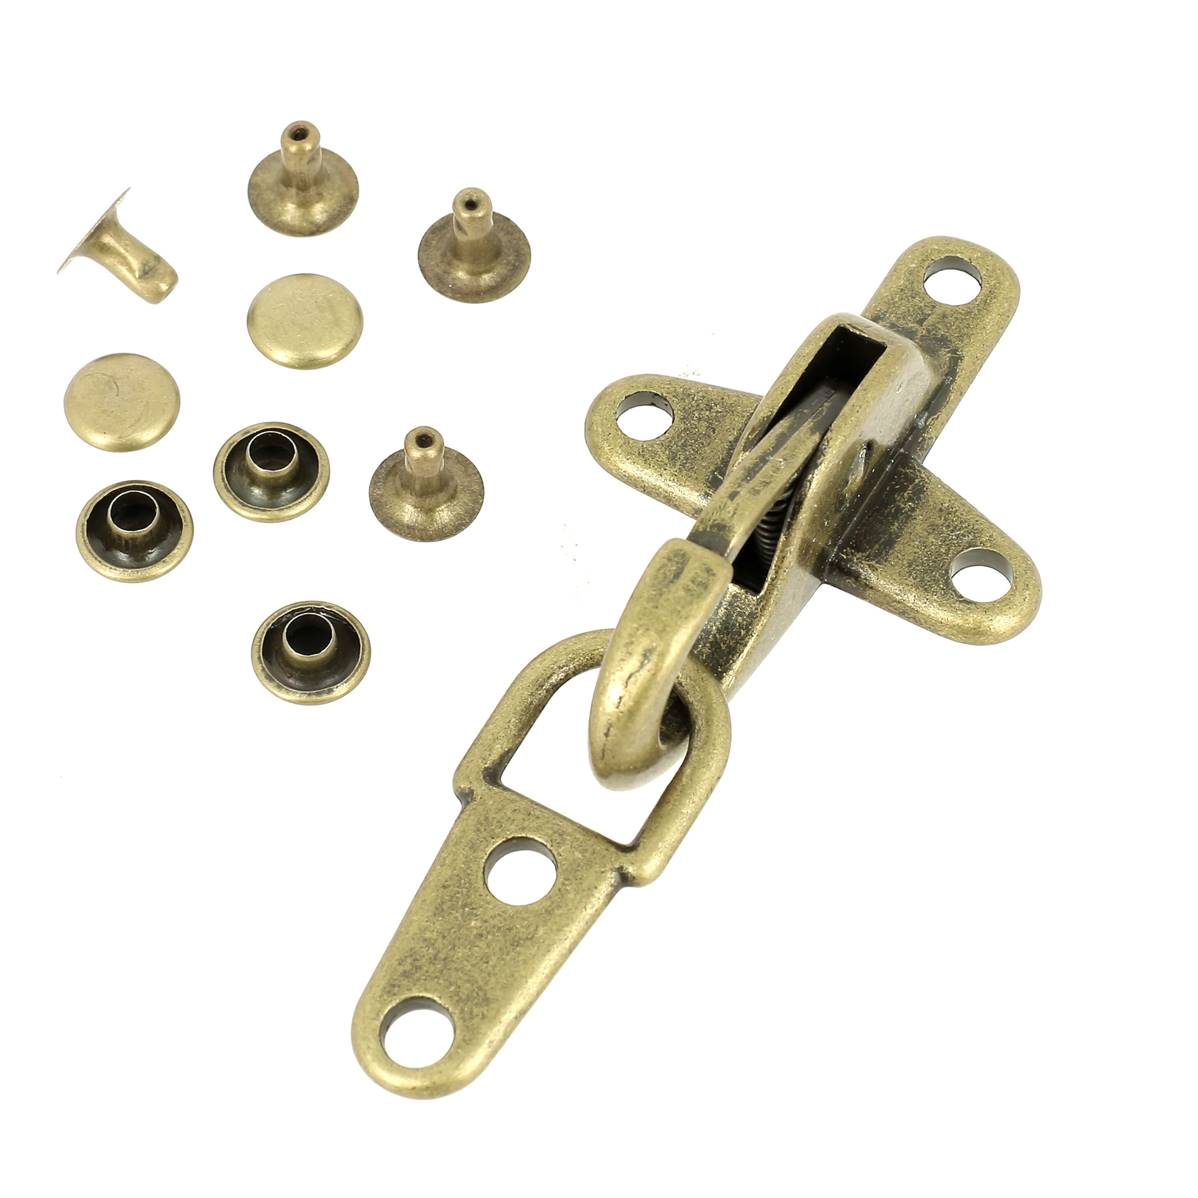

Another favorite is this pretty bag clasp (ref. AA425): the two parts of the clasp fit together. It opens by pressing on the bottom part and pulling on the top part.
Watch the video ⬇️🎥
Other styles of bag closures
The snap button
The essential snap button! Highly prized for wallets and purses, it also allows for a quick, discreet and secure closure for your handbags.
 ©Clara F Bags
|
 ©CLM Creation
|
 ©Landerneau by MB
|
 ©Karine
|
The zipper / zip
This is one of the most secure systems. The closure prevents items from falling out of the bag and protects its contents from prying eyes. It's perfect for travel bags, backpacks, and everyday bags.
 ©Vanessa De Almeida
|
 ©Cat - Hat
|
The carabiner
Very practical, it allows for quick opening while ensuring a secure fit. It is often used for shoulder bags or backpacks.
 ©Deco Cuir
|
 ©VRSL Matter
|
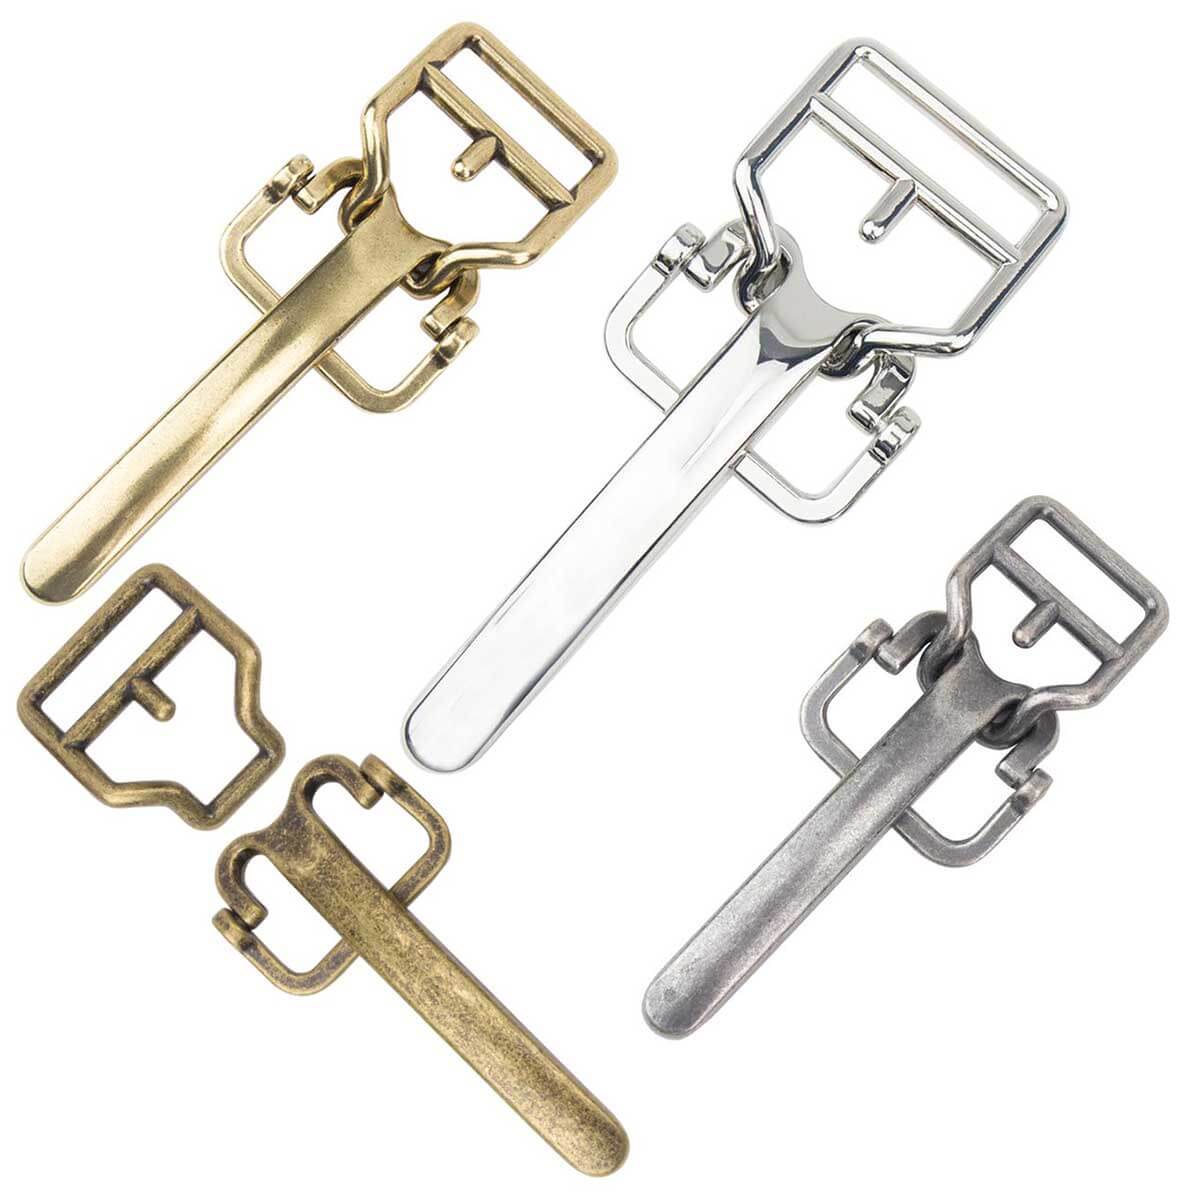
The pin buckle / belt buckle
Offering a vintage and elegant look, this closure is very popular for leather bags and satchels. However, it requires a little more effort to open and close.
 ©Bjornarok_leather
|
 ©Stella's Sewing Projects
|
4. How to choose the ideal clasp for your sewing project?
Depending on the intended use of the bag
- For an everyday bag: opt for a zipper or magnetic button for a good balance between security and practicality.
- For a clutch or evening bag: the turnlock or magnetic clasp adds a refined touch.
-
For a travel bag or backpack: the zipper remains the safest choice.
⚠️ Also pay attention to the material you choose for your clasp: brass, zamac, steel, copper, aluminum… it matters if you want it to withstand time and use! Most of our clasps are made of ZAMAC (non-ferrous alloy).
Depending on the design/style
The clasp greatly contributes to the bag's aesthetics. A discreet magnetic button will suit a minimalist design, while a turn-lock clasp or a metal buckle will give a more sophisticated look.

In conclusion
Choosing a bag clasp shouldn't be taken lightly. Take the time to select the right one! Depending on its intended use and desired style, you can choose from a variety of clasps that will enhance your creation. Add character to your future sewing projects!
The perfect finishing touch for your leather goods creations.

