


REQUIRED MATERIALS
To make these leather brooches, you will need:
- Leather scraps - thickness between 0.5 and 0.9 mm (we mainly used leathers from our Sweet 2 and Satinlys ranges as well as goat leather).
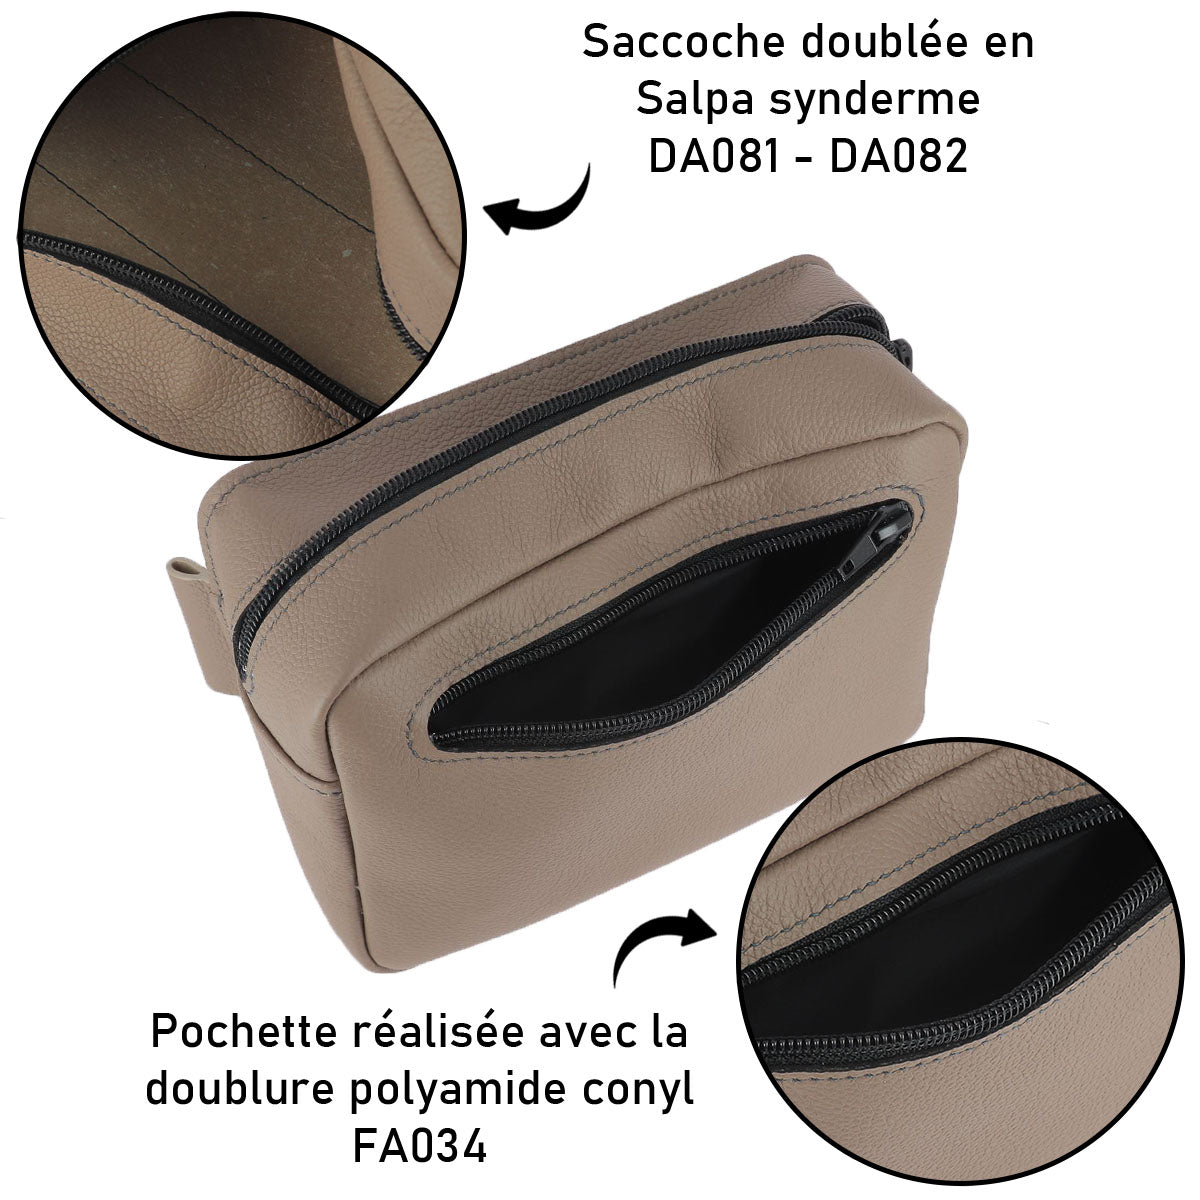
- SALPA to reinforce and line the brooches: 0.6 mm thickness.
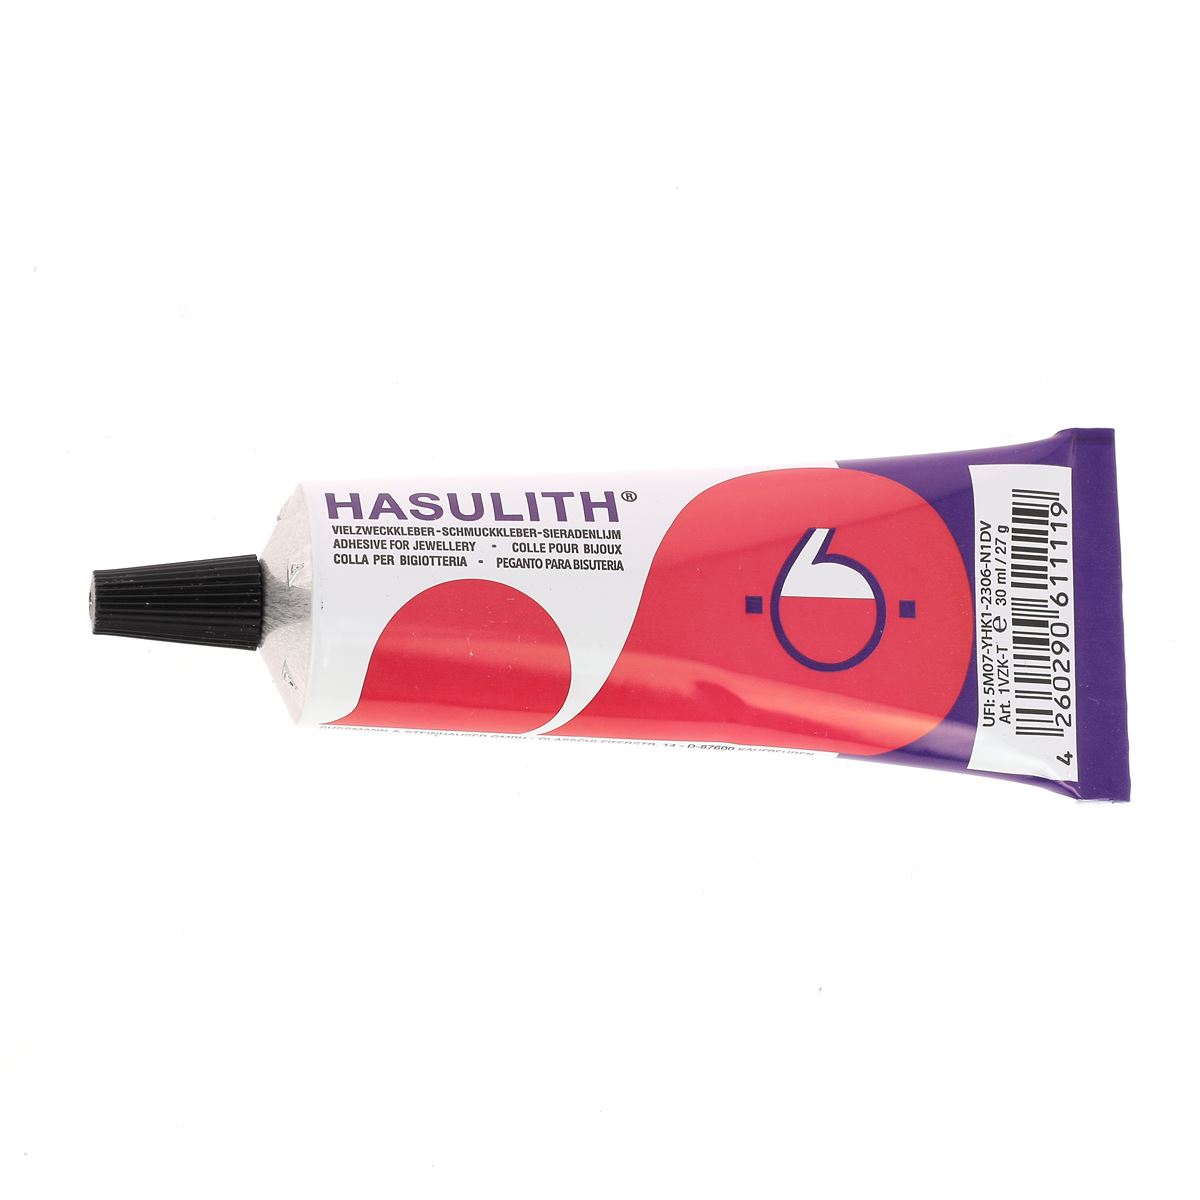
- 1 tube of Hasulith jewelry glue - 30 ml.
- For the tulip only: 3 cm of round leather lace - 2 mm in diameter
Additionally, not available in our shop:
- For the tulip: An 8 mm diameter bead + nylon thread
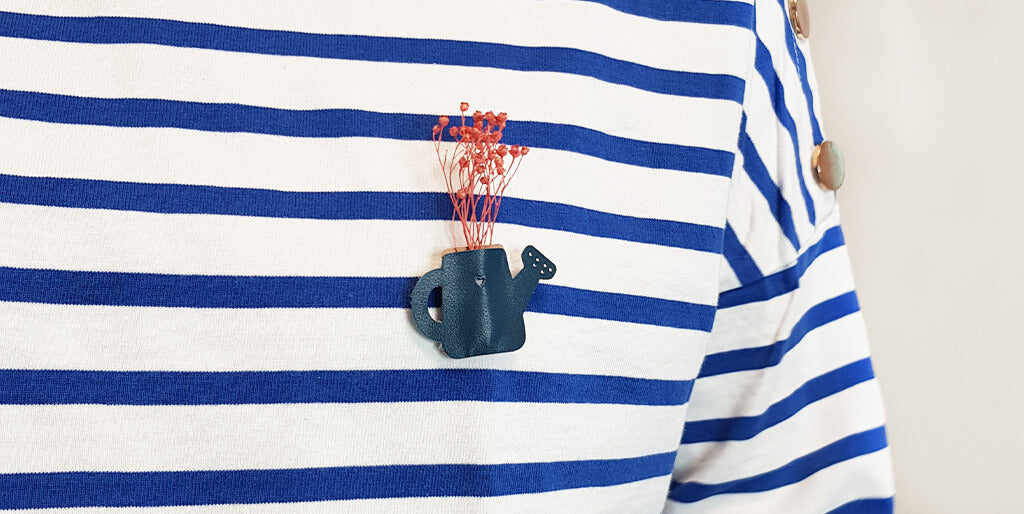
- For the watering can: A mini bouquet of dried flowers
- Brooch pins
Optional, to facilitate cutting the pieces:
- 1 punch of Ø 10 mm
- 1 punch of Ø 14 mm
- 1 punch of Ø 20 mm
- 1 oblong punch measuring 25 x 4 mm
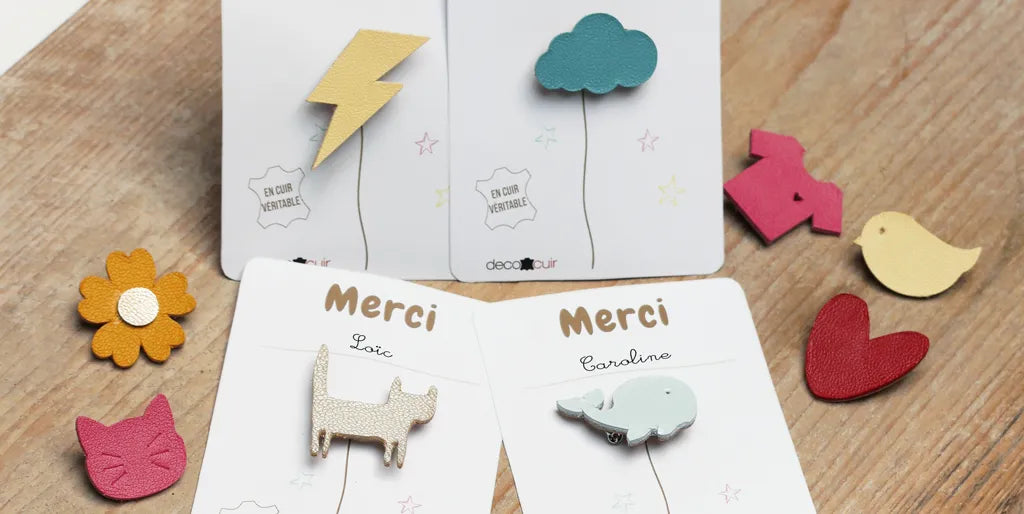
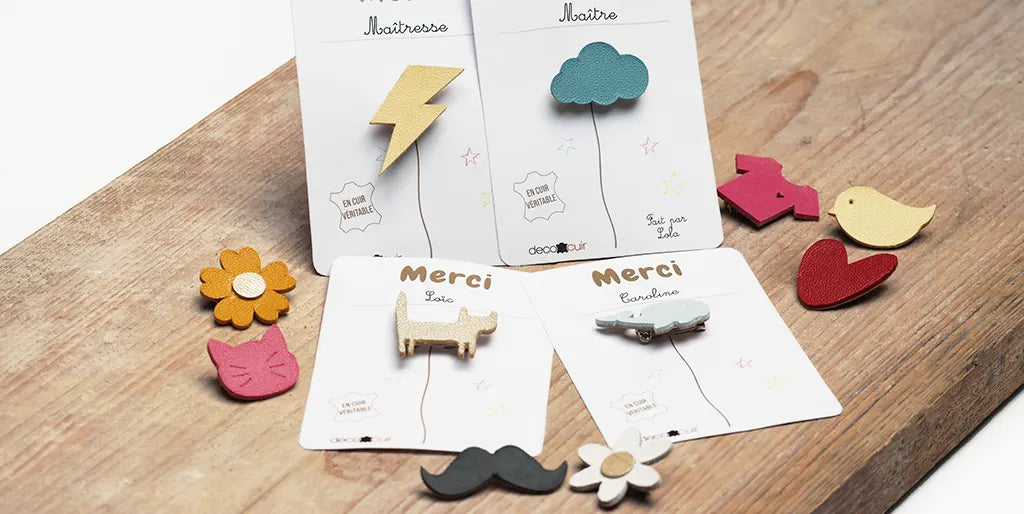
Download our printable PDF template to create your small presentation card.

THE PATTERN
Download the pattern (at the top of the article) and print it at actual size. Generally, a brooch measures 3x3 cm.
CUTTING OPTIONS:
Cut out your brooch designs with a good pair of scissors, punches, or a cutting machine like the Cricut Maker (with the knife blade). The .svg file is available for free download.


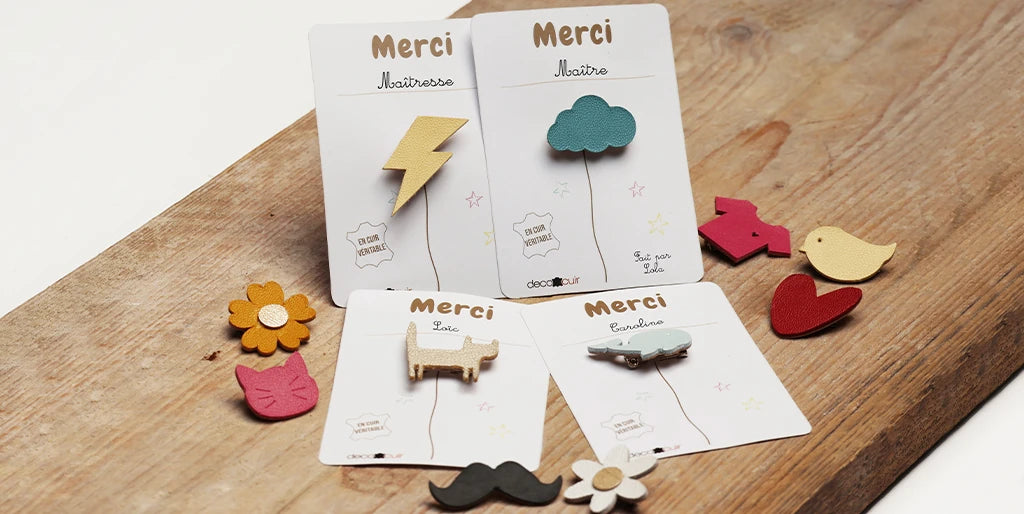
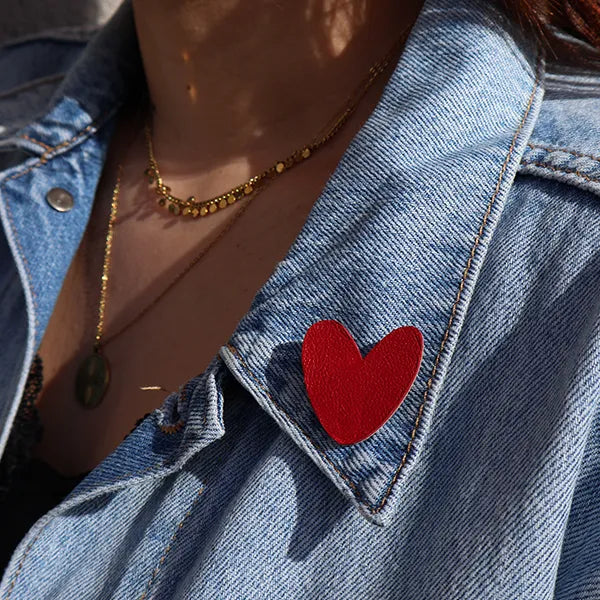
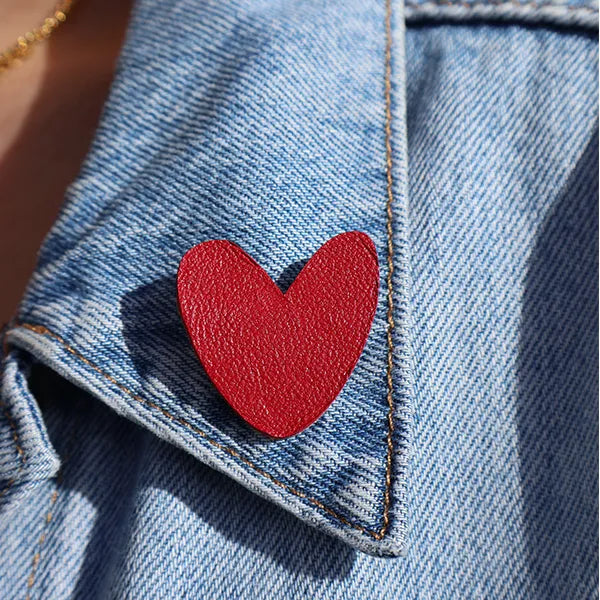
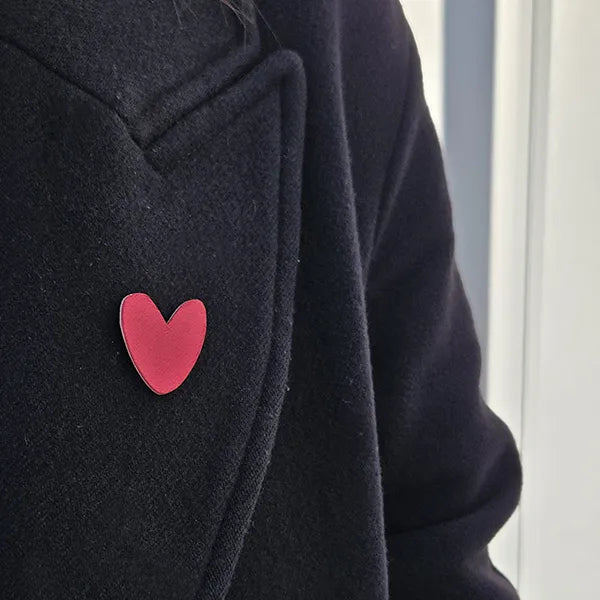
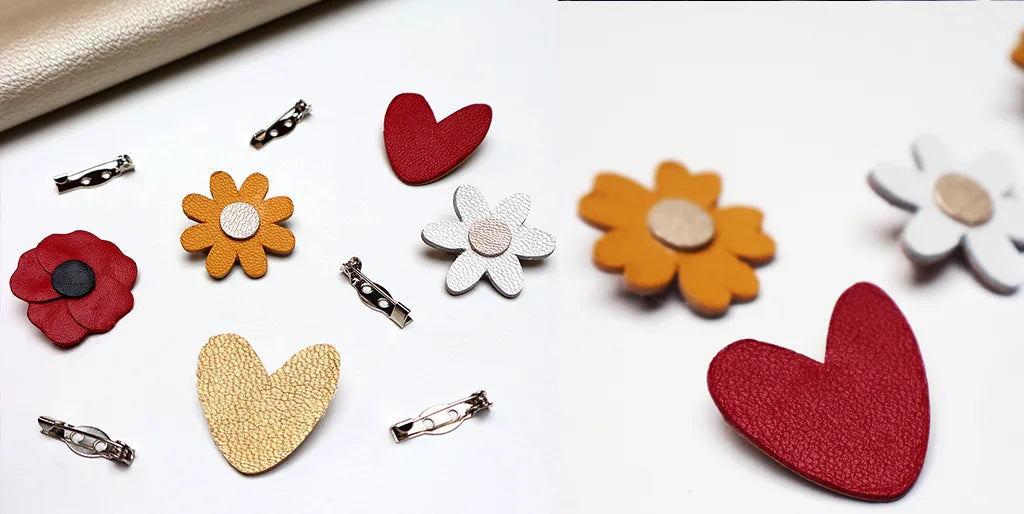
1) THE HEART
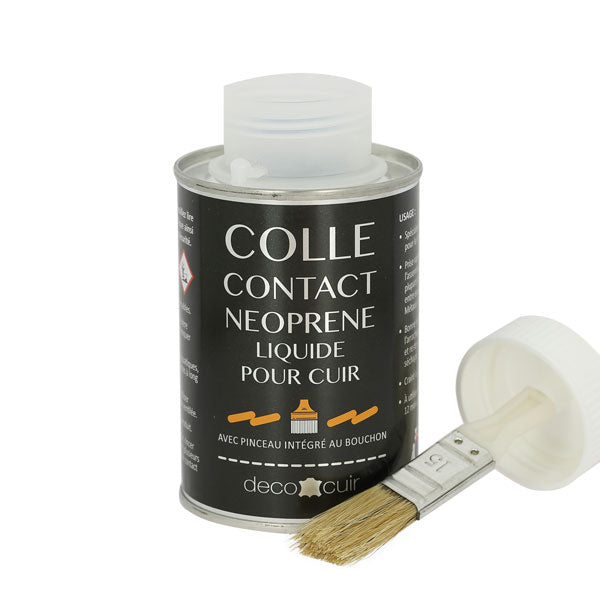
Reinforce a leather scrap with 0.6 mm thick SALPA. Glue the pieces together with neoprene glue.
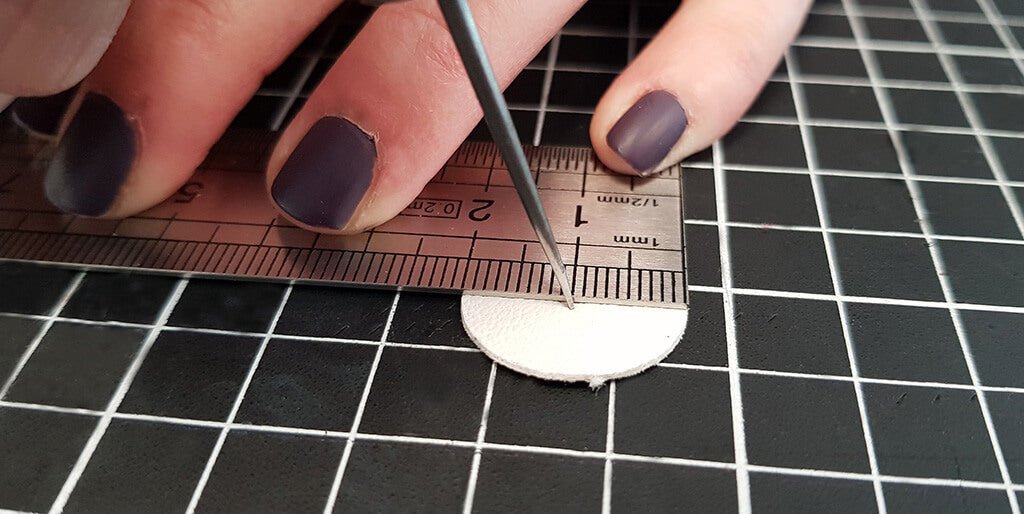
Trace the heart template (using a silver pencil) onto the glued piece. Then cut it out with a good pair of scissors or a cutting machine.
 |
 |

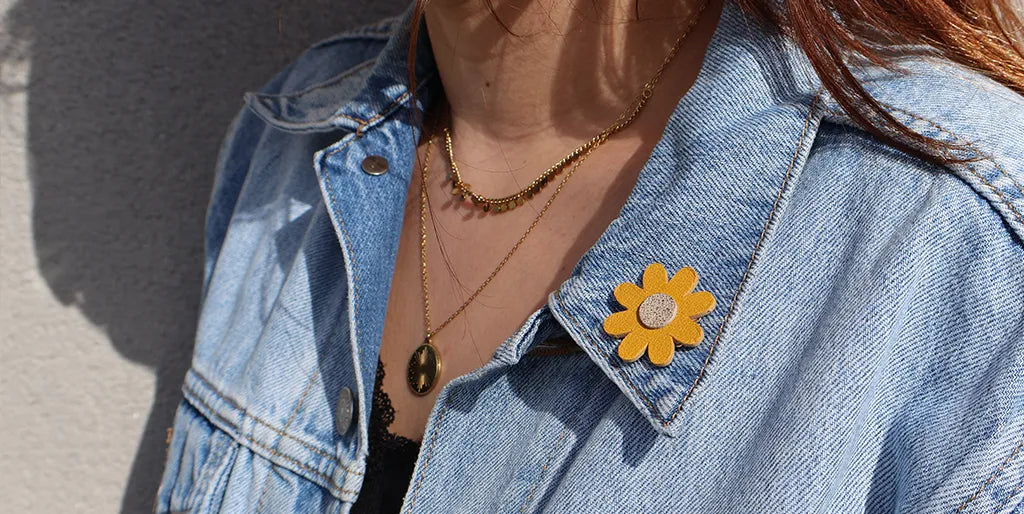
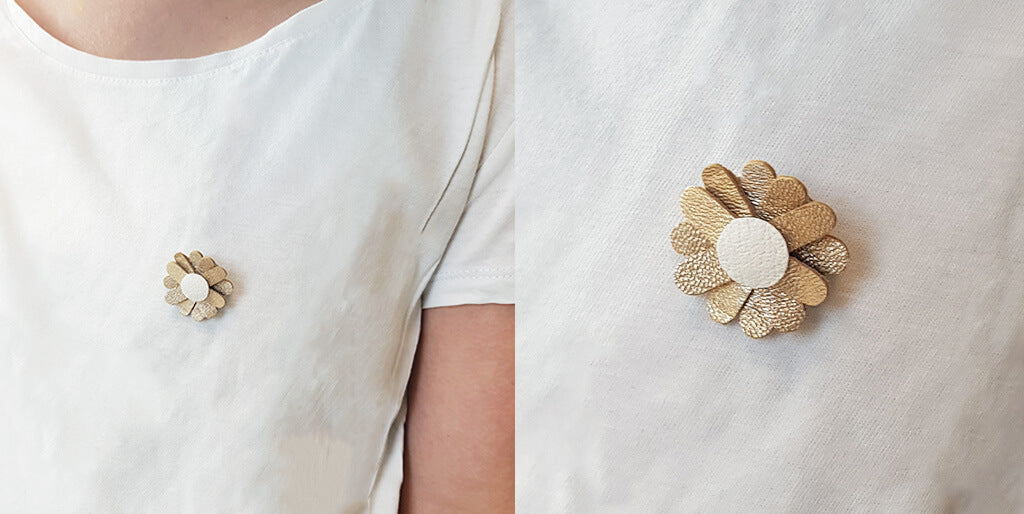
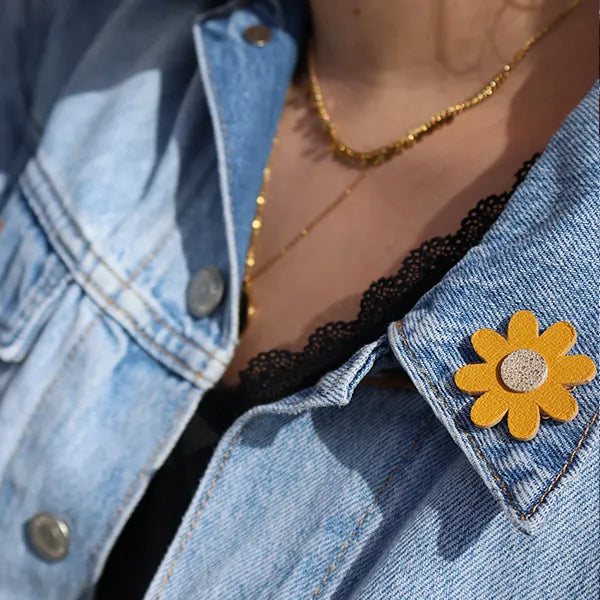
2) THE DAISY
THE SIMPLEST AND FASTEST OPTION:
3 daisy shapes are available on the PDF and SVG pattern. Choose the one you like best.
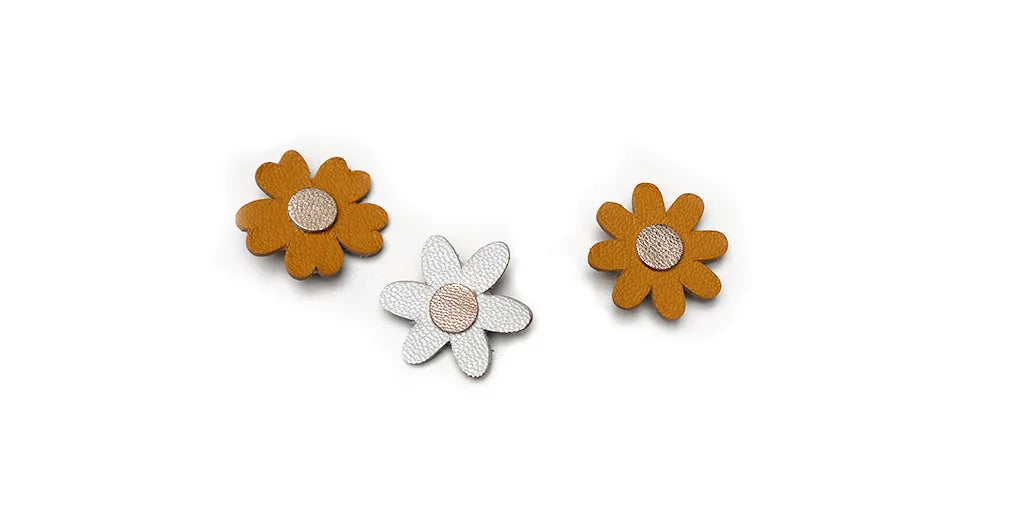
Reinforce a leather scrap with 0.6 mm thick SALPA. Glue the pieces together with neoprene glue.
Trace the daisy of your choice (using a silver pencil) onto the glued piece. Then cut it out with a good pair of scissors or a cutting machine.
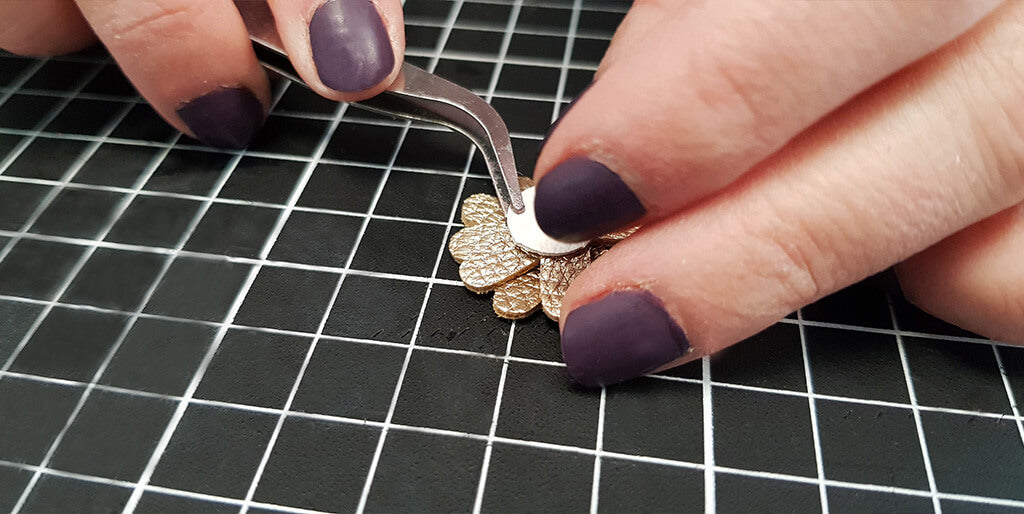
Then glue a Ø 10 mm circle to the center of the flower.
ANOTHER OPTION FOR MORE RELIEF:
Cut and center the petals
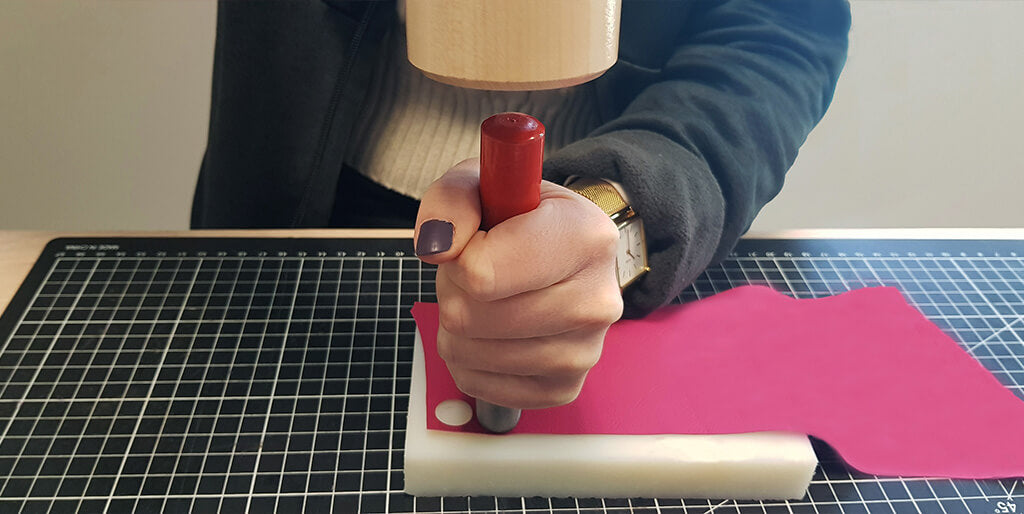
- Use a punch tool to cut the 6 petals and round punches to cut the 10 and 20 mm diameter circles.
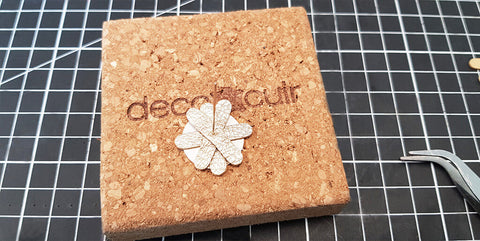
- Mark the center of the 6 petals and the Ø 20 mm circle with a needle.


Glue the petals
Then, glue the petals, center to center, onto the 20 mm circle (use the pattern for piece positioning). Put a dot of glue on the back of each piece before gluing. To be more precise, we used a cork block and a needle. We pricked the needle in the center of each piece.
 |
 |
Add the center
Next, glue the Ø 10 mm circle to the center of the flower.
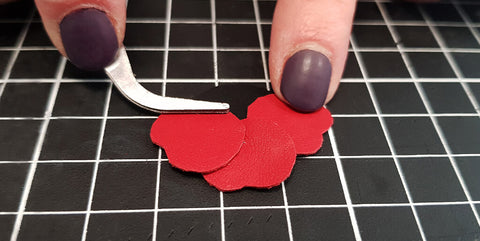
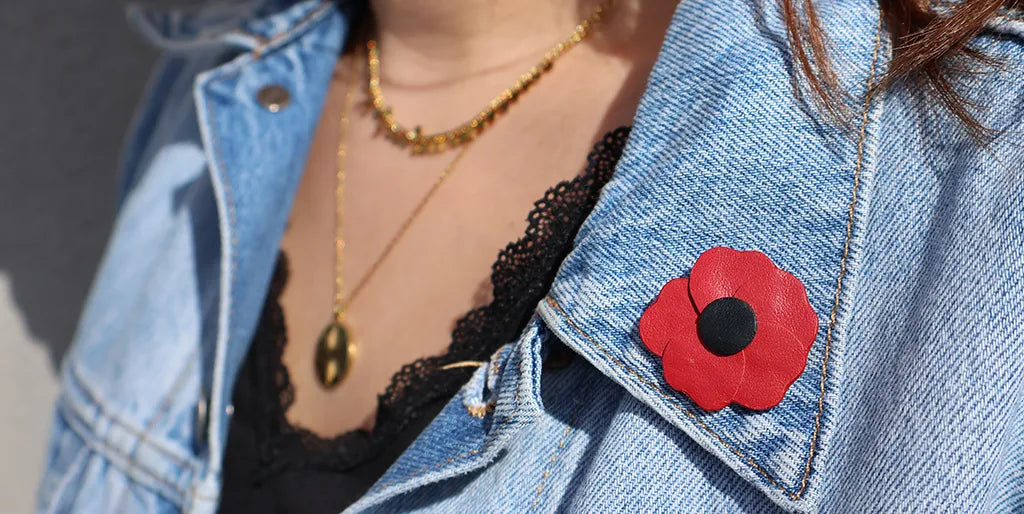
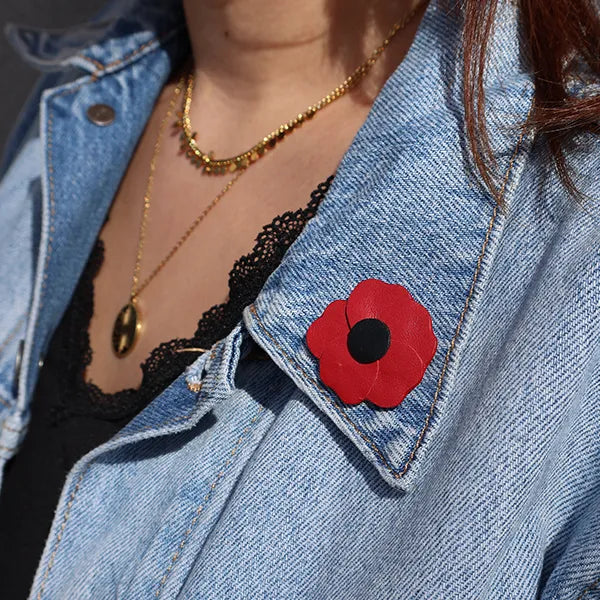
3) THE POPPY
Position the petals
Cut out the 5 petals with a pair of scissors and the 10 and 20 mm diameter circles with punches.
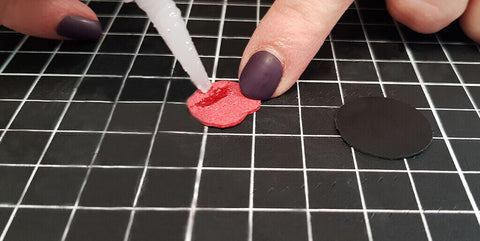
Glue the 5 petals onto the 20 mm circle with neoprene glue. Use the pattern for petal positioning.
 |
 |
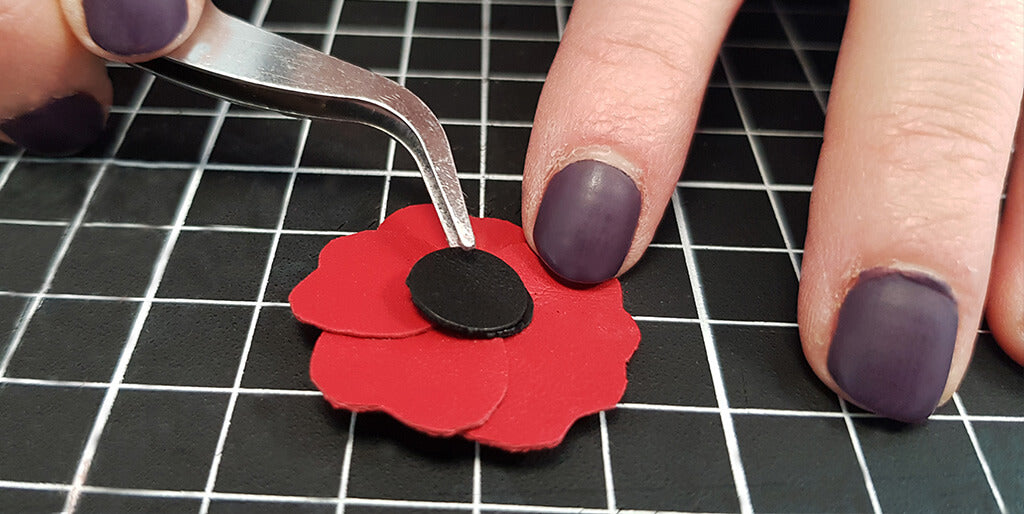
Attach the center
Glue the Ø 10 mm circle to the center of the flower (you can double it to give it more volume).
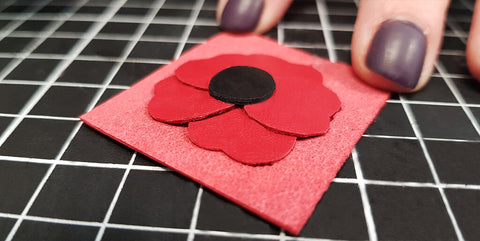
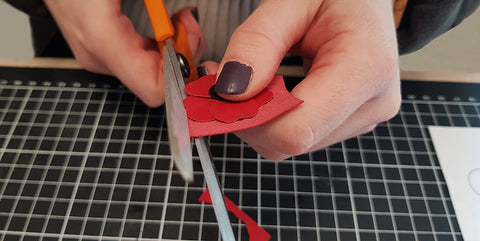
Add volume
Double the poppy by gluing it onto another piece of leather (back to back). This will stiffen the shape and give it more volume. After gluing, trim the flower. Then, for a perfect finish, treat the edges with paint.
 |
 |
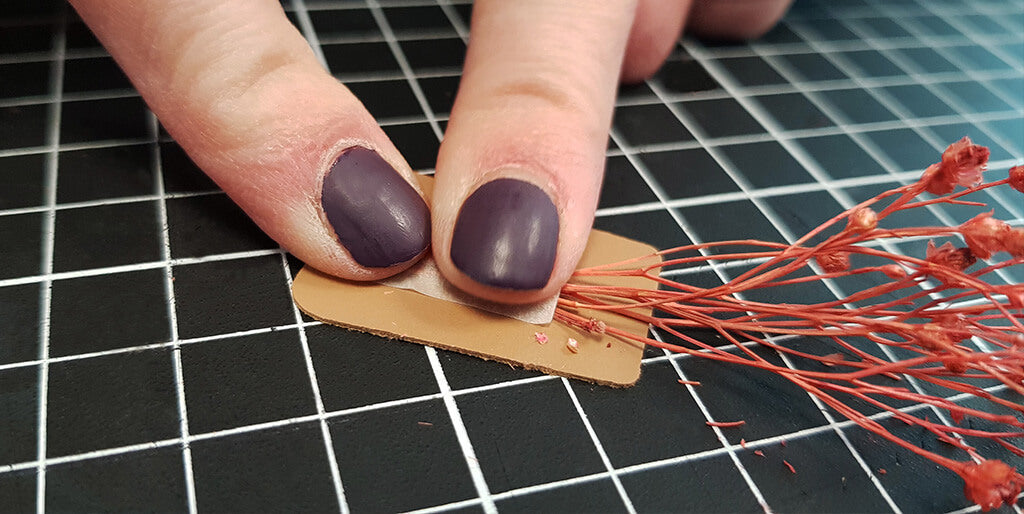
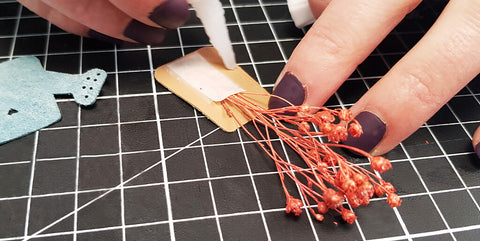
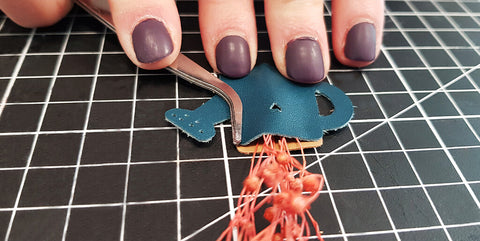
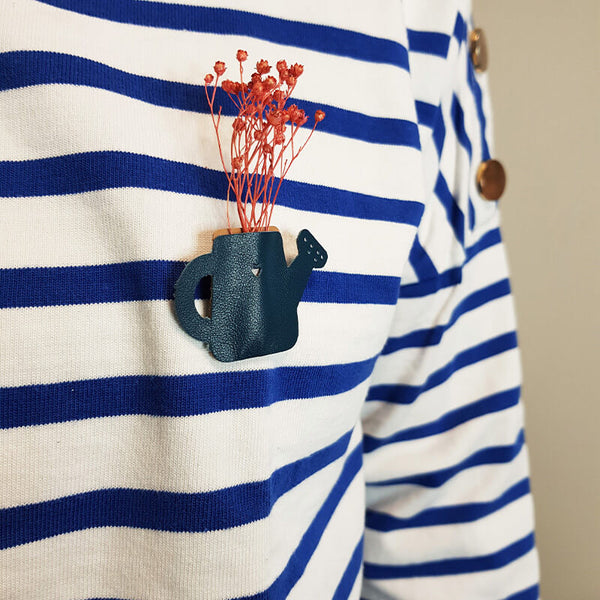
4) THE WATERING CAN
Cut and glue the pieces
- Cut out the two pattern pieces with scissors or a utility knife.
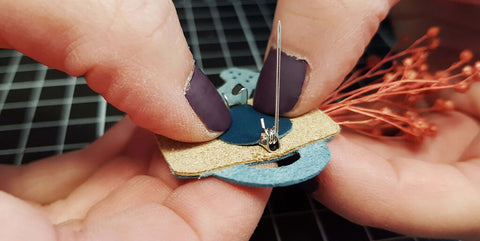
- Glue a mini bouquet of dried flowers to the center of the back piece of the watering can (on the front side of the leather) using Hasulith glue or tape.
Personalize your leather brooch
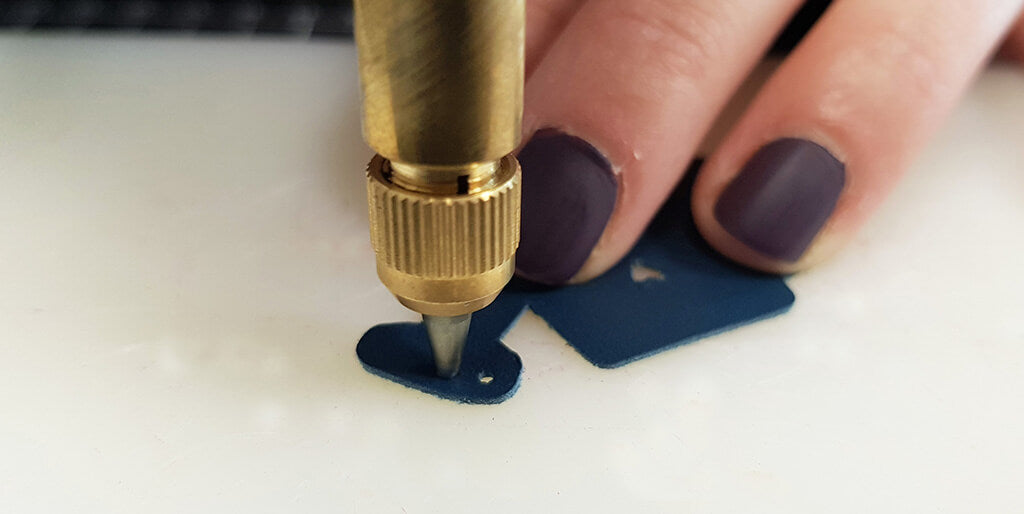
Option: personalize the front piece of the watering can by punching a small design (for example: a heart with a precision punch). With a 1 mm punch, make holes at the end of the watering can.


Assemble the pieces
Then, glue the front piece of the watering can onto the back piece of the watering can, edge to edge.
 |
 |
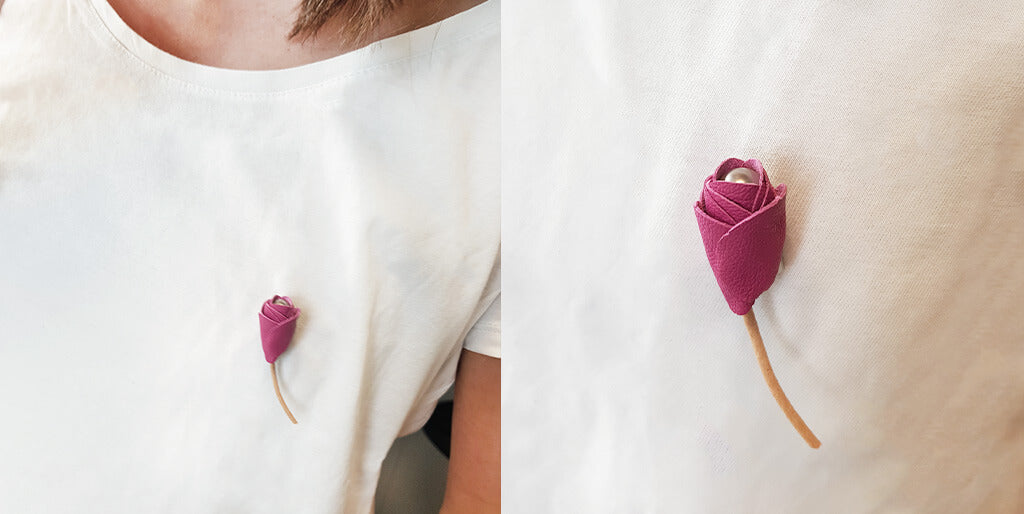
5) THE TULIP
- Cut 3 circles with a Ø 14 mm punch and 6 circles with a Ø 20 mm punch.


- Glue the 3 small circles on top of each other (as on the pattern). Then, glue the last circle onto the first to form a cone.
 |
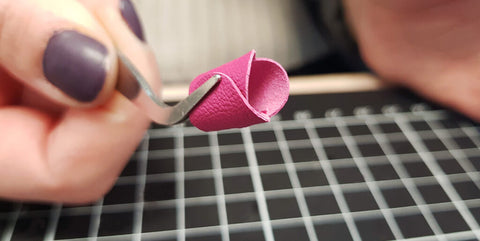 |
Roll the petals
Do the same with 3 other larger circles and glue the larger cone onto the smaller cone by rolling it.
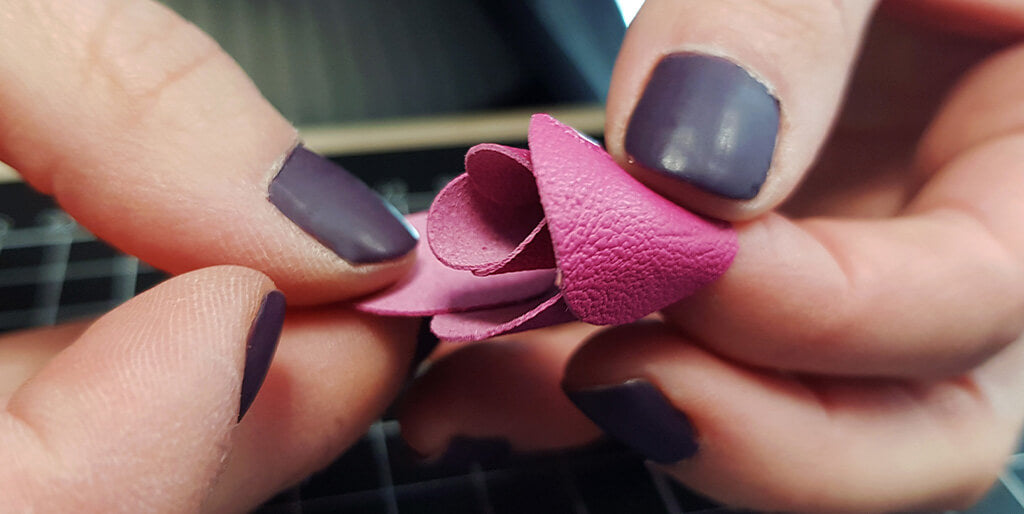
Add a bead
Slide an 8 mm diameter bead inside the cone. Pass a nylon thread through the bead, then pull both ends of the thread out through the bottom of the cone.
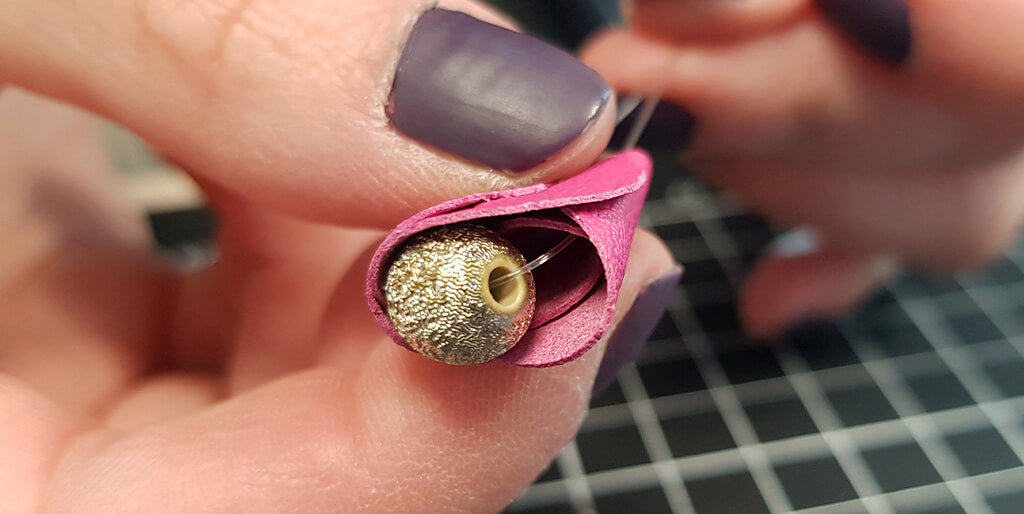
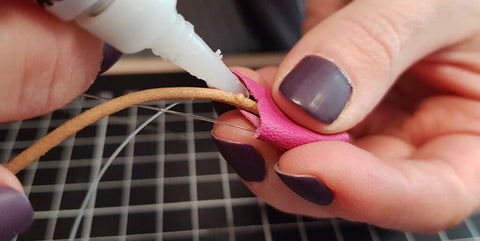
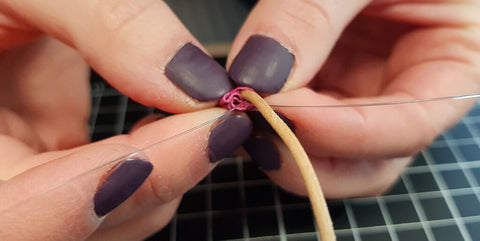
Insert the lace
Pinch one end of a 2 mm lace into the cone (the lace should come out on the same side as the nylon thread). Then, put a dab of Hasulith glue on the bottom of the cone before pinching the entire bottom of the cone to close it.
 |
 |
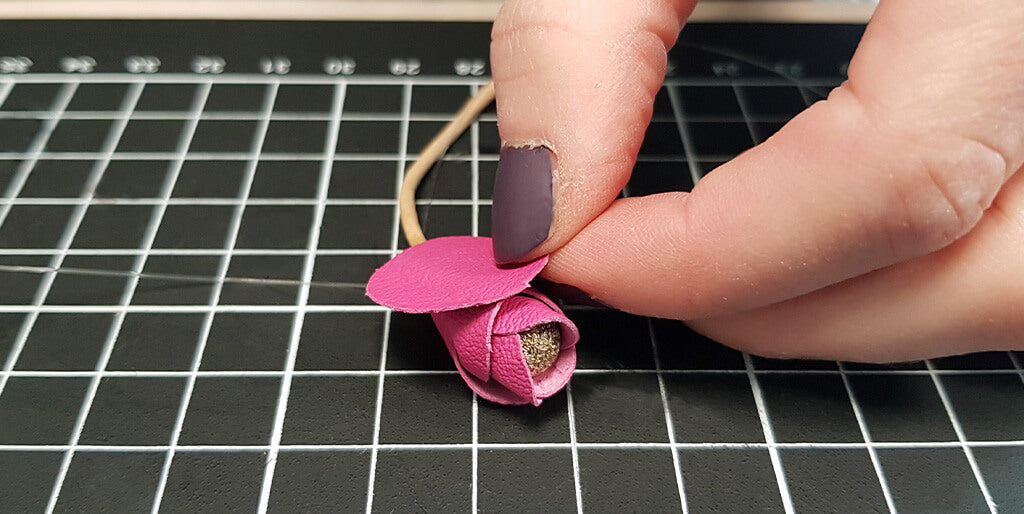
Finalize the tulip
Glue the remaining 3 circles over the existing cone (especially to hide the bottom of the tulip).
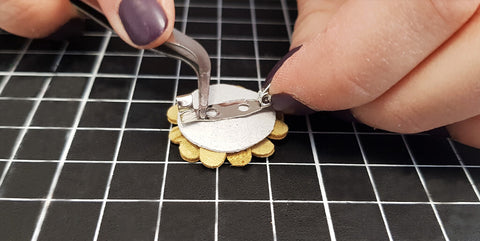
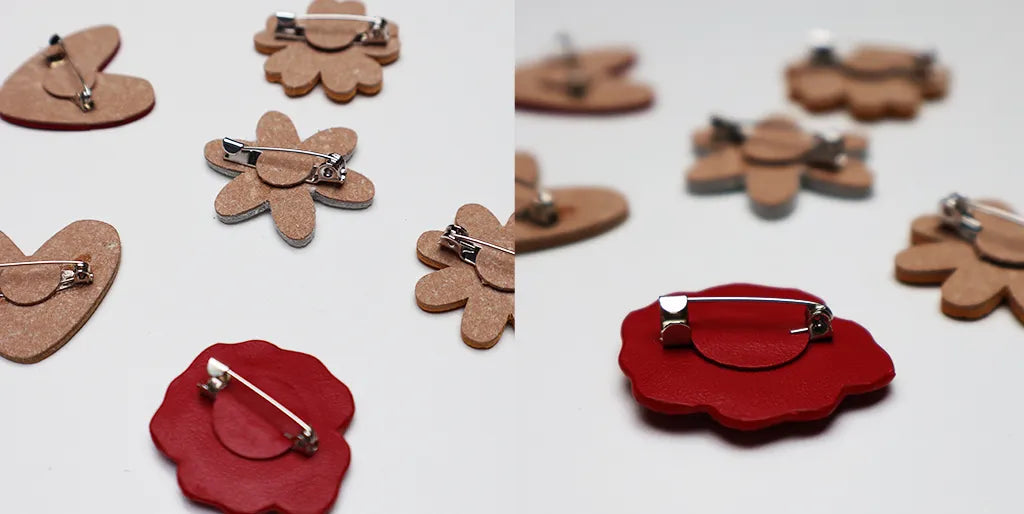
ATTACHING THE 2 CM BROOCH PIN
For each brooch, glue the pin to the back of the leather design with Hasulith glue. For the "Tulip" brooch, pass the nylon thread through the pin and tie a knot before gluing the pin onto the leather so that the bead does not fall off. To hold the pin on the brooch, glue a 10 to 14 mm diameter circle inside the pin.
 |
 |
Unleash your creativity by using or recycling leather to make brooches or other accessories:
What to do with leather scraps?

 |
 |
 |
 |


2 comments
Anonymous
Bonjour Claude,
Les épingles font 2 cm.
Bonne journée,
L’équipe Deco Cuir
Claude GARET
Bonjour,
Quelles sont les dimensions des épingles à bijoux ?
cordialement