Stitching Options
There are several methods for stitching the leather wallet:
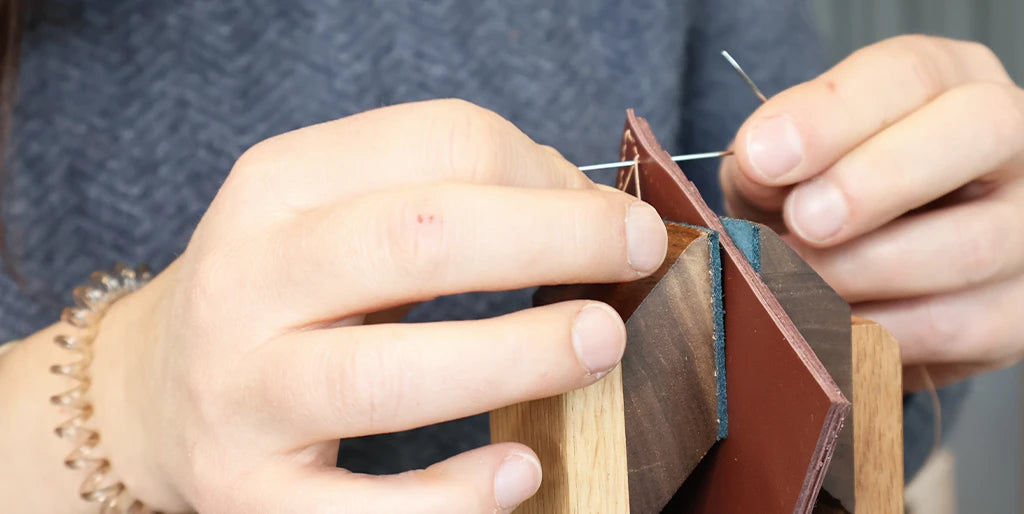
- Hand-stitched with saddle stitch
This method provides a very precise result and is ideal for this type of project. Saddle stitching is particularly popular among leather enthusiasts because it is the strongest and most durable stitch.
- Hand-stitched with simplified (pre-punched) stitching
Simplified hand-stitching involves punching the stitching holes using a round hole punch. This technique, which uses straight stitches, is perfect for beginners, as it is simpler to execute while still being aesthetically pleasing.
VIEW PRE-PUNCHED STITCHING GUIDE
- With an industrial machine
For those who prefer machine sewing, it is recommended to use an industrial sewing machine, especially with vegetable-tanned leather. This method is the fastest, but attention must be paid to the thickness of the leather and the machine's ability to handle it.
If industrial machine sewing is chosen for vegetable-tanned leather, the last seam will need to be sewn by hand. Indeed, this final seam is difficult to perform even with an industrial machine, due to the thickness and rigidity of the leather.
Also, be aware that machine stitching can mark vegetable-tanned leather.
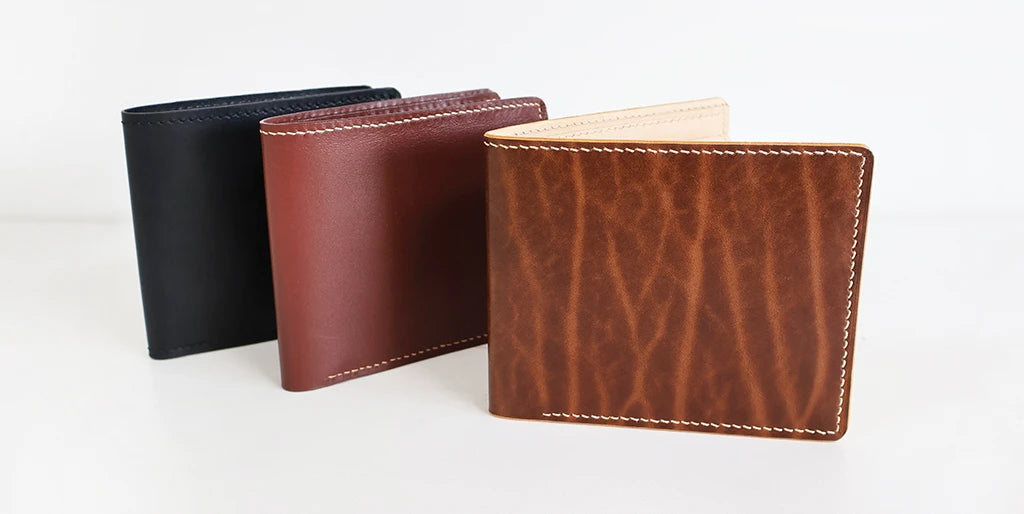
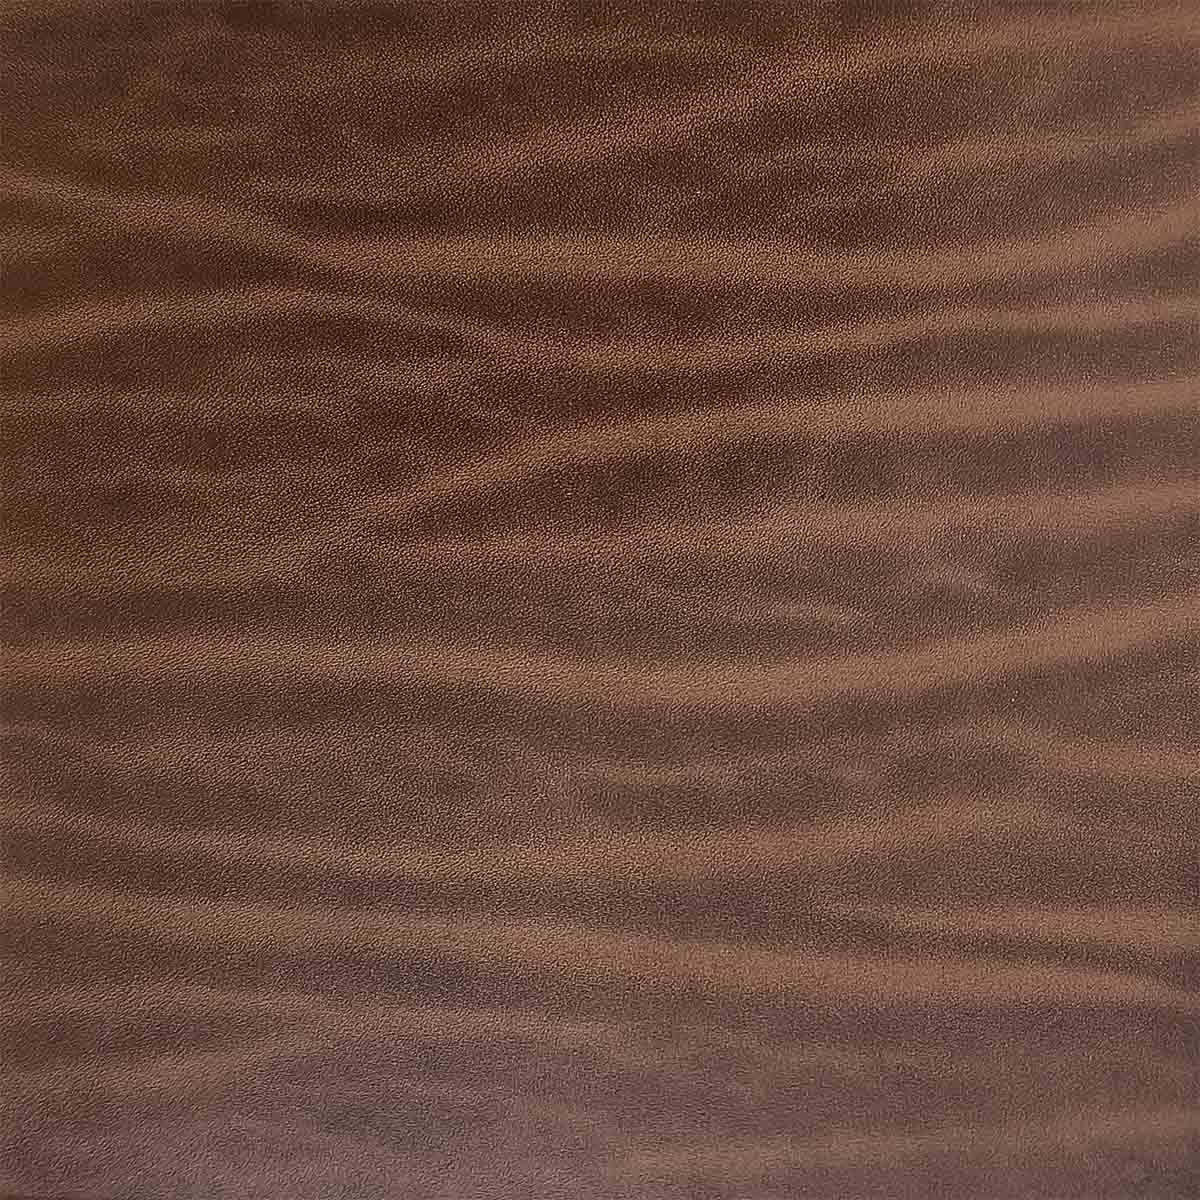
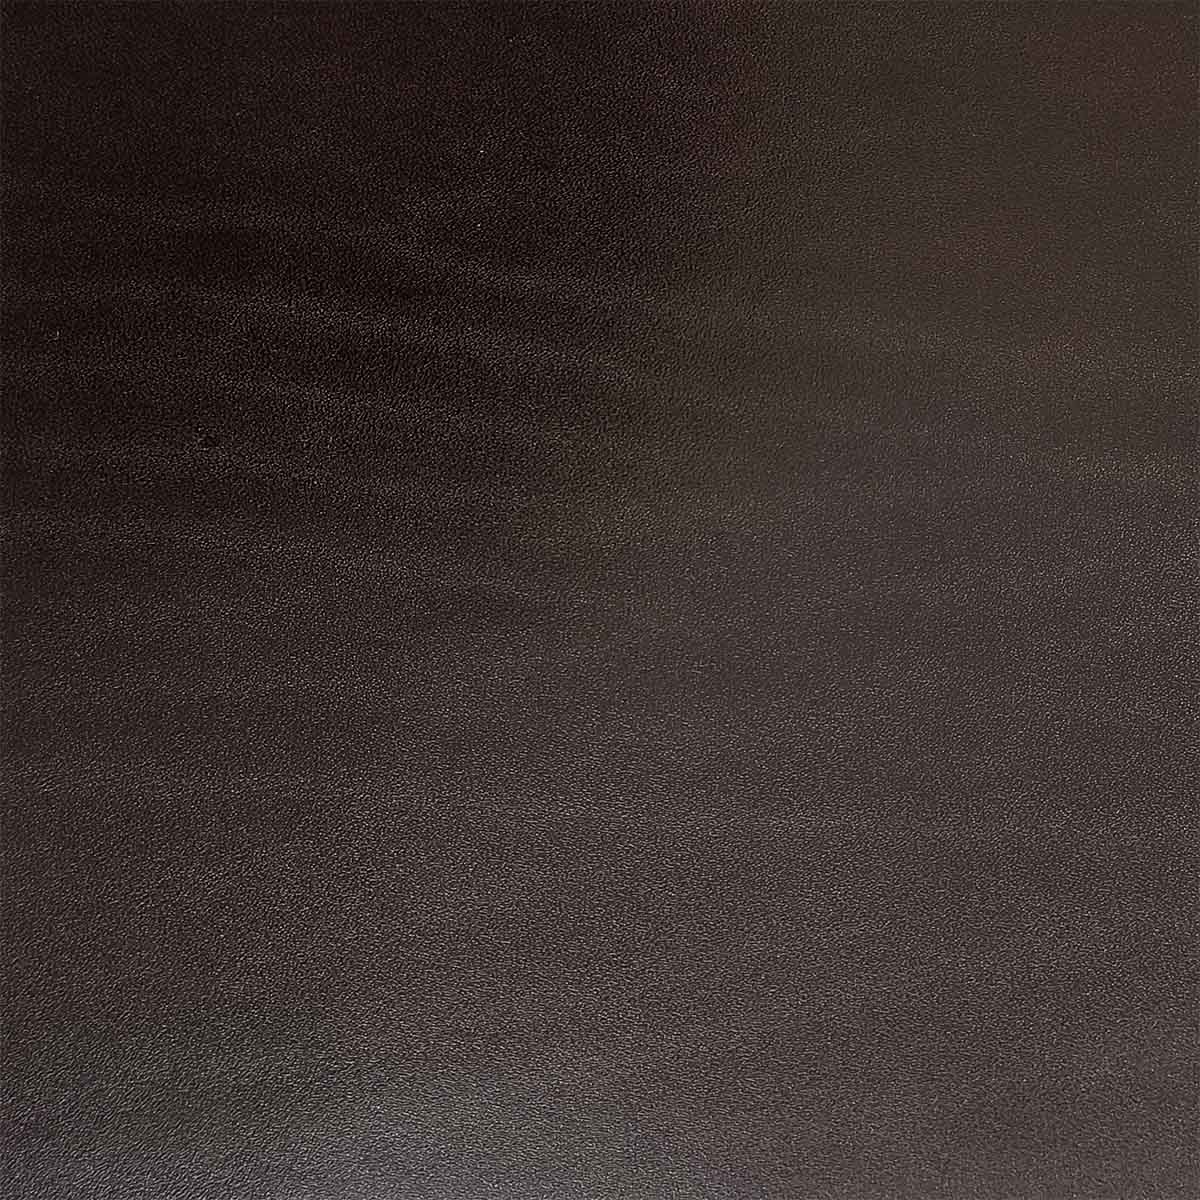
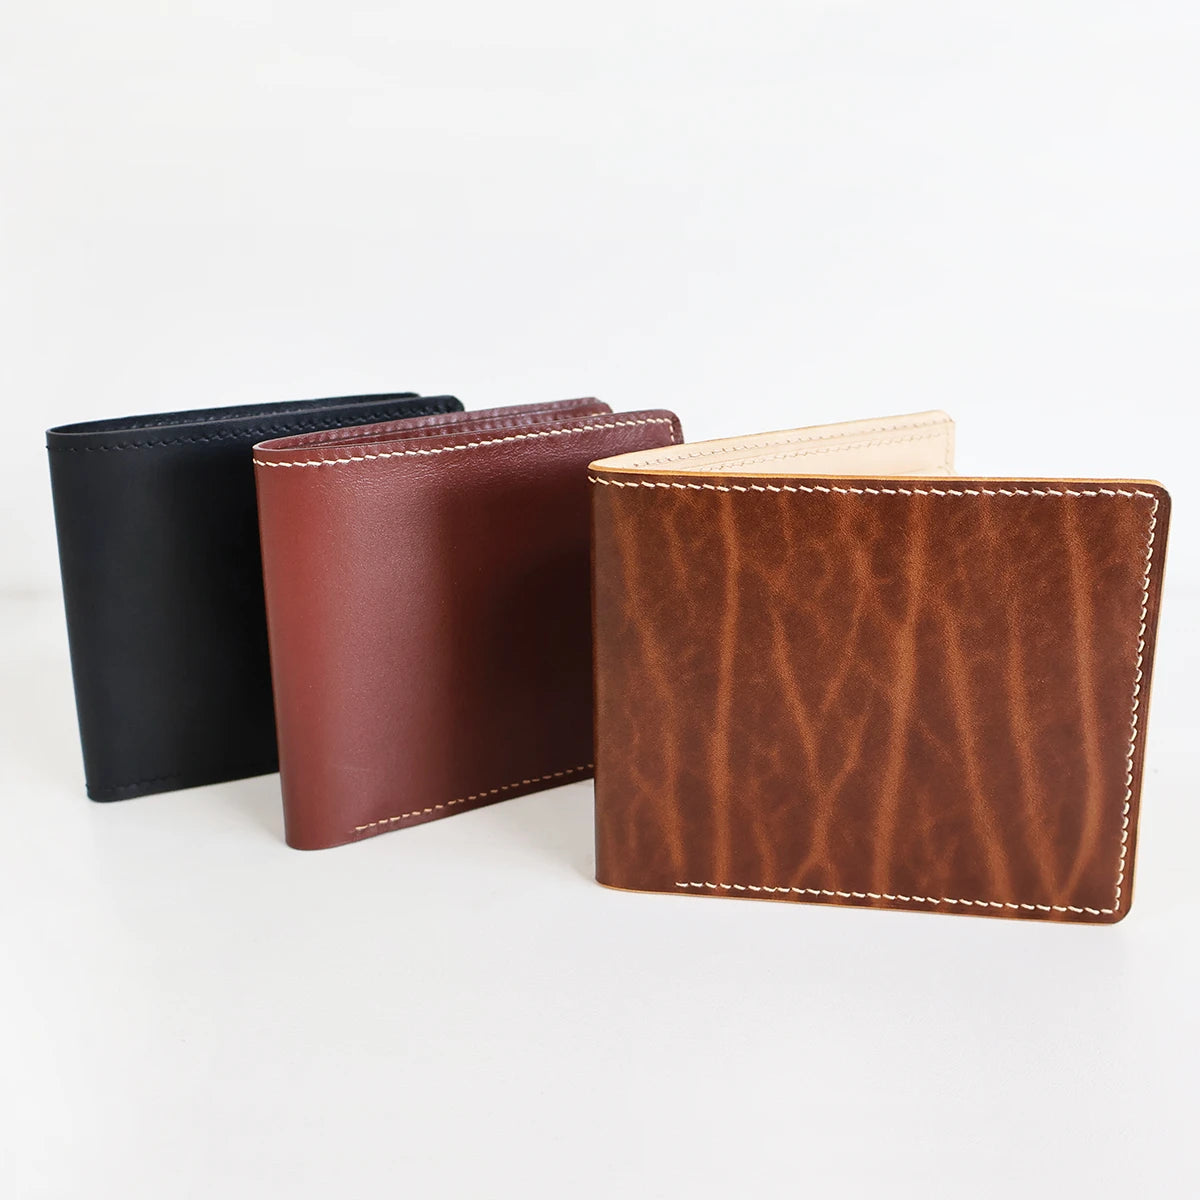
Leather Selection
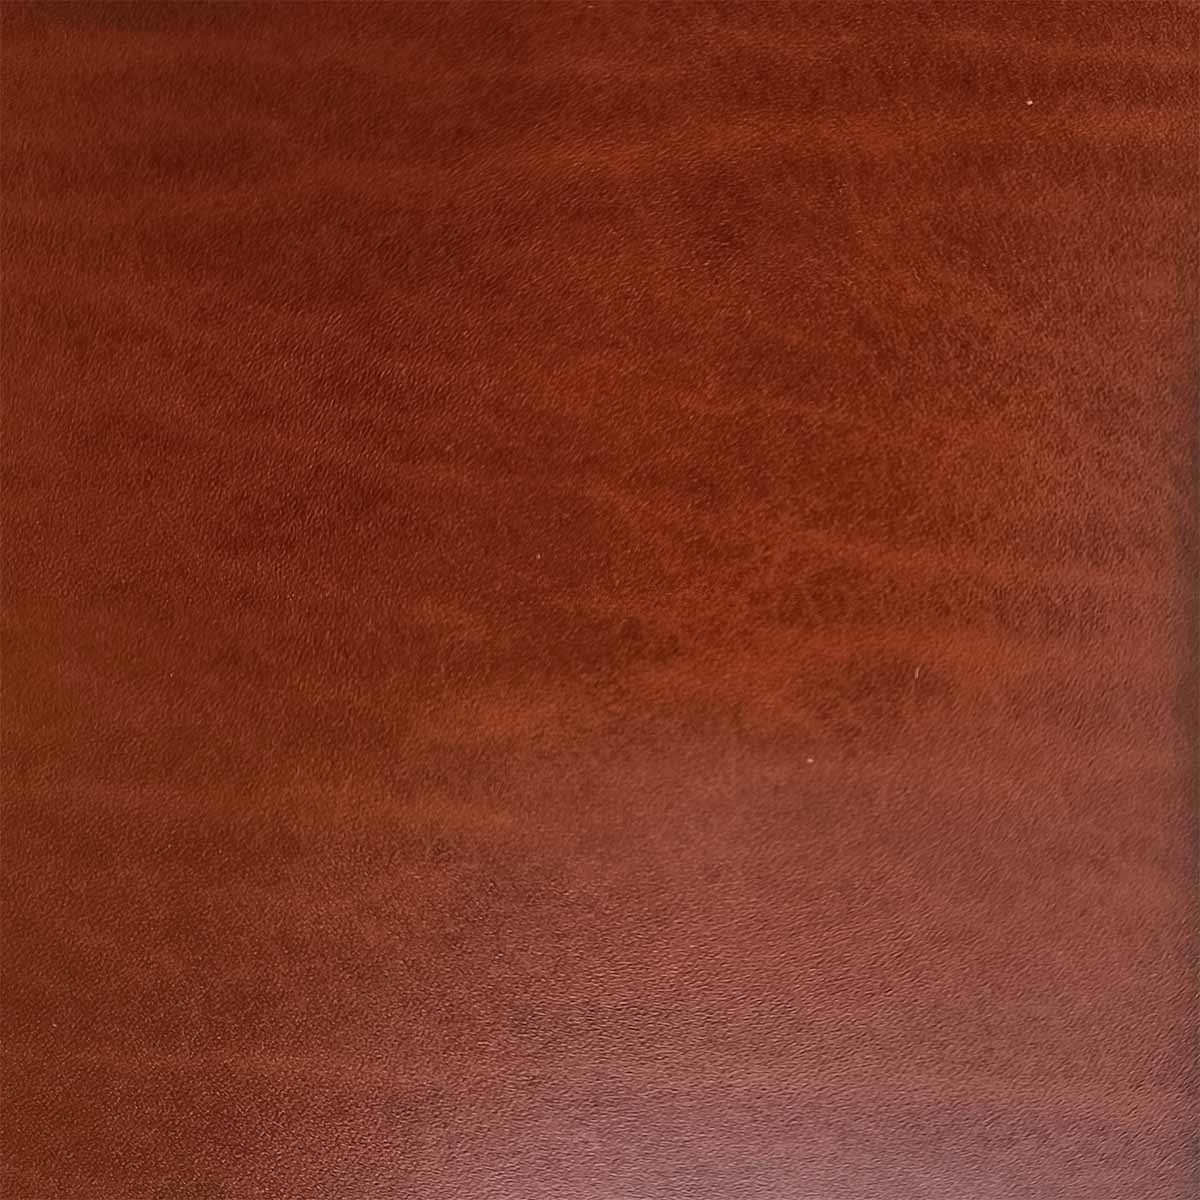
To make this wallet, it is recommended to choose a leather that is both semi-soft and semi-firm, or a firm leather. There are two main types of tanning: vegetable and mineral.
You will also need two different leather thicknesses:
- A thickness between 0.8 mm and 1 mm.
- A second, thinner one (mainly used for linings), of about 0.5 mm.
Deco Cuir offers split leather pieces, perfect for this type of project.
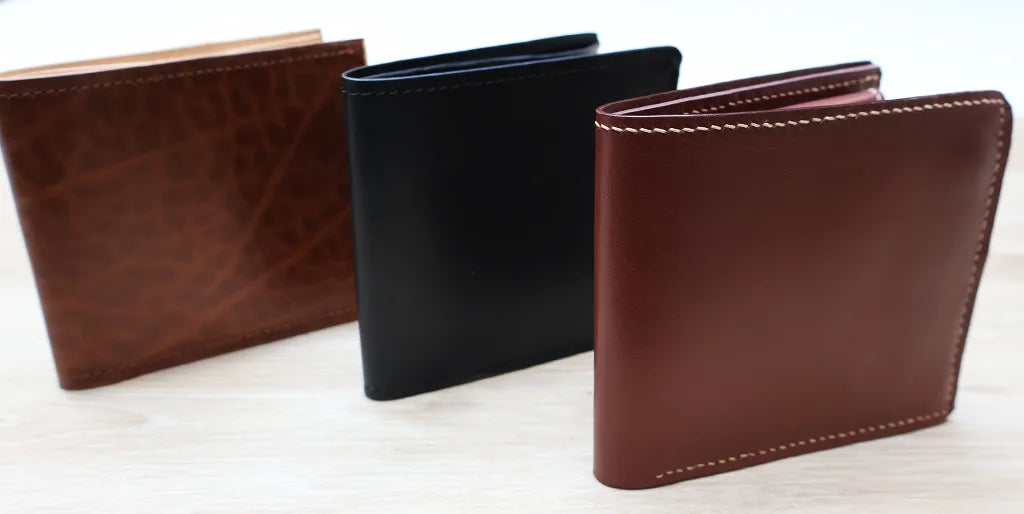
Our selection: In this tutorial, we selected the Satinlys leather range for the mineral-tanned example. Satinlys leather is ideal for this project because it offers a good compromise between softness and firmness. We used leather pieces 0.5 mm thick for some parts and 0.8 mm thick for others.
For the vegetable-tanned example, we chose leather from the Sauvage range with a thickness of 1 mm. Due to the thickness of this leather, we reserved it for piece P1 (exterior). For all other pieces, we opted for natural vegetable-tanned leather 0.5 mm thick.


REQUIRED MATERIALS
Mineral-tanned version:
- 3 pieces of SATINLYS leather - CHESTNUT 20 x 30 cm - 0.5 mm thick
- 1 piece of SATINLYS leather - CHESTNUT 30 x 40 cm - 0.8 mm thick
- 1 piece of SATINLYS leather - CHESTNUT 15 x 20 cm - 0.8 mm thick
Cost: approximately €30.00
Vegetable-tanned version:
- 4 pieces of natural vegetable-tanned leather 20 x 30 cm - 0.5 mm thick
- 1 piece of SAUVAGE vegetable-tanned leather 20 x 30 cm - 1 mm thick
Cost: approximately €45.00
Hand-sewing version only:
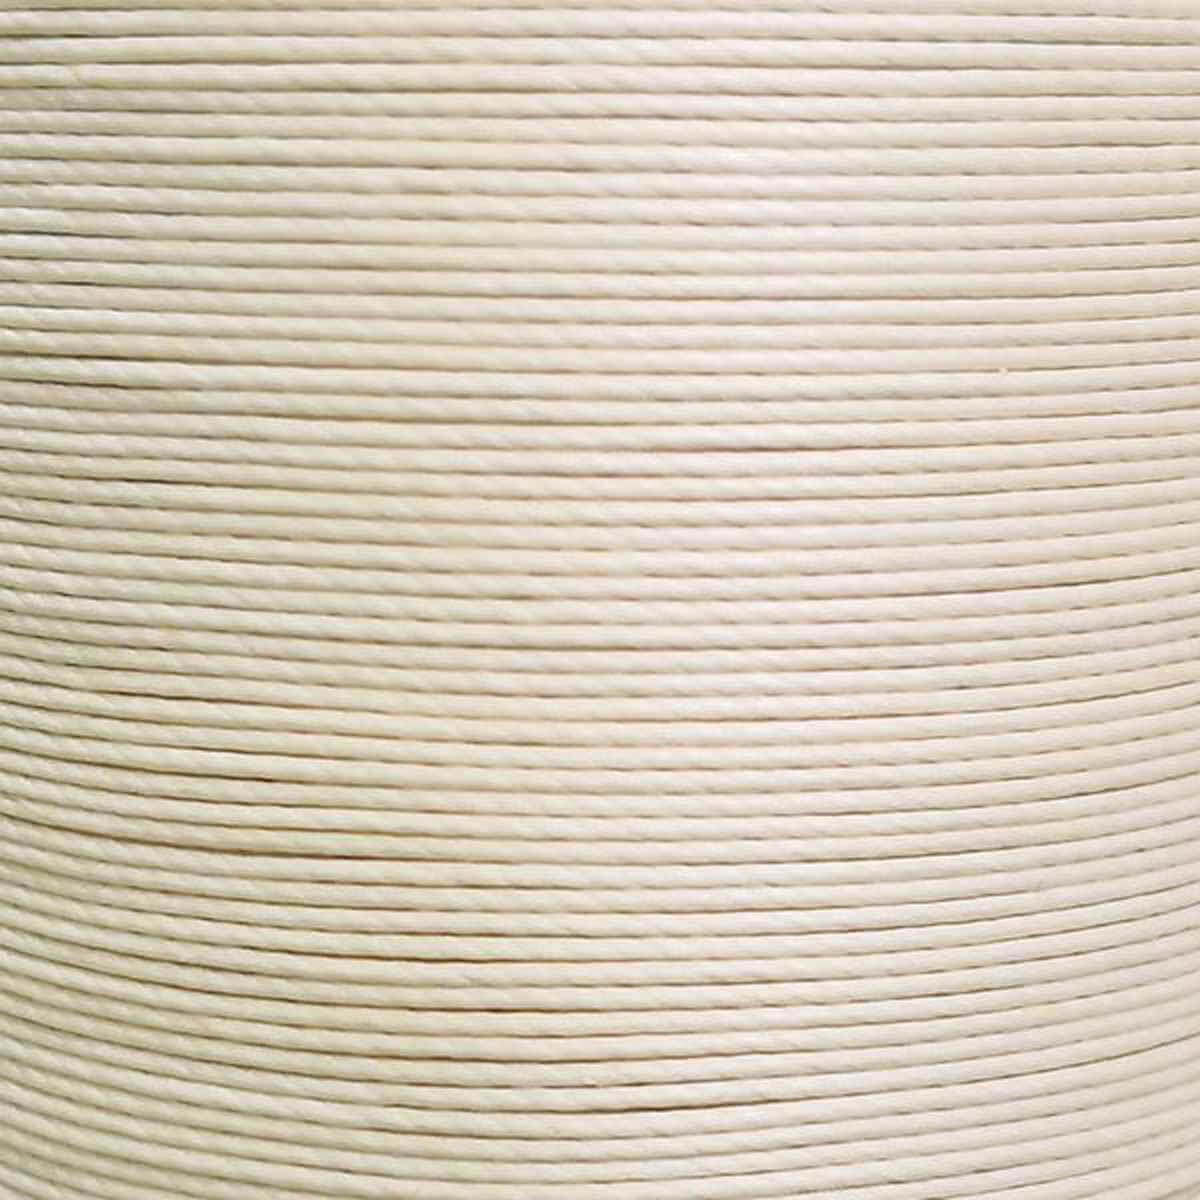
- 2 cards or 1 spool of MeiSi super fine M40 waxed linen thread - ⌀0.45 mm
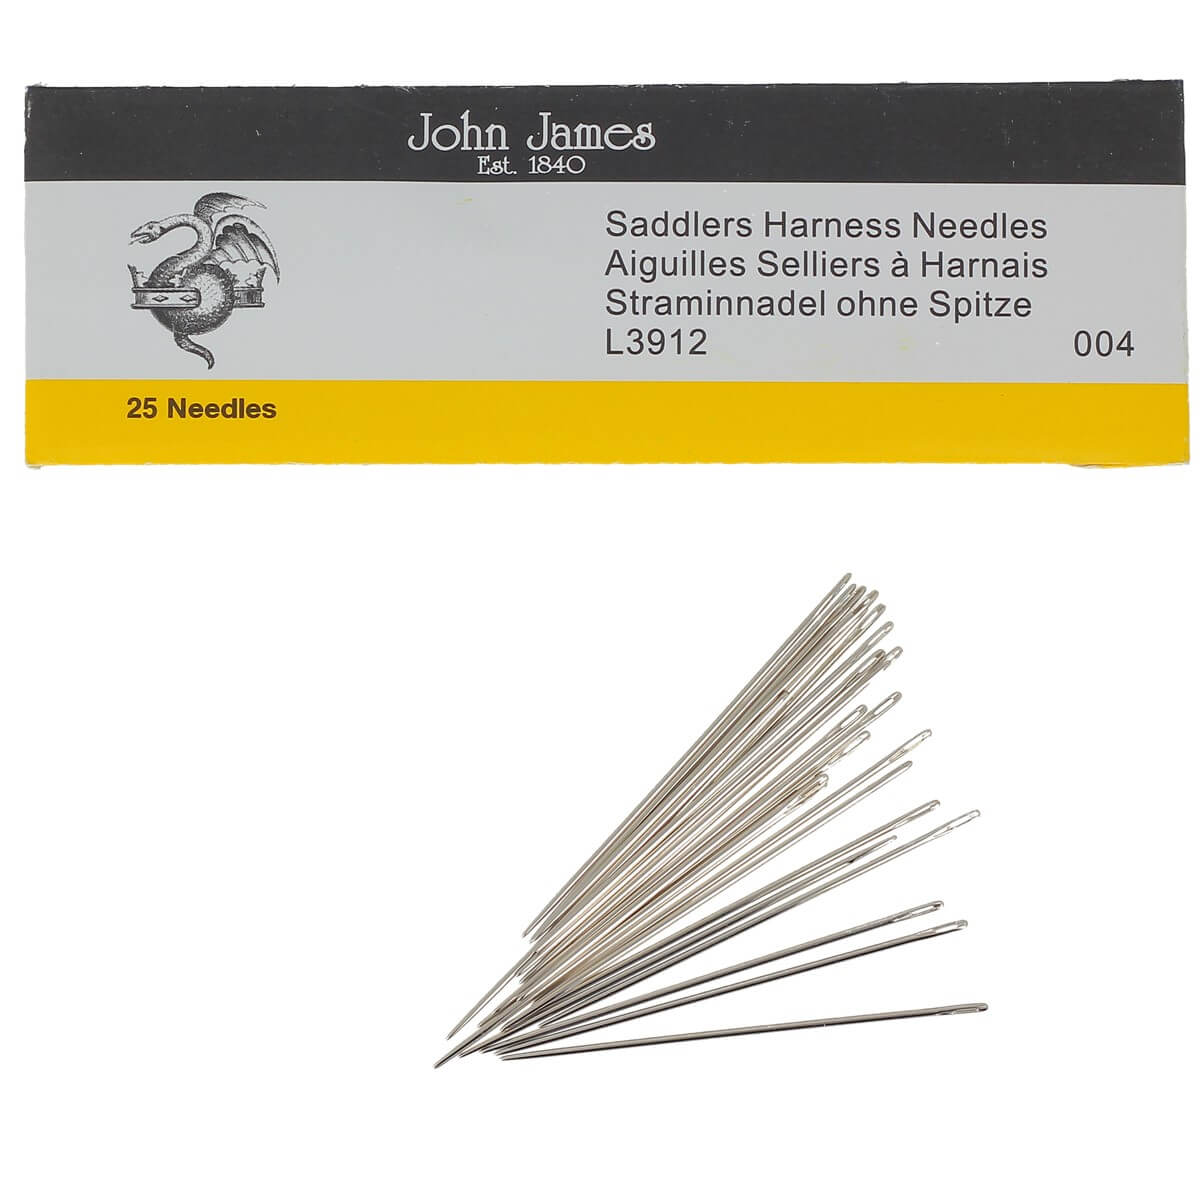
- 2 saddle needles - Round Tip - John James - ⌀0.80 mm (size 004)
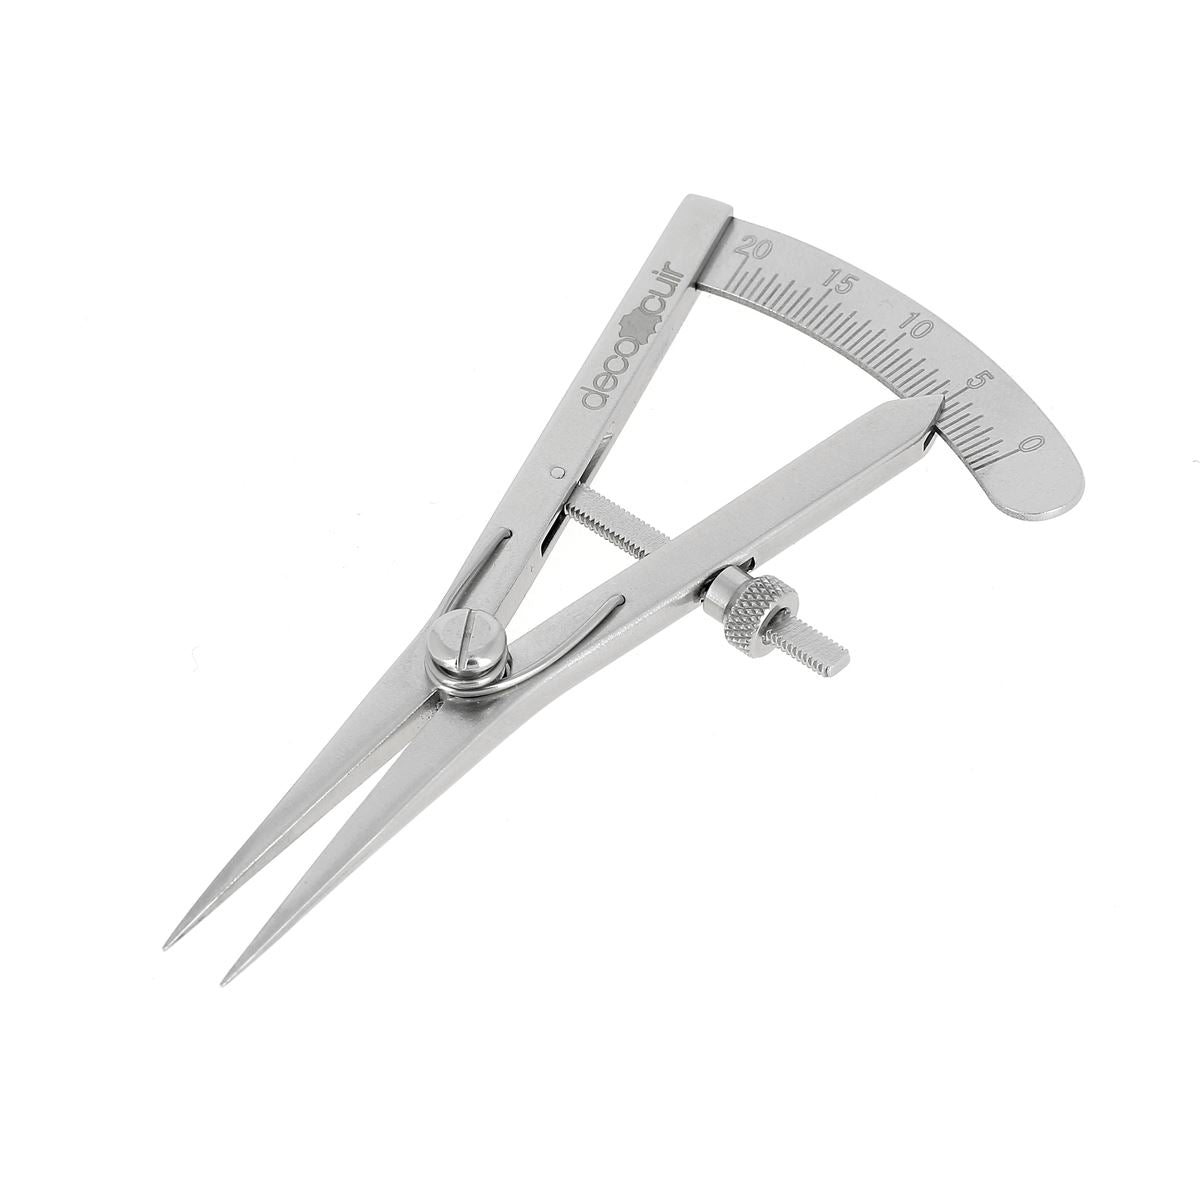
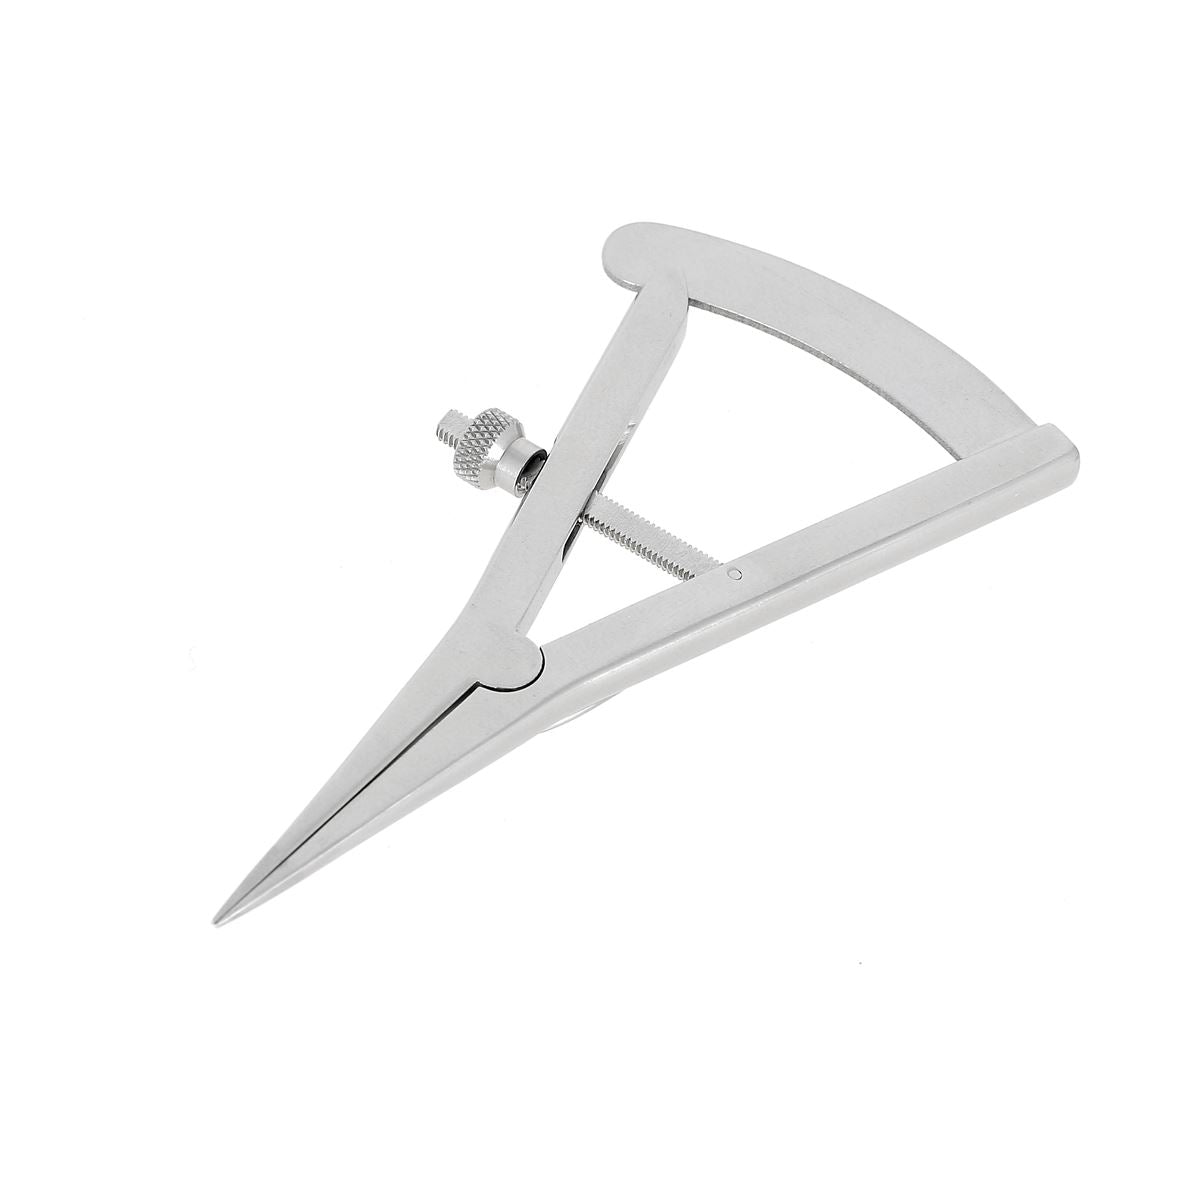
- 1 wing divider
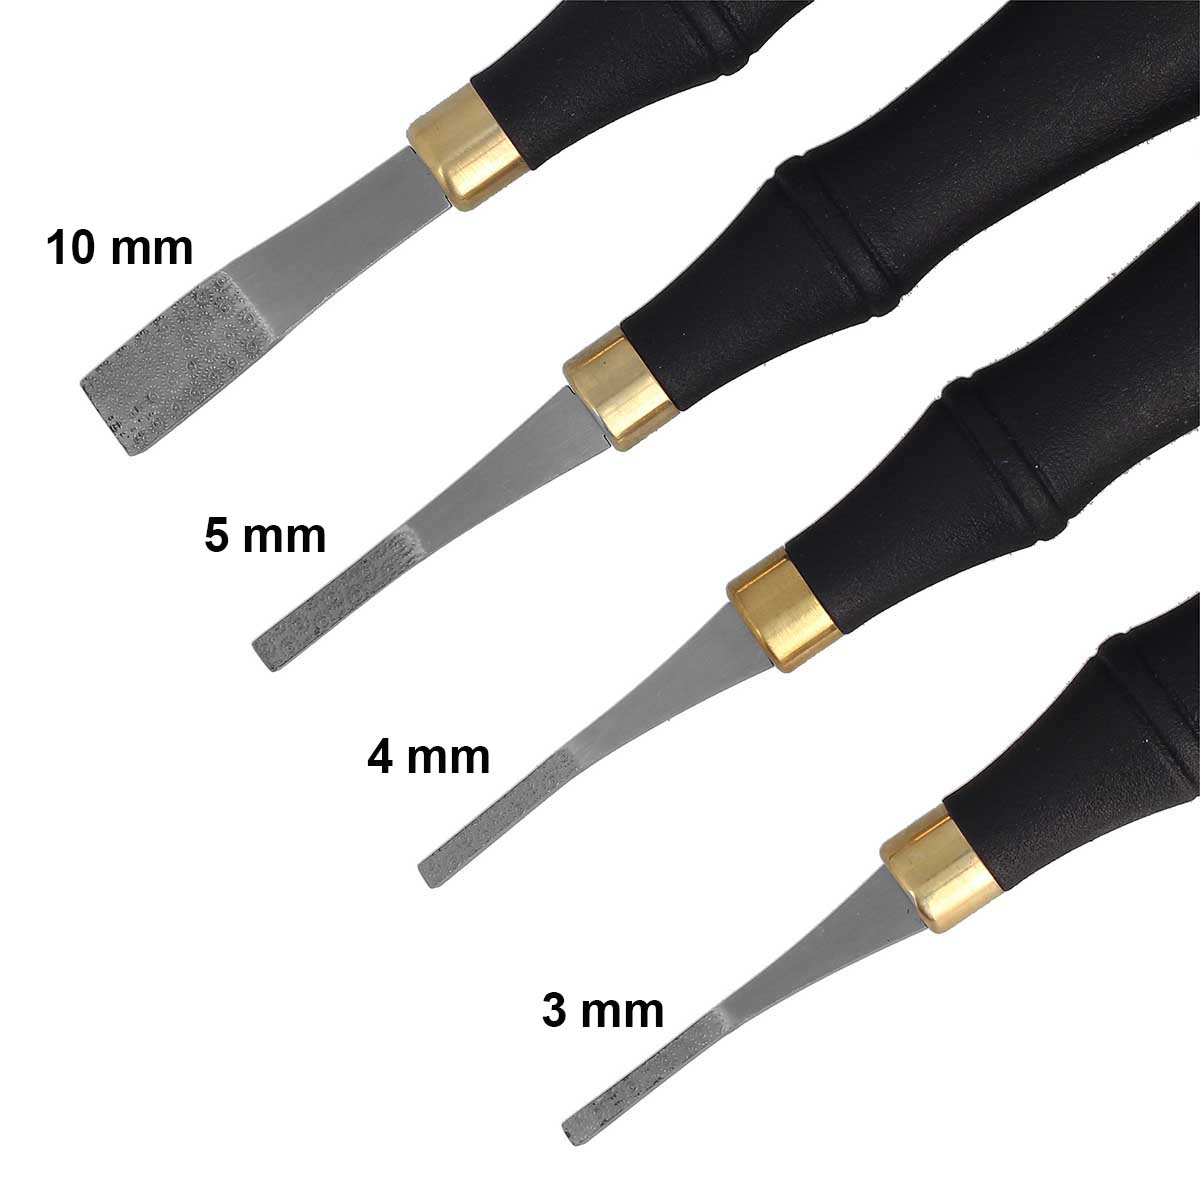
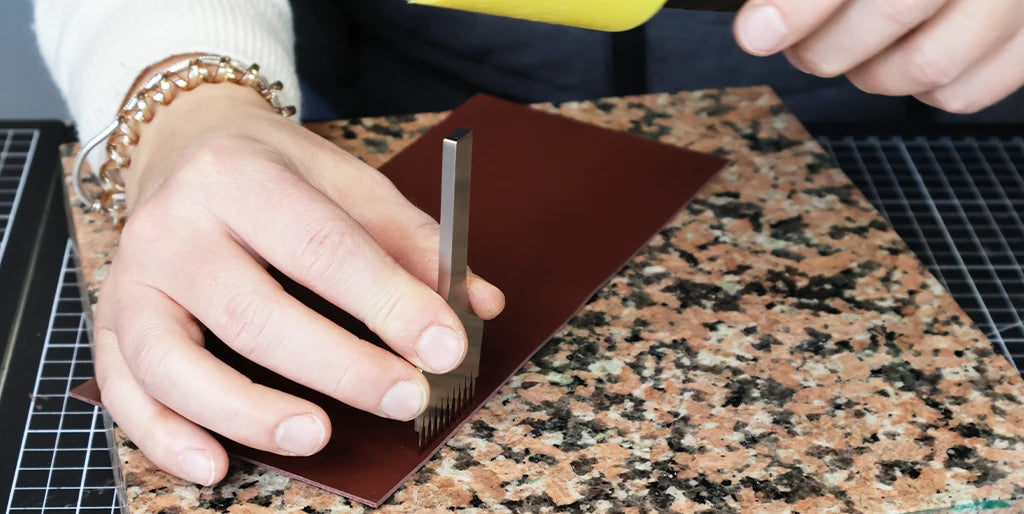
- Chisels with 3.38 mm spacing
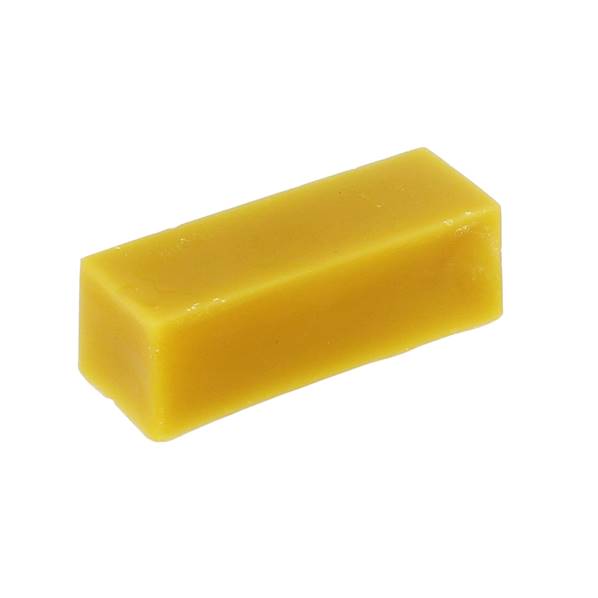
- 1 block of beeswax
- 1 saddle clamp or a stitching pony
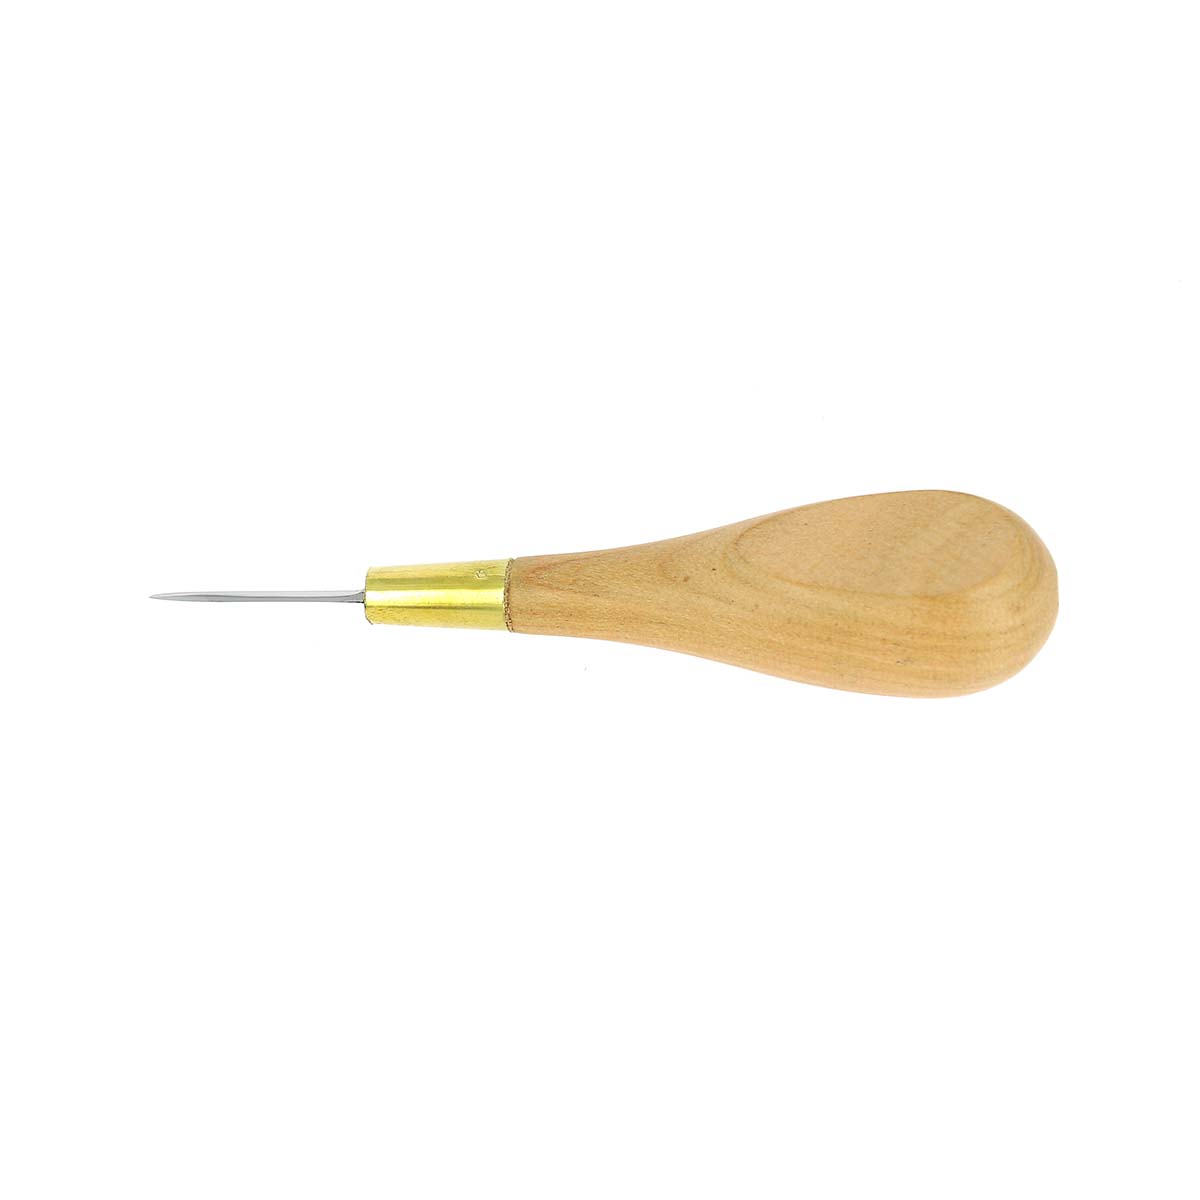
- 1 round awl
- 1 pricking iron awl
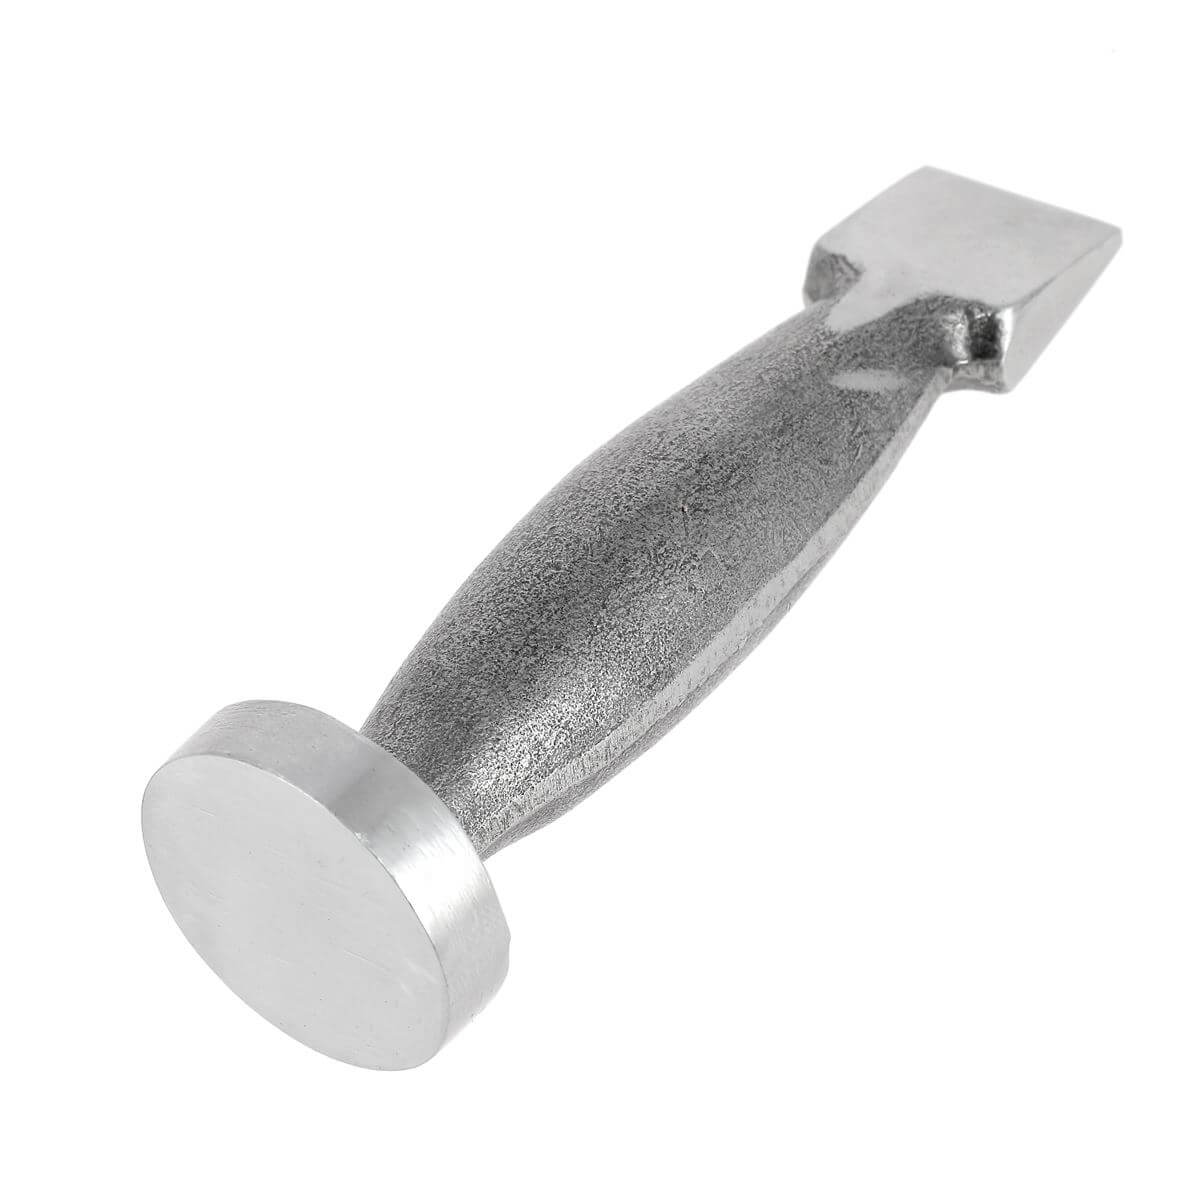
- 1 jewelers hammer / riveting hammer


Material list for all versions:
- 1 brass snap button - Ø 10.5 mm + its setting tool
- 1 precision leather rasp file - 4 mm
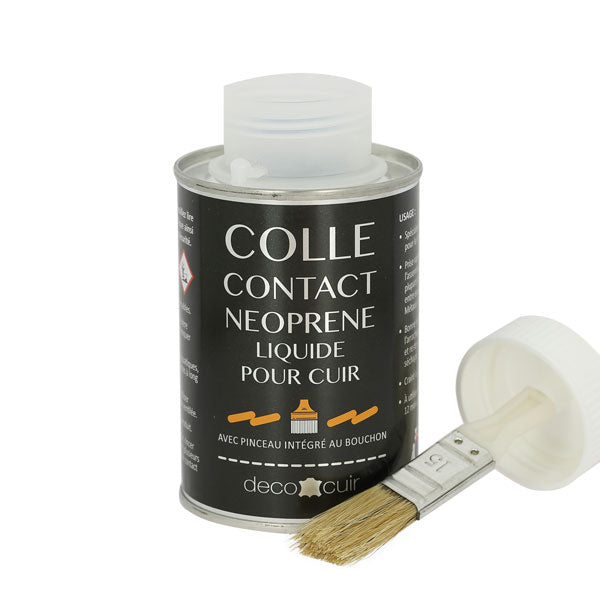
- 1 pot of neoprene glue
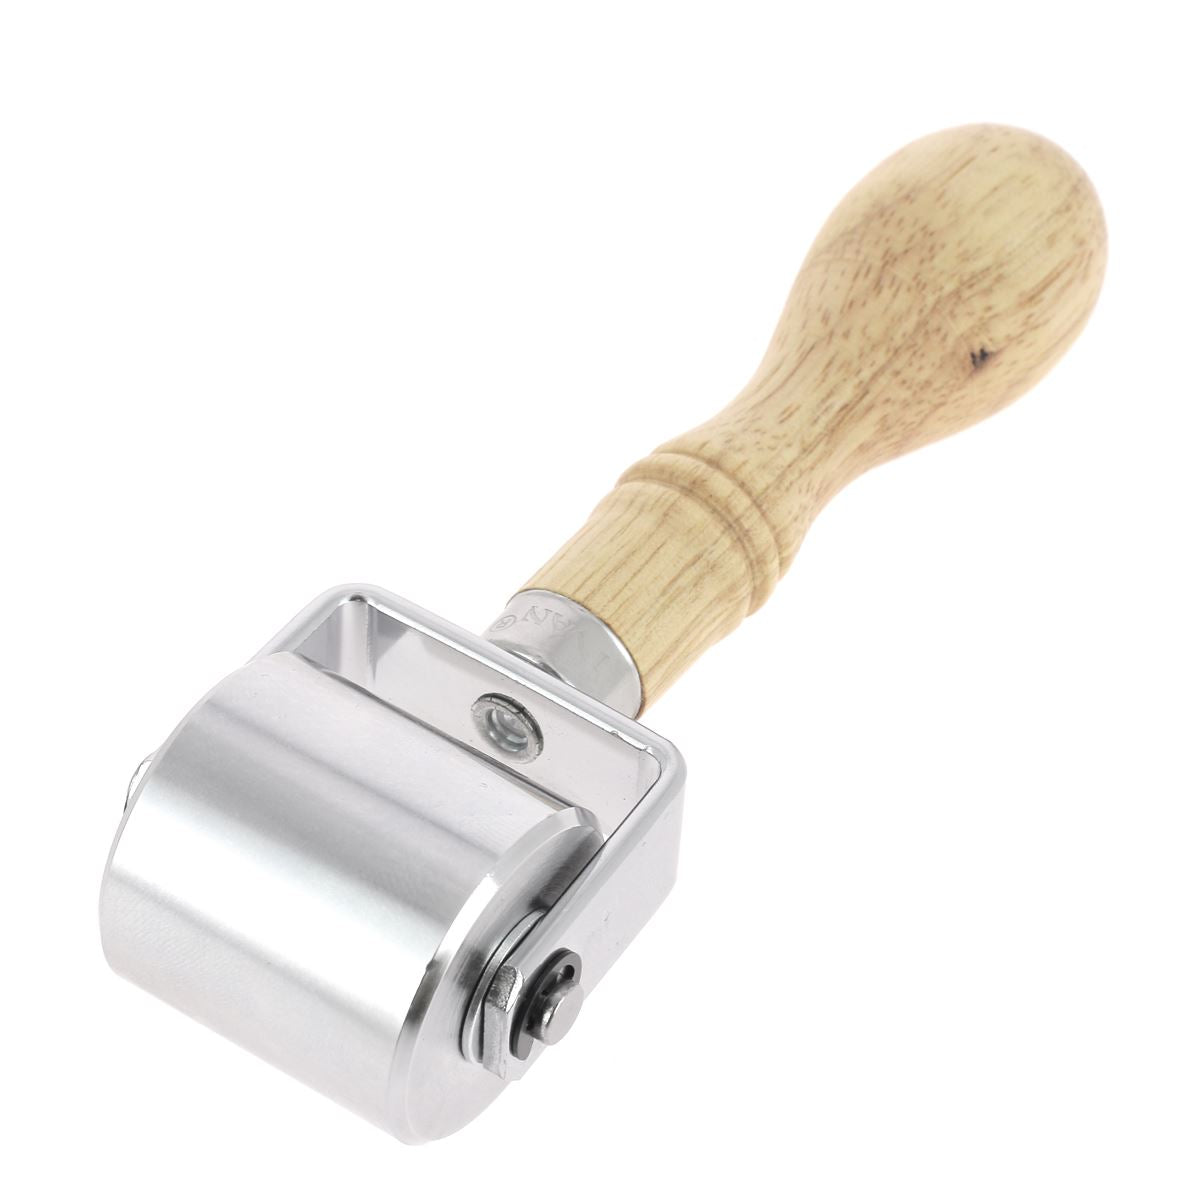
- 1 steel roller - Smooth roller for pressing leather - Ivan
- 1 edge creaser - Deco Cuir
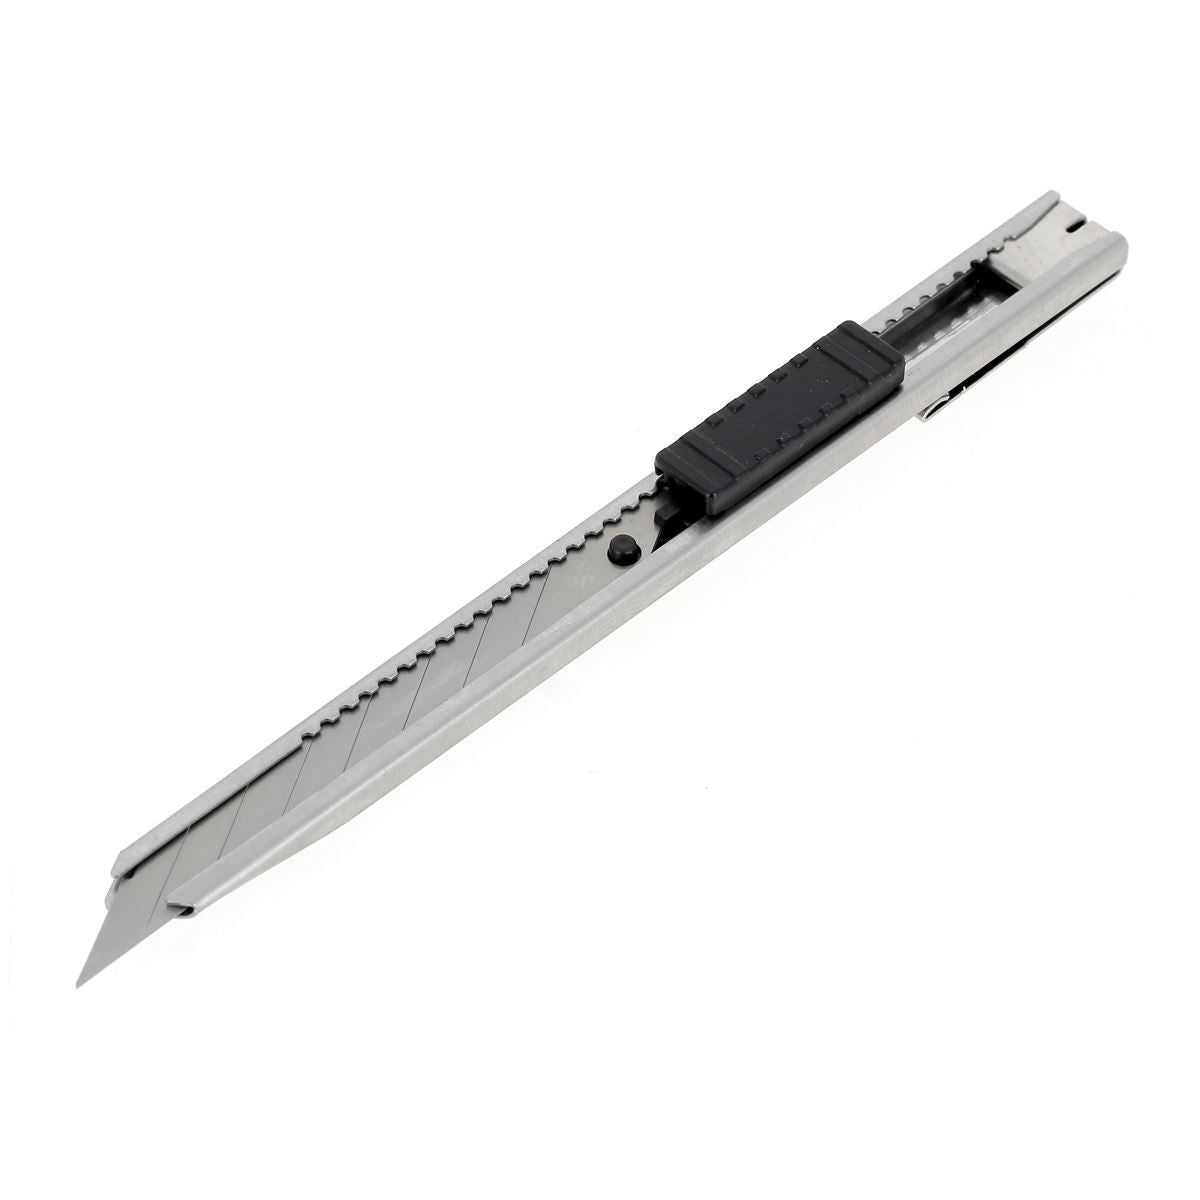
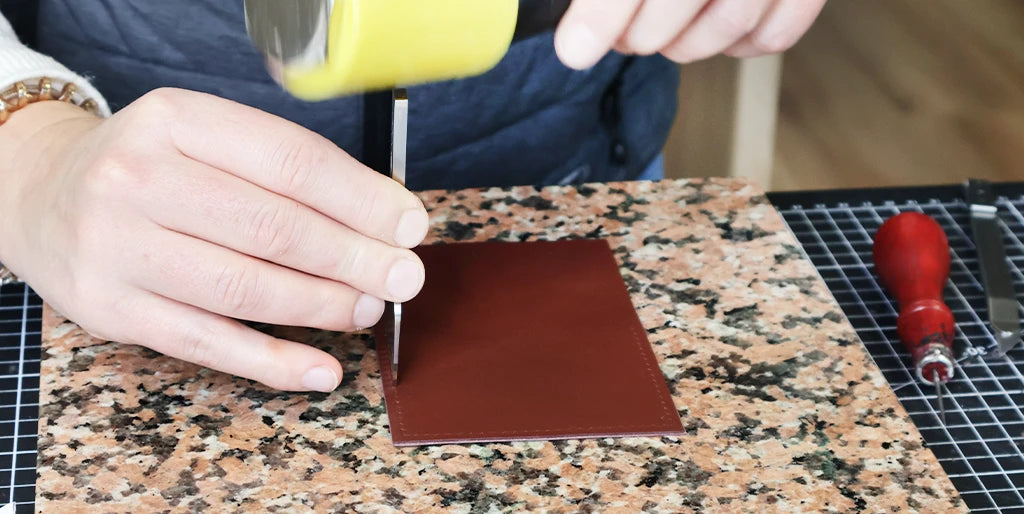
- 1 cutter 9 mm blade 30° STAINLESS STEEL
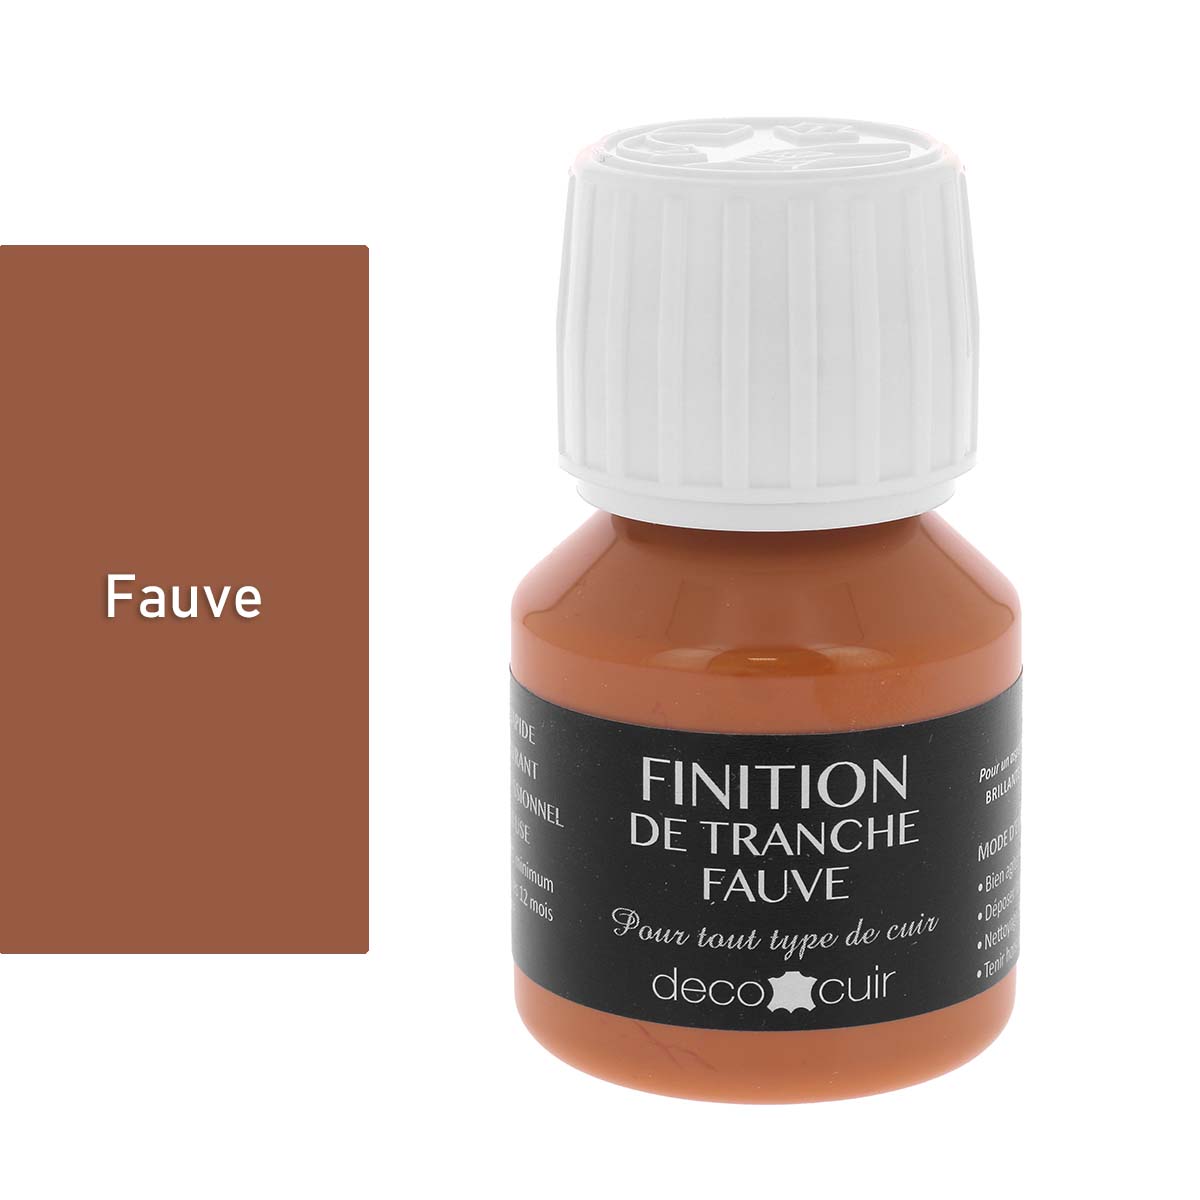
- Edge finishing: a pot of edge paint (if mineral-tanned) or tokonole (if vegetable-tanned).


GET THE PATTERN
The wallet pattern is available for sale on our website (reference KA210). It is only available as a digital version: PDF to print at actual size and assemble.
We recommend transferring the pattern pieces to cardboard for patterning.


FULL TUTORIAL VIDEO
PART 1: CUTTING
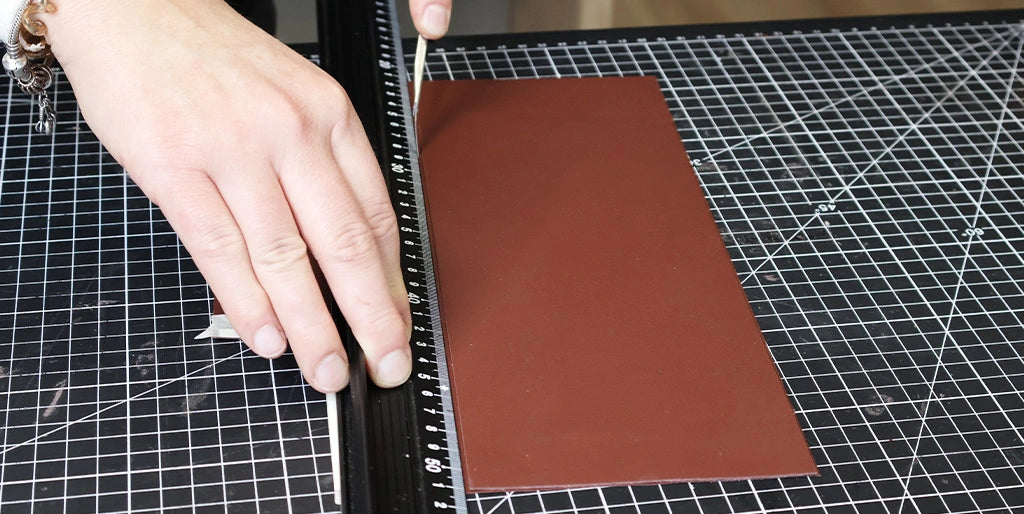
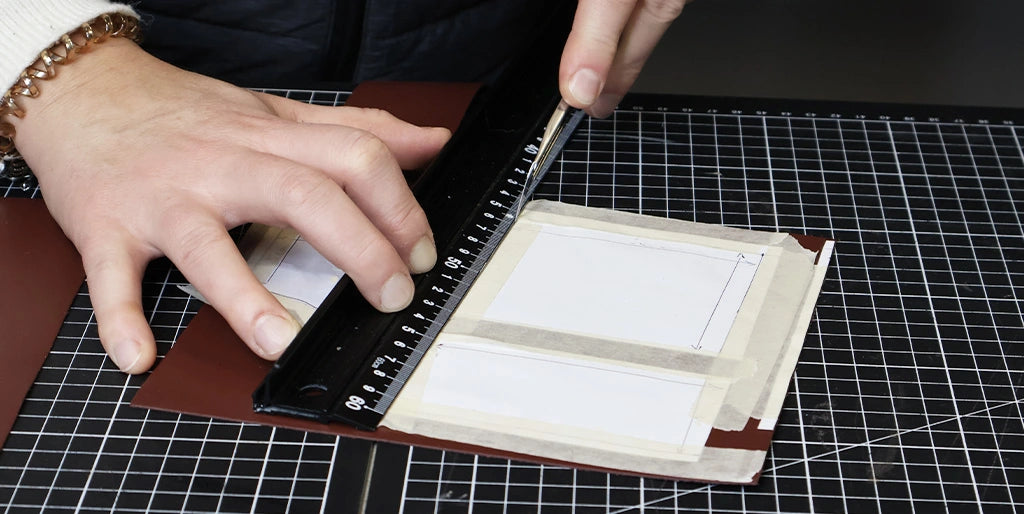
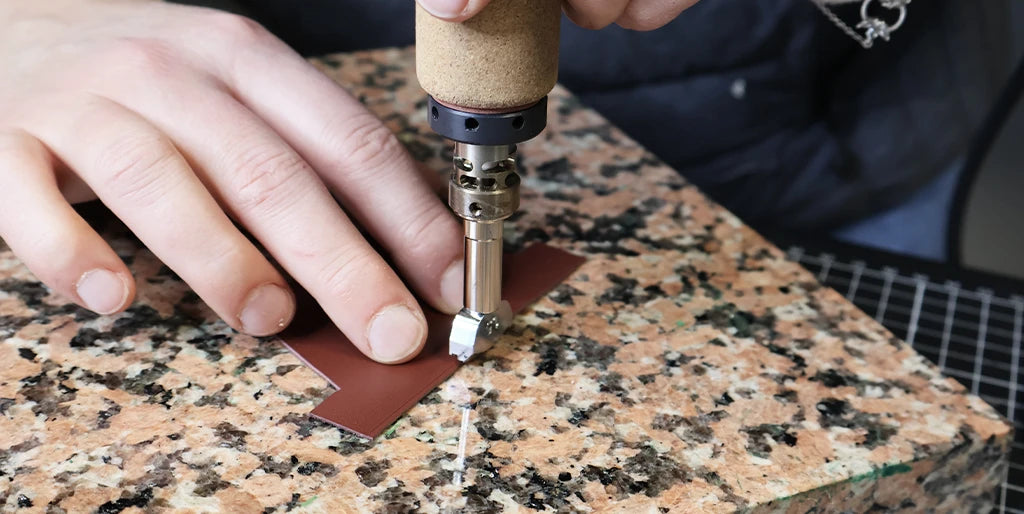
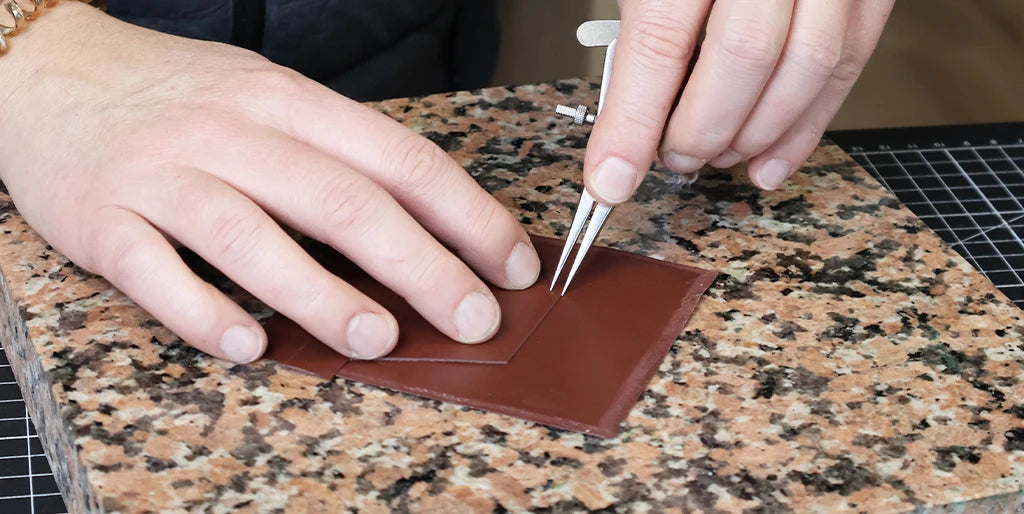
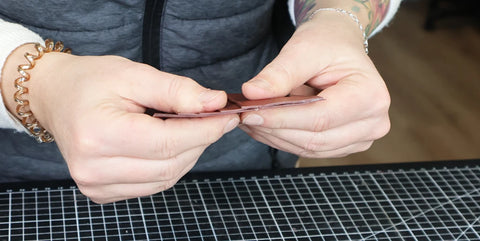
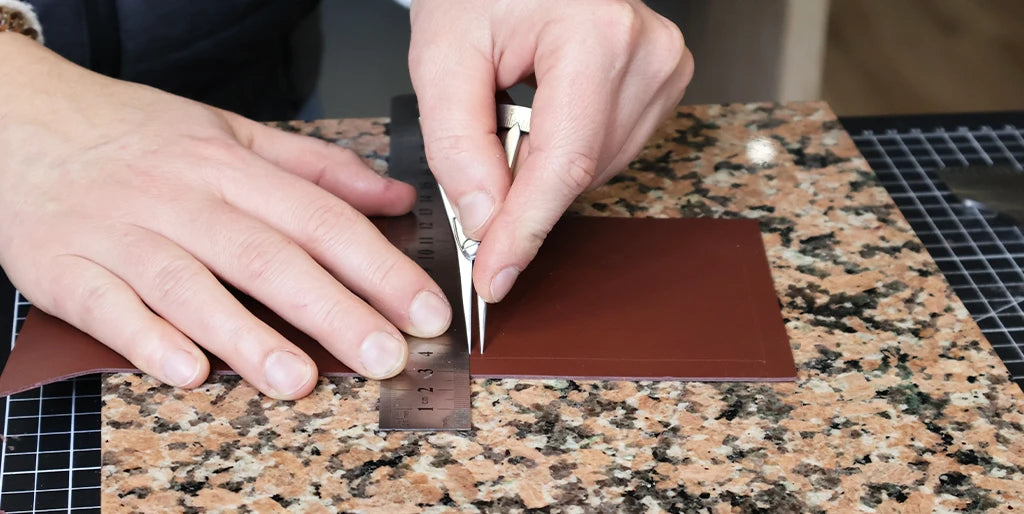
1. Cut and transfer the paper pattern
Cut out the pattern then hold it, with masking tape or a weight, on the leather pieces, respecting the indicated thicknesses.
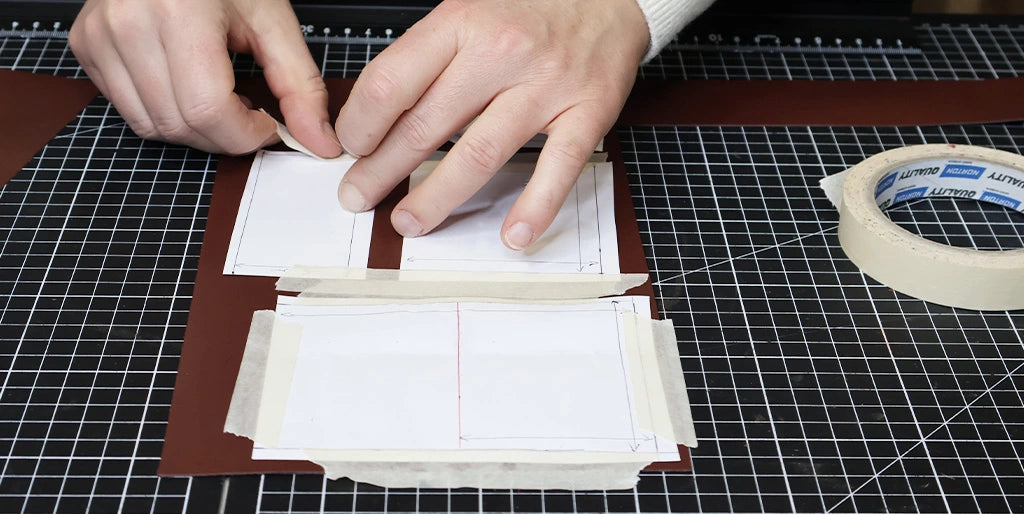
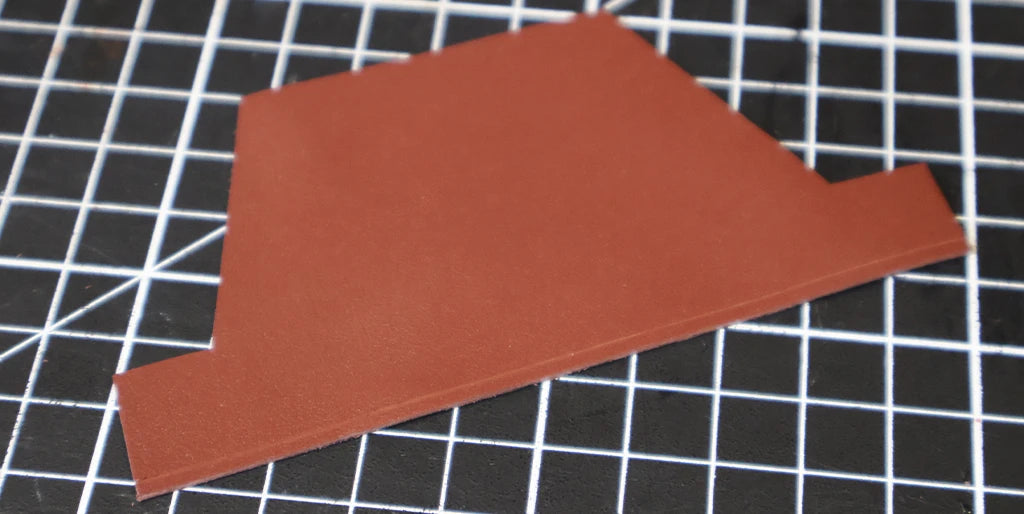
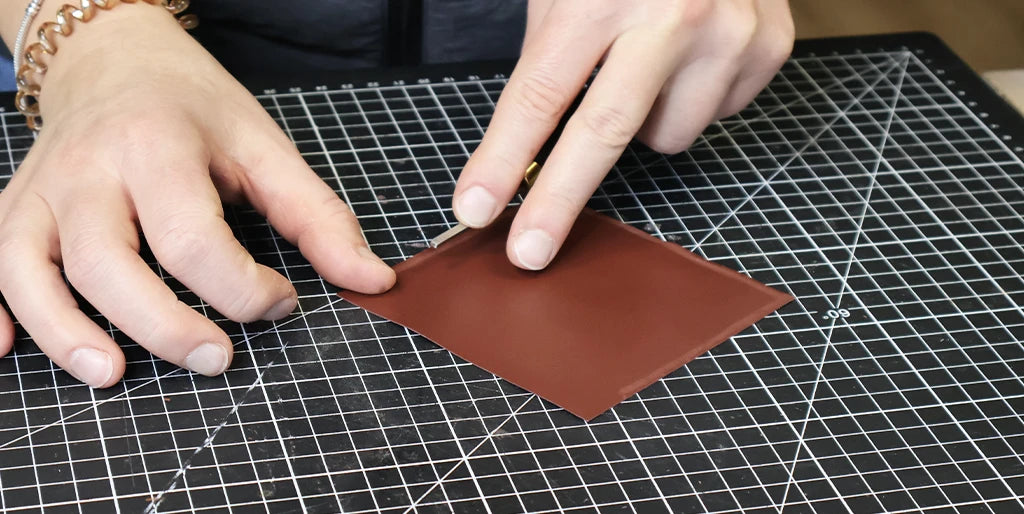
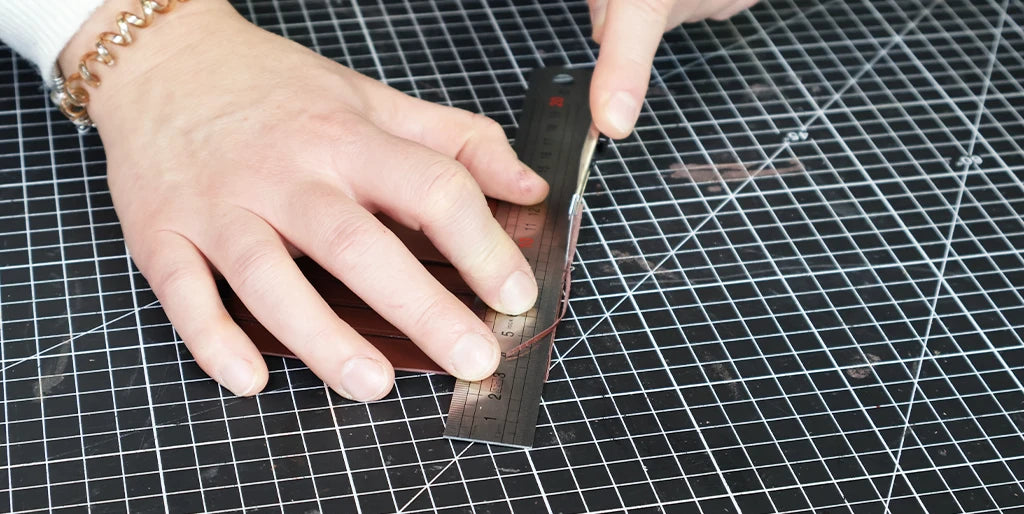
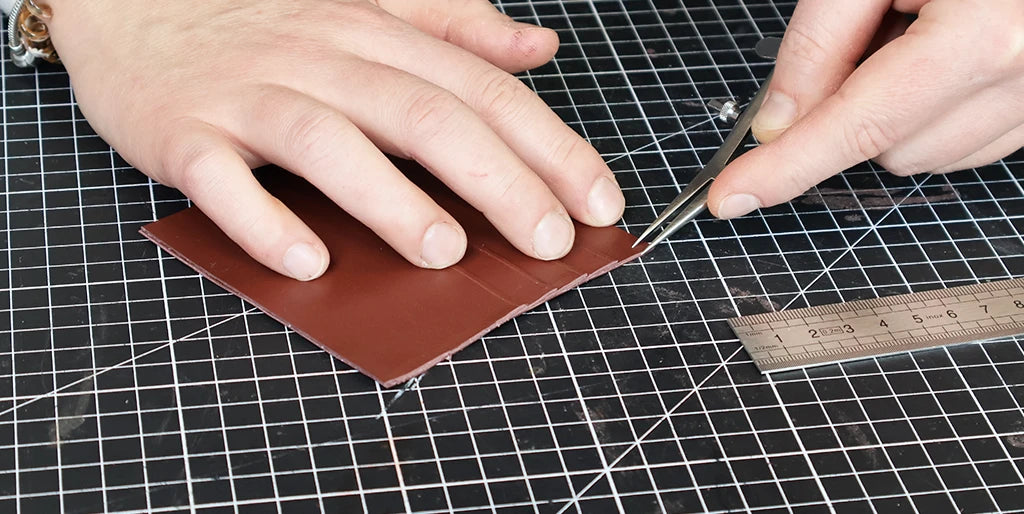
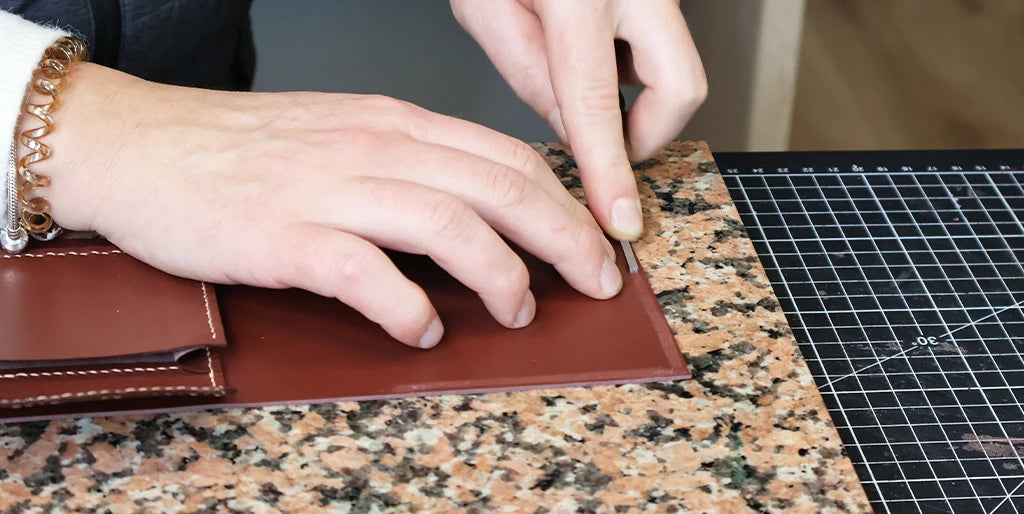
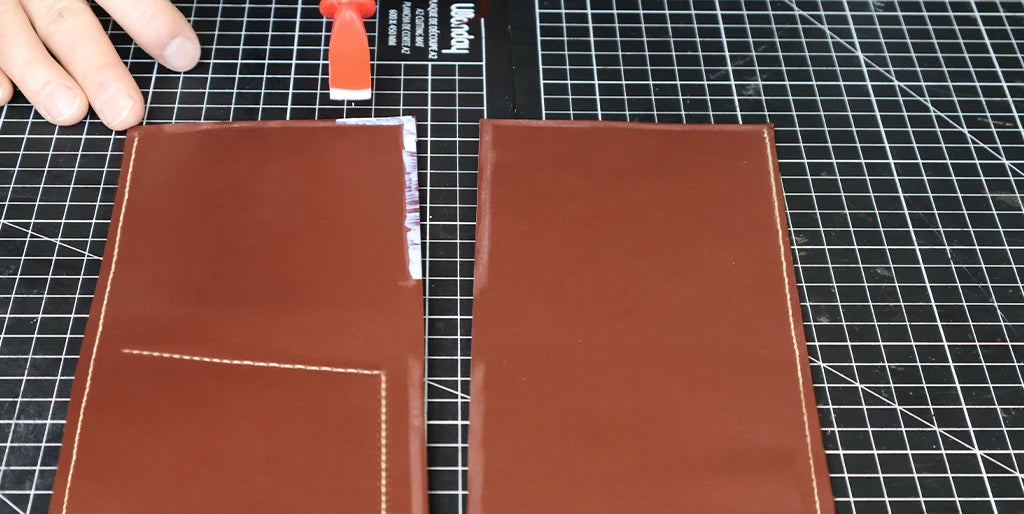
2. Cut out the pattern pieces
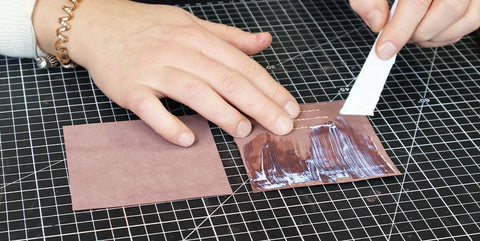
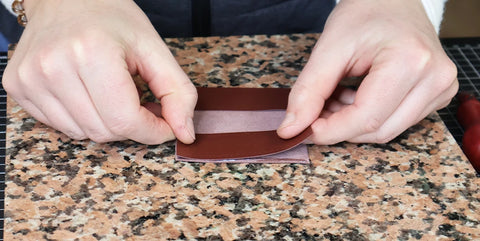
Cut out pieces P1 and P2 along the dotted lines of the pattern (cutting allowances) before laminating and trimming them.
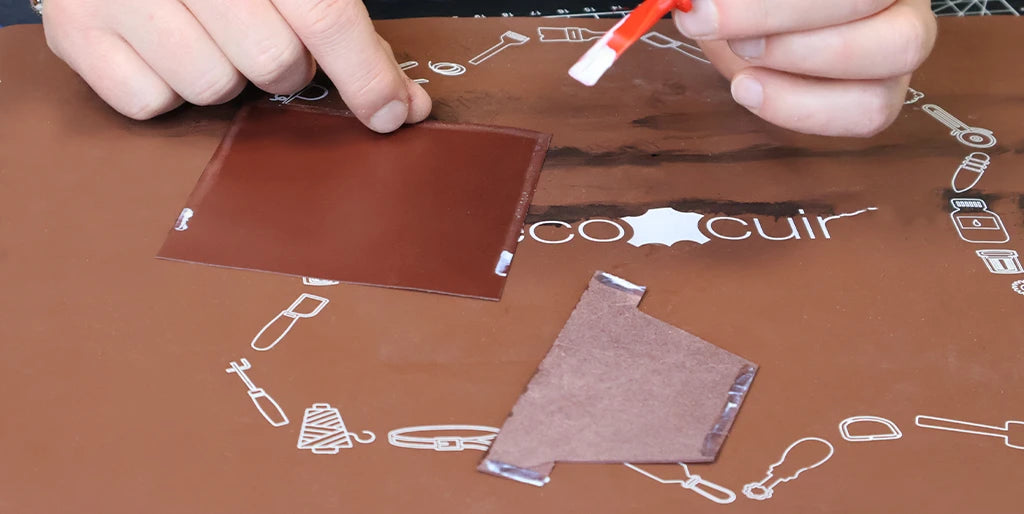
Next, glue the two P1 pieces together, flesh side to flesh side, using contact adhesive (neoprene here).
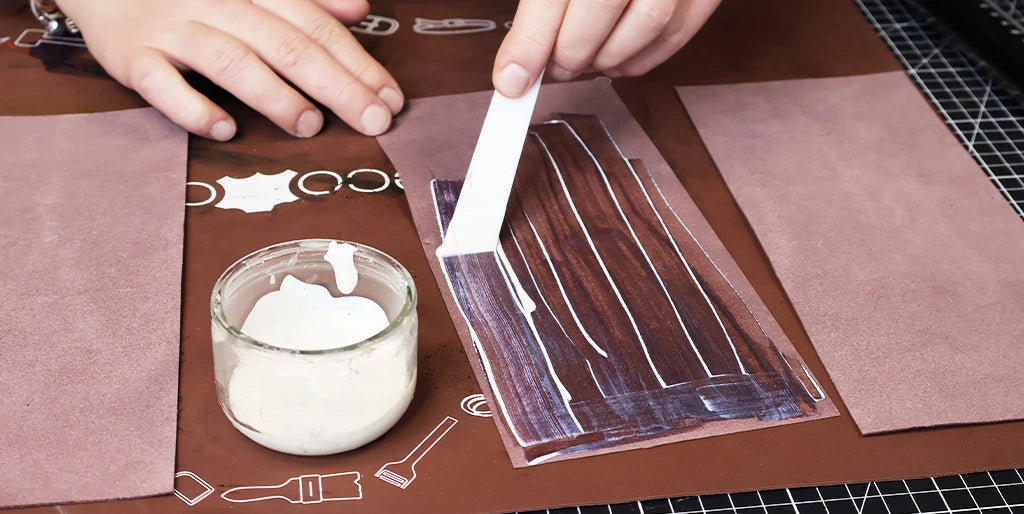
Press the leather to flatten the glue thoroughly.
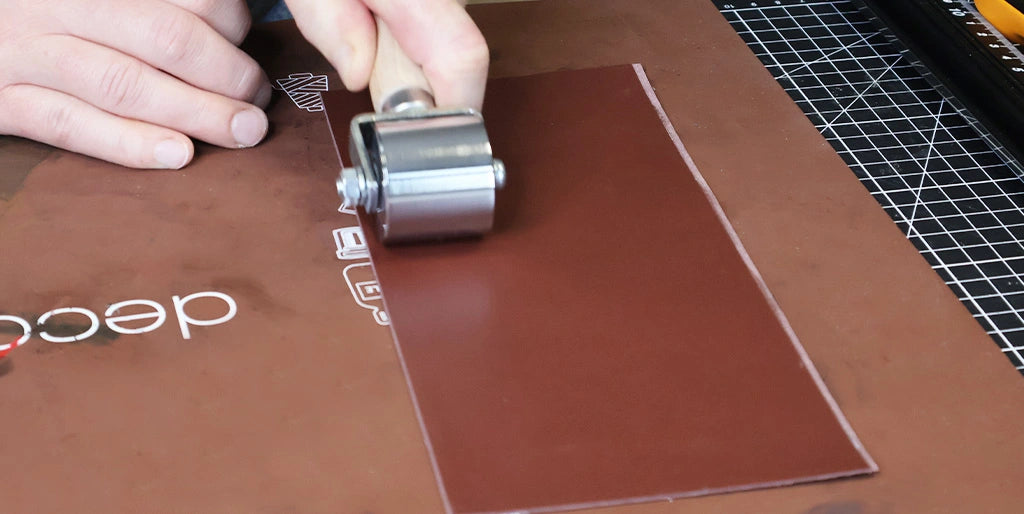
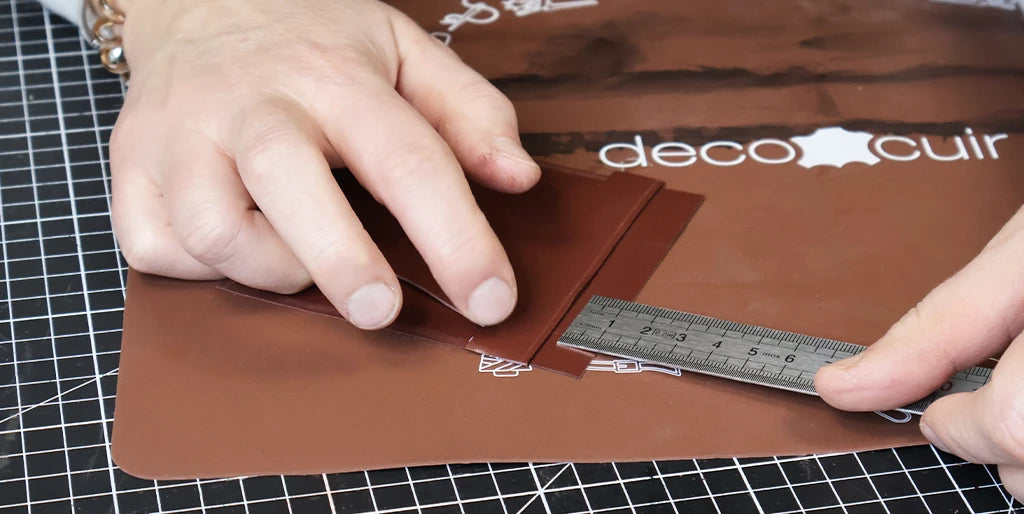
Then cut out the P1 pattern from this doubled rectangle.

Follow the same steps for pieces P2.
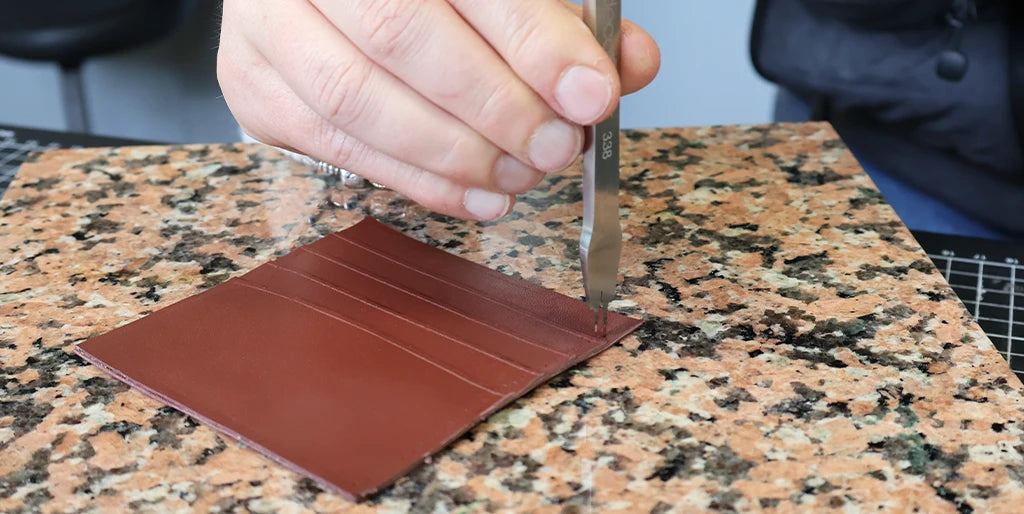
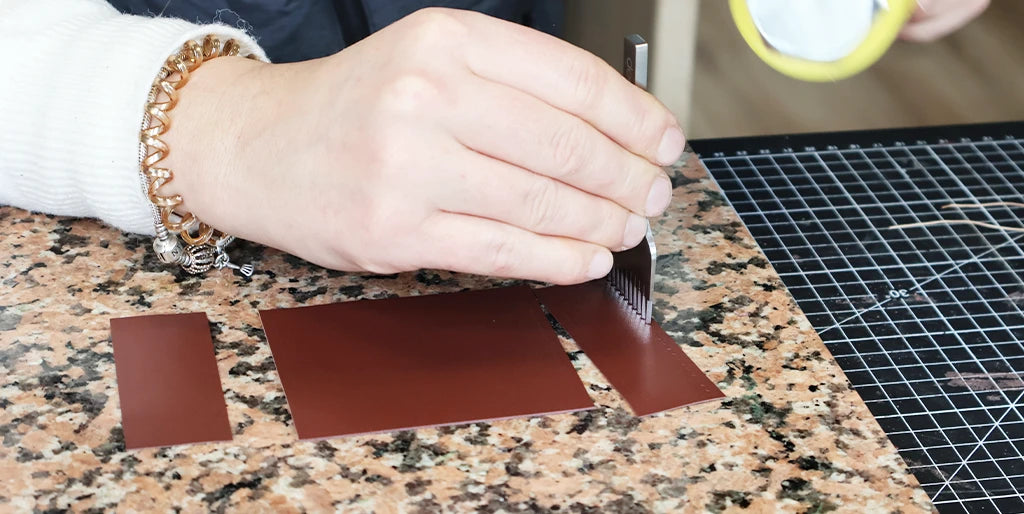
For the other pieces : cut with a cutter following the pattern lines, except for P4 and P7 (B), which should be cut along the dotted lines - cutting allowances (these are lining pieces that will be trimmed later).
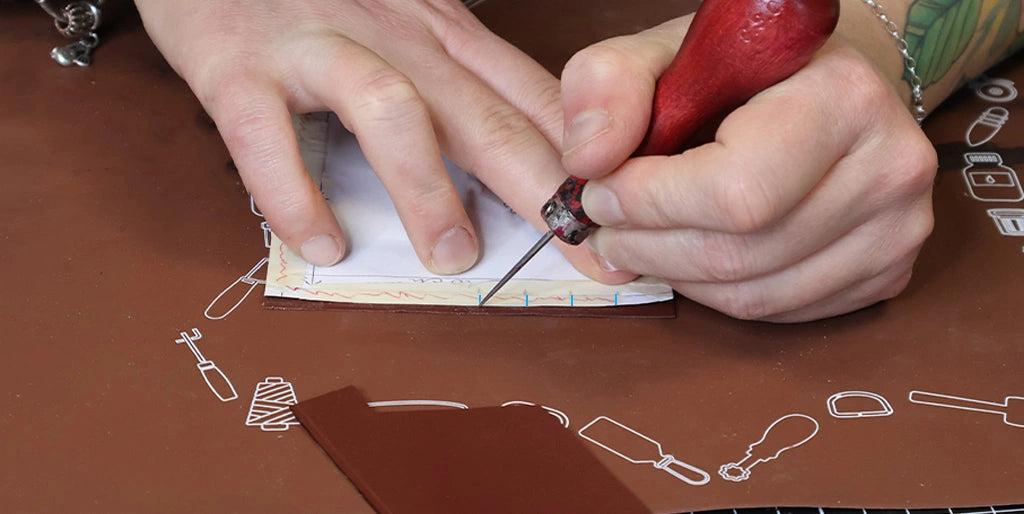
For piece P2 (A) : mark the four blue dots on the pattern with a round awl. These marks will help you know where to glue the pocket in the following steps.
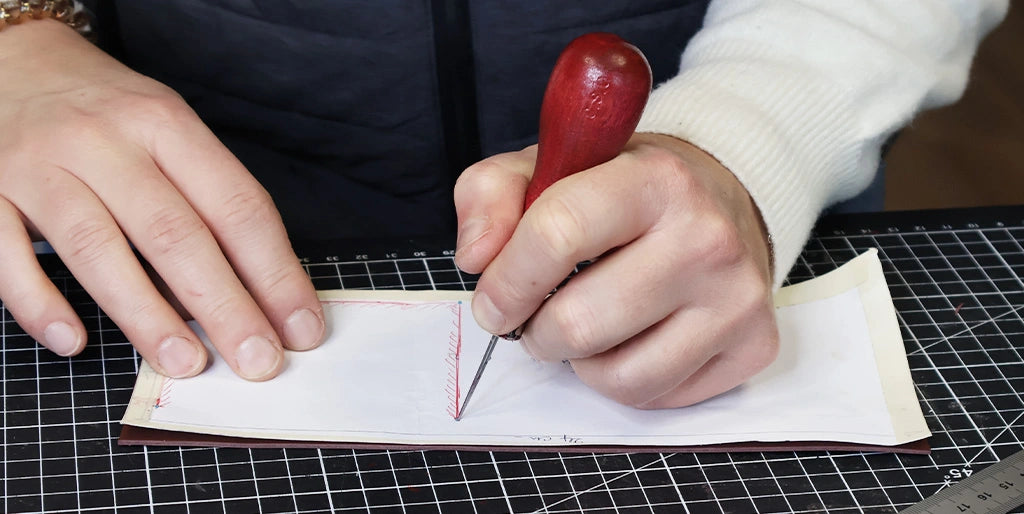
For piece P7 : use a round awl to make light marks at the blue lines on the pattern. These marks will help you correctly glue the card holder pockets (pieces P8).
Note: do not immediately punch the Ø3 mm hole for the snap button.
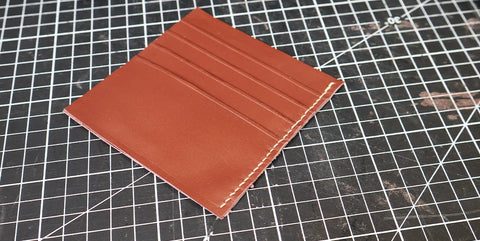
PART 2: THE CARD HOLDER
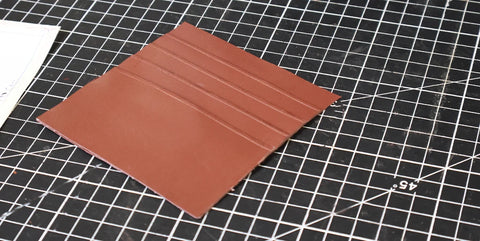
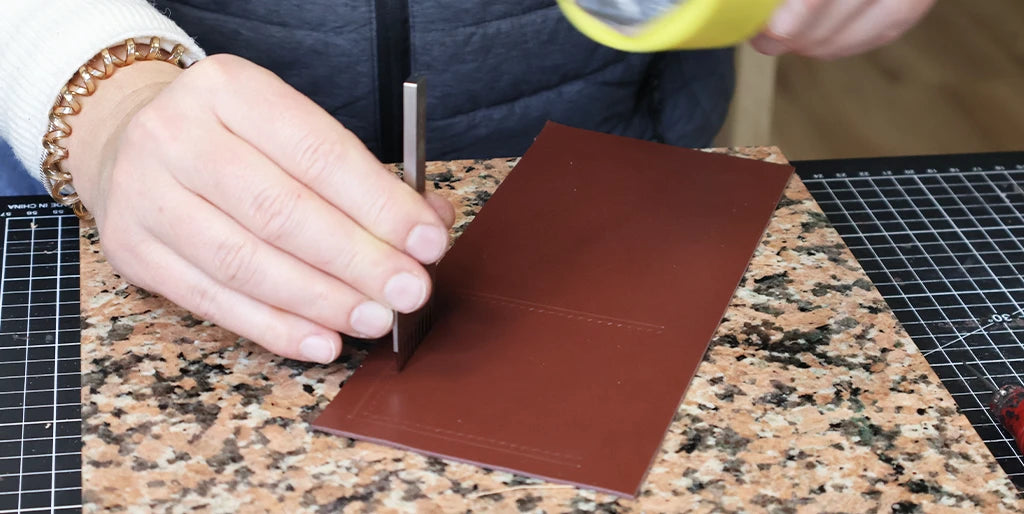
3. OPTION: create decorative lines
Create decorative lines on the top of pieces P8 and P9, 1.5 mm from the edge.
For mineral-tanned leather:
The line should be made hot, using a creasing iron.
For vegetable-tanned leather:
The line can be made cold with a groover, a wing divider, or a former… or hot with a creasing iron.


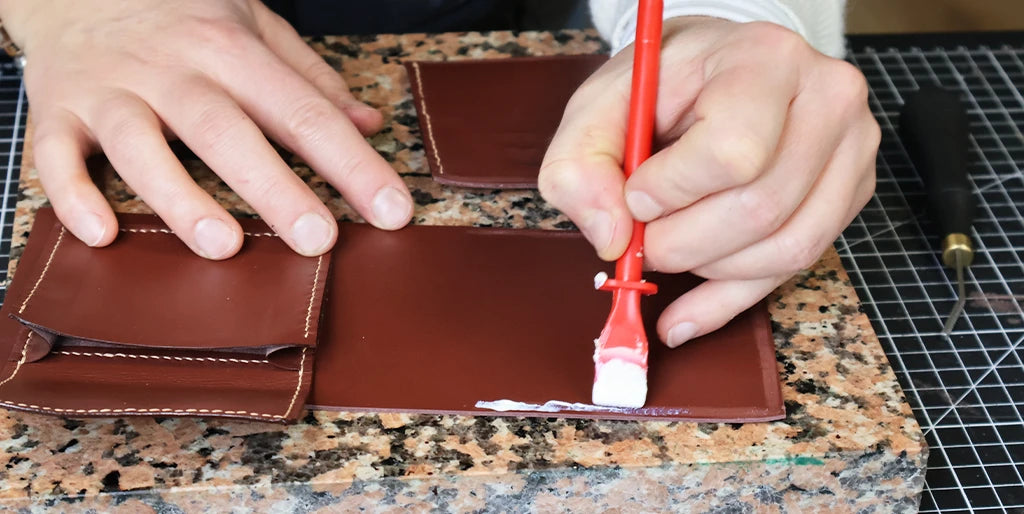
4. Edge Finishing
Finish the top edges of pieces P8 and P9 (the length with the decorative line). Use edge paint for mineral-tanned leathers and Tokonole for vegetable-tanned leathers.
VIEW EDGE CREASER AND EDGE FINISHING GUIDE
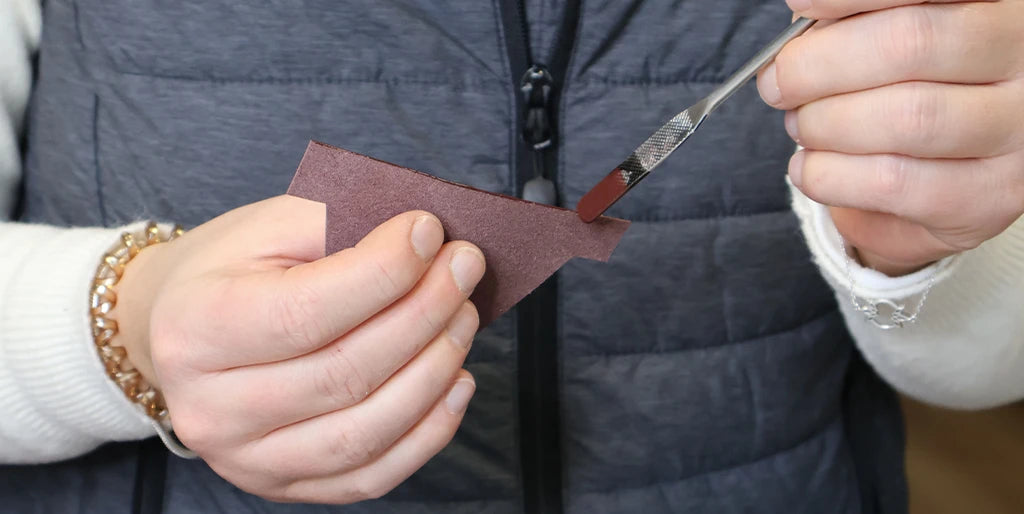
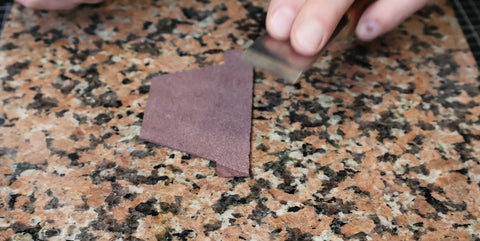
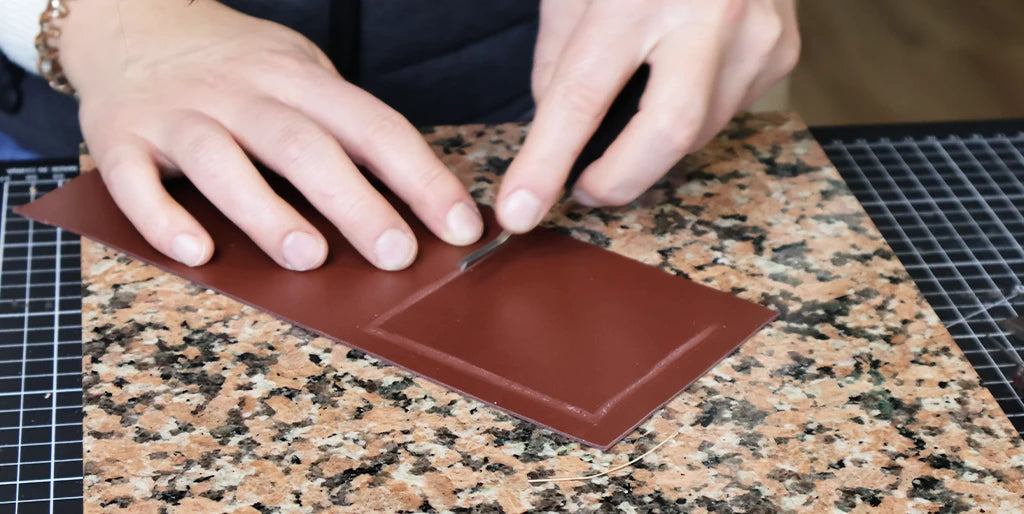
5. Skive the corners
To avoid bulkiness in the card holder area, we recommend lightly skiving the corners of pieces P8 and P9.
 |
 |
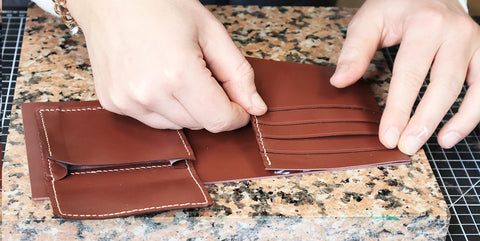
6. Assemble the card holder
To facilitate adhesion, roughen the grain of the leather on piece P7(a), at the pink lines indicated on the pattern. Be careful not to scratch higher than the lines.
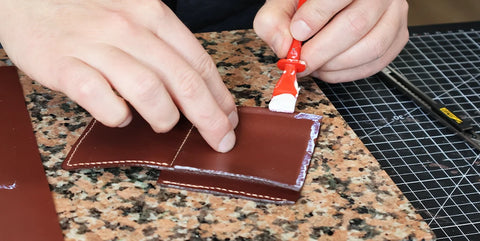
Glue the first piece P8 by applying glue to the bottom of the piece and its two sides. Also apply contact glue to piece P7, 1.3 cm from the top.
See photo ⬇️
Glue piece P8 onto P7, making sure it is 1.3 cm from the top of piece P7.
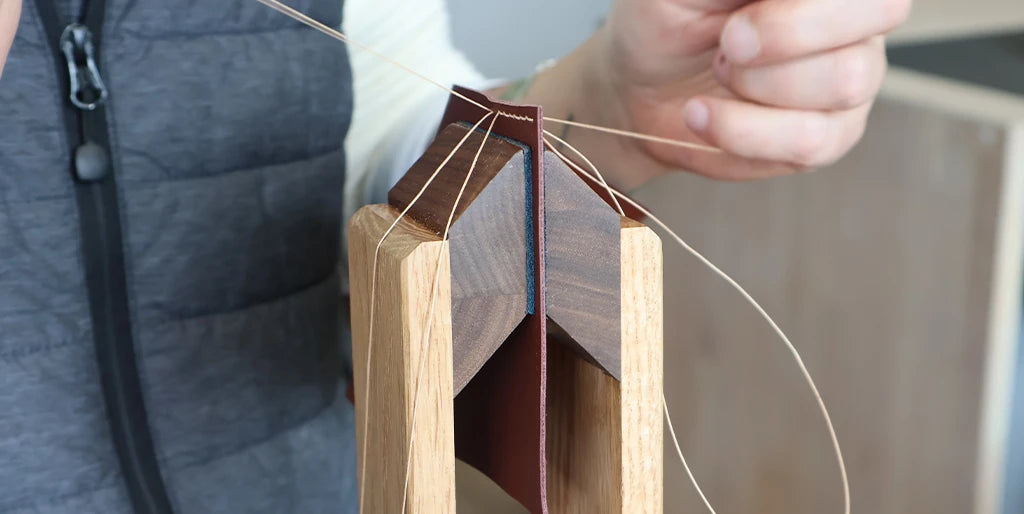
Stitch the bottom of piece P8 to P7. Two stitching options :
- Hand-stitched with saddle stitch
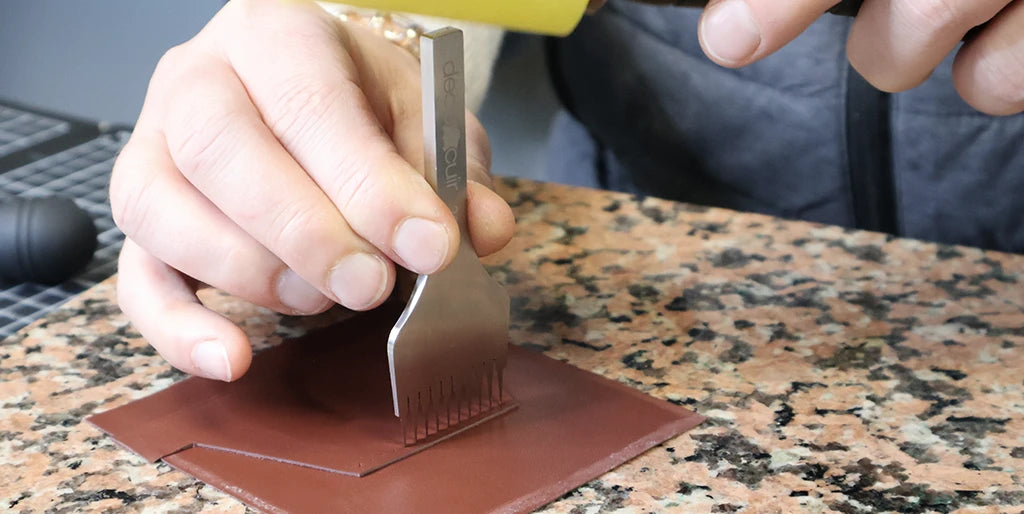
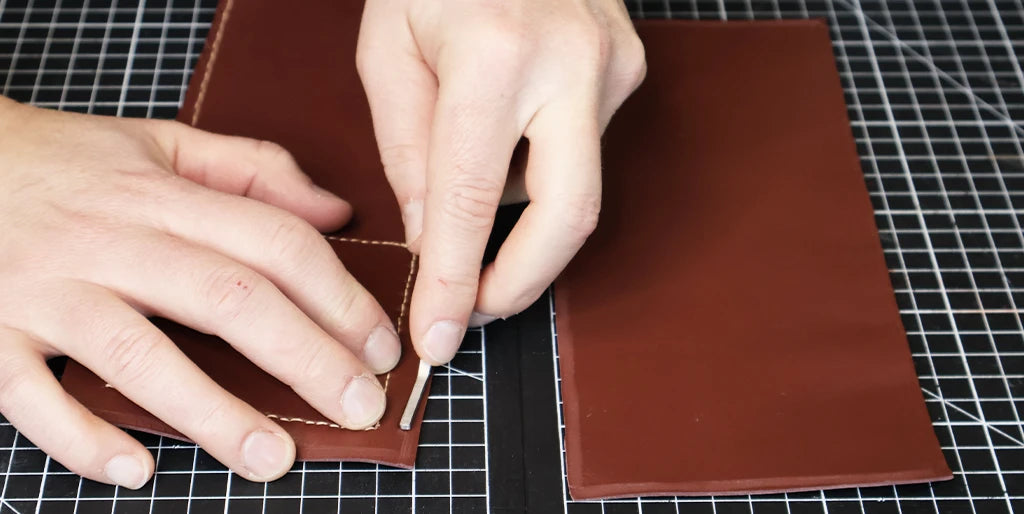
Using a wing divider, draw the stitching line 3 mm from the bottom edge of piece P8.
Mark the stitching points with a pricking iron.
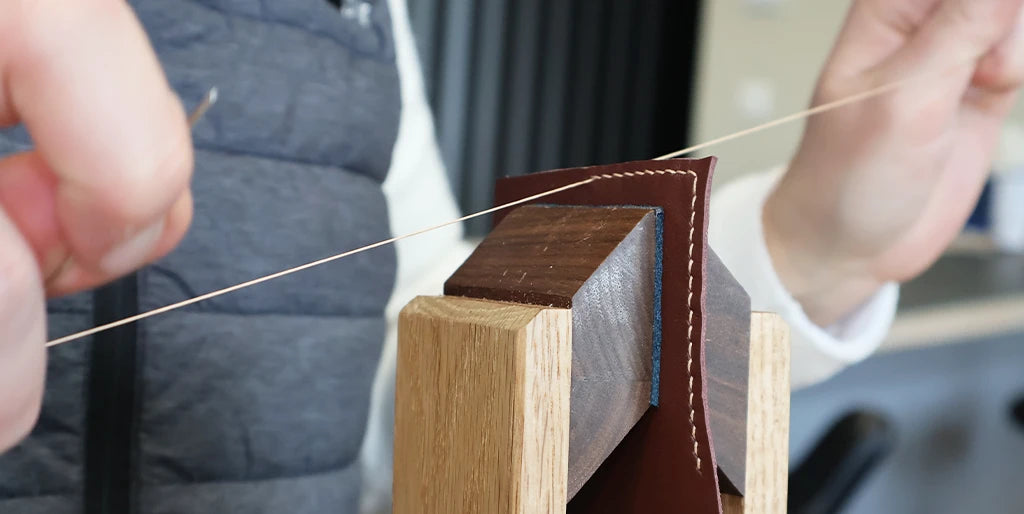
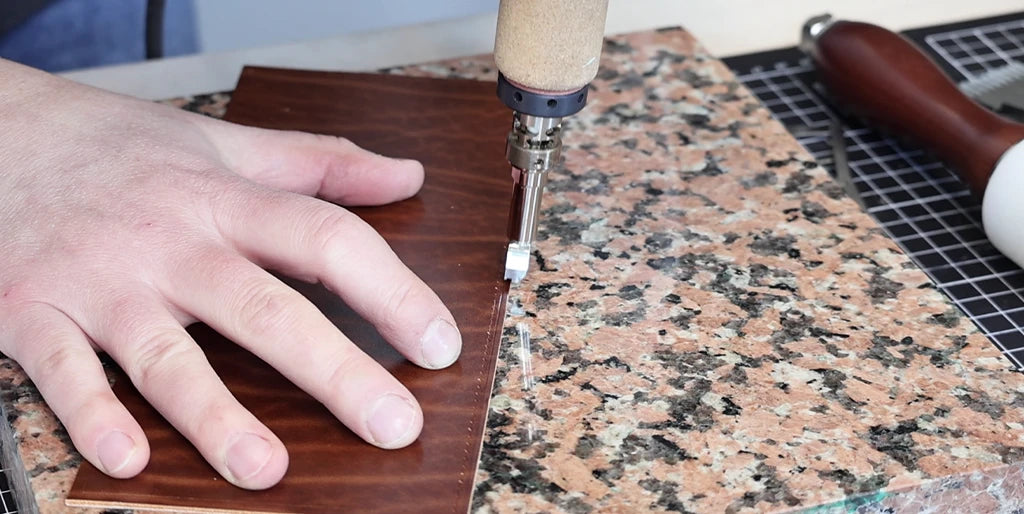
Stitch with a saddle stitch.
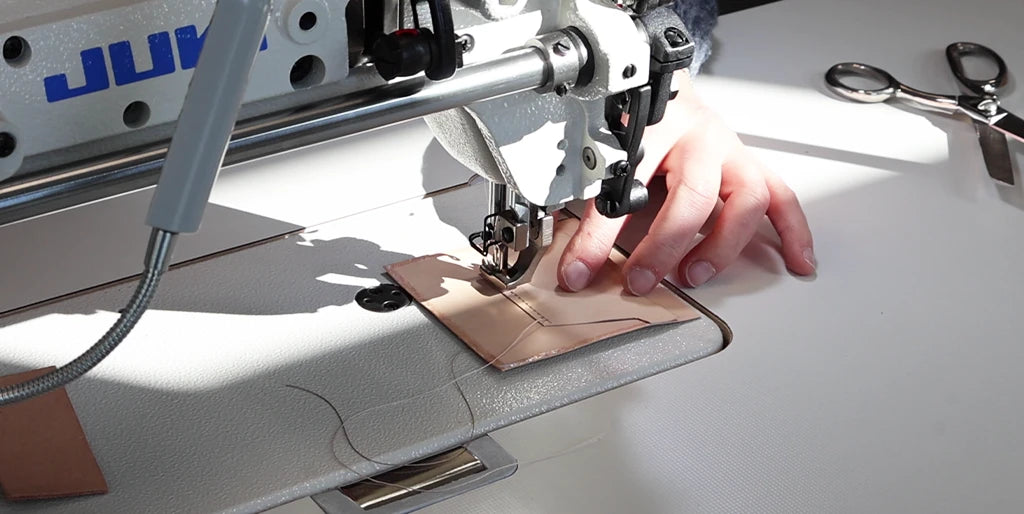
- Machine stitching
To save time, this part can be machine-stitched.
Do the same with the other two P8 pieces.
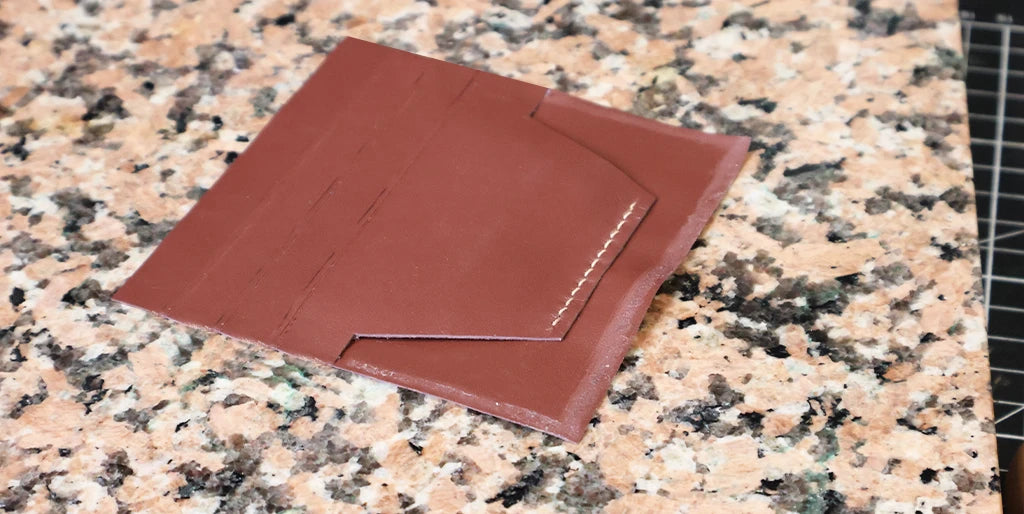
Glue piece P9 to the bottom of piece P7.
 |
 |
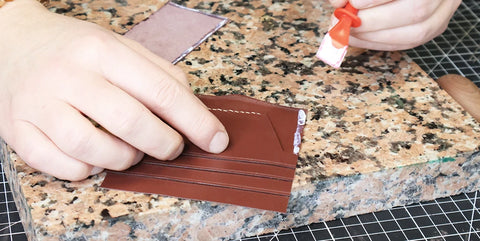
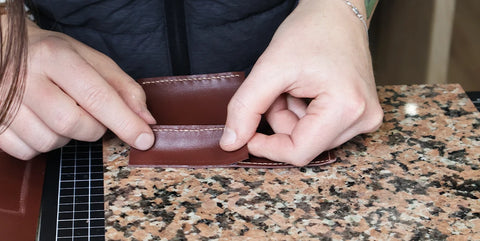
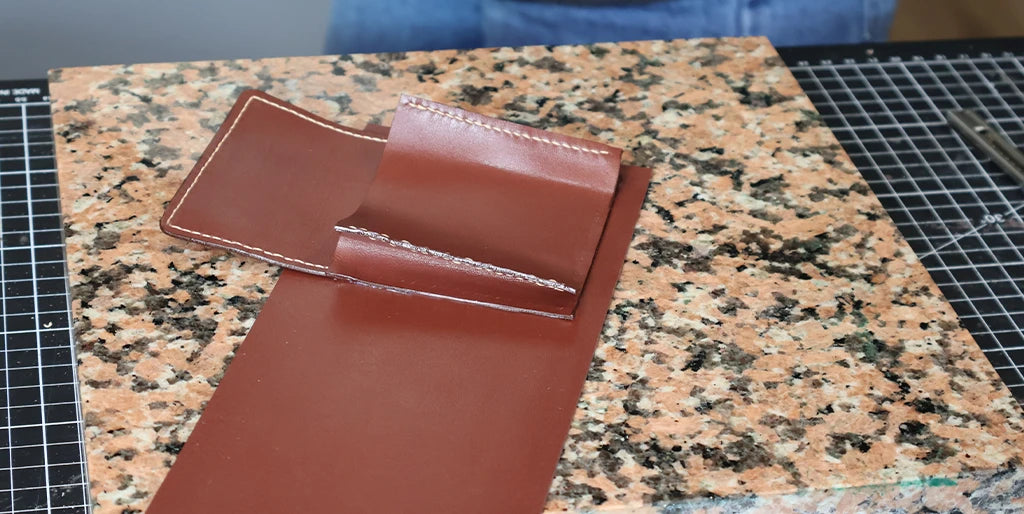
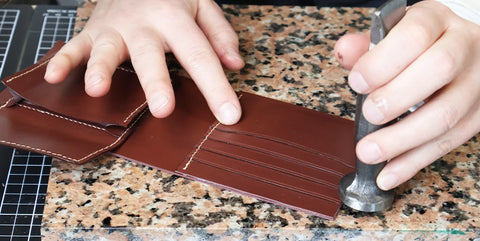
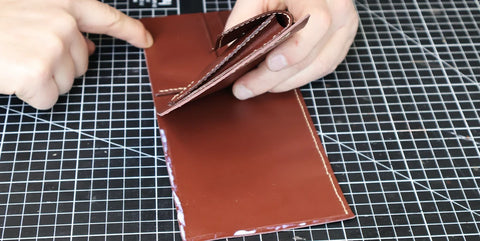
7. Laminate and stitch the right side of the card holder
Once all parts are glued, take the second piece P7(b). Laminate the two P7 pieces, flesh side to flesh side, with contact glue.
 |
 |
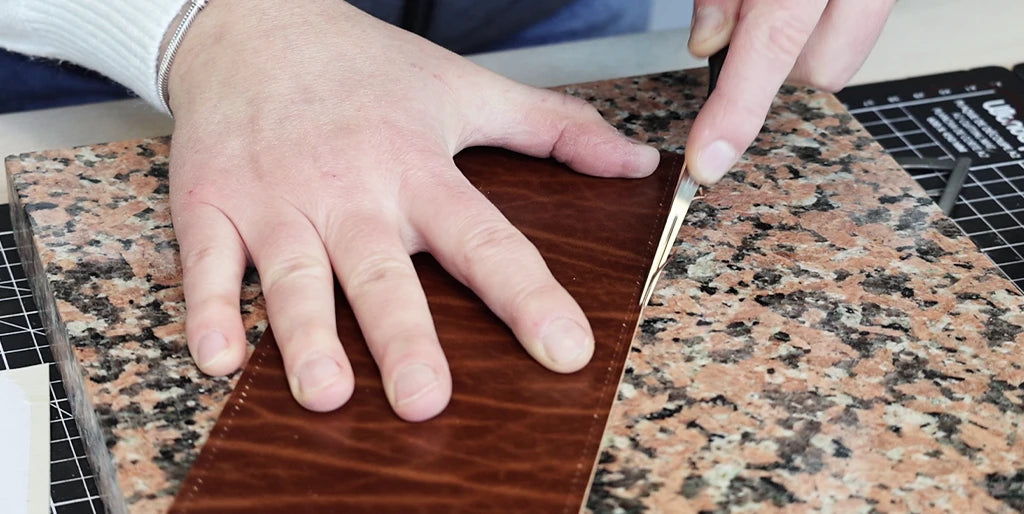
Trim flush.
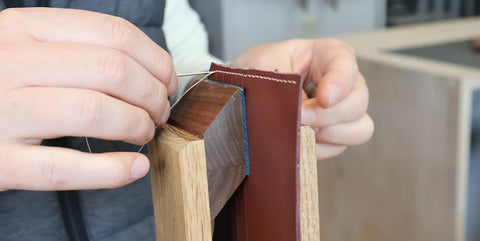
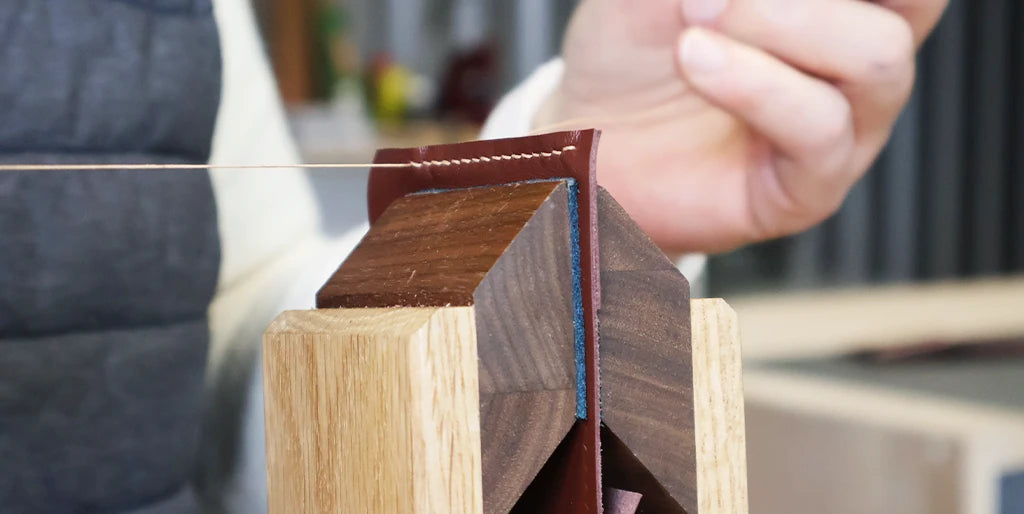
Stitch the right side of the card holder (by hand or machine).
Only the right side needs to be sewn, as the other three sides will be sewn later during the final assembly of the wallet.
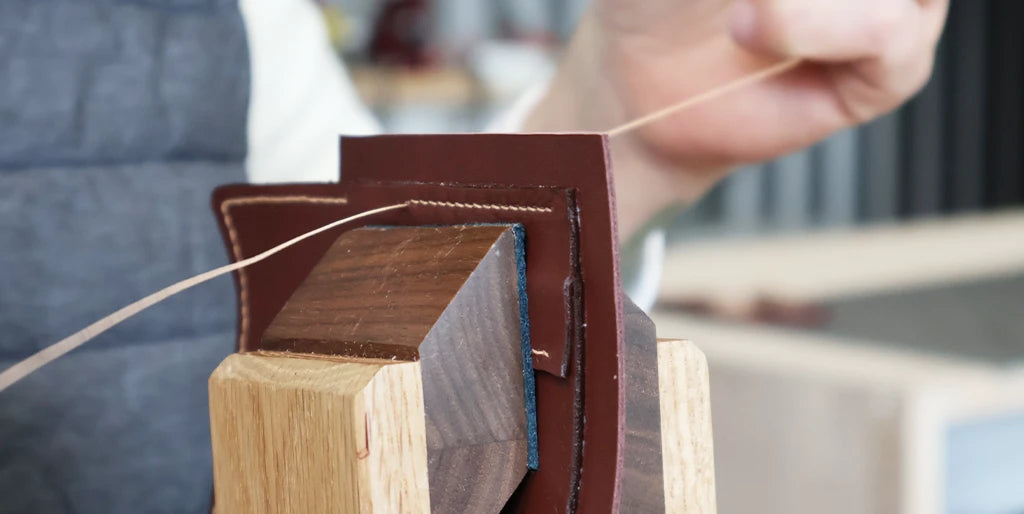
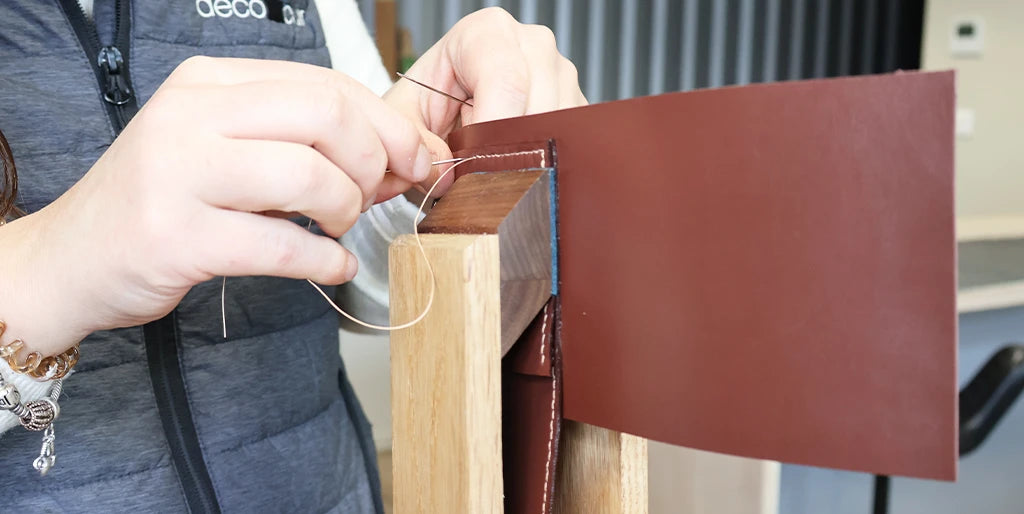
If sewing by hand:
Using a wing divider, draw a line 3 mm from the right edge of the piece.
Mark the stitch points with a pricking iron.
IMPORTANT: To avoid weakening the sides of the card holder, make sure not to mark stitch points in the gaps between pockets. We recommend using a two-pronged pricking iron and shifting the points if necessary to position them correctly between the different card holder pockets.
Stitch using a saddle stitch.
 |
 |
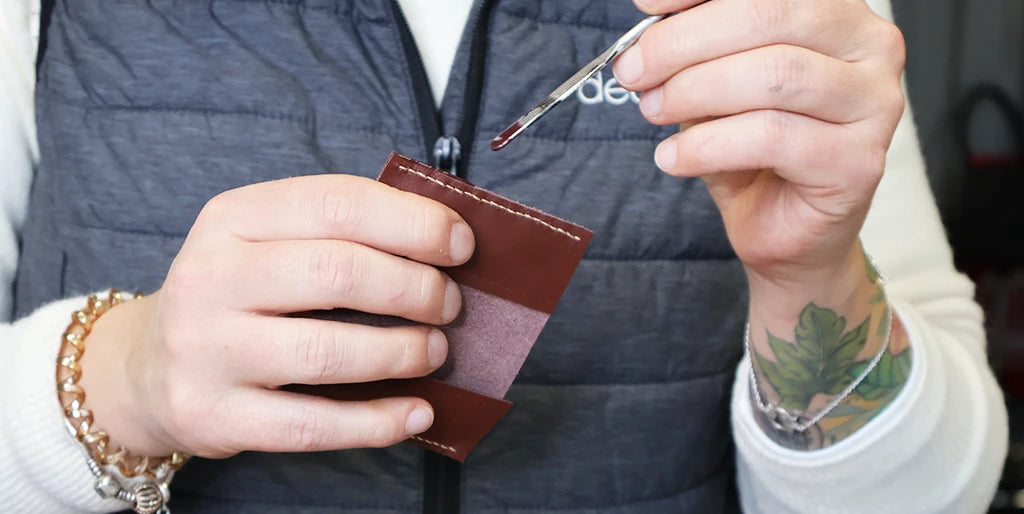
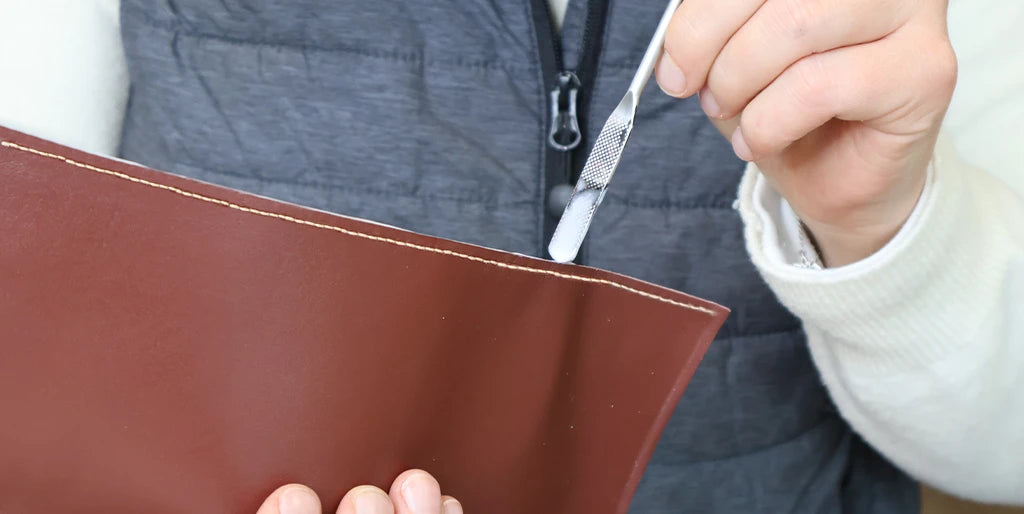
8. Edge finishing
Finish the newly sewn edge. Trim if necessary, sand, and apply an edge finish.
 |
 |
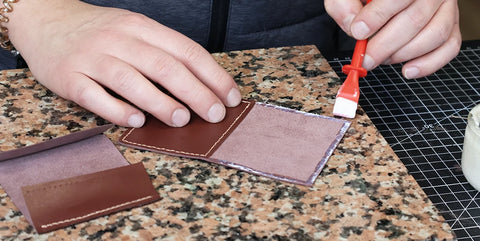
9. Scrape the back side
Turn over the card holder and scrape the remaining three sides on the back of the card holder. This will facilitate gluing to piece P2 in the following steps.
PART 3: THE COIN PURSE
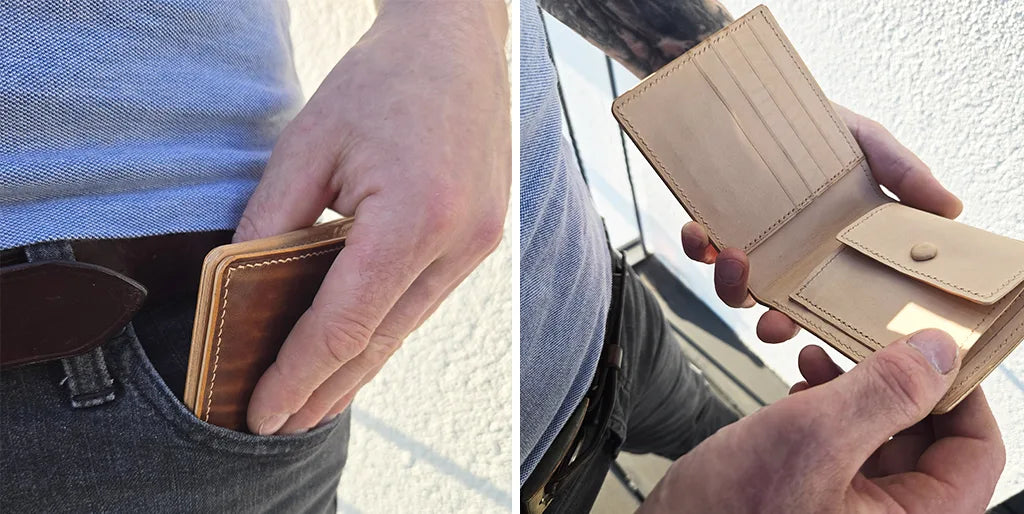
For those who never carry coins, it's possible to make another card holder side instead of a coin pocket.
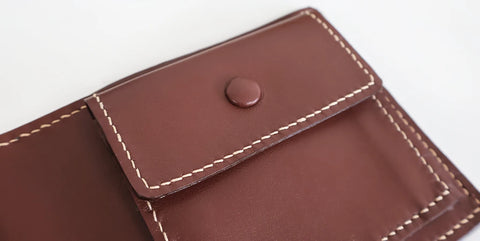
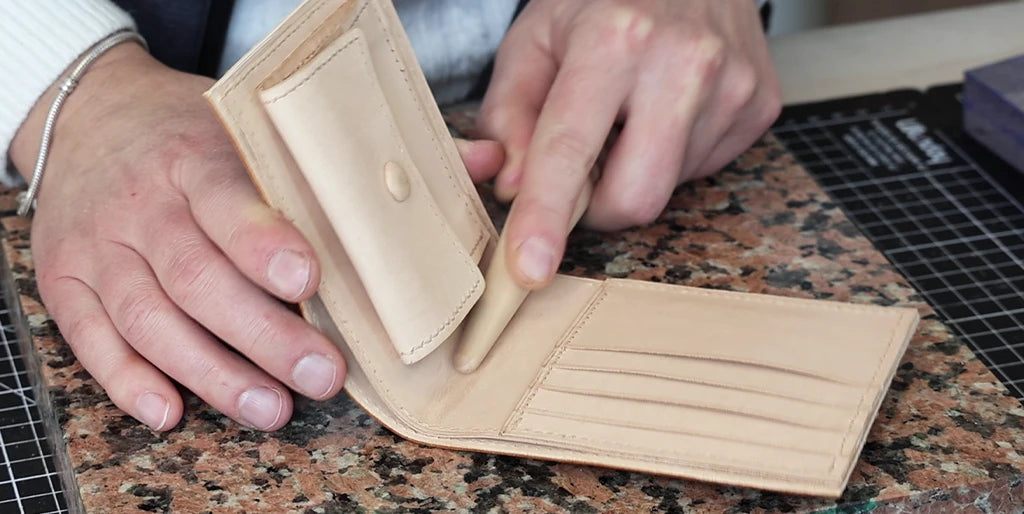
10. Attach the Ø10.5 MM snap fastener
There are 2 options for attaching the snap fastener:
|
CHOICE 1: COVERED SNAP
|
CHOICE 2: HIDDEN SNAP
|
 |
 |
Choice 1: Covered snap
For a discreet and refined snap fastener, it can be covered with the same leather used for the wallet.
Here are the steps to follow:
1. Start by bonding lining P4 to the designated location on piece P3, wrong side to wrong side. Then trim.
 |
 |
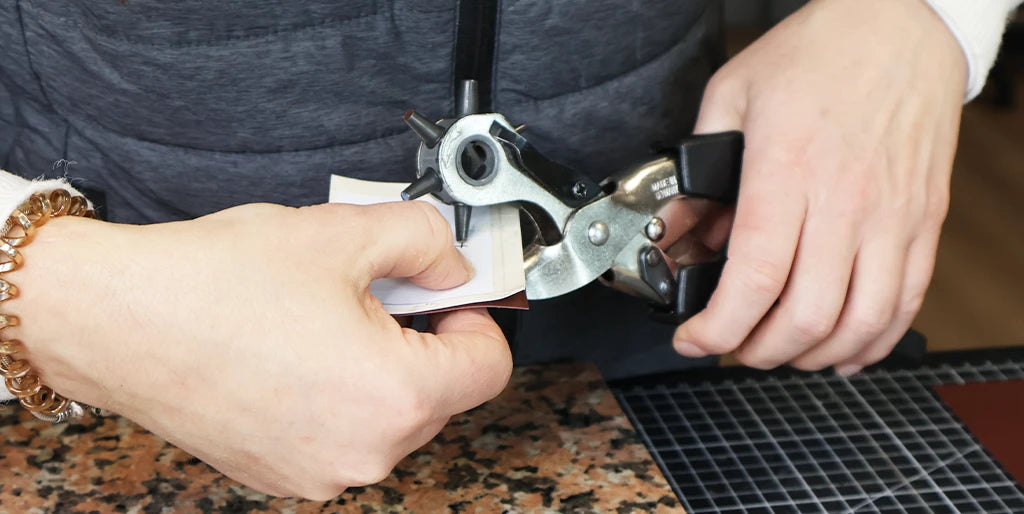
2. Punch Ø 3 mm holes on pieces P3/P4 as well as on piece P5.
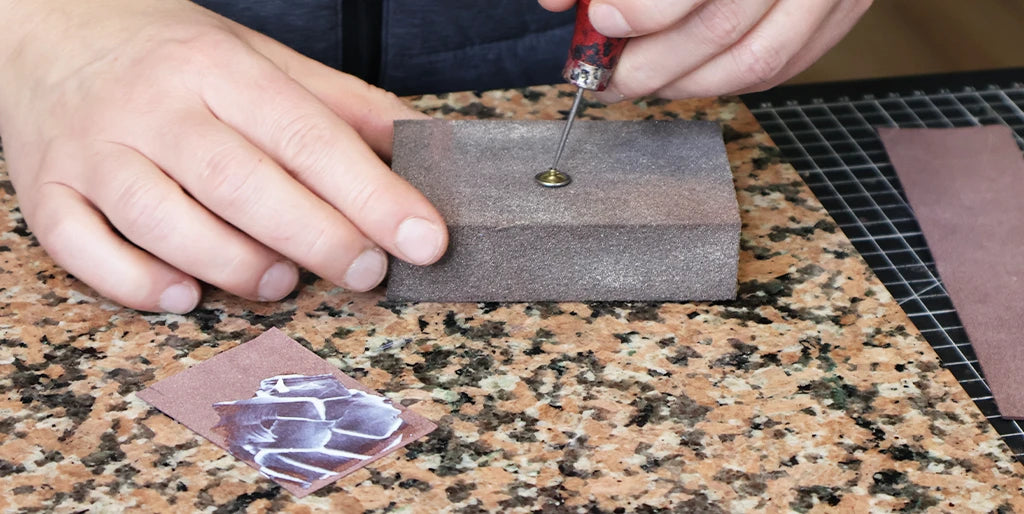
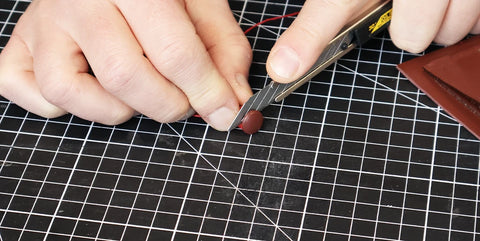
3. Attach the snap fastener post to piece P5.

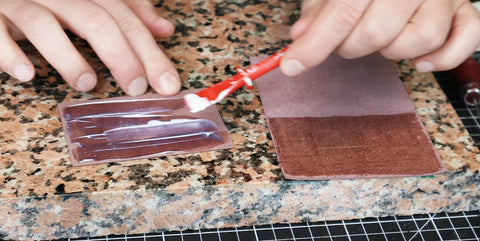
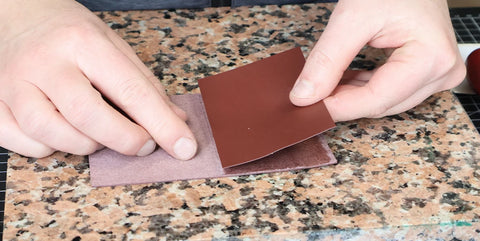
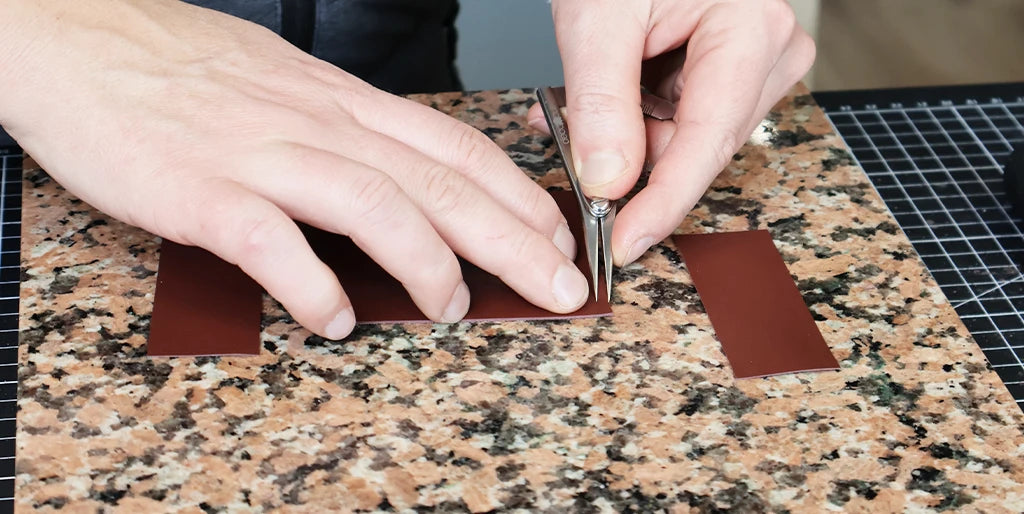
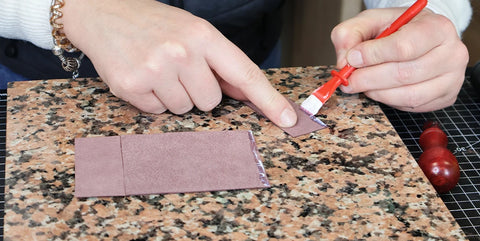
4. Cut a small leather square measuring 5 x 5 cm, with a maximum thickness of 0.5 mm. Apply contact adhesive to the back of this square.
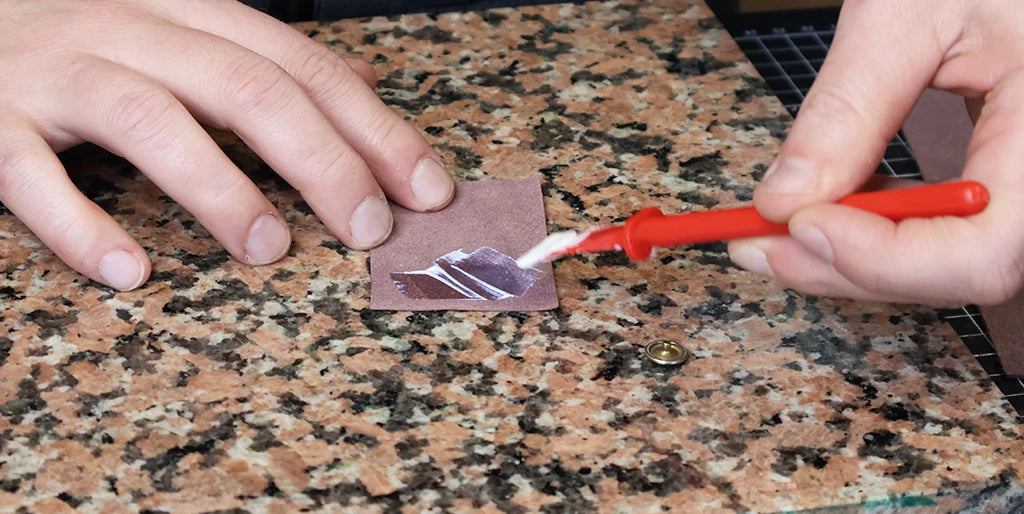
5. Let the glue dry for a few moments, then lightly sand the snap fastener head to improve adhesion.
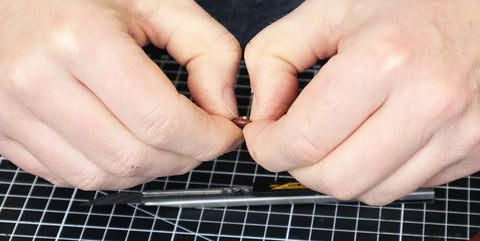
6. Place the snap fastener head in the center of the leather square, then fold the leather inwards towards the snap fastener.
 |
 |
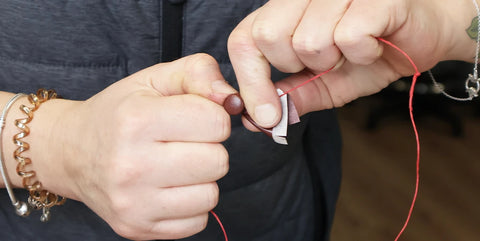
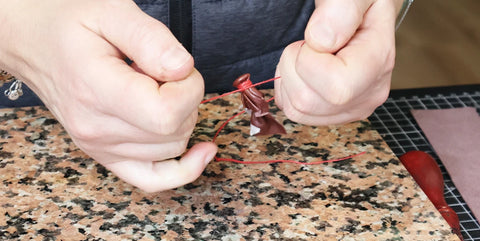
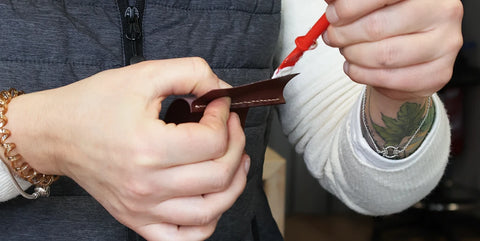
7. Using thread, wrap it several times around the snap fastener post to stretch the leather towards the inside of the snap fastener. Pull very tight and tie a knot.
Allow the glue to dry for several hours (or even a full day) to ensure good adhesion.
 |
 |
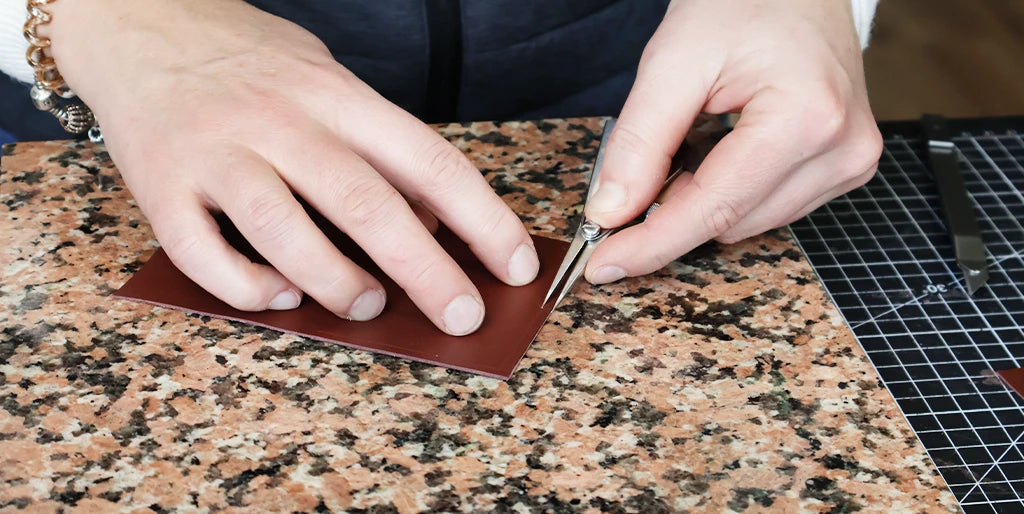
8. Once the glue is dry, use a utility knife to trim the excess leather around the snap fastener head. Gently fold the edges of the leather into the snap fastener with your fingernails.
 |
 |
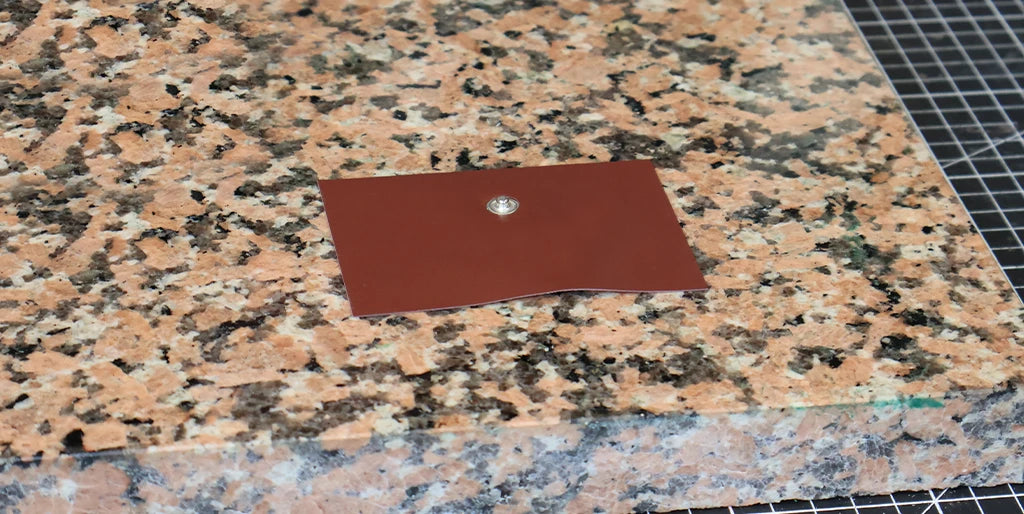
9. Attach the snap fastener to the designated spot on piece P3/P4.
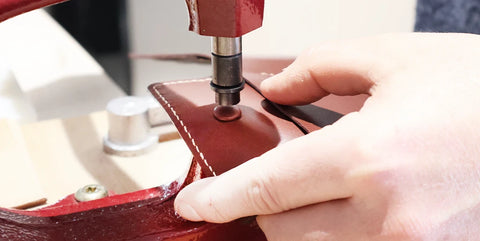 |
 |
Choice 2: Hidden snap
For an invisible snap fastener, it can be hidden in the lining at the top of the pocket. Here are the steps to follow:
1. Start by punching Ø 3 mm holes for the snap fastener only on pieces P4 and P5. Disregard the hole on piece P3.
2. Attach the snap fastener head to piece P5 (front of pocket), with the domed part on the wrong side of the leather.
 |
 |
3. Then, attach the snap fastener post to piece P4 only (flap lining).
11. Sew the flap lining
If you chose the hidden snap fastener in the lining (choice n°2): bond lining P4 to the designated location on P3, wrong side to wrong side. Then trim.

Using a wing divider, draw the stitching line 3 mm from the edge along the top width and the two lengths of piece P3, up to where the lining stops.
Mark the stitch points with a pricking iron, along the top width and the two lengths of piece P3, up to where the lining stops.
Reminder: always start by working the corners with a 2-pronged pricking iron: the rule is that the point located in the corner should always be directed towards the center of the piece. It is also possible to mark the corner with a round awl.
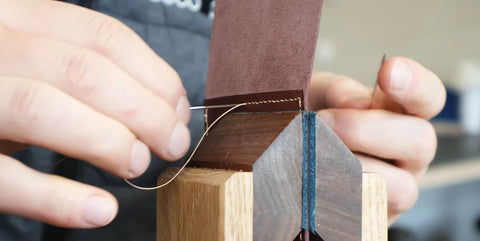
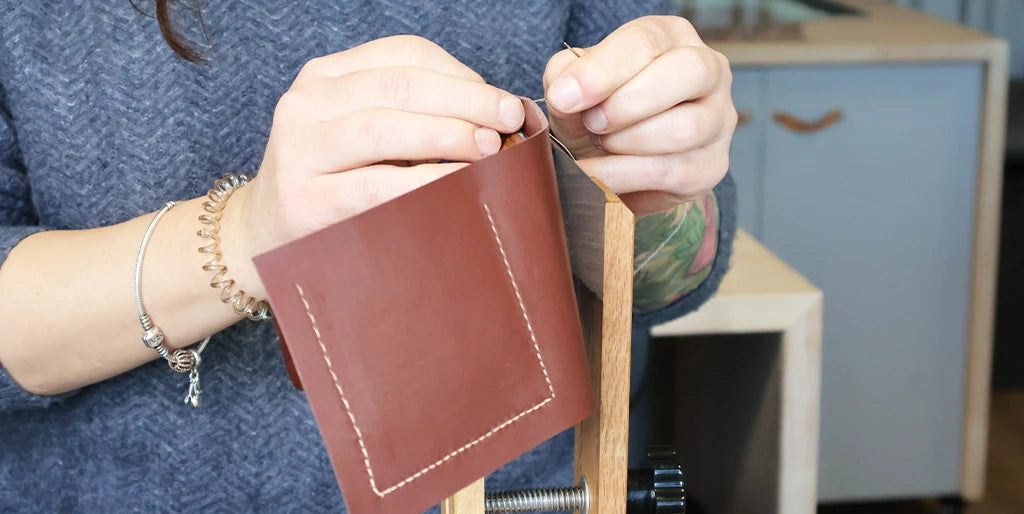
Stitch these three lengths.
Next, sew the remaining lining line. Draw the line and mark the stitch points directly on the lining.
 |
 |
Tap the seams with a shoemaker's hammer or a riveting hammer.
12. Round the corners
Using a utility knife, bevel the top corners of P3/P4.
Then, sand the edges with an abrasive sponge.

13. Scrape the back of the pocket
Using a scraper, sand the remaining lines (the unstitched ones) on the right side of piece P3.
 |
 |
14. Stitch the rest of the pocket
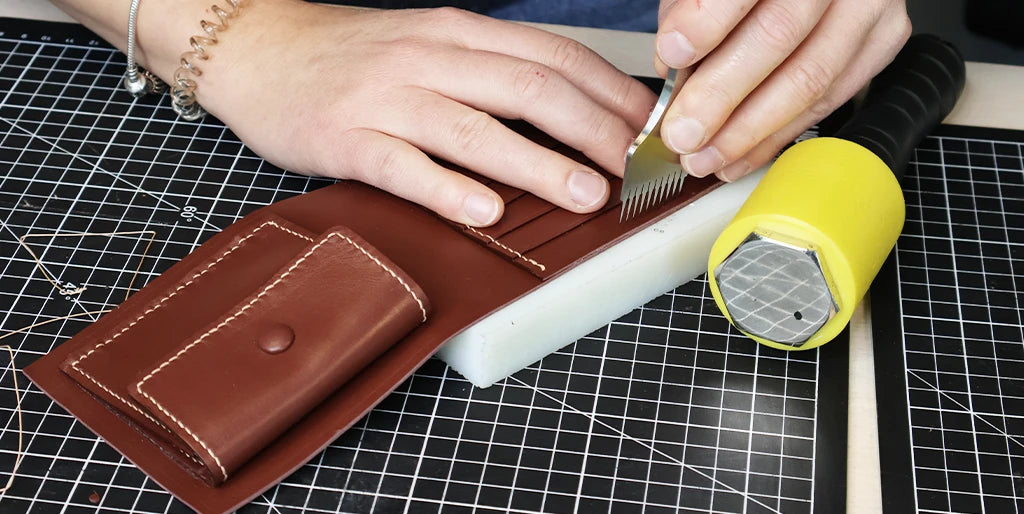
Using a wing divider, draw the stitch lines 3 mm from the edge of pieces P5 and P6.
Diagram of lines to stitch:
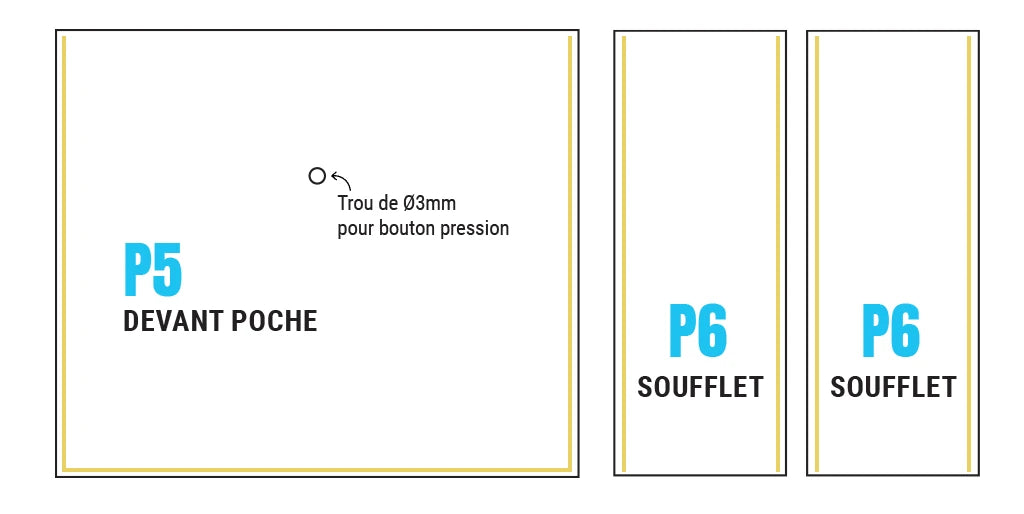
Mark the stitch points on these same lines.
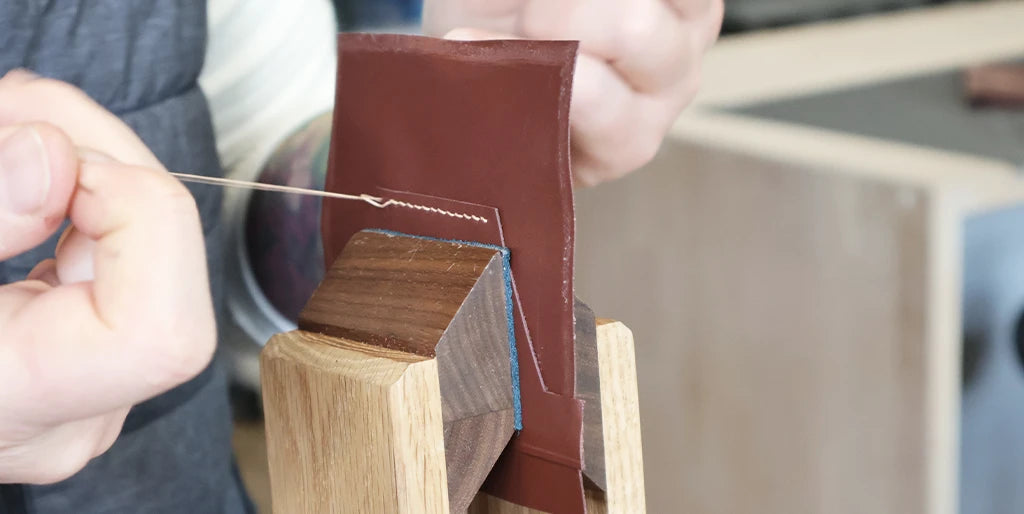
Here, we will use double pricking to stitch the gussets onto piece P5. This will ensure a clean stitch on both sides of the leather (given the thinness of the parts to be assembled).
Caution: for double pricking, slightly enlarge the holes with a round awl, not with pliers. Be careful not to push the round awl too deeply to avoid splitting the holes previously made with the pricking irons.
Glue the P6 gussets to the sides of P5, 3 mm from the edge, back to back.
 |
 |
Then, sew these two lines.
15. Edge finishing
Sand and apply edge paint or Tokonole to all edges of pieces P5 and P6.
16. Glue the front of the pocket to the back of the pocket
Once the edges of the pocket front are dry, apply contact cement to 3 mm of the unlined sides of piece P3 (on the flesh side of the leather). And on the unstitched lengths of the P6 gussets.
 |
 |
Glue the front of the P5+P6 pocket to P3 and tap the glued area with a cobbler's hammer. To properly form the gussets, fold them before gluing. Refer to the photos below.
 |
 |
17. Edge finishing
Finish the edges all around the pocket. If not already done, create a decorative fillet on the front of the pocket (optional).
PART 4: THE INTERIOR
18. Prepare piece P2(a)
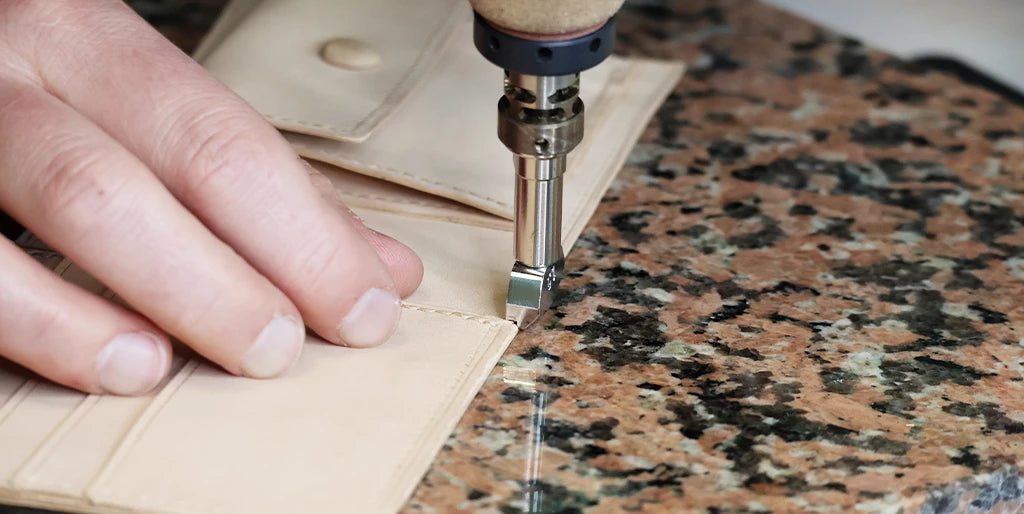
Using a compass with a 3 mm spacing, draw the pocket placement lines on piece P2(a), as indicated on the pattern.
On the inner line, mark the stitching points with a stitching chisel.
Then roughen this area.
19. Glue the pocket to P2
On this same area, apply a thin line of contact cement. Also apply glue to the roughened areas on the back of piece P3.
 |
 |
Glue the pocket to piece P2(a) following the outer line traced with the compass.
20. Sew the pocket
Sew the remaining lengths of the two gussets with double chiseling (use the round awl).
Then, sew the bottom line, making sure to catch the gussets in the seam.
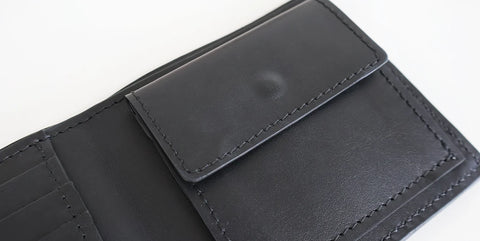
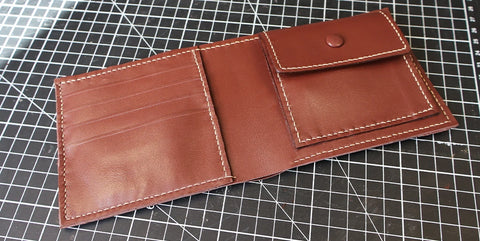
21. Glue the cardholder
Roughen piece P2(a) where the cardholder will be glued (see the pink hatched lines on the pattern).
Then, apply contact cement to these three sides and to the three unstitched sides of the cardholder (to the area that was roughened in step 9).
Glue the cardholder to piece P2. Flatten the glued area with a cobbler's hammer.
 |
 |
22. Draw the stitch lines
Draw a line 3 mm from the edge all around piece P2, the cardholder, and the pocket. Be careful not to draw the stitch line over the "do not sew" area (middle area).
 |
 |
Attention: as in step 7, ensure that the stitch points fall at intervals at the edges of the cardholders: use a 2-prong chisel.
23. Option: create the decorative fillet
For a professional finish: create a decorative fillet all around the piece.
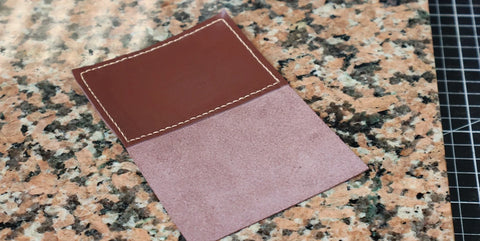
24. Sew the top line of piece P2
Sew only the top line of piece P2 for now.
25. Roughen the back of P2
To facilitate gluing with piece P1, roughen the remaining 3 sides on piece P2(b).
PART 5: THE EXTERIOR
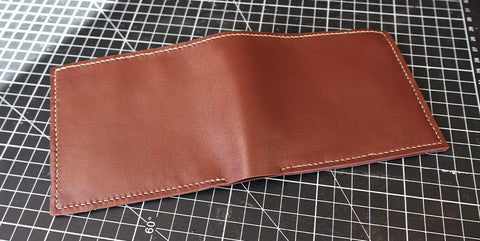
26. Sew the main piece
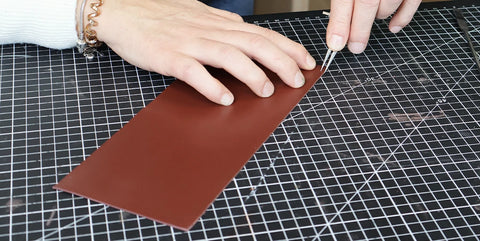
Take piece P1 (large exterior piece). With a wing divider, draw the stitch line 3 mm from the edge all around piece P1, except for the "Do Not Sew Zone" indicated on the pattern.

Using stitching chisels, mark the stitching points all around piece P1, following the stitch line (except on the "do not sew" zone).
Create a decorative fillet 1.5 mm from the edge all around piece P1.
Vegetable-tanned version: bevel the edges all around piece P1.
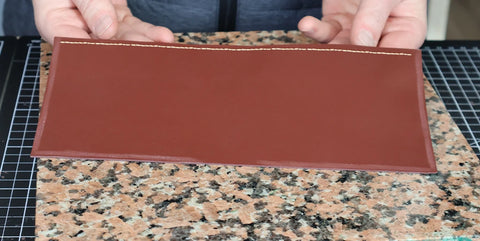
Sew only the top length of piece P1.
27. Edge finishing
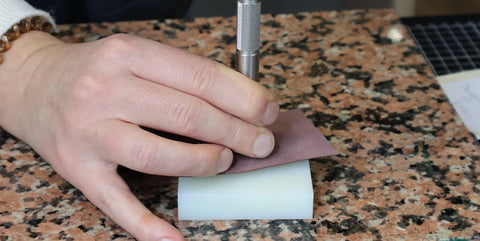
Finish the edge of the length that has just been sewn. Sand, then apply edge paint or Tokonole depending on the chosen leather.
28. Roughen the leather
Using a leather roughener, score the leather (interior, lining) on the parts that will then be glued. That is: the two widths, then the bottom length of piece P1, except for the "do not sew" area.
 |
 |
PART 6: FINAL STITCHING
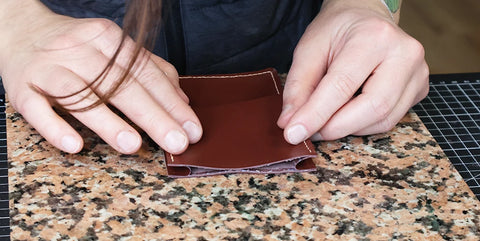
29. Glue pieces P1 and P2
Apply contact cement to the roughened areas on piece P1 and on piece P2(b). Be careful not to put glue on the "do not sew" area.
Glue the two pieces together.
 |
 |
30. Sew pieces P1 and P2
The leather is already chiseled on both sides, all that remains is to sew.
Hand stitching version: be careful, you must use the double chiseling method (to get a nice seam): pierce the leather from both sides (with the same chisels) and then pierce the stitching points with a round awl (using a diamond awl would create cross stitches). Be careful not to sew the area indicated on the pattern.
 |
 |
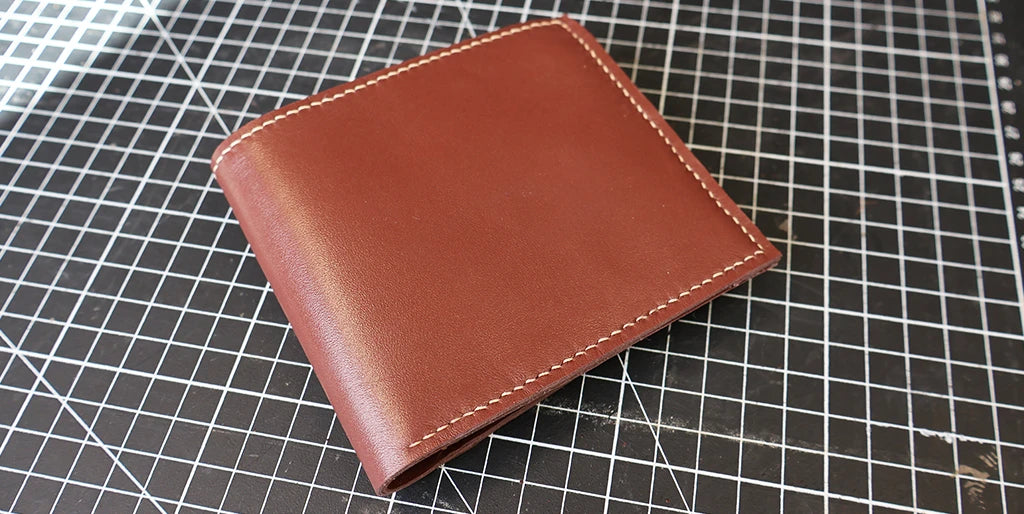
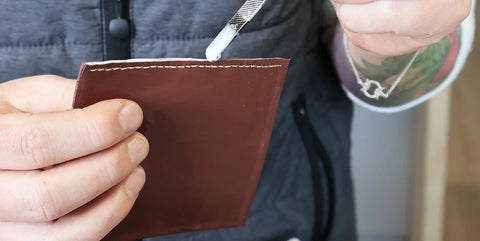
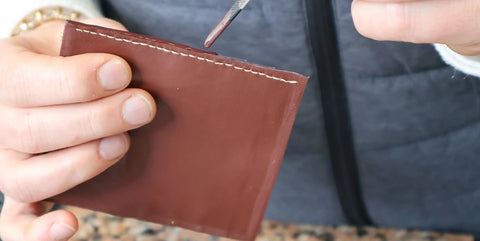
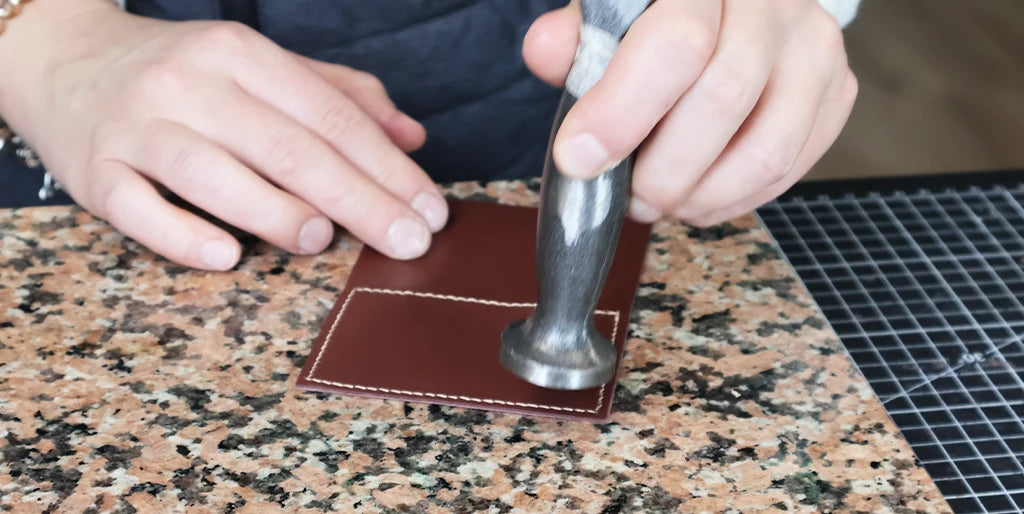
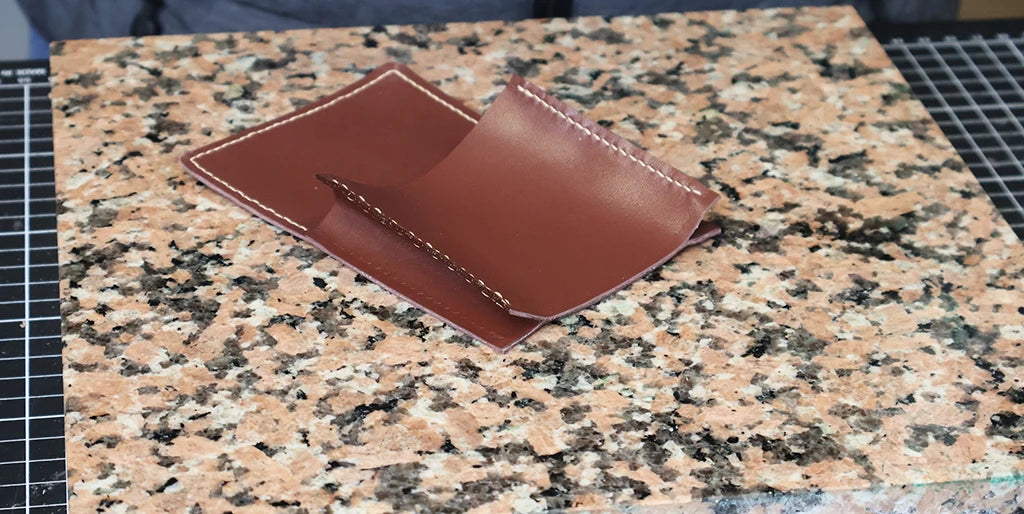
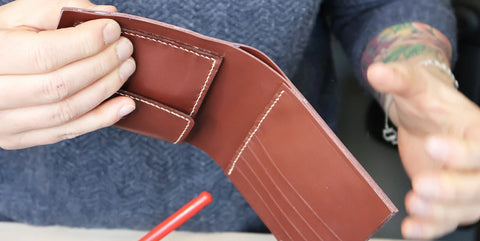
31. Final finishing touches
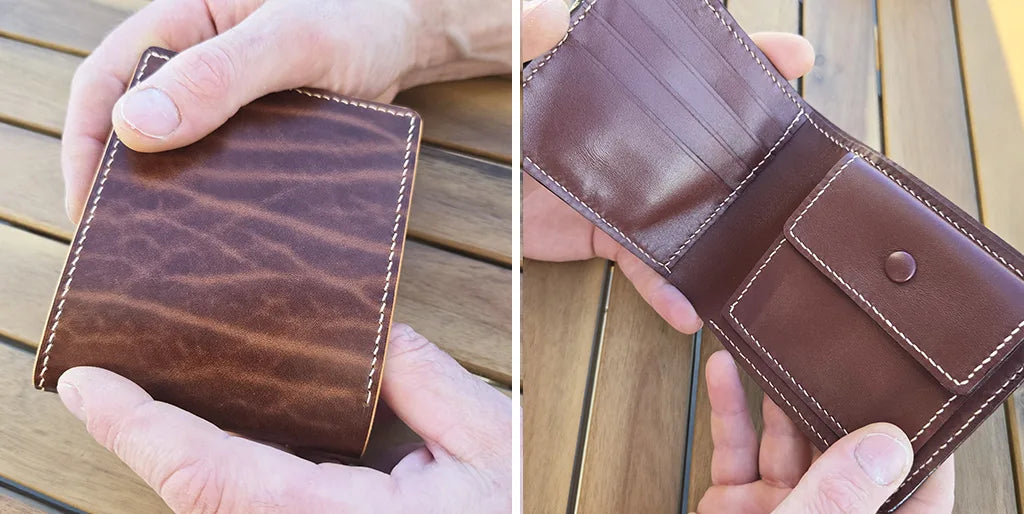
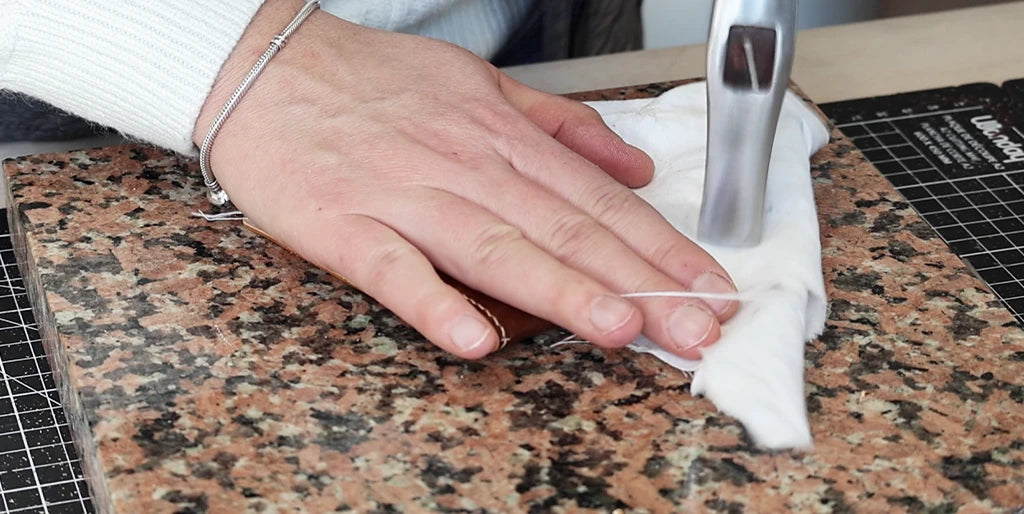
Using a leather folder or creaser, mark the fold of the wallet to facilitate its closure. Also mark the cardholder pockets to soften them, which will make it easier to insert cards.
Tap the fold with a riveting hammer. Protect the leather with a cloth.
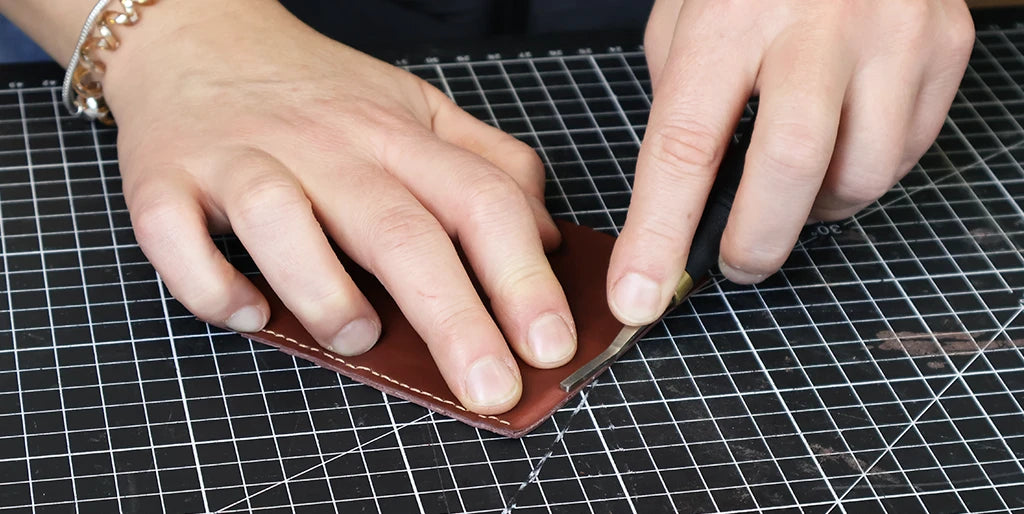
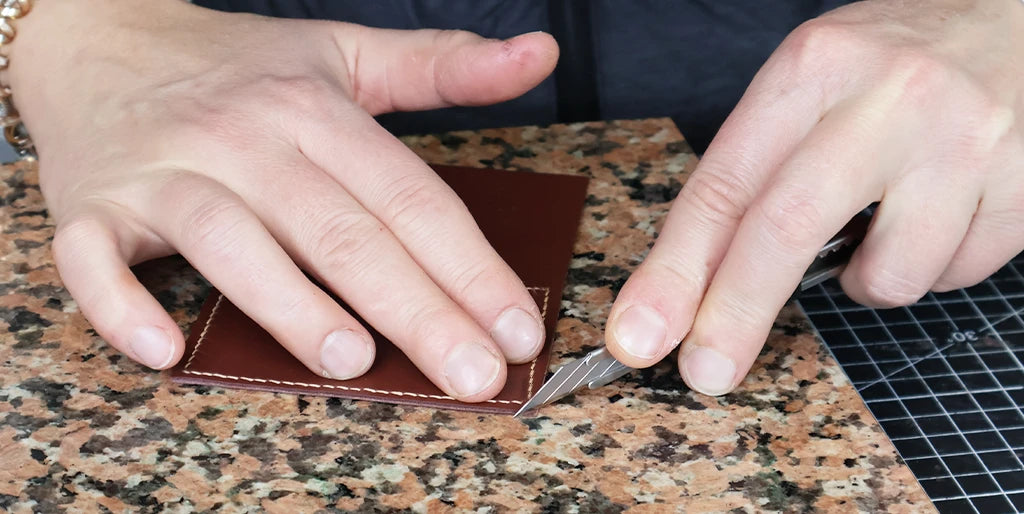
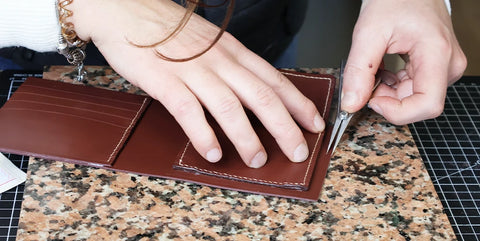
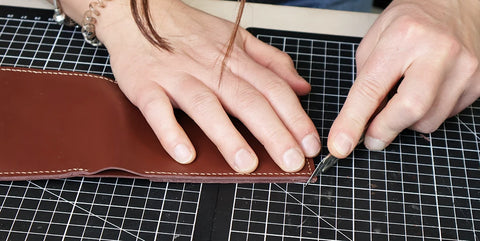
Slightly cut the four corners with a utility knife. Then, sand to form a beautiful curve.
 |
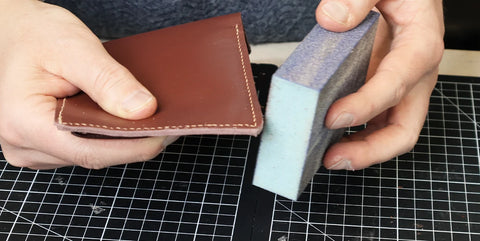 |
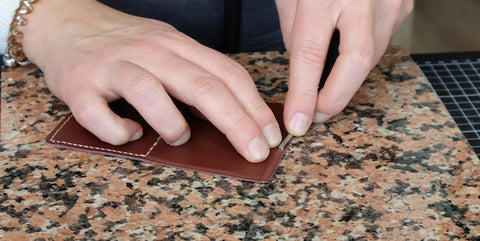
Work on the remaining edges.
Personalization
You can personalize your wallet with initials, a word, a logo... using hot stamping (vegetable and mineral tanning) or cold stamping (vegetable tanning only).
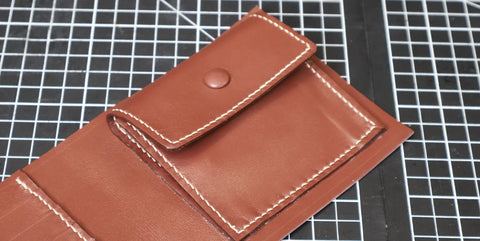
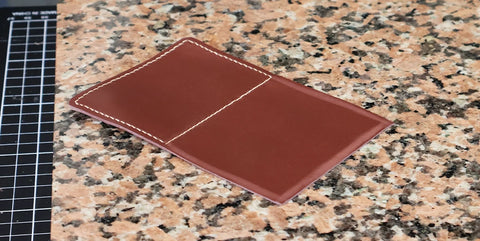
Congratulations, you have finished!