


THE NECESSARY EQUIPMENT
To complete this tutorial, you will need:
- 1 piece of leather measuring 30 x 40 cm / approximately 1.1 mm thick
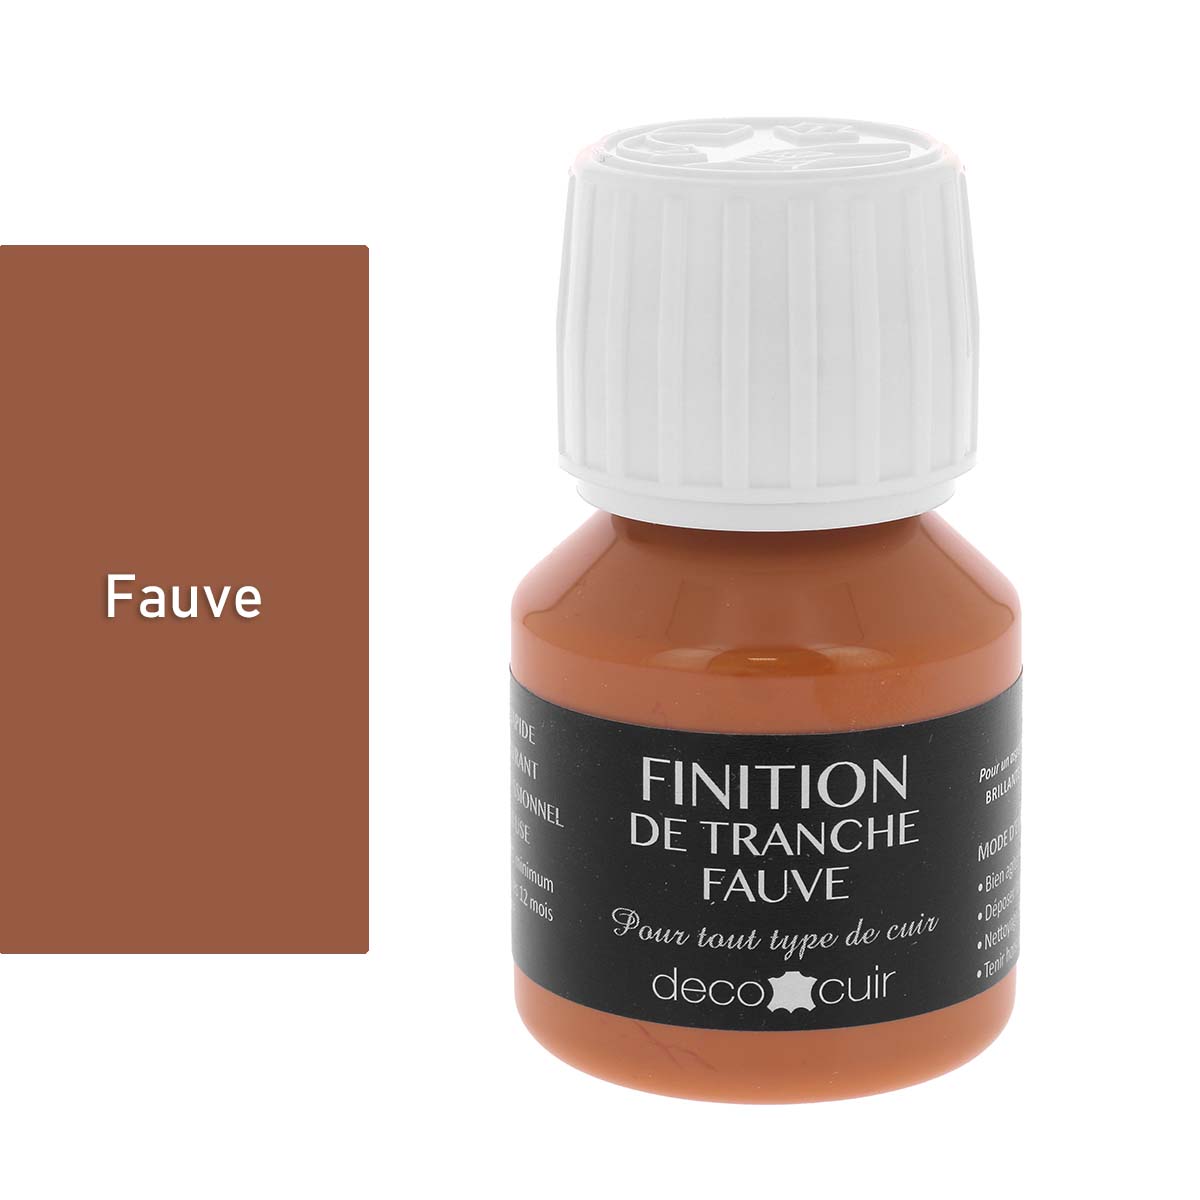
- A slice finish
- Leather contact adhesive
- Polyester thread (No. 40) or linen thread (M40)
And the following equipment:
- 1 cutter
- Masking tape
- Sewing supplies
Video
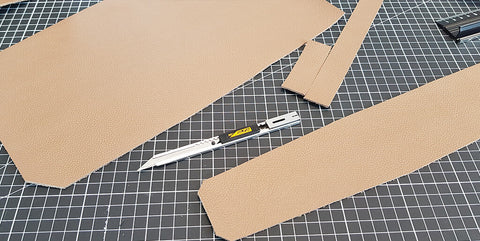
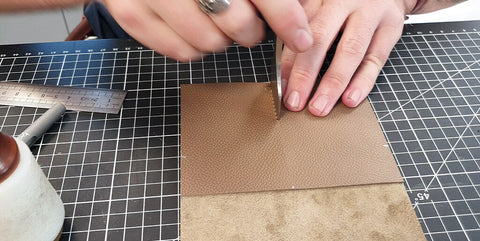
1. Cut out the pattern pieces
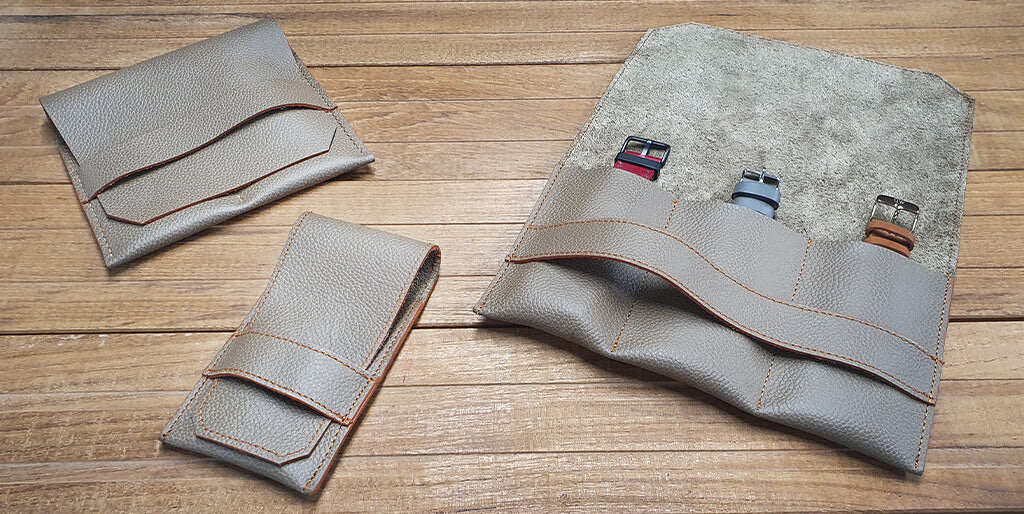
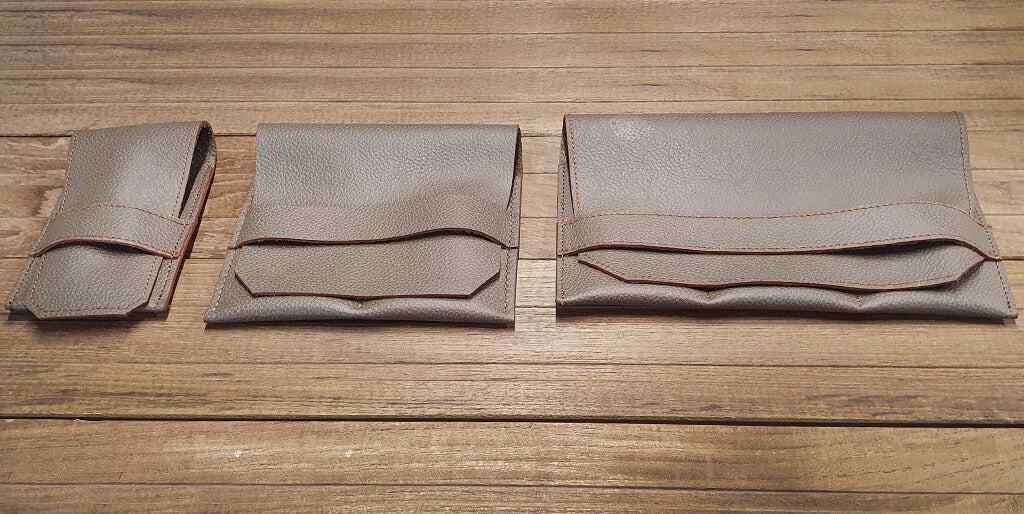
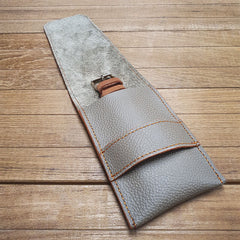
Download and print the pattern (downloadable at the top of the page). There are three different patterns: the first for three watch slots, the second for two, and the last for only one.
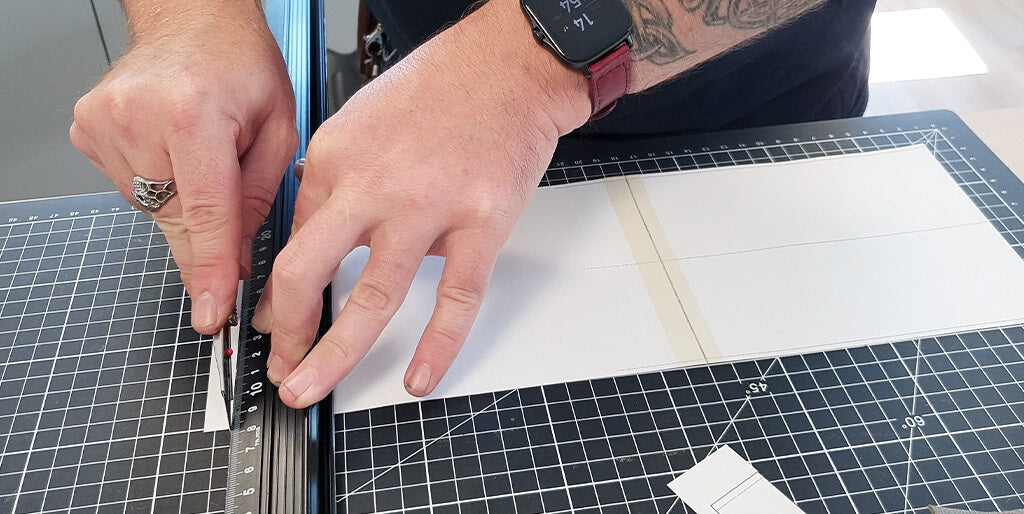
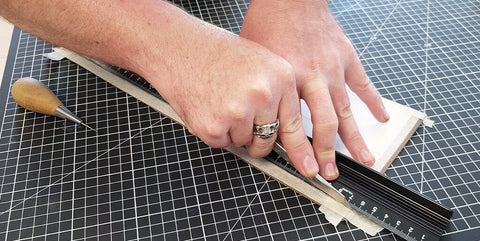
Tape the paper pattern onto your piece of leather with masking tape.
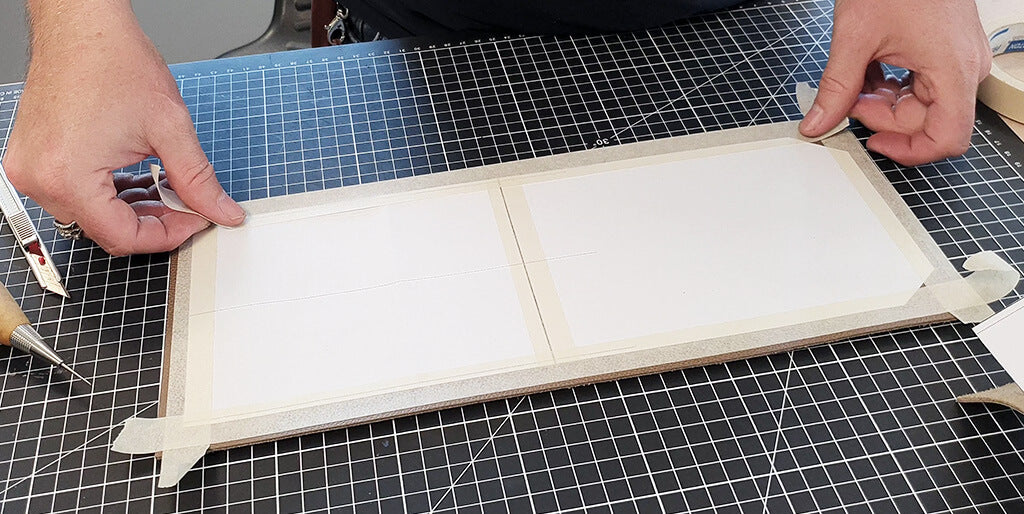
Cut out the different pattern pieces with a cutter.
 |
 |
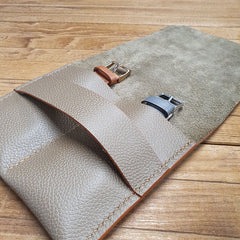
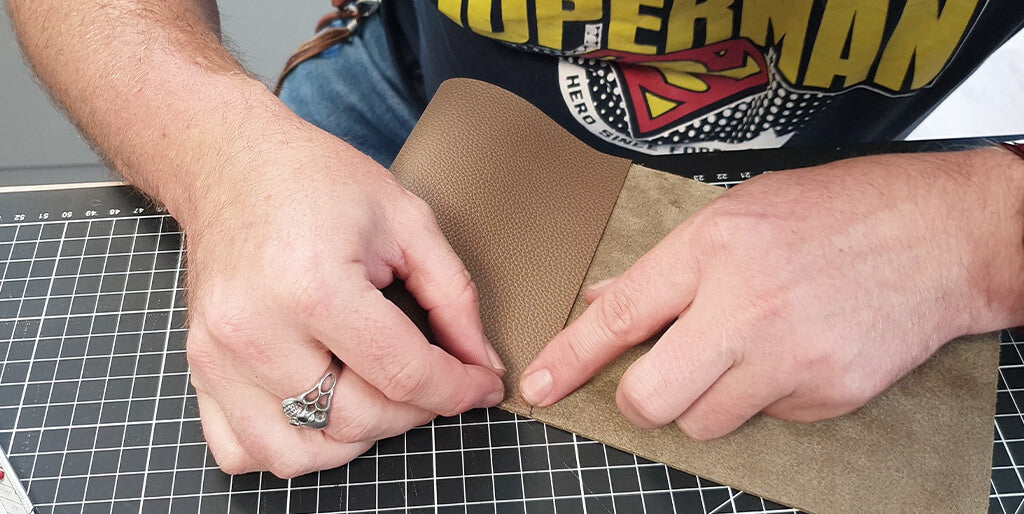
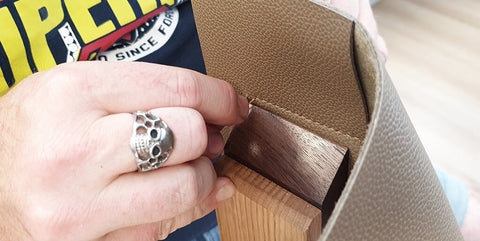
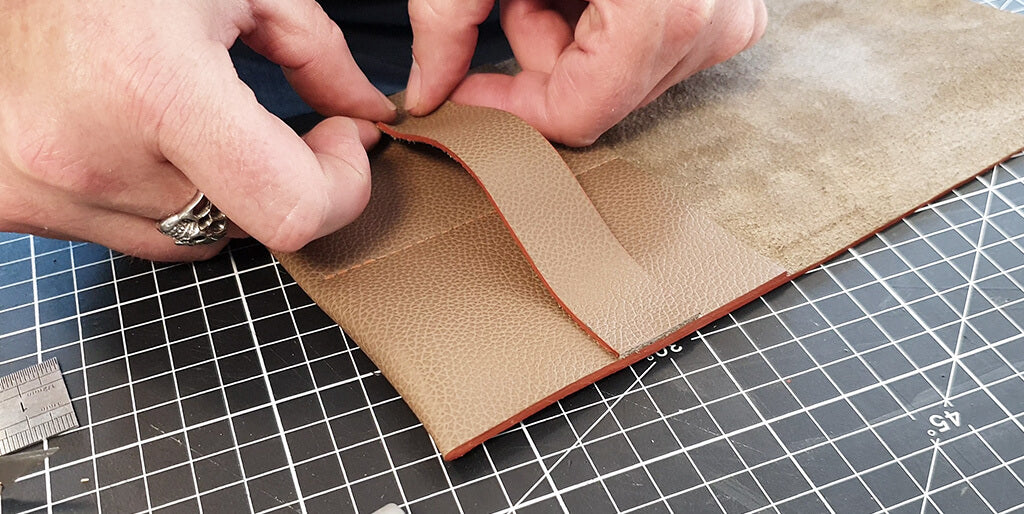
2. Glue piece P1
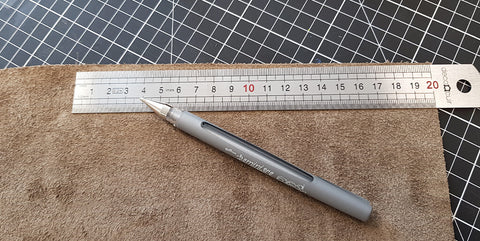
Transfer the pattern markings onto your leather to know where to fold your P1 piece. The marking is 20 cm from the bottom of piece P1, so the reverse of the piece will form a pocket approximately 10 cm long.
 |
 |
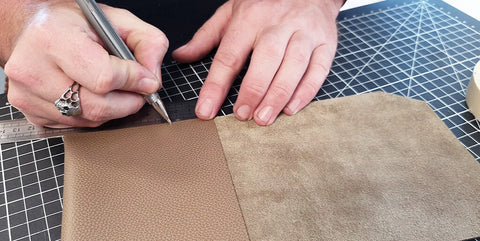
Apply a thin bead of leather contact glue to the sides that will be glued (up to the mark) .
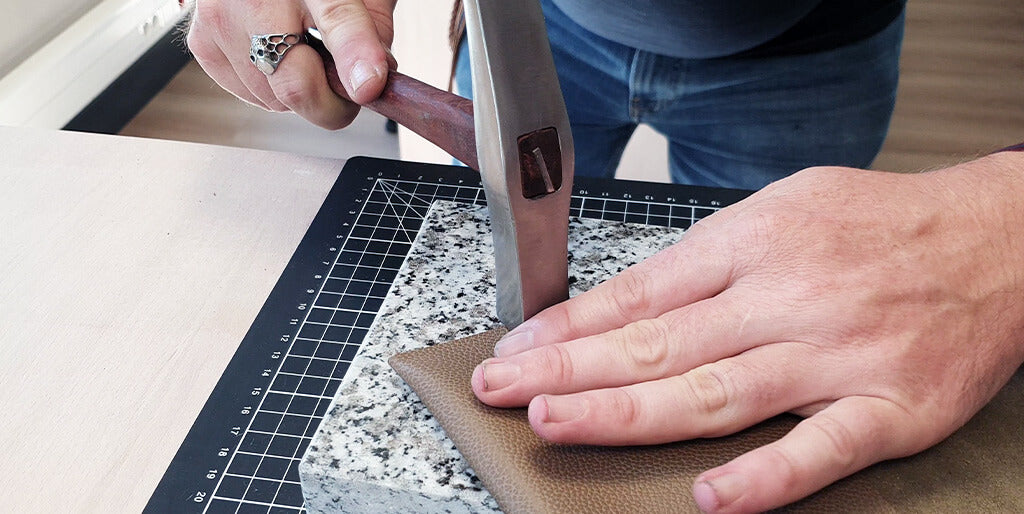
Glue part P1 in place, respecting the markings.
Flatten the glued joint with a joiner's hammer or a pressure roller.
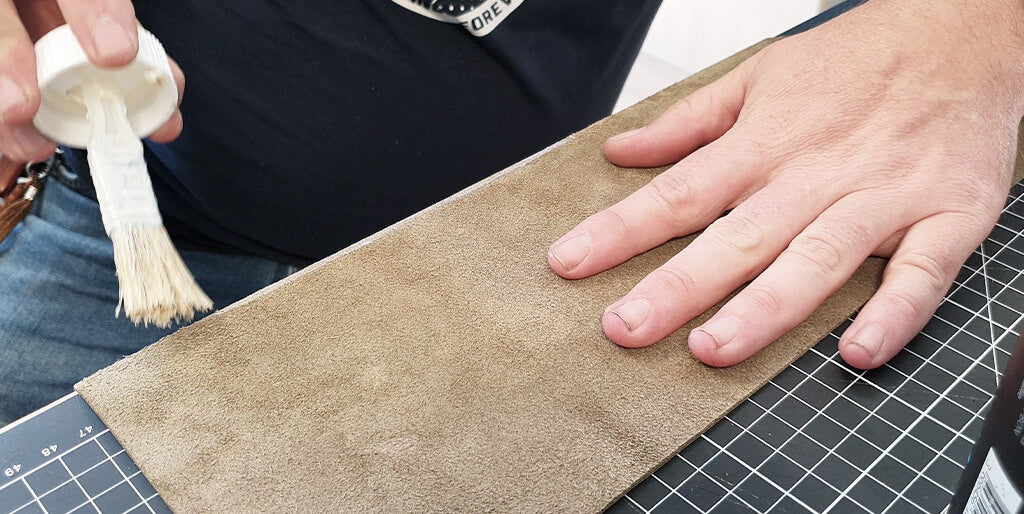
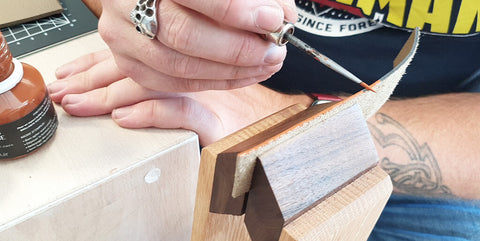
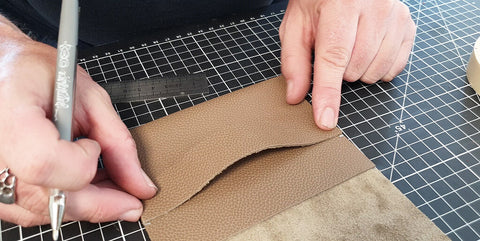
3. Work the slices
Work on the slices of piece P2.
Ideally, the P1 slices should be worked on at the end of the assembly of the parts.
 |
 |
4. Sew the pocket(s)
For the first or second pattern piece, sew the pocket separation line(s) using your preferred technique (hand/machine sewing). Mark the line using the pattern as a guide before sewing.
Be careful not to sew the ends: they will be sewn at the same time as piece P2.
 |
 |
Hand-sewn using the saddle stitch:
See the guide
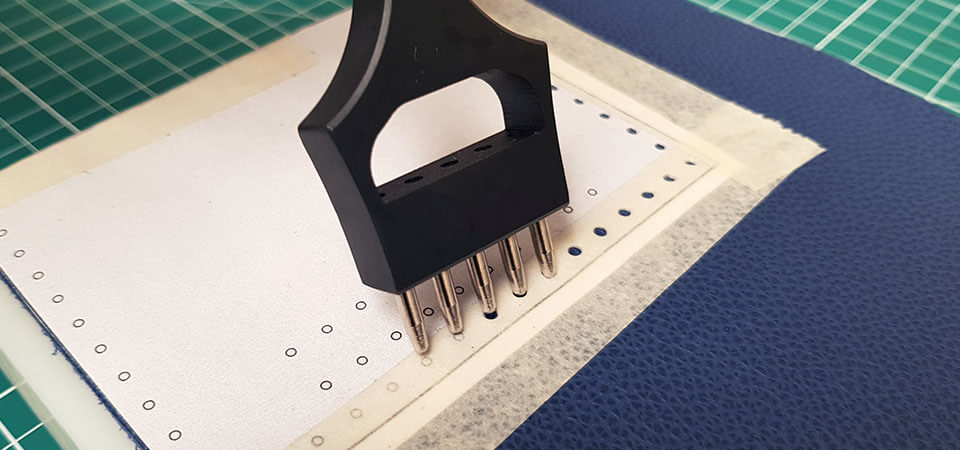
Simplified hand sewing - with holes:
See the guide
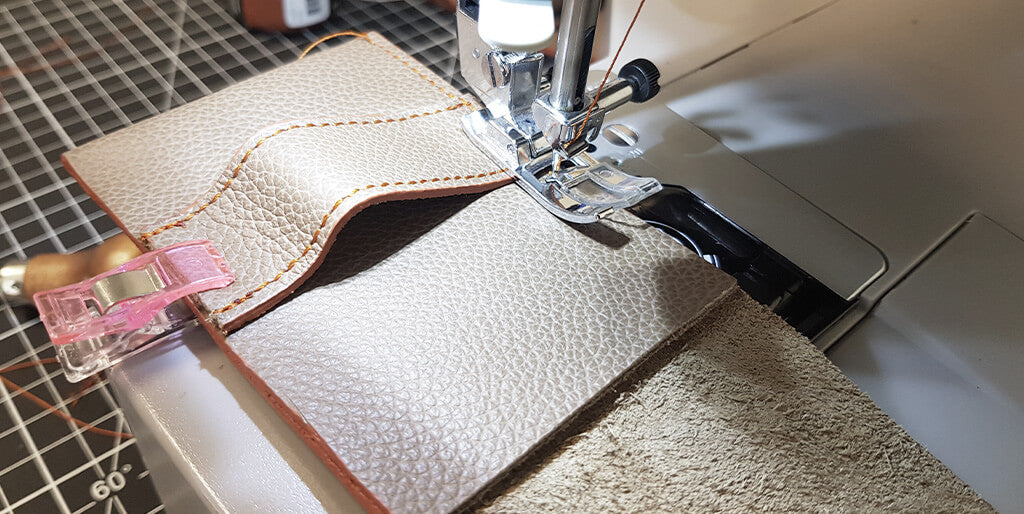
Sewing with a sewing machine:
See the guide
5. Glue piece P2 onto P1
Mark the location of part P2 on P1 using the pattern.
 |
 |
Glue the ends of part P2 onto part P1 at the marked points.
6. Sew the two sides and the P2 tab
Sew the two sides together, catching tab P2 in the seam.
Hand-sewn using the saddle stitch:

Simplified hand sewing - with holes:
Sewing machine:
We chose to add decorative stitching as well.
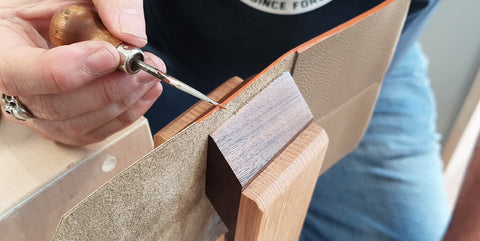
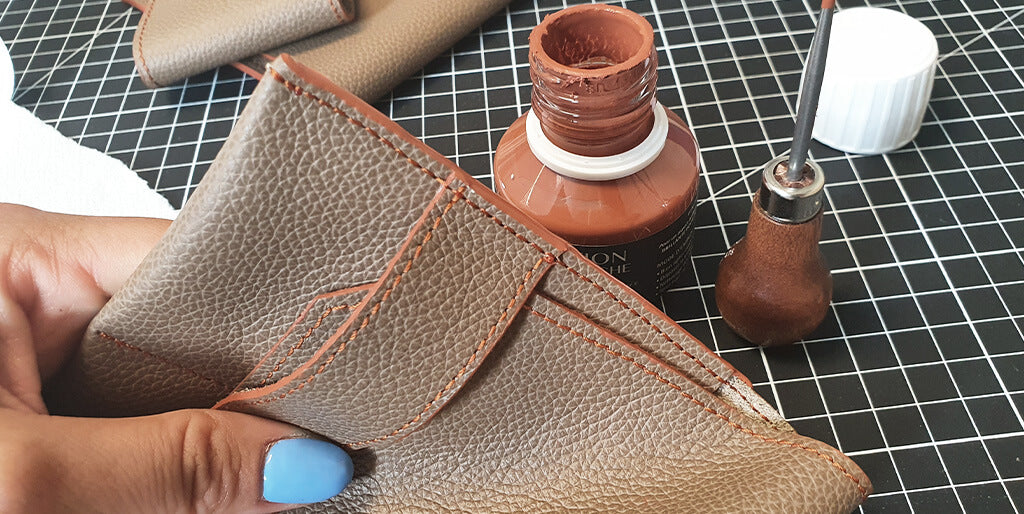
7. Work with the P1 slices
Work the edges of the finished piece. Apply 2 to 3 coats of finish and sand between each coat.
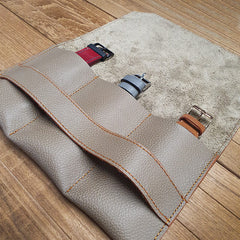
You have finished your leather marmot!