
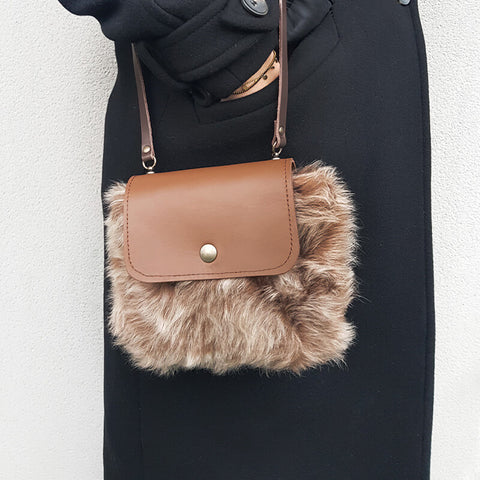
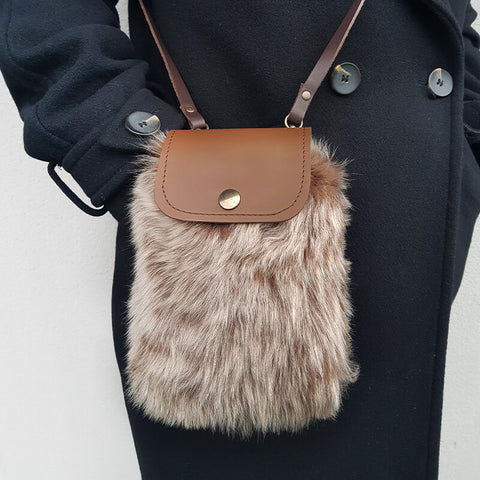


THE NECESSARY EQUIPMENT
To complete this tutorial, you will need:
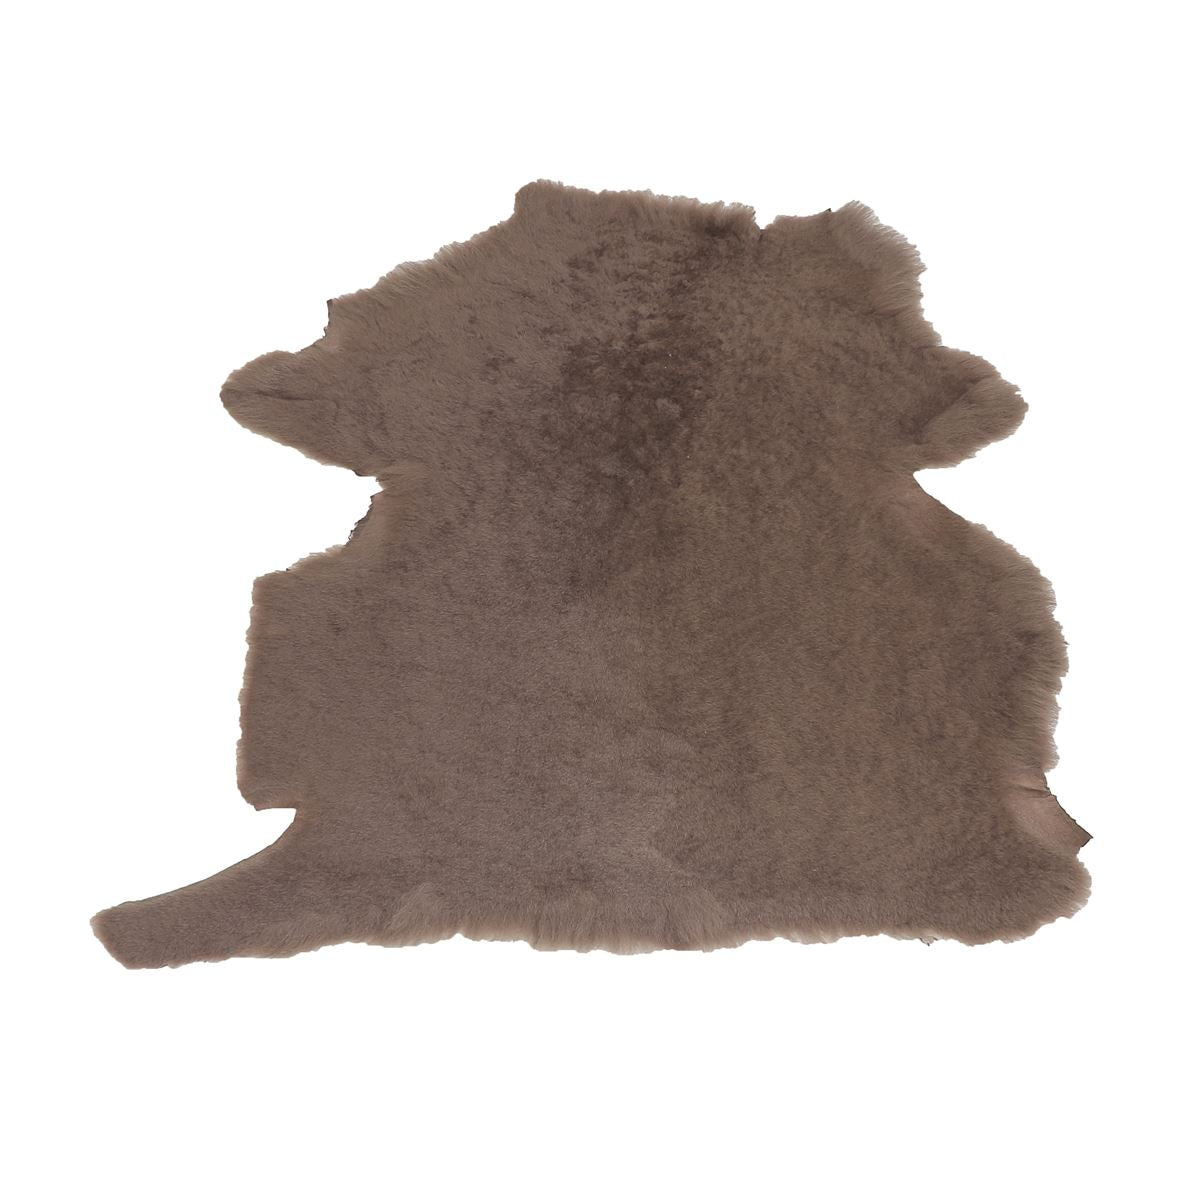
- 1 sheepskin - approximately 0.25 m²
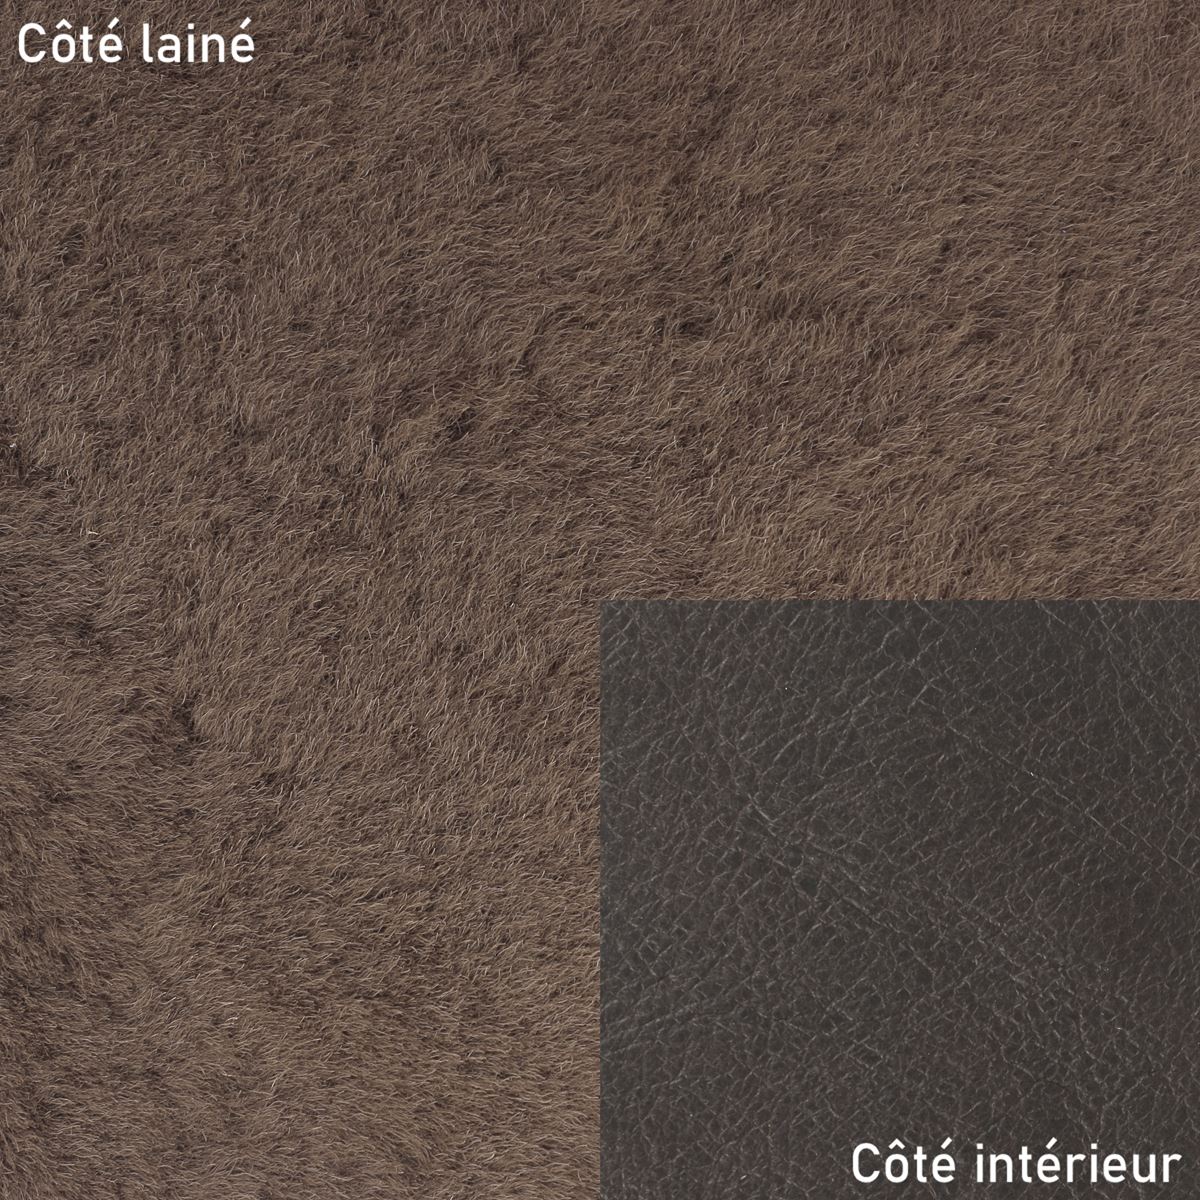
- 1 piece of cowhide leather 20 x 30 cm / 1.3 mm (Satinato or Satinlys range)
- 1 vegetable-tanned collar leather strap - 1.9 mm thick - 10 mm wide / 120 cm
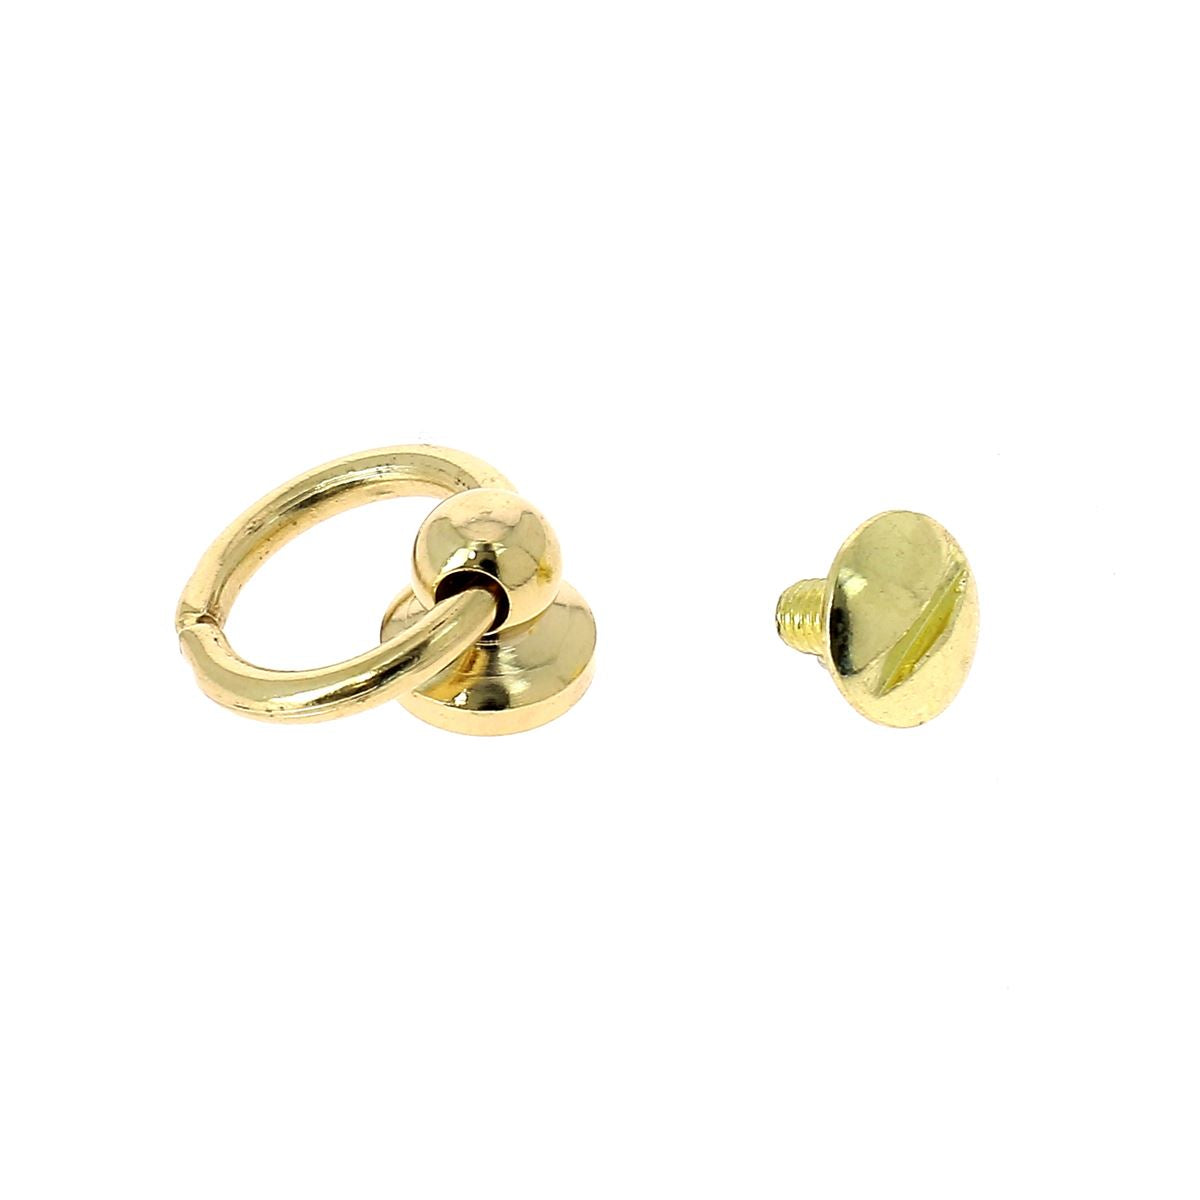
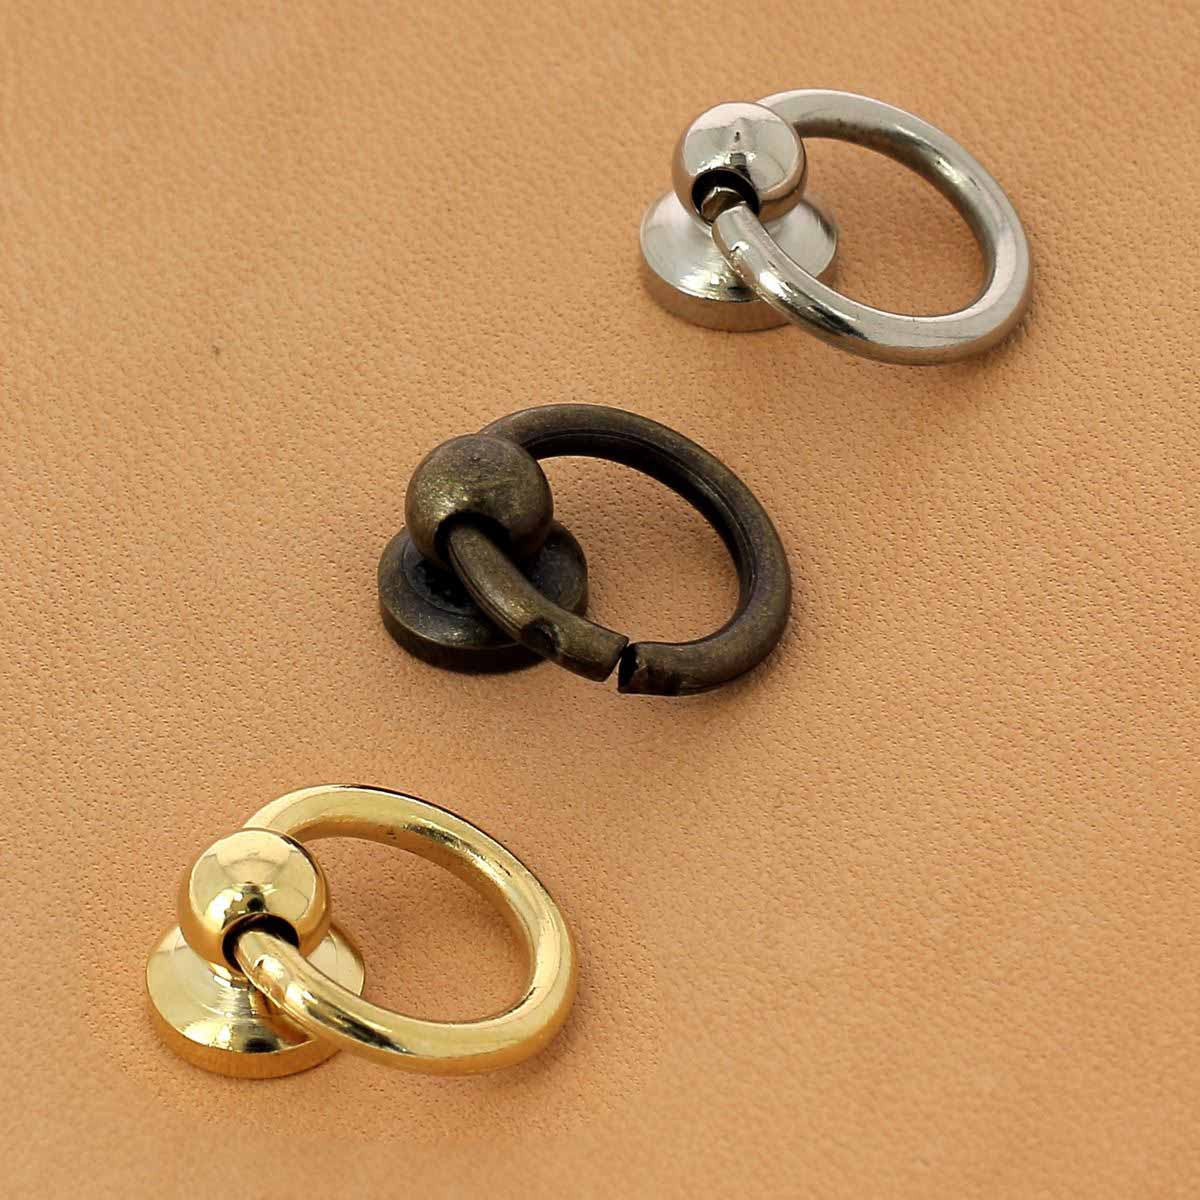
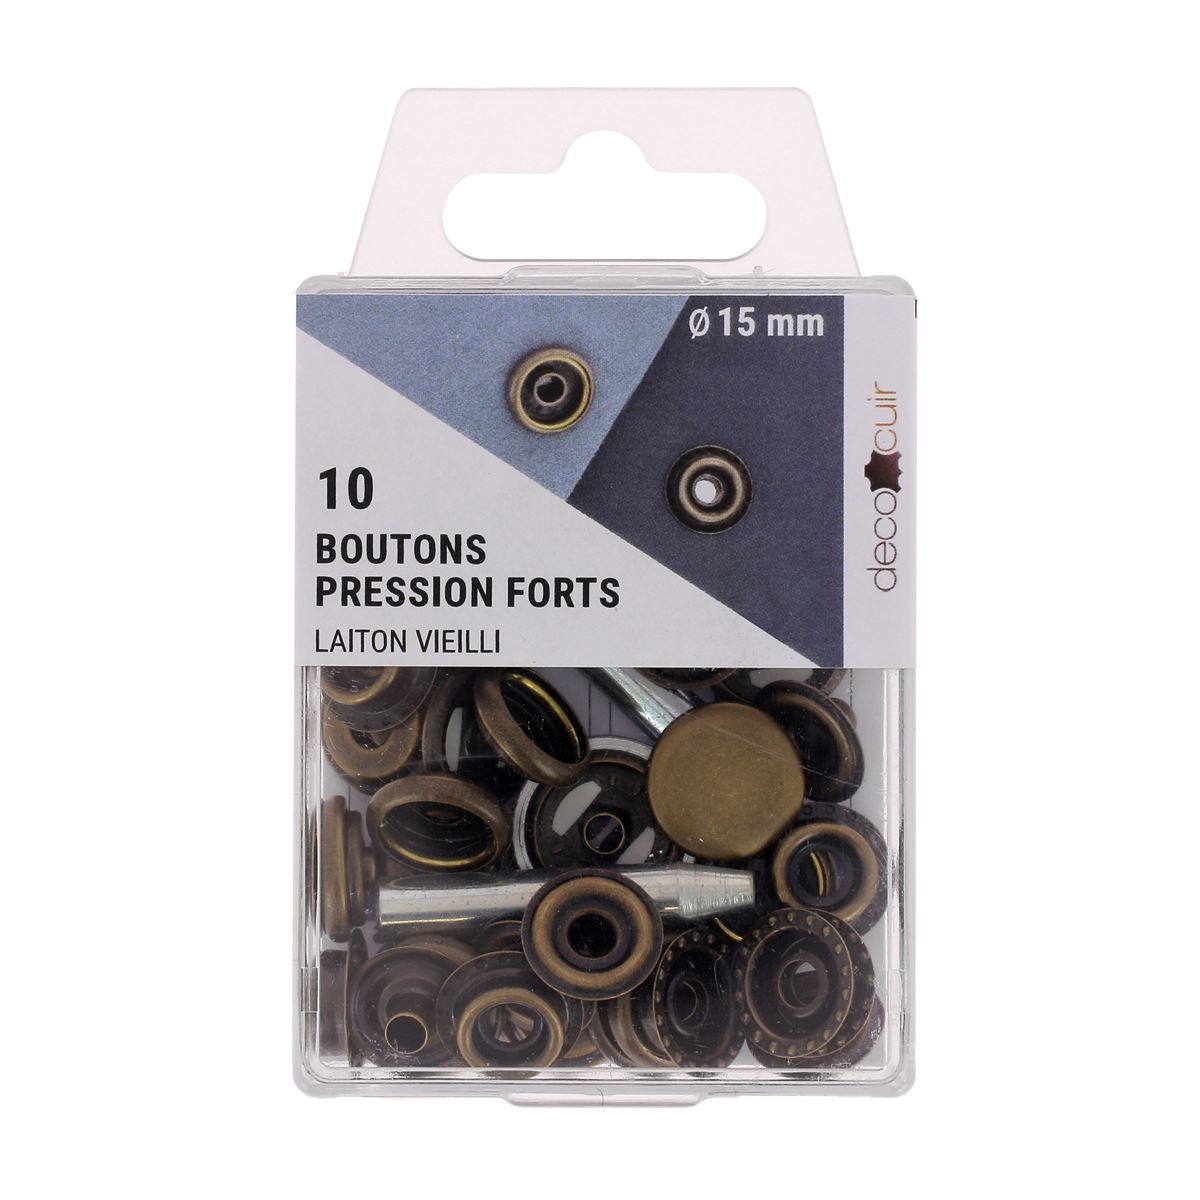
- 2 collar buttons with ring - 10 mm
- 1 magnetic top clasp to rivet or 1 snap button
- 2 medium brass rivets (T3)
- Fabric for the lining
And the following equipment:
- 1 cutter or scissors
- 1 sewing machine
- 1 spool of polyester thread no. 30 (diameter 0.41 mm)
- Masking tape
Video
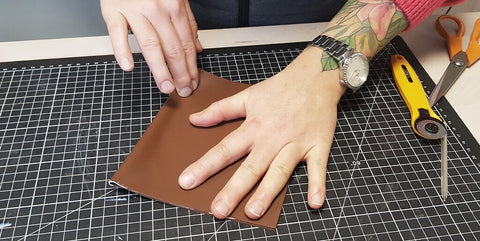
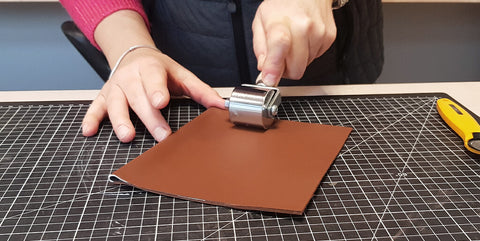
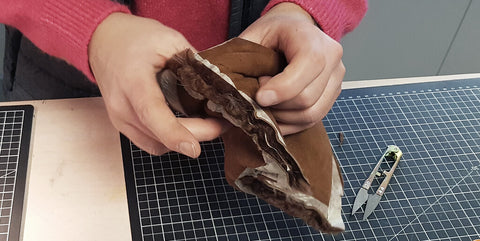
1. ATTACH THE PIECE OF LEATHER
Apply leather contact adhesive to the back of the 20 x 30 cm piece. Allow the adhesive to soak in and fold the piece in half. Flatten the glued area with a steel pressure roller.
 |
 |
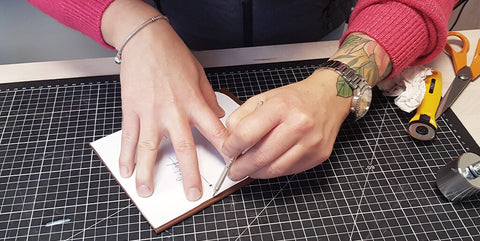
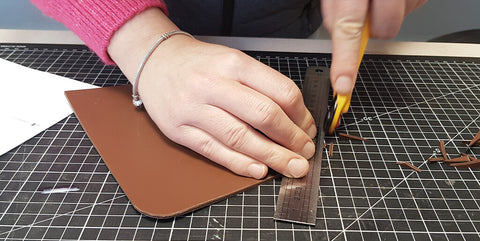
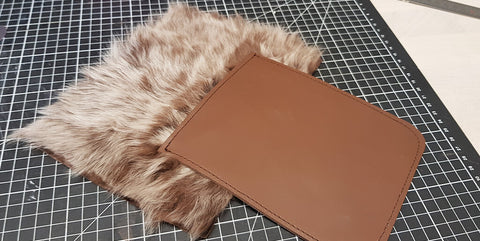
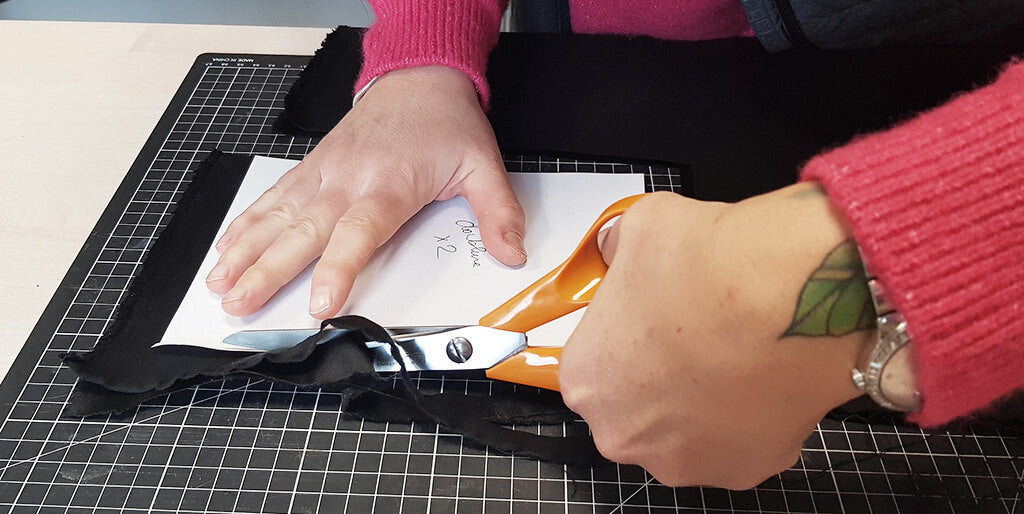
2. Cut out piece P2
Cut out piece P2 from this piece of laminated leather. Cut the rounded edges into quarters.
 |
 |
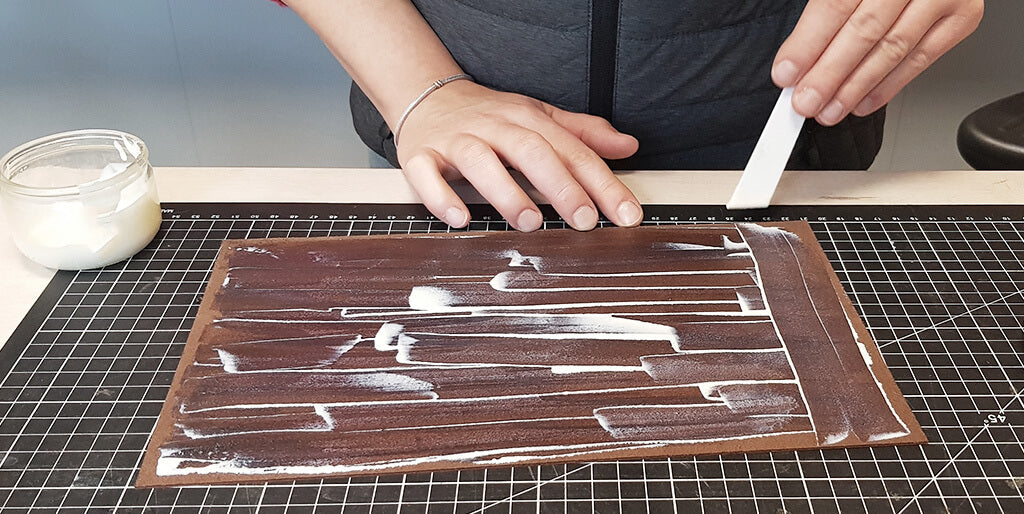
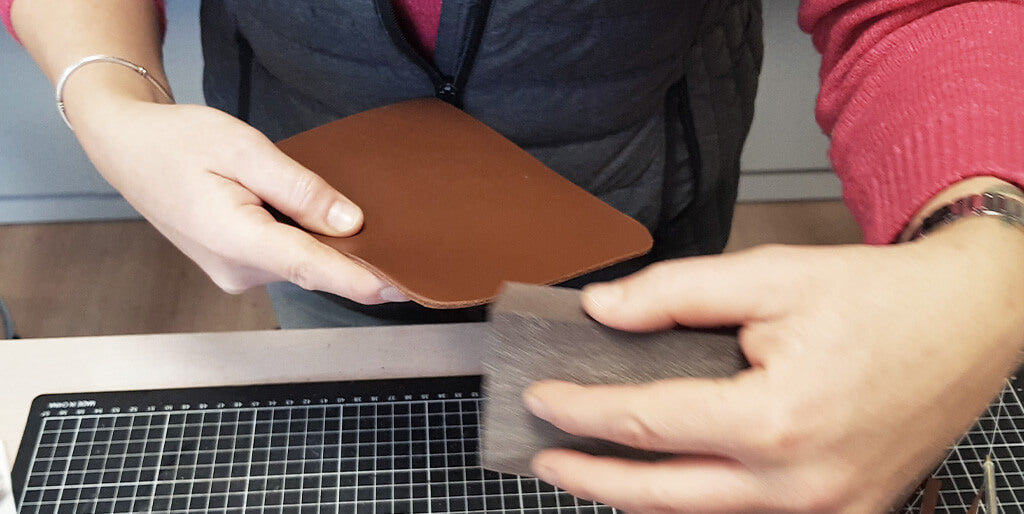
Sand the edges with an abrasive sponge. Optional: finish the edges of the flap with an edge finish.
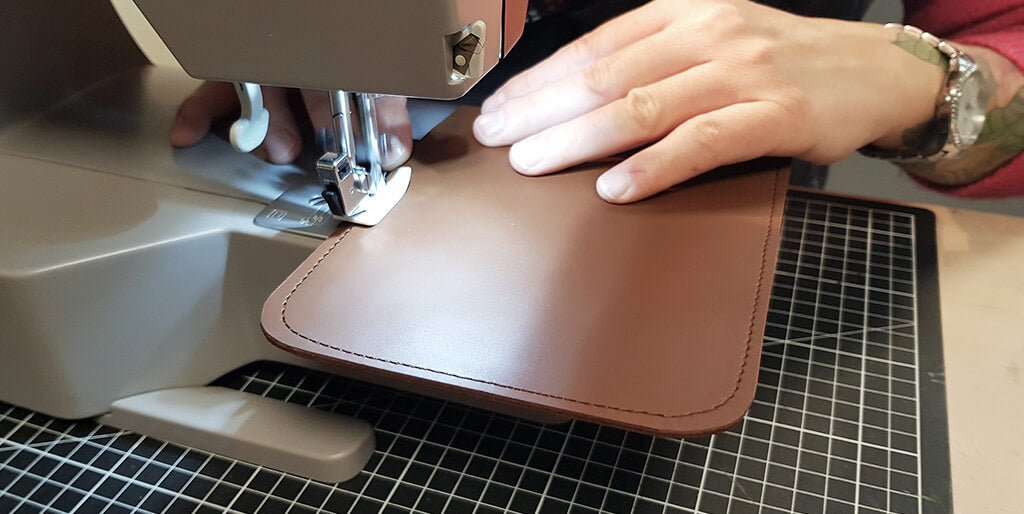
3. Topstitch P2
Topstitch all around piece P2 except for the straight line which will be sewn onto piece P1.
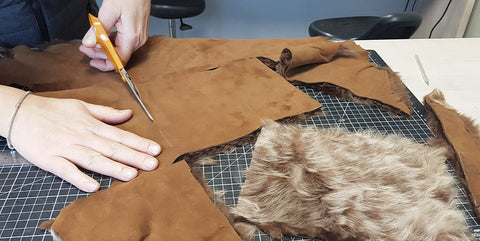
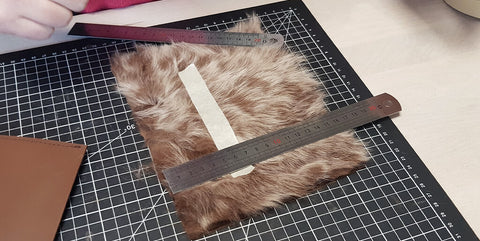
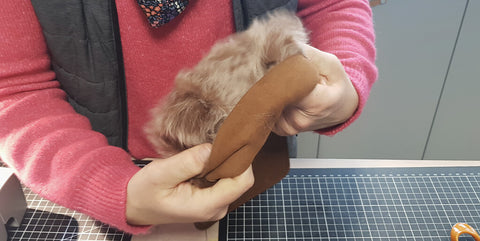
4. Cut out piece P1
Cut out two pieces of P1 from the sheepskin leather. Trace the pattern onto the reverse side of the leather and cut it out with scissors.
 |
 |
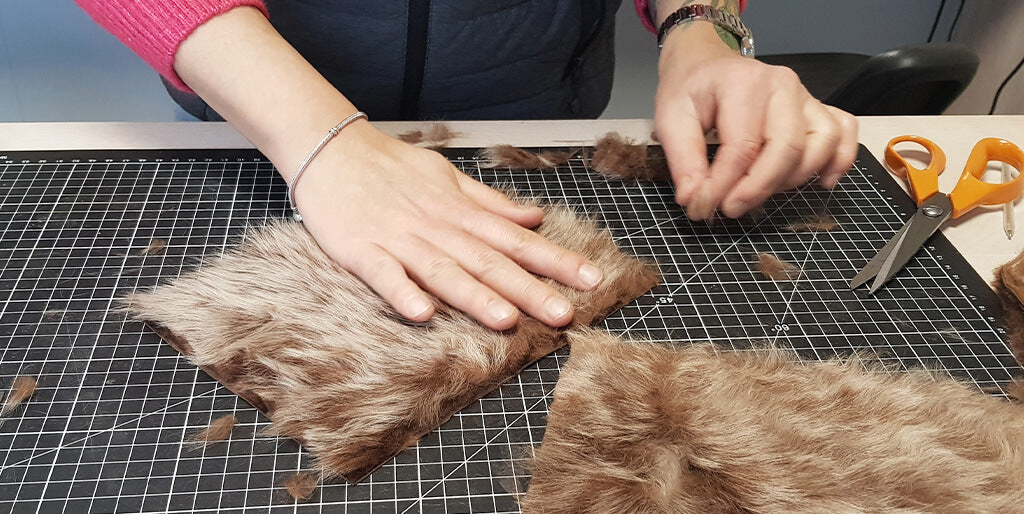
Rub the skin to remove the hairs that have been cut.
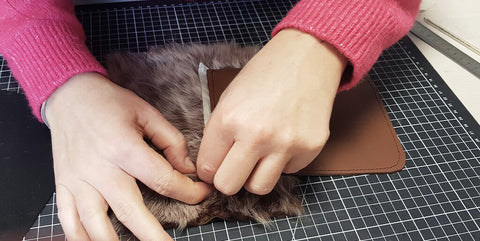
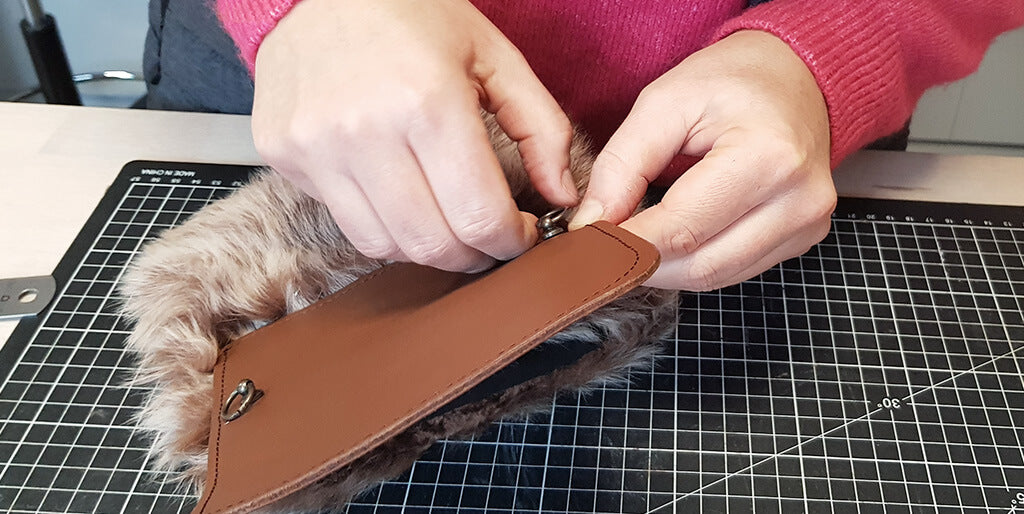
5. Attach the female part of the clasp
Take one of the P1 pieces and make a hole at the indicated location on the pattern. Then, attach the magnetic rivet or snap fastener.
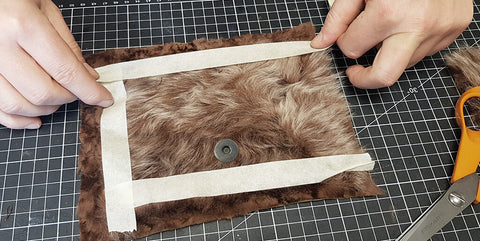
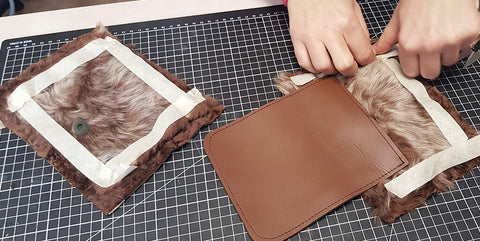
6. Sew flap P2 onto P1
Apply masking tape to the designated spot on the pattern for the flap seam line. The tape will make sewing over the fur easier.
 |
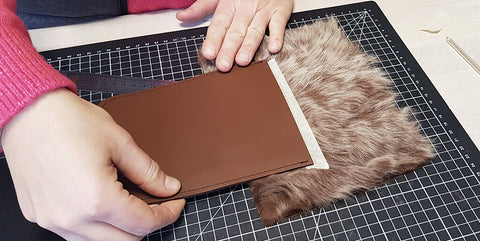 |
Sew flap P2 onto one of pieces P1.
Remove the tape.
 |
 |
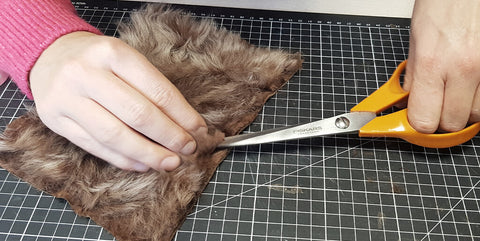
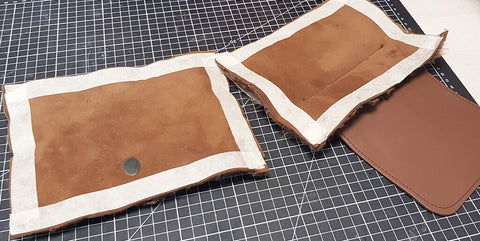
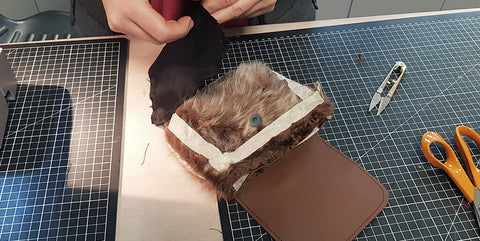
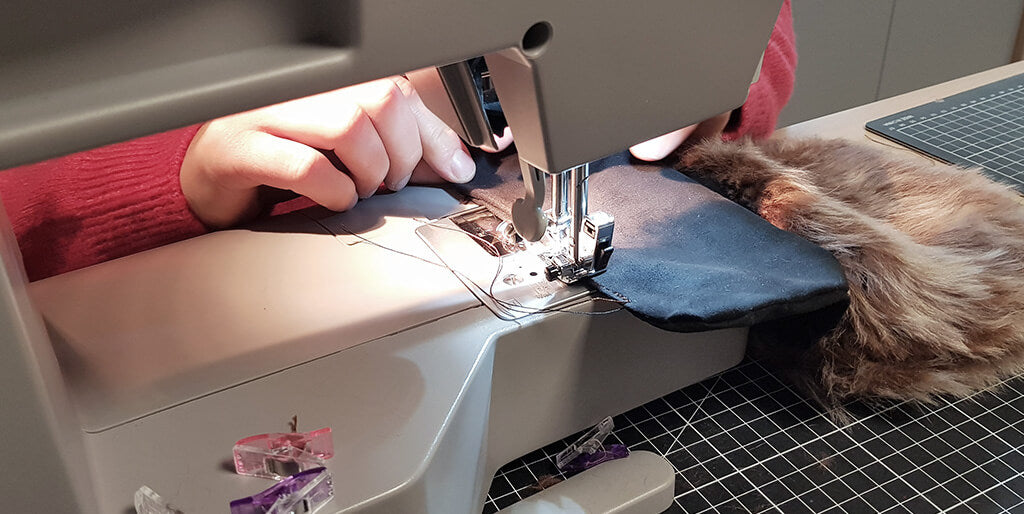
7. Prepare the sewing
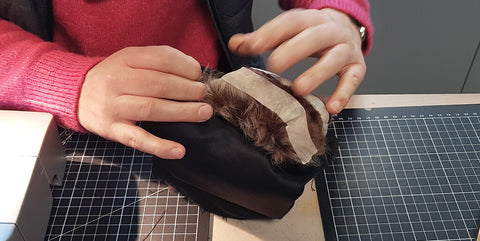
To facilitate the subsequent stitching, we trimmed and removed the hair. Using scissors, trim the sheepskin hair 1 cm all around both pieces P1. Use masking tape to hold the hair back to clear the stitching line (so the hair doesn't get in the way during sewing).
 |
 |
Then, apply masking tape to all 4 sides of the back of the P1 pieces.
 |
 |
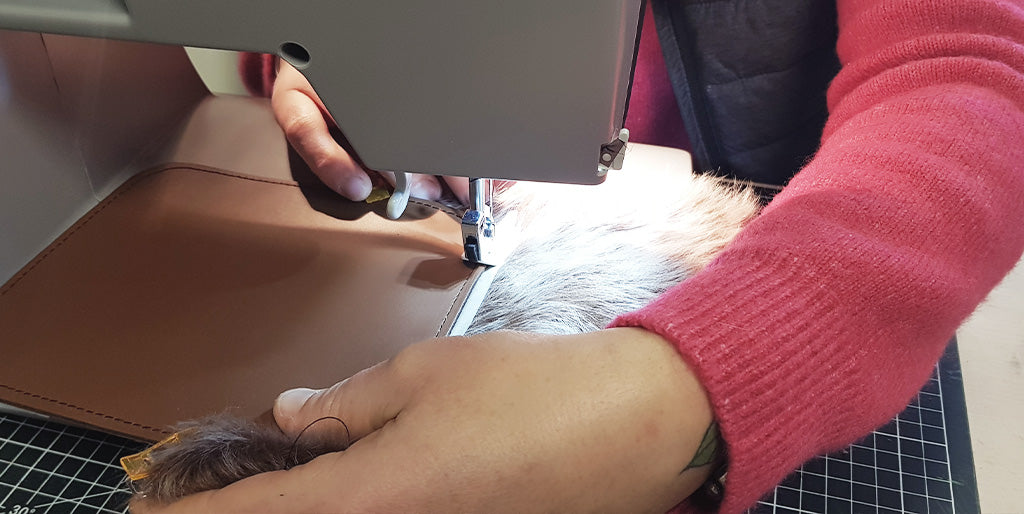
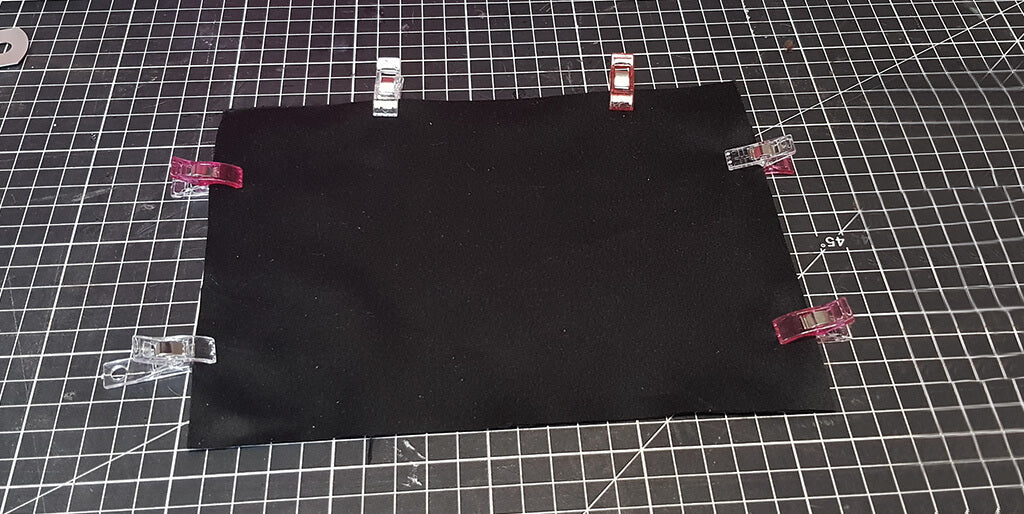
8. Sew the body of the bag
Sew the two pieces P1 together, right sides facing, 5 mm from the edge. Sew all around except for the top length.
 |
 |
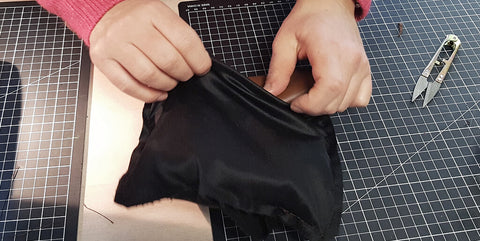
9. Cut out the lining pieces
Cut out two pieces of P1 from the fabric lining.
10. Sew the lining
Assemble the two P1 lining pieces right sides together. Then, sew except along one long edge.
Leave an 8cm opening on the second long side so that you can turn the pouch right side out at the end.
 |
 |
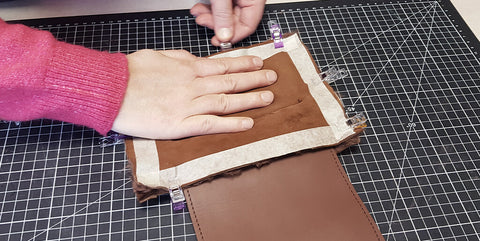
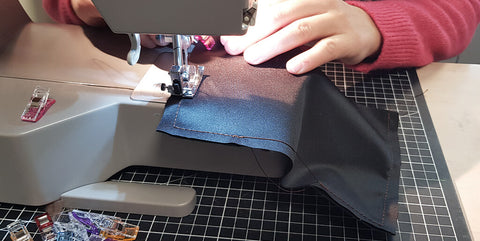
11. Sew the lining to the leather
Take the woolen pouch and turn it inside out.
 |
 |
Leave the masking tape on the sheepskin. It will be removed later.
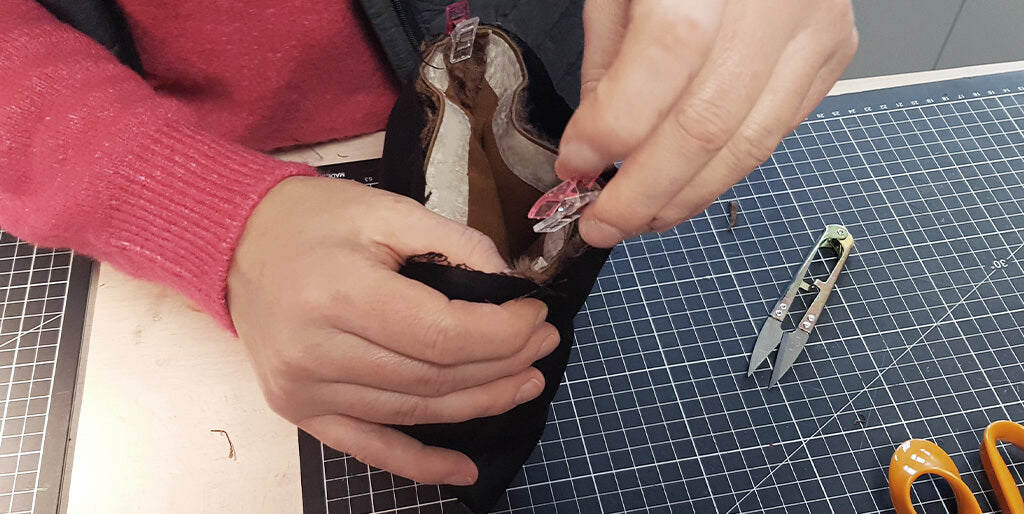
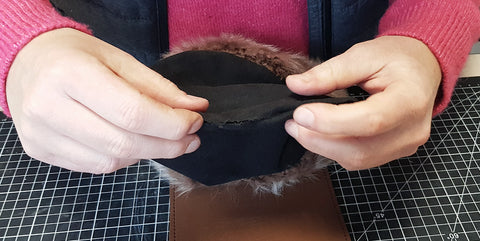
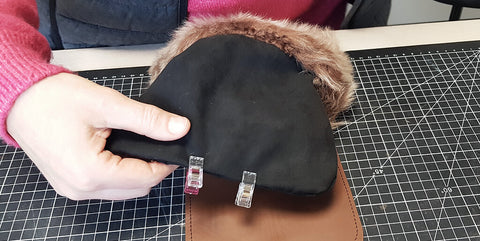
Insert the wool pouch into the lining, right sides together. Position the flap between the lining and the sheepskin (hair side down) so that it is not sewn. Secure edge to edge with sewing clips.
 |
 |
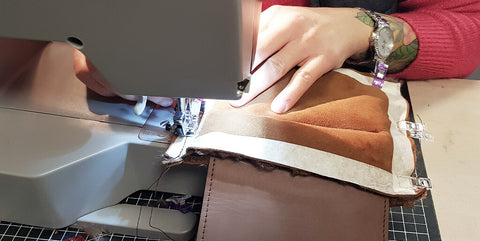
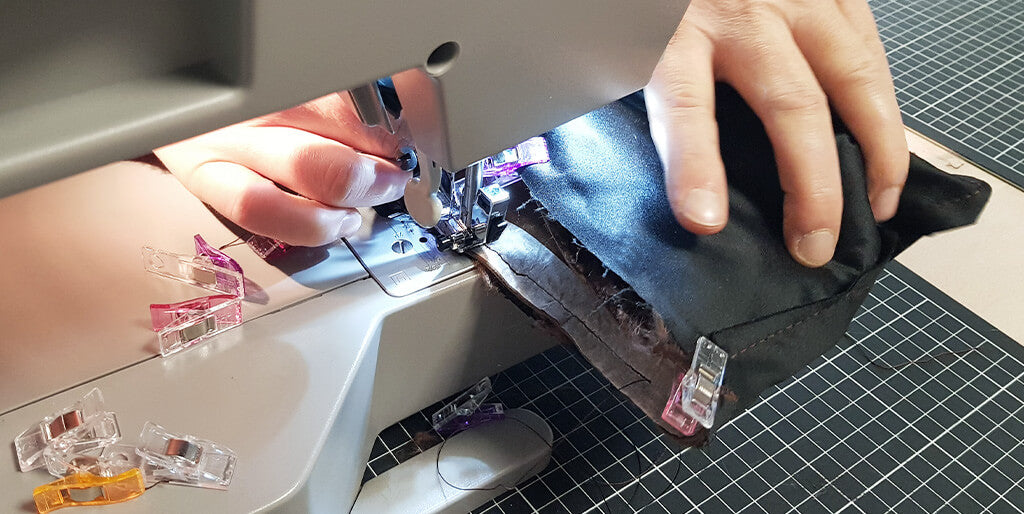
Then, sew all around the top of the pouch at 5 mm.
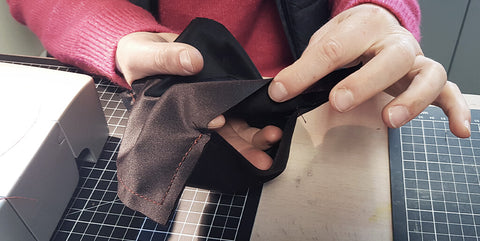
Turn the pouch inside out through the 8cm opening in the lining.
 |
 |
Remove the masking tape.
12. Close the lining
Sew the 8cm opening to close the lining.
 |
 |
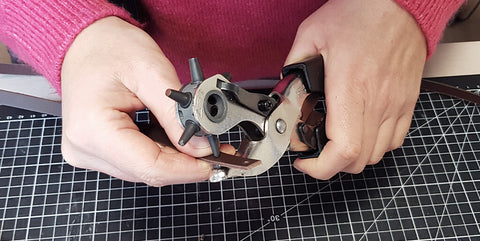
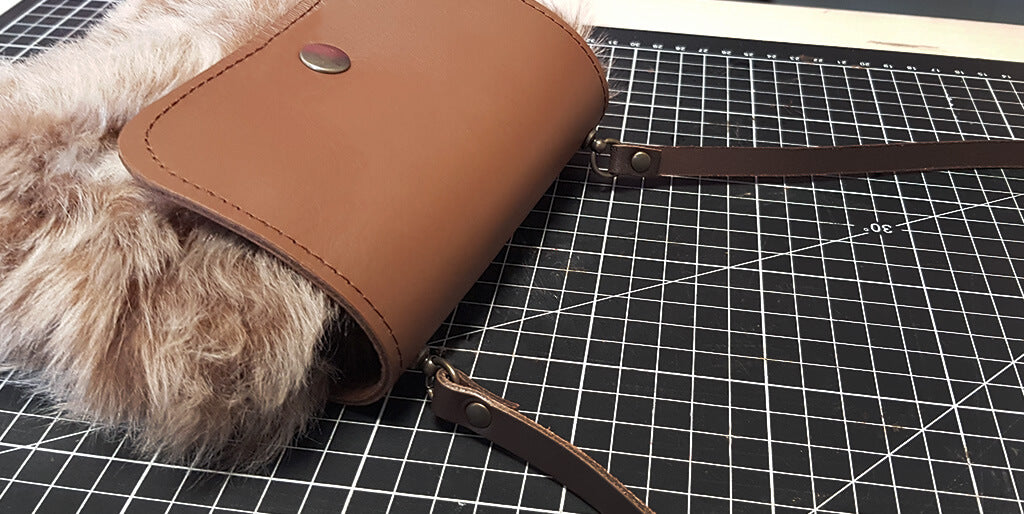
13. Attach the accessories
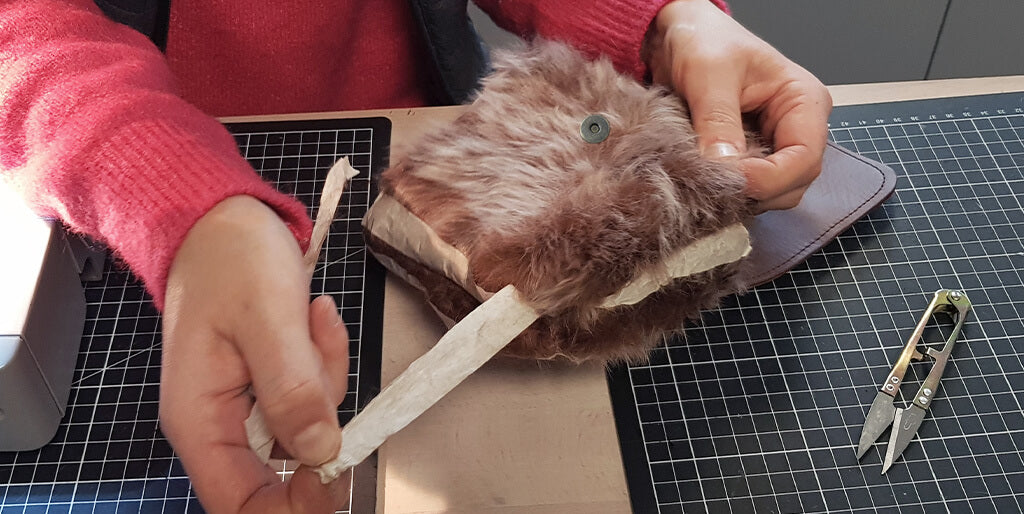
Make the 3 mm holes on flap P2.
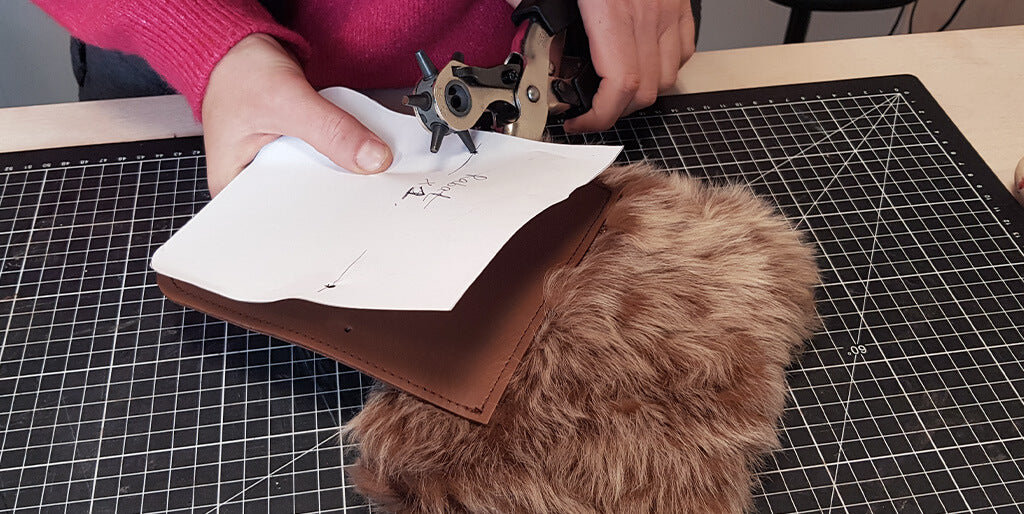
Screw on the two collar buttons with rings.
Then, insert the strap into the rings of the collar buttons and secure with rivets.
 |
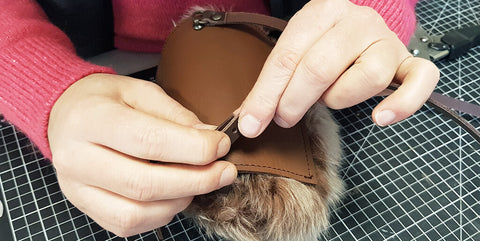 |
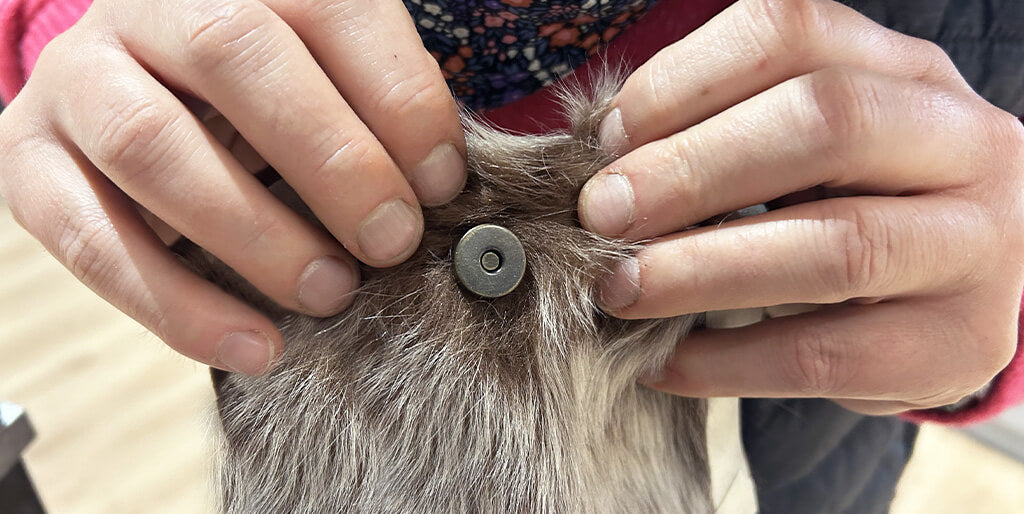
Attach the other part of the magnetic top clasp or snap button to the flap.
 |
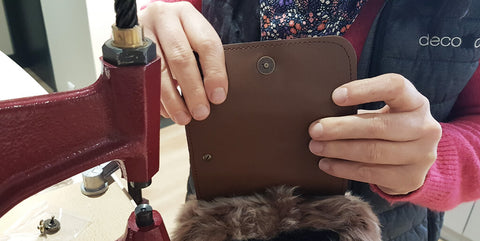 |
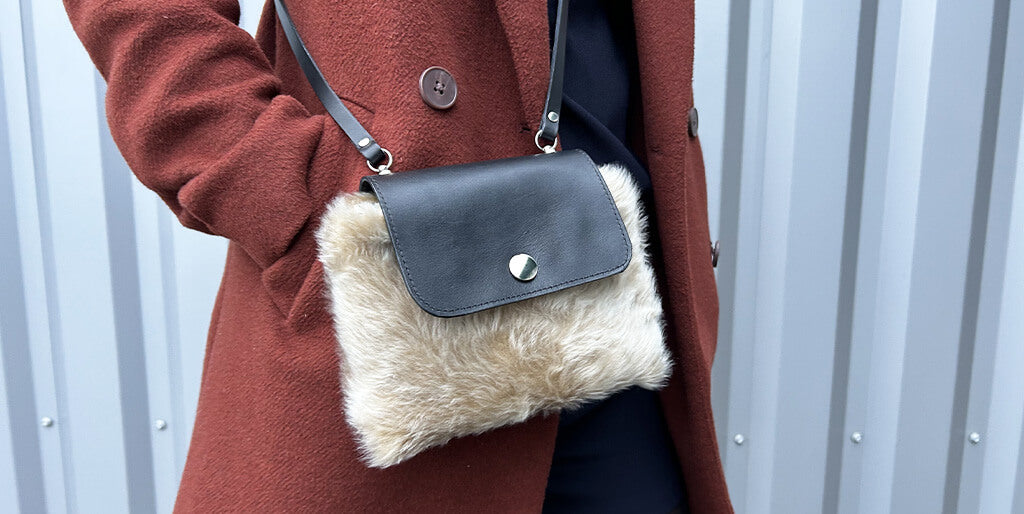
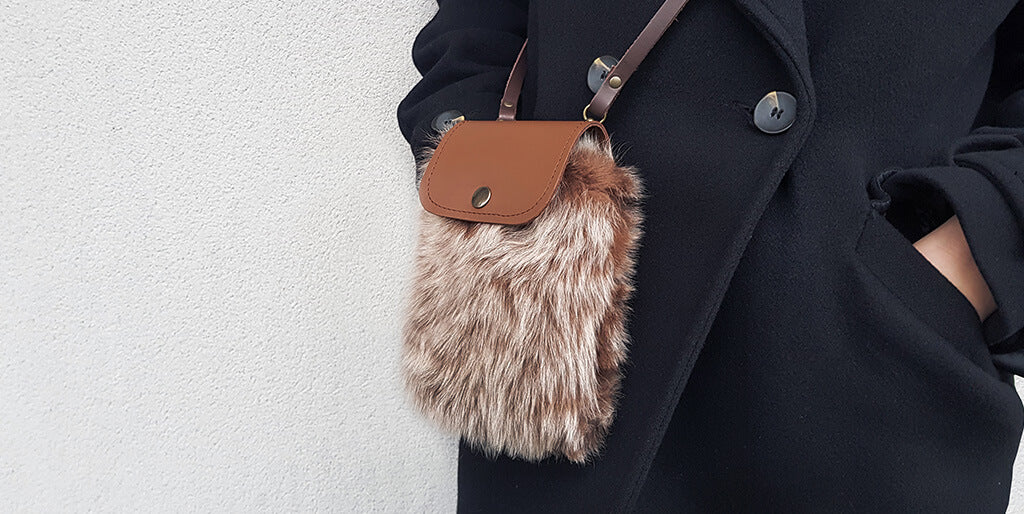
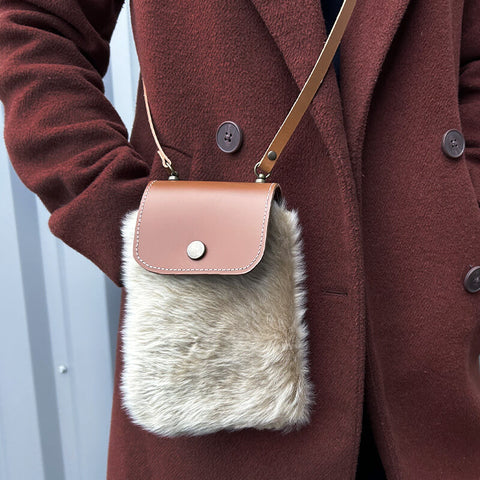
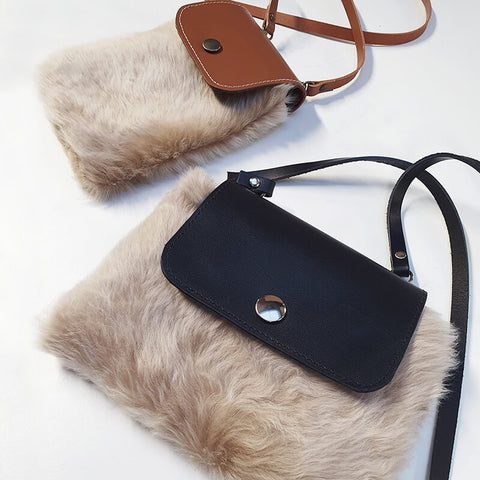
You're done!
 |
 |

