


The necessary equipment
- 1 piece of leather 30x40 cm - thickness between 1.5 mm and 2 mm
- 1 piece of leather 20x30 cm - thickness between 1.5 mm and 2 mm
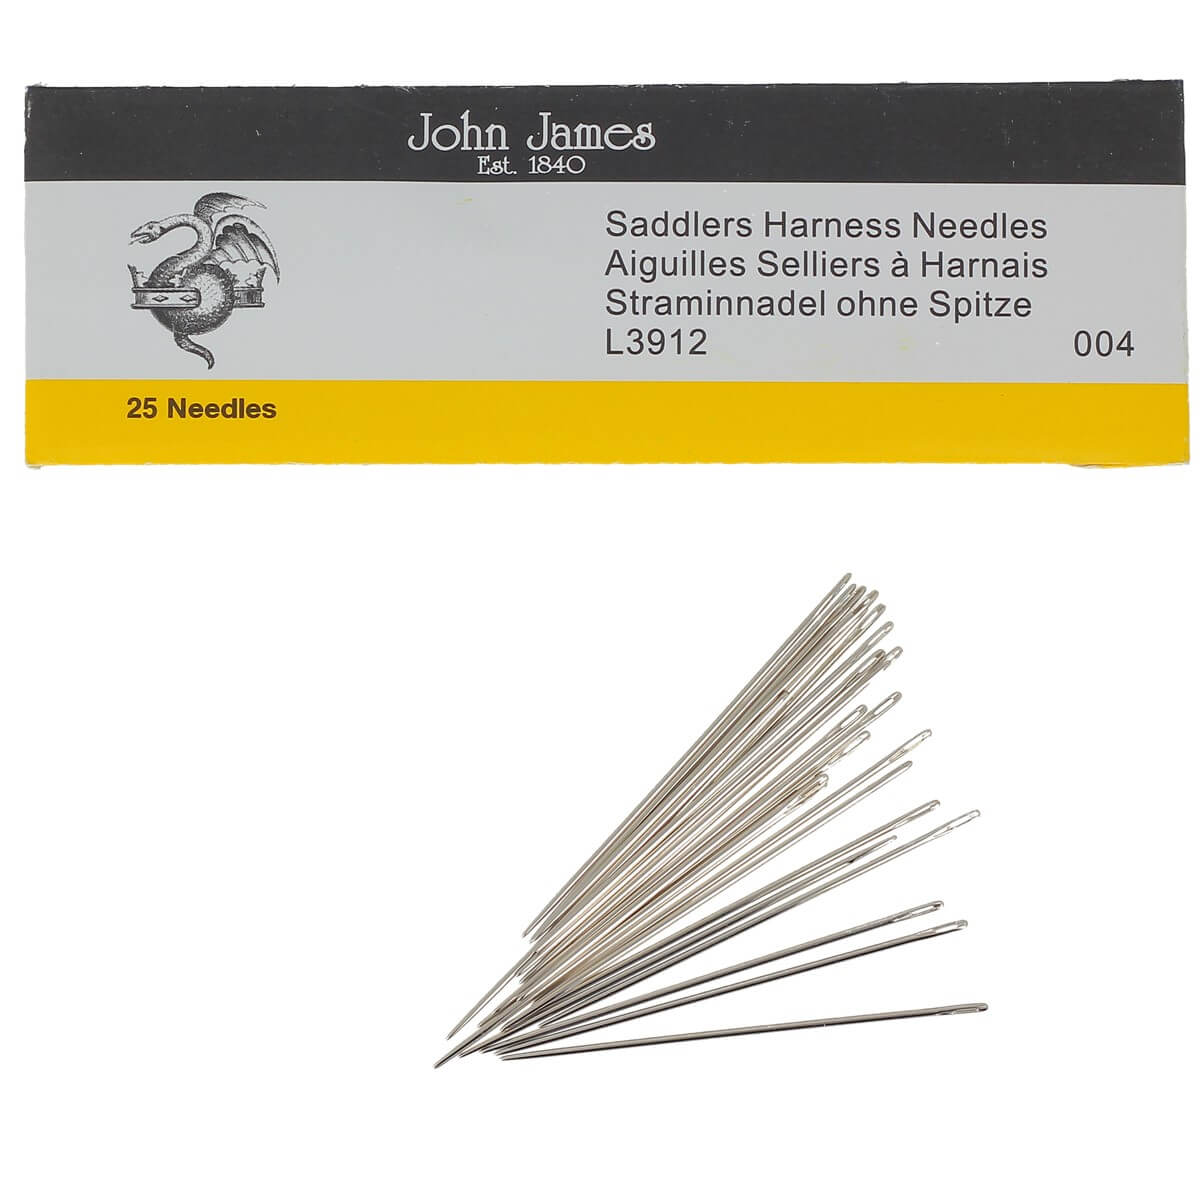
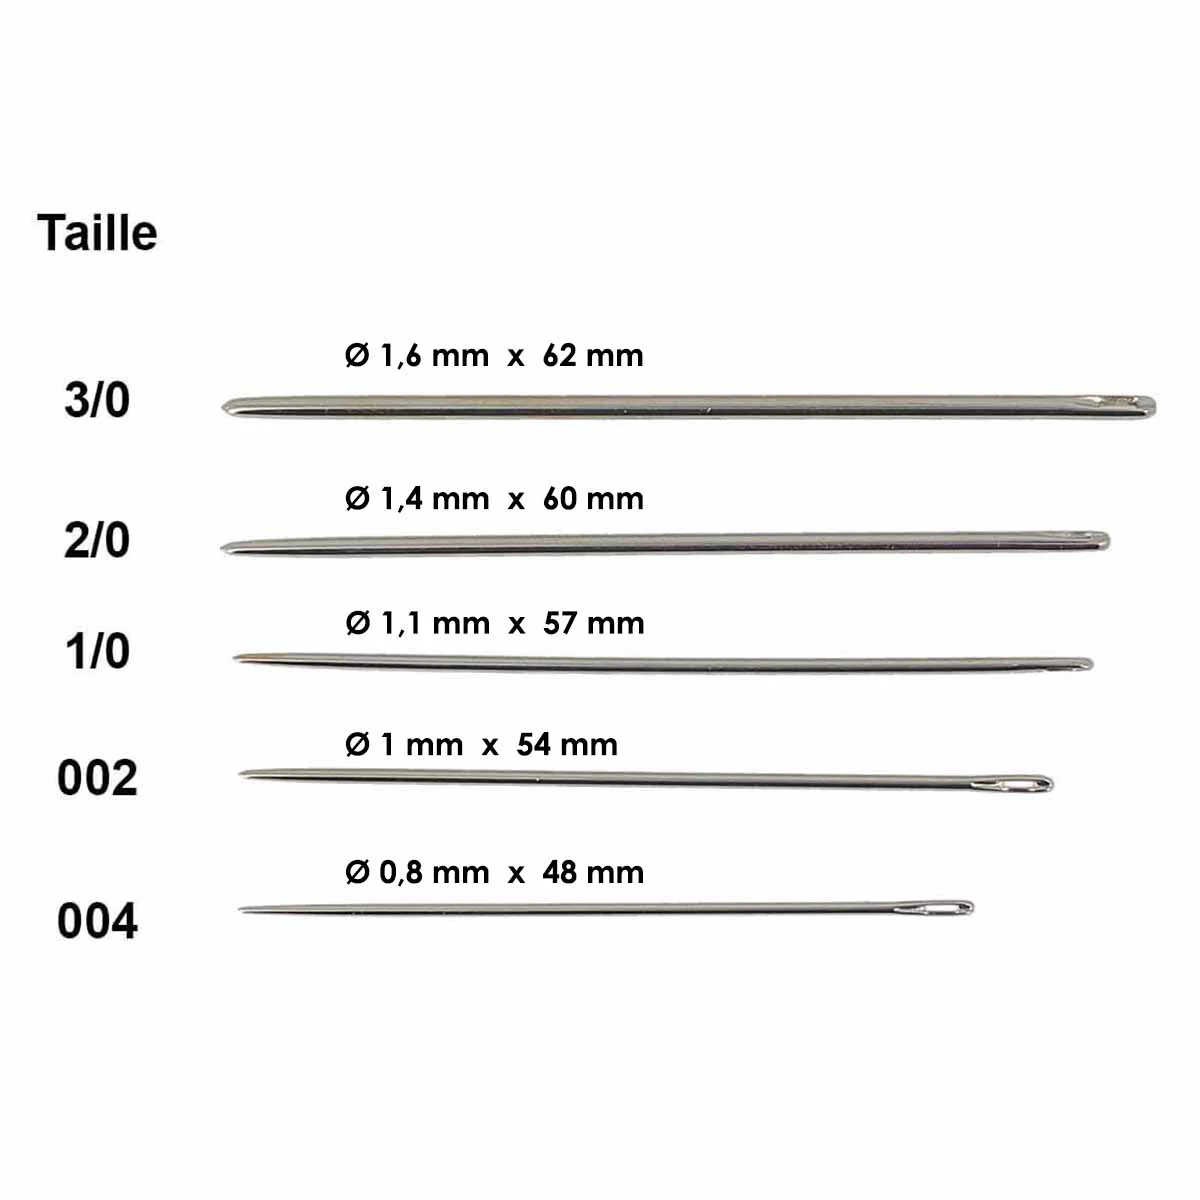
- 2 round-tipped saddle needles - Lg=57mm - d=1.1mm - Size 1/0
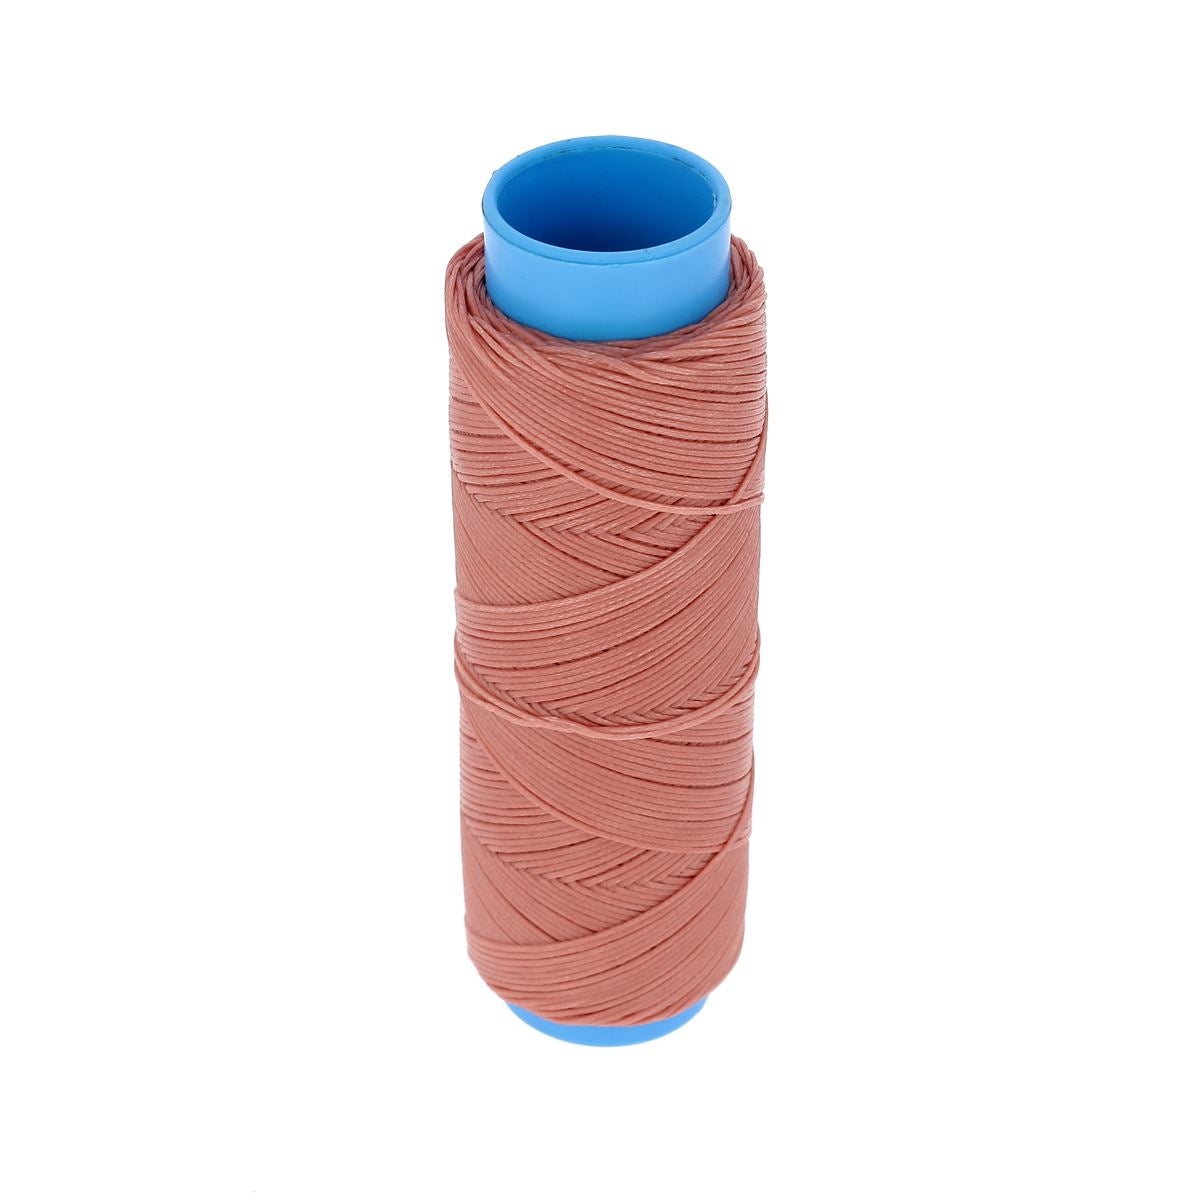
- Braided and waxed polyester thread - diameter 0.8 mm
- Finishing gum (if vegetable tanned leather)
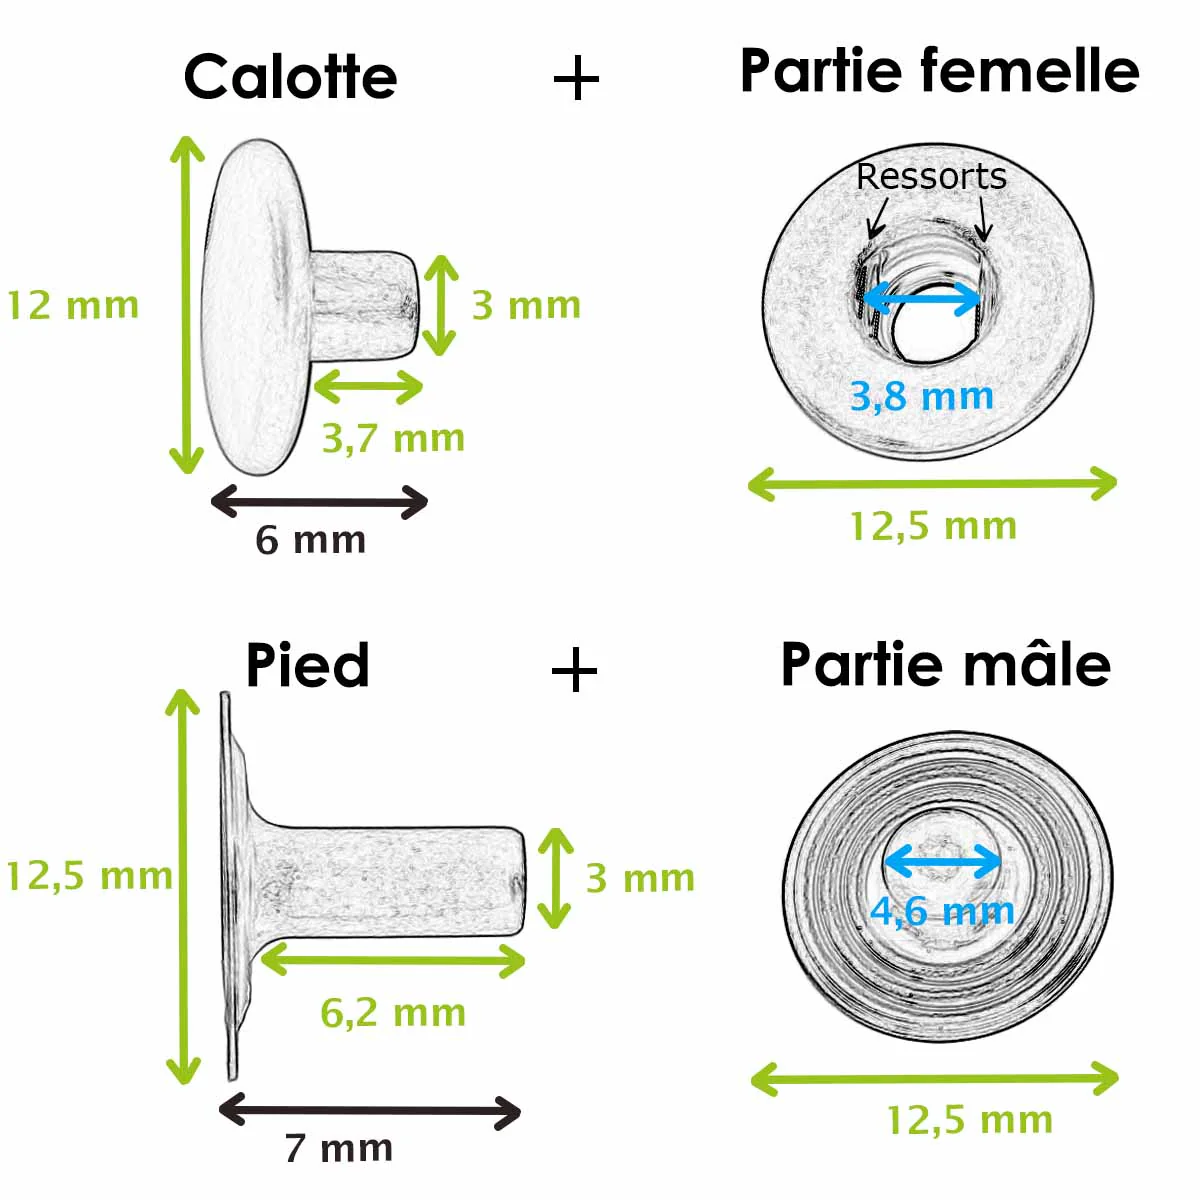
- 2 snap fasteners diameter 12 mm
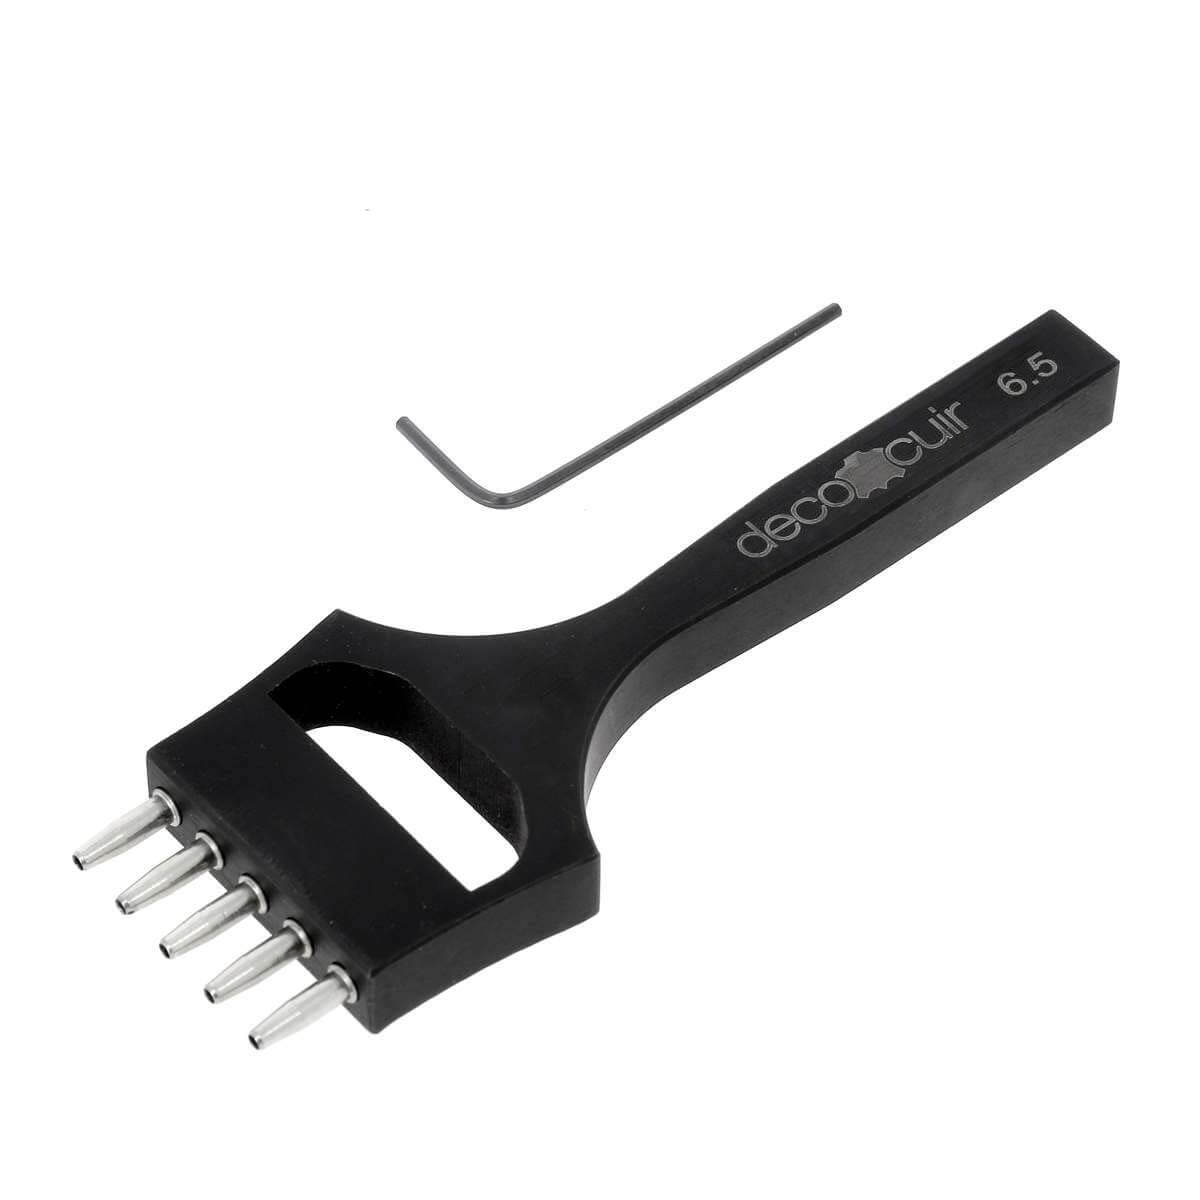
- 1 cookie cutter 1.5 and 4 mm
- Water-based leather glue
- Masking tape
- Square shade N°0 - Vergez Blanchard
What is Simplified Leather Sewing? For Beginners
This technique of hand-stitching leather with holes makes this tutorial accessible to everyone. You can, of course, choose to use a "standard" saddle stitch.
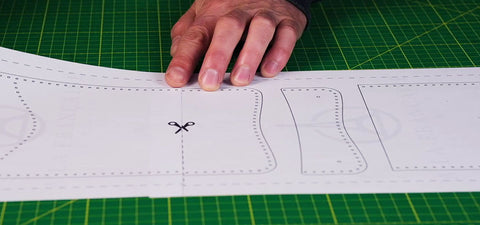
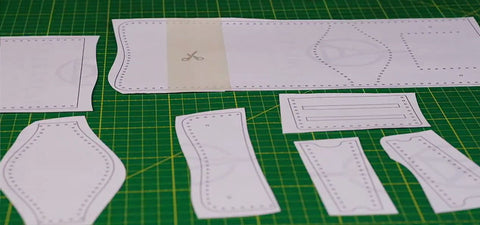
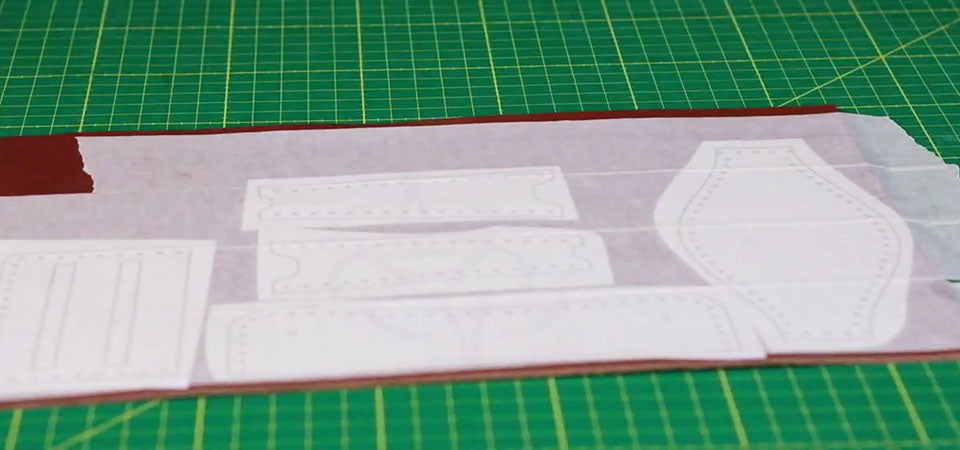
1. Print and cut out the pattern
- Download and print the PDF pattern on A4 paper (see tab at the top of the page). Be sure to respect the original size of the document - check the scale at the top of the pattern.
- Cut out the pattern (about 1 cm from the cutting lines) and assemble part B2 with A2 using adhesive tape.
- Place the templates on the leather and hold them in place using masking tape.
 |
 |
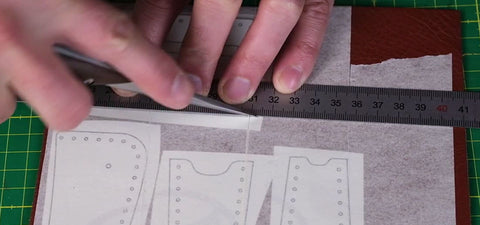
2. Pierce and cut the leather
- Using a punch pliers or a 1.5 mm diameter punch (references above): pierce the leather by referring to the points indicated on the pattern. The holes are spaced 6 mm apart .
Rémi has a preference for Sinabroks brand tools (not sold on our site).
Please note : the 4 holes for attaching the snap fasteners have a diameter of 3 mm.
- Cut out the pattern pieces from the leather using a cutter or utility knife.
 |
 |
3. Square the leather
Using a size 0 or 1 edger: chamfer the leather on the grain side. The edger makes the edges more rounded to reduce friction (comfort and aesthetics). Rémi chose the Vergez Blanchard No. 0 edger (ref. VB_ABAC_0). 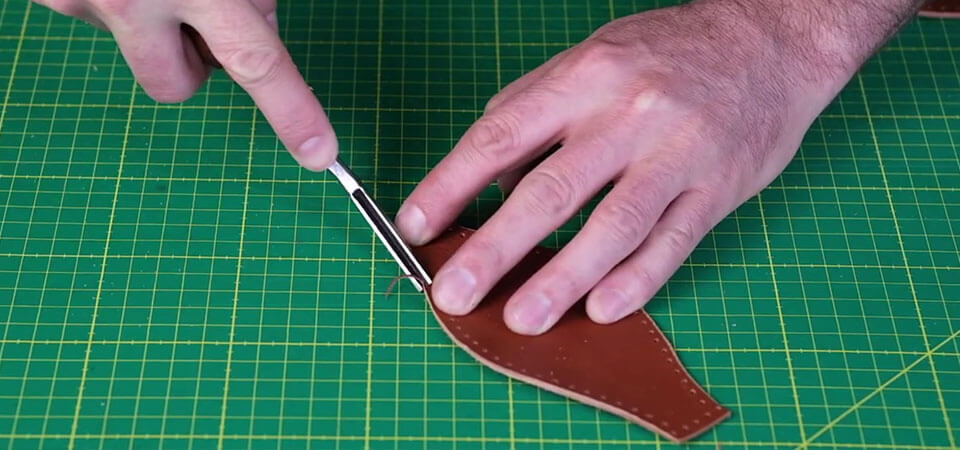
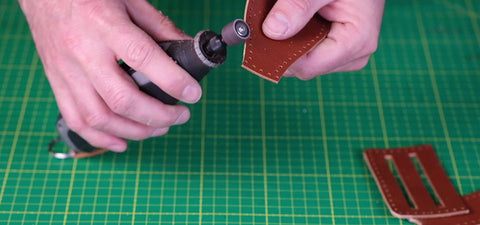
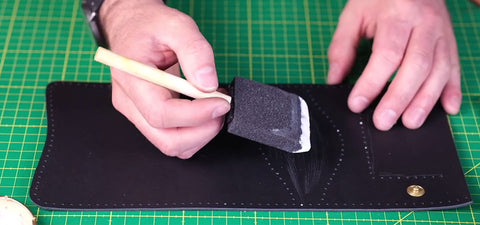
4. Work the slices
Work the edges with a finishing gum: tokonole, gum arabic, or gum tragacanth. Rémi chose tokonole.
- Sand the edges with a fine abrasive sponge (or DREMEL, like Rémi).
- Apply the finishing rubber (a thin layer).
- Rub the edge briskly with a smoothing pad or cloth (until it shines).
 |
 |
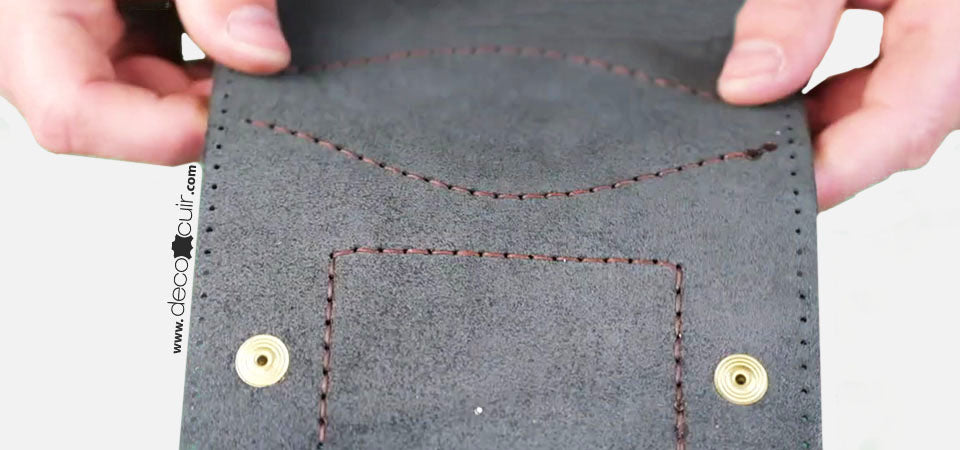
5. Attach the snap fasteners
Using the installation tool of your choice (press, punch handle, pliers, etc.): install the 12mm diameter press studs. 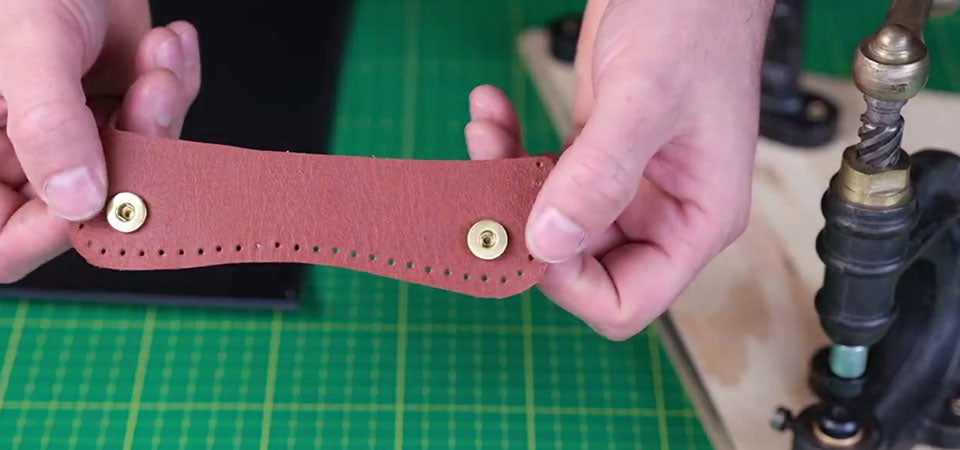
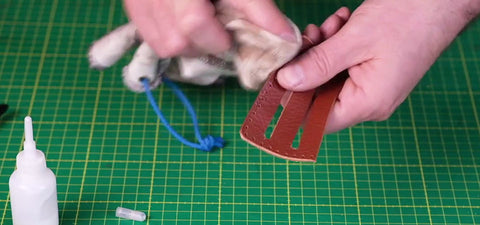
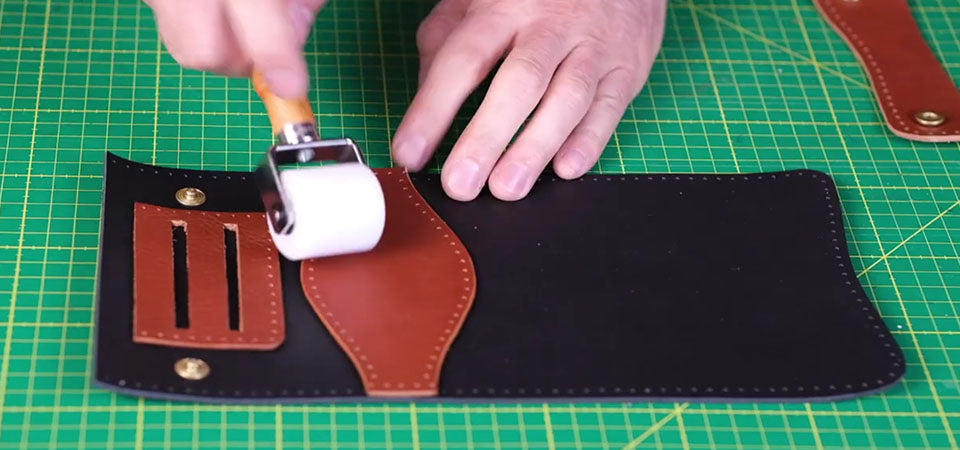
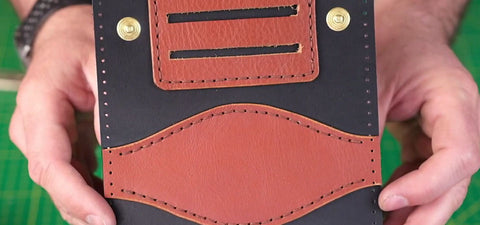
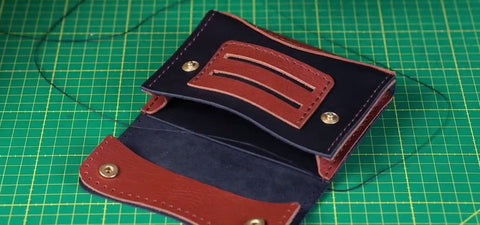
6. Assemble the leather pieces
- Using a leather rasp (ref. TA364_03), lightly scrape the grain side of the leather where there is an overlap of pieces (in order to maximize the adhesion of the glue).
- Apply a thin layer of glue to the parts to be laminated: filter pocket and central piece. Wait a few moments before gluing the parts together. Press/smooth the leather with a roller (ref. TA289) to obtain good adhesion of the glue.
Caution: do not glue the following pieces of leather immediately: internal pocket and piece with the heads of the press studs (see step 9).
 |
 |
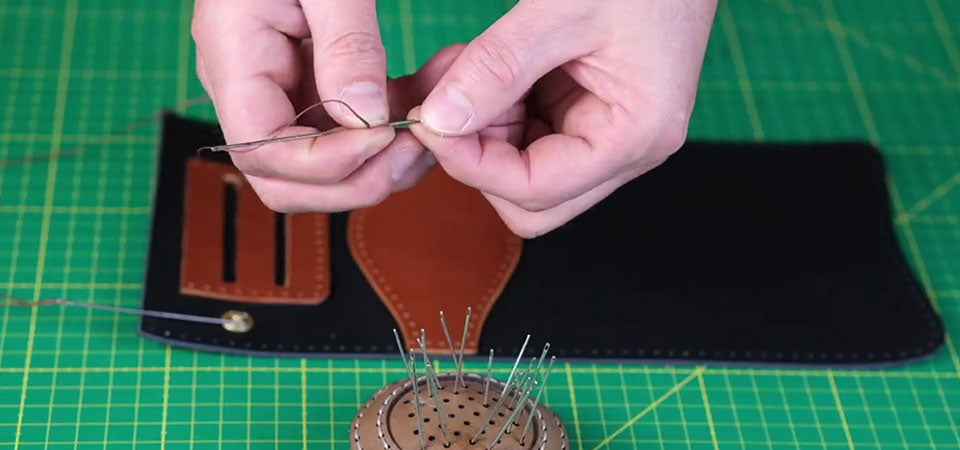
7. Thread the needles
- Cut the braided and waxed polyester thread - diameter 0.8 mm: generally equivalent to 4 or 5 times the length of the sewing line.
Thread a needle through each end of the thread:
- Insert the thread at needle height and then insert it twice.
- Crimp the end of the thread and pass it through the eye of the needle.
- Pull the thread to make the knot
- Do the same thing to thread the other end of the thread onto the second needle.
8. Start sewing
Start by sewing the small filter pocket with a saddle stitch (see video).
- Pass the needles one by one through each hole.
- Finish your seam with 3 backstitching stitches.
- Cut the thread flush and then burn it (if polyester thread).
 |
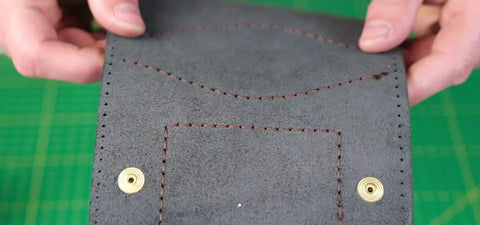 |
9. Assemble the other pieces of leather
- Apply a thin layer of glue to the last pieces to be bonded (leather piece with the snap fastener heads and the internal pocket). Wait a few moments before bonding the pieces together.
- Press/Smooth the leather with a roller to obtain good adhesion of the glue.
Please note: only glue the 2 ends (widths) for the internal pocket.
 |
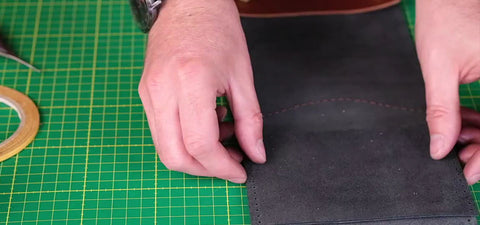 |
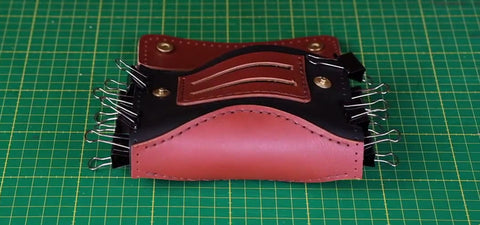
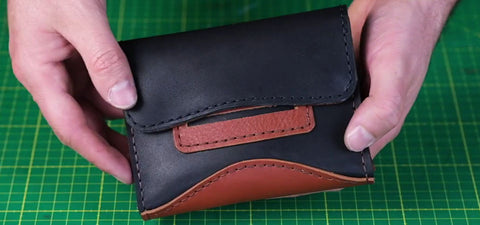
10. Form the tobacco pouch
Using pliers, position the sides and form the tobacco pouch (guide yourself with the holes made).
 |
 |
11. Continue sewing
- Thread a needle through each end of the thread again.
- Sew: Pass the needles one by one through each hole.
- Finish each seam with 3 backstitching stitches.
- Cut the thread flush and then burn it (if polyester thread).
 |
 |
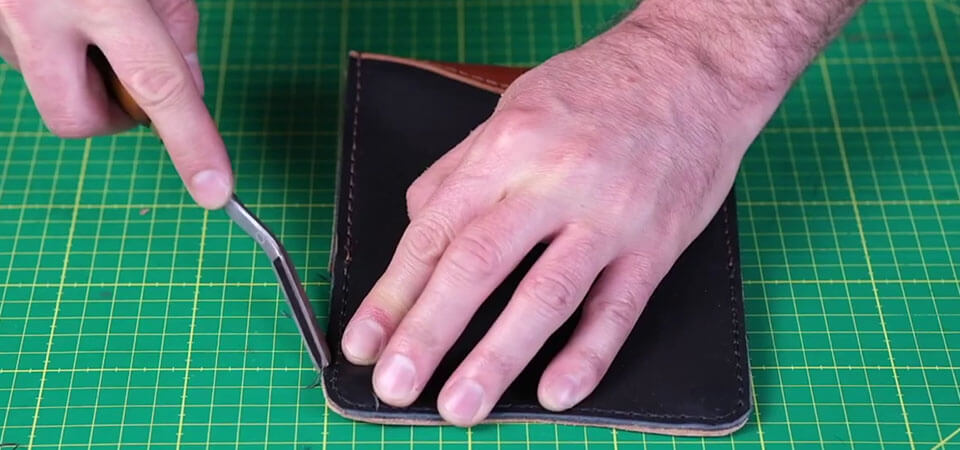
12. Finish working the slices
- Sand the edges with a fine abrasive sponge (Remi opted for the DREMEL).
- Apply the finishing rubber (a thin layer).
- Rub the edge briskly with a smoothing pad or cloth (until it shines).
 |
 |
 |
 |
DISCOVER RÉMI CORSON AND THE "À LA FRANÇAISE" WORKSHOP

Located in Brittany, on the Pink Granite Coast, "À la Française" is a small leather goods workshop that combines authenticity and modernity, true to its values of quality and simplicity. Leather and wood are the most worked materials because they blend perfectly and have common points: they come from nature, have been worked in the same way for decades, and they each tell, in their own way, a story.
The variety of finished products is wide: bags, masks, wallets, key rings, shoes, belts... and each one is unique!
In the workshop, the methods are as "old-fashioned" as possible, with an attempt at each stage of the creative process to refine techniques and master ancestral know-how. New technologies are also integrated; it is this alliance that makes the "A la Française" workshop so strong.
DISCOVER THE BRETON WORKSHOP >


