
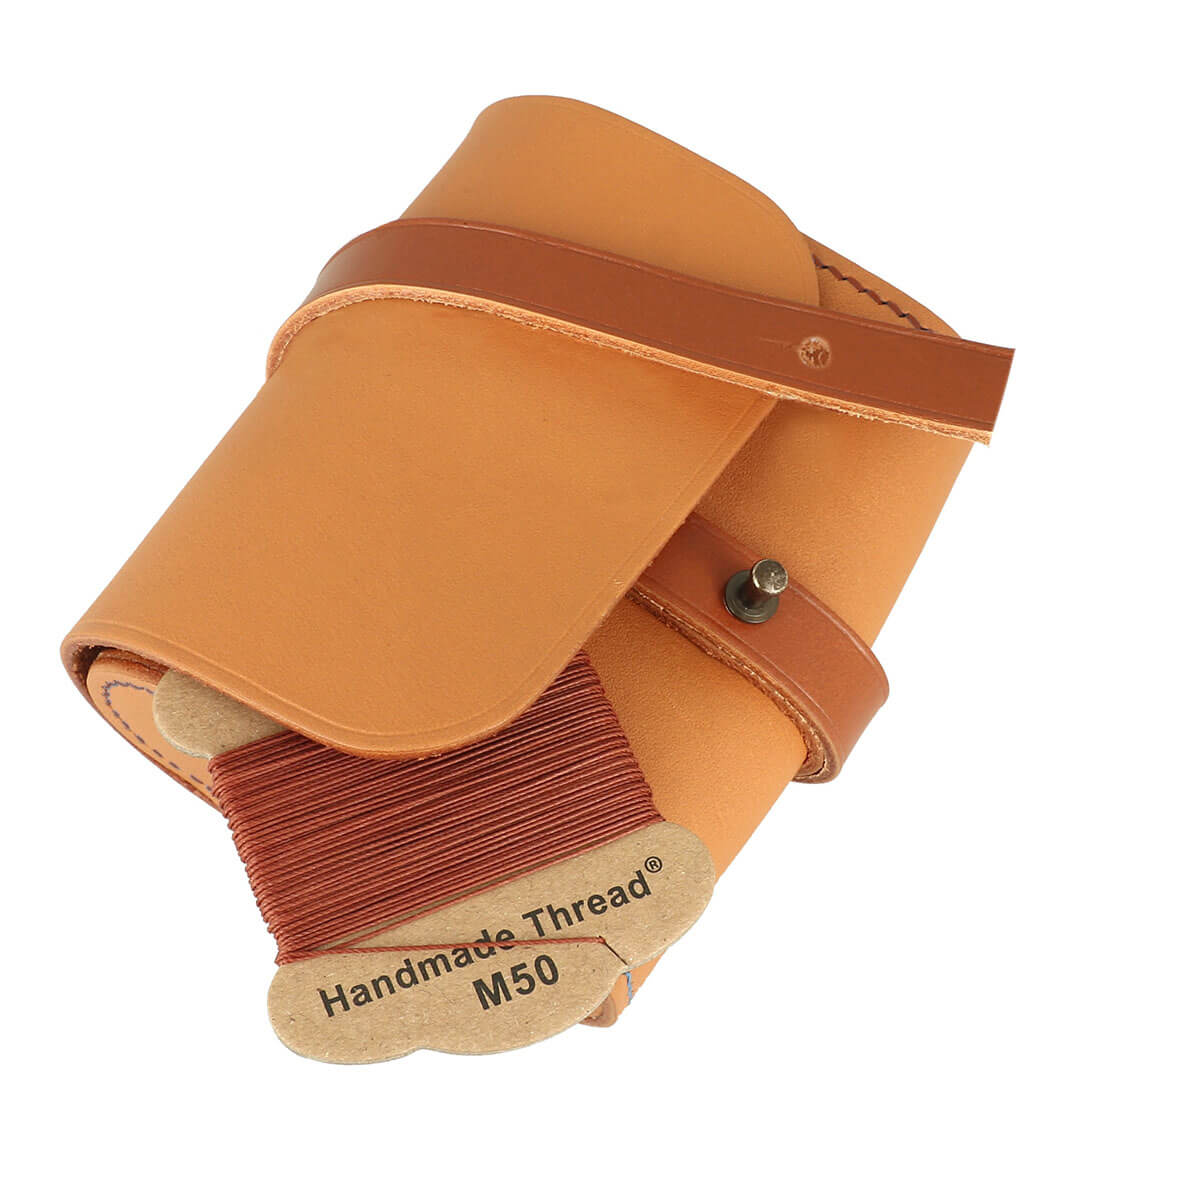


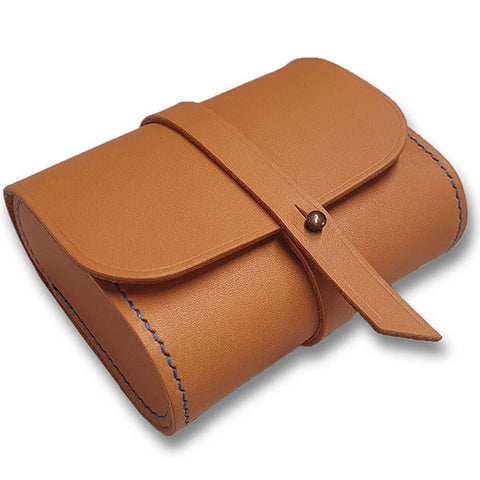
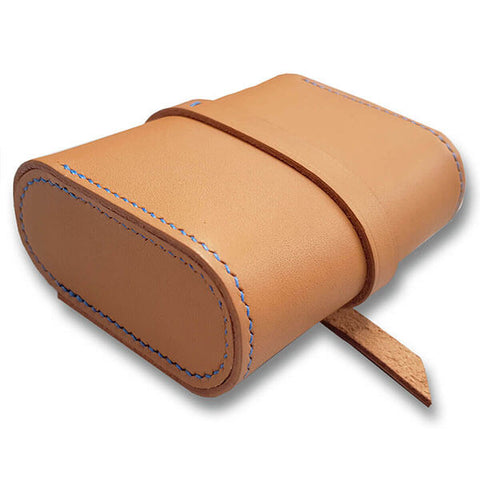
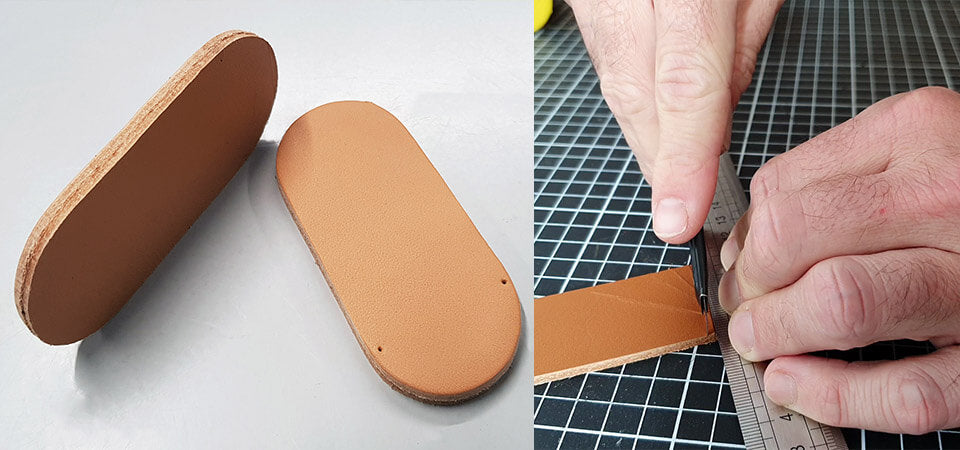
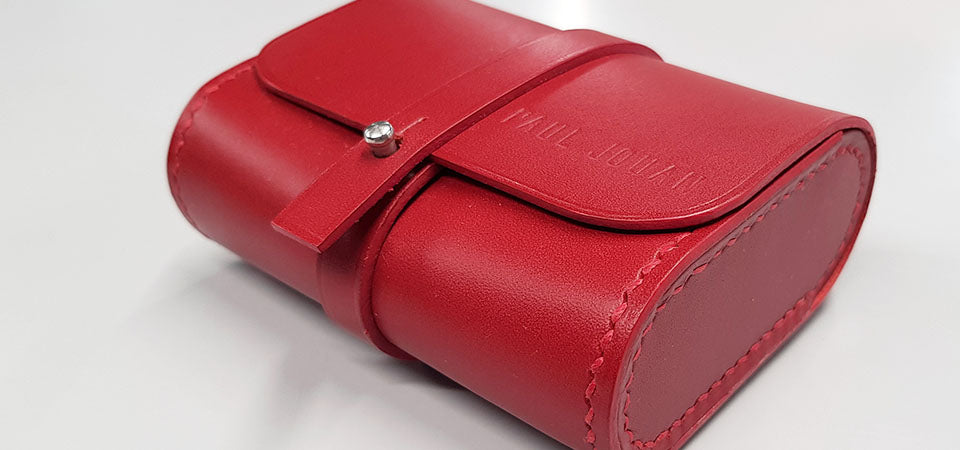
Dimensions of La Choupette (closed)
Length: 10 cm
Width: 4 cm
Height: 8 cm
 |
 |
 |
PREREQUISITES
To complete this tutorial and learn corner sewing, you must have a good command of saddle stitch sewing.
THE NECESSARY TOOLS
- Striking claws Center distance 3.00 mm
- Economical dual-function tree frog
- Round awl and diamond awl
- Folding saddler's pliers for sewing leather
- Round punch – 3 mm
- Fine abrasive sponge – 400
- Water-based glue for leather
- Leather finishing eraser
VIDEO TUTORIAL
HOW TO ASSEMBLE THE CHOUPETTE©?
DOWNLOAD THE PATTERN AND CUT OUT THE PIECES
- Download the pattern at the top of this page (in the "PATTERN" tab) and print it in actual size.
- Cut out the pattern pieces with a cutter or a knife. Don't forget to score the edges with a round awl.
Selected leather: vegetable tanned leather - 20x30 cm - Thickness approximately 1.8 mm 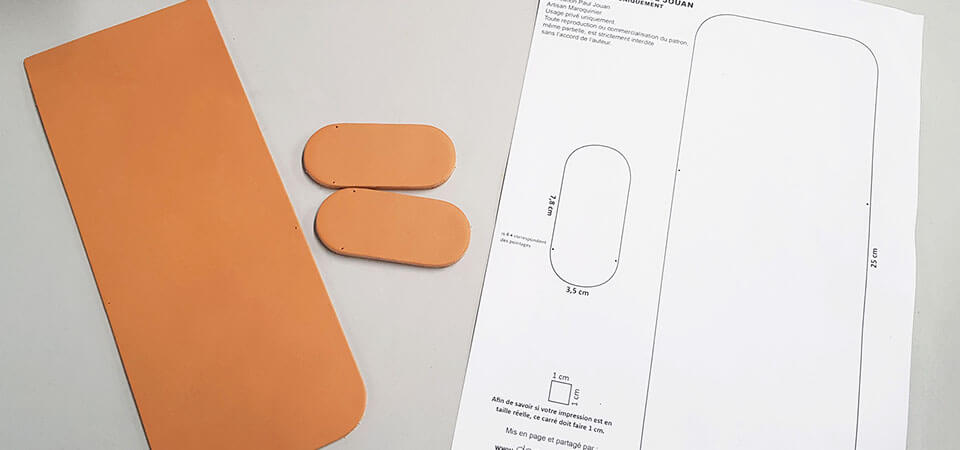
- Before cutting the sides and in order to have full grain leather on both sides of the piece: glue 2 pieces of leather together.
- Be careful not to cut the rounds all at once but in quarters otherwise you risk not having a nice cut (see the video below).
A Choupette kit is also available with pre-cut leather pieces.
SEE THE KIT >
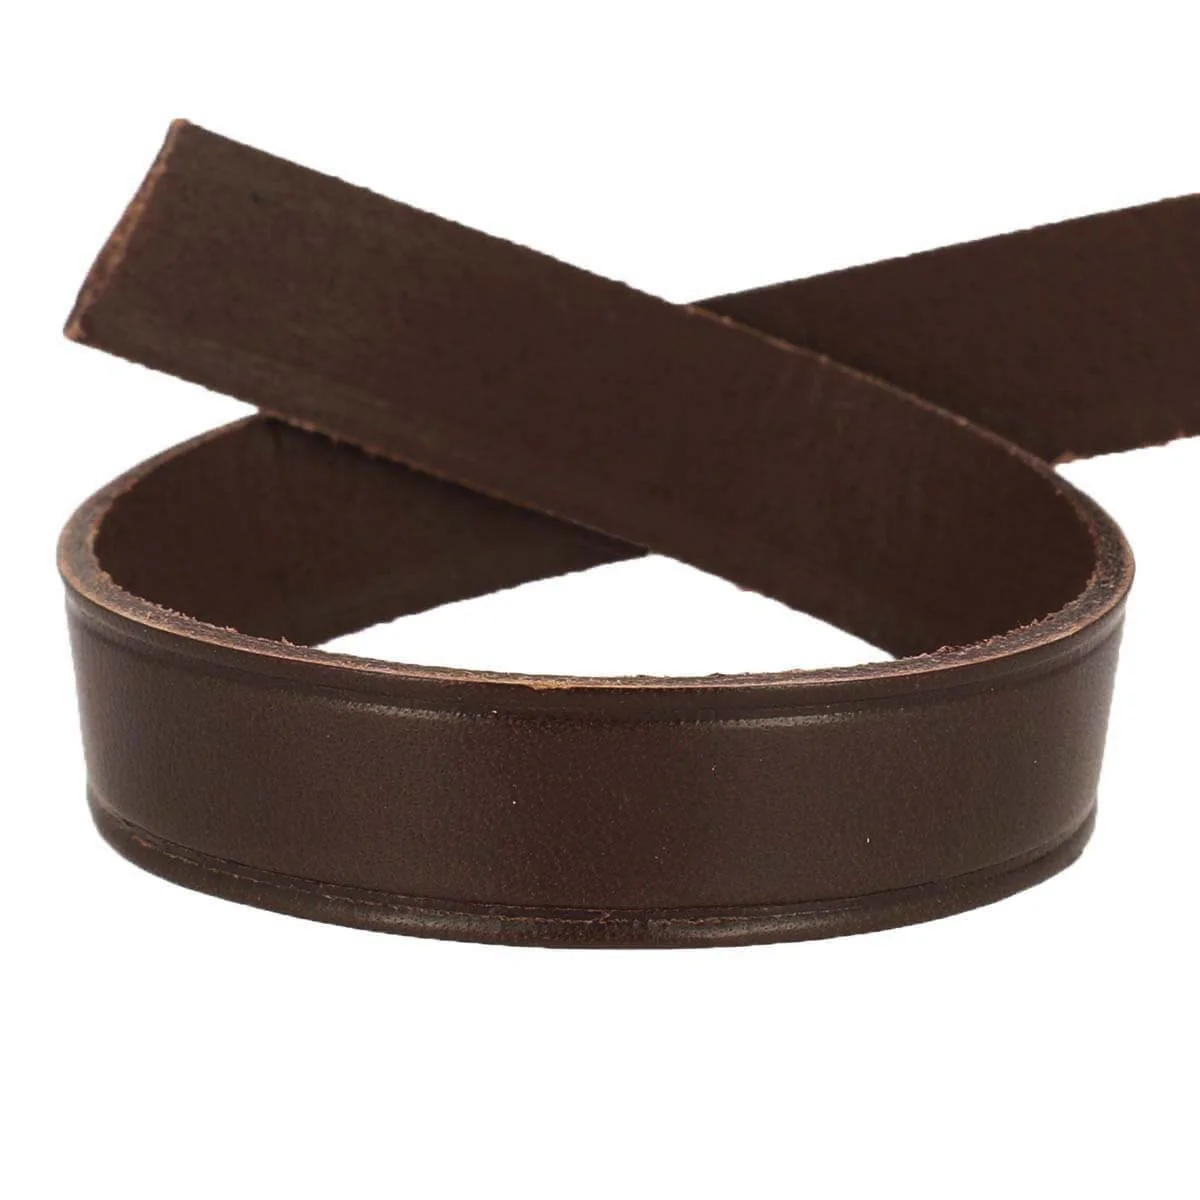
1. SAND THE SLICES
Sand the edges at 45° and always in the same direction with a 400 grit abrasive sponge. 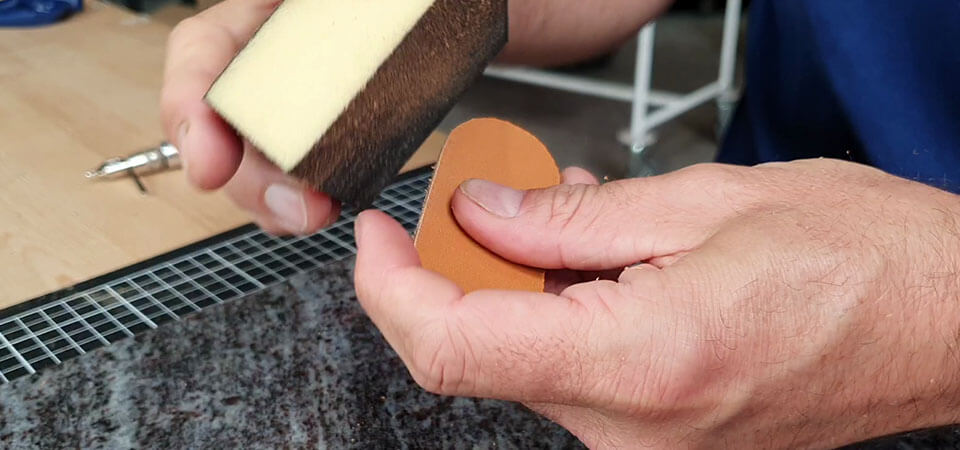
2. MAKE A DECORATIVE NET
Make a decorative line 2 mm from the edge.
Cold stamping (only if vegetable tanned leather) with a furrier, former or leatherworker's net iron.
To go into more detail: also make a decorative net on the crust side. 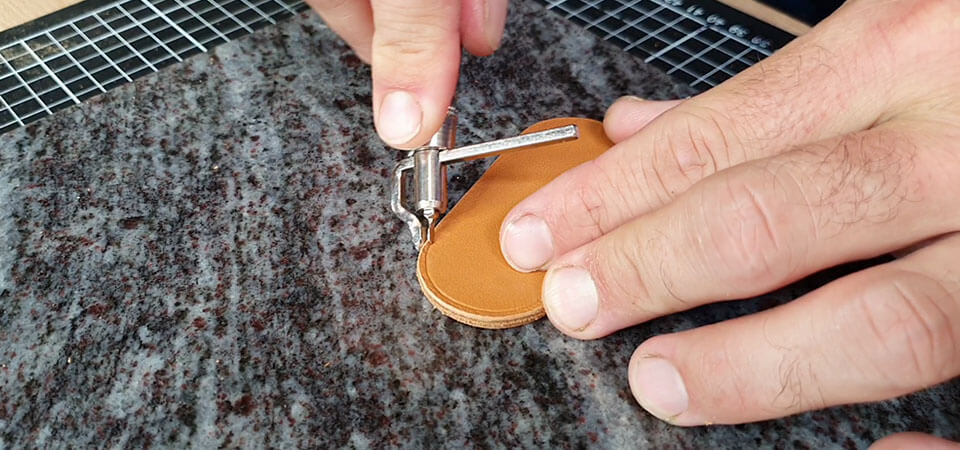
3. MARK THE STITCHES
Mark the stitching points parallel to the net approximately 3 mm from the edge .
We chose to mark the stitches next to the drawn line to maintain a decorative border (only possible on vegetable-tanned leather). For beginners, you can mark the stitches directly on the line. 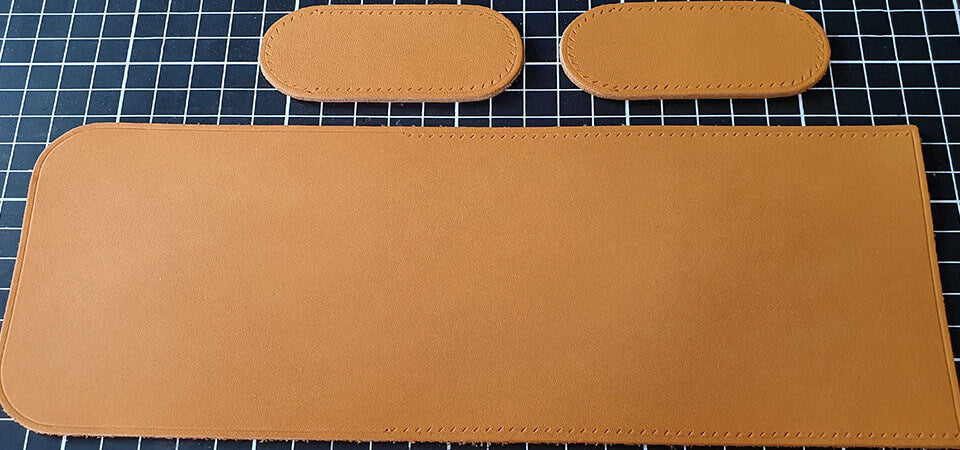
- Center distance 3.0 mm.
- Do not penetrate the thickness of the leather.
- Always go back 3 points.
- Stop scratching before pointing.

To be sure of having symmetry and not creating a shift:
Exceptionally for the other side, scratch with the thread on the left (do not turn the piece over). 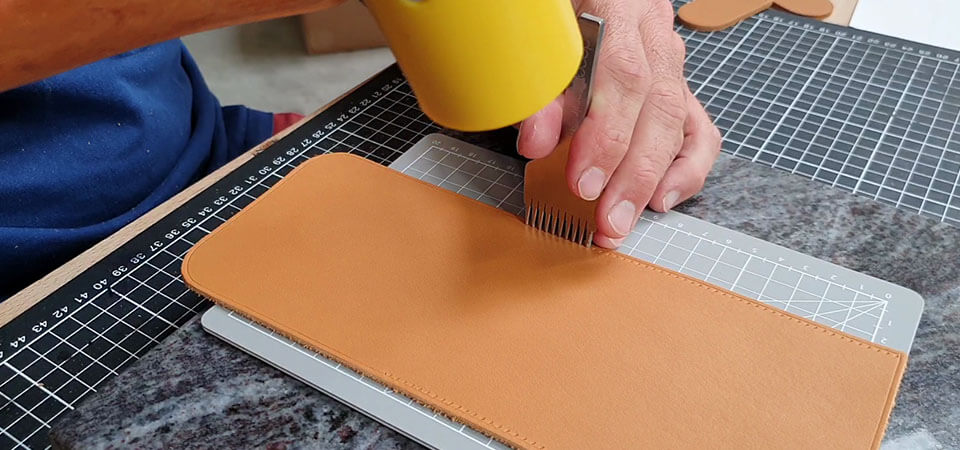
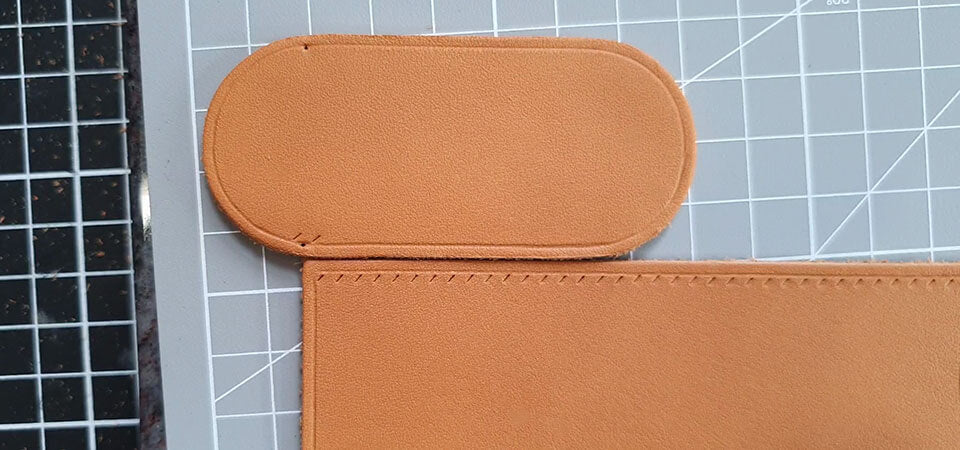
MARK THE STITCHES ON THE SIDES
- Start by making the marks. The pointing should be flush with the edge of the main piece. The second point should be directly opposite the first point of the main piece.
- For lengths: use a 10-tooth claw (reminder center distance 3 mm).
- For rounded edges: Mark the points with a 2-pronged claw or a marking wheel. Never use a mallet with a 2-pronged claw to avoid piercing the leather.
DOUBLE-CLAWING ON THE TOP SIDE
Mark the first two points (below the score) with a round awl.
Then double-stitch the top side. Double-stitching allows for a nicer stitch on both sides of the piece. 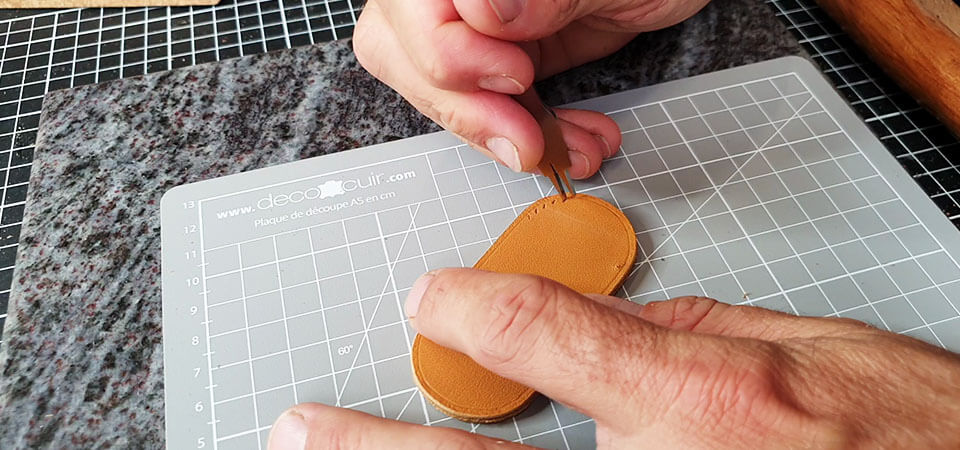
4. WORK THE SLICES WITH A FINISHING ERASER
- Sand the slices again.
- Then apply a finishing gum for vegetable tanned leather (Tokonole, gum arabic or tragacanth).
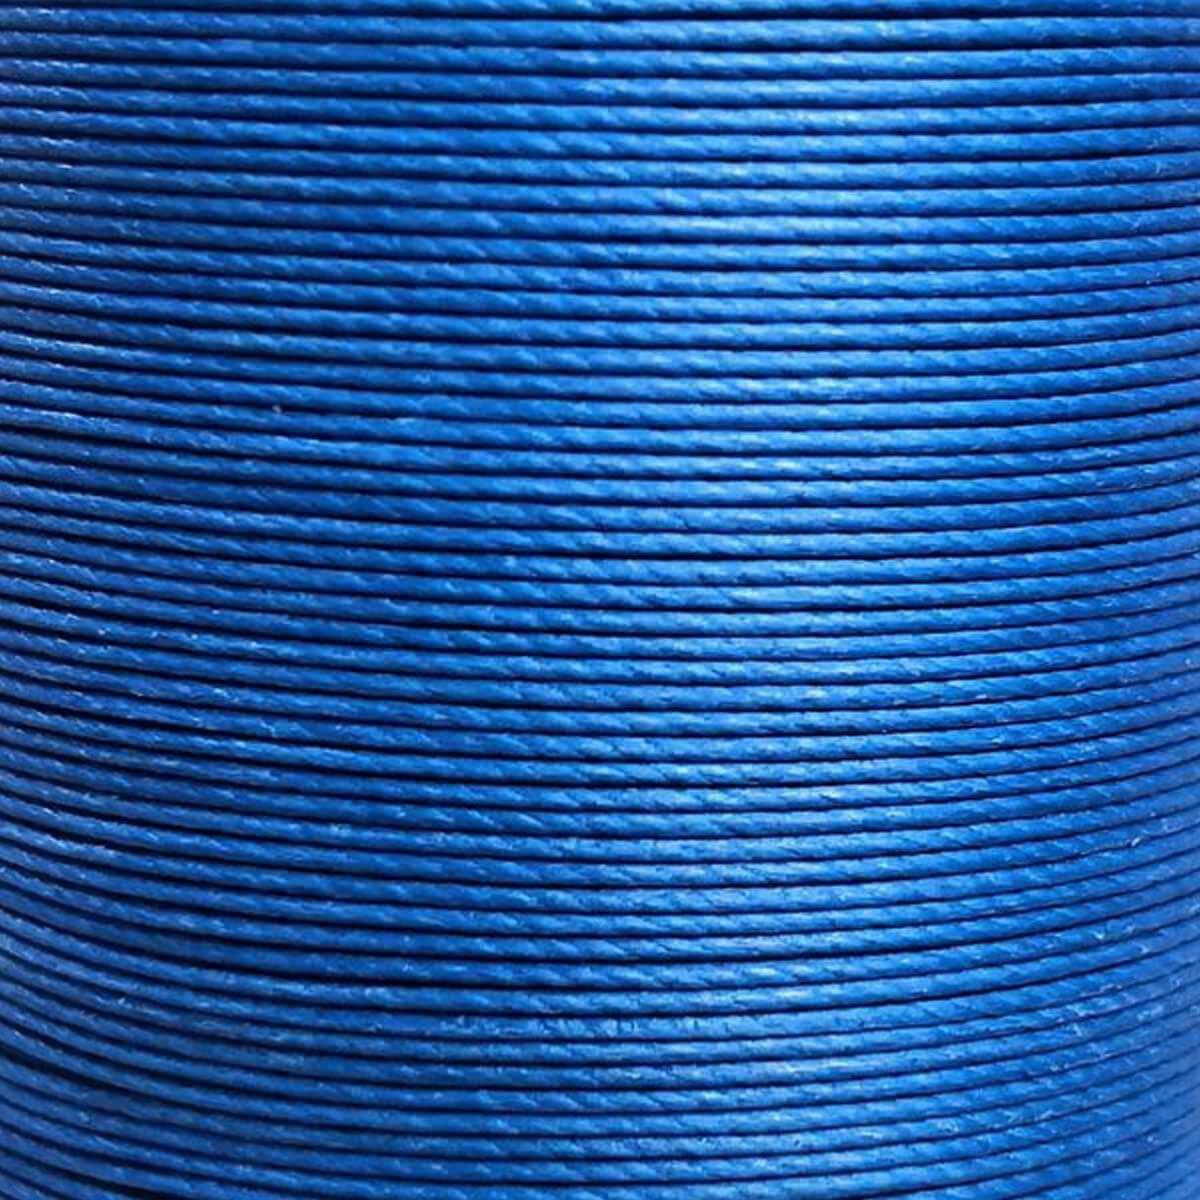
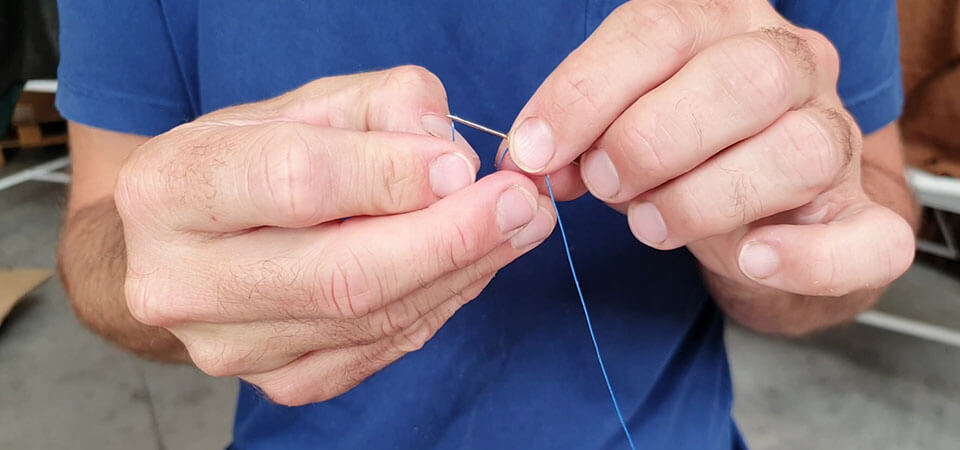
5. WAX AND THREAD THE LINEN THREAD
- Take a length of linen thread (Ø 0.55 mm) equivalent to 4 or 5 times that of the seam*.
* 4 different seams are needed for the Choupette©.
- Wax the thread to bond the fibers and protect it when sewing. Pass the thread through the wax 3 times.
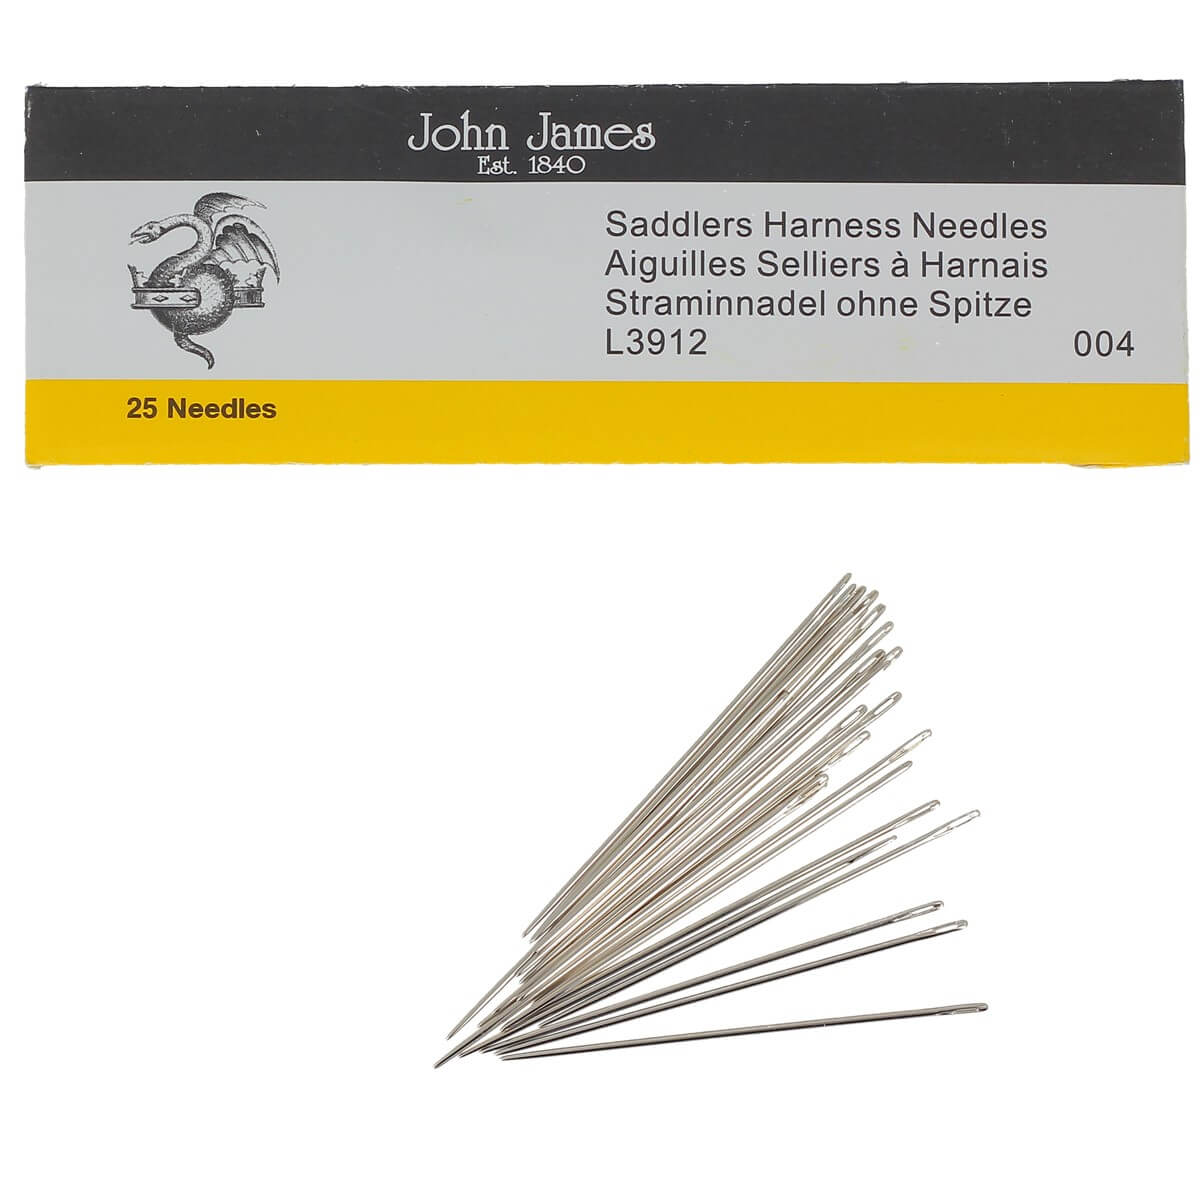
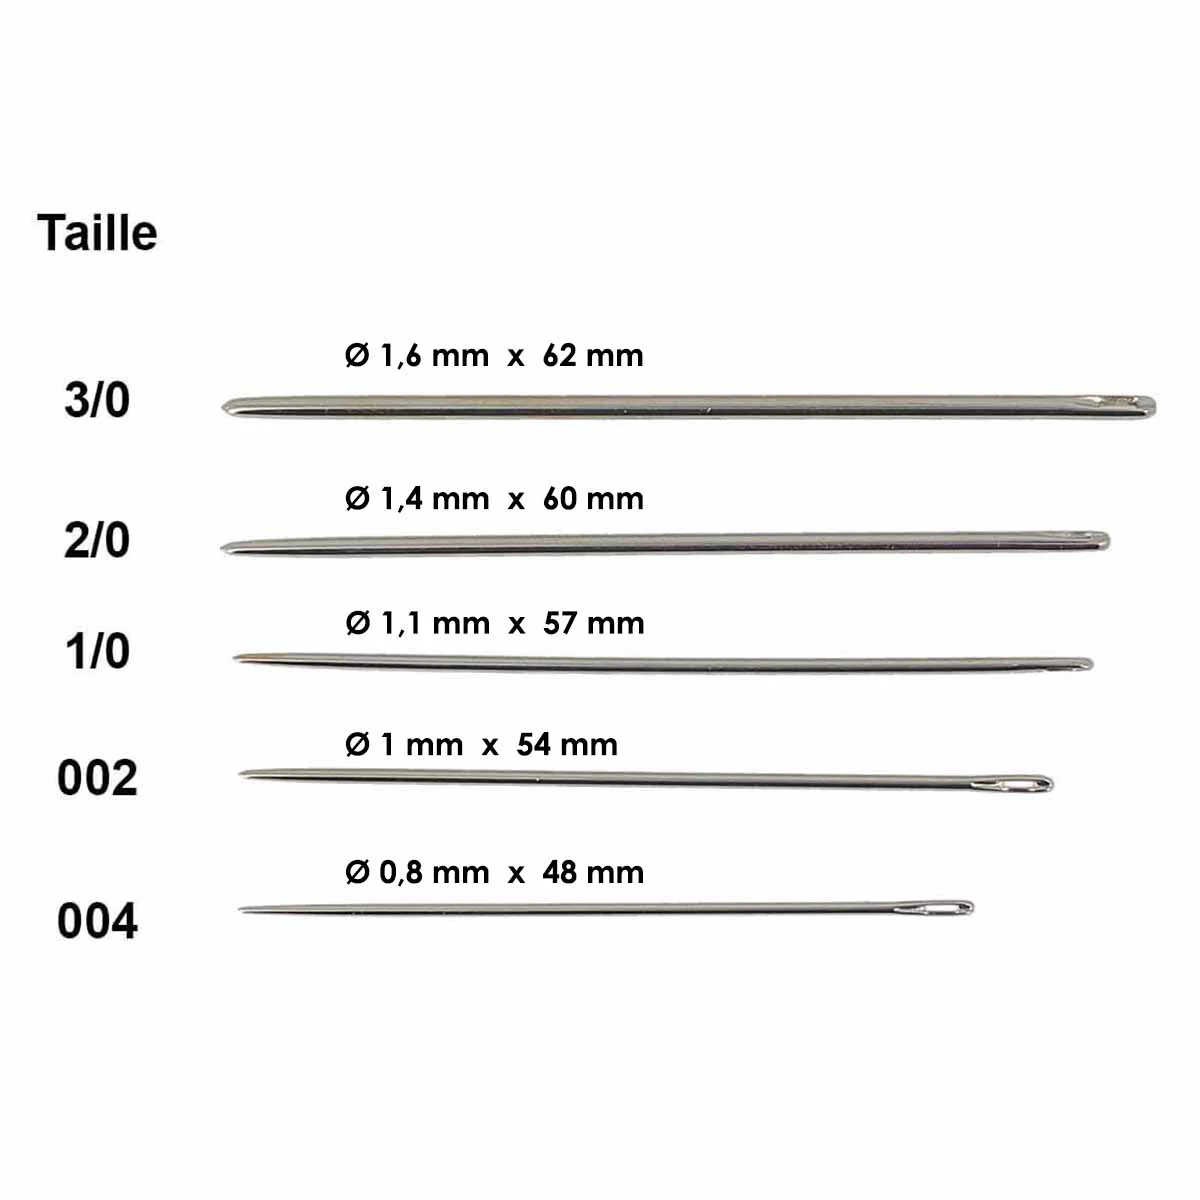
- Thread the linen thread onto the first size 004 needle (see video)
- Do the same thing to thread the other end of the thread onto the second needle.
6. PRE-DRILL THE MAIN PIECE BEFORE SEWING
Using a diamond-shaped awl and a block of cork: pre-pierce the leather of the main piece before sewing (double-stitched).
Pay attention to the angle of the diamond-shaped awl : it must be slightly at an angle. 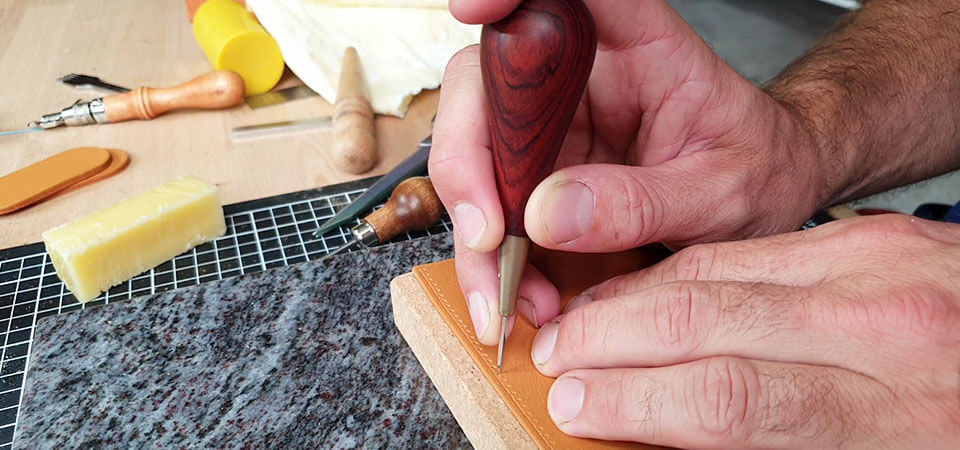
7. PRE-DRILL THE SIDES BEFORE SEWING
- Start at the first pointing to pierce the leather by finding the middle of the edge . The diamond-shaped awl must remain perpendicular while maintaining the inclination of the point .
- Always exit at the same place in the middle about 2-3 mm from the edge (to be opposite the stitching points of the main piece).
Stop piercing the leather at the tack. The top stitching is a decorative seam, not a corner stitch. The double-stitched seam was done in step 3.  Lightly sand the side slices to remove small fibers (only the slices where there will be an assembly).
The finishing rubber (Tokonole) applied in step 4 helps protect the edge. 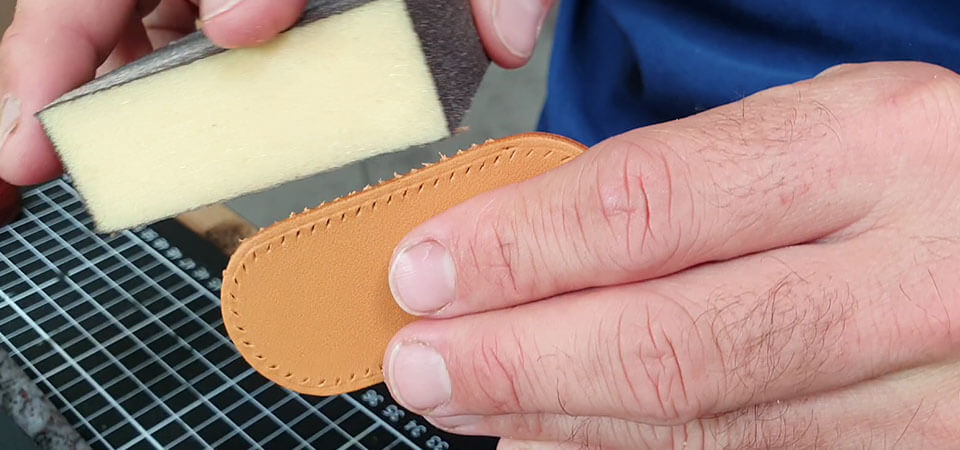
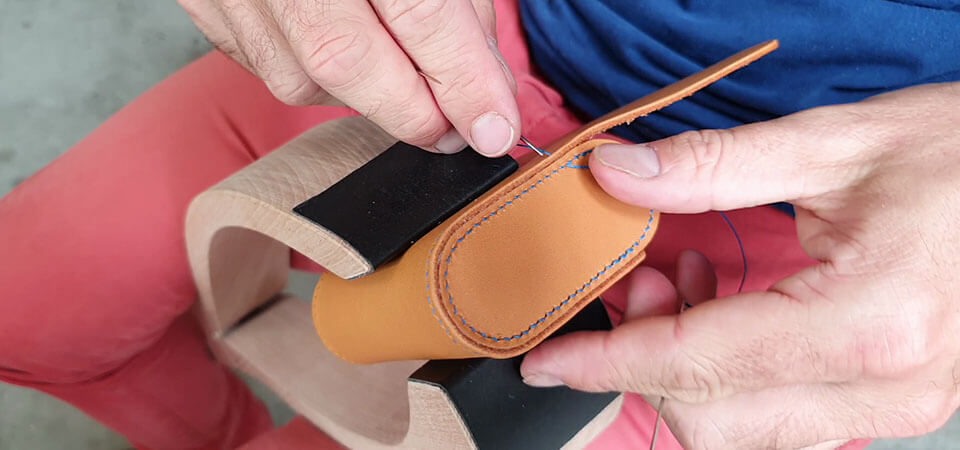
8. SEW THE TOP OF THE SIDES
- Start sewing one stitch below the tack.
- Do not pierce the leather with a diamond-shaped awl but a round one because there is a double scratch on the leather .
- Make sure the round awl is in the center of the point.
- Same technique as the saddle stitch without the comma (do not pass the thread over the needle).
 Do not make the 3 stopping stitches but bring the thread out into the edge (aesthetic reasons) and make a knot.
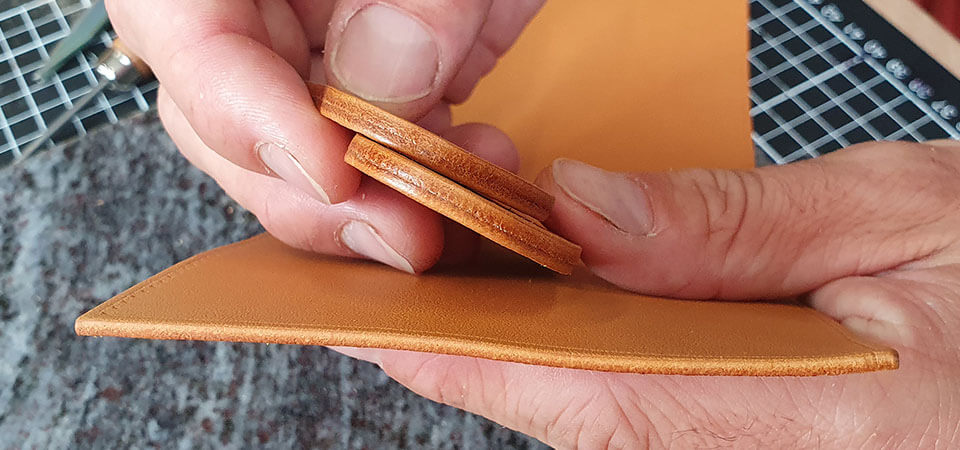
9. GLUE THE PARTS TO BE ASSEMBLED
- Glue the parts to be assembled with water-based glue.
- Mark the first scratch with a round awl to know where to start the glue line. Then make a 4-5 mm glue line.
- Wait a few minutes before gluing the pieces together.
 Glue the top of the main piece flush with the stitching. Make sure the sides are aligned.
To strengthen the bond, tap gently with a riveting hammer. 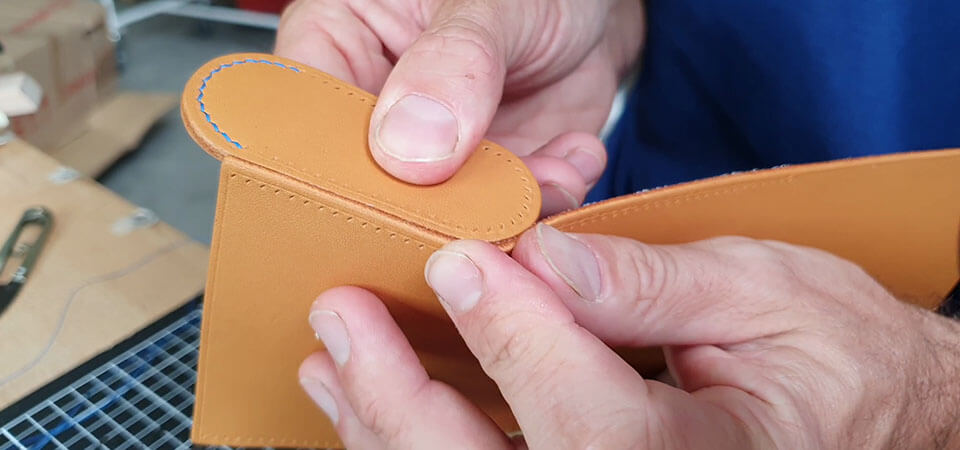
10. START THE CORNER SEAM
To better hold the saddle clip: shape your Choupette© by filling it with a cloth or a block of cork.
- Start sewing at the 4th stitch and make 3 double stitches.
- Do not tighten the stitches too much so as not to crush the leather.
- As before, sew with a round awl and do not make a comma because it is double-stitched.
11. SEW THE CURVES AND MISSING STITCHES
When the points start to be offset in the roundings, you need to create missing points to fill the offsets .
The offset is made because there are more stitches on the outer part of the Choupette© than on the side because the "path is longer".
To make a missing stitch and thus fill a gap, you have to move forward one stitch on one side and return to the previous stitch on the other side (see image or video) - always with a round awl. On the Choupette side, the stitch is made in the material (V-seam - hidden stitch).
As soon as there is a gap, you will need to make a missing stitch. For your information, we made 4 missing stitches on each side of La Choupette©. If a missing stitch was created on one side of a piece, it will need to be done on the other side (symmetry).  When the rounding seam is finished, resume a "normal" seam (end of the missing stitches).
- Make the 3 stop stitches and sew the second side of the Choupette©.
- Cut the thread flush and apply a dot of glue.
- With a smoother, “smooth” the seam.
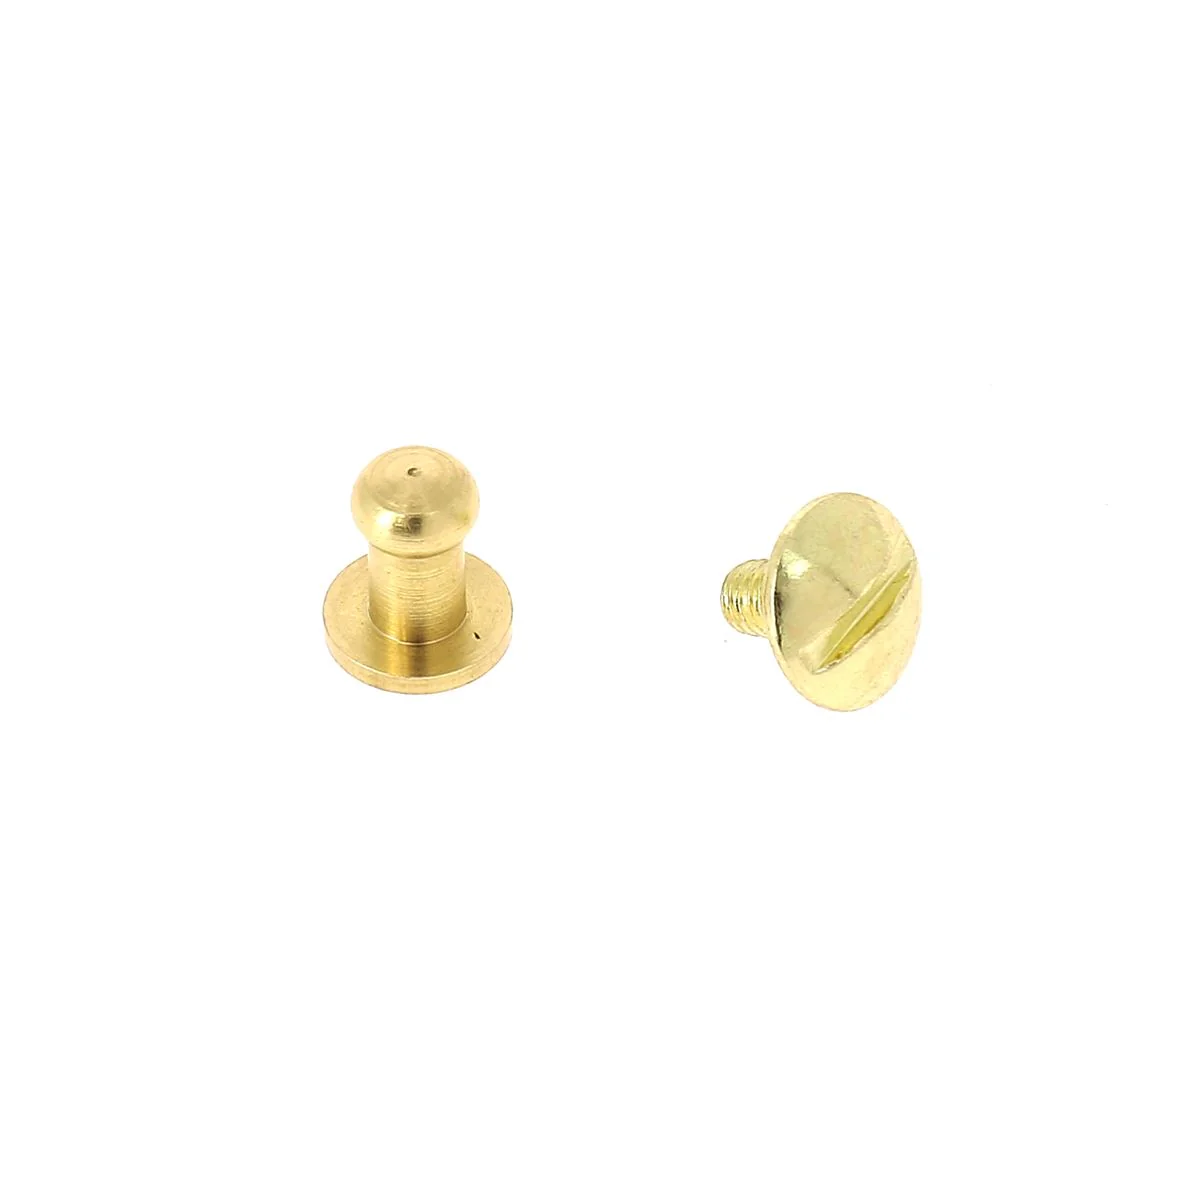
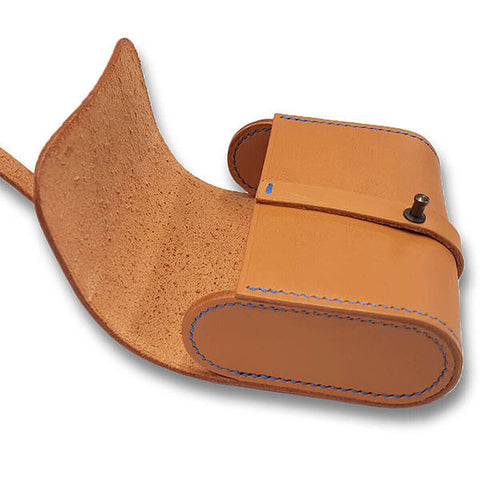
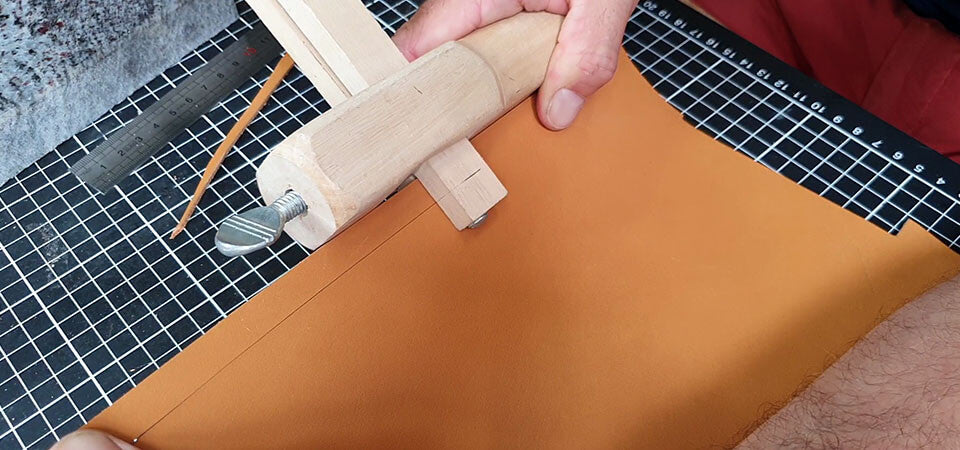
12. CLOSE THE CHOUPETTE© WITH A STRAP AND A COLLAR BUTTON
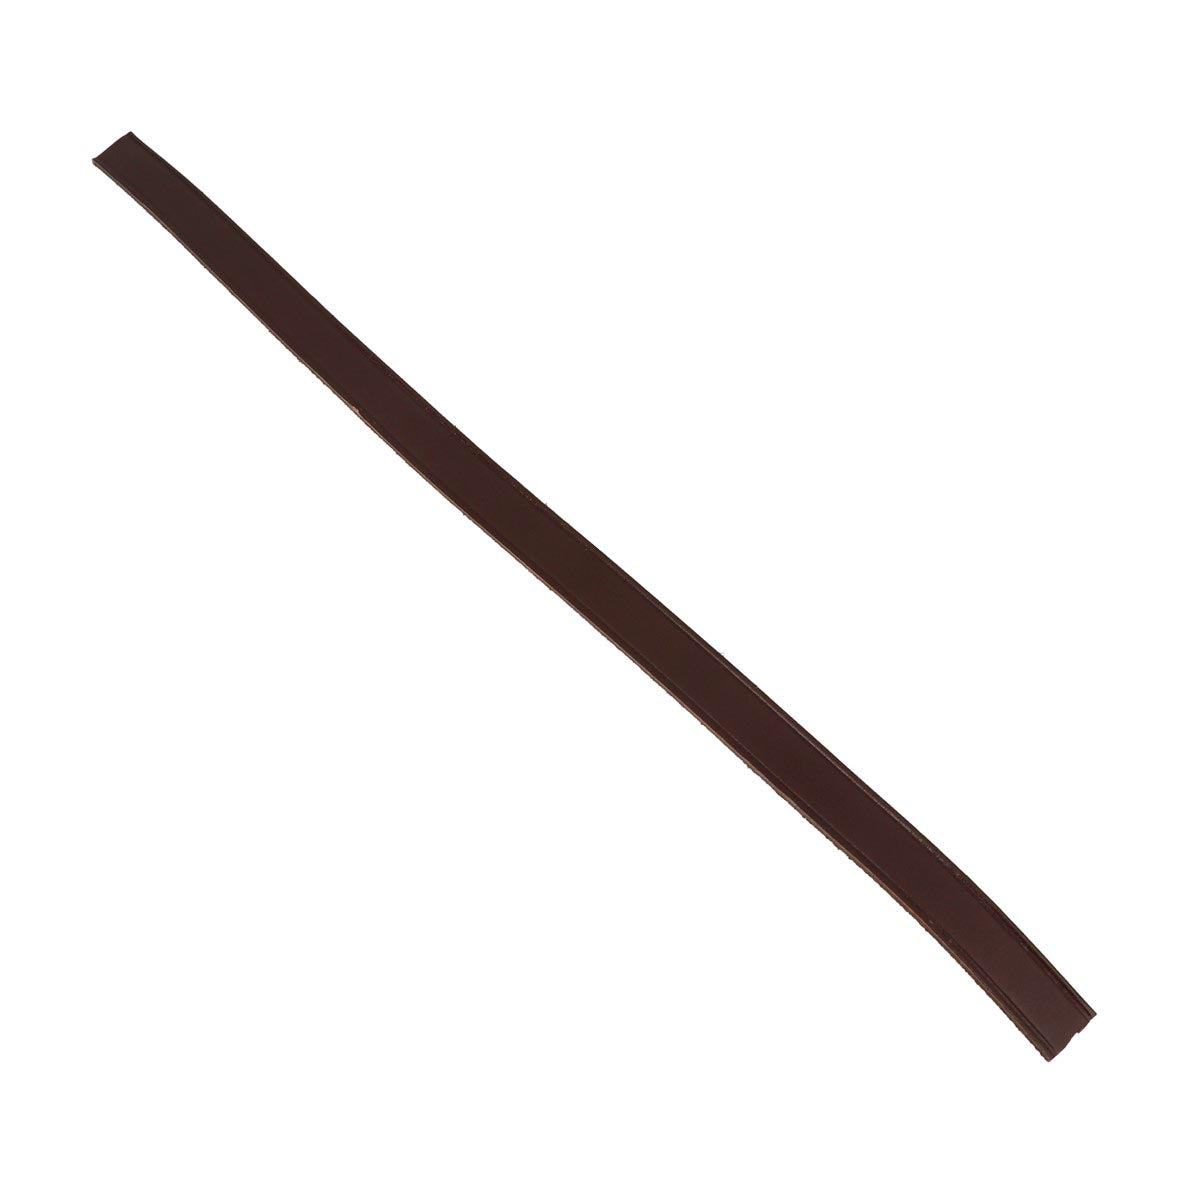
- Using a strap cutter, cut a leather strap: length 27 cm - width 13 mm - thickness 1.8 mm.
- Then make a decorative line and work the edges with a finishing gum (Tokonole, gum tragacanth and gum arabic).
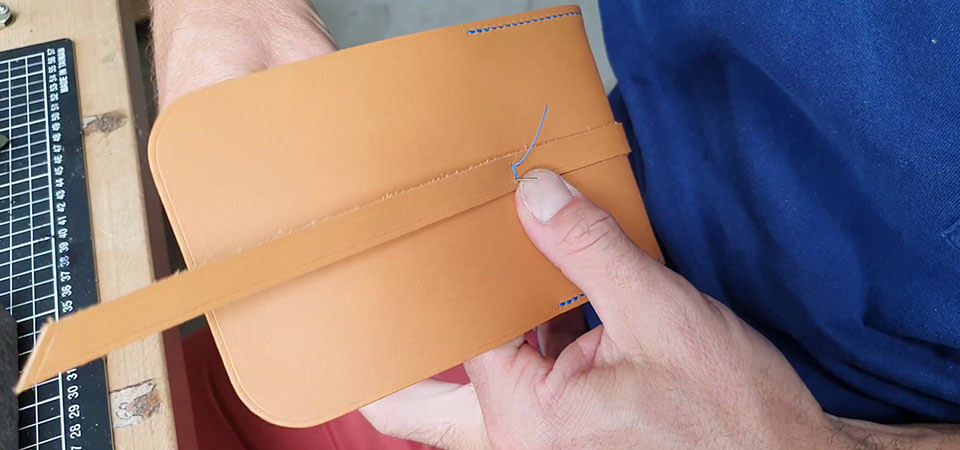
- Make 2 double crochet stitches (pass the thread at least 3 times) to attach the strap to the Choupette©
- Place the T3 collar button using a 3 mm round punch and a collar button punch (see video).
THANKS TO PAUL FOR SHARING THIS AND HIS EXPERTISE
WHERE TO TRAIN IN CORNER SEWING?
Come and learn corner sewing and make a Choupette© during a training day at our premises located in Campbon between Nantes and Saint-Nazaire (44 - Loire Altantique).
LEARN MORE >


3 comments
Deco Cuir
Bonjour,
Effectivement pour la confection de la Choupette et notamment lors de couture d’angle il ne faut pas tourner la pièce pour que le filet soit toujours à droite auquel cas il risque d’avoir un décalage (entre les coutures des 2 côtés). Normalement en couture les lignes finissent toujours par se rejoindre (c’est pourquoi on griffe toujours avec le filet à droite). Mais dans le cas de la couture d’angle les 2 lignes sont parallèles, le cas est donc exceptionnel 😊
Pour le double griffage nous n’utilisons pas d’alêne aux pinces au moment de la couture mais une alêne ronde (pour éviter de faire « des croix »), il ne faut donc pas des griffes inversées. Je vous invite à lire l’étape 8 « Coudre le haut des côtés ». L’alêne aux pinces va pré-percer les points de couture « en biais » => voir l’étape 7 « Pré-percer les côtés avant couture ».
J’espère que cela vous aidera 😊
Bonne journée,
Bien cordialement,
L’équipe Deco Cuir
Pierre Prié
Bonjour,
Objet trés intéressant pour s’initier a la couture d’angles.
J’ai quelques questions :
- “Exceptionnellement pour l’autre côté, griffer avec le filet à gauche (ne pas retourner la pièce).” => Pourquoi est-ce exceptionnel de faire comme ca ?
- “DOUBLE-GRIFFAGE DU CÔTÉ SUPÉRIEUR” => Pour faire le double griffage, il faut donc utiliser une criffe inversé sur l’autre coté ? pour que la direction de la griffe soit indentique des deux coté ? sinon on obtient une sorte de motif en croix ?
Merci pour votre aide !
Pierre
raphaël duchesne
Super tutoriel !!!
Vous êtes mon nouveau site préféré…
Merci !