


THE NECESSARY EQUIPMENT
To complete this tutorial, you will need:
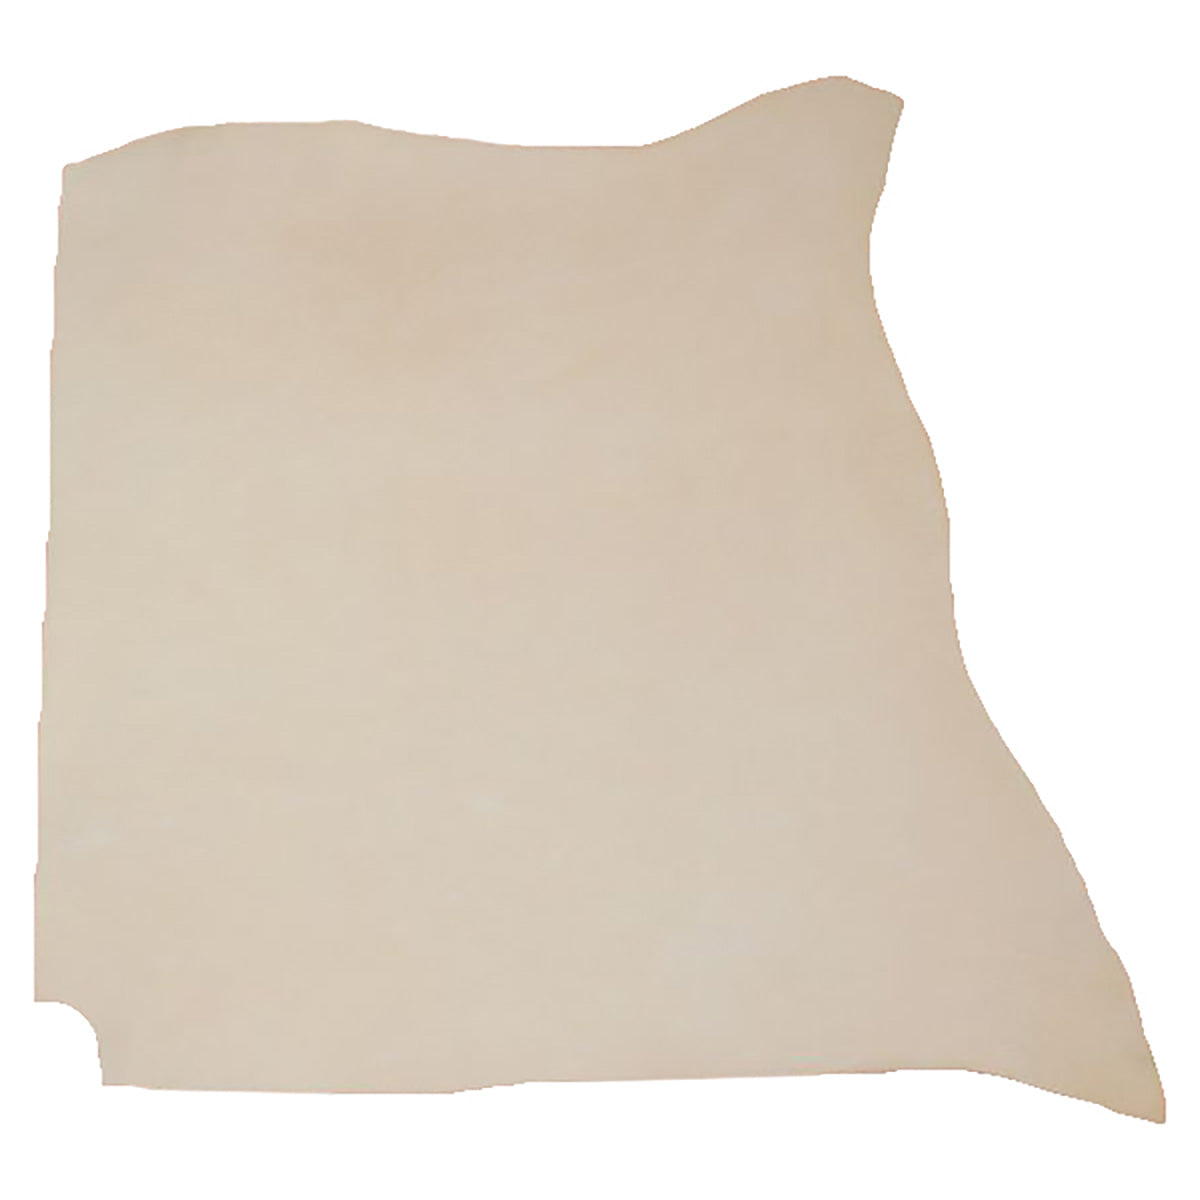
- 1 natural classic vegetable half neck
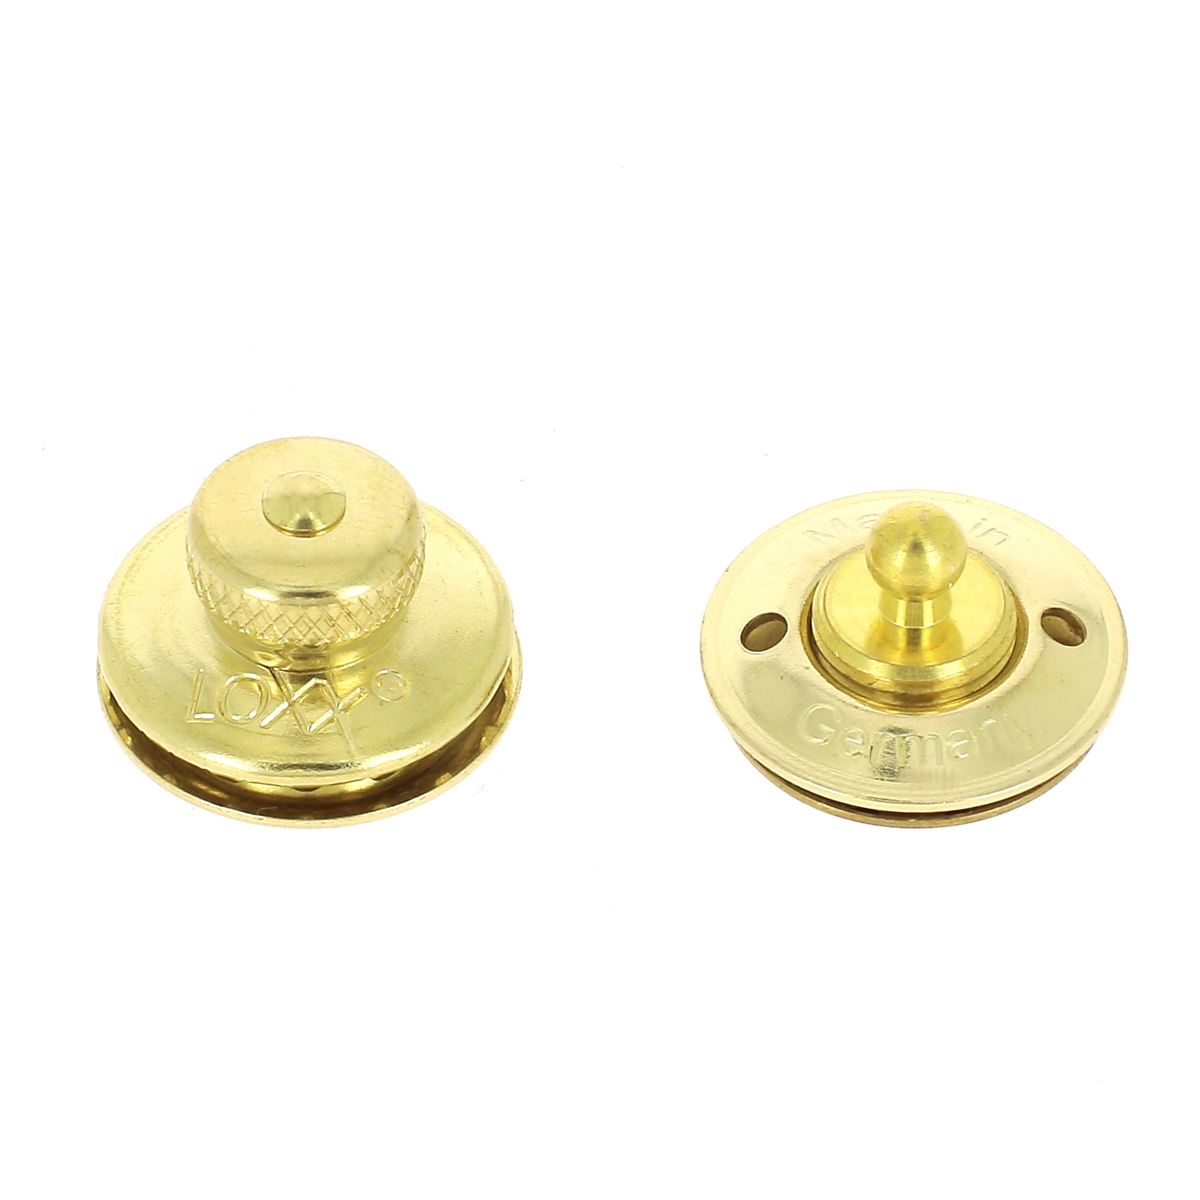
- 1 Loxx self-locking closure
- 1 jar of neatsfoot oil
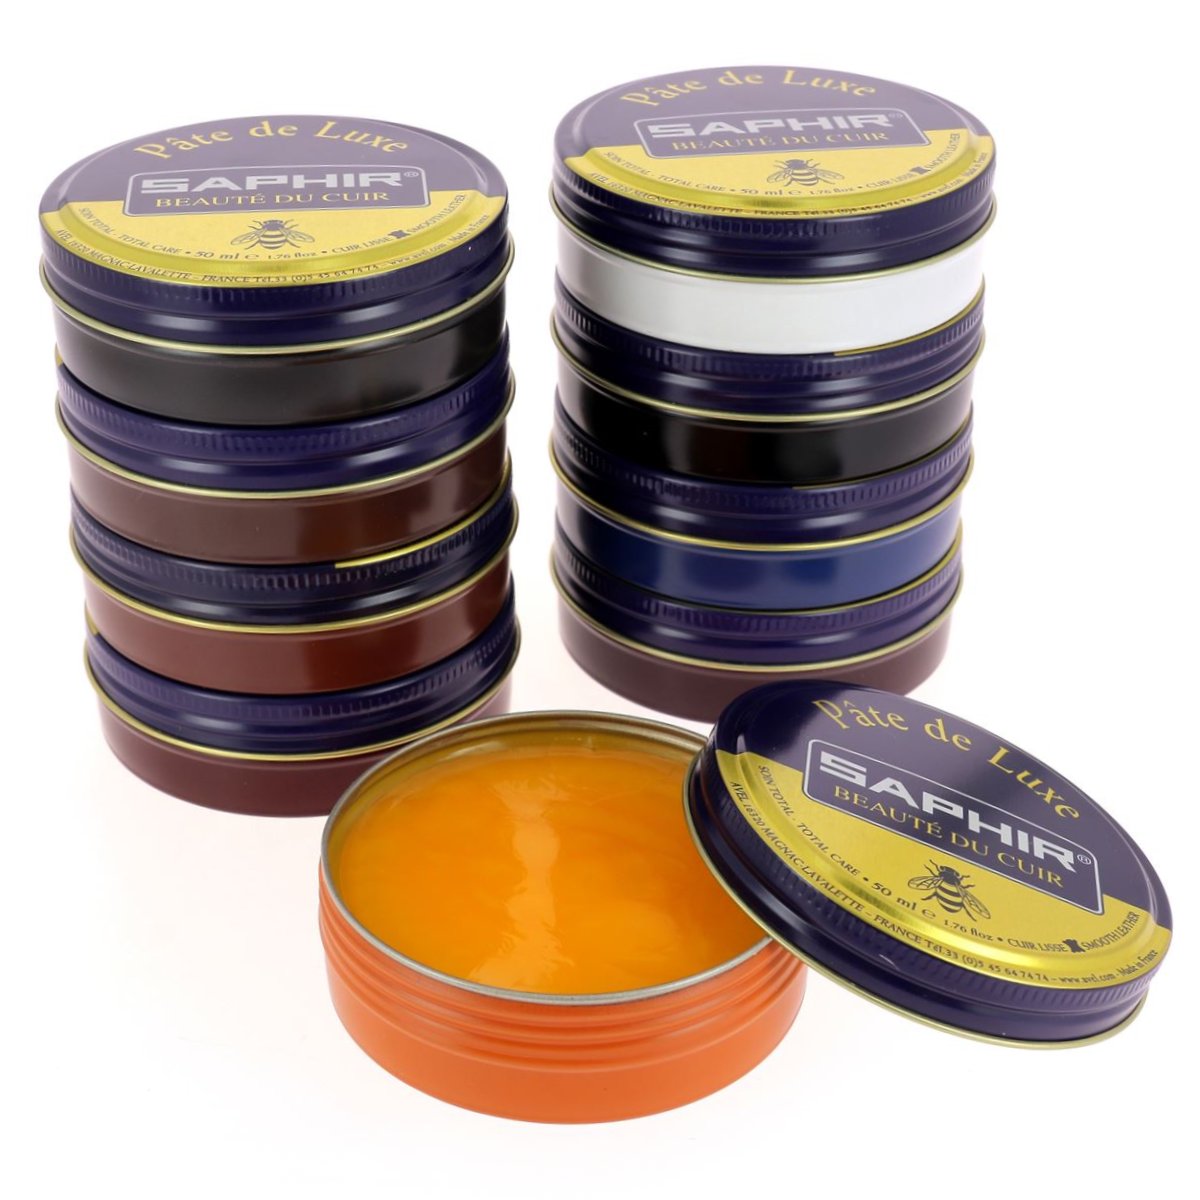
- 1 jar of luxury paste shoe polish
- 1 jar of tokonole
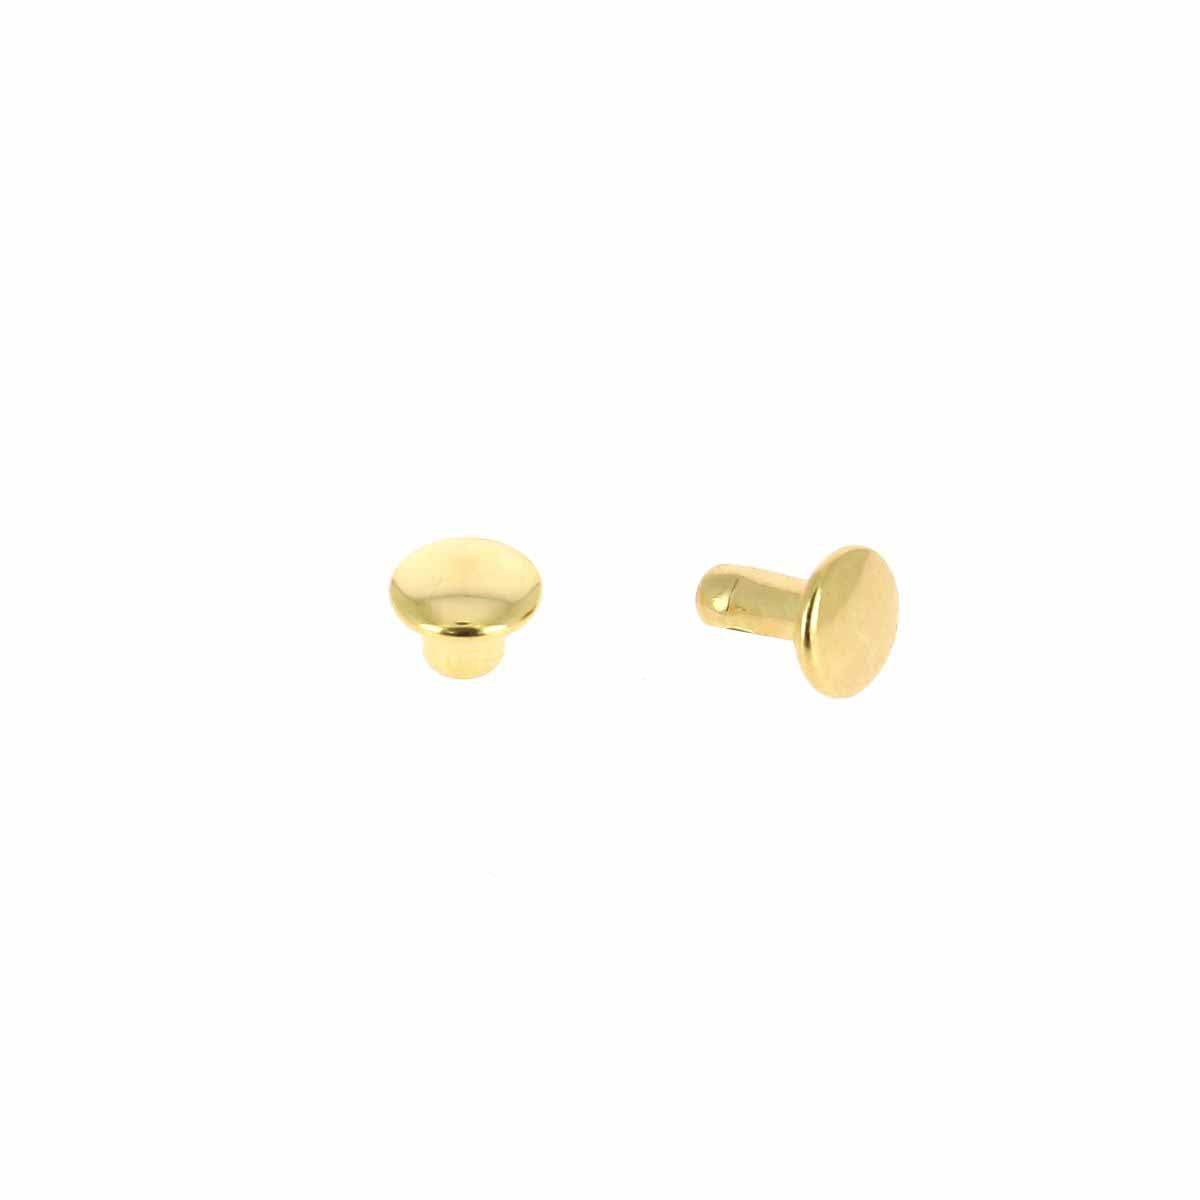
- 1 set of T4 double cap rivets
- 1 set of T2 double cap rivets
- 1 brass scabbard "The essential"
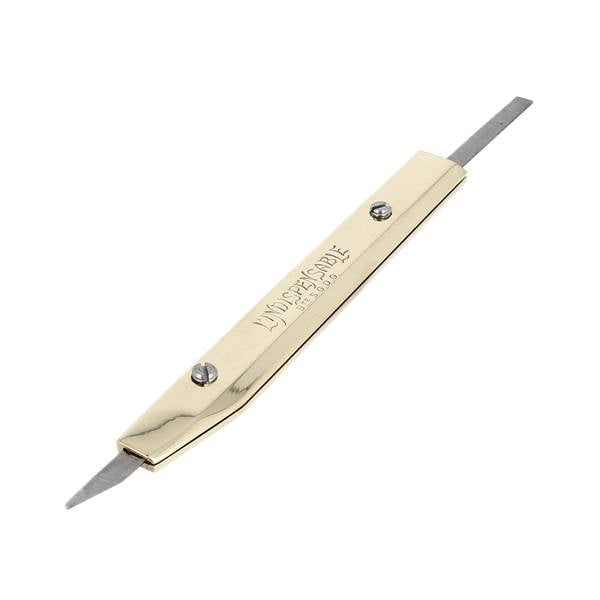
- 1 leather strop for sharpening tools
- 1 saddler's mark 04 cm
- 1 dual function tree frog - economical
- 2 installation sets for rivets (T4 and T2) as well as their installation tools
FRENCH VERSION
VERSION FRANCAISE
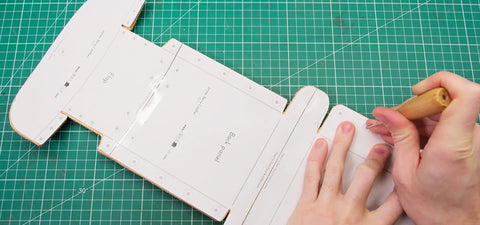
1. PRINT AND CUT THE PATTERN
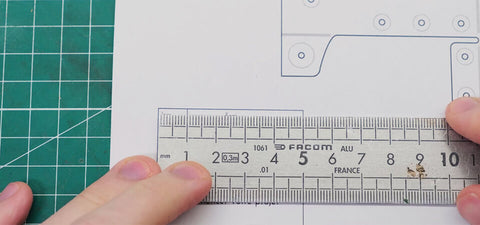
Download (at the top of the page in the "Pattern" tab) and print the PDF pattern on A4 paper. Be careful to respect the original size of the document - check the Printing Guide on the last page.
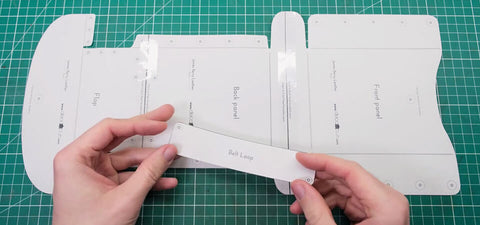
Cut out the pattern and assemble the 3 main parts together using adhesive tape - if possible stick the pattern on thin cardboard to facilitate the realization.
- Download (at the top of the page in the "Template" tab) and print PDF file on A4 paper, making sure your printer settings respect the original scale of the document (check Print Guide on the last page).
- Cut out paper template and assemble all 3 pieces together using tape - glue the paper template to card stock if possible.
|
 |
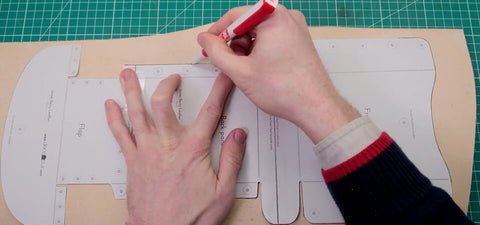
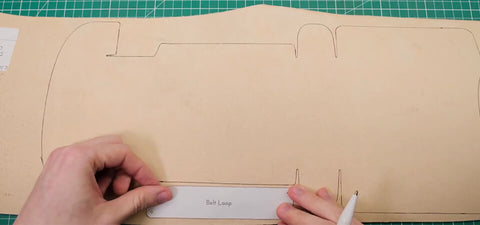
2. TRACE THE PATTERN ON THE VEGETABLE TANNED LEATHER
With a silver pencil or tracer: trace the shape of the pattern and the two belt loops on the leather.
- Using cut-out template, scribe the pattern and two belt loops onto the leather.
 |
 |
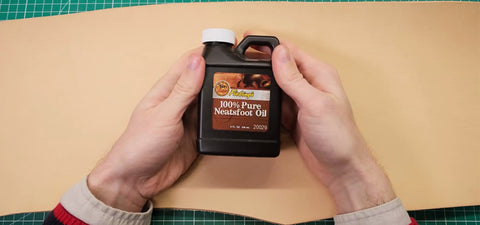
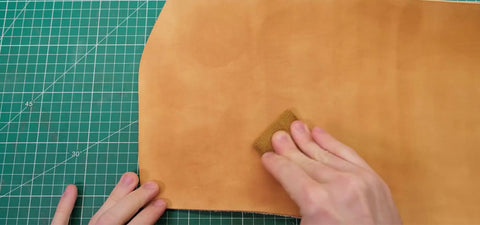
3. TINTING THE VEGETABLE-TANNED LEATHER
In his video, James Berry opted not to tint his leather (with a dye) but to give it a light color and nourish it with neatsfoot oil.
Before applying neatsfoot oil, cut off excess leather.
Apply the oil with a sponge (the marks on the leather will fade very quickly).
- (Optional) Apply neatsfoot oil or dye to your leather according to your preference.
 |
 |
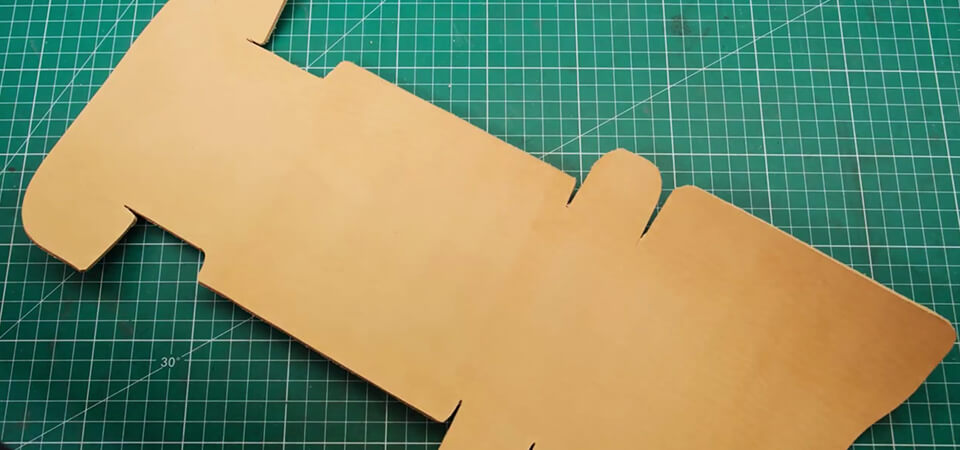
4. CUT THE LEATHER USING THE PATTERN
Cut the leather, with a knife or cutter, following the lines drawn.
Do not hesitate to regularly sharpen your tools to cut the leather effortlessly.
LEARN MORE ABOUT SHARPENING >
- Cut leather along your scribed lines.
 |
 |
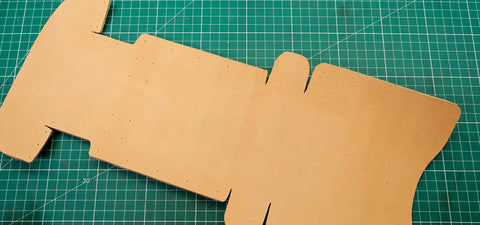
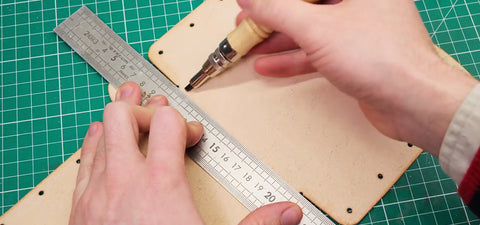
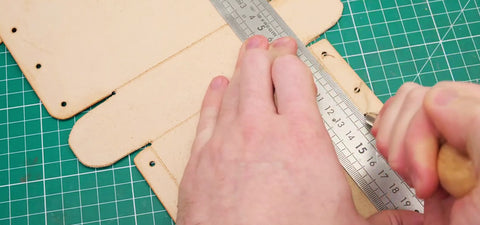
5. MARK THE POSITION OF THE HOLES
Mark with a punch the location of the holes for the rivets and the clasp of the pocket.
- Mark the rivet placement using an awl or pointed instrument
 |
 |
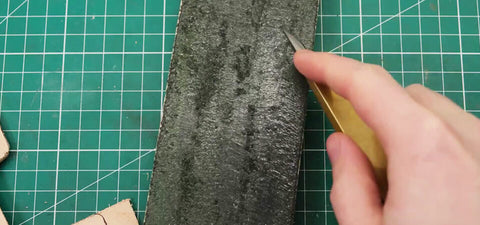
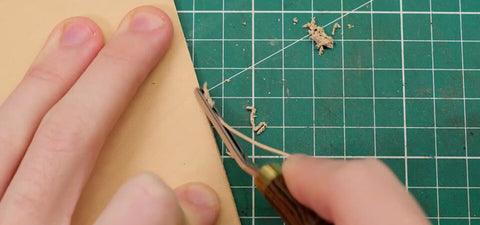
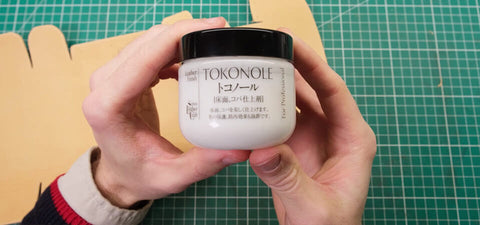
6. WORK THE SLICES WITH A FINISHING GUM
Prepare your slices with an edge trimmer and burnish your edges all around the different pieces of leather with a finishing gum: tokonole, gum arabic, gum tragacanth...
LEARN MORE ABOUT TOKONOLE >
- Dress and burn the edges all around your pieces.
 |
 |
7. MAKE THE HOLES FOR THE RIVETS
Using a 2mm diameter round cookie cutter, make the holes for the rivets in the locations provided.
To have a clean cut and preserve your cookie cutter tips, we advise you to put a piece of "martyrdom" leather between the leather and the pile.
- Punch all the holes indicated in the pattern with a 2mm hole punch
 |
 |
8. MAKE GROOVES FOR THE FOLDS
Using a tree frog, draw grooves on the inside of the bag at the places of the folds indicated on the pattern (grey lines). You can also make folding easier by moistening the leather.
- Cut grooves on the inside of the leather along the fold marks indicated on the pattern (grey lines).
 |
 |
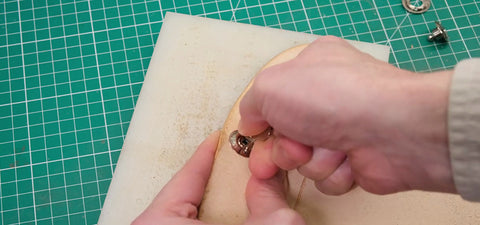
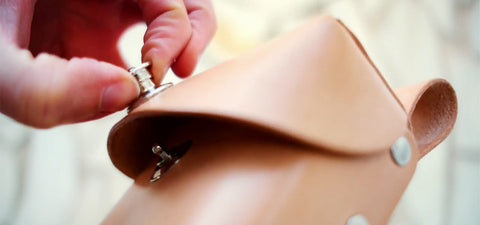
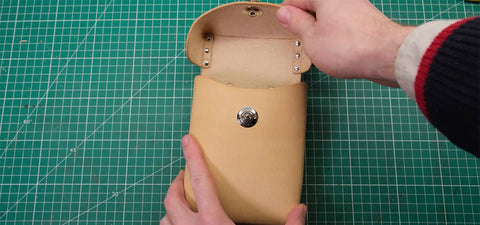
9. INSTALL THE LOXX CLASP
Make a hole in the leather with an 8 mm diameter punch and place the clasp. Finish tightening with a key for self-locking closure.
- Install the closing mechanism of your choice in the locations recommended on the template.
 |
 |
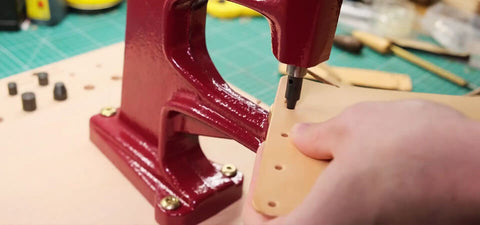
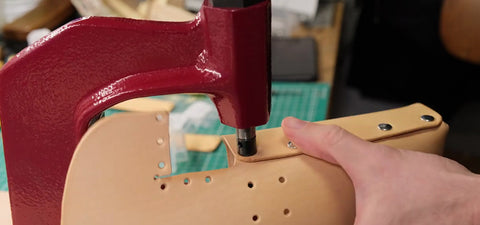
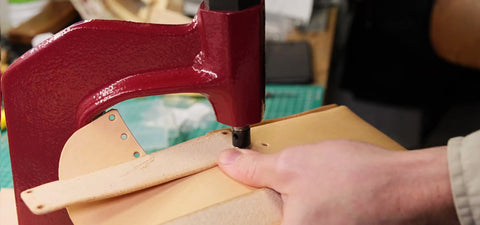
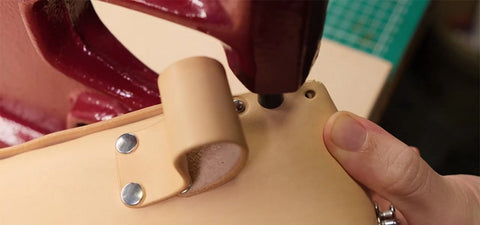
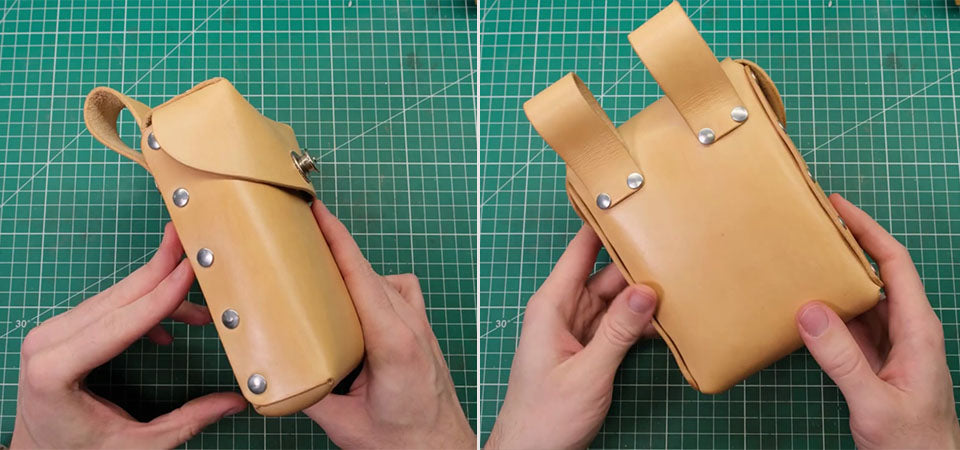
10. INSTALL THE RIVETS
Using a setting tool, set the T4 rivets to the sides of the cover - we recommend mirroring both sides of the cover, working from the bottom up.
Then attach the belt loops to the back of the pouch with rivets.
For the top of the bag, use T2 rivets.
- Using a rivet setting tool, rivet the Belt Loops to the back of the bag.
- Rivet the sides together to form the main bocy of the pouch - it is recommended to work in a parallel motion from one side to the other starting at the bottom of the bag and working your way up.
- Rivet the sides of the flap.
 |
 |
 |
 |
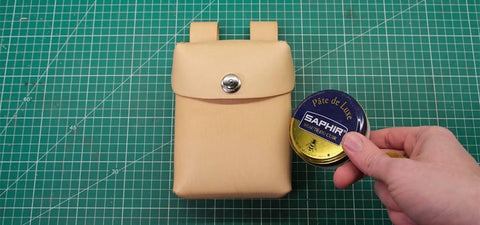
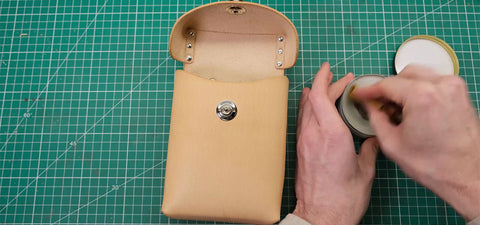
11. FEED LEATHER WITH SAPHIR PASTE
Nourish the leather with the care, maintenance or protection product of your choice.
- Apply the finish of your choice to nourish and protect the leather.
 |
 |
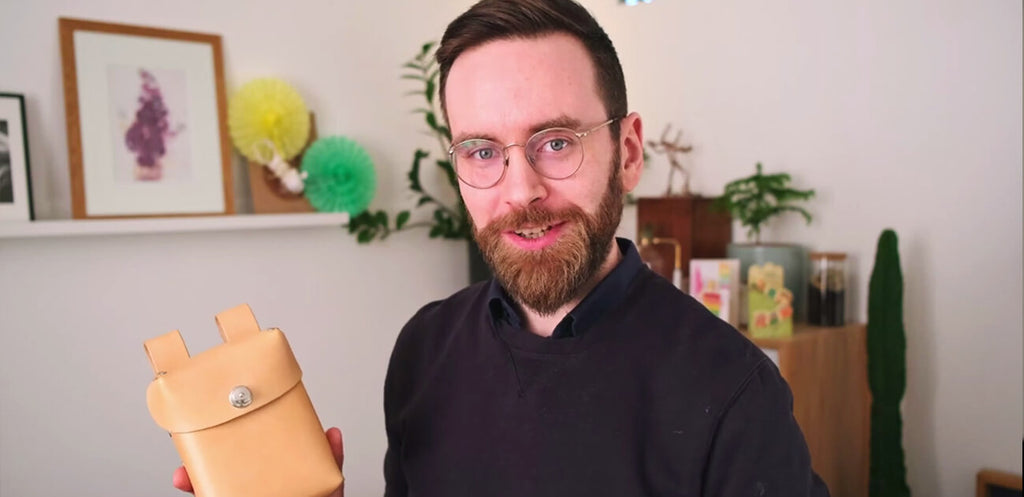
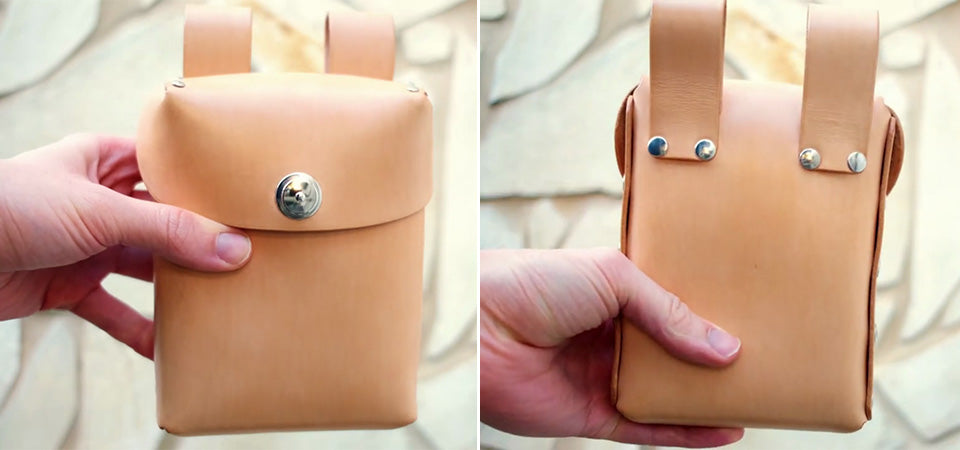
BRAVO, THE BELT POUCH IS COMPLETED!
Your one piece belt pouch is finished! 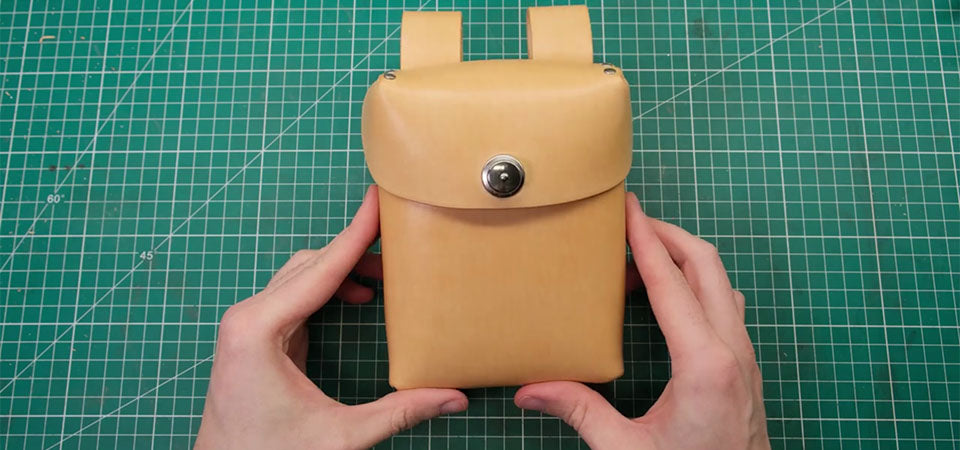
WHO IS JAMES BERRY?
James Berry is passionate about working with leather and especially working with vegetable tanned leather. Through his Youtube channel and his various tutorial videos he makes you discover new techniques.
James Berry is passionate about leatherwork and especially vegetable tanned leather. Through his Youtube channel and his various tutorial videos in English, he introduces you to new techniques.
ACCESS HER YOUTUBE CHANNEL >