THE NECESSARY MATERIALS
To complete this tutorial, you will need:
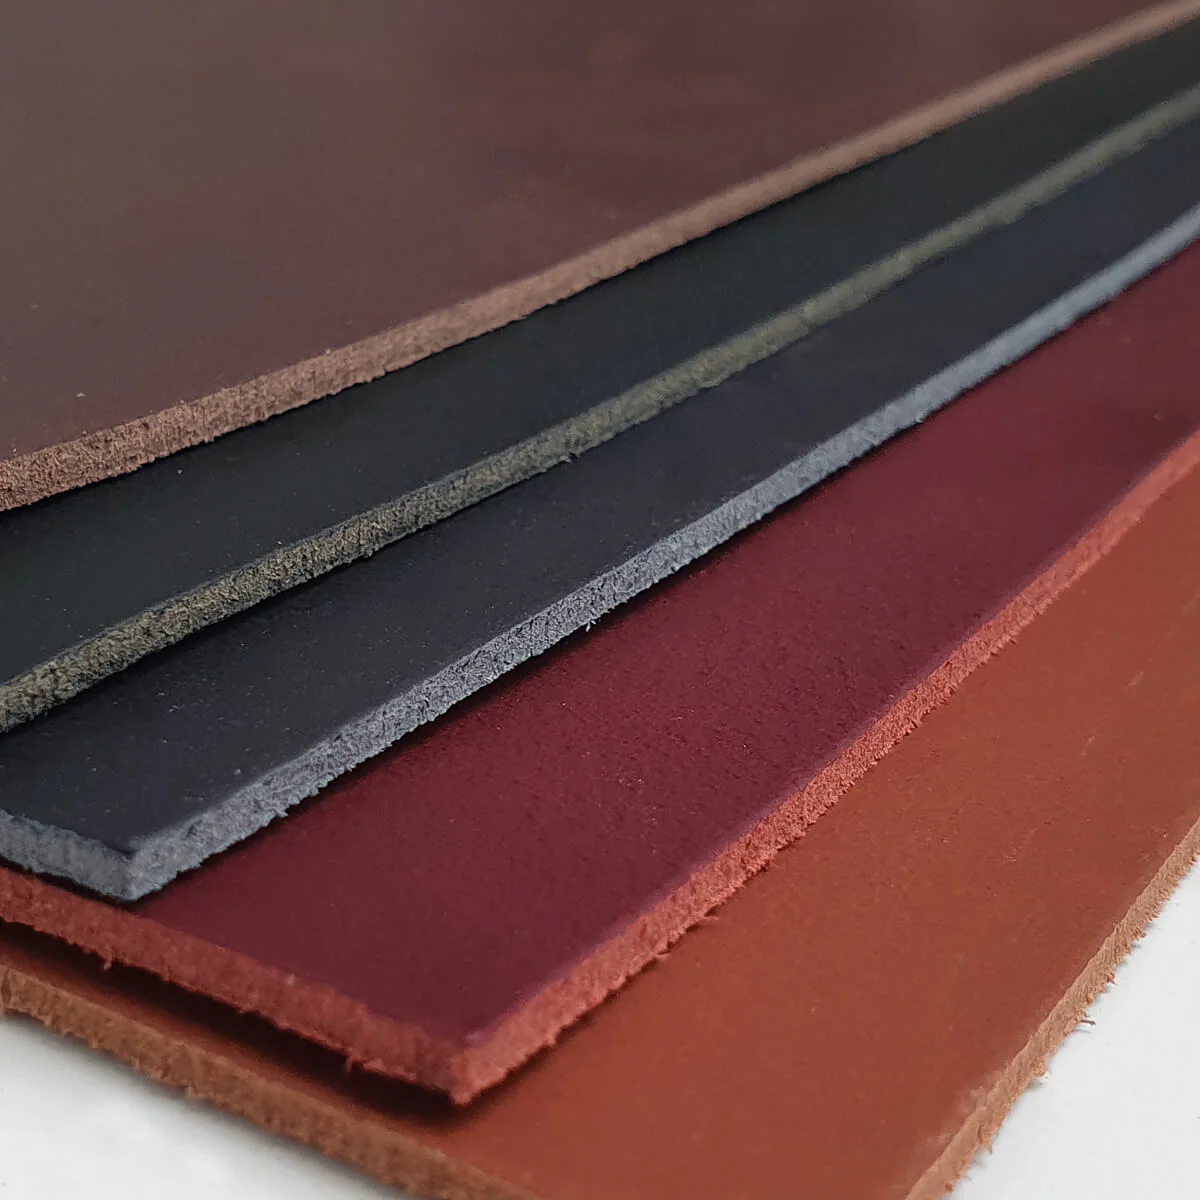
- 1 piece of leather 20x30 cm, approximately 1.5 mm thick
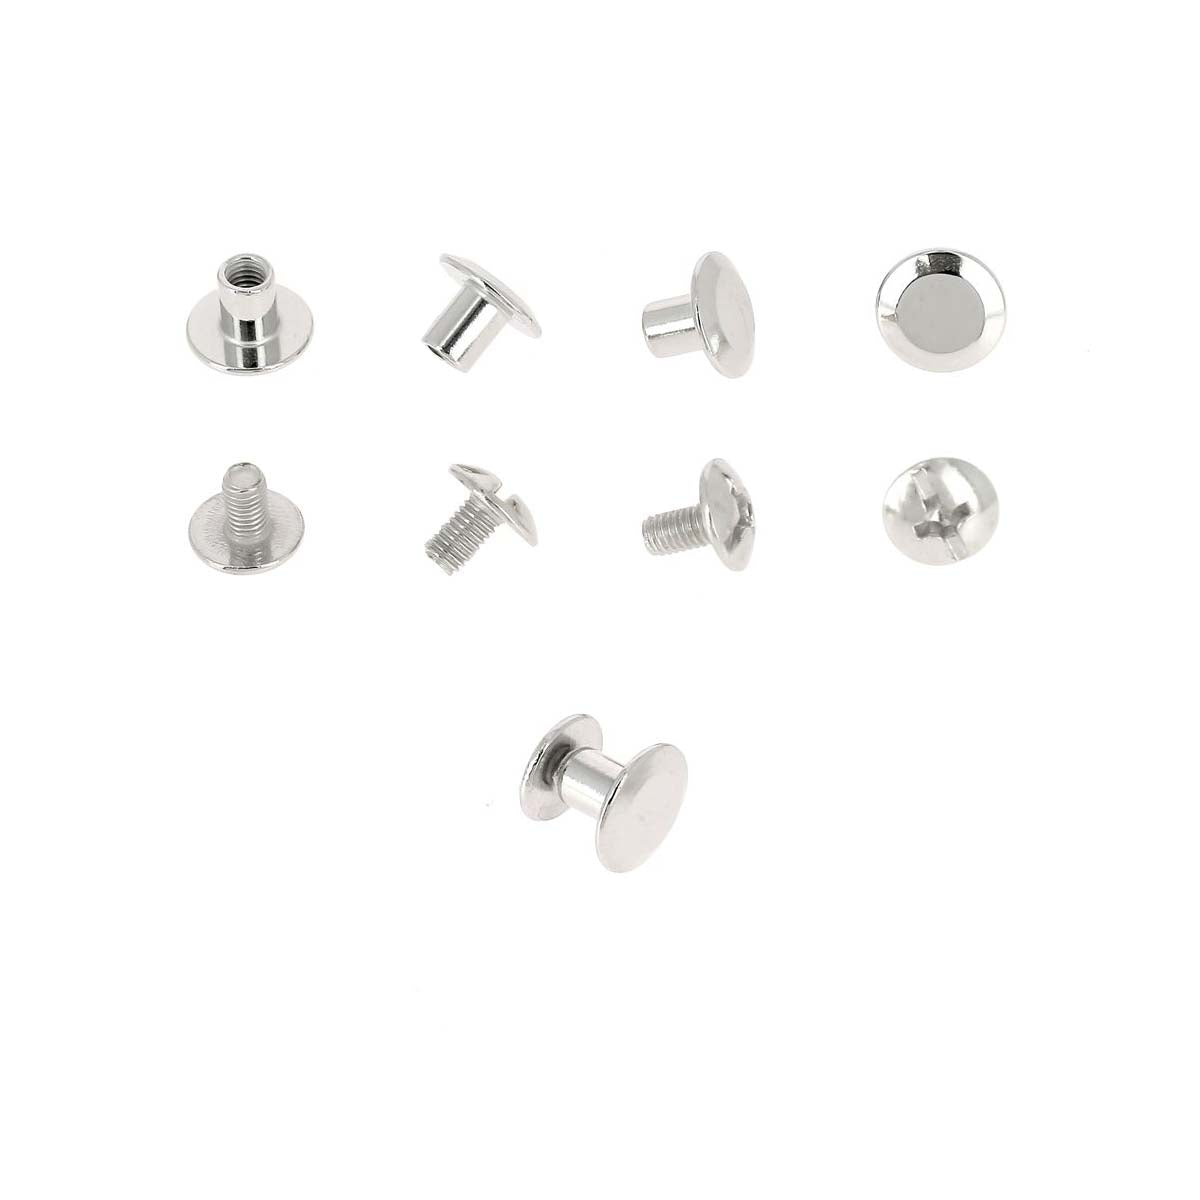
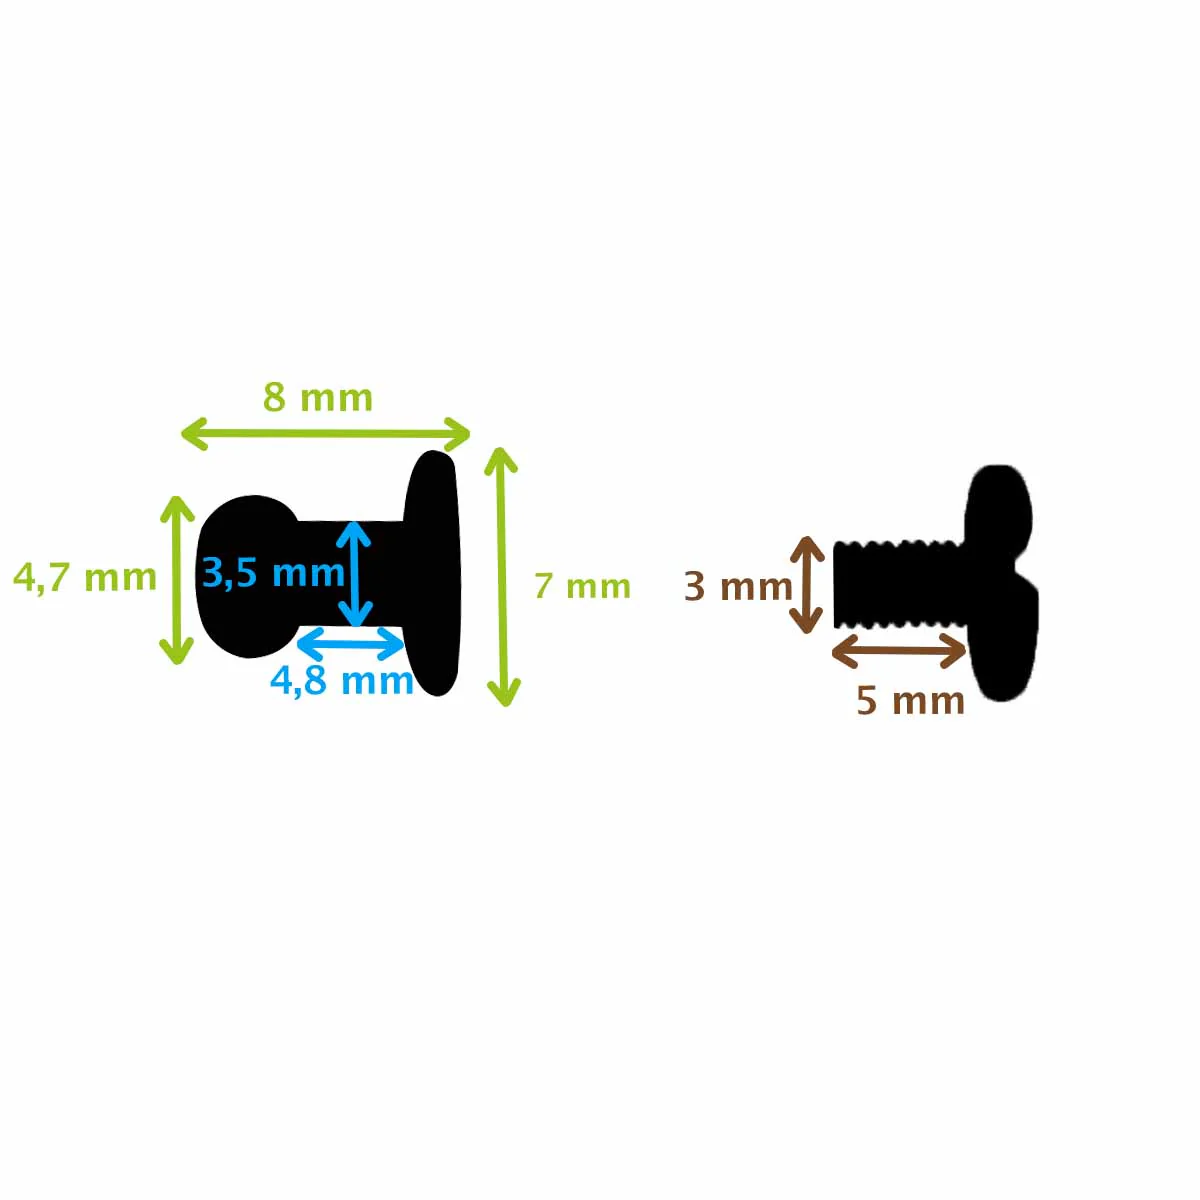
- 6 Chicago screws - 9 mm diameter with 3x7 cm screws
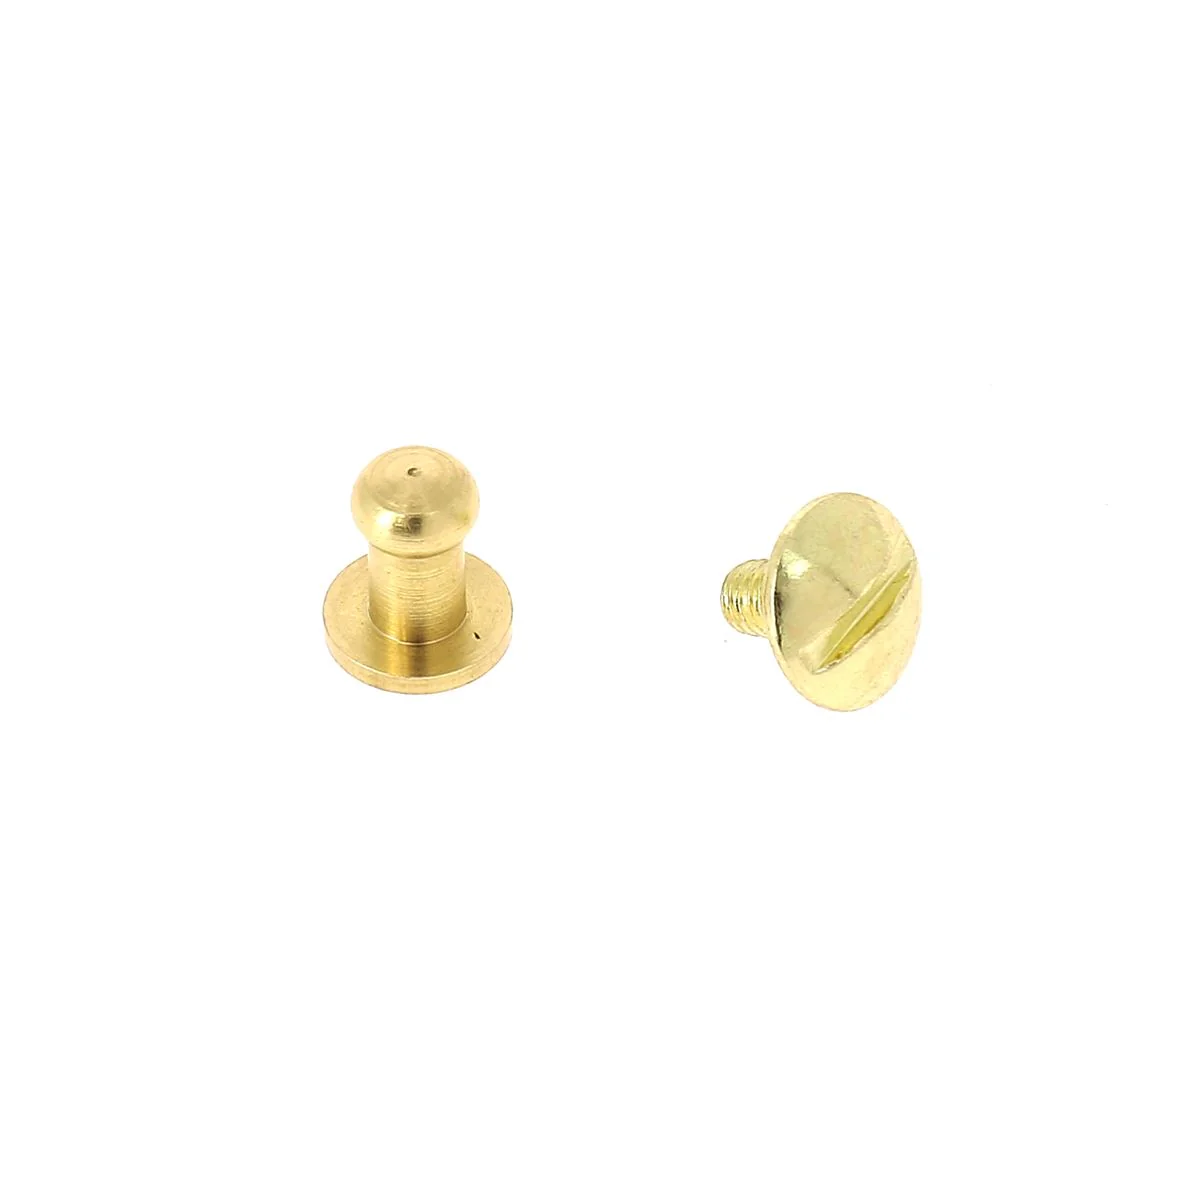
- 2 T3 collar buttons
- 1 punching cutter with a diameter of 3 mm. Not mandatory: a punching cutter with a diameter of at least 11 mm
- A slice finish
- 1 cutter
- 1 metal ruler
- 1 abrasive sponge or sandpaper
- 1 screwdriver
- 1 adhesive tape
1. CUT OUT THE PATTERN
Cut out the pattern, then hold the pieces on the piece of leather using masking tape.
Also cut out two round discs (P4) of at least 11mm which will be used to protect the glasses from the collar buttons. You can either cut it with a cutter (you can also make a 2x2cm square to make the piece easier to cut) or with the help of a round punch cutter. 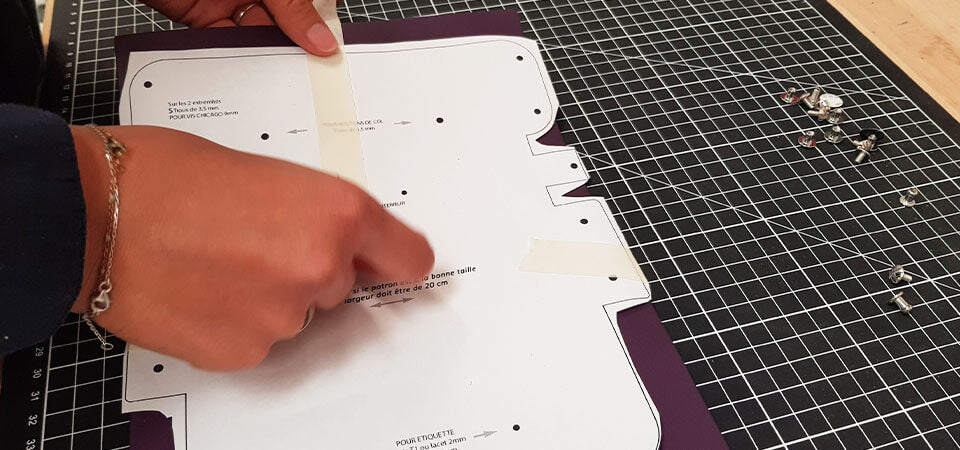
2. DRILL THE HOLES
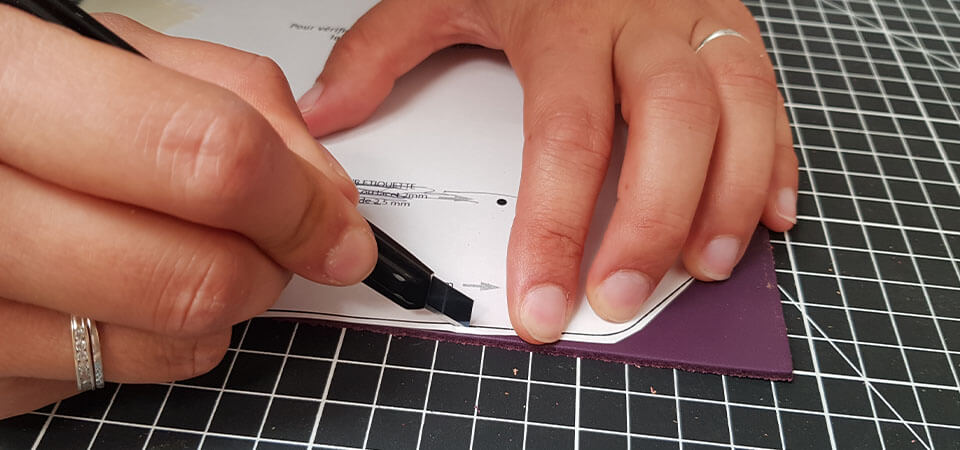
Make the holes using the 3 mm round punch. Then, cut the leather with the cutter. 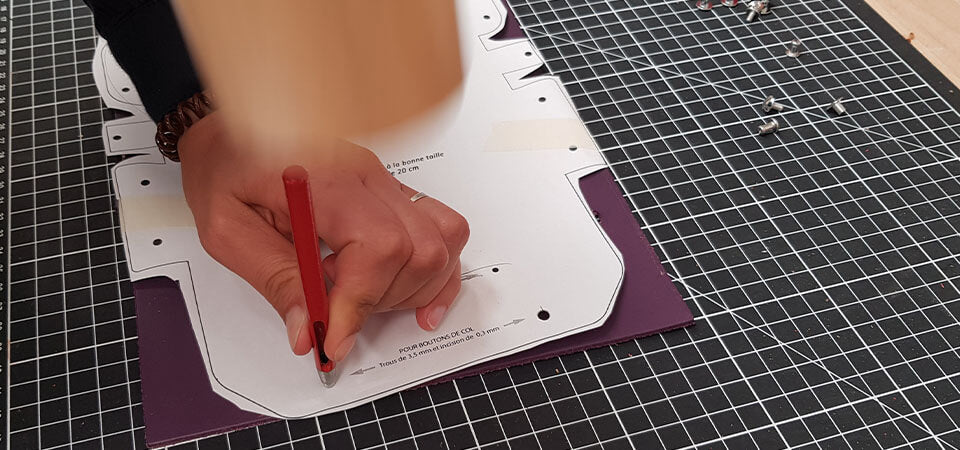
3. Work the edge and the back of the leather
For vegetable-tanned leather: sand the edge of the leather with sandpaper. Apply tragacanth gum with a brush to the back and edge of the leather. Buff with a cloth.
For other leathers, apply an edge dye.
VIDEO AND GUIDE ON GUM TRAGACANTH >
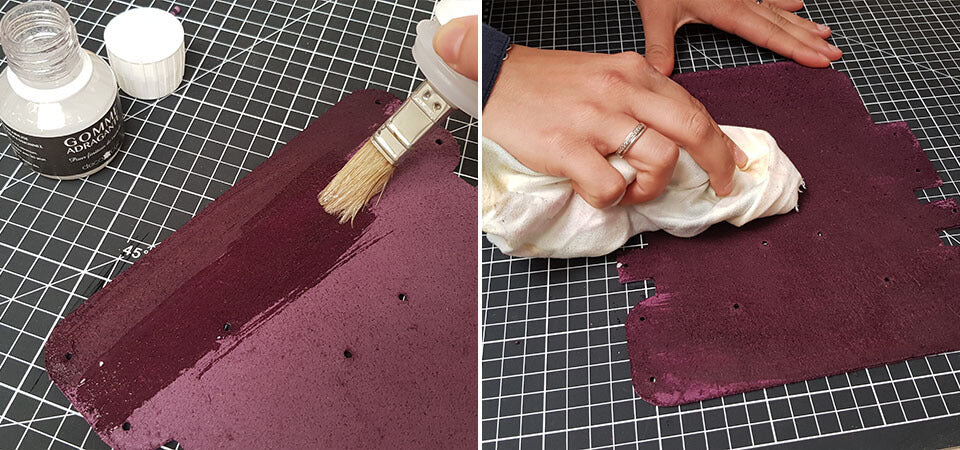
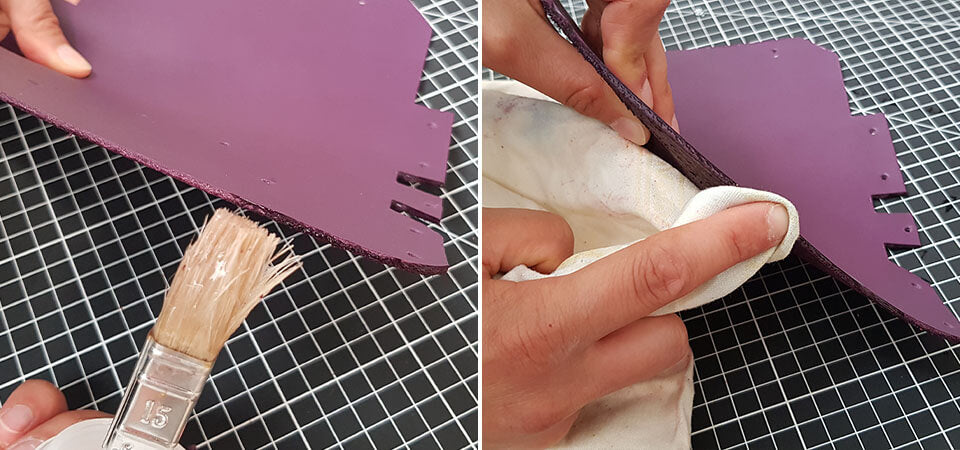
4. Screw the inner support
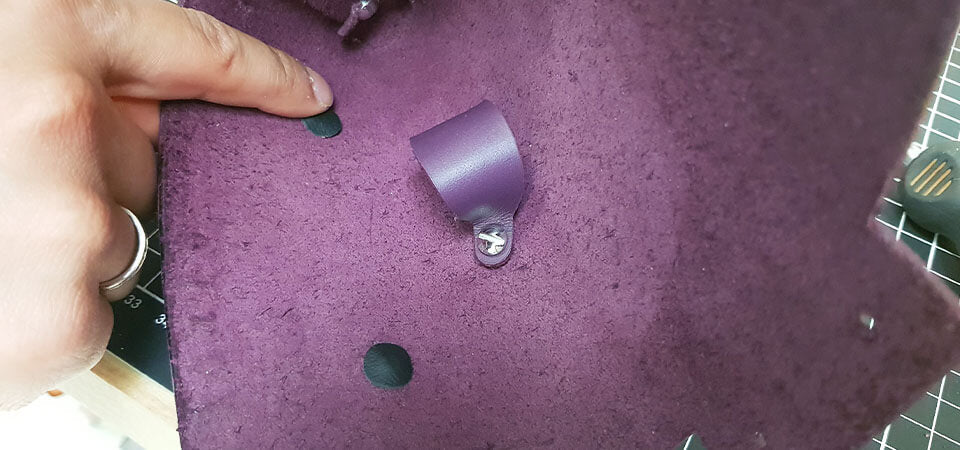
Using Chicago screws, screw part P2 (inner support) into the location provided on the template. This support will hold the glasses inside the case. 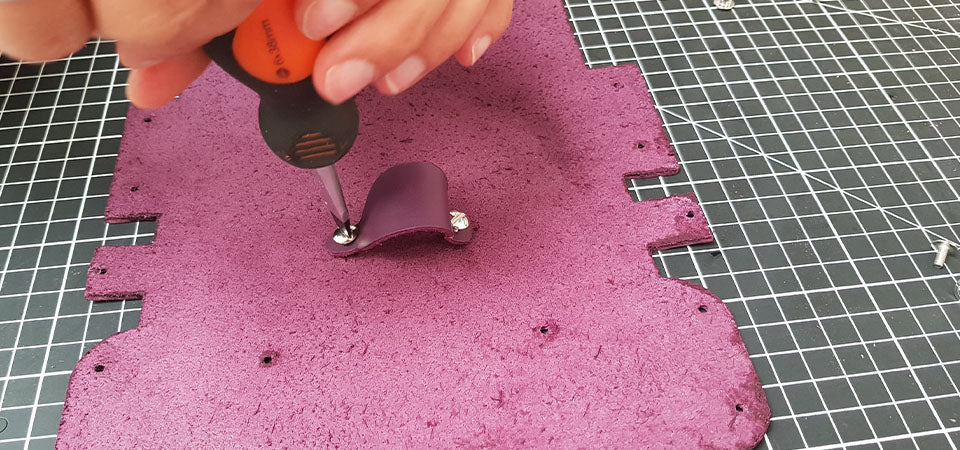
5. SCREW THE COLLAR BUTTONS
Screw the collar studs onto the front of the case.
Then, protect the collar button screws with the small round pieces. Place double-sided tape (3M type) behind the protective rounds and glue them. 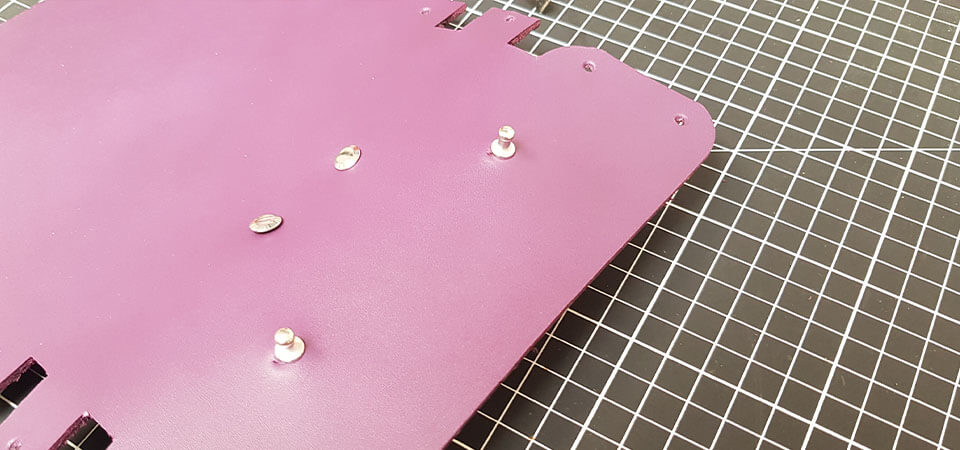
6. OPTION: MAKE A MARKING
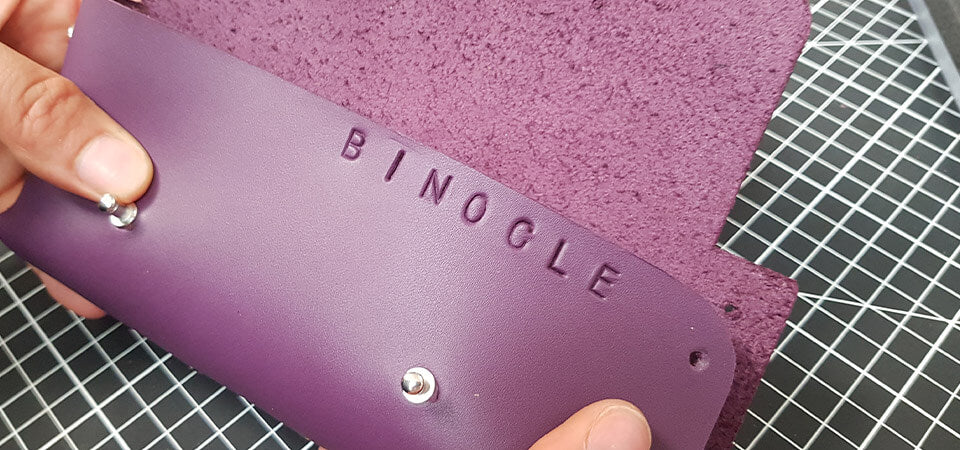
Make a mark on the vegetable-tanned leather. Personalize the case by striking with alphabet stamps.
HOW TO MARK LEATHER? >
7. Install the Chicago screws
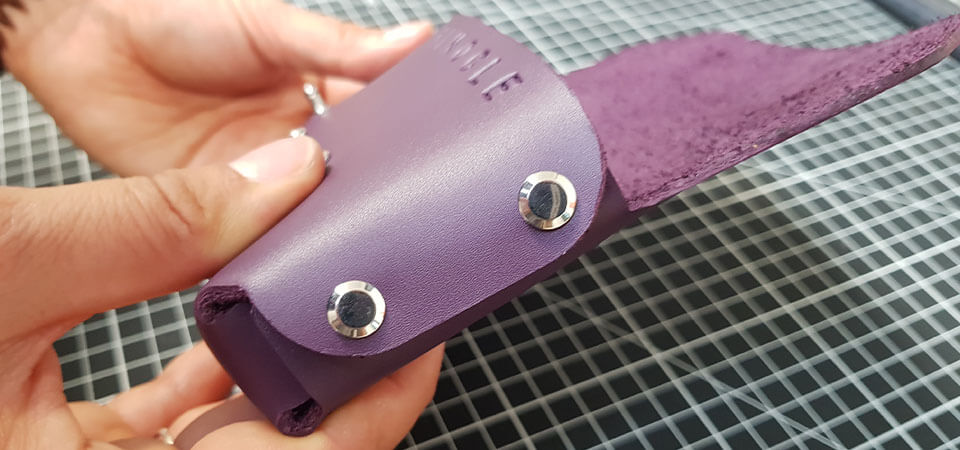
Assemble the case with the remaining 4 Chicago screws. Place the screw head through the front flap, then through the back flap and into the tab. Secure with a screwdriver. 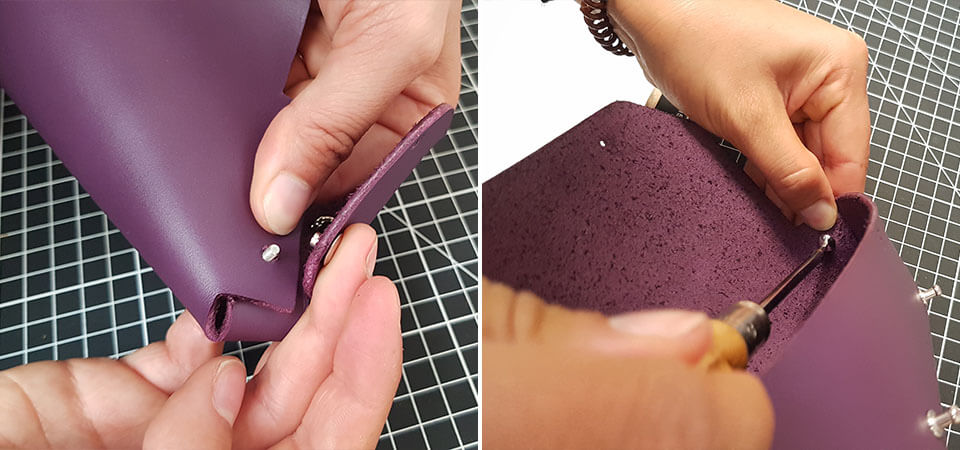
8. MAKE THE INCISIONS FOR THE COLLAR BUTTONS
Make the 3mm incisions for the collar buttons on the flap (see pattern). 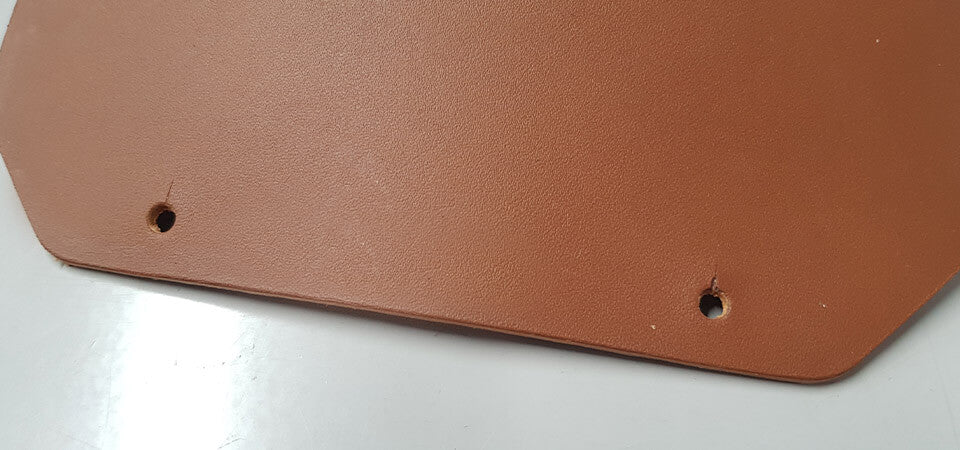
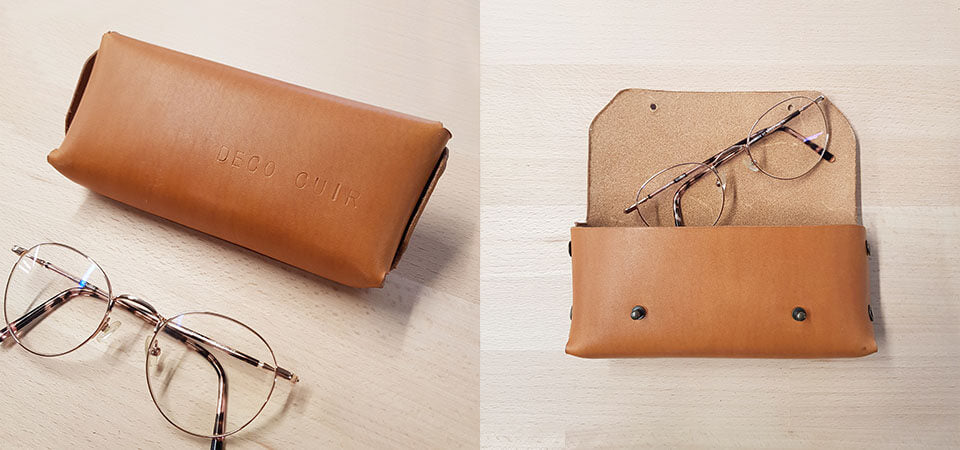
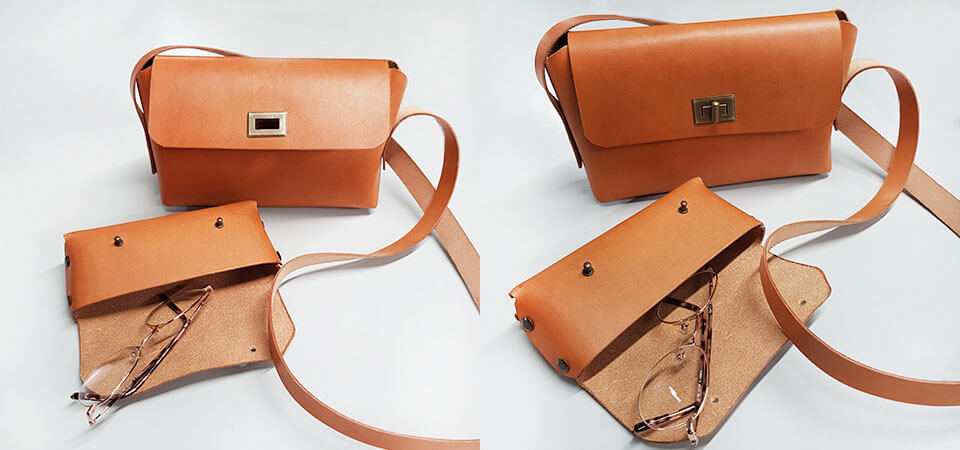
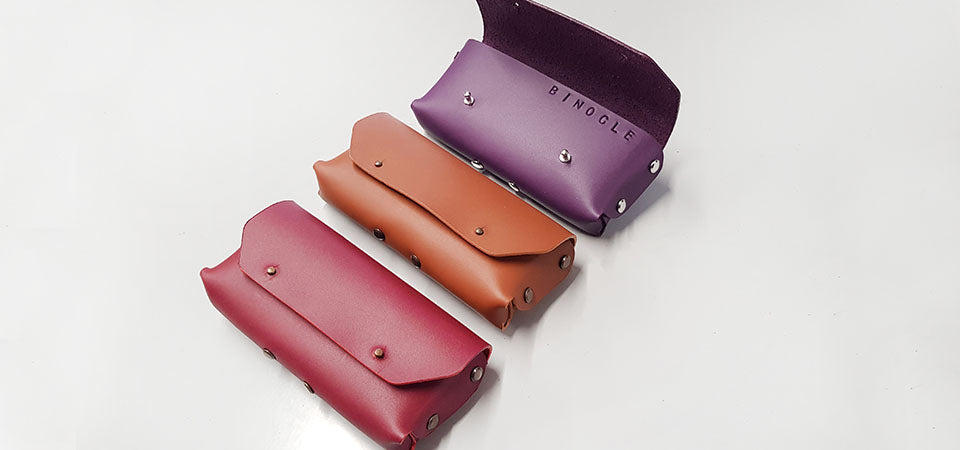
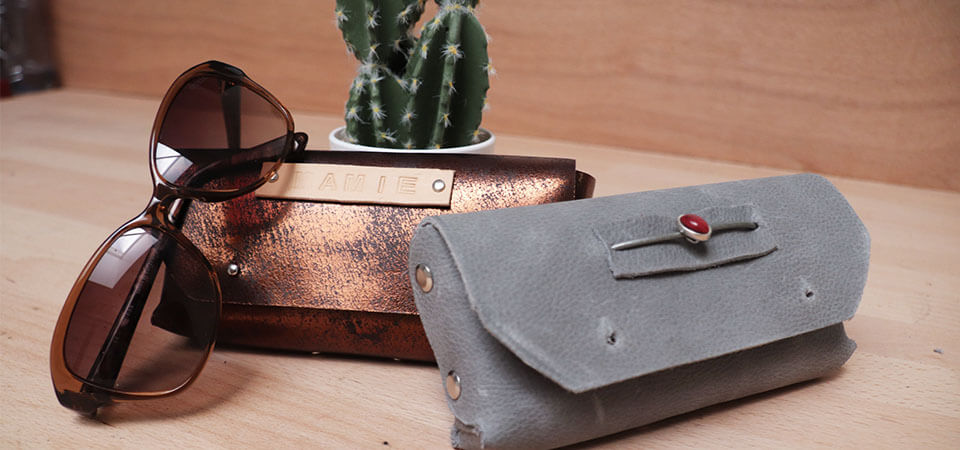
Your leather glasses case is finished!
