


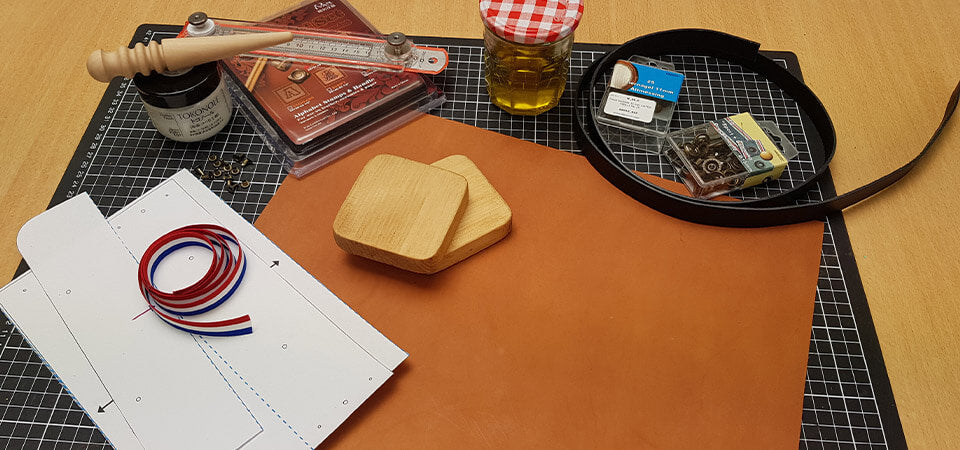
THE NECESSARY MATERIALS
To complete this tutorial, you need:
- 2 pieces of fir wood. (here, the pieces are 7.5 x 7.5 cm and 1.7 cm thick)
- 1 piece of vegetable tanned leather 30 x 40 cm - thickness 1.9 mm
- 1 collar strap (width: 19 mm | length: 75 cm minimum)
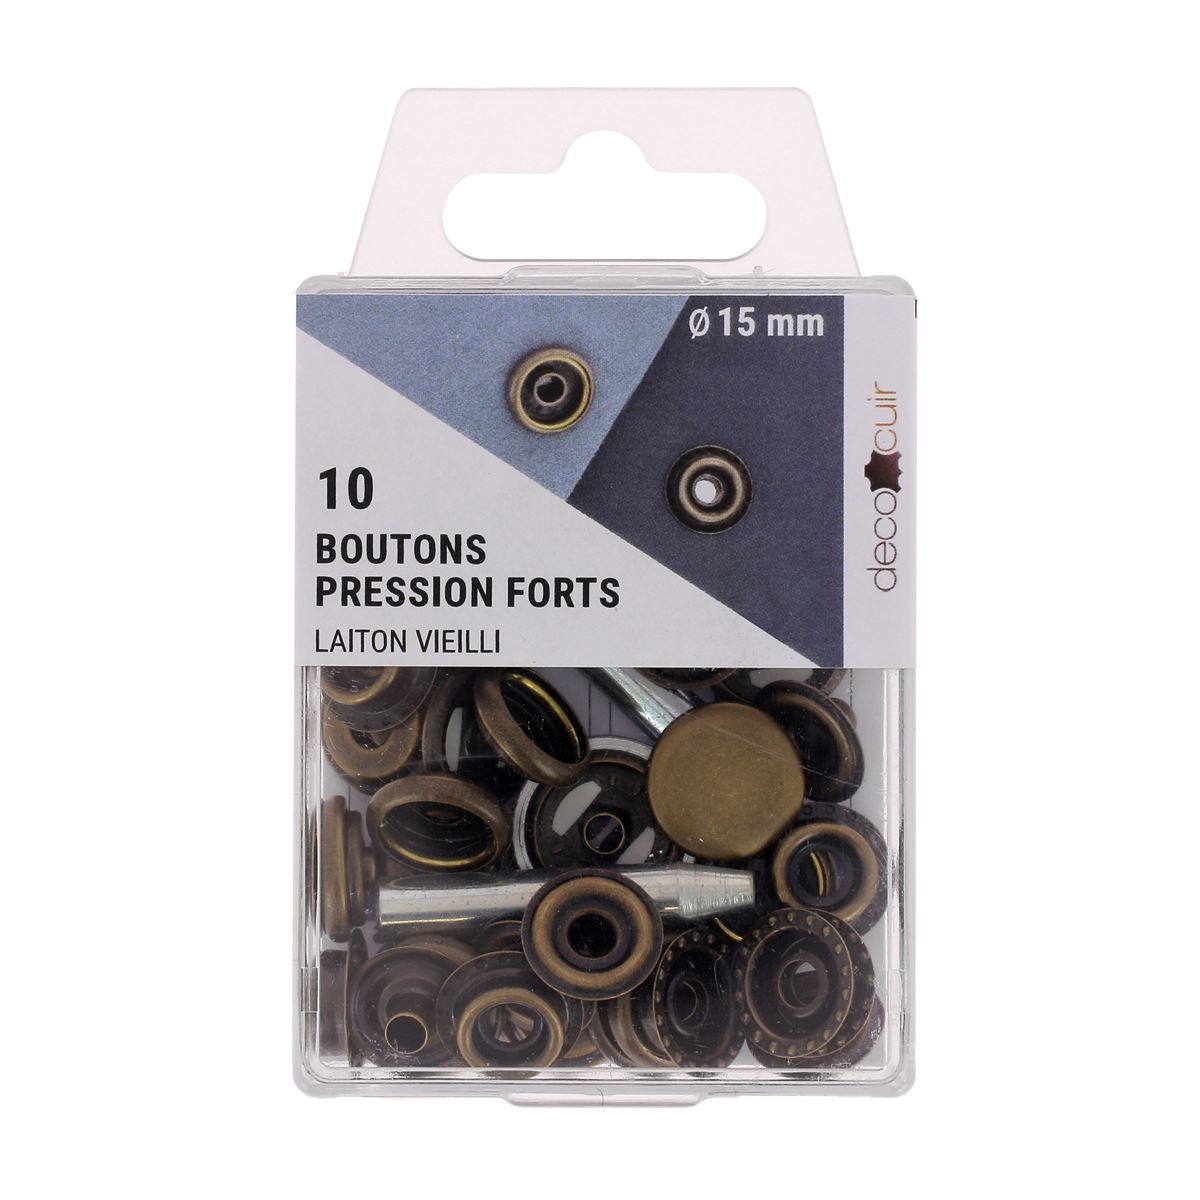
- 2 strong pressure buttons, 15 mm diameter, and the installation tool
- 6 T3 rivets and the installation tool
- 12 upholstery nails
- 1 finishing gum (tokonole, tragacanth, gum arabic, etc.)
- Olive oil
- A mallet and a hammer
- A cutter
- A 4mm round punching die
- Water-based leather glue
- A size 2 square lampshade
Optional:
- A set of alphabet stamps (8137_00)
- A guide to stamps (TA350)
- A tricolor ribbon
PATTERN & DIMENSIONS
We have made a case for 73 mm diameter petanque balls.
The downloadable pattern at the top of this page is therefore suitable for 73 mm boules. If your pétanque boules are smaller or larger, you can adapt the pattern accordingly.
How to define the dimensions of your pattern?
To calculate the width of the leather, we took the thickness of the wood (x2) and the diameter of a petanque ball (x3). As a safety measure, we added 1 or 2 mm for each petanque ball:
(7.4 x 3) + (1.7 x 2) = 25.6 cm width.
To calculate the required length, multiply the width of your piece of wood (7.5 cm in this case) by 4. Then add 4.5 cm (or more) for the flap.
(7.5 x 4) + 4.5 = 34.5 cm length.
For aesthetic reasons, we decided to start the bag 1.5 cm from the edge of one side of the piece of wood.
Our piece of leather is therefore 25.6 cm wide and 33 cm long.
Please note, these measurements are given as an indication and correspond perfectly to the diameter of our pétanque balls, the thickness of our wood, its rounded sides and the thickness of our leather. 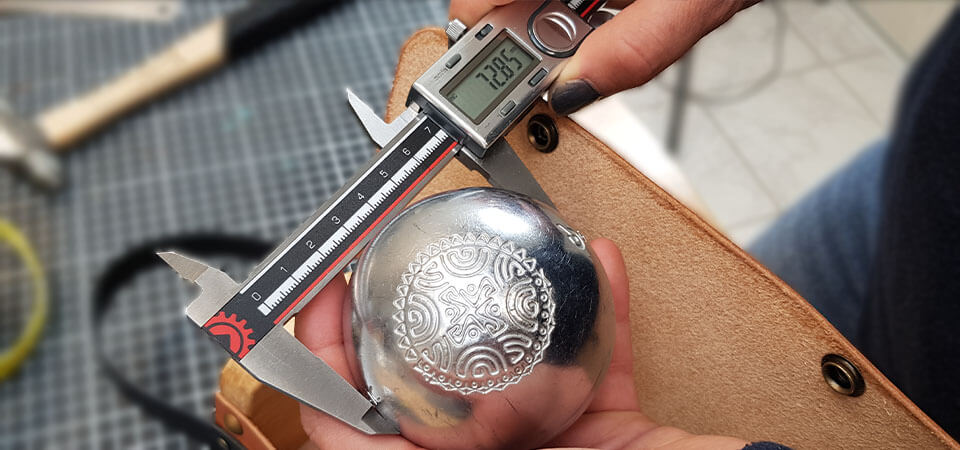
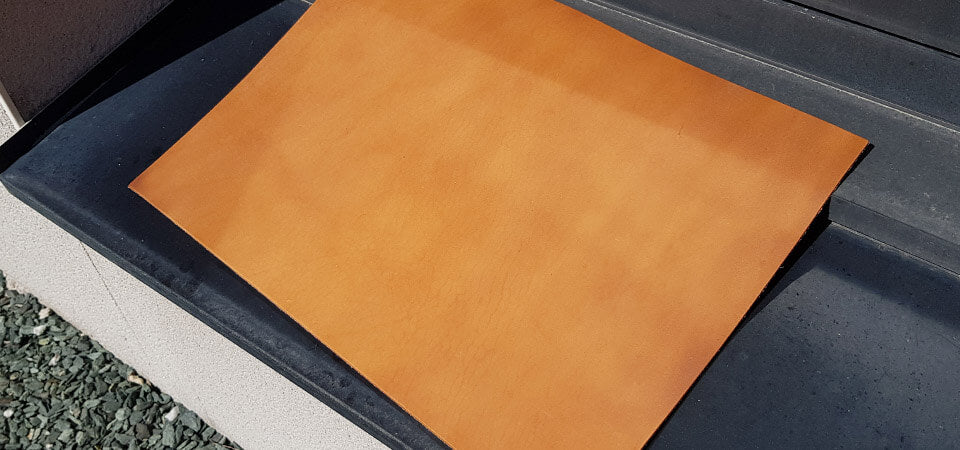
1. STAIN LEATHER WITH OLIVE OIL
Using a large brush, soak the leather with olive oil.
Apply at least 2 coats, trying to apply the same amount of oil everywhere.
Leave the oil to soak into the leather for at least a day, if possible in front of a window (so that it tans). 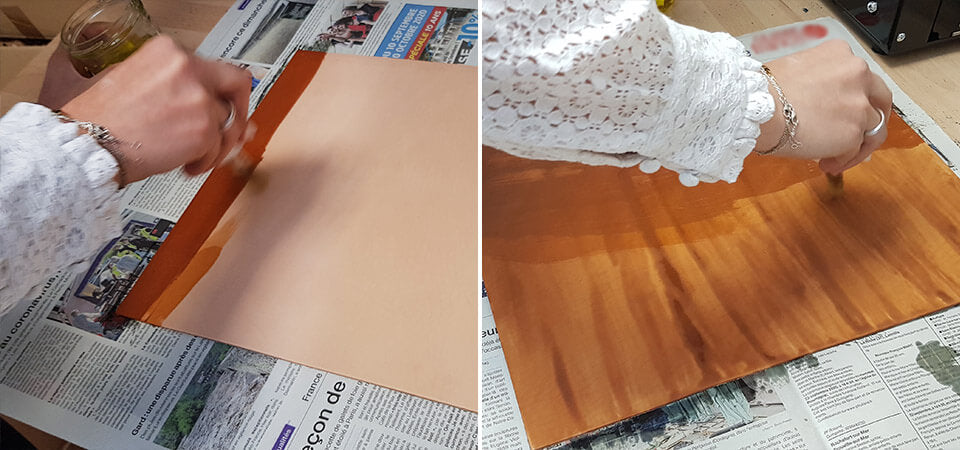
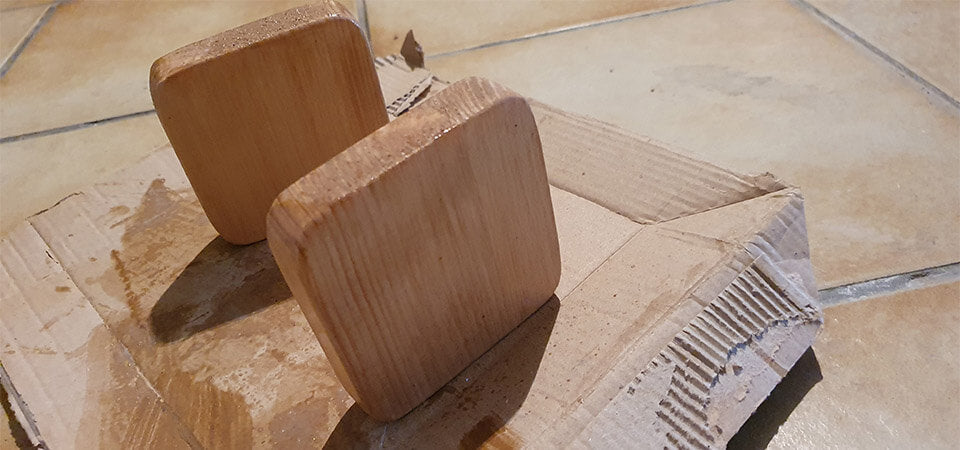
2. WORKING THE PIECES OF WOOD
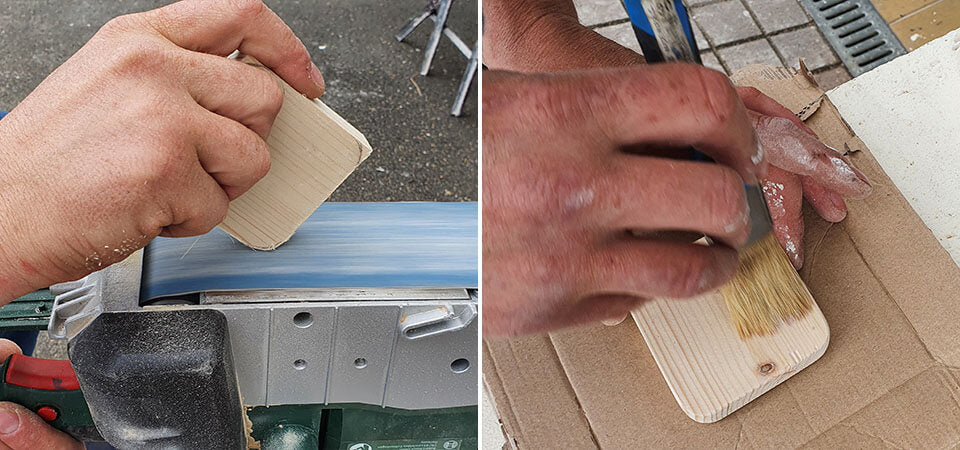
Cut the two pieces of wood with a jigsaw. Round off the sides with a jigsaw and a sander. Be careful, the pieces must be the same size (here 7.5 cm).
Using a worktop oil (vegetable oil), condition the wood. Apply two coats and sand between each coat. 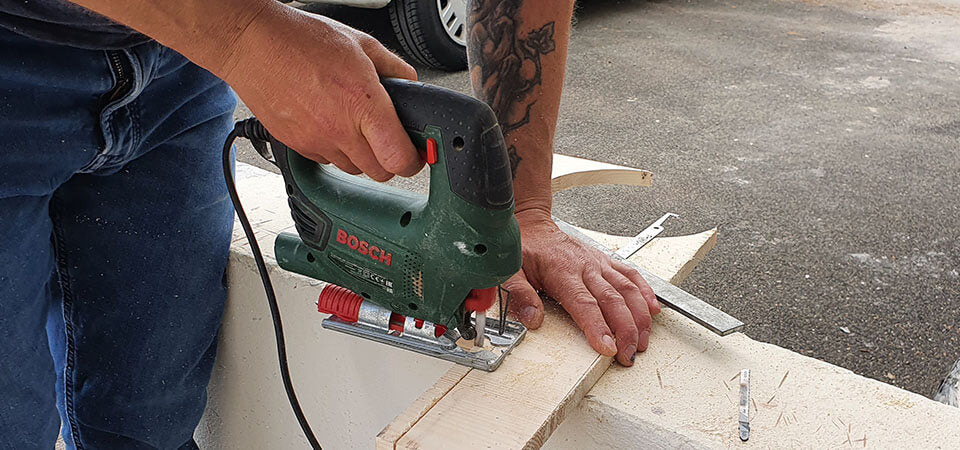
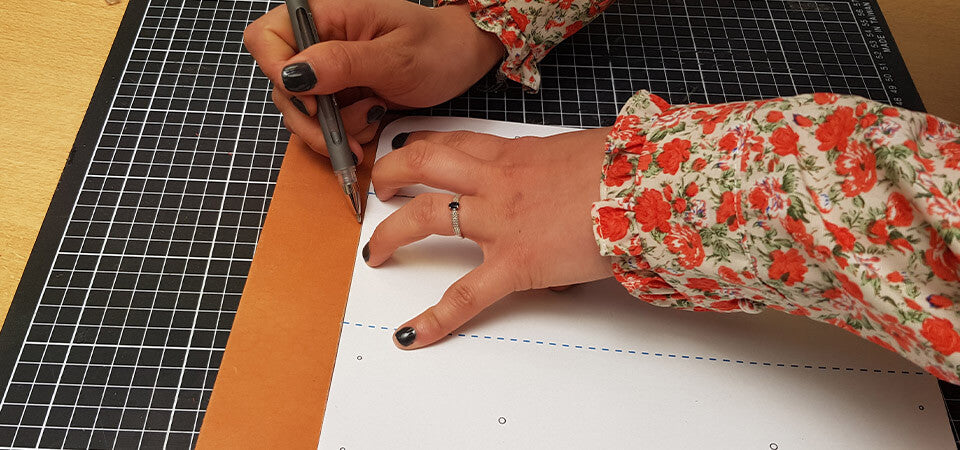
3. PRINT AND ASSEMBLE THE PATTERN
Print (actual size) and assemble the pattern. Transfer the pattern to your leather with a silver pencil.
Please note, the pattern measurements are given as an indication and correspond perfectly to the diameter of our pétanque balls, i.e. 73 mm (see above). 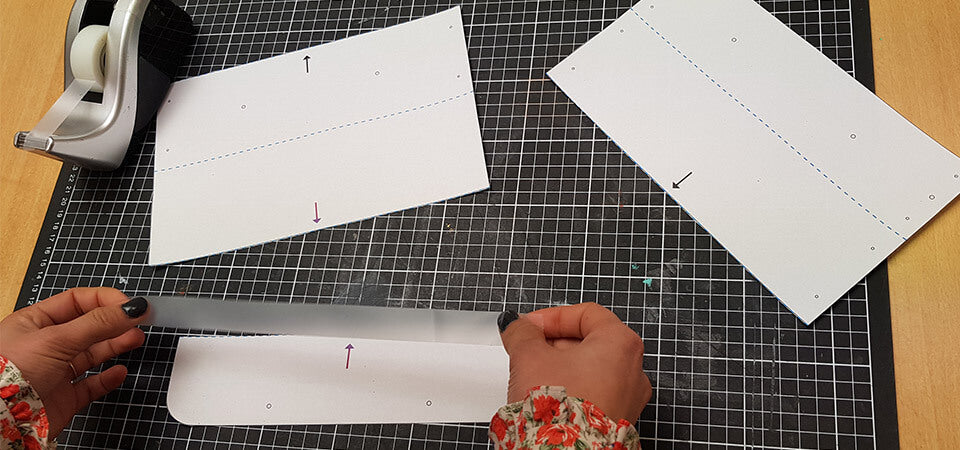
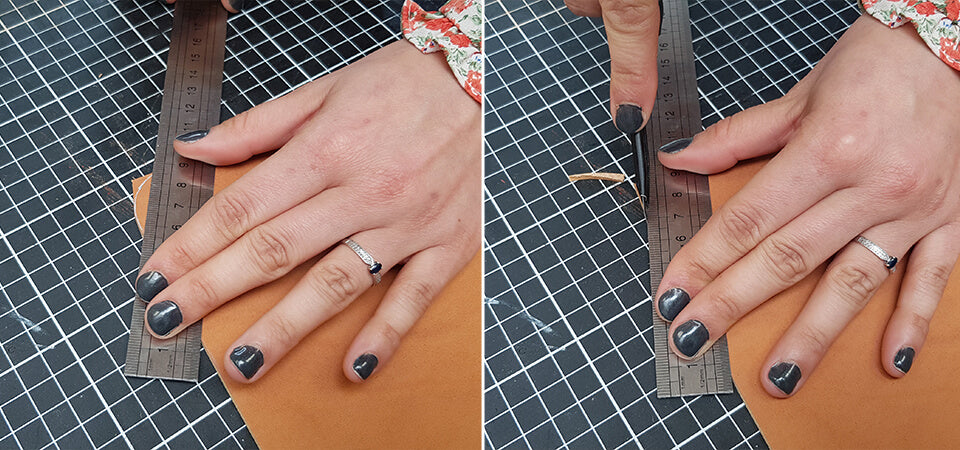
4. CUT THE LEATHER
Cut the leather with a cutter. Be careful to cut the rounded edges in several stages (into quarters). 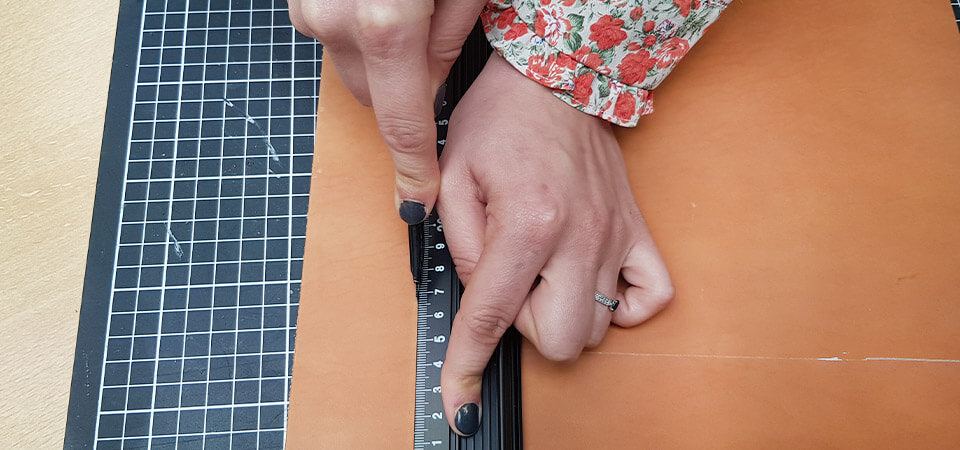
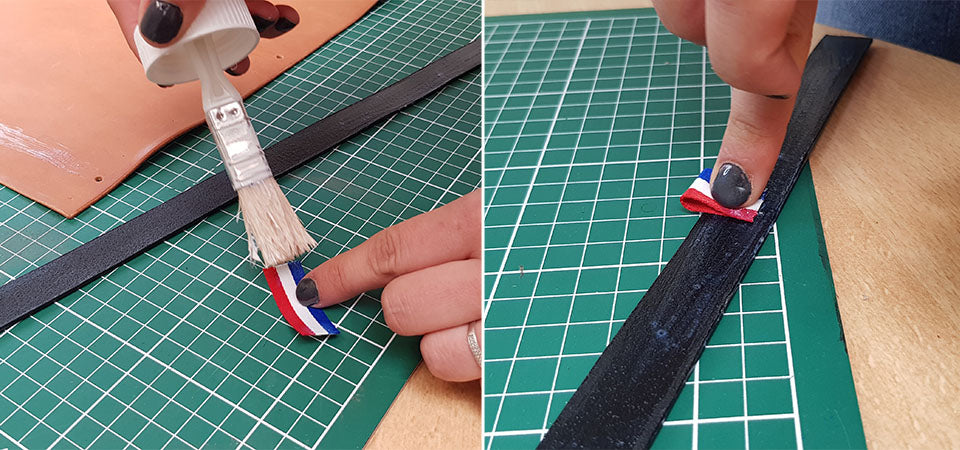
5. WORK THE SLICES OF LEATHER AND STRAP
Sand the edges of the leather and square the sides. 
 ABAT-CARRE GUIDE >
Apply the tokonole to the edge then rub briskly with a lisette or cloth. 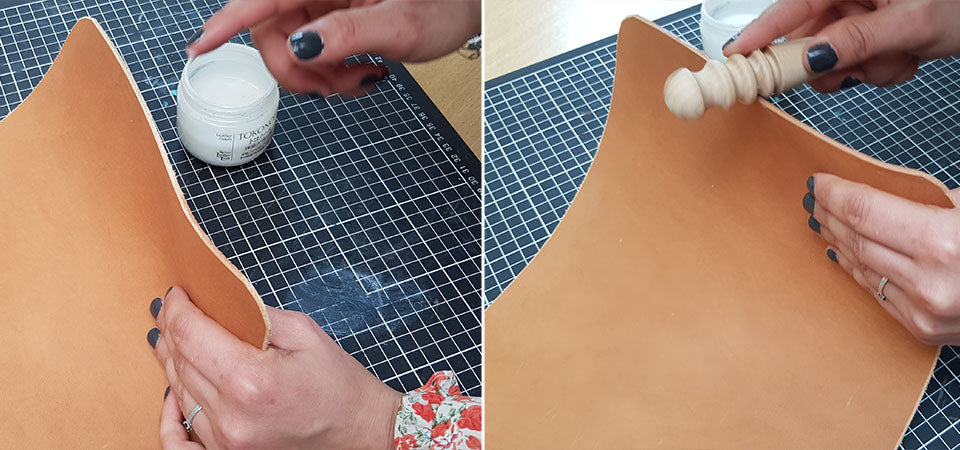
Cut the strip. Here, the strip measures 75 cm.
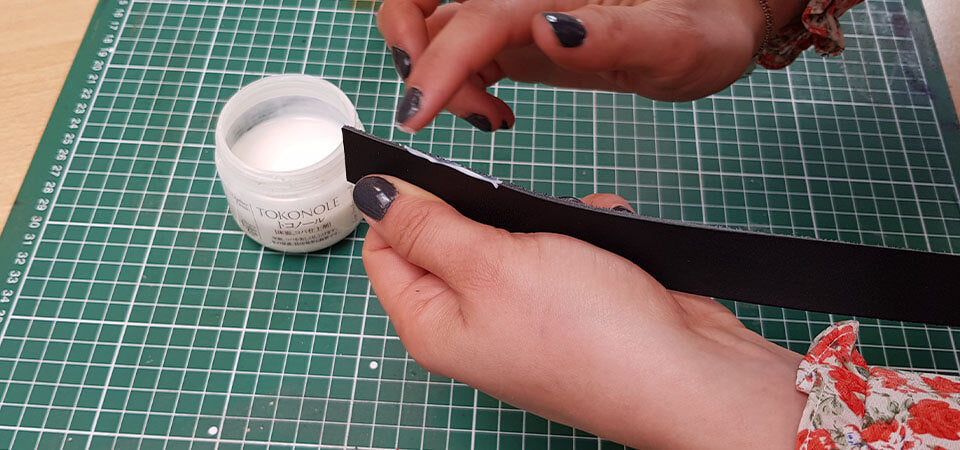
Then, apply the tokonole to the edge. 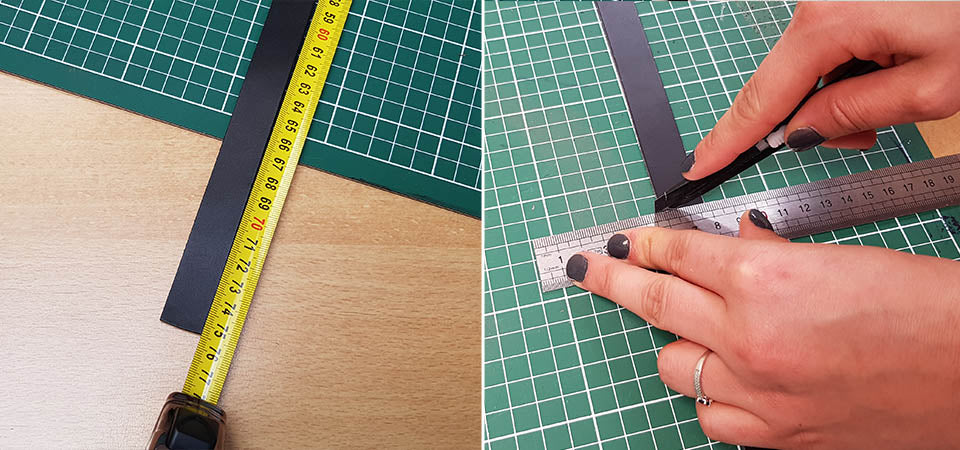
6. CHECK AND COUNT
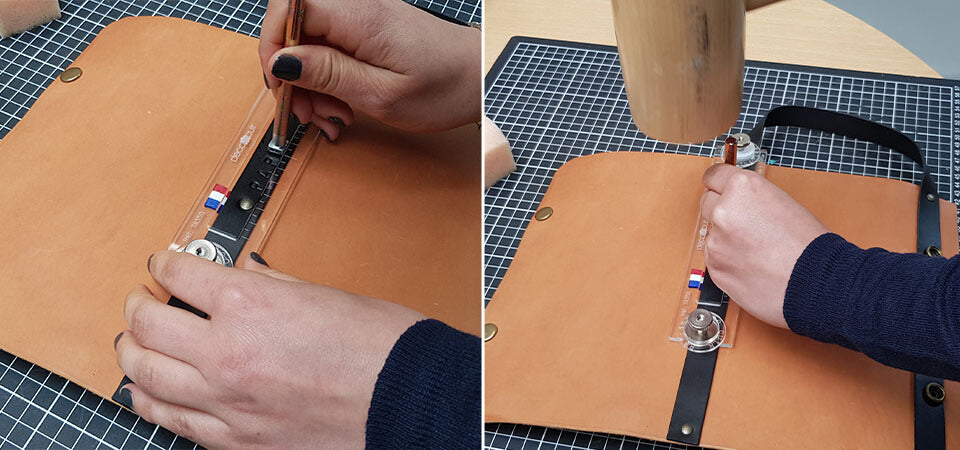
Using a round awl or needle, make the marks for the placement of nails, snap fasteners and rivets.
Use the leather stitching to make the stitching for the strap. 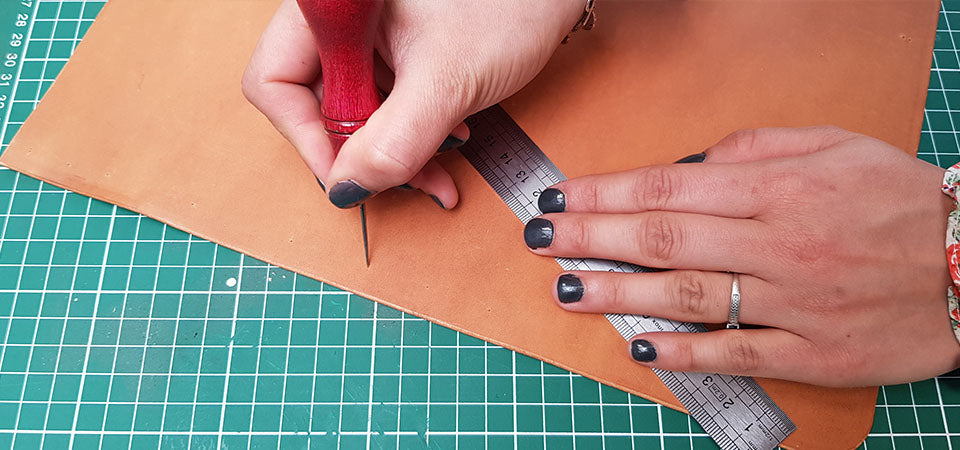
7. SET STRONG PRESSURE BUTTONS
Using revolver pliers or a punch, make the holes for the strong press studs (4mm diameter holes).
Place the head (cap) on the flap and the other part on the strap. 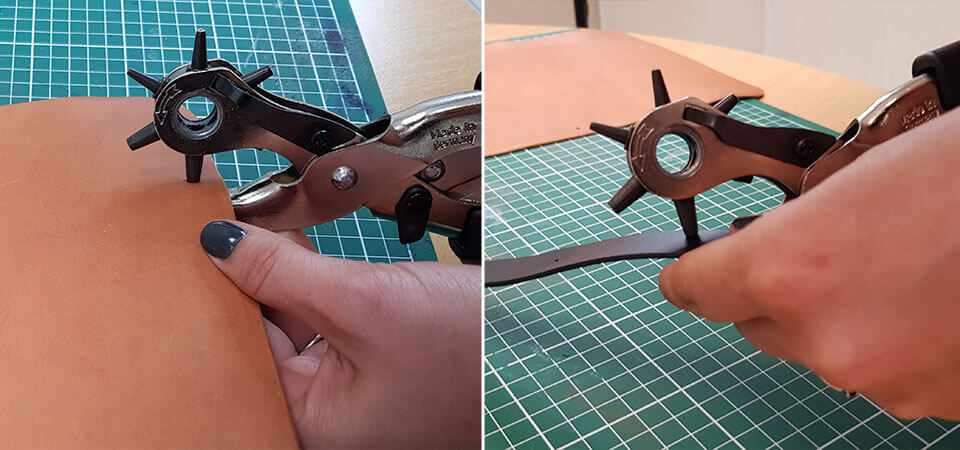


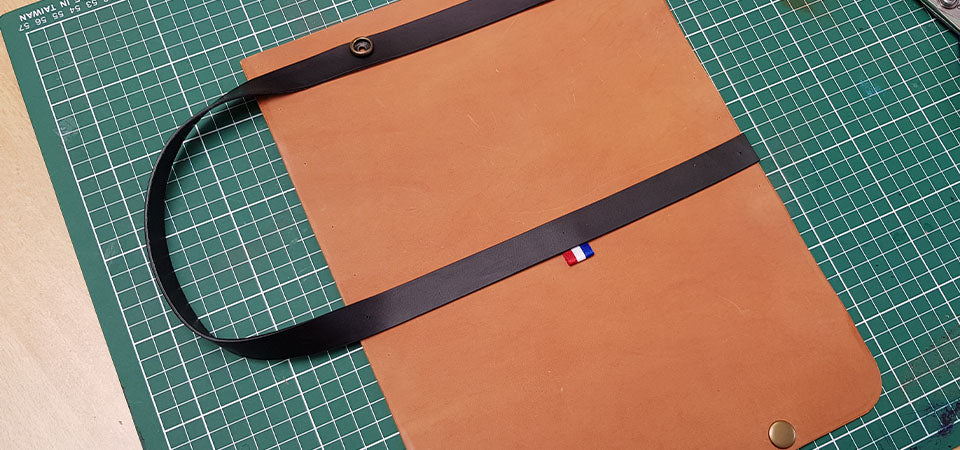
8. GLUE THE STRAP TO THE LEATHER
Apply glue to the strap, then stick it to the leather where indicated on the pattern (dotted lines at the rivets).
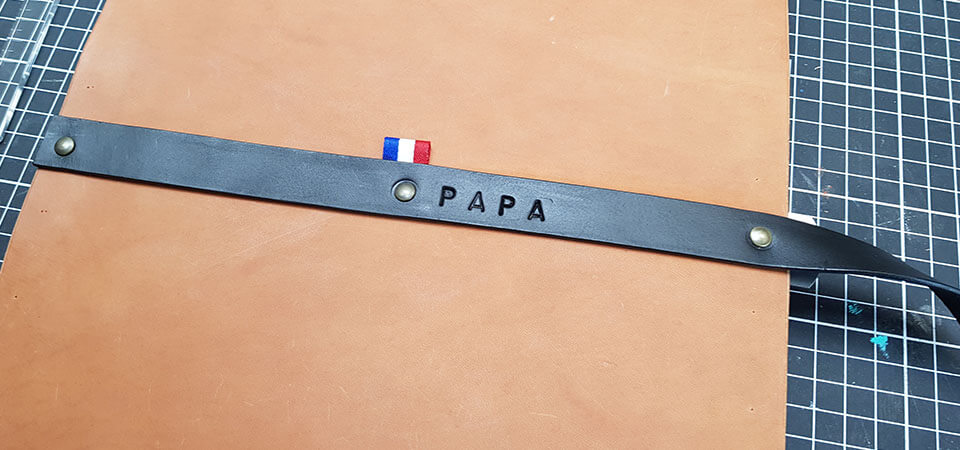
Before gluing, place the French flag at the central rivet.
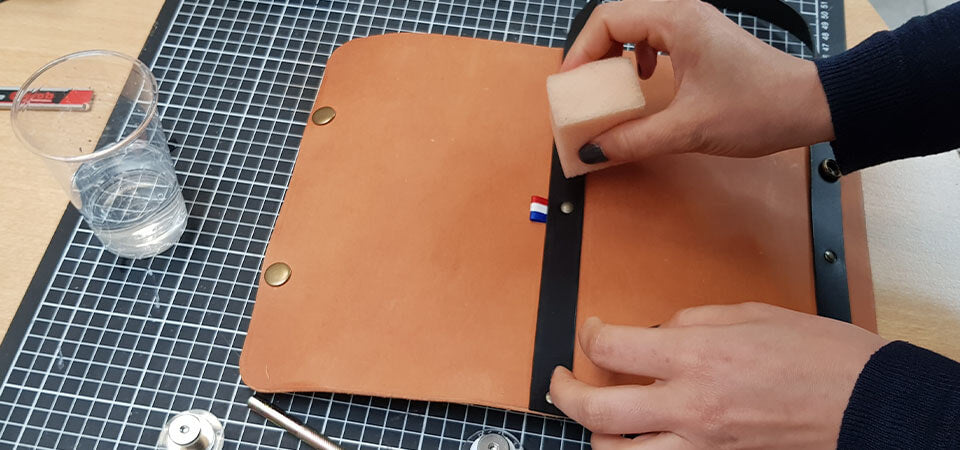
Smooth the leather with a roller (ref. TA289) to obtain good adhesion of the glue. 
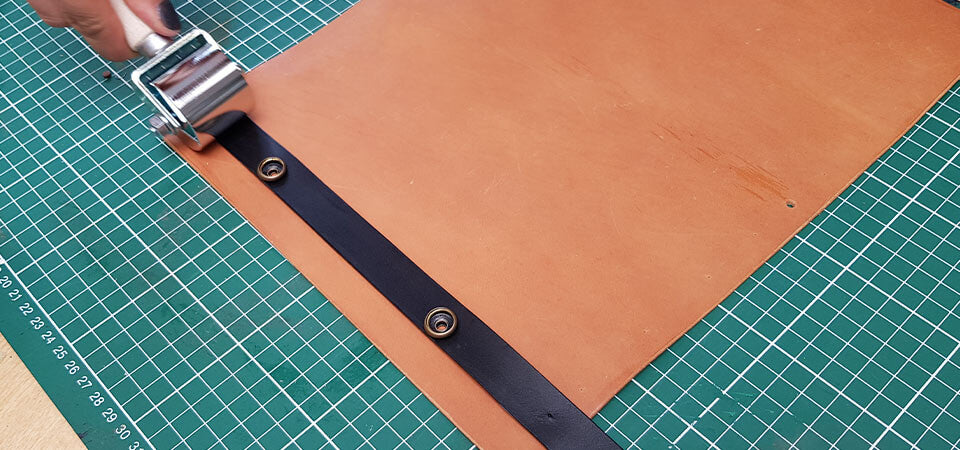
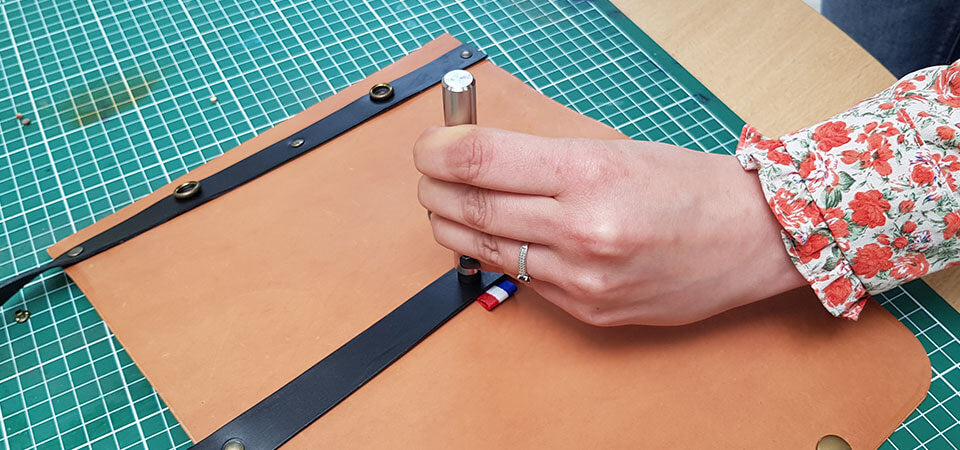
9. INSTALL THE T3 RIVETS
Make the rivet holes using revolver pliers or a punch (diameter 4mm). Then, place the 6 rivets. 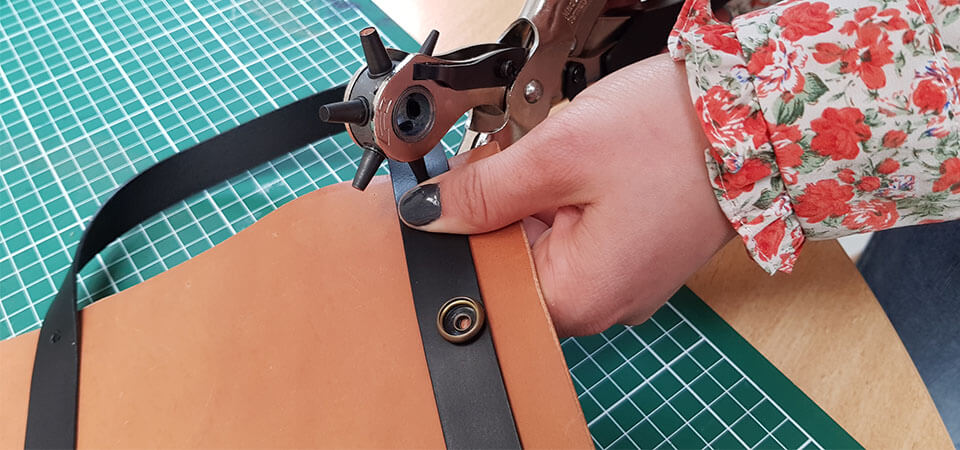
10. CUSTOMIZATION WITH ALPHABET STAMPS
Personalize your leather petanque ball bag with alphabet stamps. Moisten the area where the customization will be printed, then stamp the letters.
Here, we use the Deco leather stamp guide to obtain a straight and regular marking.
LEATHER MARKING GUIDE >
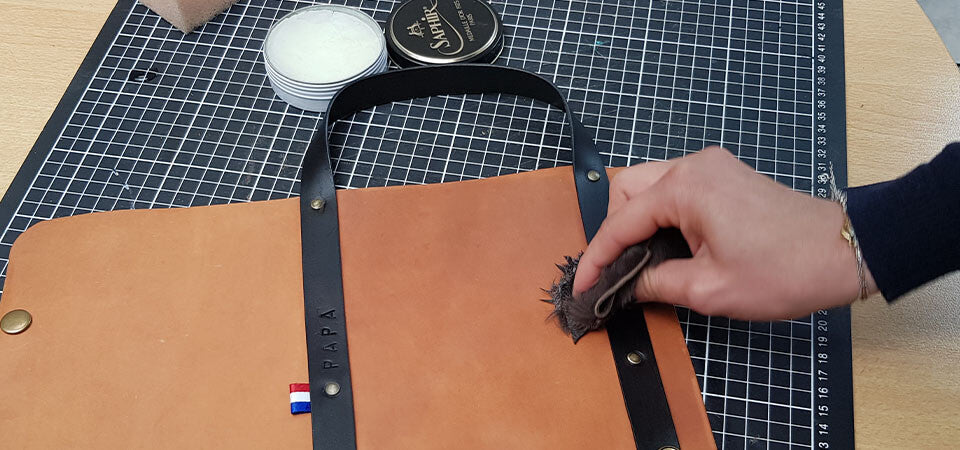
11. WAX THE LEATHER
Option: apply nourishing milk or wax to nourish and protect the leather.
SEE THE DEPARTMENT >
12. GLUING THE LEATHER TO THE WOOD
Make a point 1.5 cm from the edge on 1 of the sides of your wooden pieces. 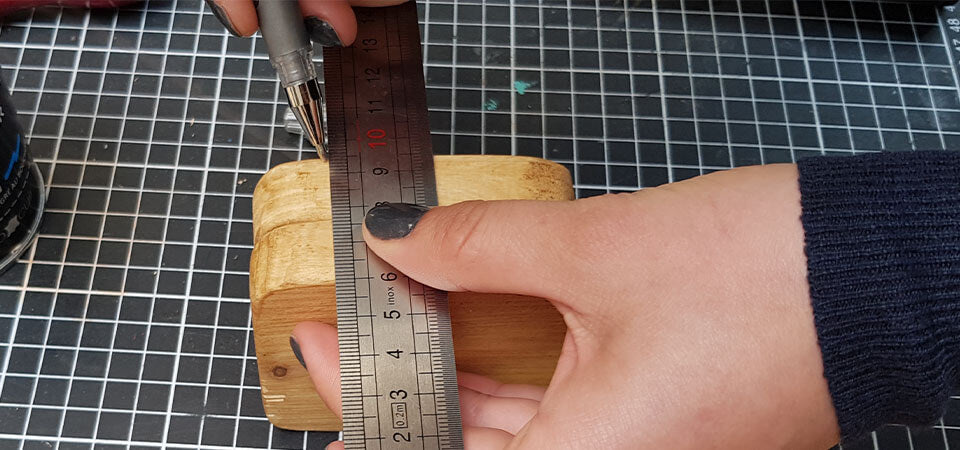
Then, apply contact glue to three sides of the wood pieces.
Also apply glue to the edges of the leather (only the edges that will be glued).
Wait a few moments for the glue to soak in, then glue the leather to the wood. 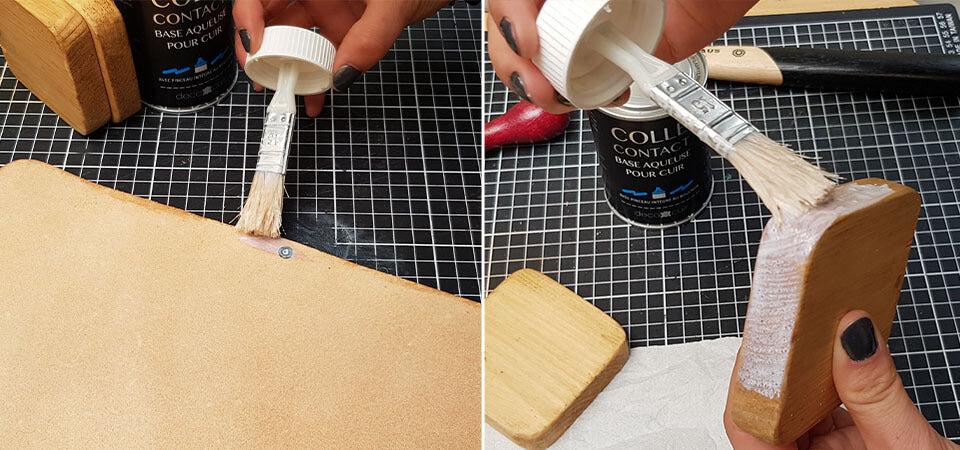
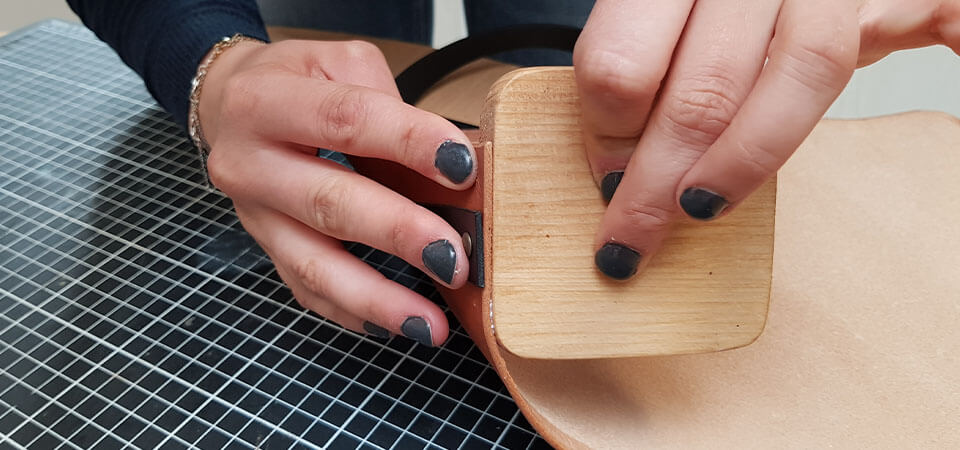
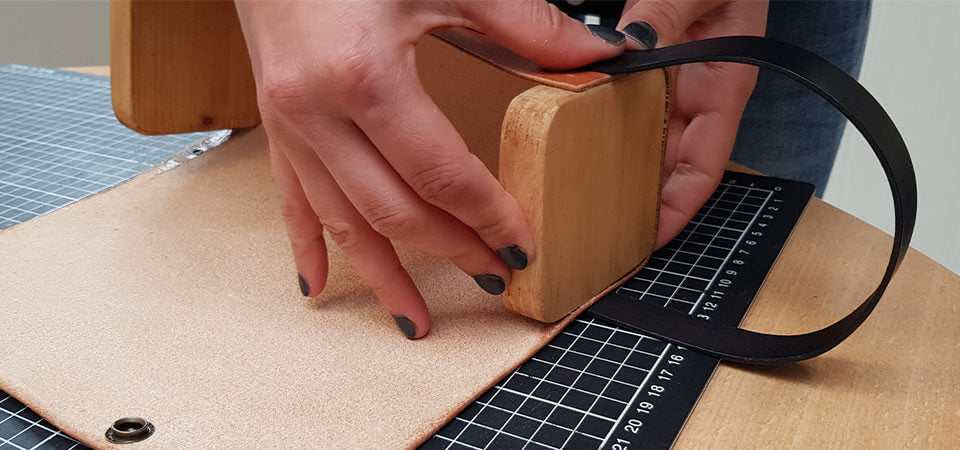
13. PLACE THE UPHOLSTERY NAILS
Finally, hit the upholstery nails with a hammer at the remaining points. 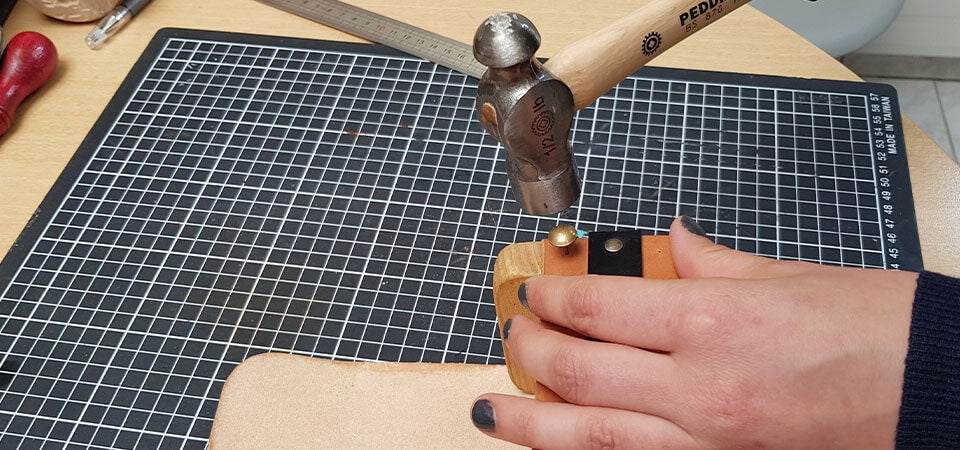
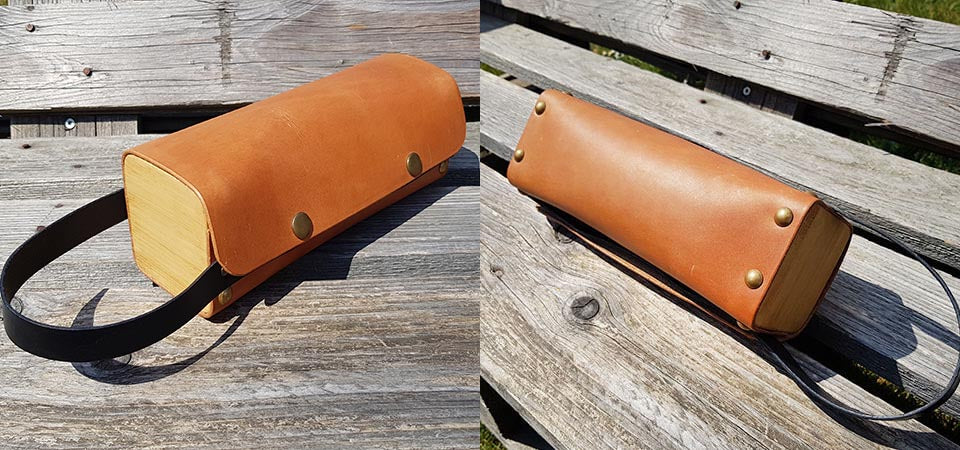
YOUR PETANQUE BALL CASE IS FINISHED!


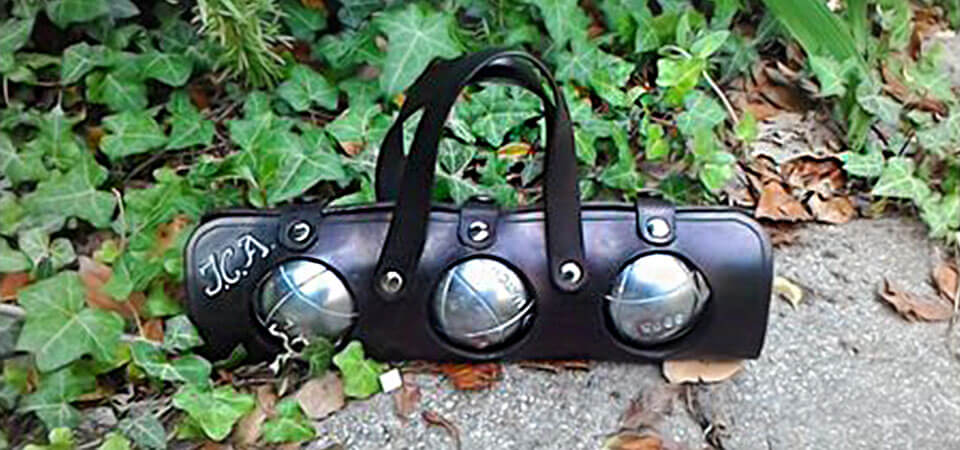
HERE IS ANOTHER METHOD FOR MAKING A CASE FOR PETANQUE BALLS.


2 comments
Anonymous
Bonjour Dominique,
Nous vous avons envoyé une image du patron assemblé par mail, celui-ci doit faire 33 cm de longueur et 25,6 cm de largeur.
Bonne journée,
L’équipe Deco Cuir
Anonymous
Bonjour
vous pourriers me montrer la façon de coller les du patron car il est plus grand que se que vous donner .
merci