


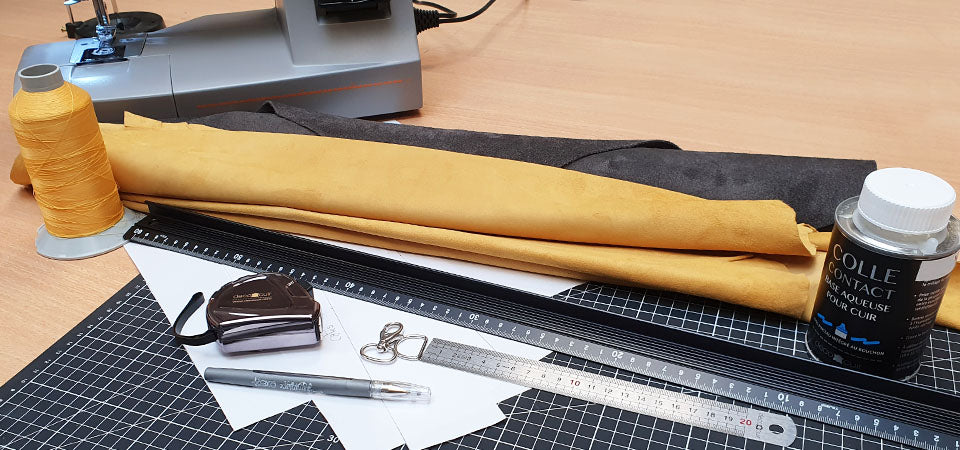
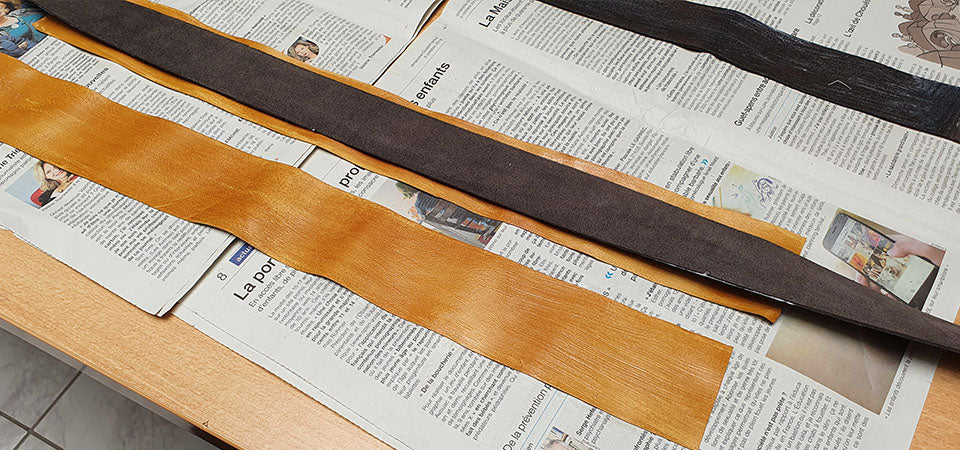
The material
- 1 skin of suede calfskin - Thickness 1.4 mm - Minimum surface area: 0.65 m2
References to favor :
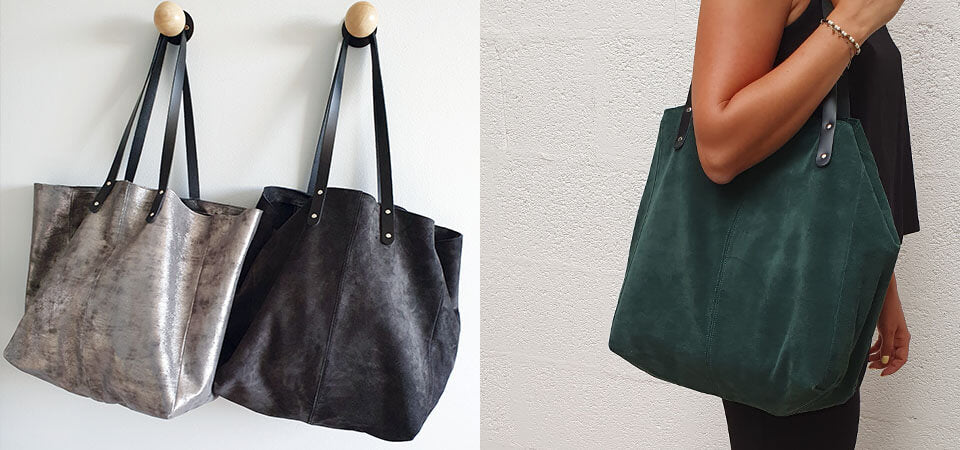
Anthracite gray leather crust: LPG35GRIS0
Taupe leather crust: LPG33TAUPE0
Chocolate leather crust: LPG34CHOCO0
- 2 suede goat leather skins (lining) - Thickness 0.5 mm. Recommended surfaces: 0.55 m2 and 0.35 m2
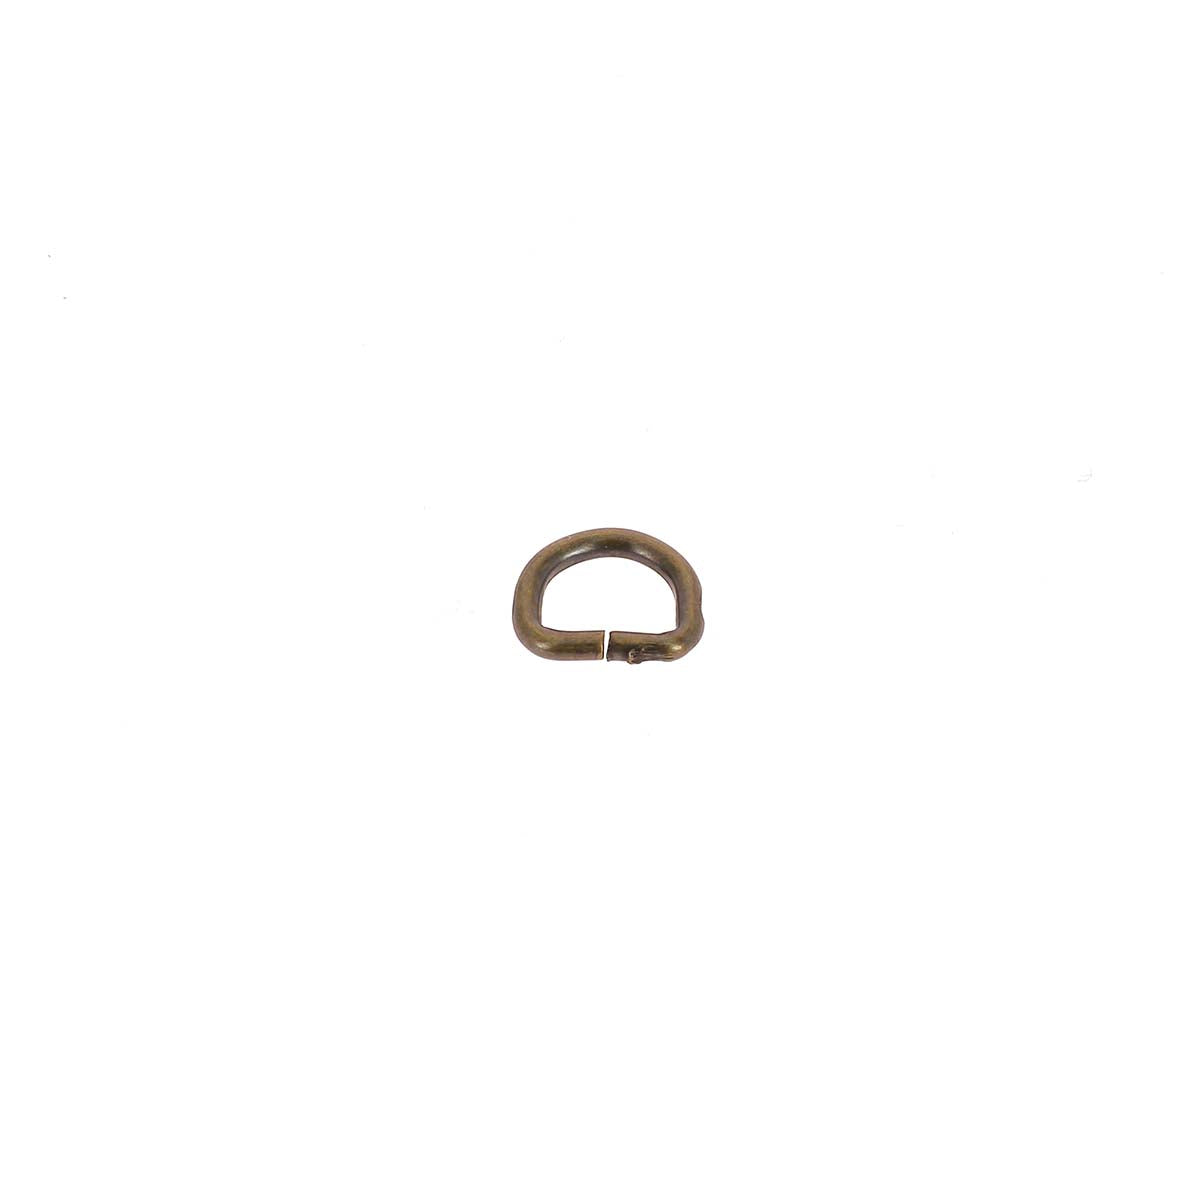
- 1 welded half-round ring - NICKEL-PLATED steel - 20x15x3 mm
- 1 swivel carabiner - NICKEL - for 20 mm strap
- 2 T2 double cap rivets
- Foam for the bottom of the bag and sides (we chose foam-lined leather).
- Cutter and rotary cutter
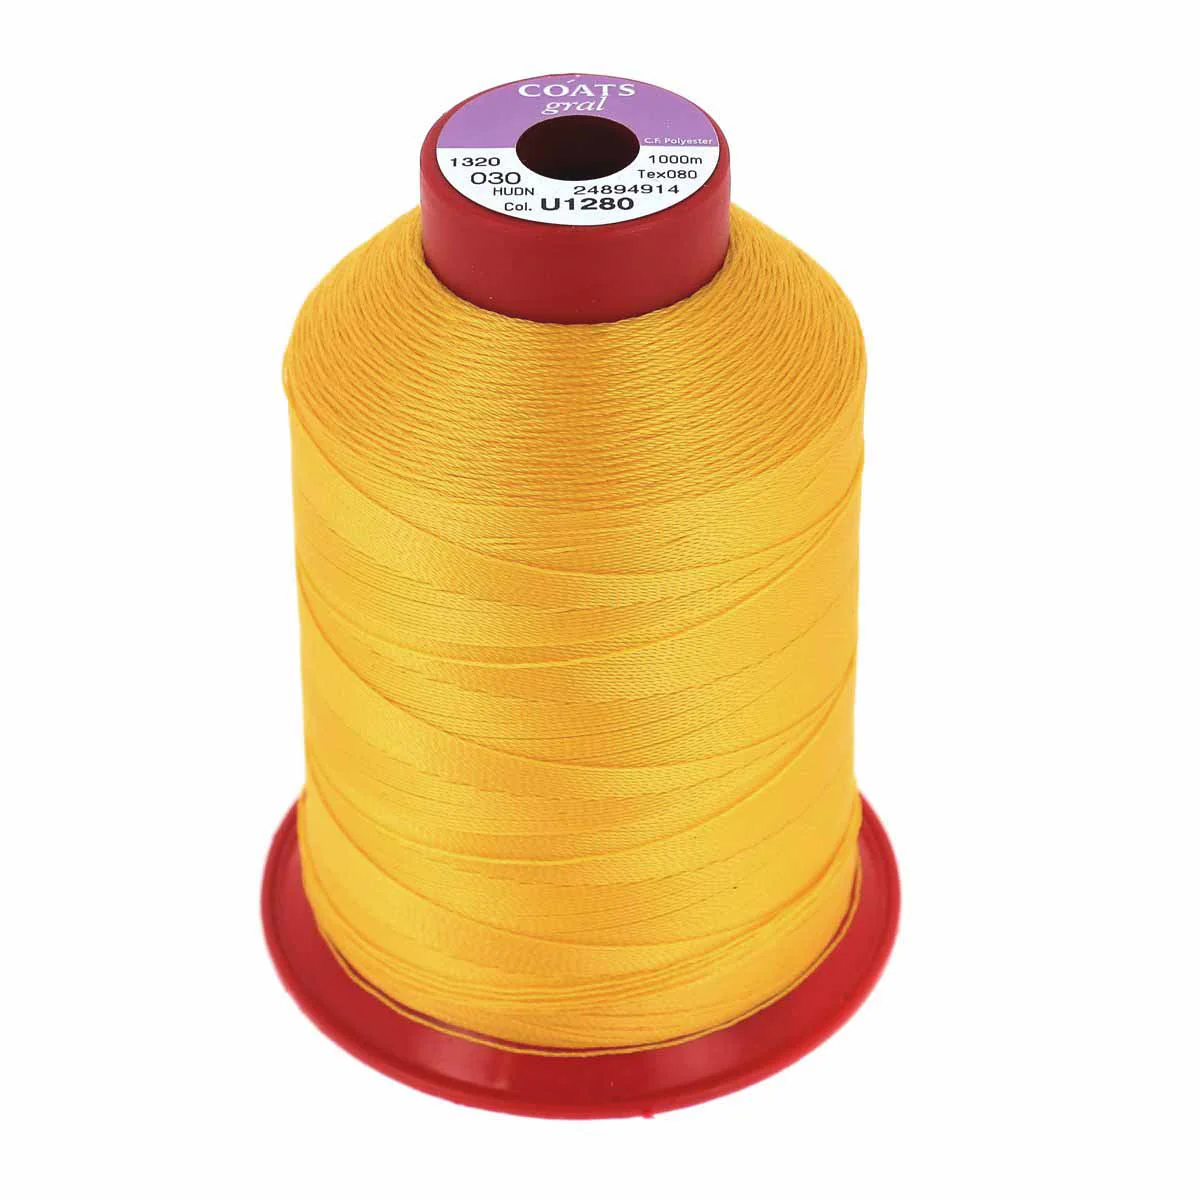
- Polyester thread no. 30
- Machine needle
- Small sewing clips
Machine sewing leather
Discover, in the guide below, the essential points to know before starting machine sewing leather (with a home machine).
Boss
Using a silver pencil, trace the pattern onto the leather hides. Seam allowances are included in the dimensions given below.
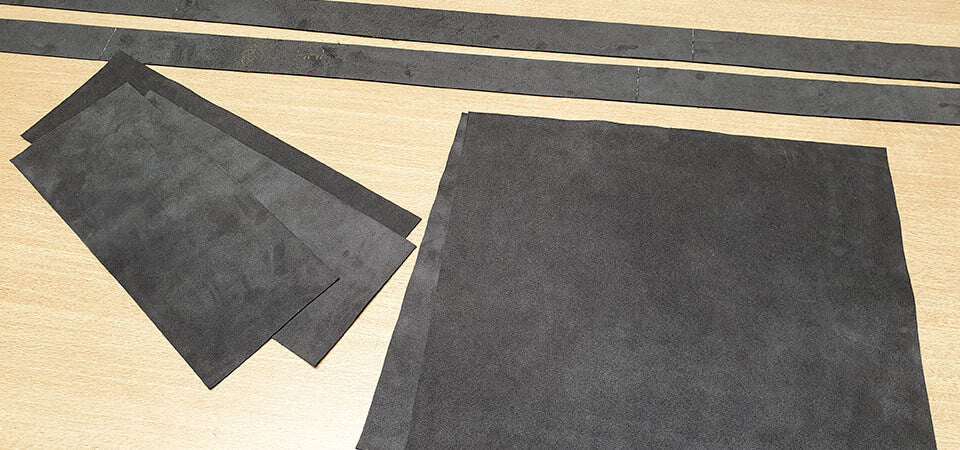
Leather crust
Cut 9 pieces from the split leather (here grey suede calfskin 1.3 mm thick).
- 37 x 32 cm x2
- 37 x 12 cm x1
- 32 x 12 cm x2
- 7 x 2 cm x2
- 120 x 4 cm x2

Lining
Cut 7 pieces from the lining leather (here yellow suede goatskin 0.8 mm thick).
- 37 x 32 cm x2
- 37 x 12 cm x1
- 32 x 12 cm x2
- 61 x 6 cm x2

Trick
If your leather is not long enough to cut 120 cm long straps, there are two possible solutions. Either trim the leather and make a connection (see the guide) or divide your strap into two parts and assemble it with accessories (e.g. rectangular loop).
HOW TO TREAT LEATHER > 
1. Cut out the pattern pieces
Cut out the pattern pieces using a cutter and a ruler. 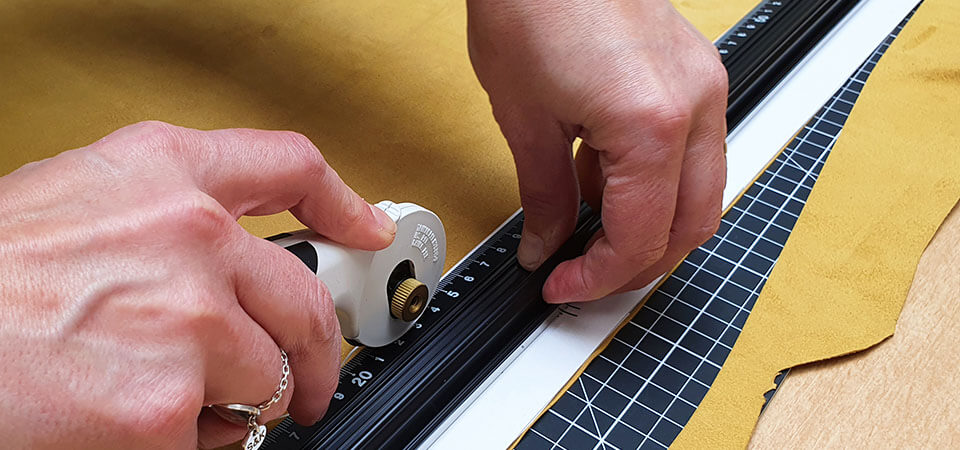
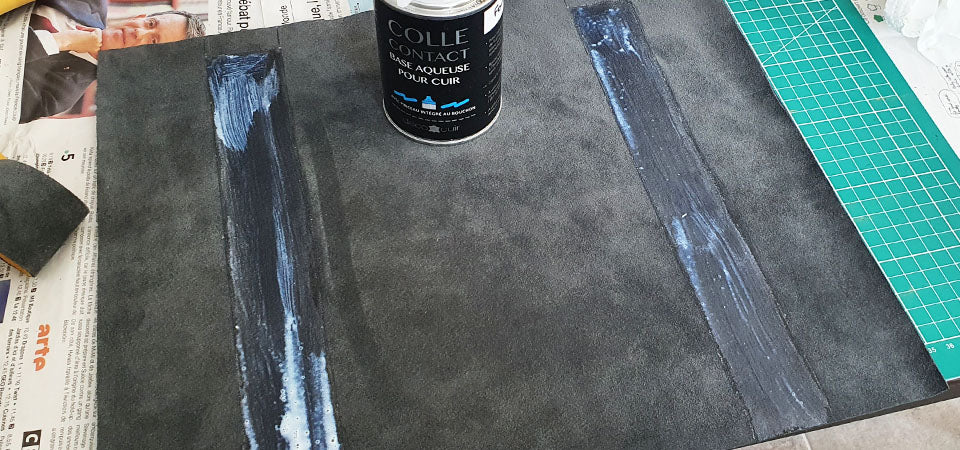
2. Double the strips
Apply leather contact glue to the back of the 4 straps.
- Along the entire length of the lining straps
- 61 cm for the split leather straps. Make 2 marks 29.5 cm from each side.
Wait a few moments then glue the strips together. Press/smooth the leather with a roller (ref. TA289) to obtain good adhesion of the glue. 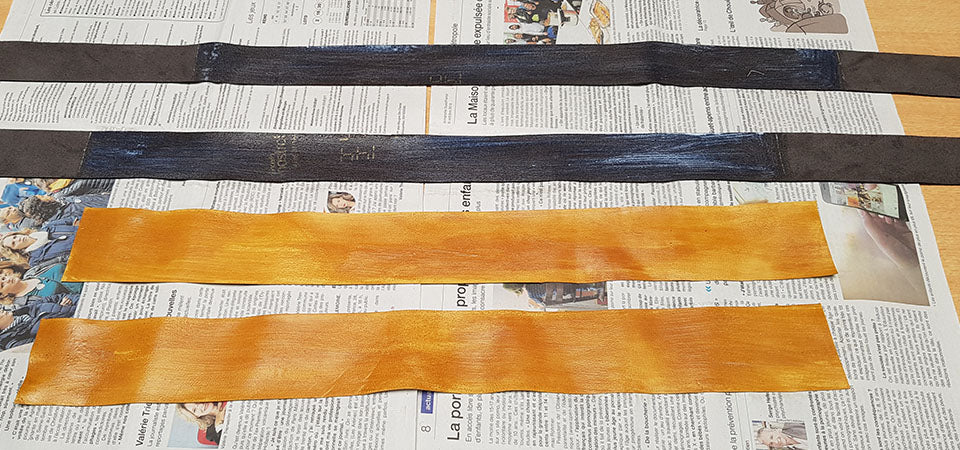
3. Cut off the excess lining
Cut off the excess lining leather with a rotary cutter. 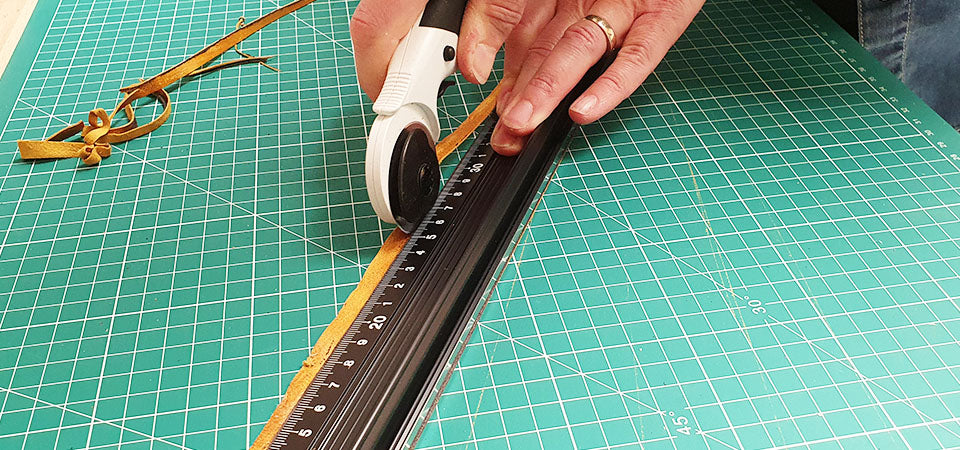
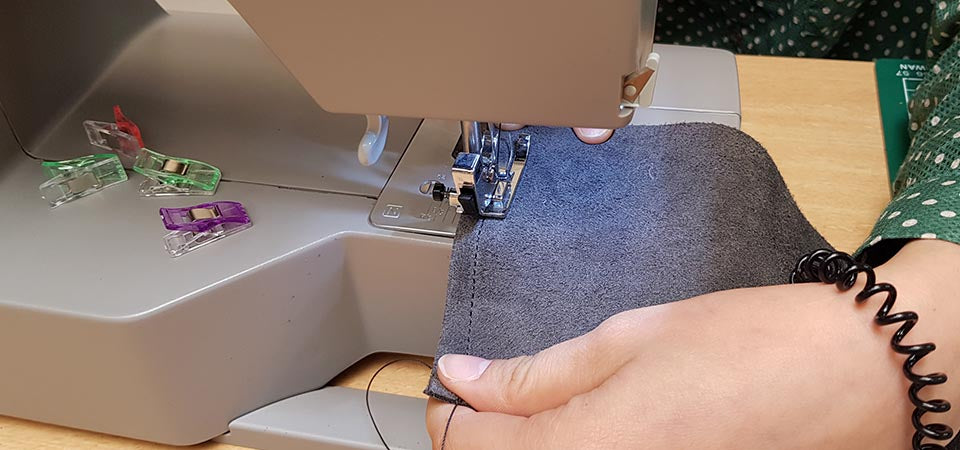
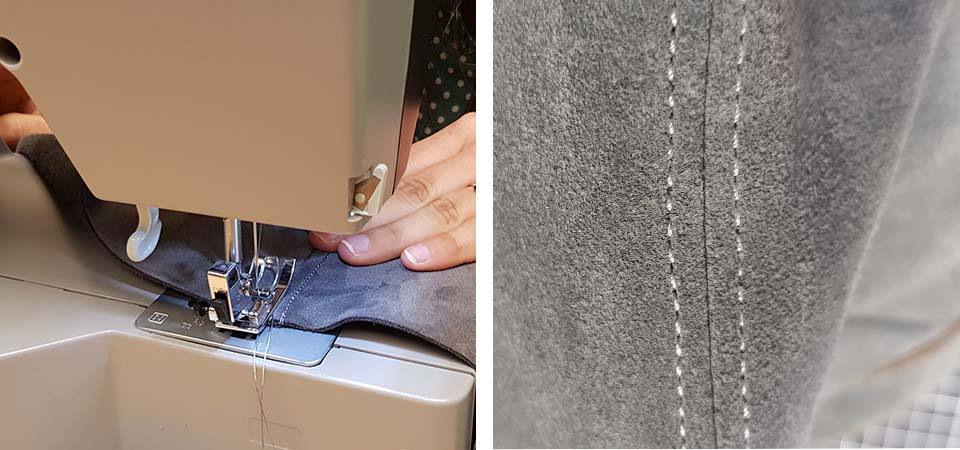
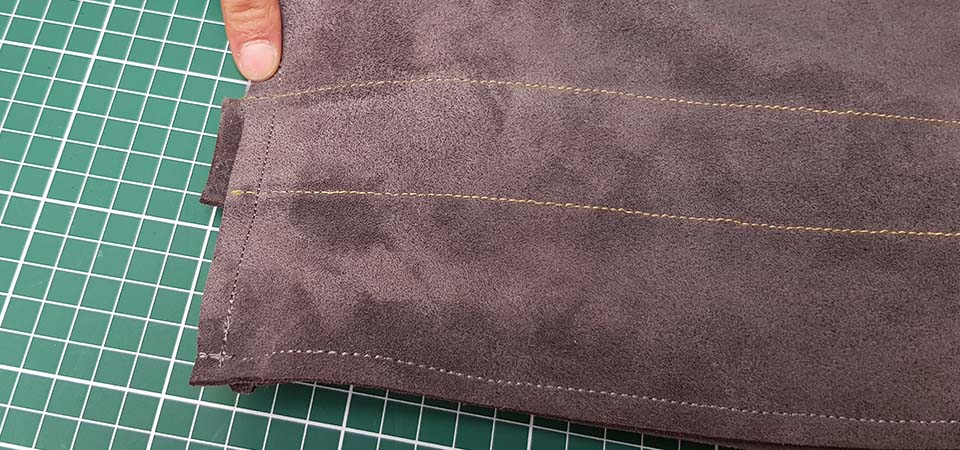
4. Sew the strips over 55.5 cm
Make 2 parallel seams over 55.5 cm and on each strap => lined part only.
Start sewing 2.7 cm from each side of the doubled part. 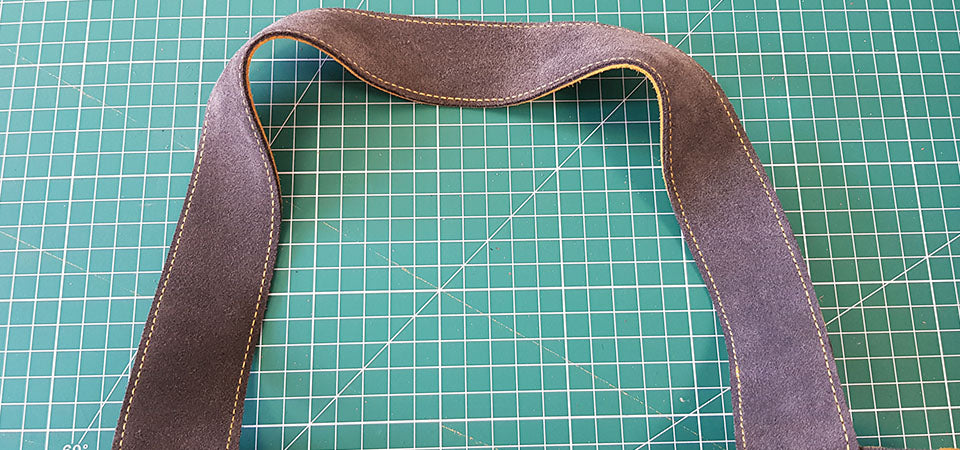
5. Glue the strips on the front and back
Make 2 marks 6 cm from each side of the front and back of the bag (width 4 cm).
Then apply glue.
Glue a strip (make an arc) on each piece (front and back).
Be careful to leave the straps sticking out about 1 cm at the bottom (and therefore do not put glue at the bottom of the straps). Also be careful not to put glue on about 2 cm at the top of the front and back (in order to be able to sew the lining => see photo n°2). 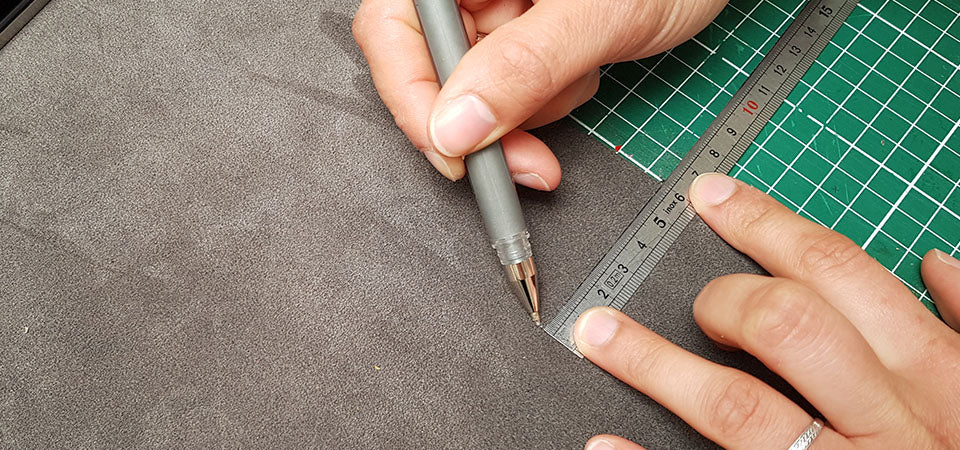
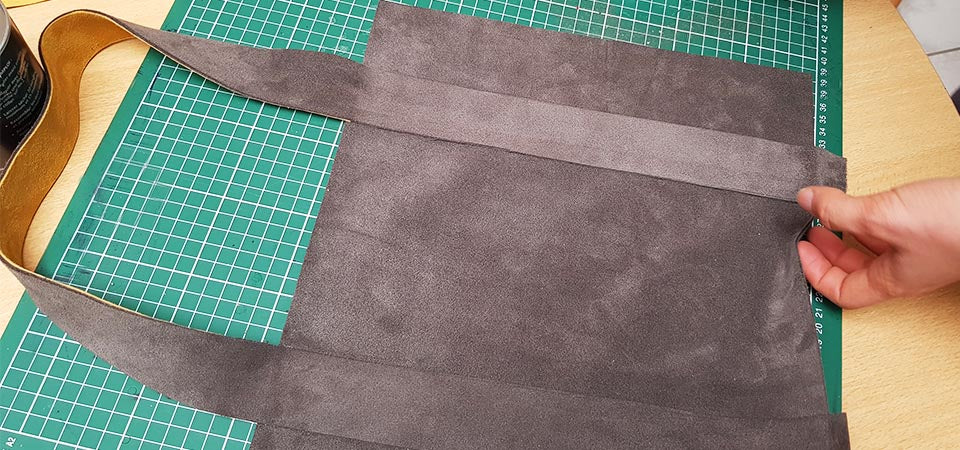
In this photo, the doubled part of the strap is not sewn but it must be sewn in the previous step.
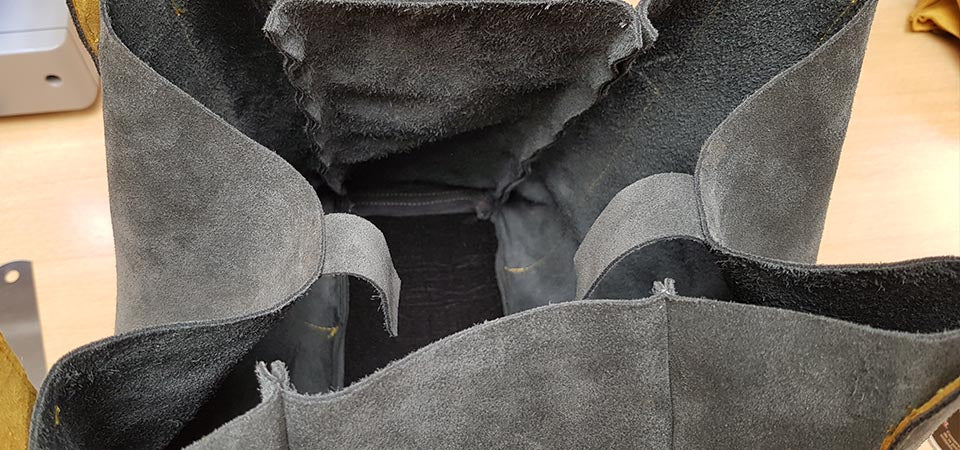
6. Sew the straps on the front and back
Sew the straps on the front and back of the bag up to the stopping points (sewing from step 4).  Be careful not to sew the strap with the leather on the top of the front and back of the bag for about 1.5 cm (in order to be able to sew the lining).
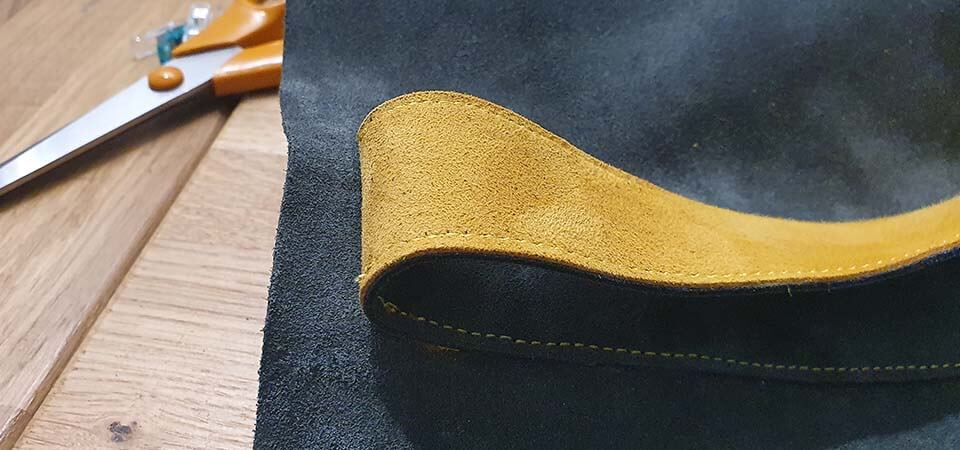
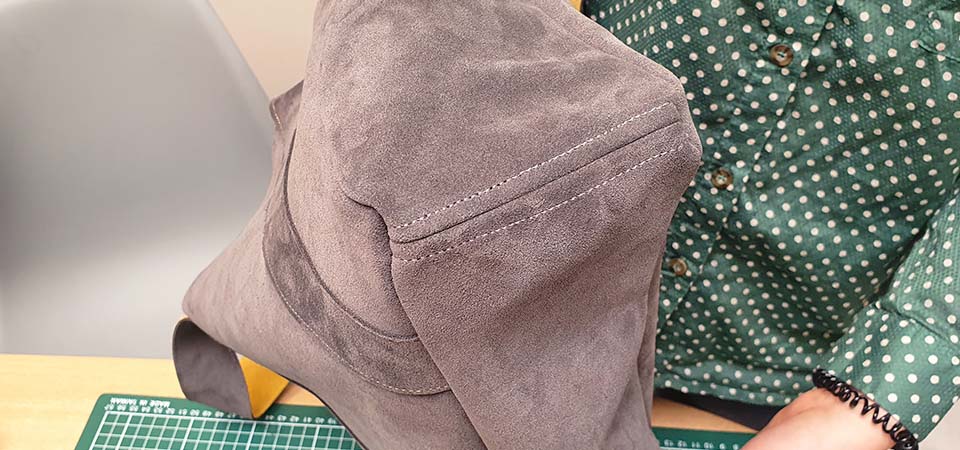
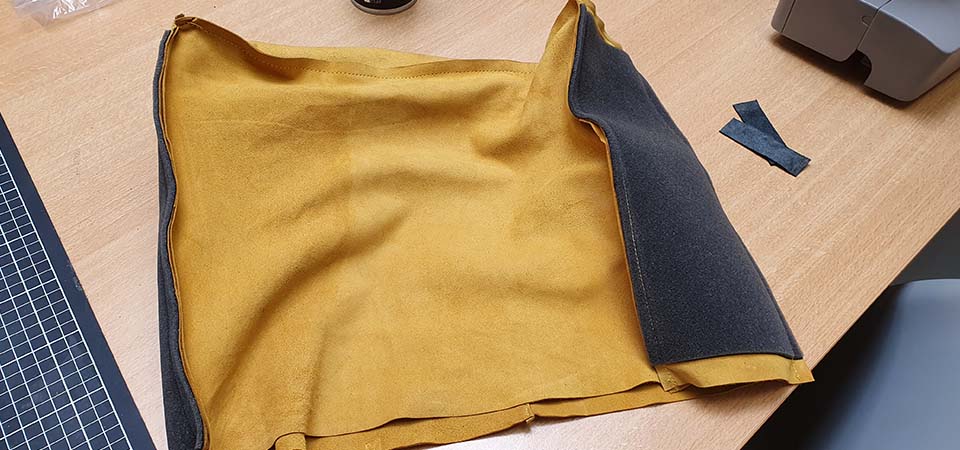
7. Sew the sides and bottom
Sew right sides together the 2 side pieces on each width of the bottom (split leather). 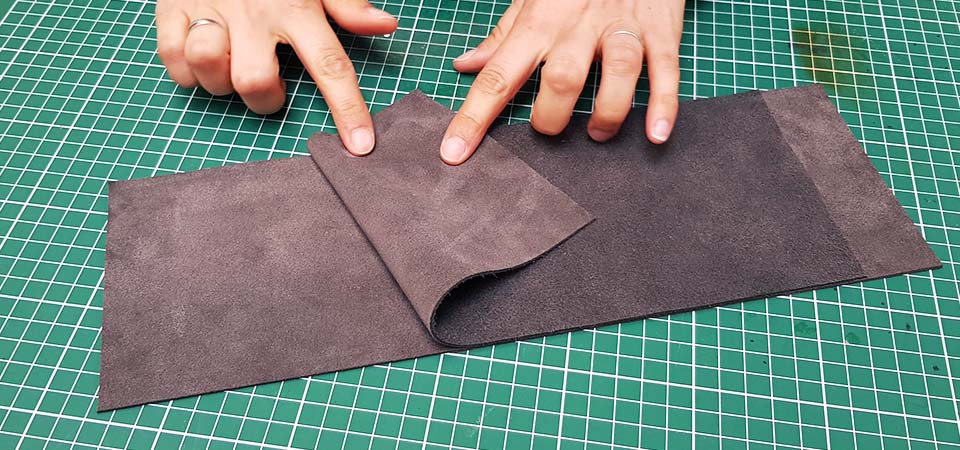
Glue/flatten the seams on the reverse side of the leather and topstitch (on the right side). 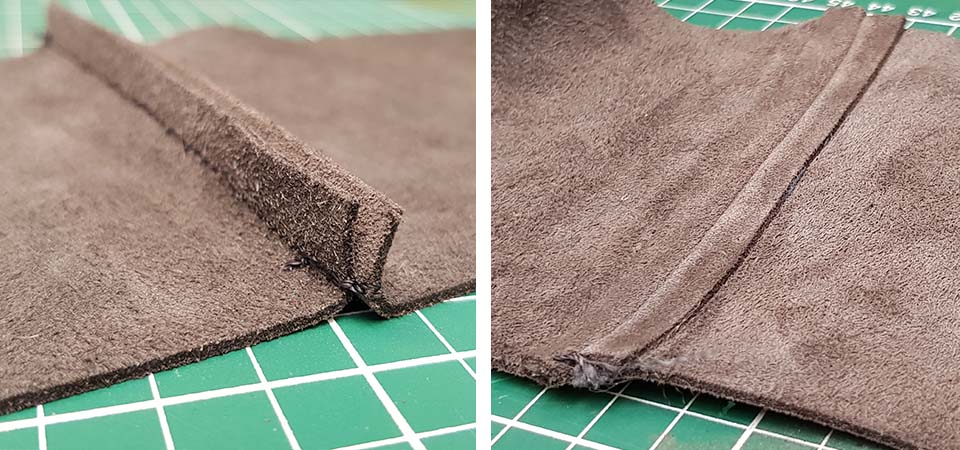
8. Assemble the bottom + sides with the front
Position the bottom sides on the front of the bag right sides together (use sewing clips).  Then make 3 “straight” seams: 2 across and 1 along the length.
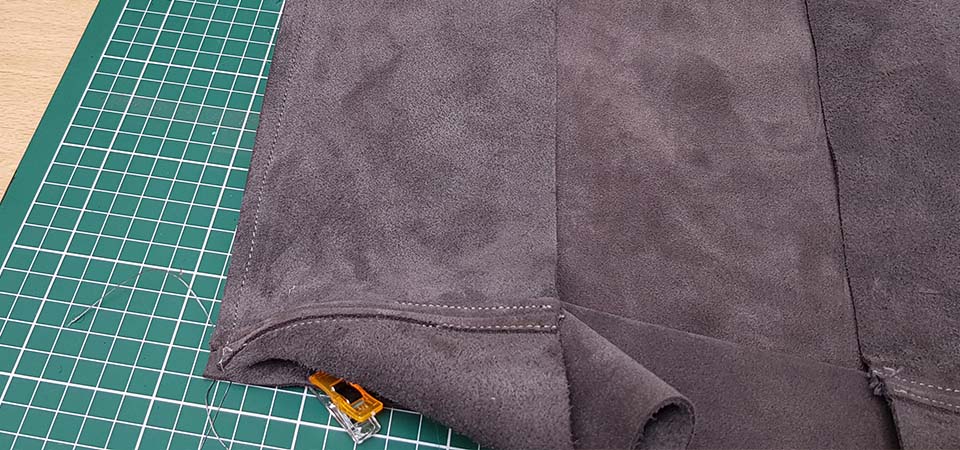
9. Assemble the back to the front
All that remains is to sew the back to the front of the bag (right sides together): make 3 seams as in the previous step. 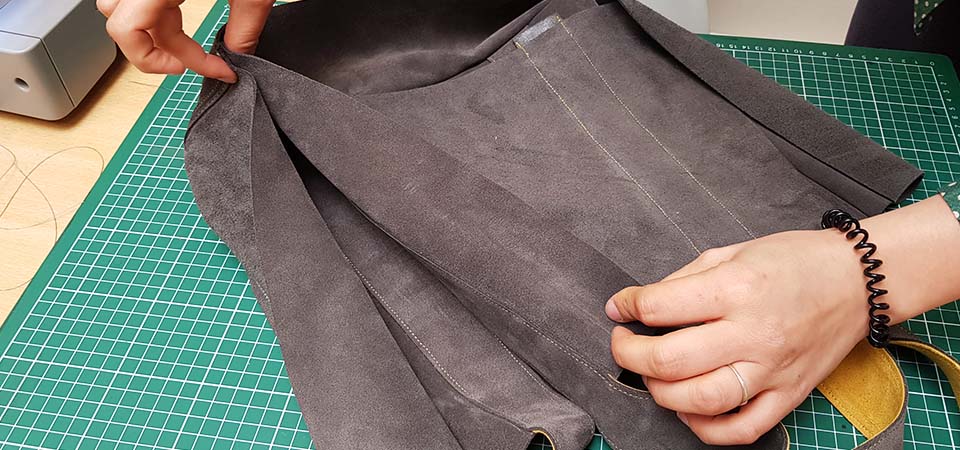
 Cut off the excess strap ends and turn the bag inside out.
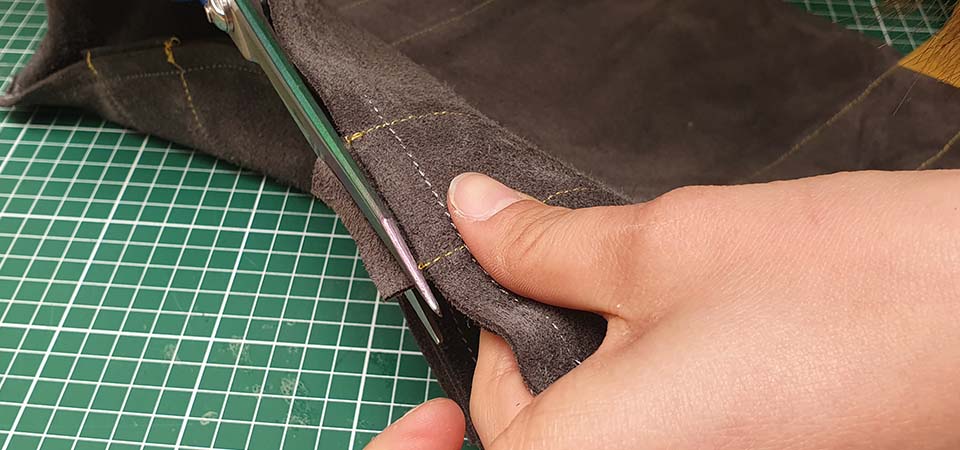
10. Assemble the lining
Cut out 2 rectangles of foam (here we used scraps of foam-lined leather) measuring 30 x 12 cm. Then glue them onto each side (back) of the lining leather: the rectangles are deliberately 2 cm smaller so that the lining can be sewn onto the bag without any excess thickness. 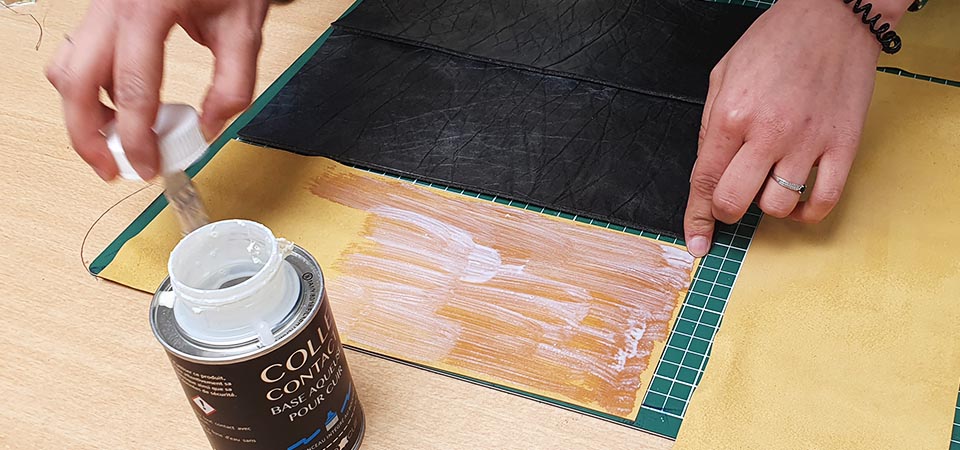
Sew a lining in the same way as the bag (steps 7, 8 and 9). Do not turn the lining at the end of the last step. 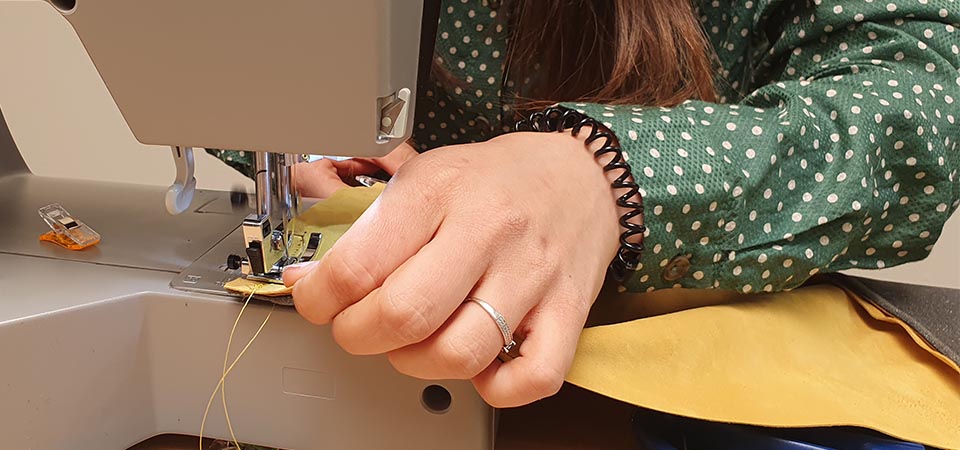
11. Reinforce the bottom of the bag
Glue foam to the bottom of the bag to reinforce it. 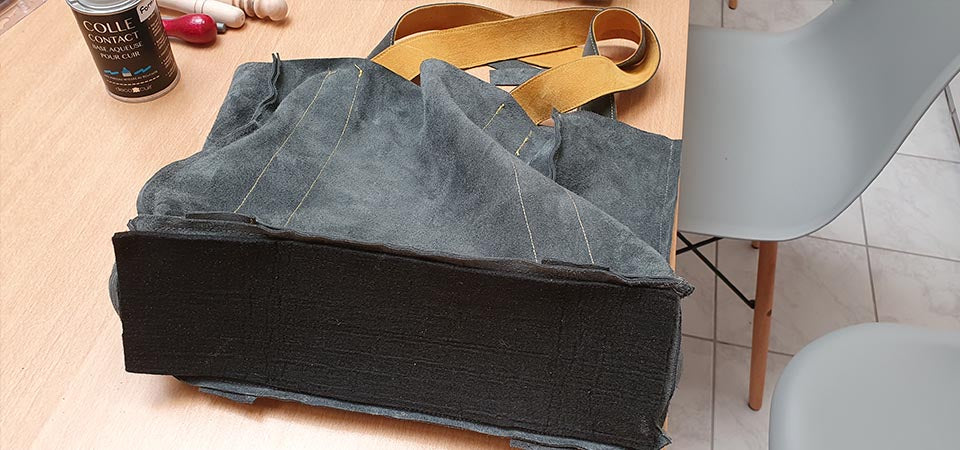
12. Position the small closing tabs
Come and stick the small strips (7 x 2 cm) for closing the bag in the center of the front and back of the bag (see photos). 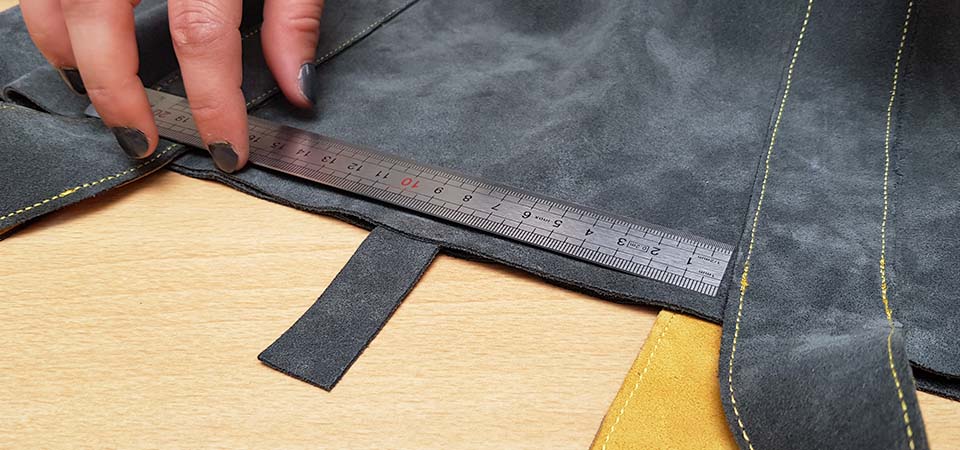
13. Put the lining in the bag
Place the lining in the bag (wrong side against wrong side) and apply glue to the entire top edge (be careful to bring out the small closing tabs). 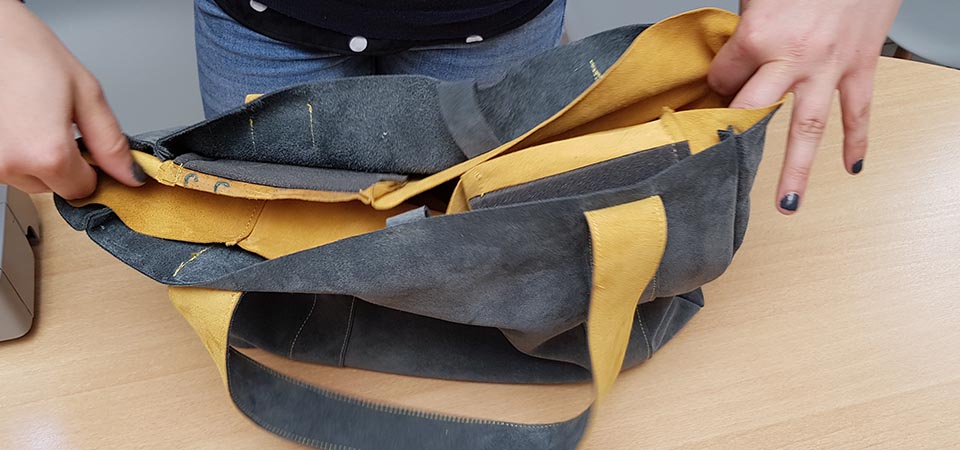

Work each side, flattening the excess thickness (see photo below).  Then glue the lining edge to edge of the bag.
14. Sew the lining
Sew the lining to the bag (sewing along the entire top edge). 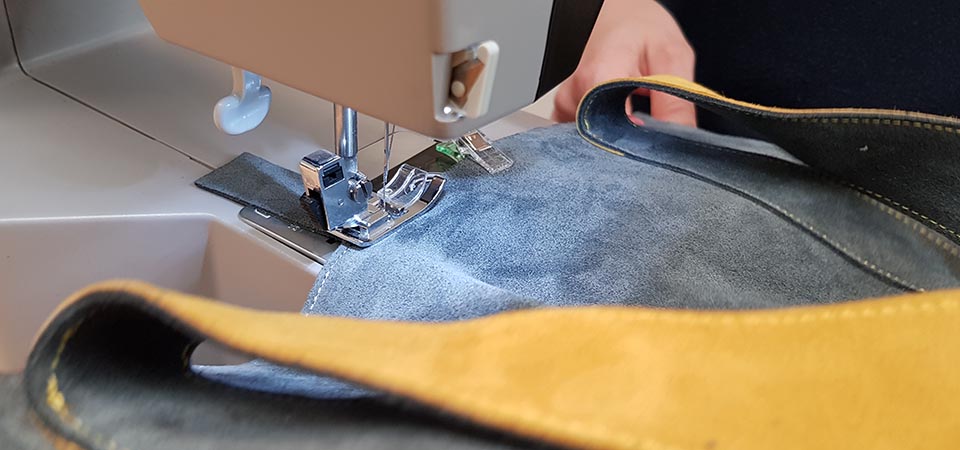
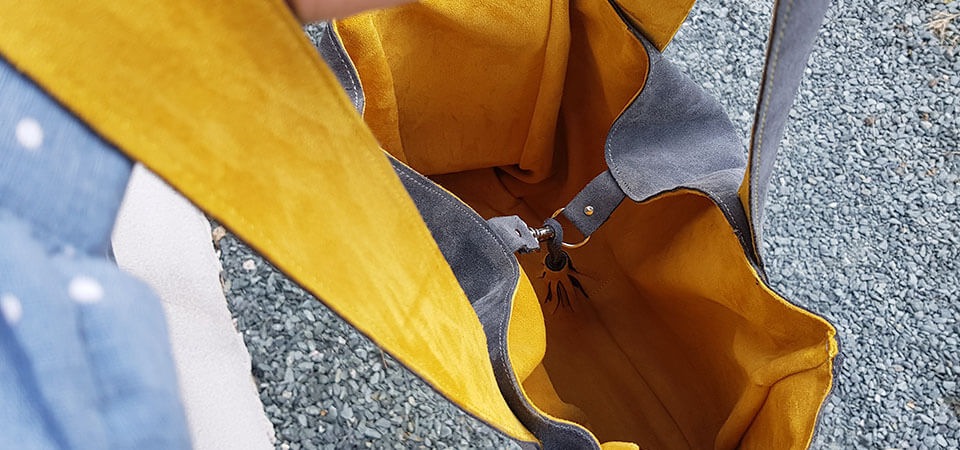
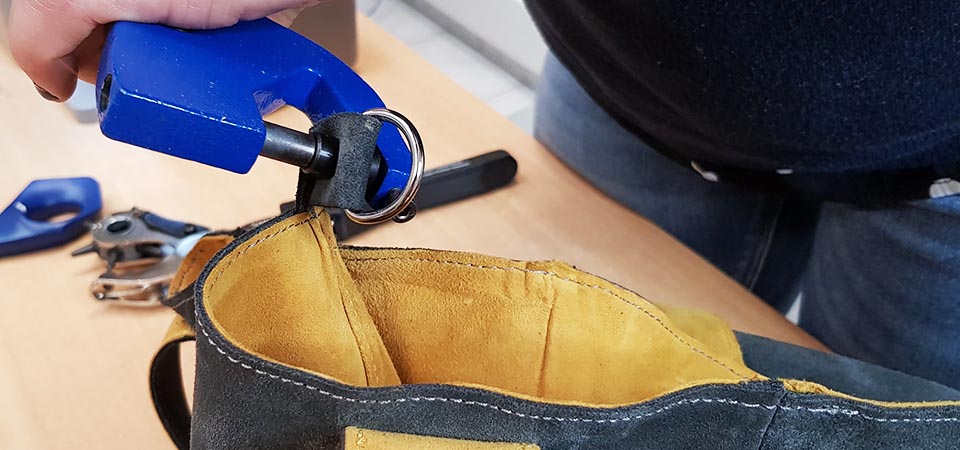
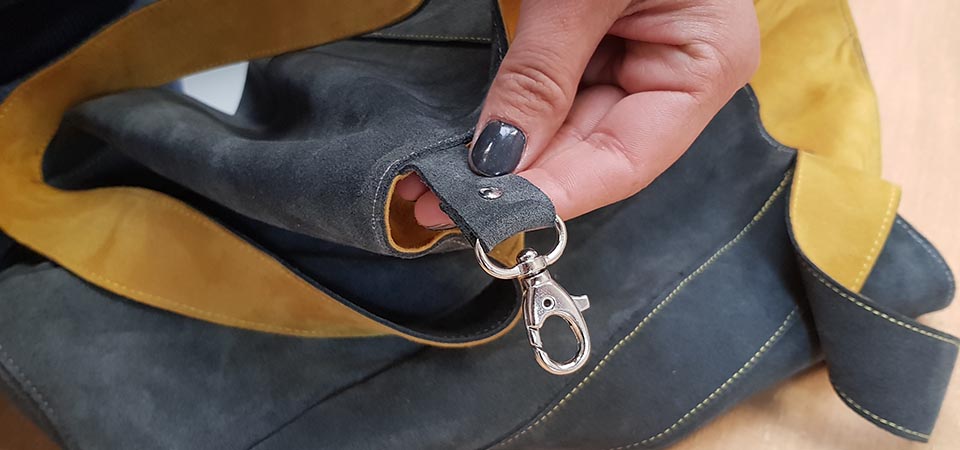
15. Add a carabiner and half-round ring
Attach 1 half-round ring 20x15x3 mm and 1 rotating carabiner to the small closing straps: using a T2 double-cap rivet. 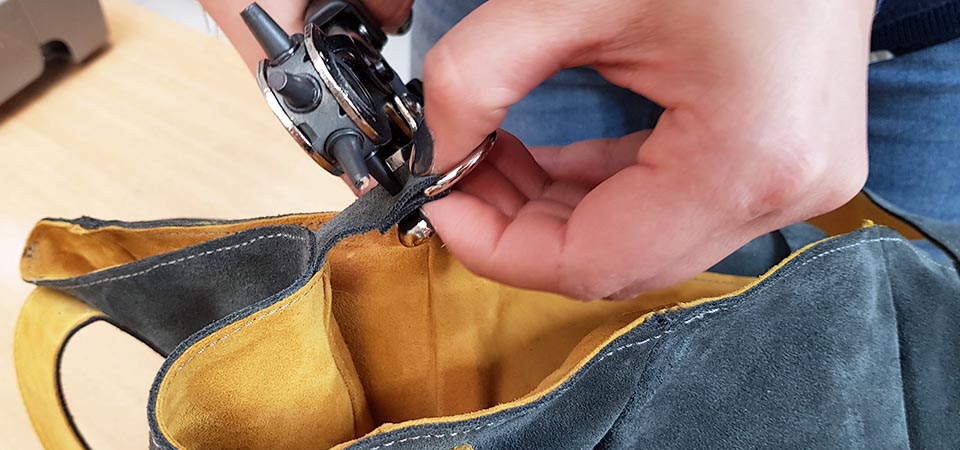
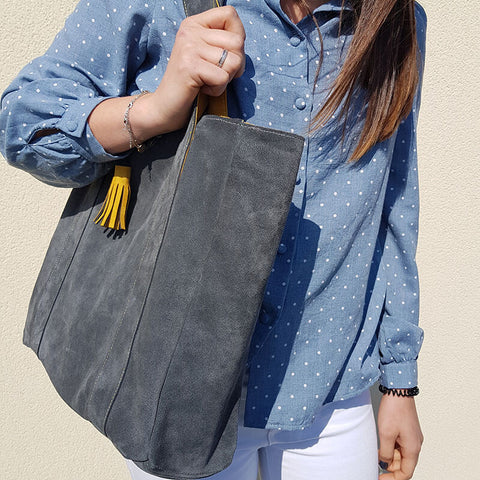
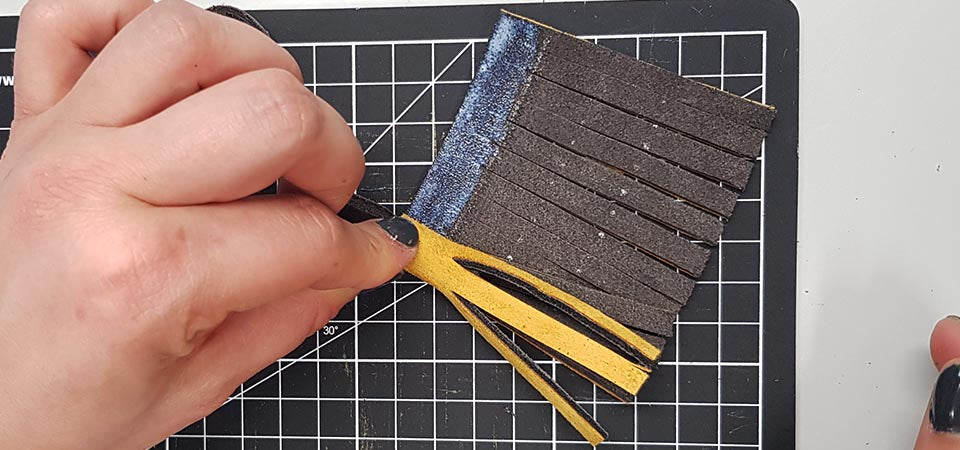
16. Option: make a pompom
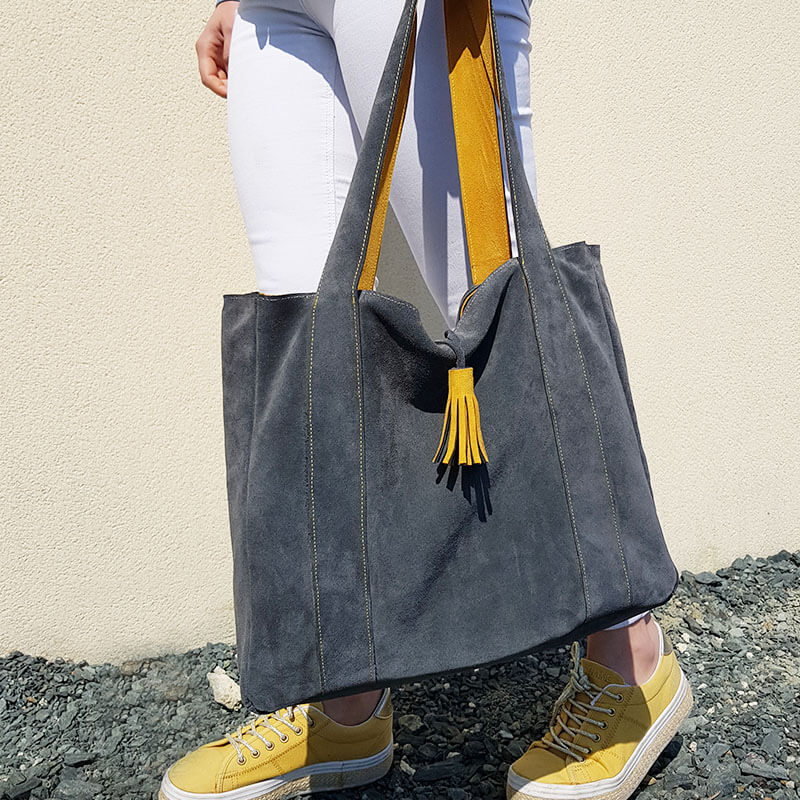
Decorate your bag with a small two-tone leather pompom.
HOW TO MAKE A LEATHER POMPOM? >
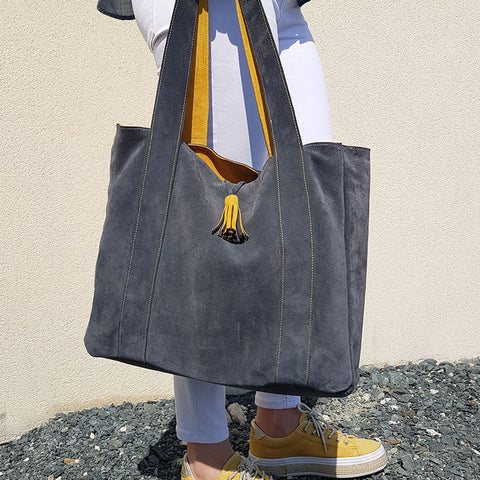
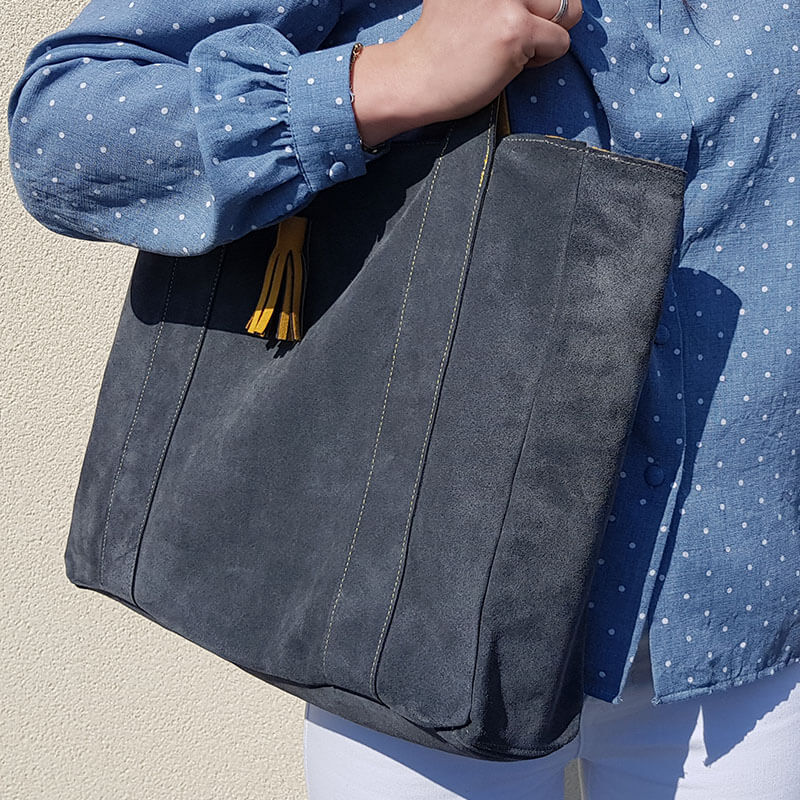
YOUR TOTE BAG IS FINISHED!
 |
 |