


WHAT IS LEATHER CARVING?
Leather carving is the art of creating a raised design on vegetable-tanned leather. To achieve this raised effect and thus highlight your design, the leather is tooled with various stamps. Carving therefore involves compressing the leather fibers around the lines of your pattern.

How to carve leather?
We invite you to watch our 7 videos which explain the leather carving process step-by-step. Don't forget to download the template (the floral pattern) at the top of the page.
|
|
|
| PART 1: Leather carving: design transfer. | PART 2: Leather carving: cutting with a swivel knife. |
|
|
|
| PART 3: Leather carving with beveler stamps. | PART 4: Leather carving with Thumbprint stamps - Shading work. |
|
|
|
| PART 5: Leather carving with camouflage, veiner, and lifter stamps - Embossing work. | PART 6: Leather carving with a backgrounder stamp and decorative cutting - Background work. |

Which leather to choose for carving?
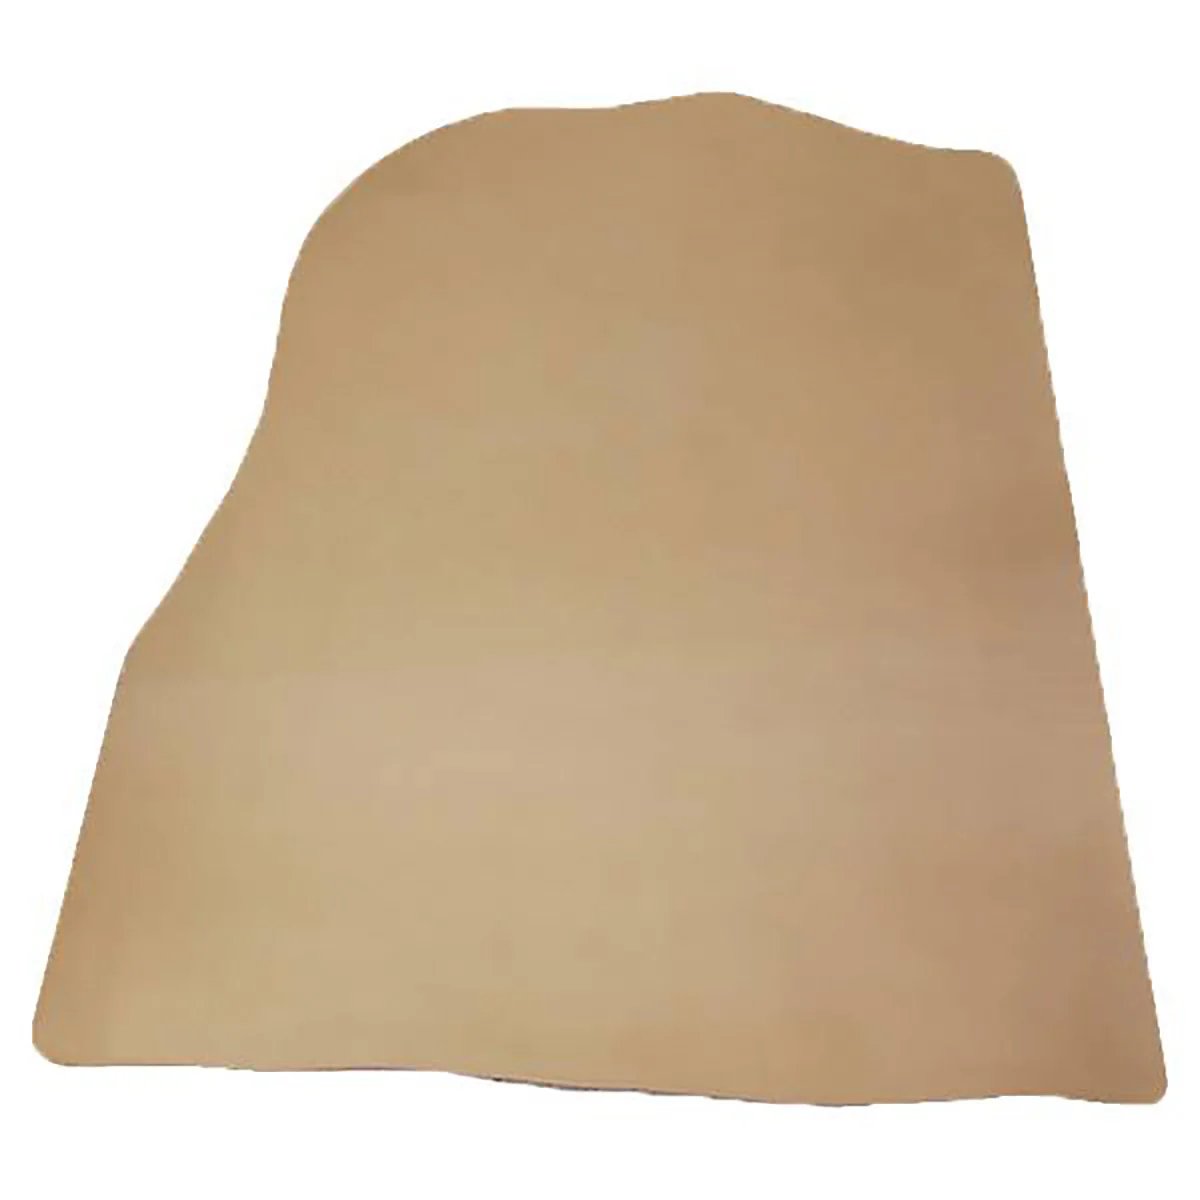
Natural vegetable-tanned leather is the most suitable leather for carving. We recommend choosing from our range of PREMIUM vegetable-tanned collar leather (thicknesses 2.5 mm - 3.3 mm and 3.8 mm). PREMIUM leather is softer and thicker than CLASSIC leather, which makes carving easier and will allow you to better showcase your creation.



What tools for leather carving?
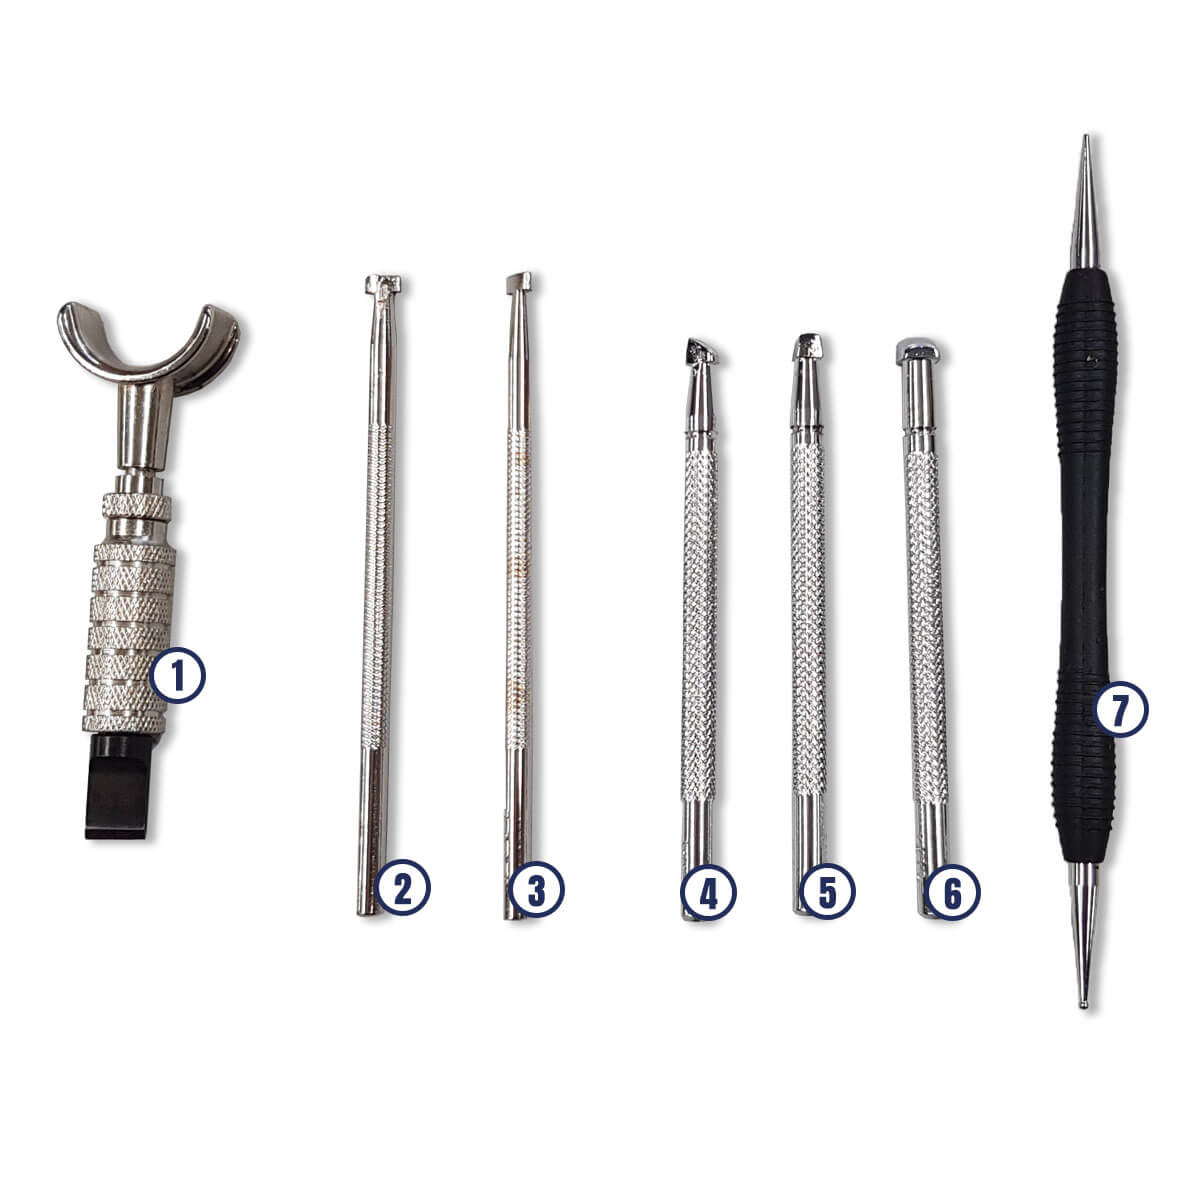
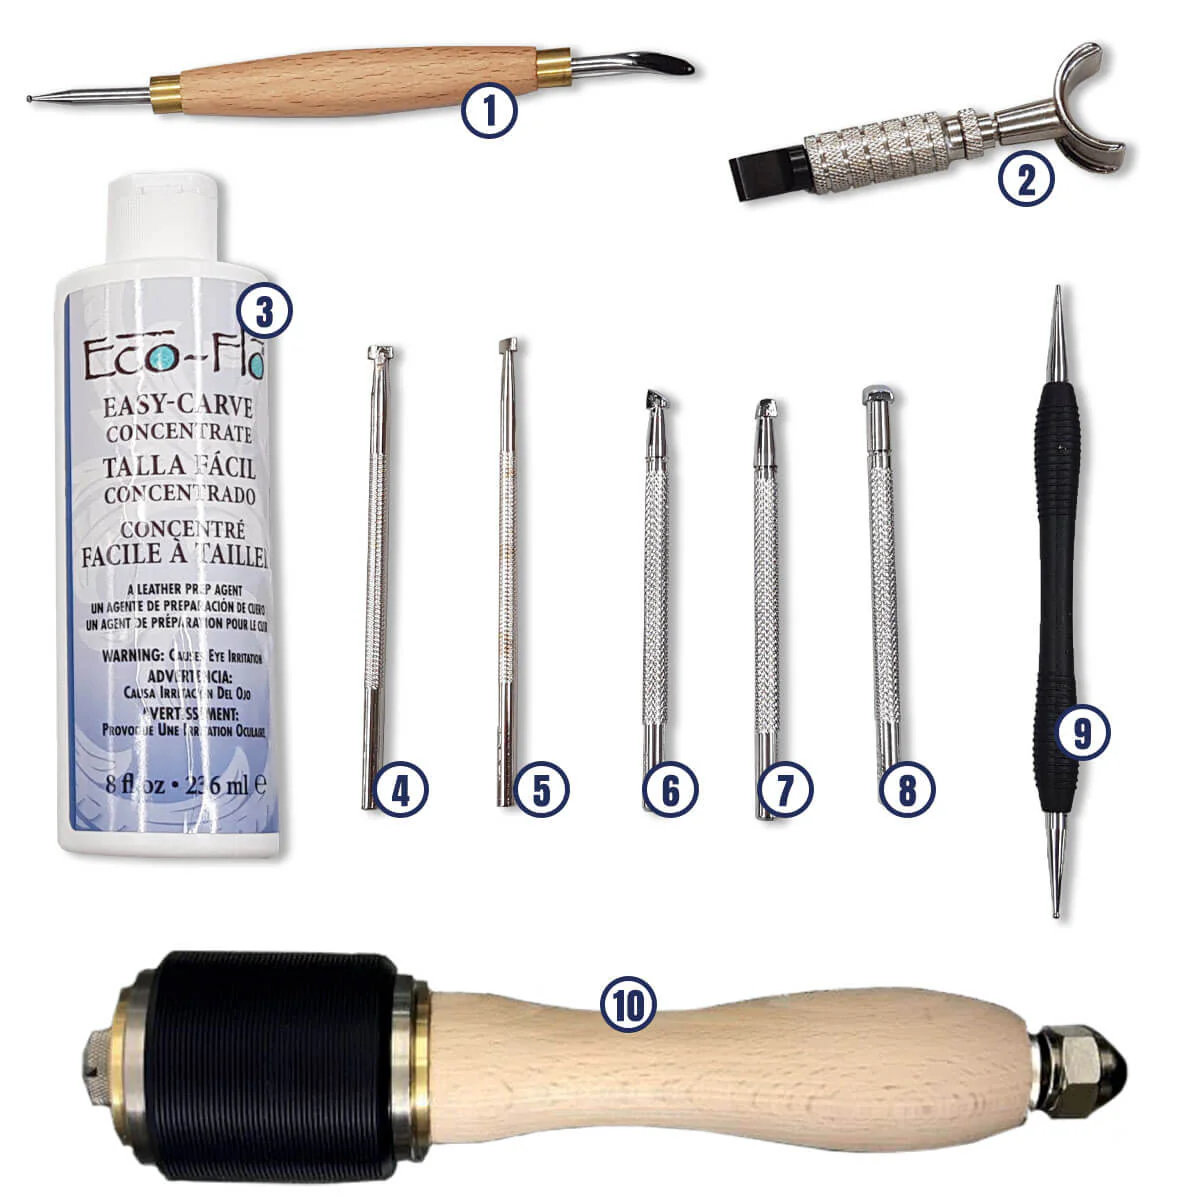
- The modeling/tracing tool allows you to transfer the design onto the leather (with tracing paper).
- The swivel knife, also called a carving knife, allows you to incise the leather to give relief to your pattern. The index finger is placed on the stirrup, the thumb and middle finger on each side of the handle, as if holding a pencil. The index finger controls the depth of the cut, while the other fingers are used to pivot the tool to create the desired shapes.
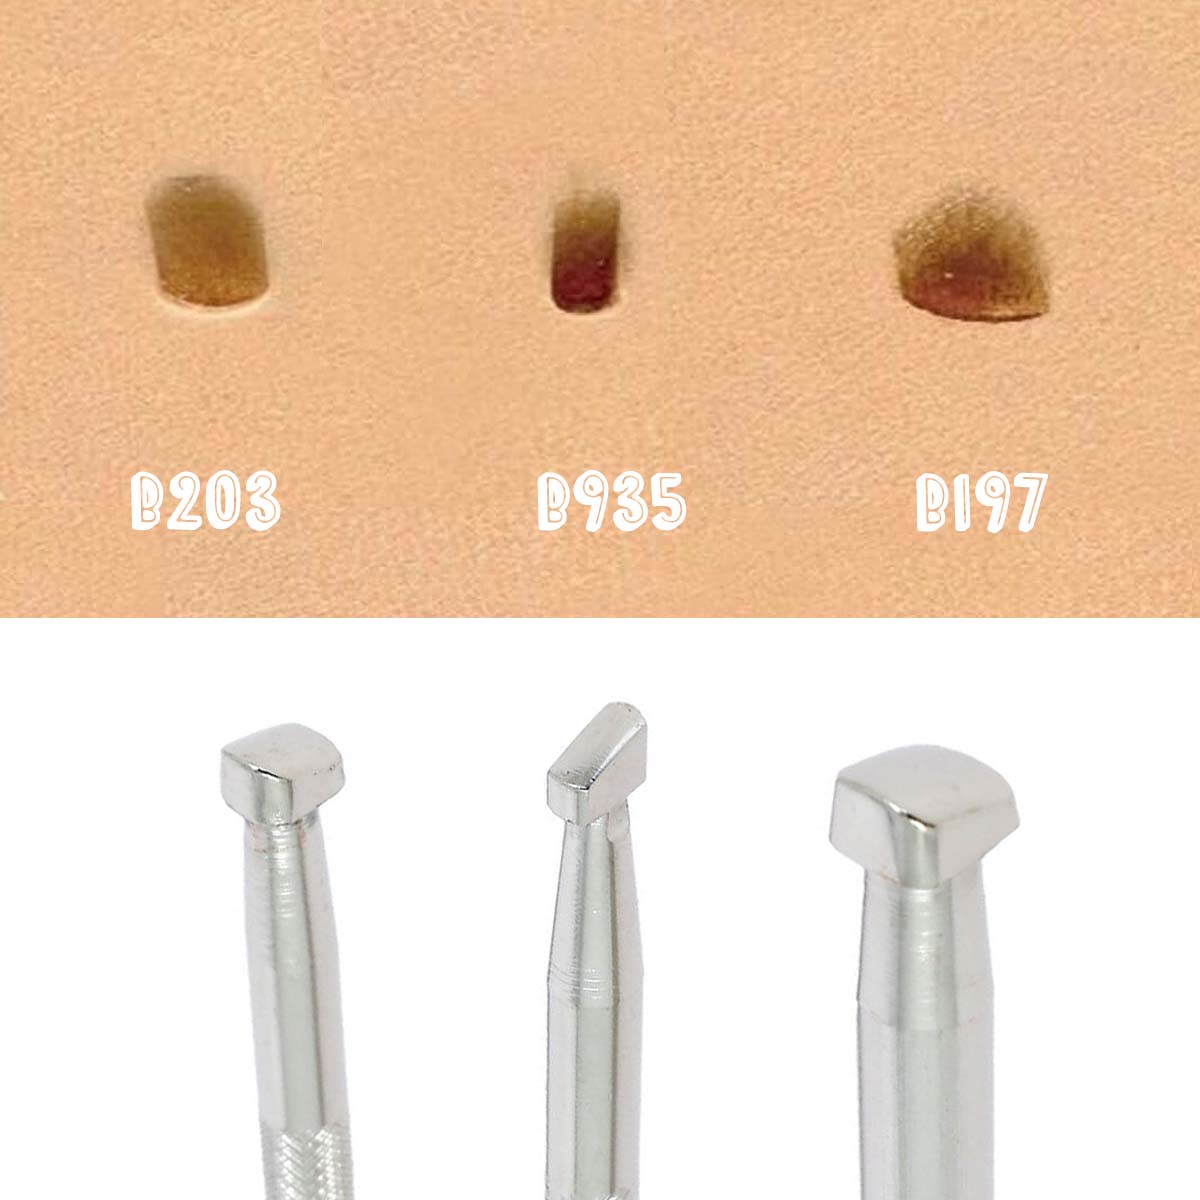
- Beveler stamps are used to give relief to the design by hammering them along the outlines (for outlining). Beveler stamps 6197 - 6203 - 6935 are essential for a large part of leather carving work.
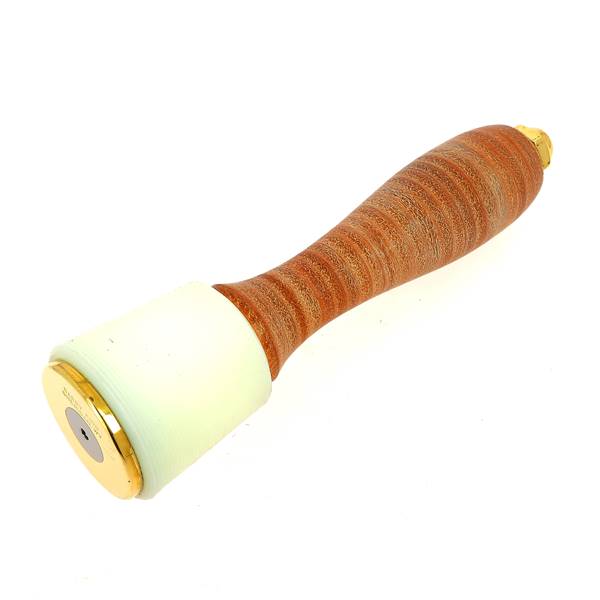
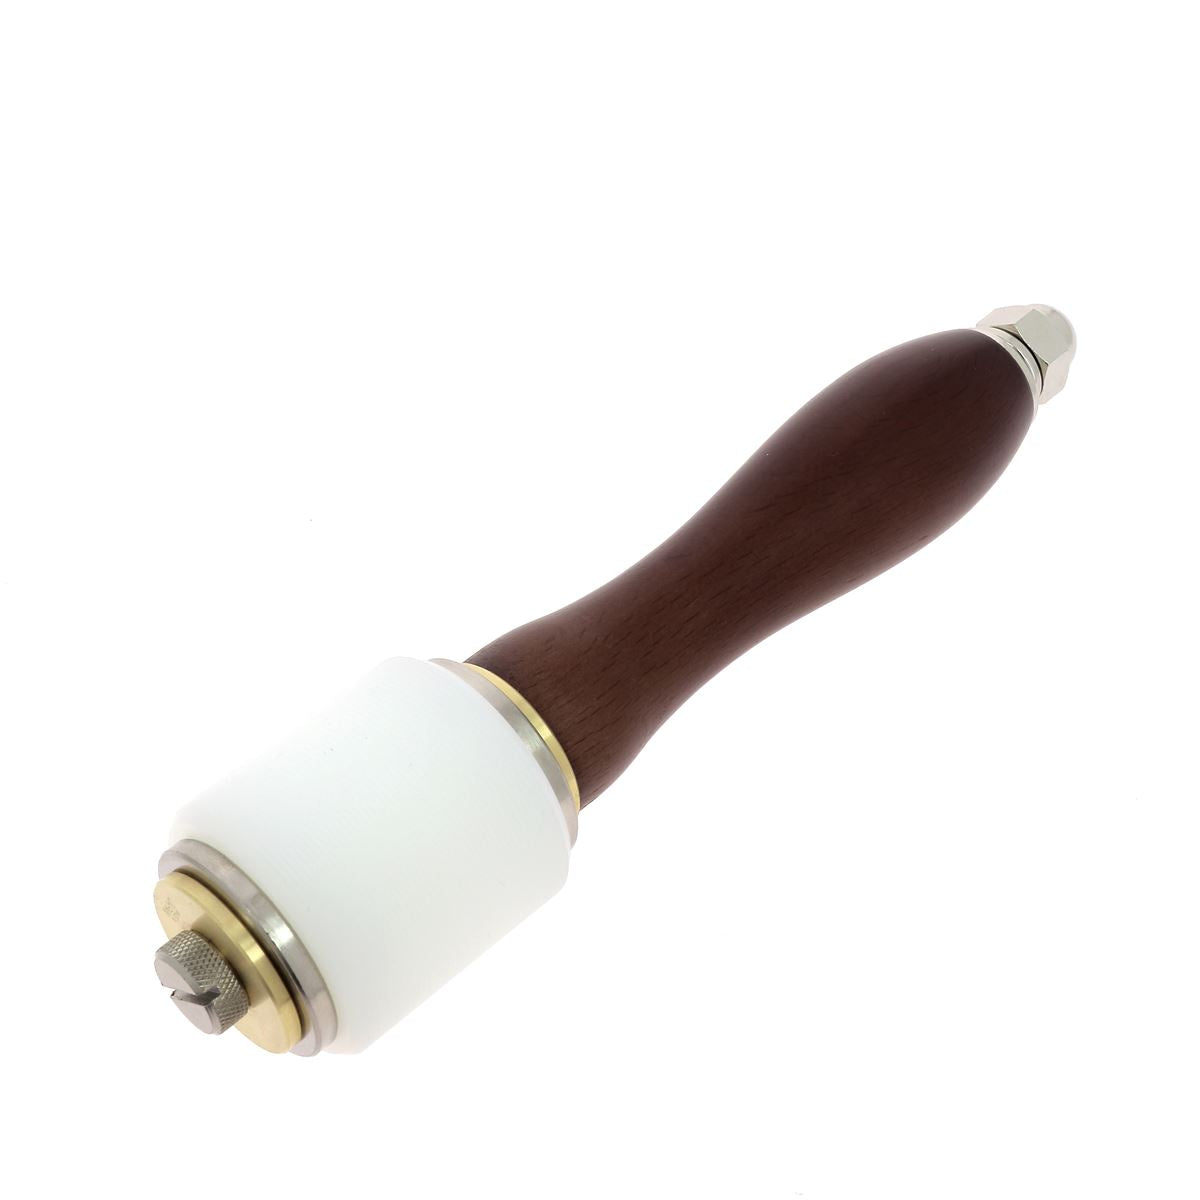
- The Barry King Tool maul / mallet has a perfect balance between the handle and the head, allowing for ease of use. Be careful to apply consistent striking force.
- The marble slab will provide excellent inertia for your mallet strokes when carving your leather (it will absorb vibrations).
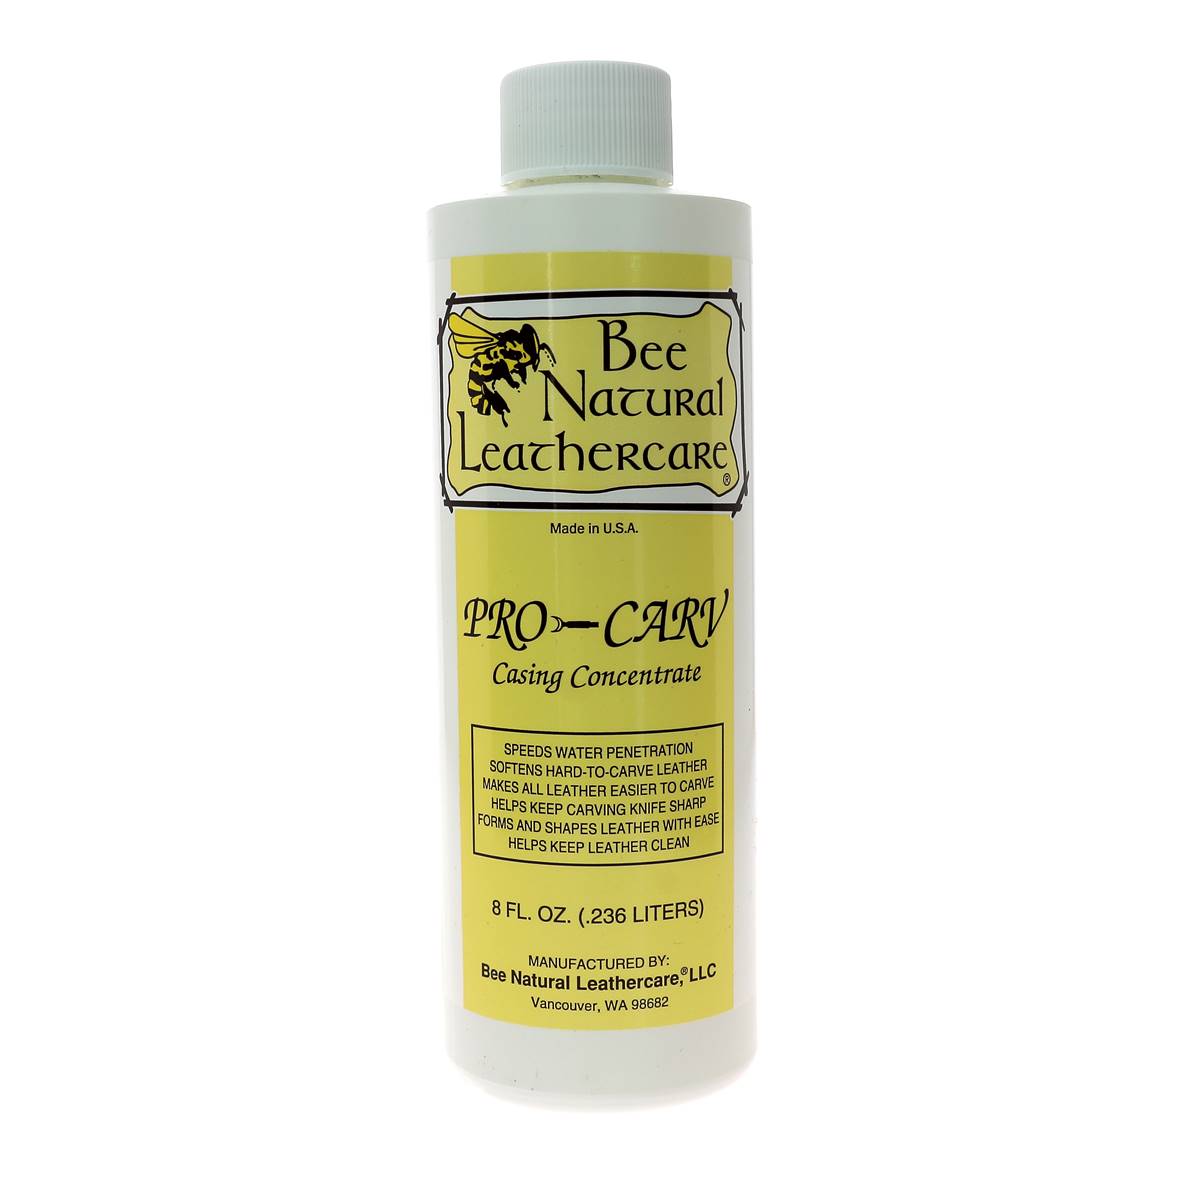
- Not forgetting Easy-Carve or Pro-Carv: professional product for leather before carving (to be diluted with water). The leather must be moistened to be carved.





The Stamp Dictionary
We have listed for you our range of over 400 carving stamps for leather. Discover the function of each family of handled stamps and more easily find a pattern, shape, or size thanks to our stamp dictionary!

DECO CUIR TOOL KITS
We have drawn on our experience to offer you essential leather carving tools in starter kits.
How to choose your swivel knife blade?

The 7/32 attachment blades are compatible with all swivel knives from Oka, Tandy Leather, and Ivan brands. The 1/4 attachment blades are only compatible with Barry King Tools swivel knives. Original blades are generally straight and flat. For a better grip, we recommend curved blades. Beveled blades are generally used for small lines (finer cuts).
What is embossing?
Embossing involves transferring an existing design onto leather by pressure. As with carving, only natural vegetable-tanned leather allows for this cold technique. For all other types of leather, hot embossing will be required, which necessitates industrial heated presses.
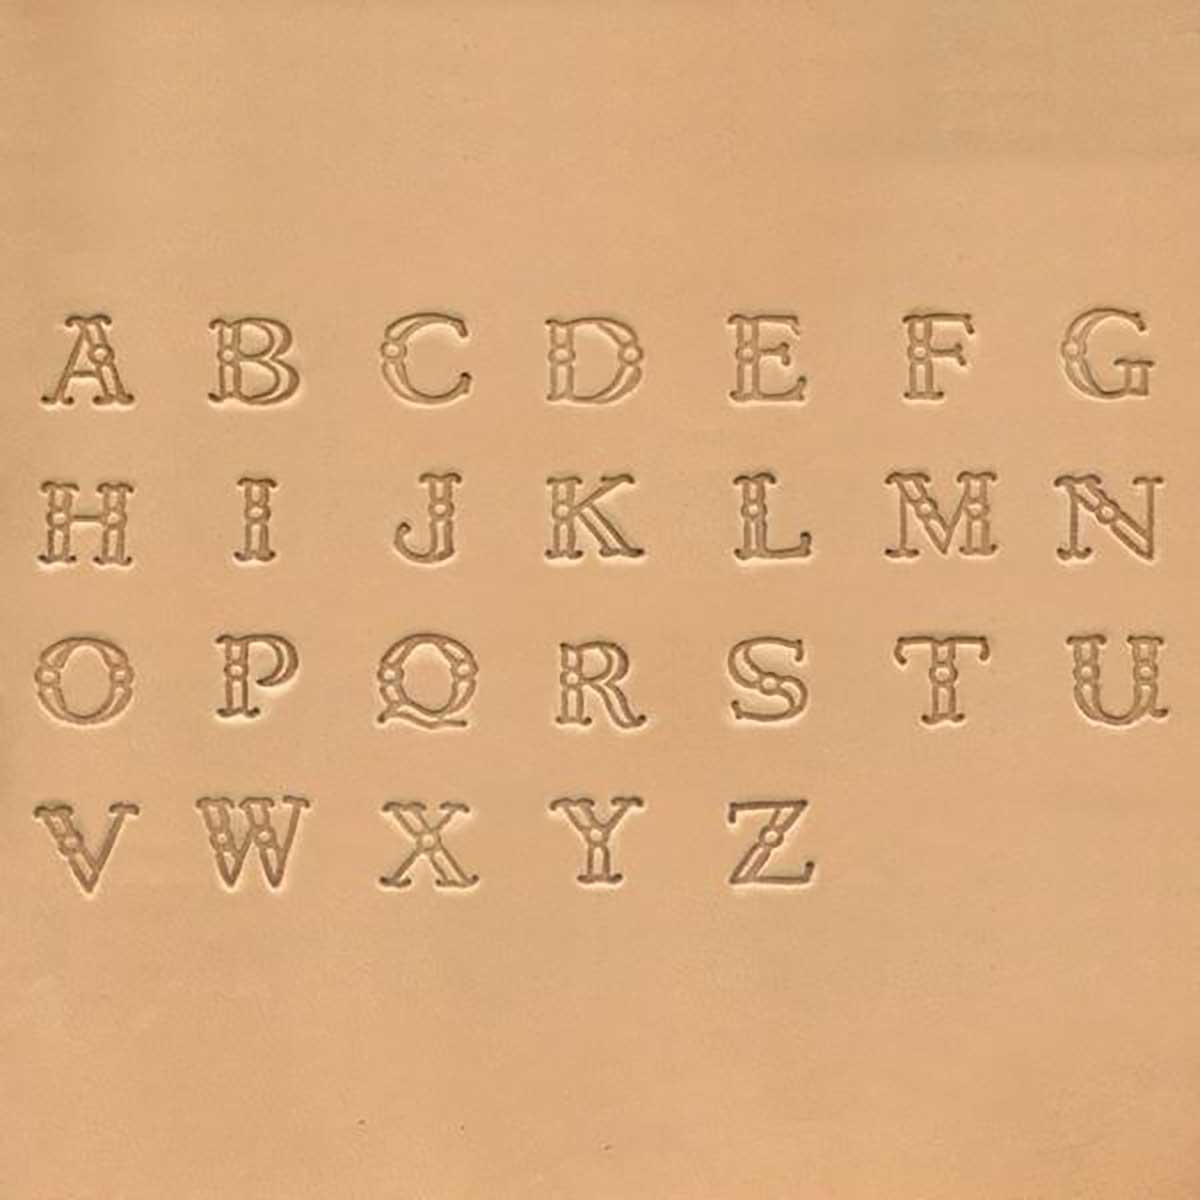
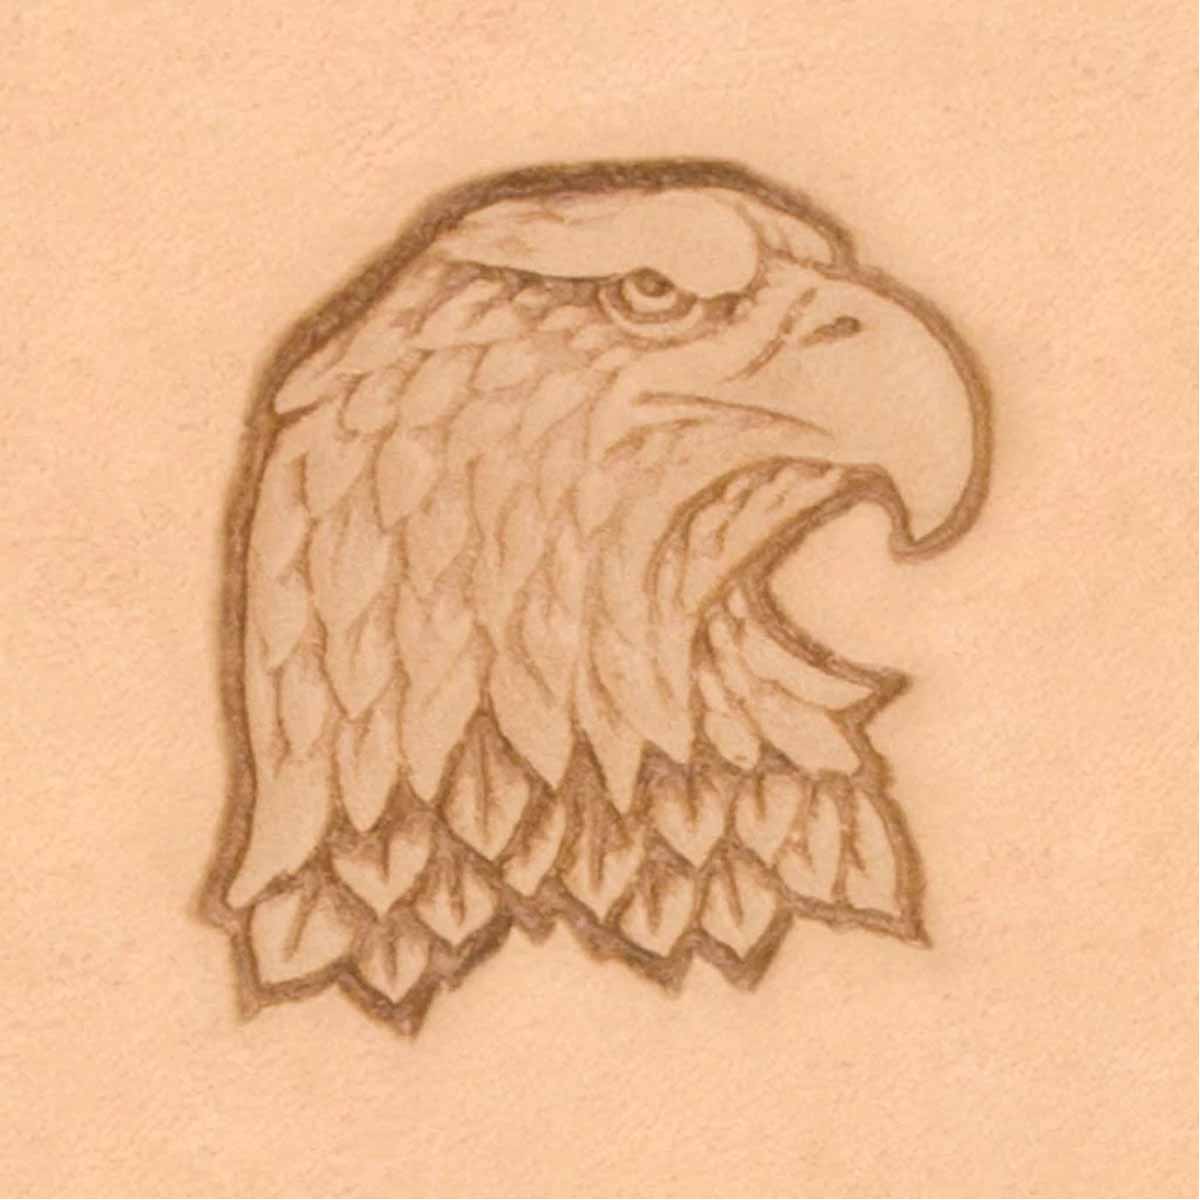
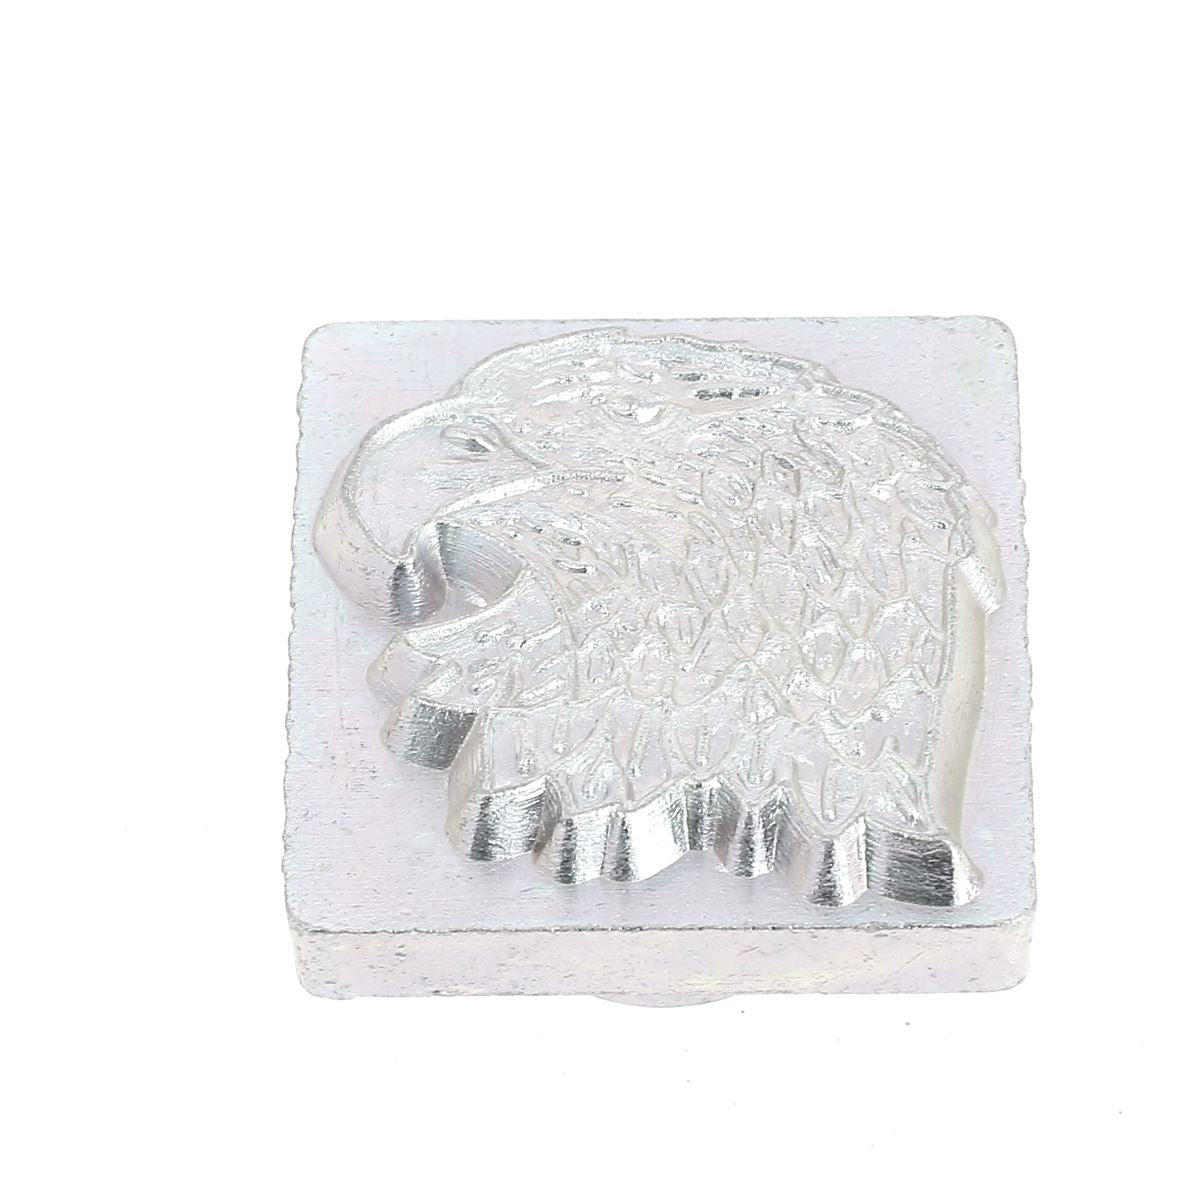
The marking is done using a tool, usually metal. There are many 2D and 3D embossing stamps offering a multitude of patterns such as animals, flowers, Celtic symbols, etc. Alphabet and number stamp sets also work using the embossing technique. To transfer the design onto the leather, a stamp is attached to a handle and struck with a mallet (or an embossing roller is used). The mallet must have a weight appropriate to the size of your stamp. Indeed, large patterns require much more pressure to mark the leather well. The mallet is generally made of wood or polymer. We do not recommend using a metal hammer, which will damage your stamp over time.
The advantage of this technique is the time saved and the quality of the pattern, which is directly related to the quality of the stamp used.



EXPLANATION OF THE BASKETWEAVE TECHNIQUE
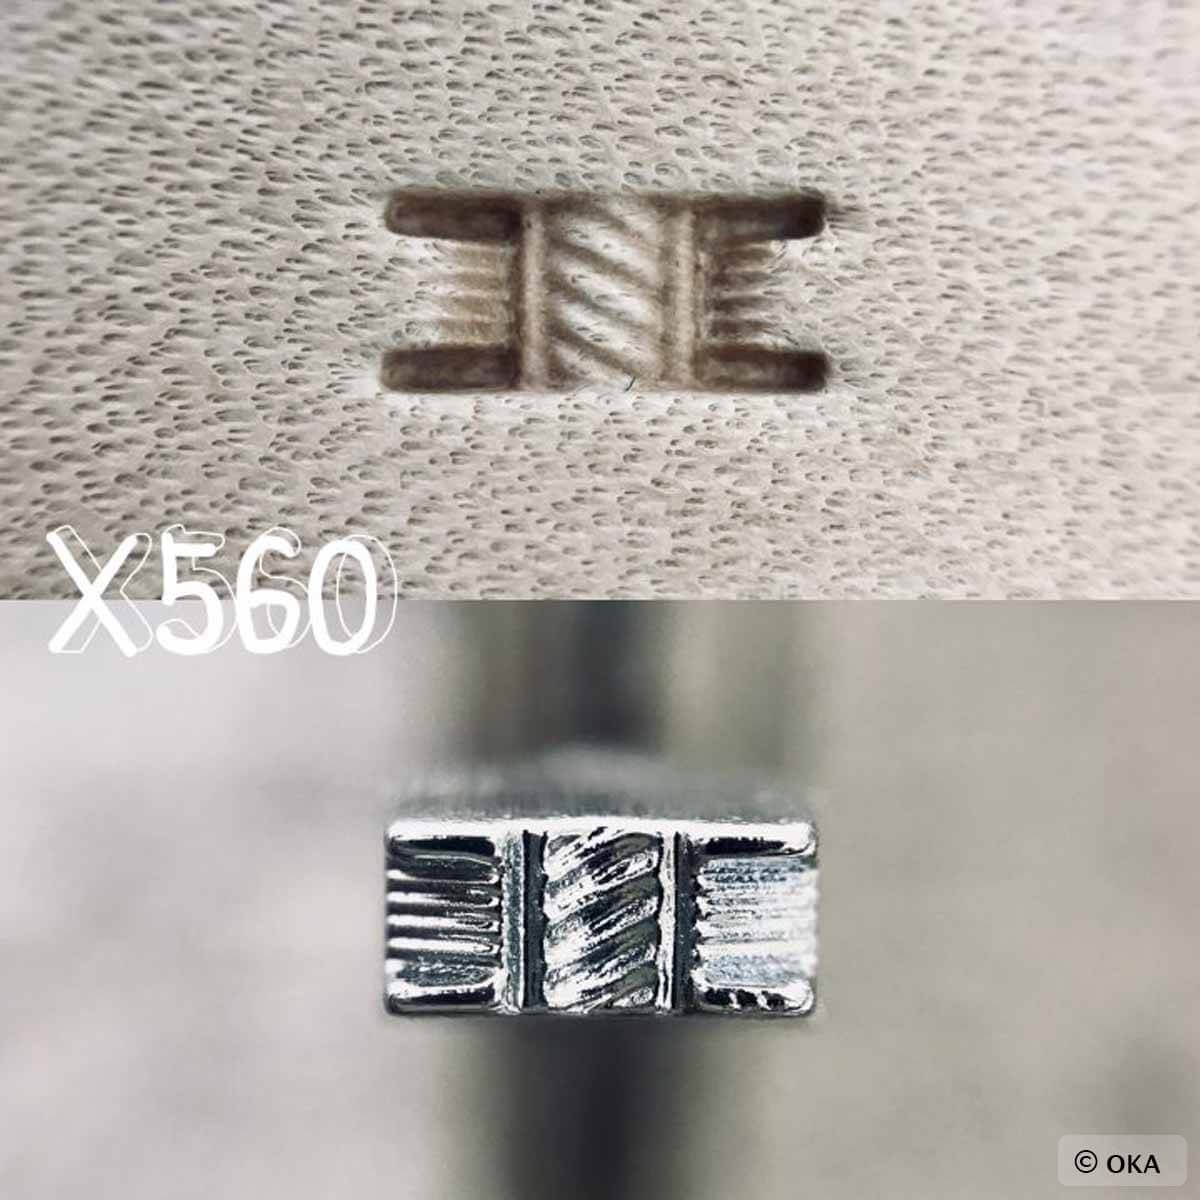
Basketweave (X) handled stamps get their name from the pattern created, which resembles a woven basket. They allow for quick reproduction of the same pattern to create a textured effect and avoid leaving a large smooth surface.
To begin carving, dampen the leather with a mixture of water and Easy Carve. Then, draw a guide line (with a tracer) using 2 points on your creation.
Position the handled stamp (for our example: Basketweave fagot bias 11mm - X510) as close as possible to an edge. Then, strike the stamp on both sides of the line. Be careful to incline it at the edges so as not to go beyond the decorative line. Have a heavy enough maul so you don't have to hit it twice.
To properly learn the Basketweave technique, watch the video between minutes 12:35 and 19:03.
See the free "Knife Sheath" tutorial >




Where to get your custom leather carving stamp made?
Would you like to have a personalized stamp with your brand name or a specific design? We recommend contacting specialized companies such as: BFM - Tools and machinery for leather.
BFM will design your tool for cold or hot engraving/marking of leather.
OUR CUSTOMERS HAVE TALENT
 |
 |
 |
| ©L'Atelier d'Arcs Brassard val | ©Nordikha | ©Roseanne Laniece |
 |
 |
 |
| ©Alain Mangano | ©Alain Mangano | ©Alain Mangano |
 |
 |
 |
| ©Donatien Cebron | ©Alain Coquéro | ©Damien Coquelet |
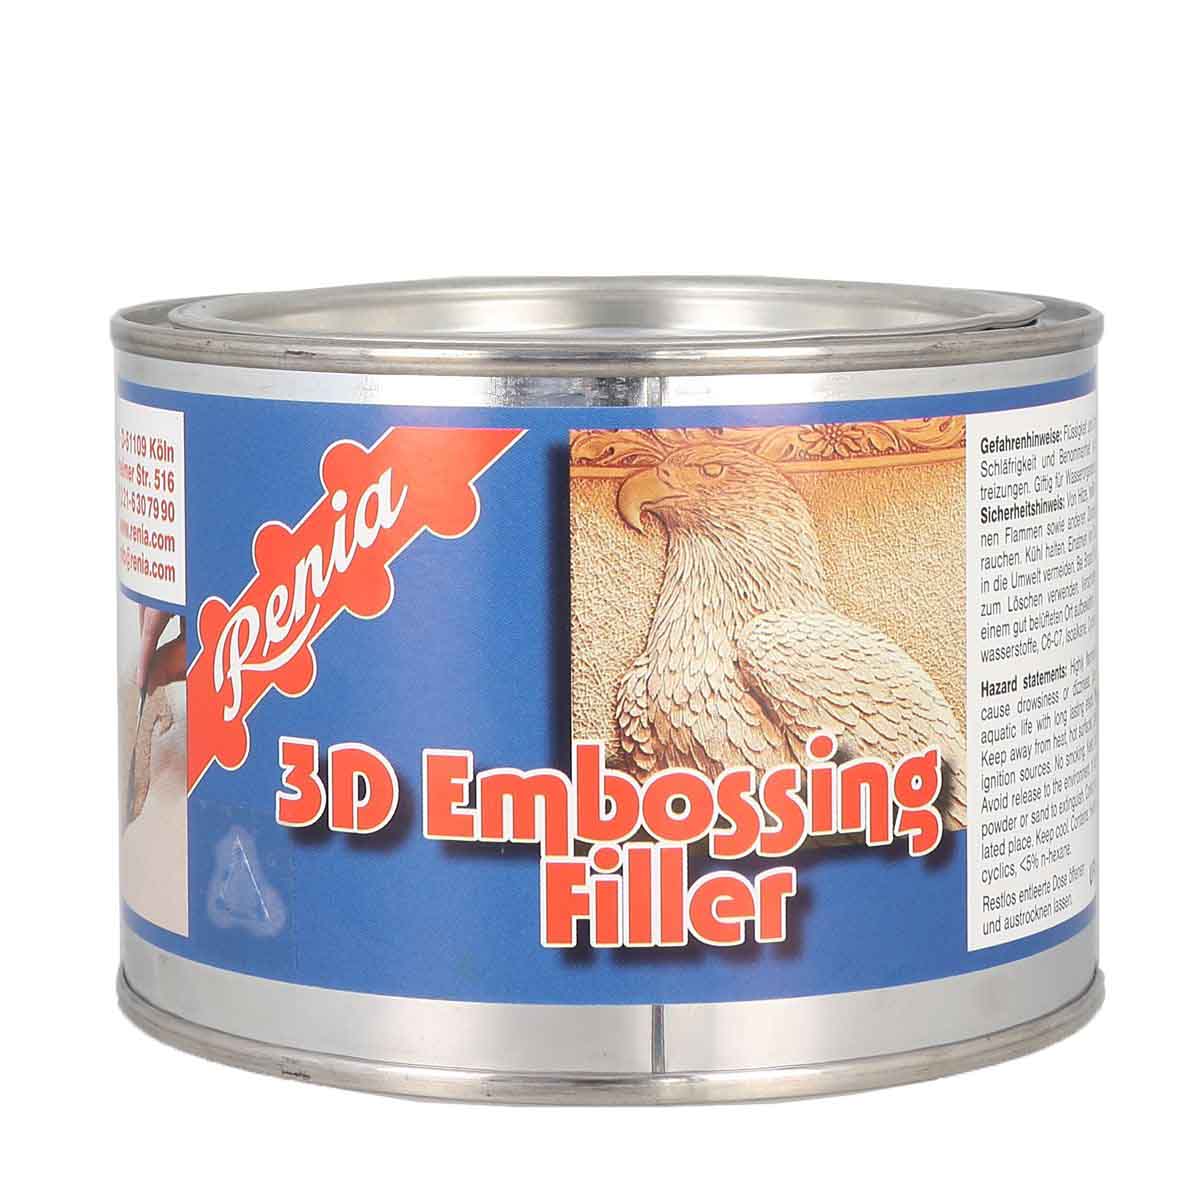
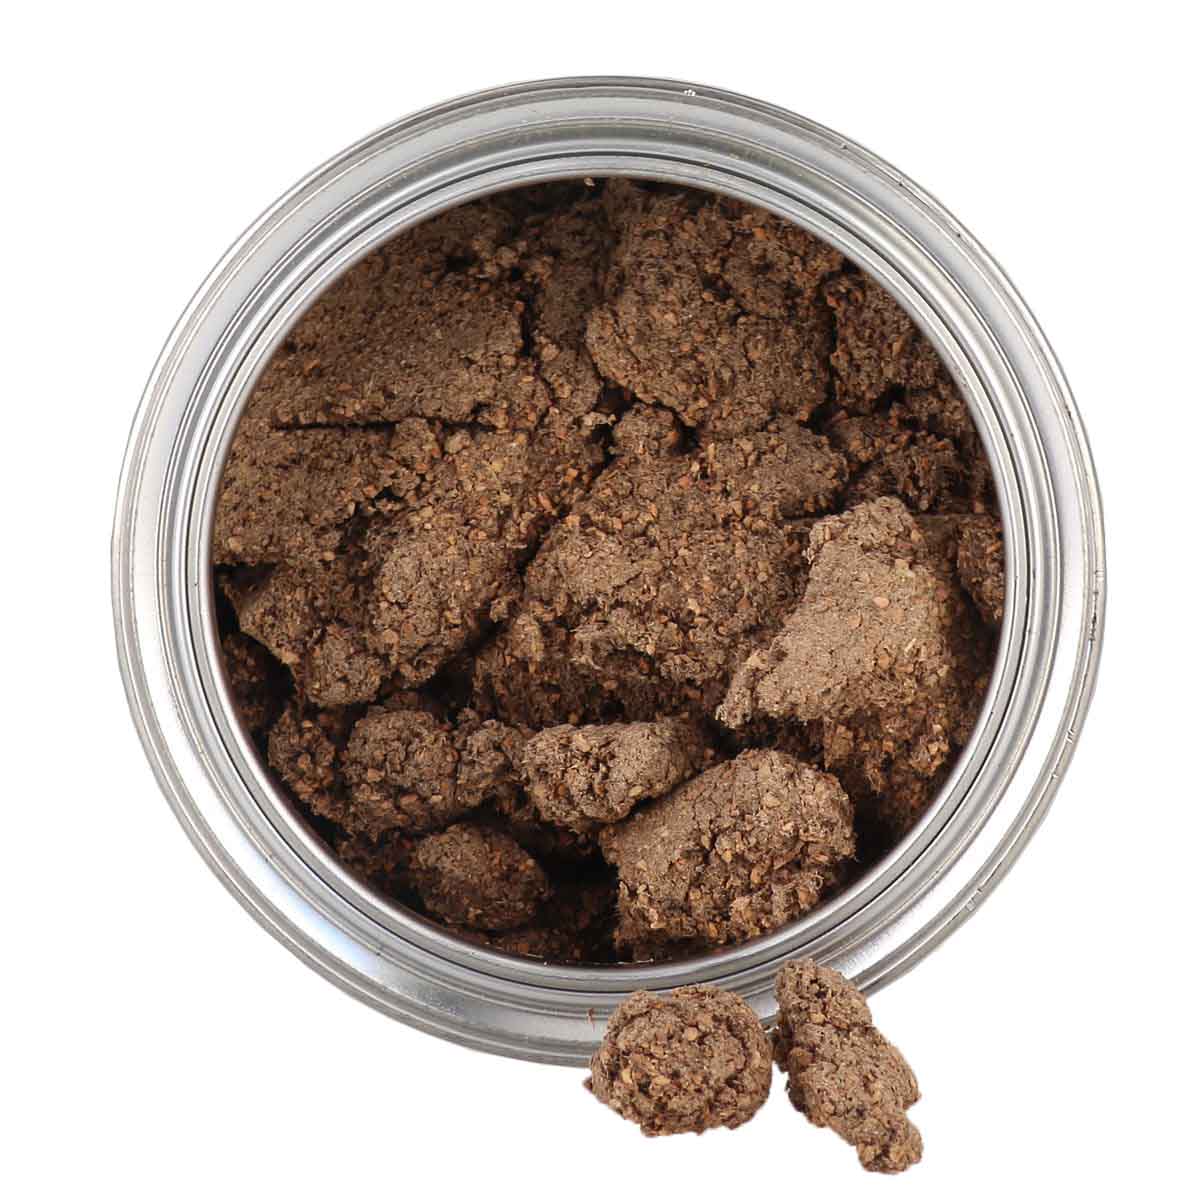
3D EMBOSSING RENIA
The 3D filler has been developed for leather modeling, specially designed for 3D carving and embossing (see ©Mitch's creation below).

YOUR CREATIONS


4 comments
Anonymous
Bonjour MGO,
Nous vous conseillons de commencer par le repoussage, puis d’appliquer votre teinture. La patine “Fiebing’s Antique Leather Stain” est généralement utilisée comme finition après la teinture. Pour finir, vous pouvez appliquer le Pro resist. N’hésitez pas à consulter notre guide complet sur les teintures et finitions : https://www.decocuir.com/blogs/blog-tutoriel-patron-cuir/comment-teinter-cuir-teinture .
L’équipe Deco Cuir
MGO
Bonjour,
Dans le cas de repoussage avec utilisation d’Antique Leather stain et Pro resist, si l’on veut que le cuir soit teinté, quel est l’ordre logique ?
D’abord la teinture puis repoussage ou tout le process de repoussage et teinture en dernier lieu ? dans ce cas j’ai peur que le teinte ne prenne pas apres le pro resist ?
Merci
Anonymous
Bonjour Aurélie,
Le choix de l’épaisseur doit se faire en fonction de ce que vous souhaitez confectionner : porte-cartes, manchettes, selles… Effectivement, pour rendre le travail de repoussage plus facile et vous permettre de mieux mettre en valeur votre création nous conseillons de choisir un cuir PREMIUM de 2,5 mm pour le repoussage du cuir : le cuir PREMIUM est plus épais et plus tendre que le cuir CLASSIC. https://www.decocuir.com/morceau-cuir-tannage-vegetal-c102x2677112
L’équipe Deco Cuir
Anonymous
Bonjour
Quelle épaisseur minimale conseillez-vous pour le repoussage du cuir ?
Des cuirs proposés en lien, je suppose que c’est 2.5 mm ?