

MATERIALS REQUIRED
To complete this tutorial, you will need:
- 1 leather hide - minimum 0.40 to 0.49 m² surface area - approximately 1 mm thick
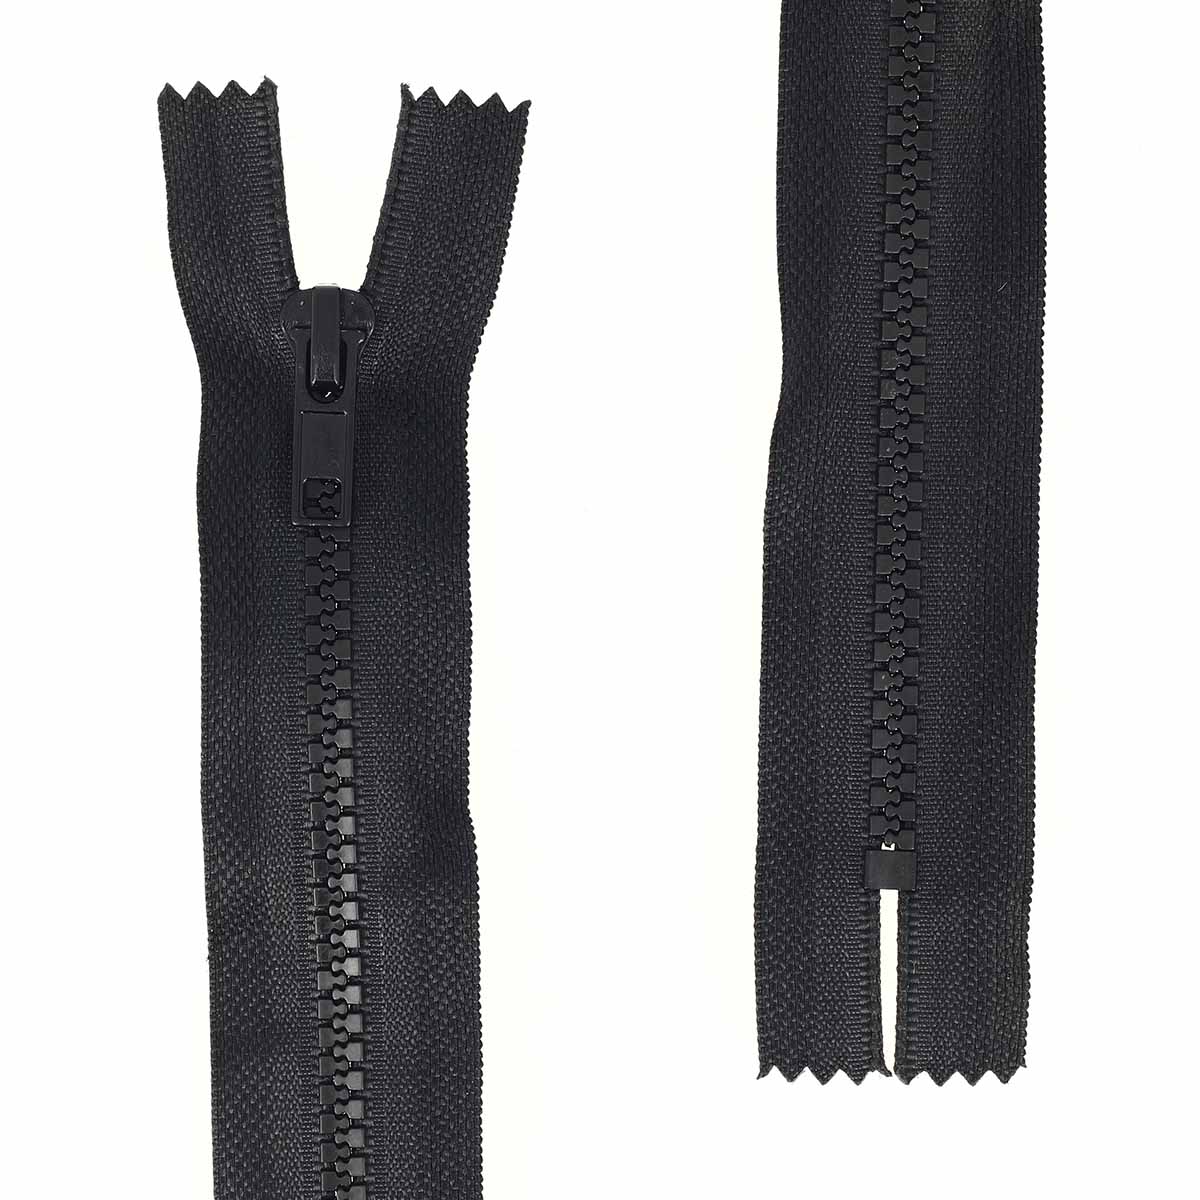
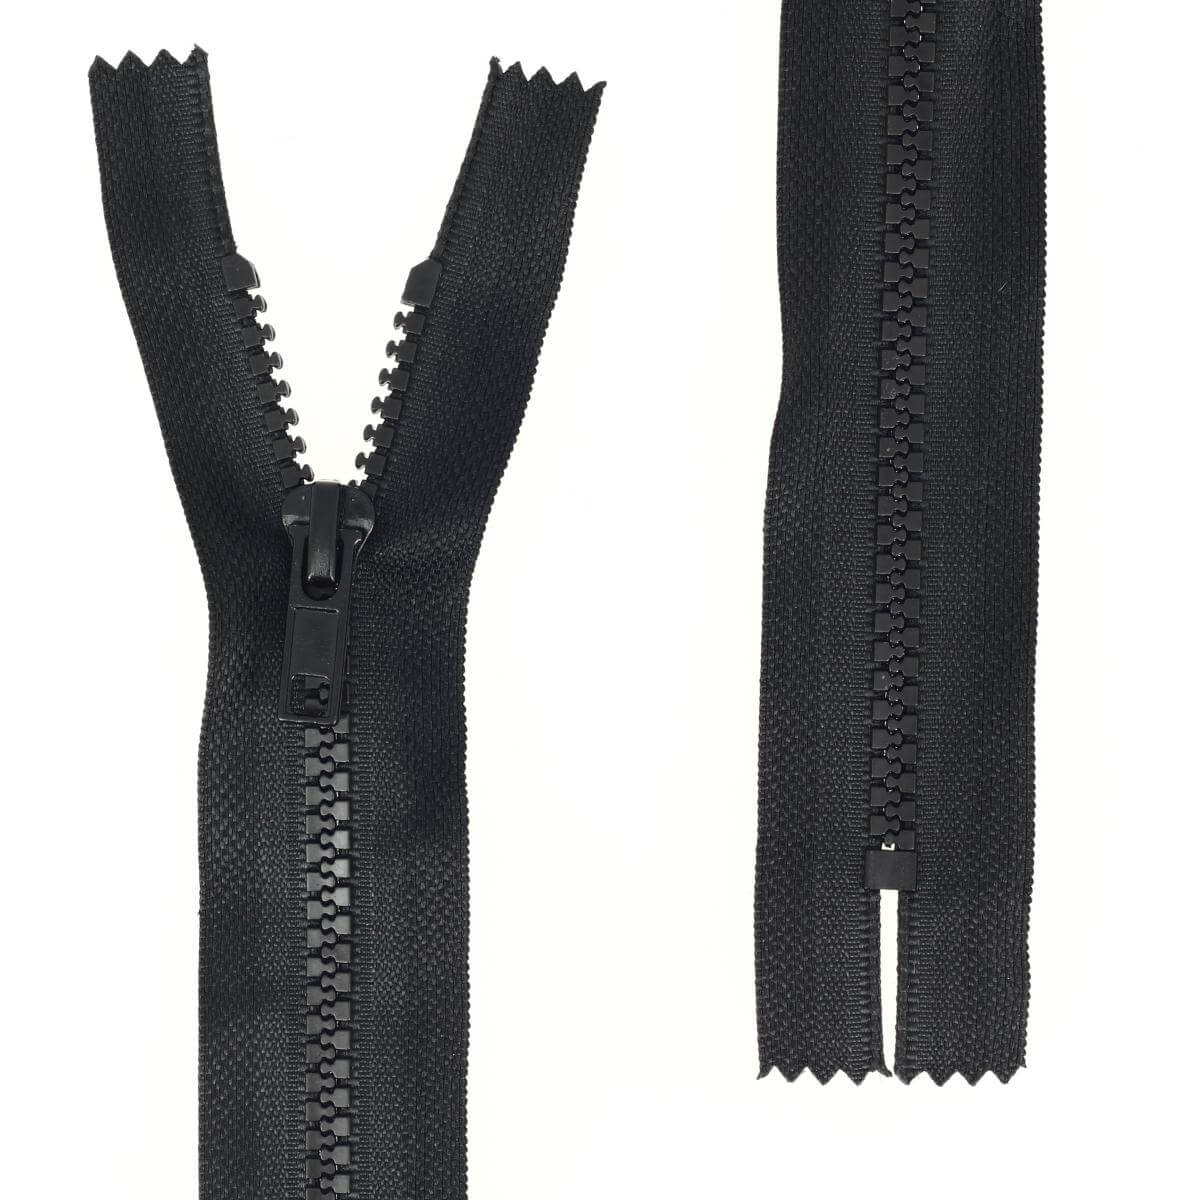
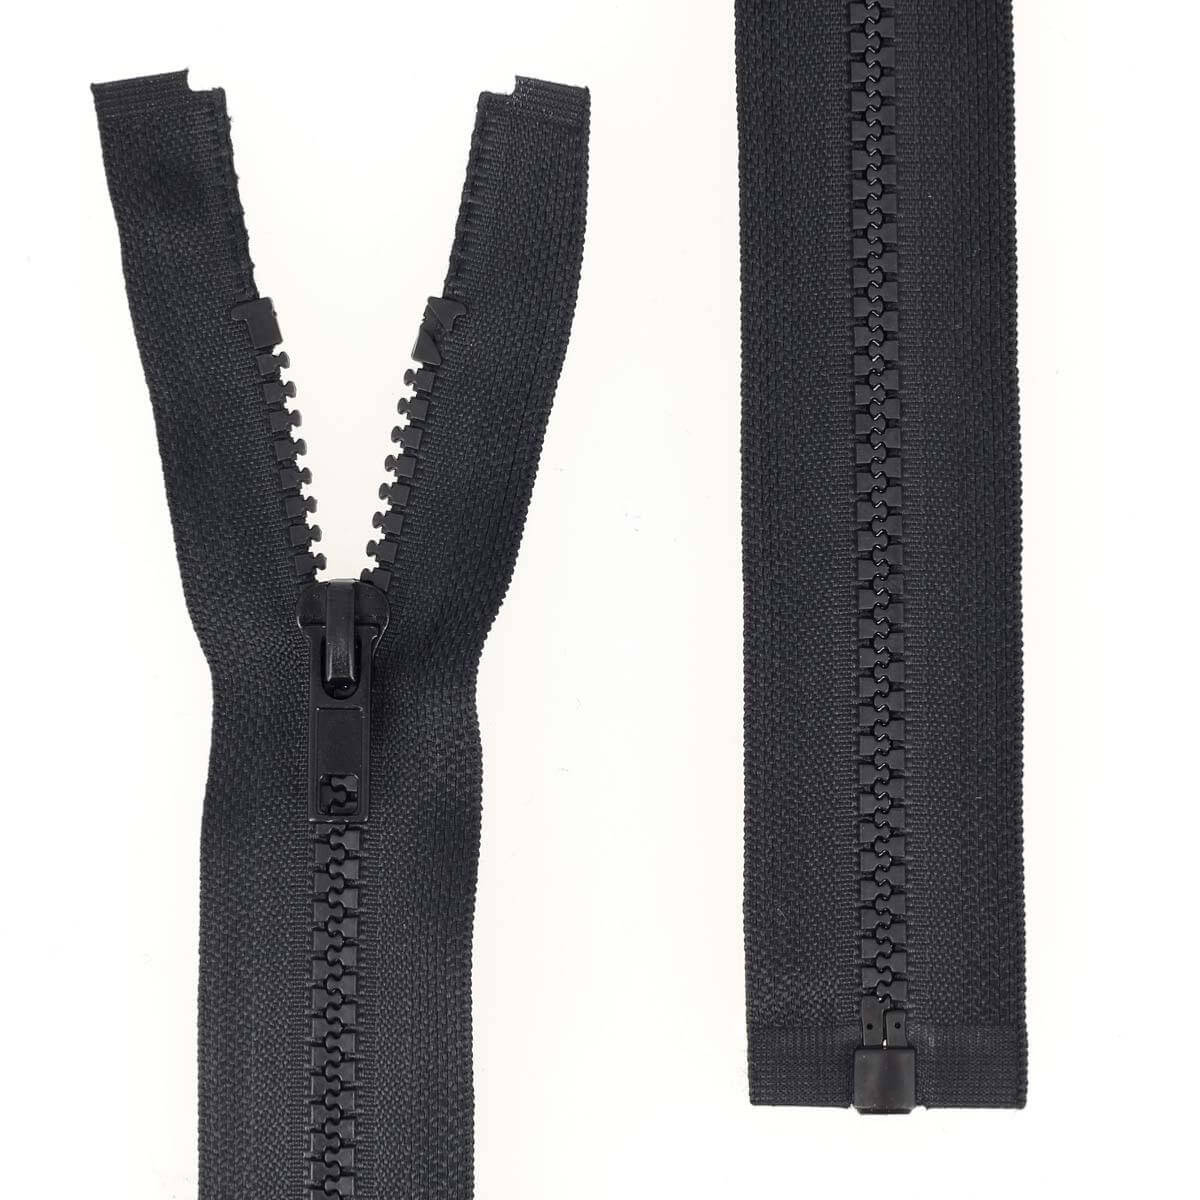
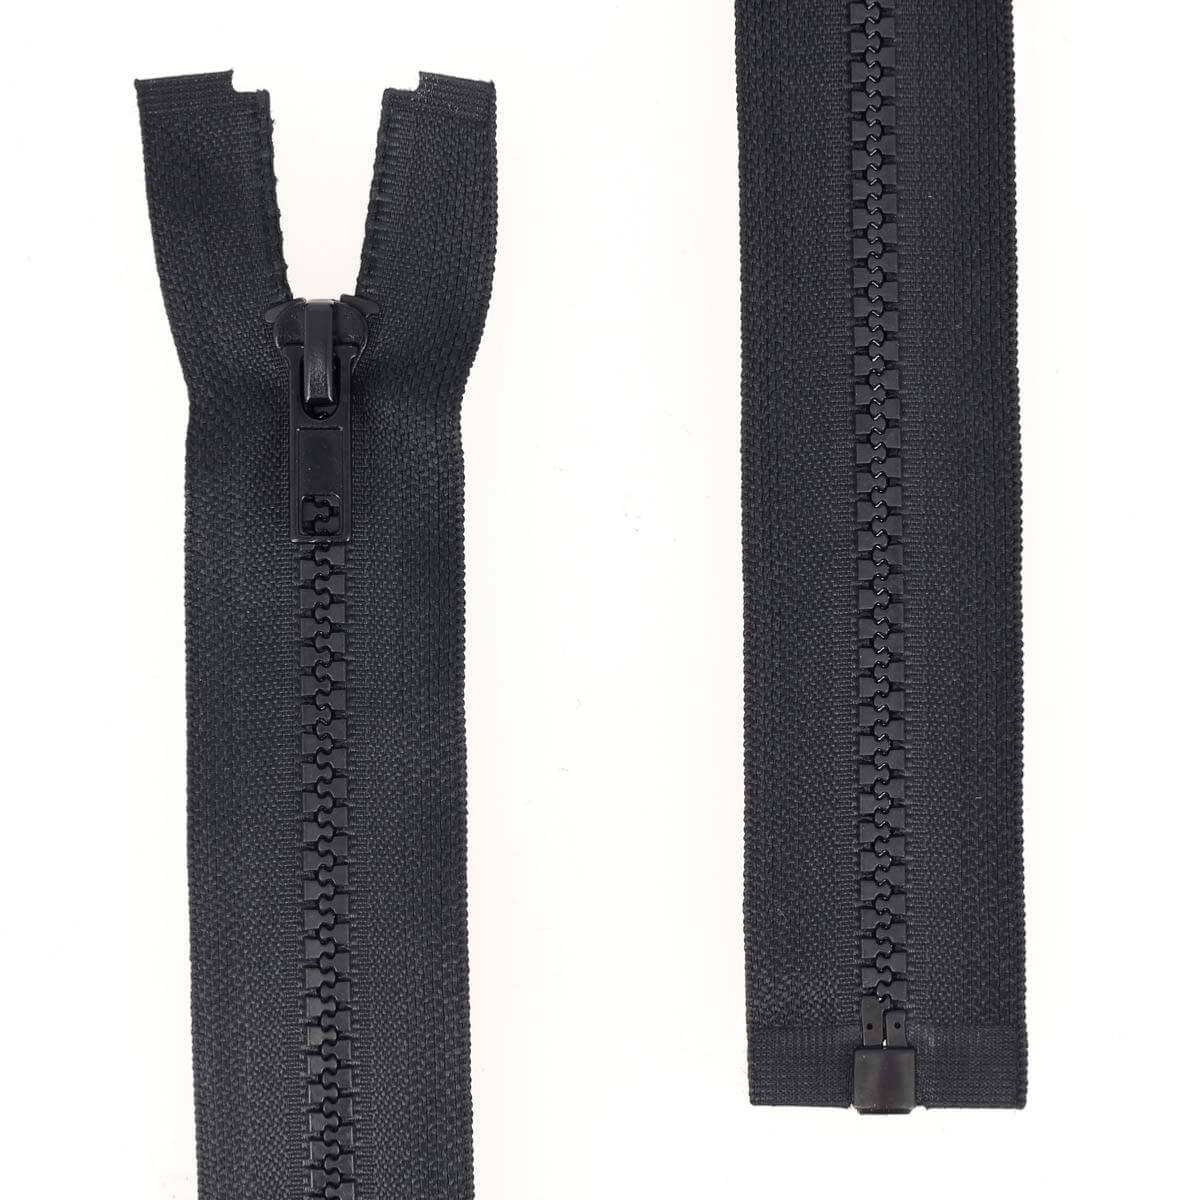
- 1 zipper - Teeth width: 6mm - Length: 20 cm
- 1 zipper - Teeth width: 6mm - Length: 45 cm
- Fabric (coated if possible) for the lining
And the following equipment:
- 1 cutter or scissors
- 1 sewing machine
- 1 spool of #30 polyester thread (0.41 mm diameter)
- Double-sided adhesive tape
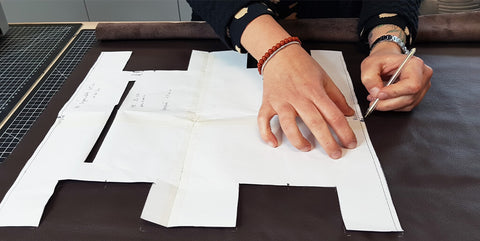
1. PRINT AND TRACE THE PATTERN
Download and print the pattern at actual size.
Using a silver pencil, trace the pattern pieces. Mark the centers of each piece with a silver pencil or by making a small 1 mm notch in the leather (see pattern). Also trace the pieces onto the lining fabric, adding approximately 2 mm around each piece (also mark the centers).
Please note for piece P2, you need to mark it once in one direction and once in the other direction on the lining fabric.
 |
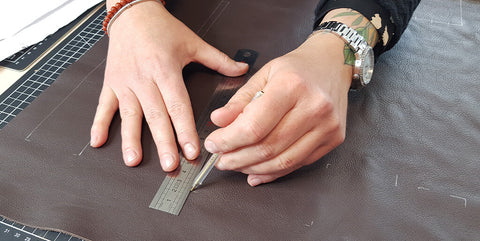 |
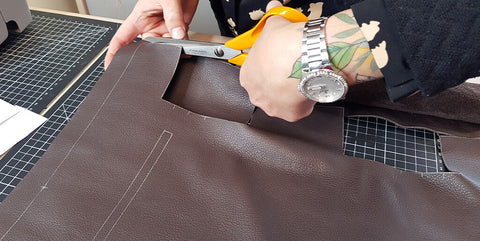
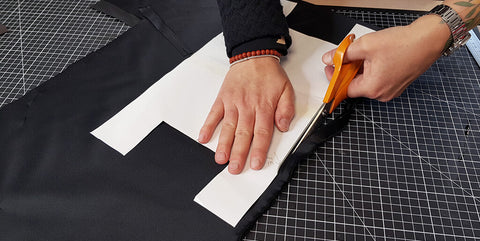
2. Cut out the different pieces
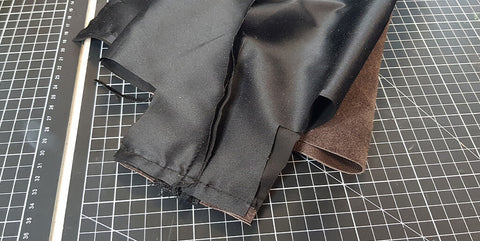
Cut out the different leather pieces. Cut out the lining pieces (remembering the extra 2 mm around each piece).
 |
 |
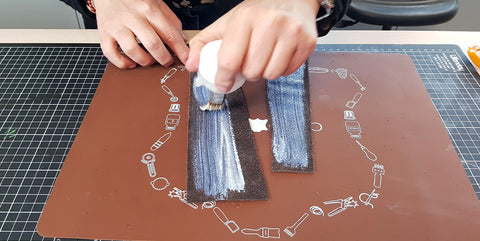
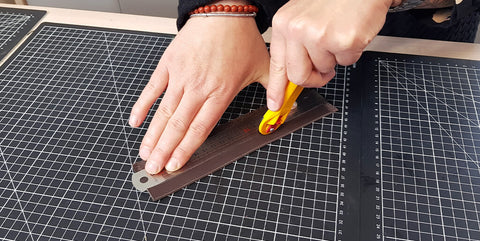
For the handle (piece P4), glue two pieces of leather together with leather glue. Then, cut out piece P4.
 |
 |
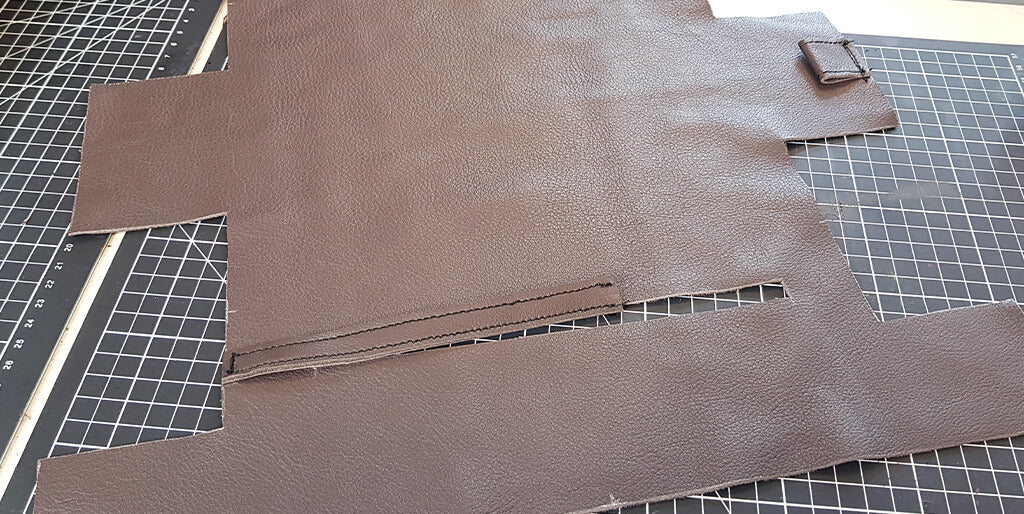
3. Work on the tab and handle
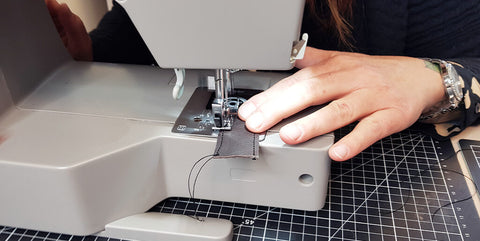
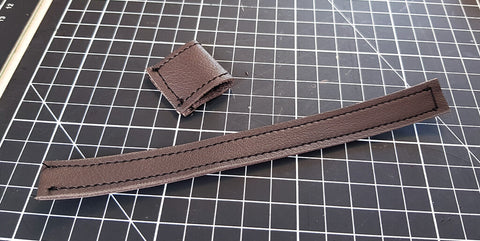
Sew a decorative stitch all around piece P4 (handle).
Optional: finish the edges of the handle.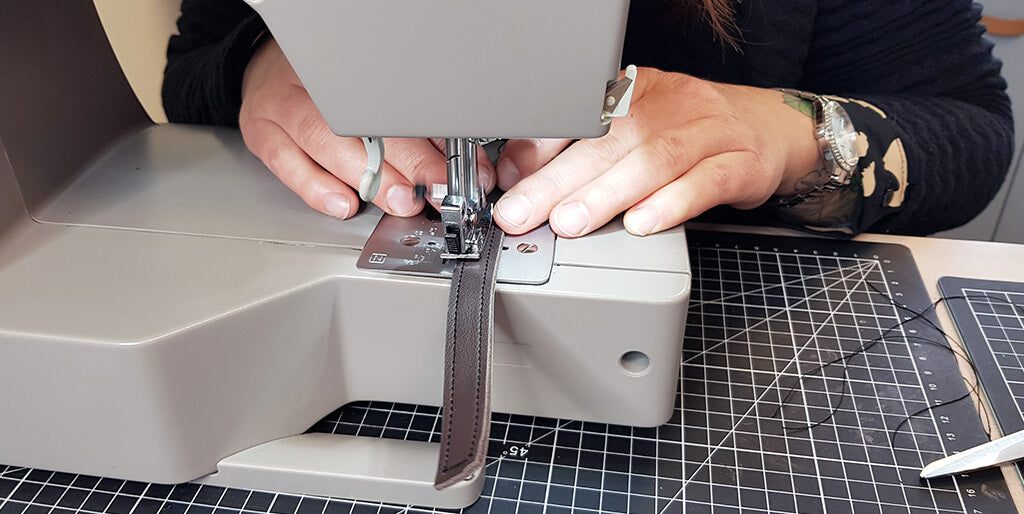
Then, stitch the two long edges of piece P5. Fold tab P5 in half and stitch 2 mm from the edge to secure it.
 |
 |
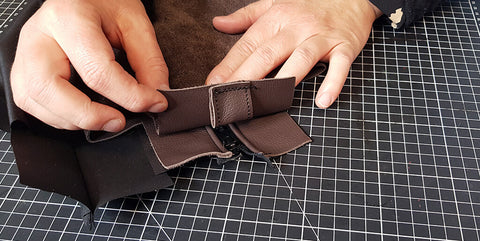
Stitch pieces P4 and P5 in their designated locations on the pattern.
 |
 |
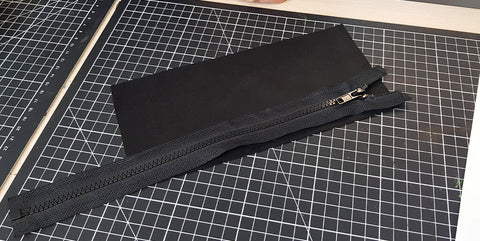
4. Sew the small pocket
Apply double-sided tape to the back of piece P1 (around the opening for the small zipper).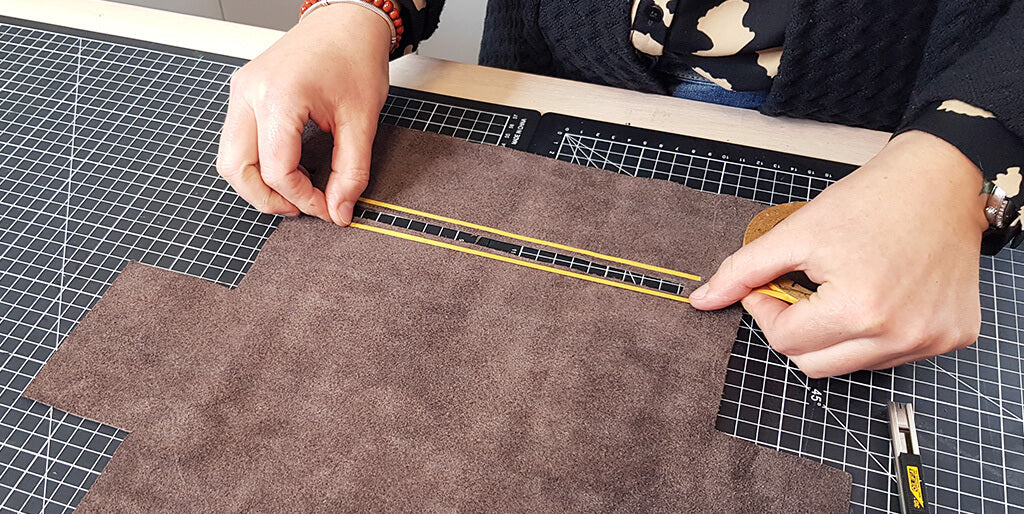
Align the wrong side of the small zipper (20 cm long) with the right side of one of the long edges of piece P3 (fabric pocket). The right side of your fabric should be on the inside of the pocket; the outside will be hidden in the lining of the pouch.
 |
 |
Align the right side of the second pocket piece (P3) with the wrong side of the second zipper half.
 |
 |
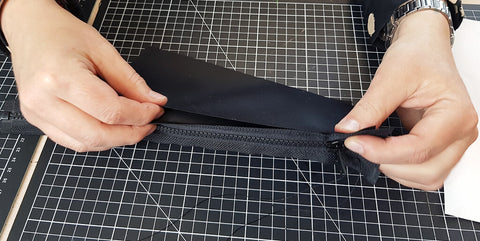
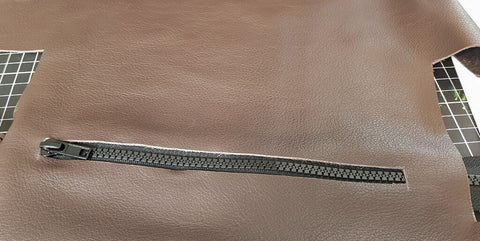
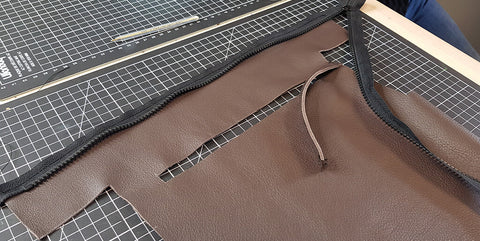
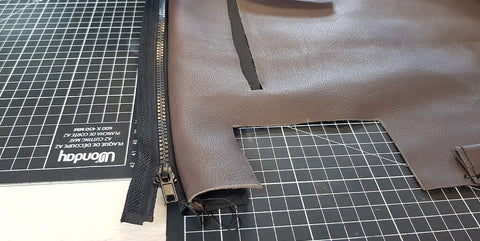
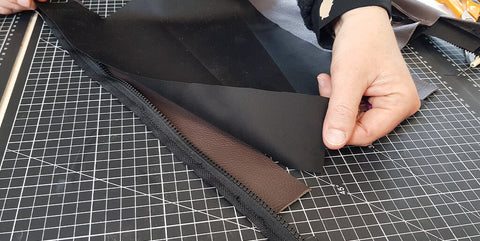
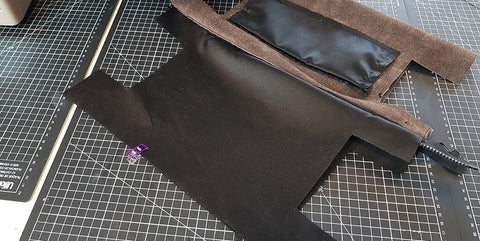
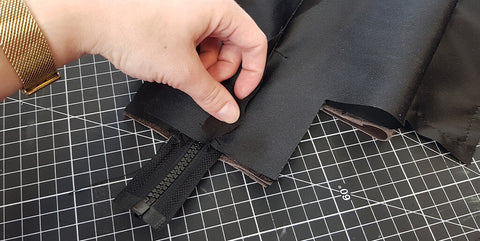
Trim the excess zipper and spread the two pocket pieces on either side of the zipper. The zipper should be facing you (see photo).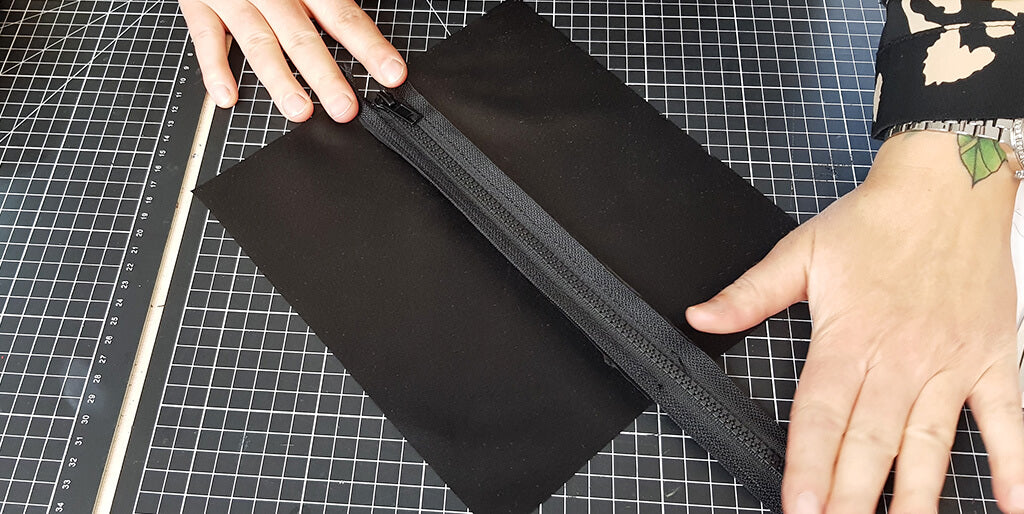
Then, glue piece P1 (leather) onto the zipper using the double-sided tape.
 |
 |
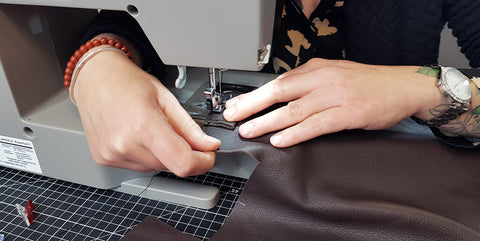
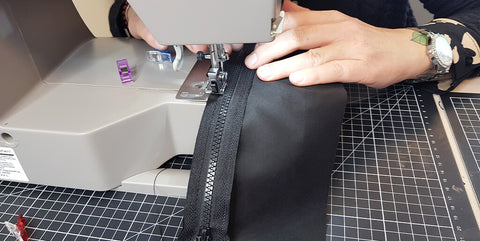
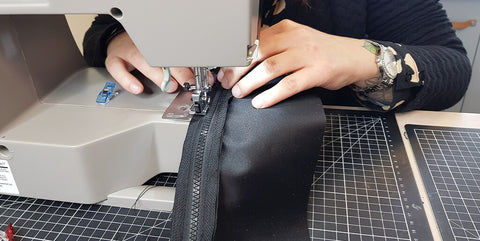
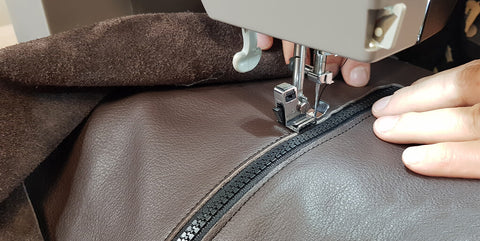
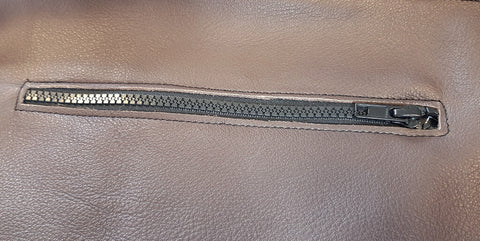
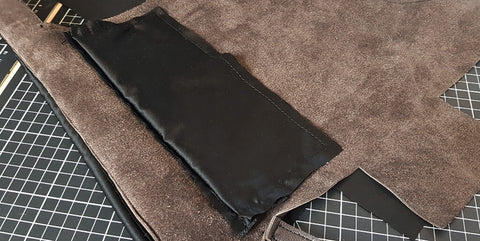
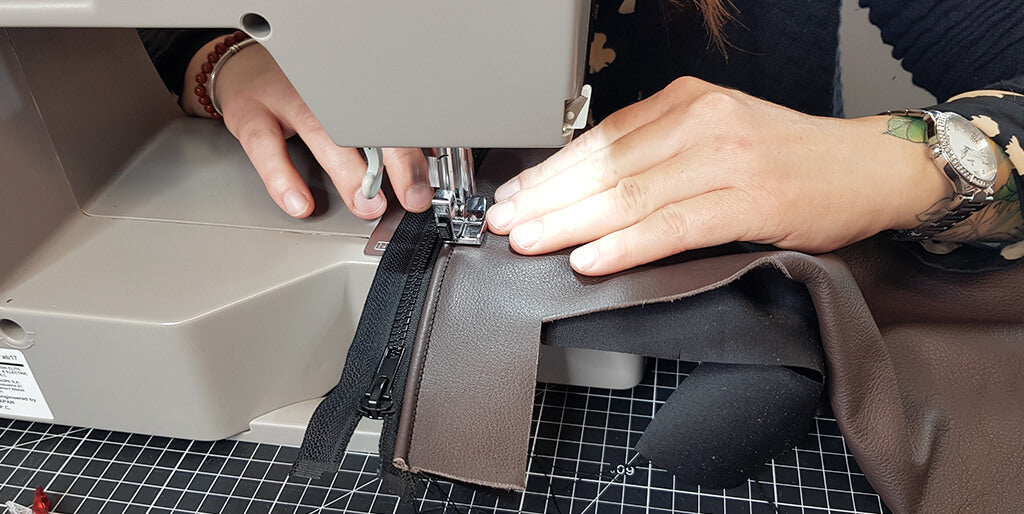
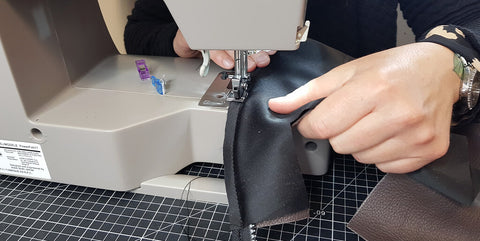
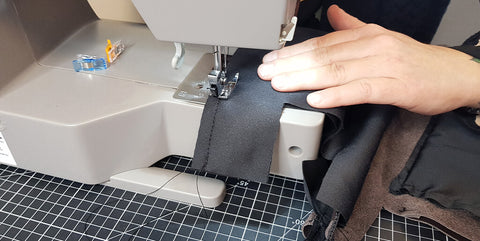
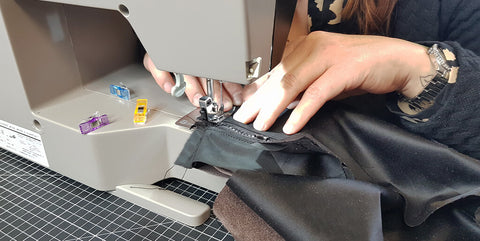
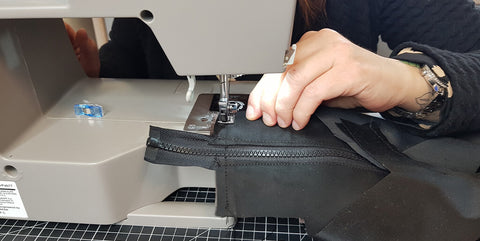
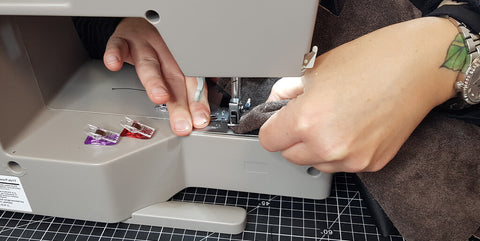
Stitch 2 mm around the zipper (using the zipper foot).
 |
 |
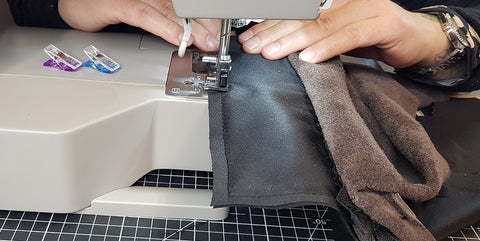
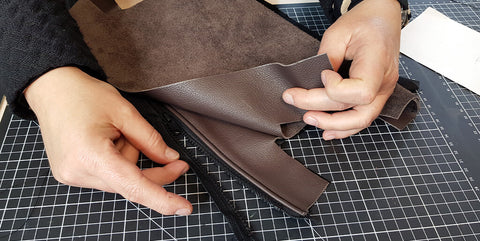
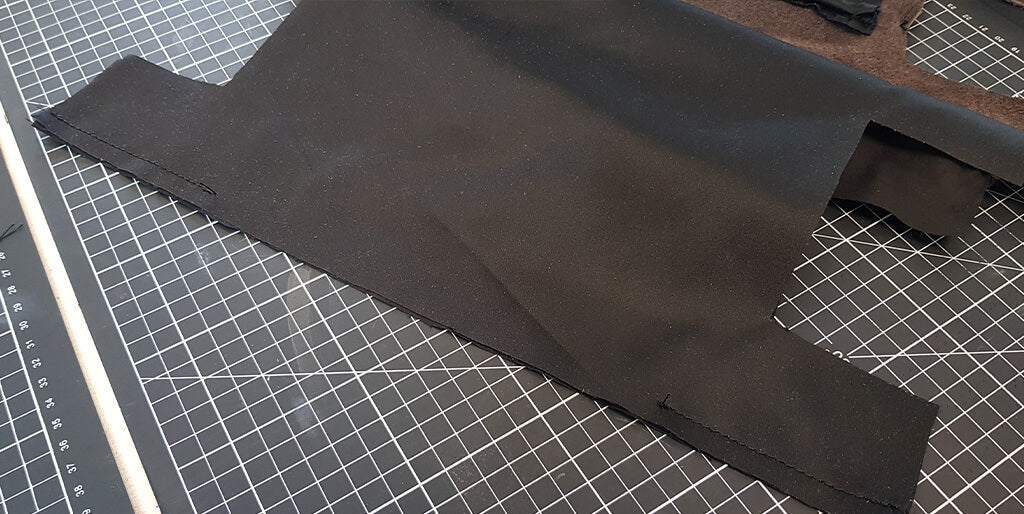
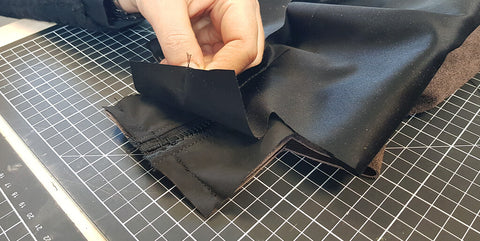
Place both P3 fabric pieces on the same side (towards the bottom of P1). One of the pocket pieces will be longer than the other: trim it so that both pieces are the same height.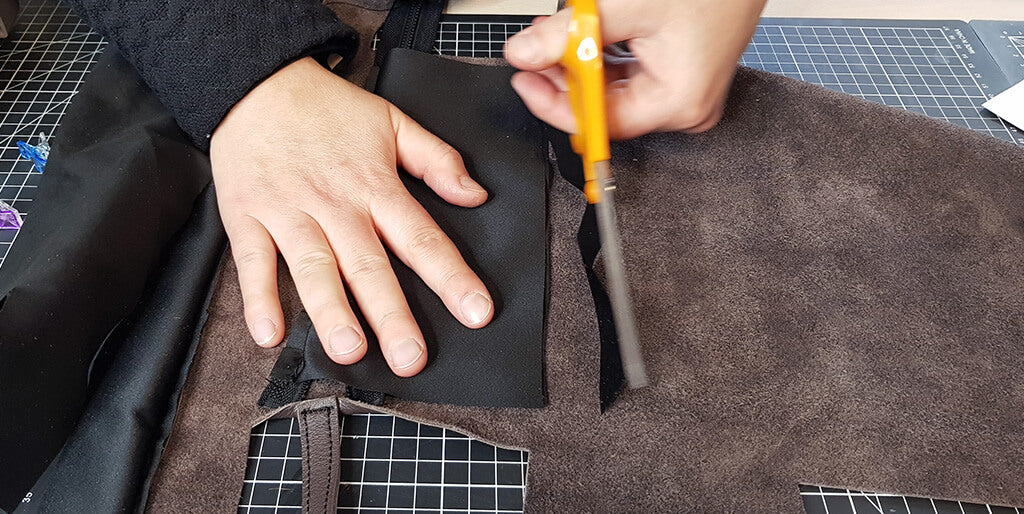
Close the inner pocket by sewing the two P3 pieces together. Be careful not to sew the leather piece P1.
 |
 |
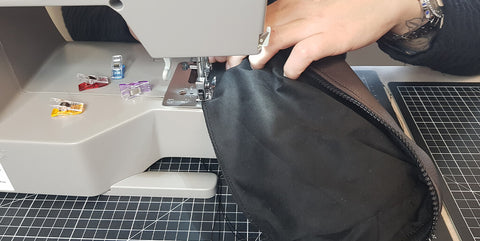
5. Sew the zipper and lining
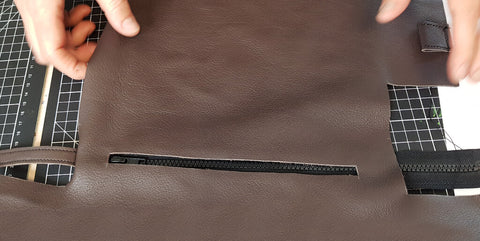
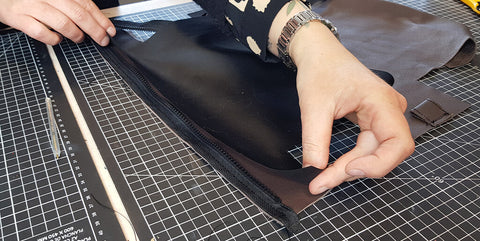
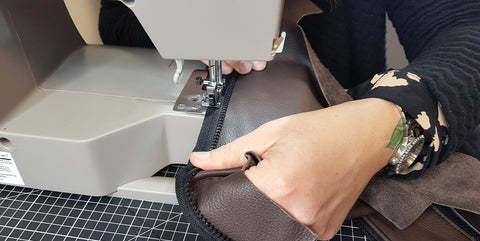
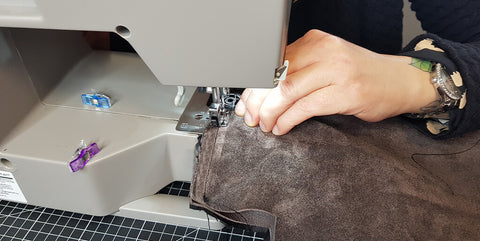
Place the right side of the zipper on the right side of piece P1 (top of the piece), aligning the centers.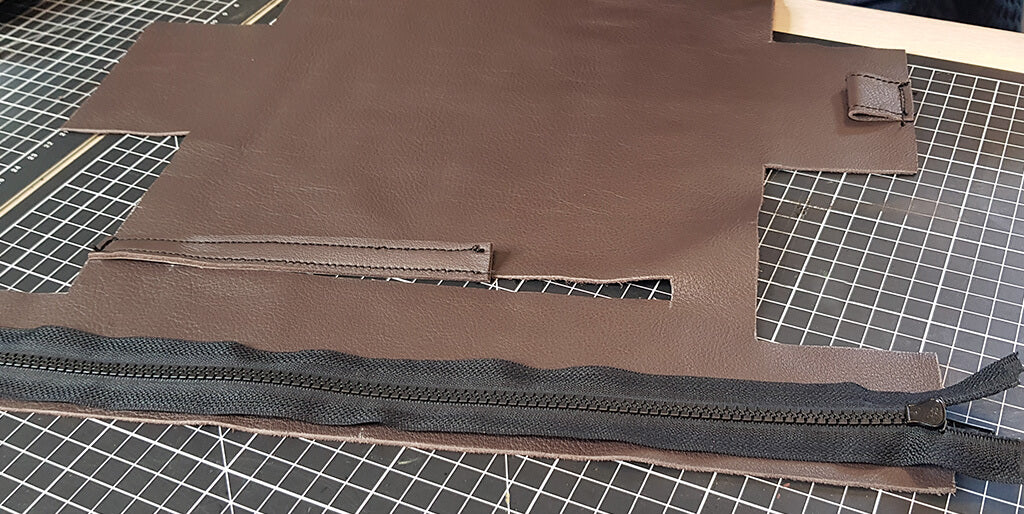
Secure with sewing clips and sew 5 mm from the edge.
 |
 |
Place the right side of lining piece P2 on the wrong side of the zipper (on the same side as the right side of leather piece P1). Make sure to align the centers of the pieces. Sew the lining 7 mm from the edge.
 |
 |
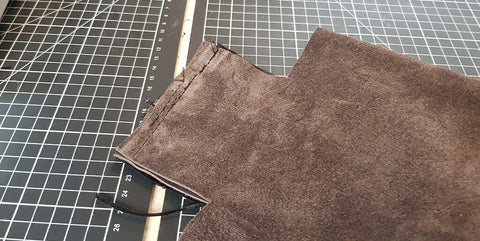
Place pieces P1 (leather) and P2 (lining) on the same side, then topstitch 3 mm from the edge.
 |
 |
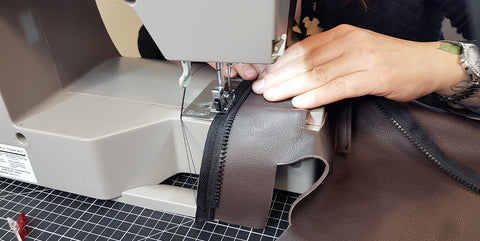
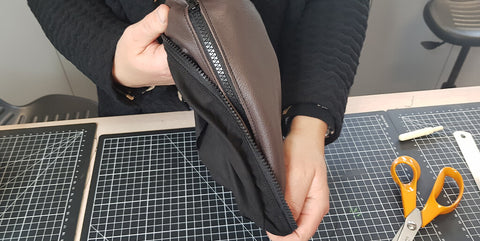
Take the second side of piece P1 and align it right sides together with the other side of the zipper. As with the first side, sew 5 mm from the edge.
 |
 |
Sew the right side of the lining to the wrong side of the zipper 7 mm from the edge.
 |
 |
Finally, topstitch 3 mm from the edge (as with the first side).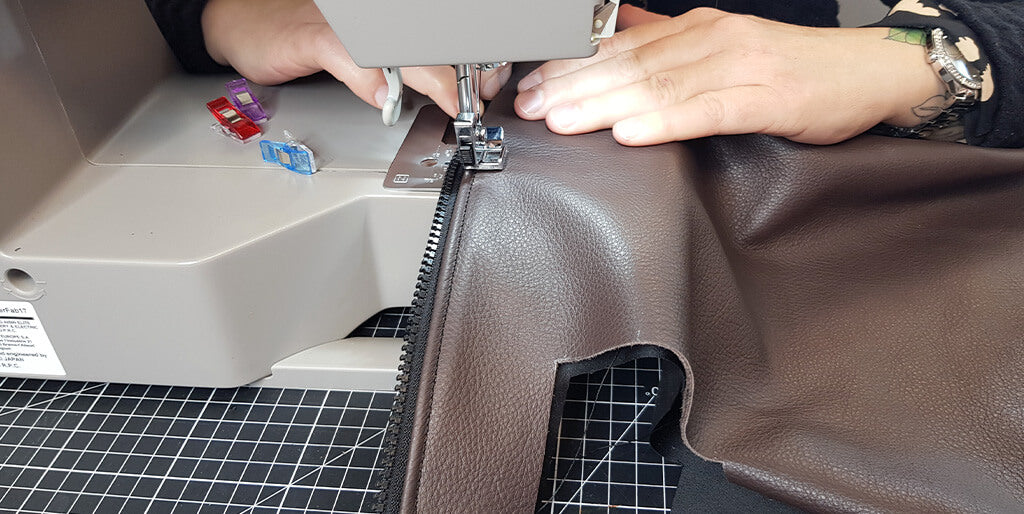
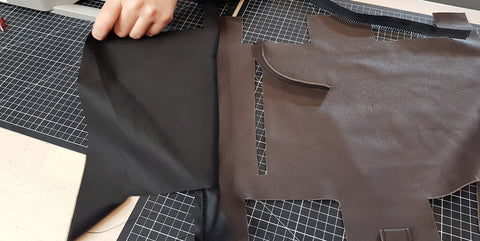
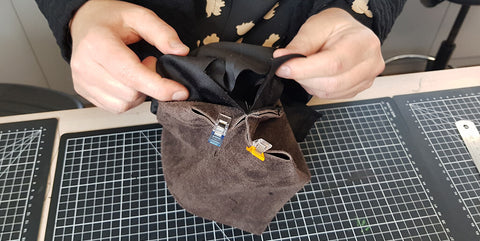
6. Assemble the lining bottom pieces
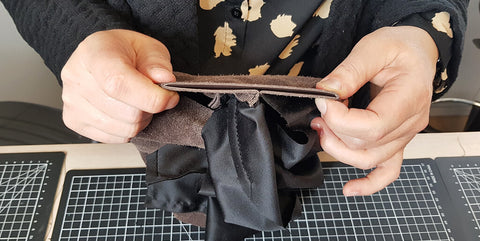
Place piece P1, leather grain facing you, then take the two pieces P2 (lining).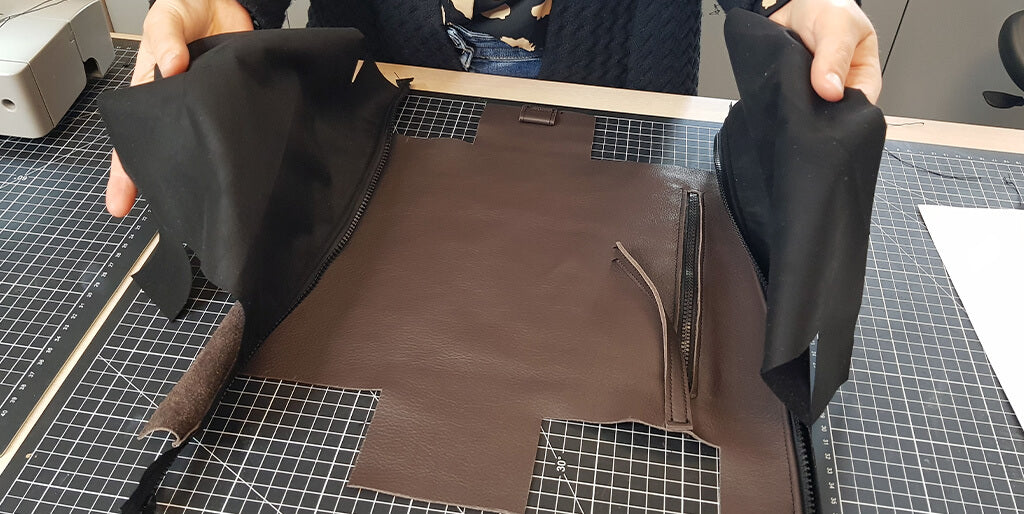
Align the two P2 pieces right sides together. Then sew the bottom, leaving a 17 cm opening to turn the pouch right side out later.
 |
 |
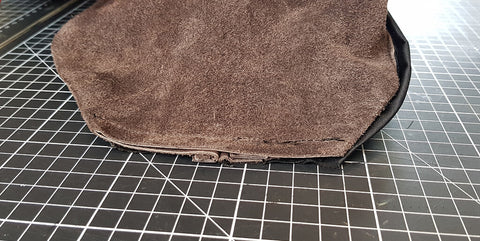
7. Close the two corners
Align the two "leather" sides of piece P1 right sides together.
 |
 |
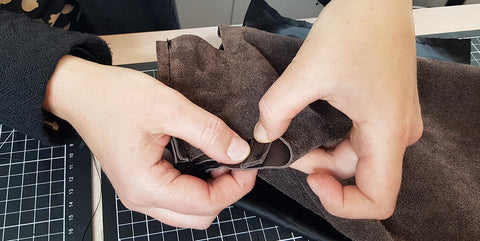
Take the lining on the same side and sew it to the already sewn side.
 |
 |
 |
 |
Do the same with the second side.
 |
 |
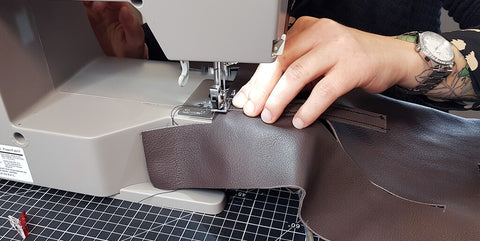
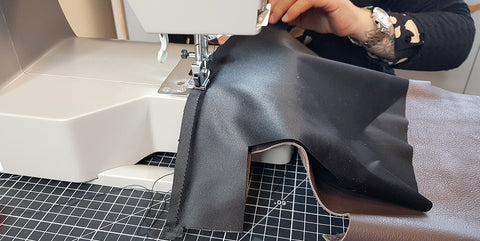
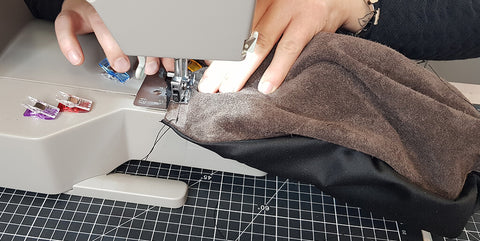
8. Close all four sides
There are 4 sides left to form; stitch the leather and lining simultaneously 1 cm from the edge.
 |
 |
 |
 |
Don't forget to take the second end of handle P4 and sew it to the side opposite the one it's already sewn to (see pattern). Stitch the handle to secure it before closing the sides.
 |
 |

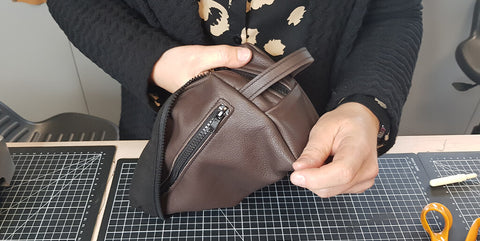
9. Turn inside out and close the opening
After sewing everything, turn the pouch right side out.
 |
 |
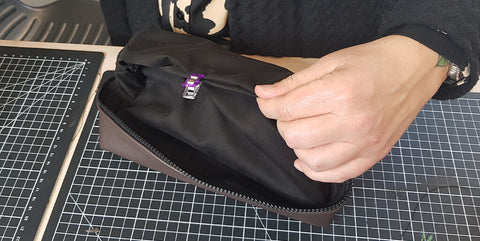
Stitch the bottom of the lining at the opening.
 |
 |
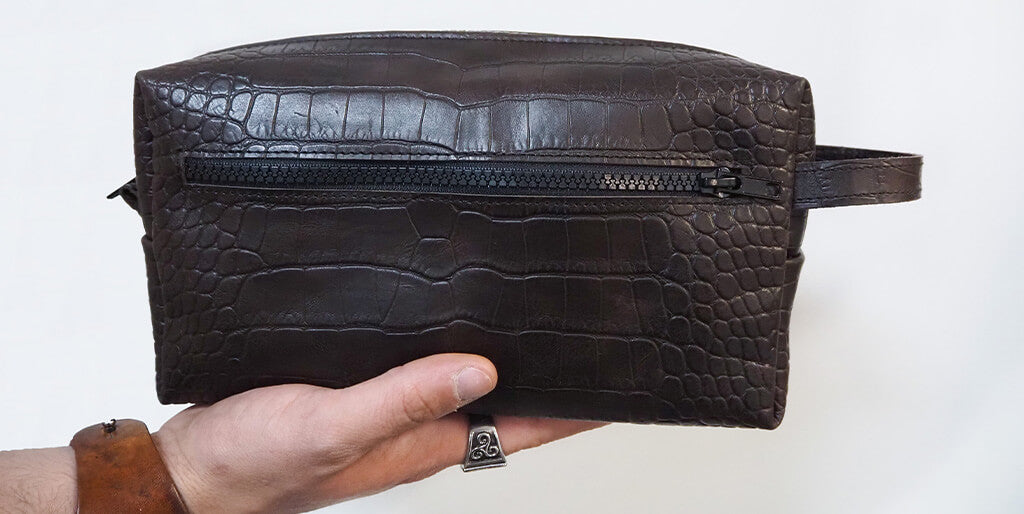
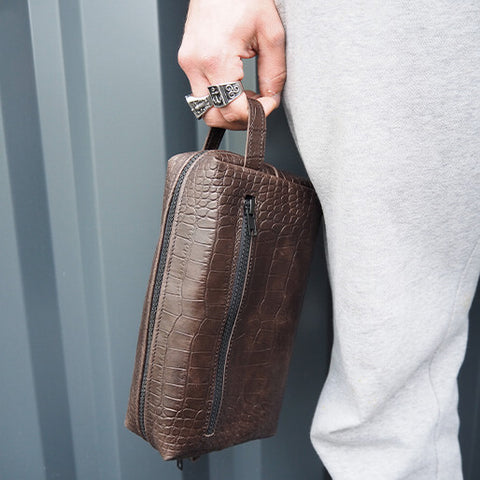
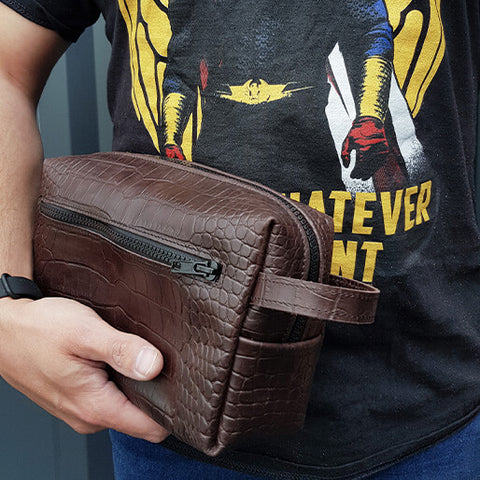
You're done!
 |
 |
 |
 |
Discover our women's version too:
SEE THE TUTORIAL >


