


REQUIRED MATERIALS
To complete this tutorial, you will need:
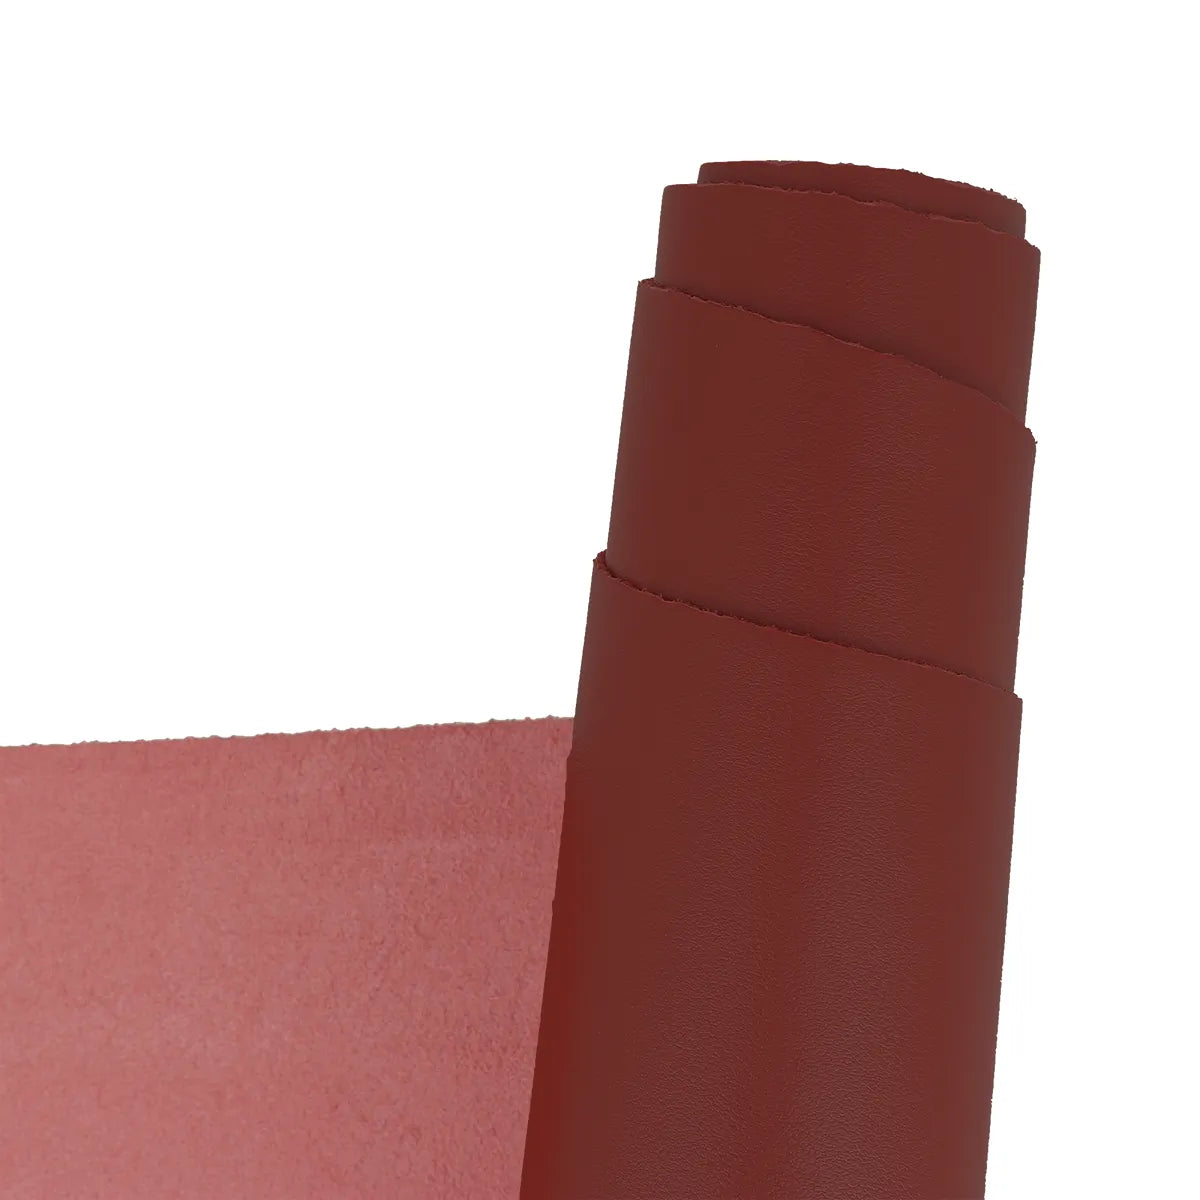
- 1 soft calf/cowhide leather hide - 1 mm thick - 0.65 m² surface
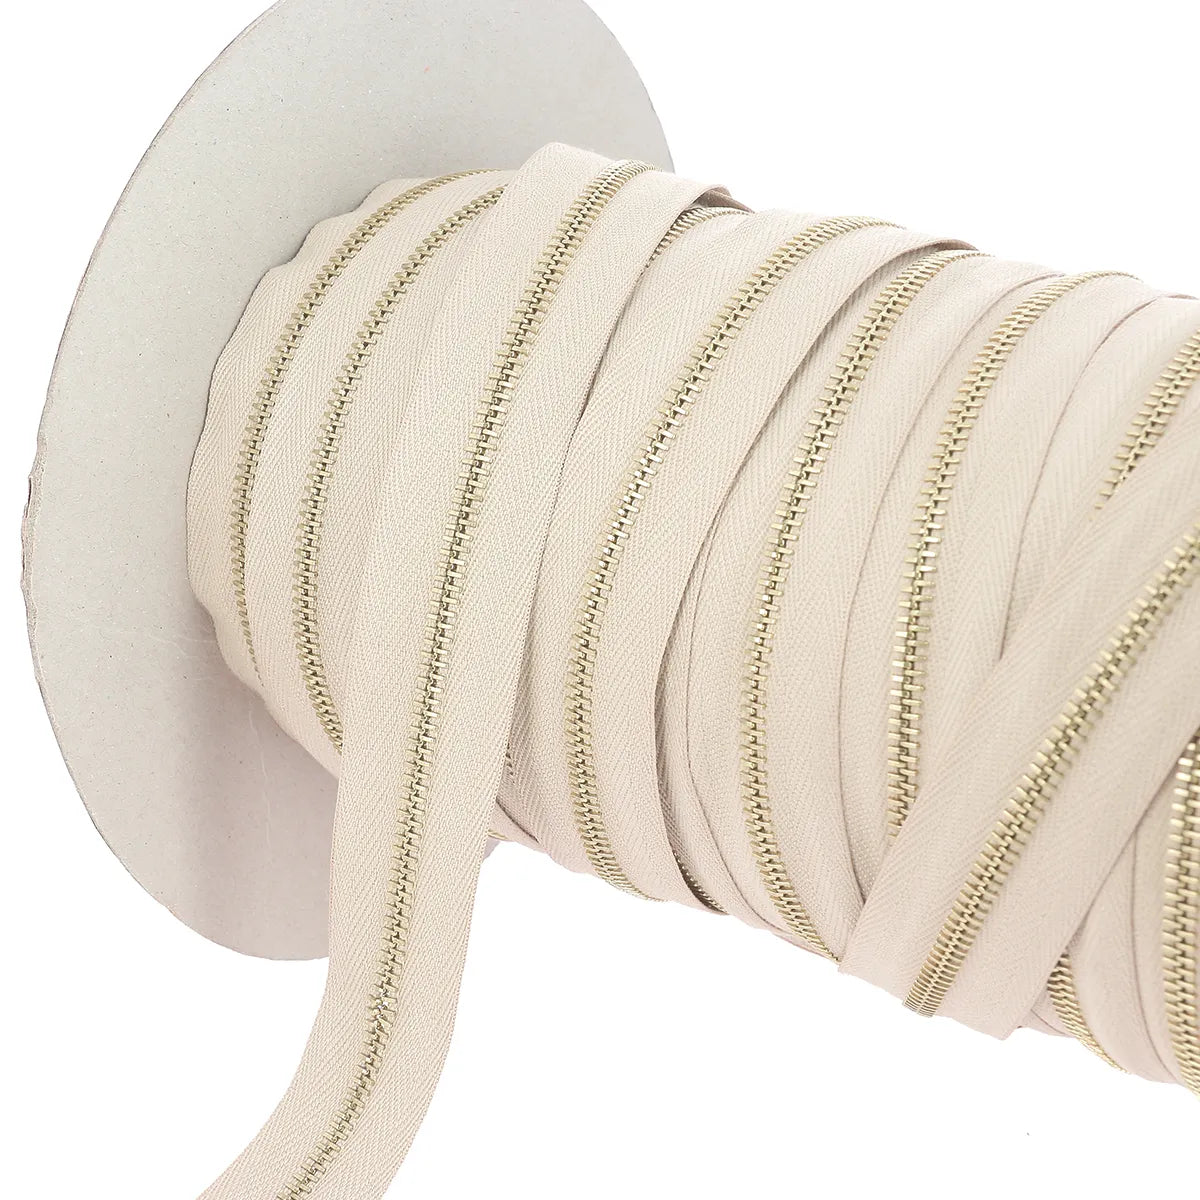
- 1 metal zipper (by the meter) – 6 mm teeth, 60 cm length + 2 top stops and 1 bottom stop
- 1 metal zipper – 4 mm teeth - 20 cm length
- 17 cm of sugherite reinforcement - 15 mm width
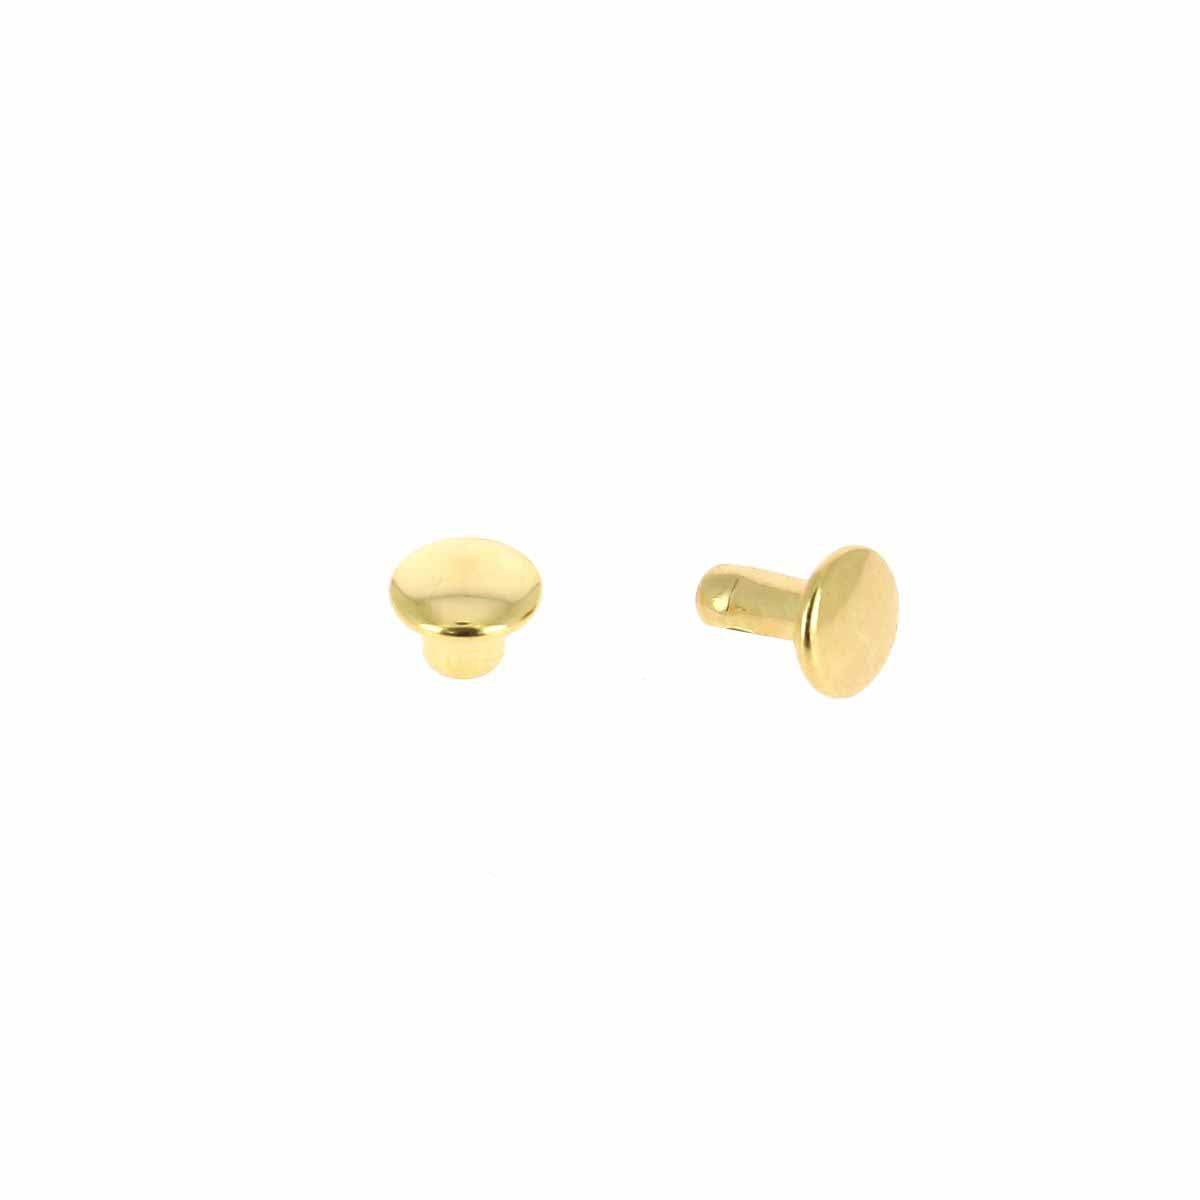
- 2 double cap T2 rivets
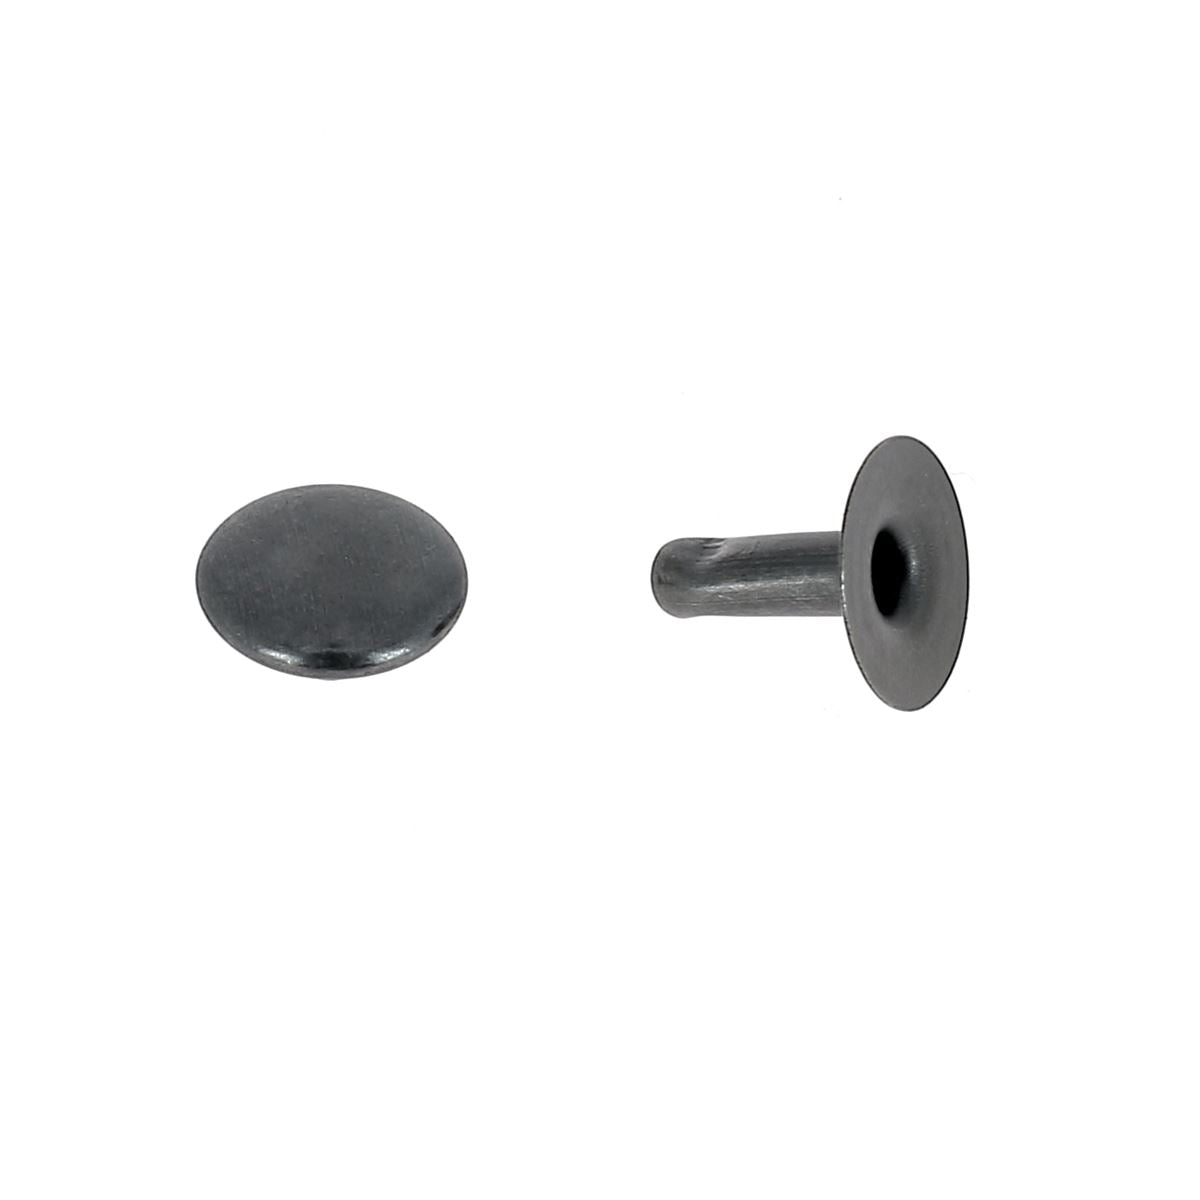
- 2 single cap T4 rivets
- Coated fabric for lining (not sold on our site) 80 cm (width) x 100 cm
- Double-sided tape - 5 mm width
- A spool of n°30 polyester thread
- A round hole punch Ø 3mm
- Thread and a needle for sewing corners
- A setting tool and setting kit for rivets
TUTORIAL VIDEO
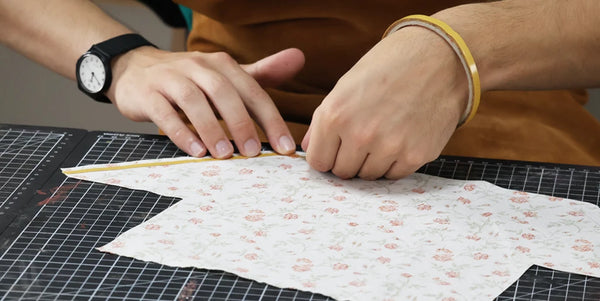
1. PRINT AND CUT THE PATTERN
Purchase the paper or PDF pattern (print to actual size).
Seam allowances are included.
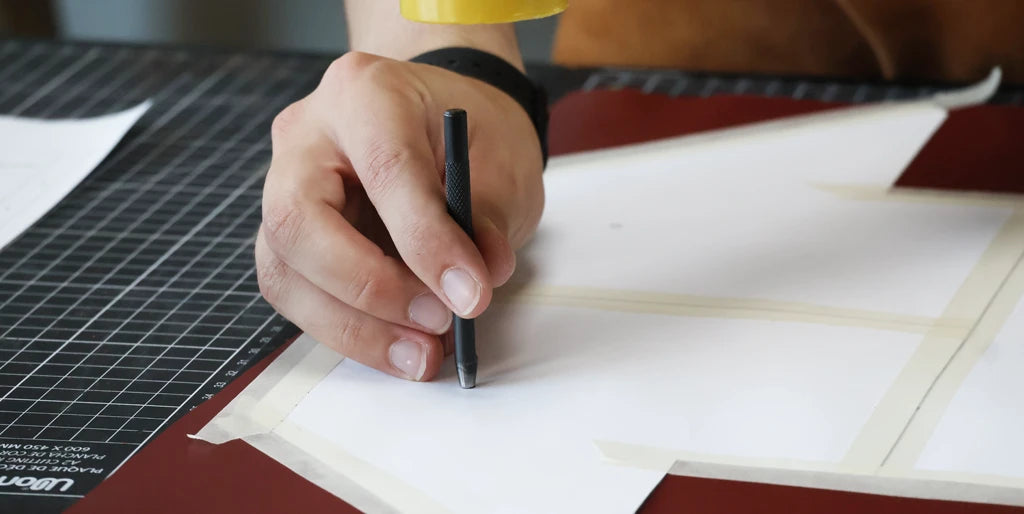
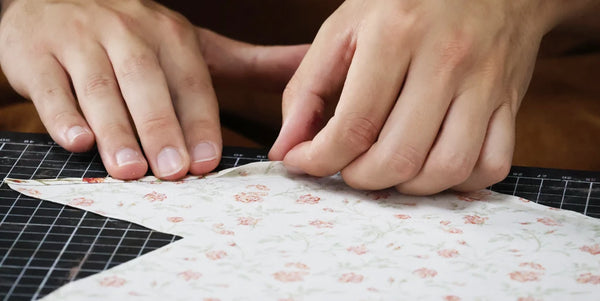
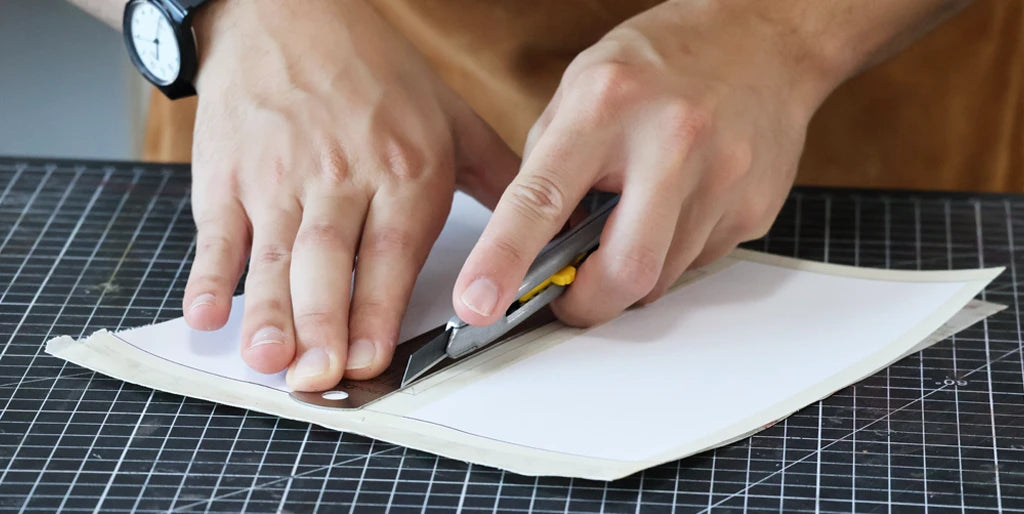
Cut out and tape the pattern onto the leather using masking tape to avoid damaging the leather grain. Also position the pattern on the lining. Mark the center of each piece with a silver pencil (see pattern).
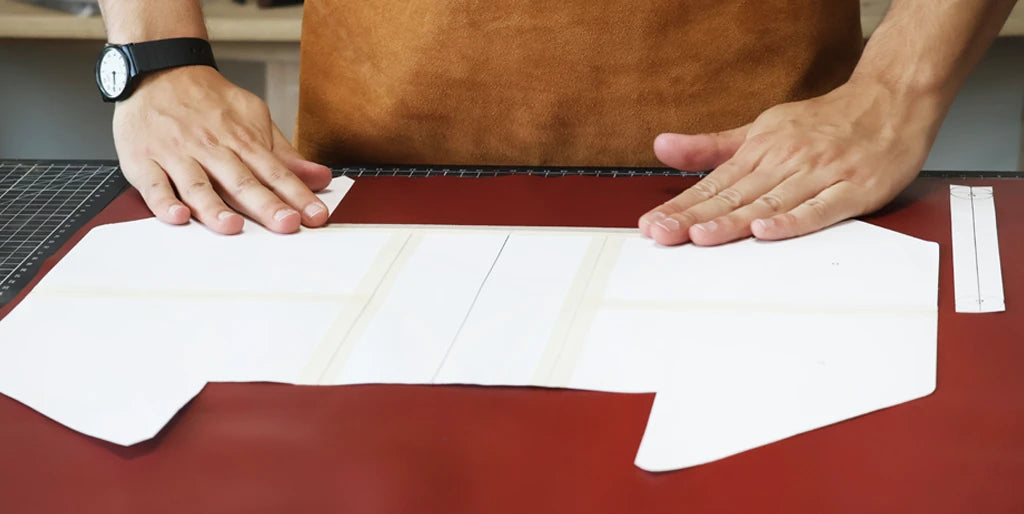
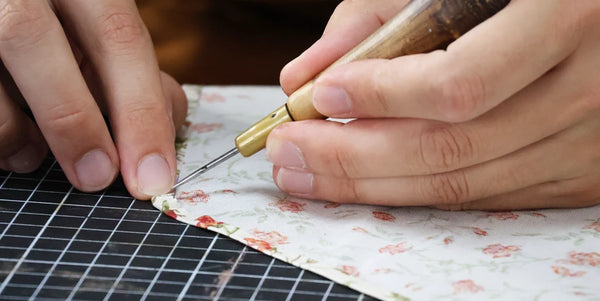
Punch the Ø 3 mm holes indicated on the pattern, on pieces P1 and P5.
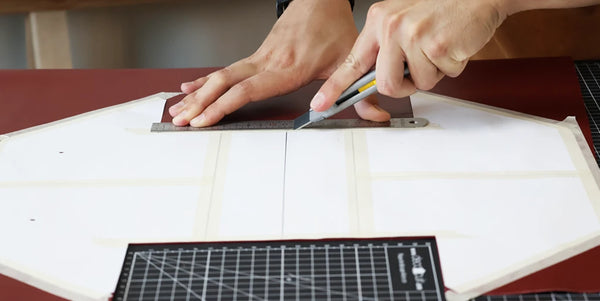
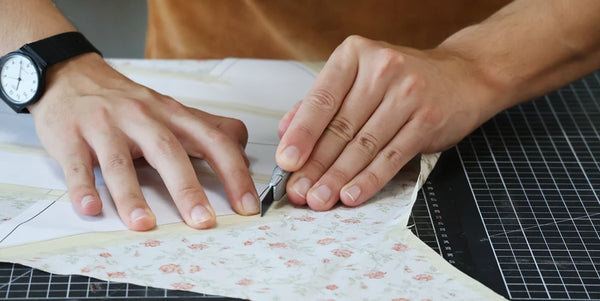
Cut the different leather and lining pieces with a cutter or scissors.
 |
 |
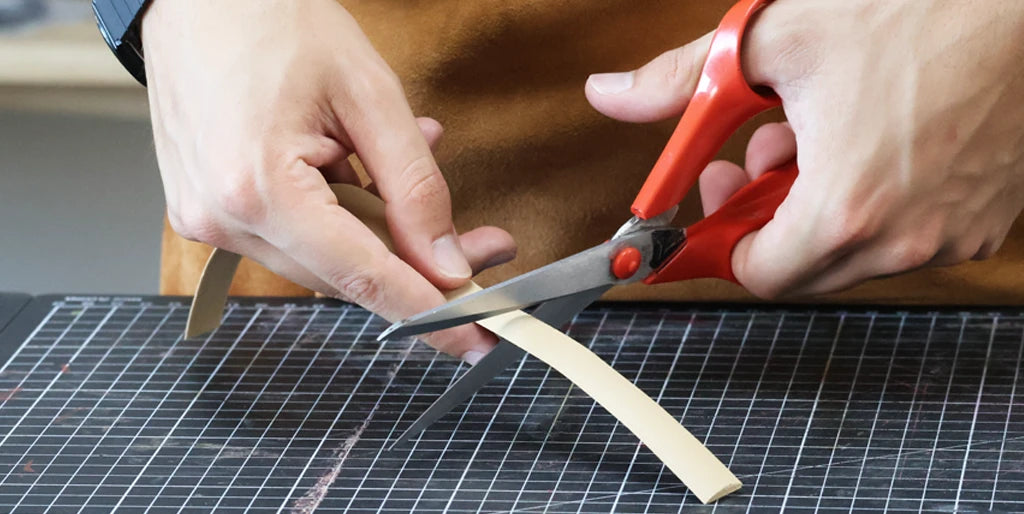
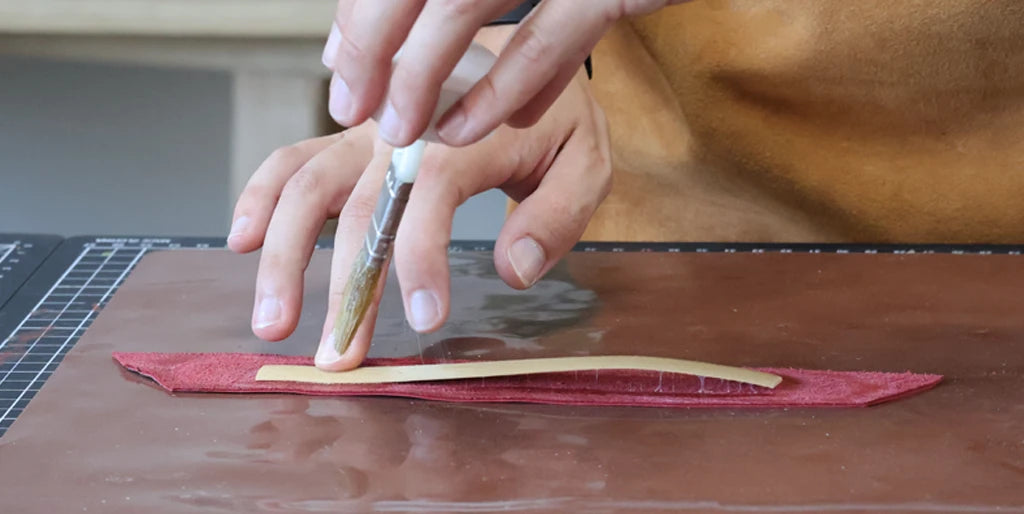
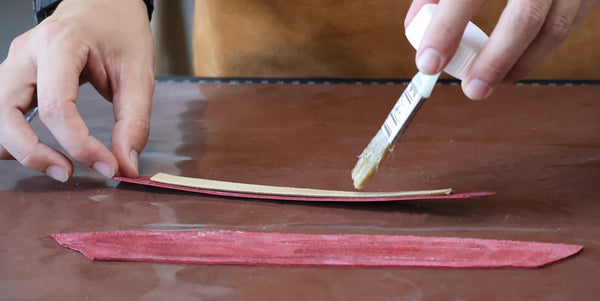
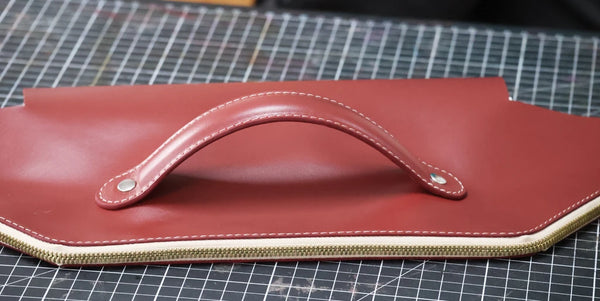
2. WORK THE HANDLE
Cut a 17 cm piece of sugherite reinforcement.
Apply glue to the back of piece P5 and the front of the sugherite. Glue the sugherite to the center of piece P5, on the back.
Apply contact glue to the back of the sugherite and the back of piece P6. Then glue piece P5 + sugherite onto piece P6, back to back.
 |
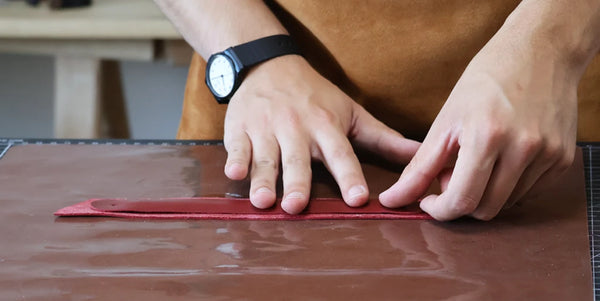 |
Flatten the glued parts well with a burnisher.
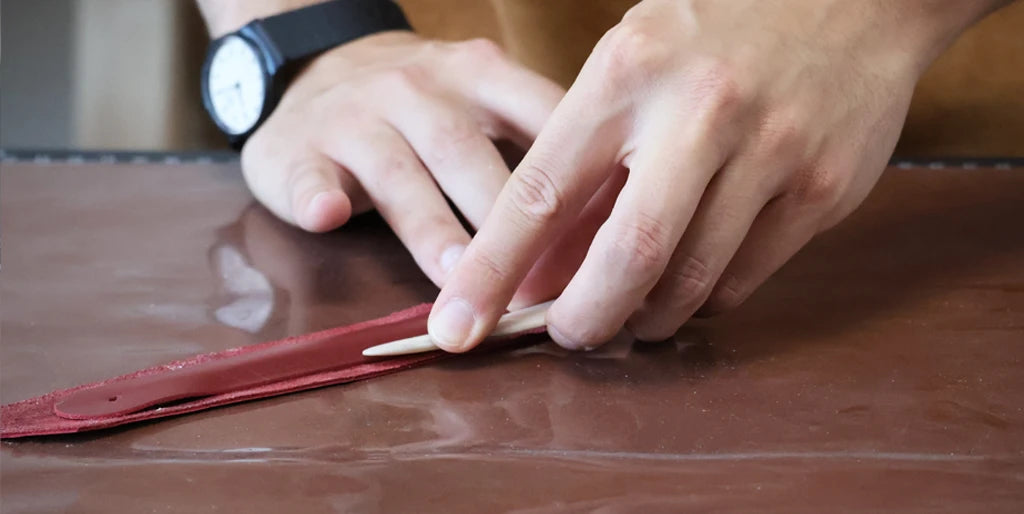
Stitch around the entire handle, 3 mm from the edge.
Trim the excess leather and re-punch the Ø 3 mm holes.
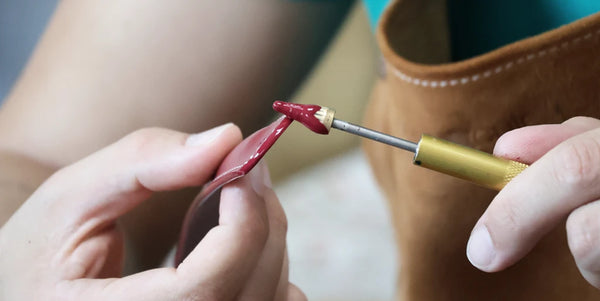
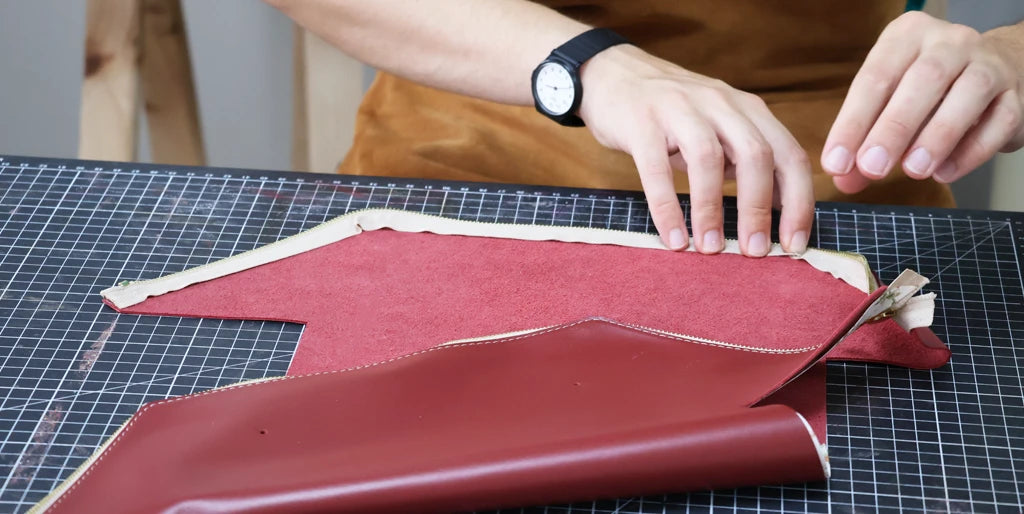
3. WORK THE EDGES
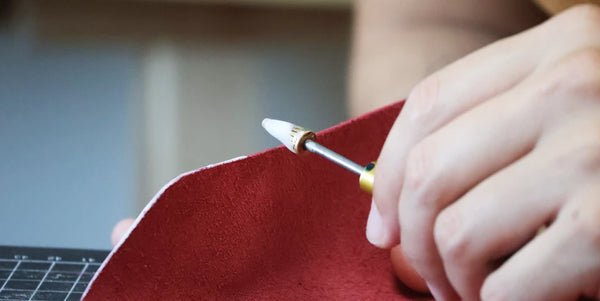
Finish the edges of handle P5 and main piece P1 where the zipper will be sewn. Apply a first coat of edge paint, then several coats, allowing sufficient drying time between each application.
 |
 |
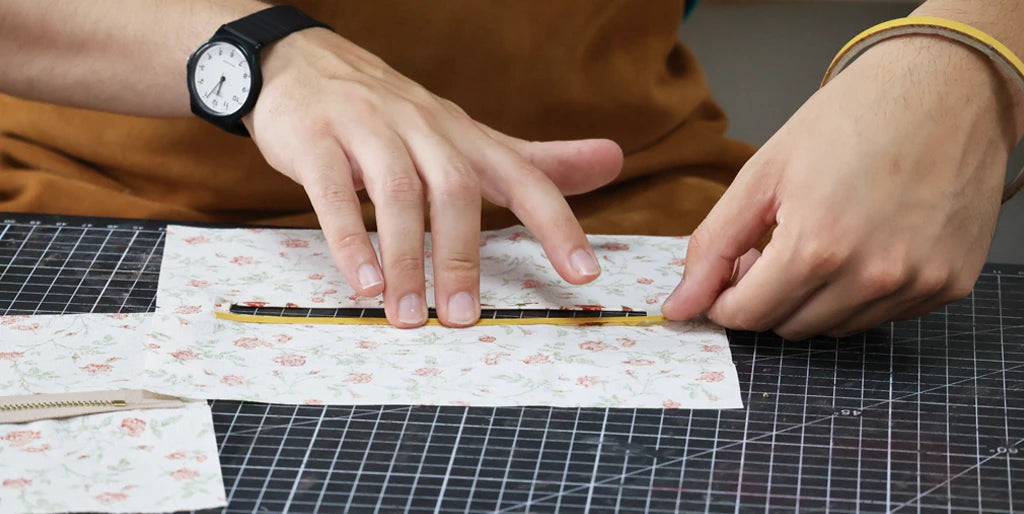
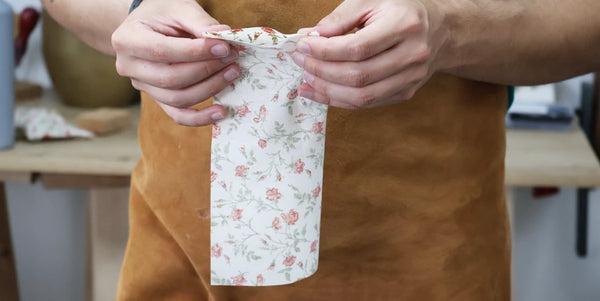
4. PREPARE LINING P2
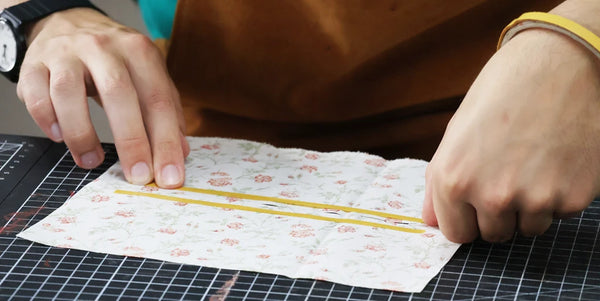
On the back of P2 pieces, draw the dashed line from the pattern with a pencil.

Place double-sided tape along this line (see pattern). Then fold the coated fabric over the adhesive tape to hold it in place.
 |
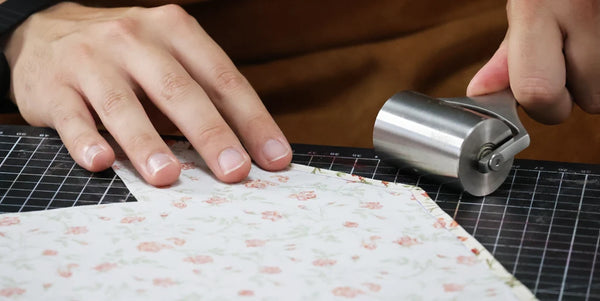
 |
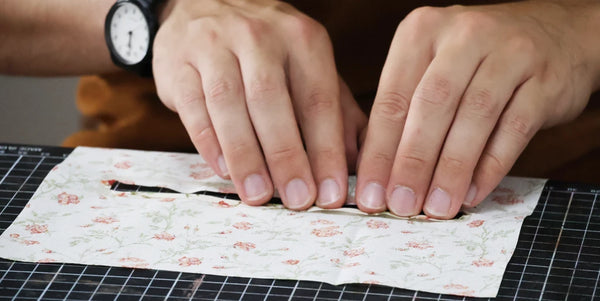
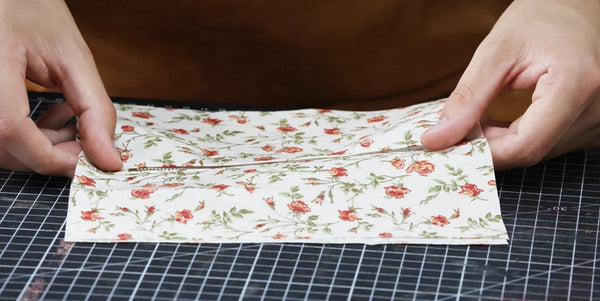
At the corners, use a round awl or needle to form the pleats. Then flatten the glued parts with a steel roller.
 |
 |
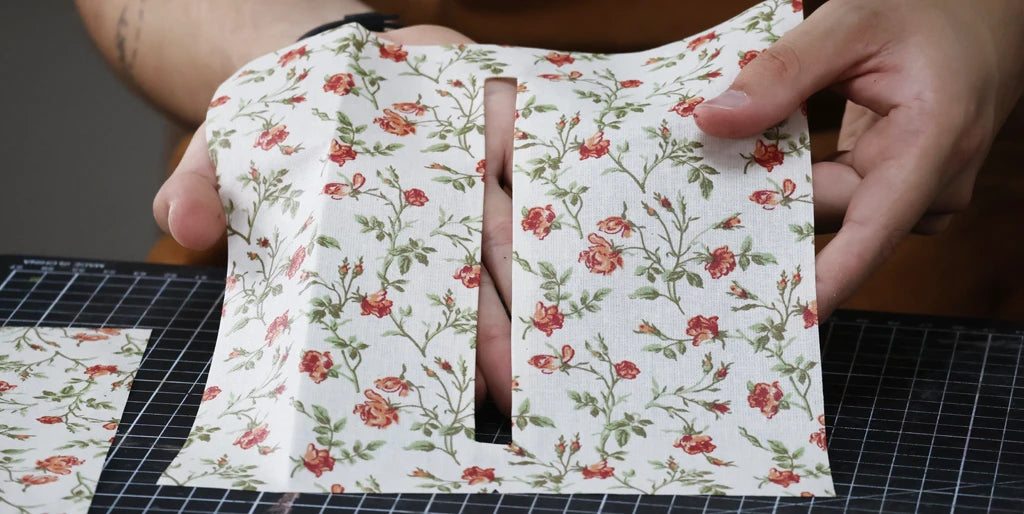
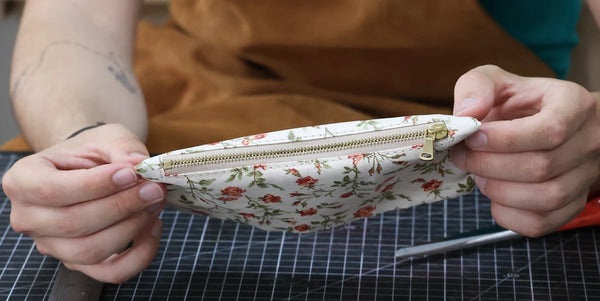
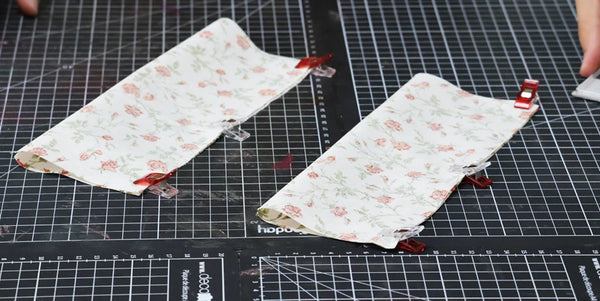
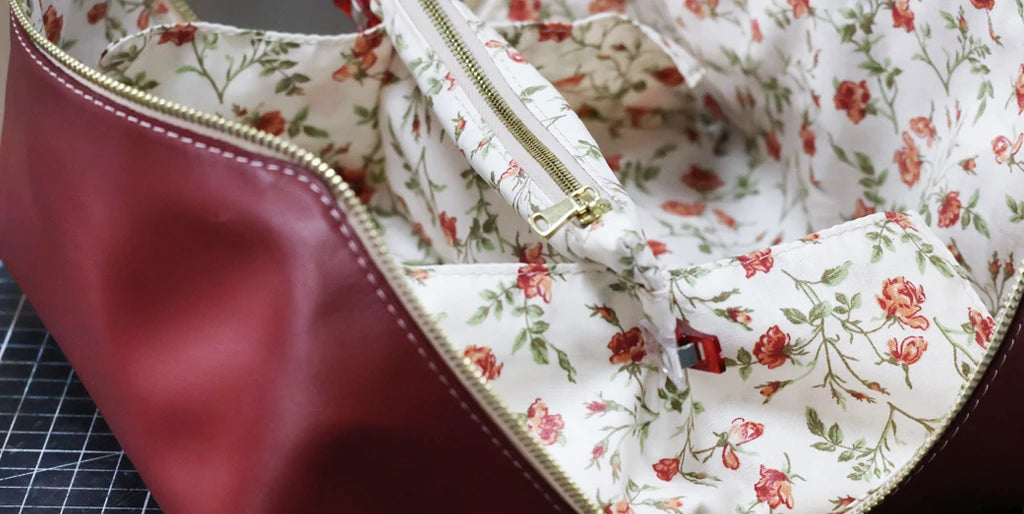
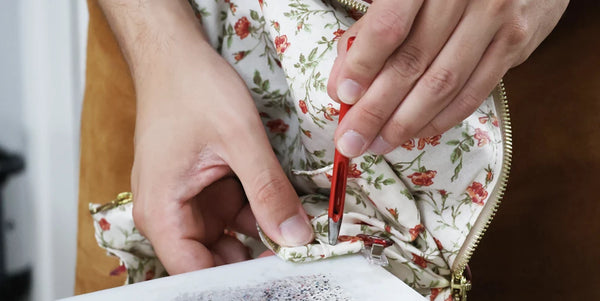
5. OPEN THE ZIPPER WINDOWS
Cut out the zipper window of P4 pieces following the dotted lines. Then shorten the 20 cm zipper by removing 2 cm, to obtain a final length of 18 cm.
Apply double-sided tape to the back of the coated fabric, all around the zipper window frames (brown lines on the pattern). Then fold the coated fabric over the adhesive tape.
 |
 |
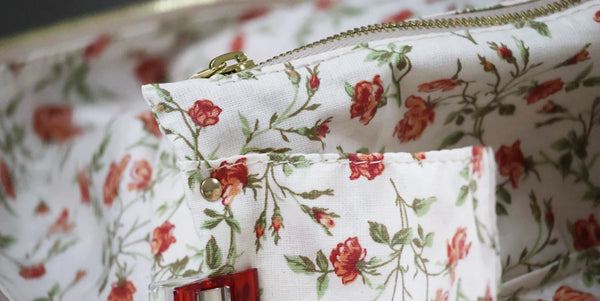
Once the glued part is properly flattened, apply double-sided tape again to the folded coated fabric, all around the opening.
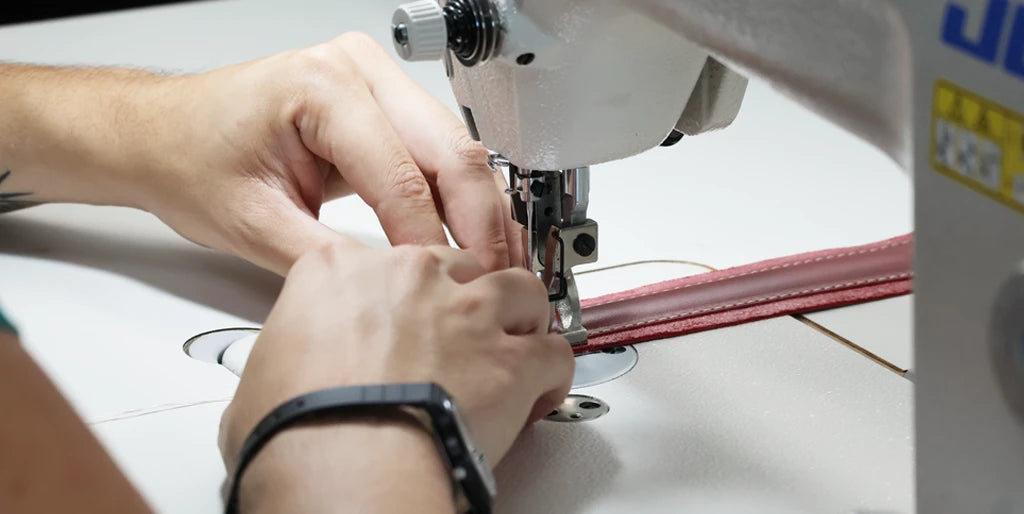
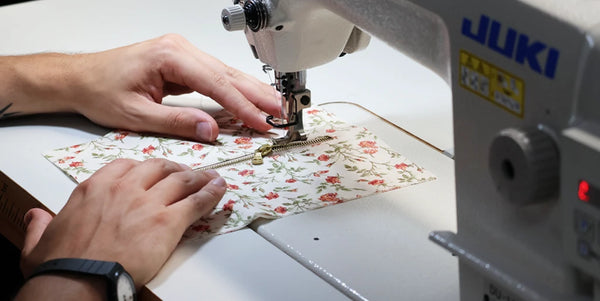
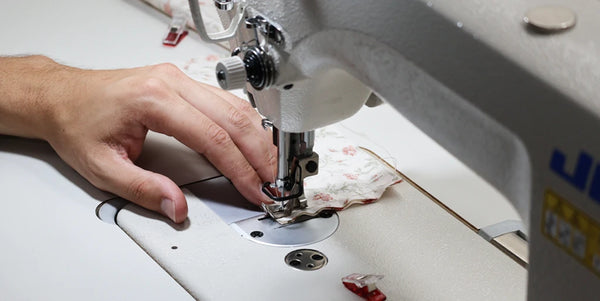
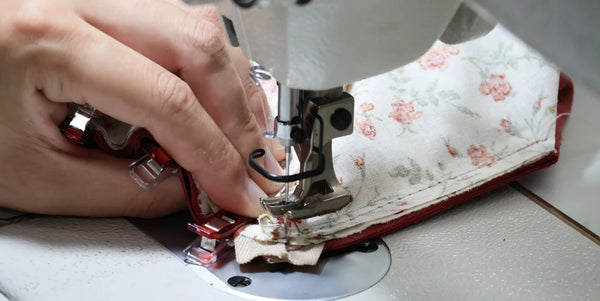
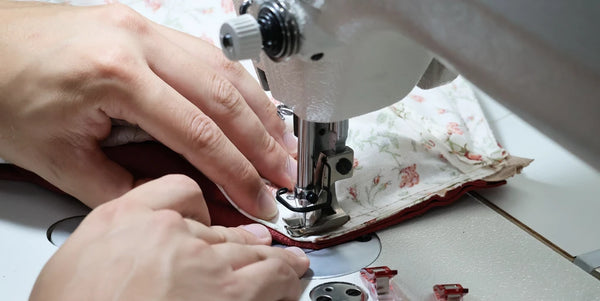
Position and glue the back of one of the P4 pieces onto the front of the zipper, then the back of the second P4 piece onto its front. Then stitch all around the zipper using the appropriate presser foot.
 |
 |
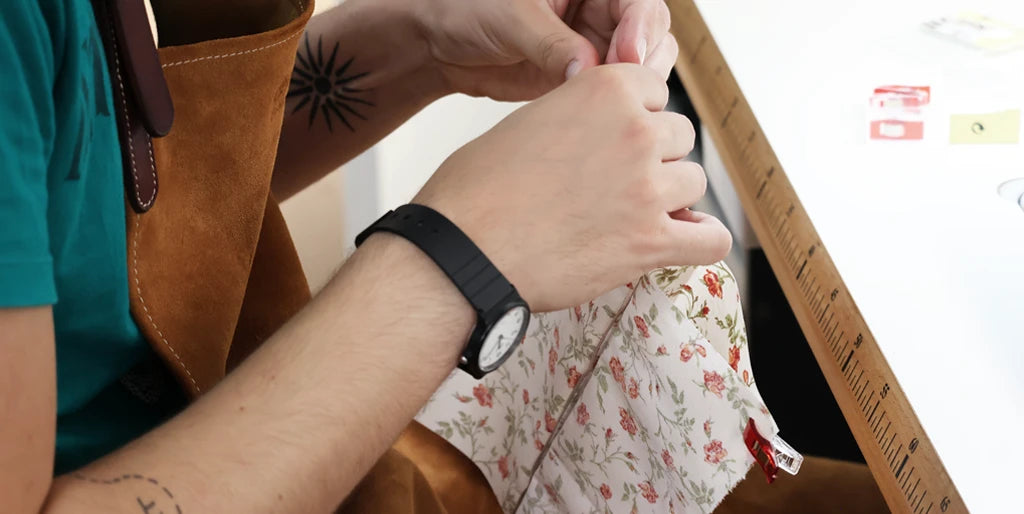
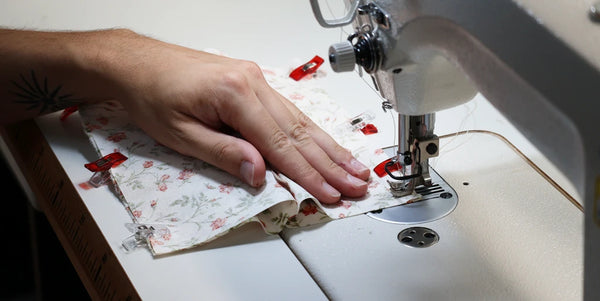
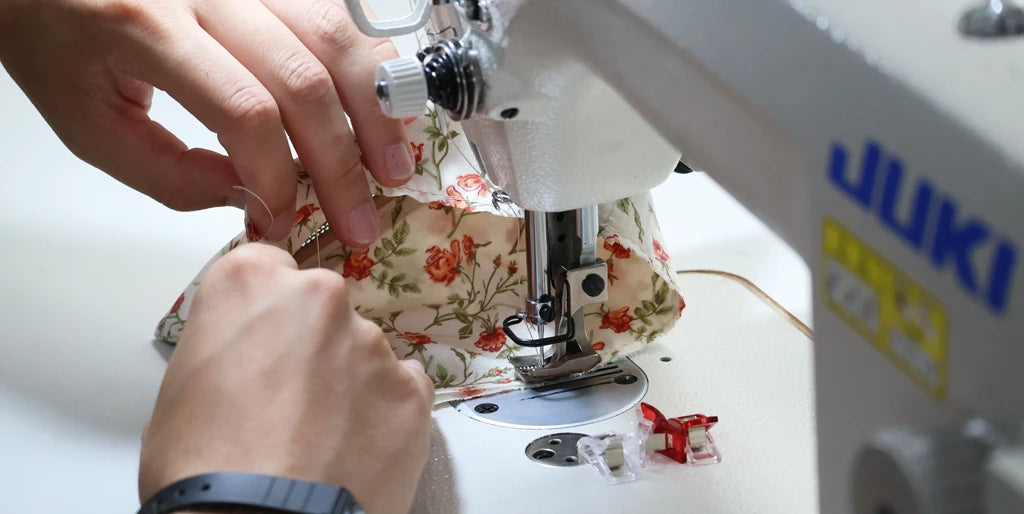
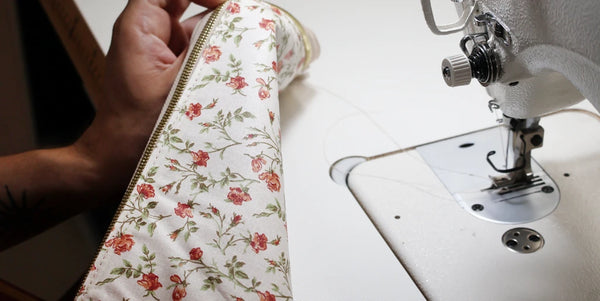
6. SEW THE INTERIOR POCKET
Fold one of the P4 pieces in half, right sides together, placing the zipper on the fold. Do the same with the second P4 piece, also right sides together. Hold everything in place with sewing clips.
Sew only the two widths of each piece, 1 cm from the edge.
 |
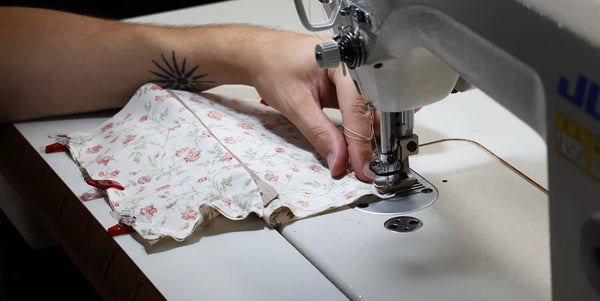 |
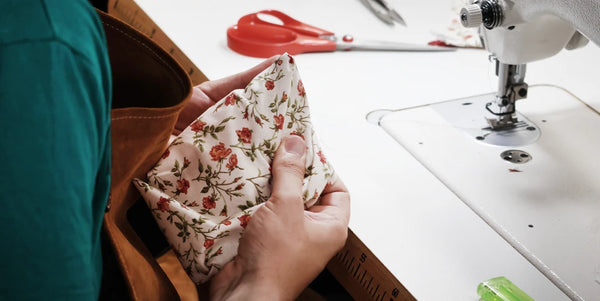
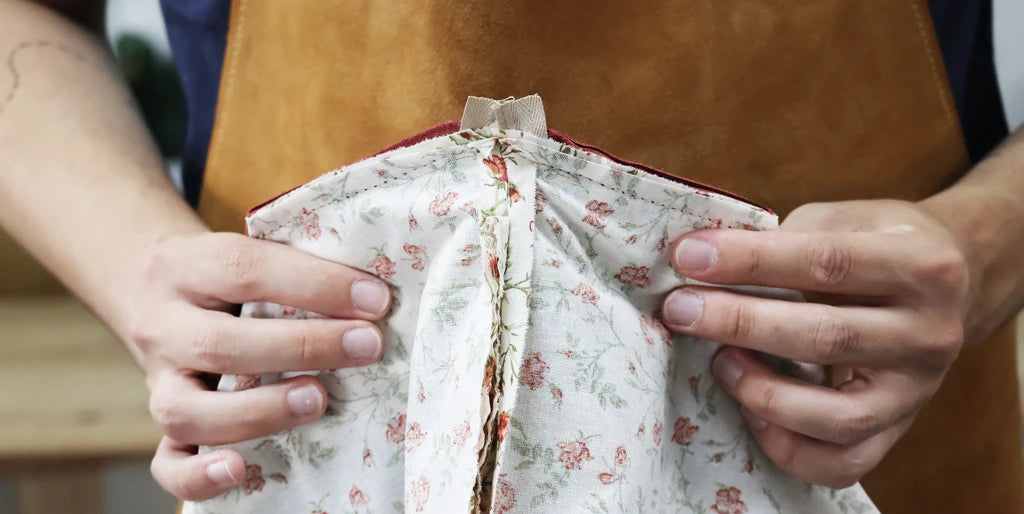
Turn the pocket inside out through the long side with the right side of the zipper.
 |
 |
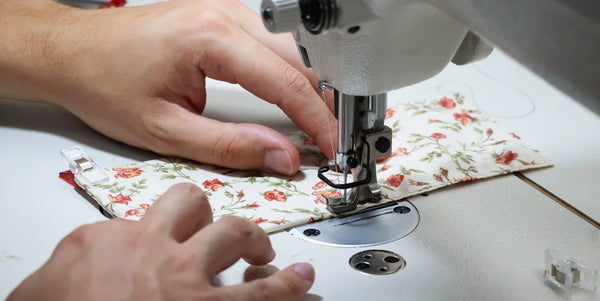
Stitch around the entire bottom of the pocket.
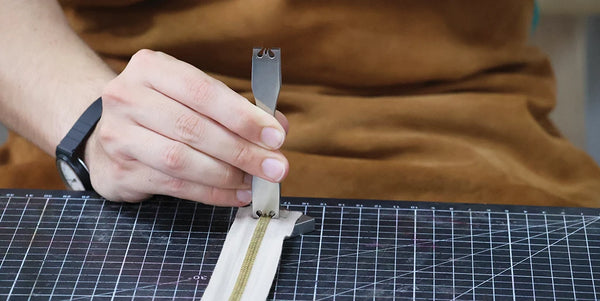
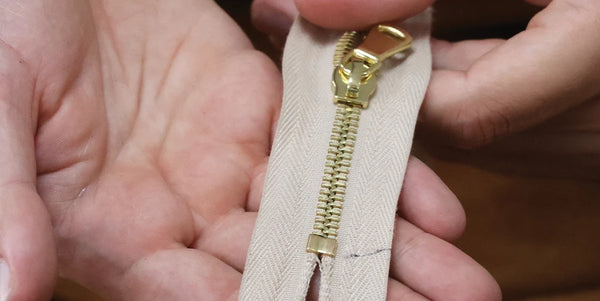
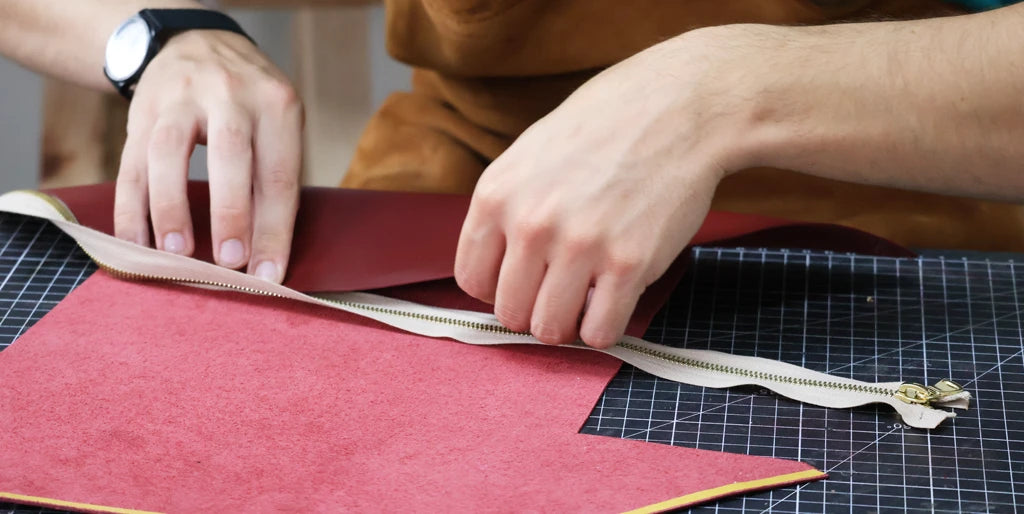
7. PREPARE THE LARGE ZIPPER
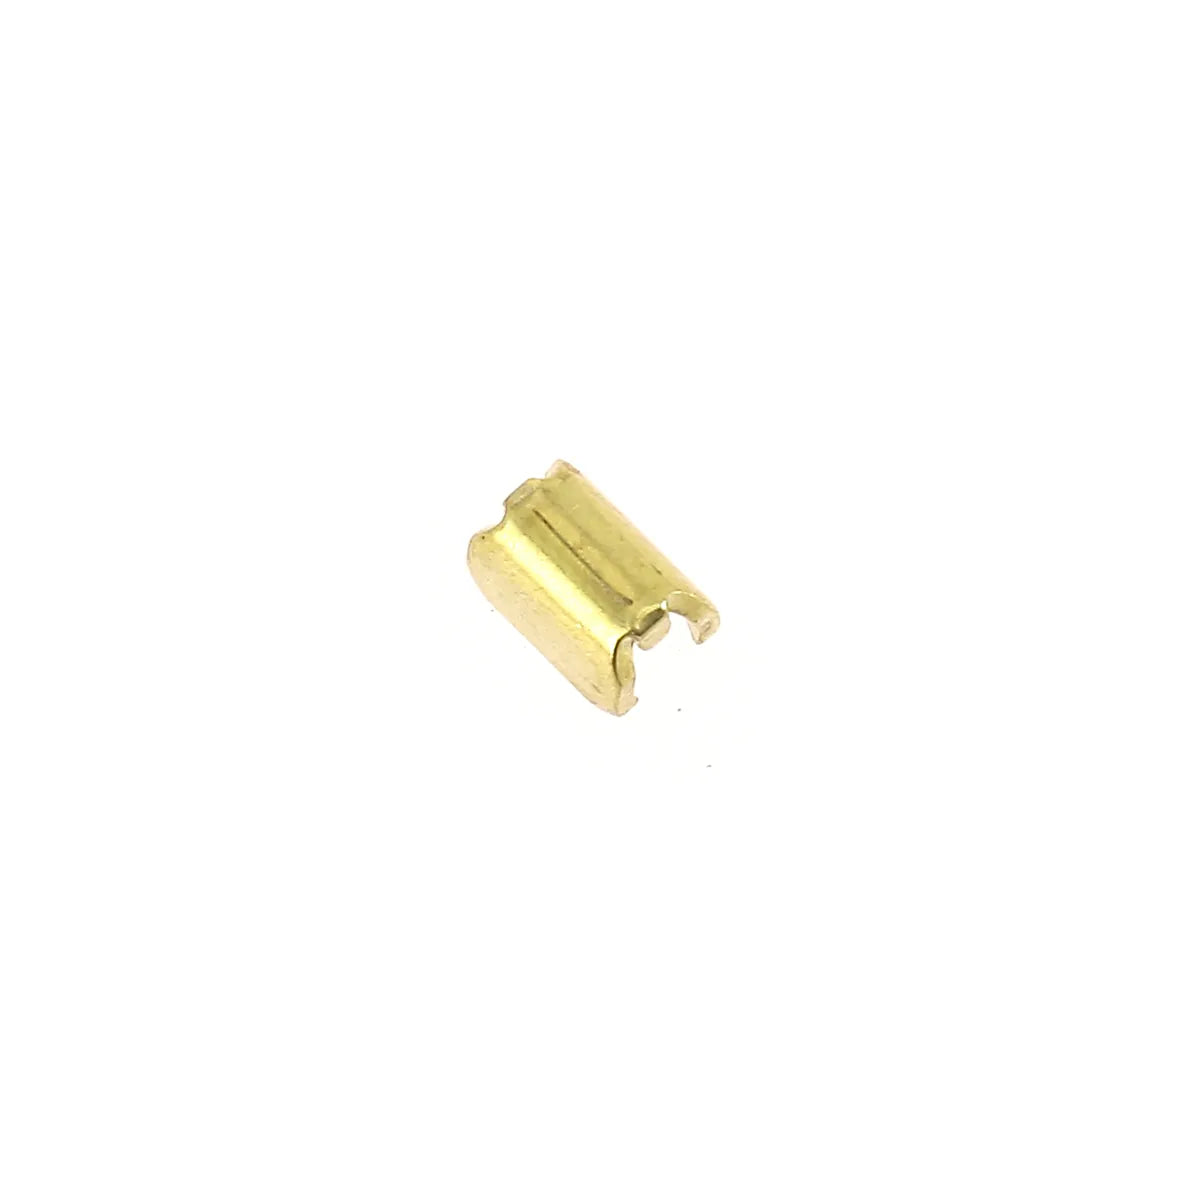
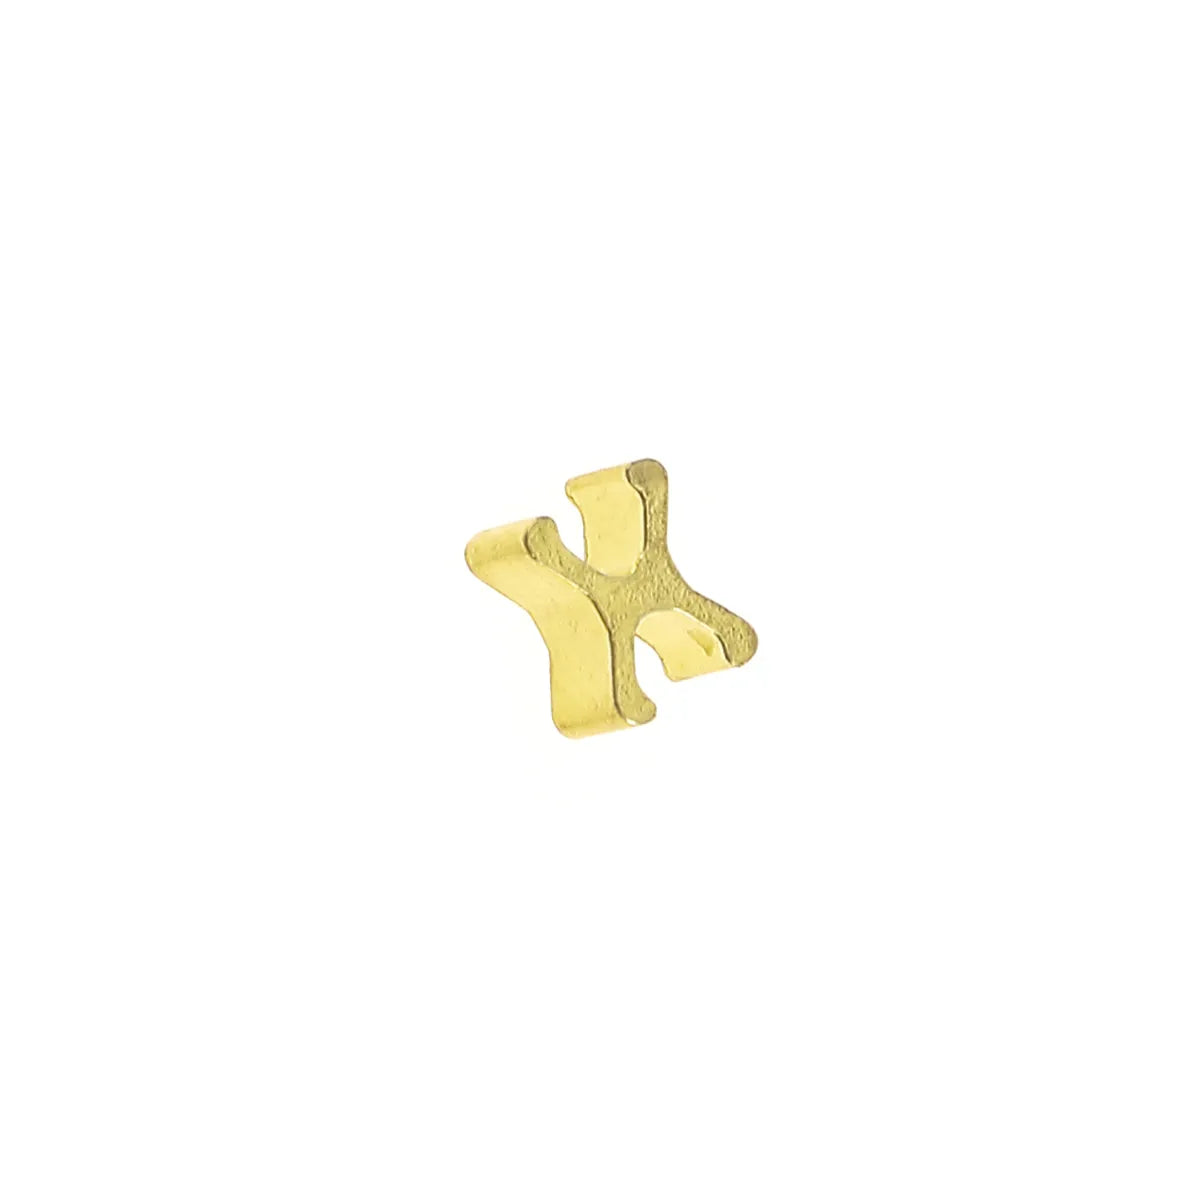
Take a 60 cm zipper by the meter. Using an appropriate tool, remove 1.75 cm of metal teeth from each side of the zipper (approximately 10 teeth per side). Then burn the ends of the zipper, then attach the top stops. Thread the slider onto the zipper teeth, then secure the bottom stop with pliers.
 |
 |
ZIPPER GUIDE
Learn more about zippers, including top and bottom stops.
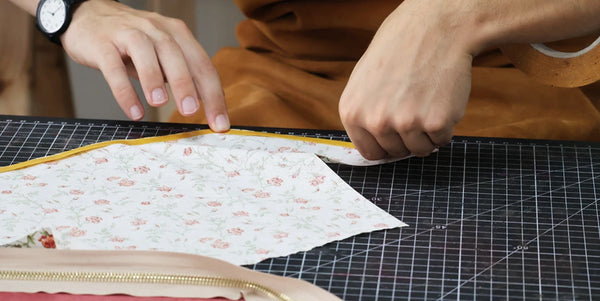
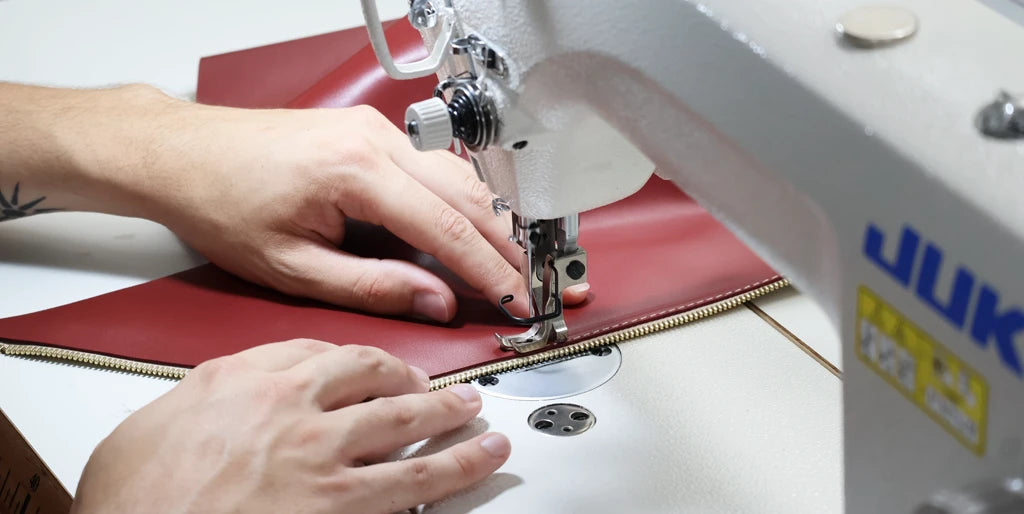
8. SEW THE LARGE ZIPPER
Apply adhesive tape to both ends of P1.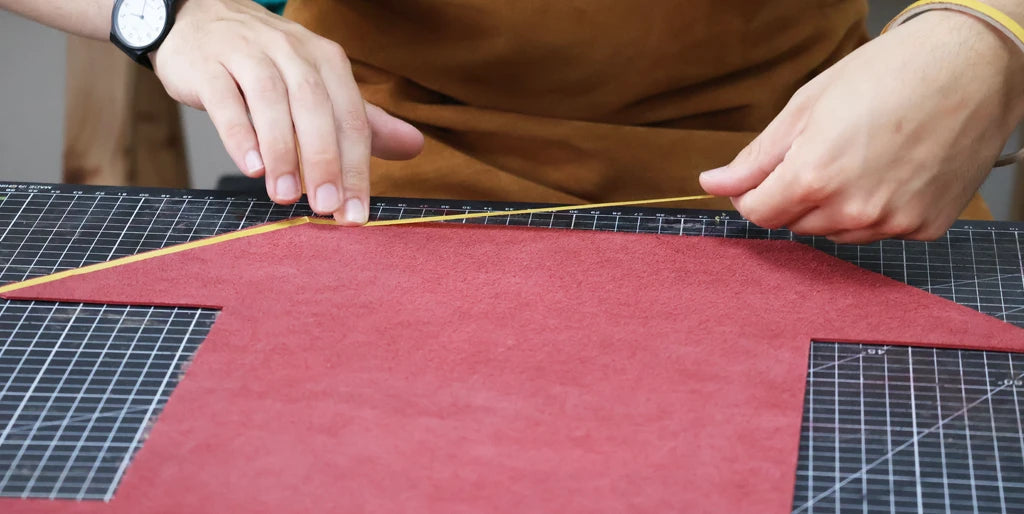
Mark the center of the zipper (on each side) to position it correctly. Glue the back of one end of piece P1 onto the front of the zipper, matching the centers.
Place the back of one of the P2 lining pieces on the back of the zipper.
 |
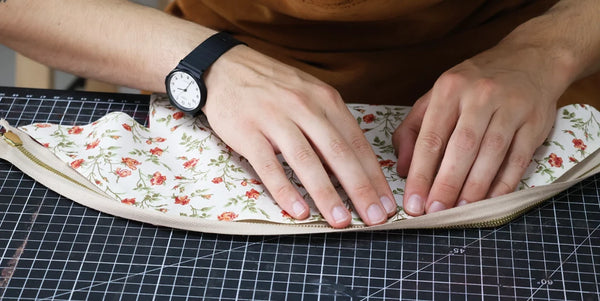 |
Make sure the centers of the pieces align. Then stitch along the entire zipper, 3 mm from the edge.

Open the zipper and proceed in the same way for the other side (P1 + zipper).
Also glue the second P2 piece onto the zipper, back to back.
Then stitch 3 mm from the edge.
 |
 |
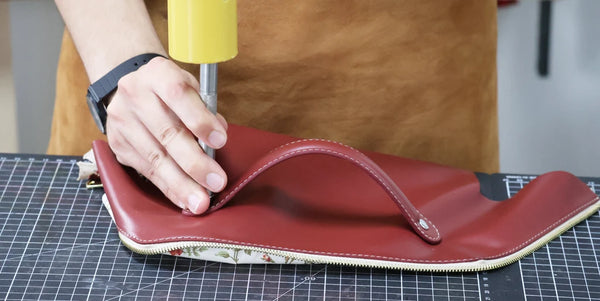
9. ATTACH THE HANDLE
Using T4 single-cap rivets, attach handle P5 to its designated location on P1. Place the rivets without piercing the coated fabric, only the leather, so they are hidden in the lining.
 |
 |
10. SEWING THE P3 GUSSETS
Fold pieces P3 in half, at the marks, right sides together. Hold with clips.
 |
 |
Sew both widths 1 cm from the edge. Trim the corners slightly then turn the P3 gussets right side out.
 |
 |
Topstitch 3 mm from the edge on both widths and the folded length. Leave the bottom length open.
 |
 |
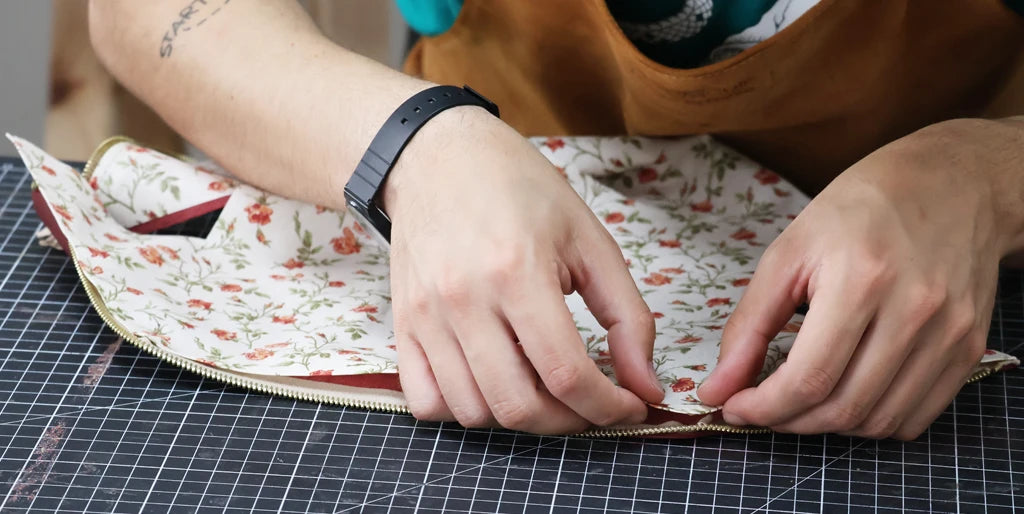
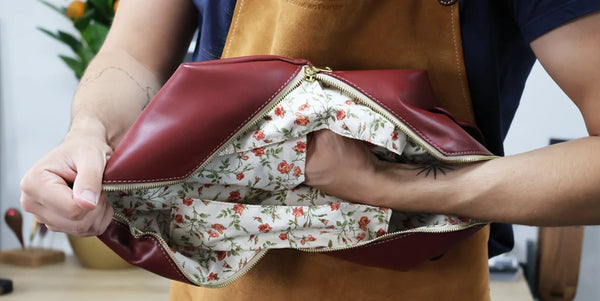
11. SEWING THE INNER POCKET
Turn the pouch over and assemble the remaining length of the two P2 pieces, right sides together. Hold in place on each side with sewing clips.
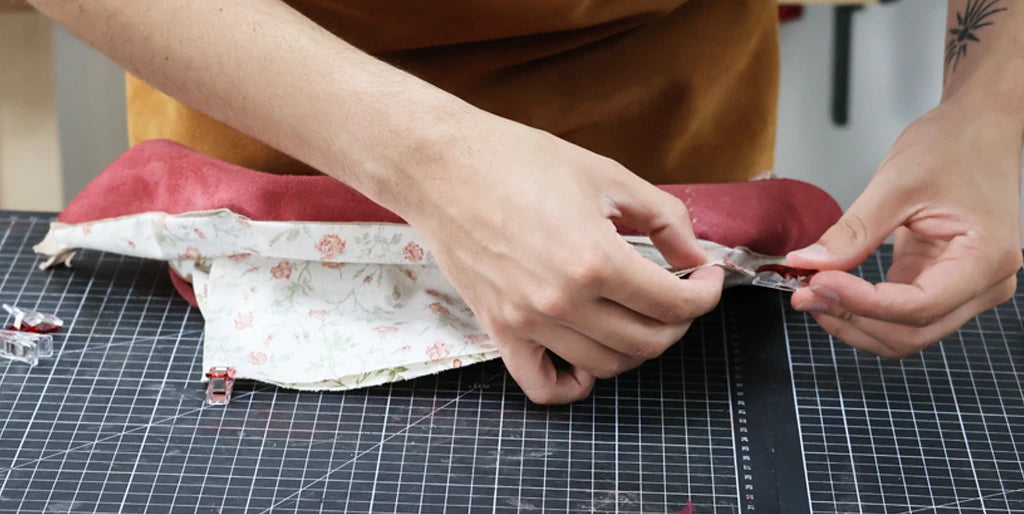
Then insert pocket P4 inside, in the center of the two P2 pieces. Align the open length of P4 with the lengths of P2 and hold everything in place with sewing clips.
 |
 |
Sew the length, leaving a 6 cm opening in the center to be able to turn the pouch right side out at the end.
12. SEWING THE SIDES OF THE POUCH
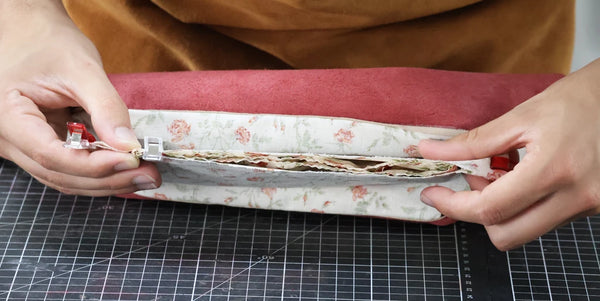
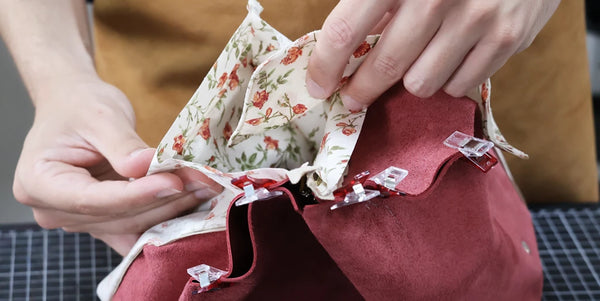
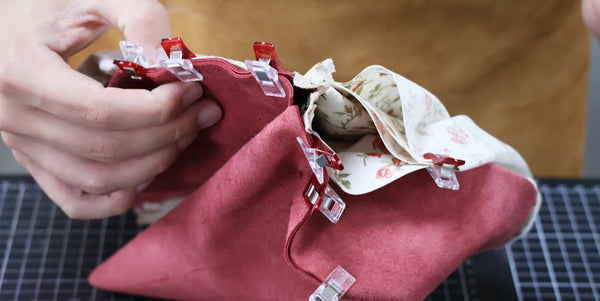
Assemble the sides of piece P1, matching the points: A1 with A1, A2 with A2, B1 with B1, and B2 with B2. Make sure to align the edges so that the two ends of the zipper meet at the center mark of piece P1. Hold everything in place with sewing clips.
Position one of the P3 gussets inside the lining, ensuring its widths fit into the fold of the P2 corners. The unsewn length of P3 should be aligned edge to edge with P2. Hold everything in place with sewing clips.
 |
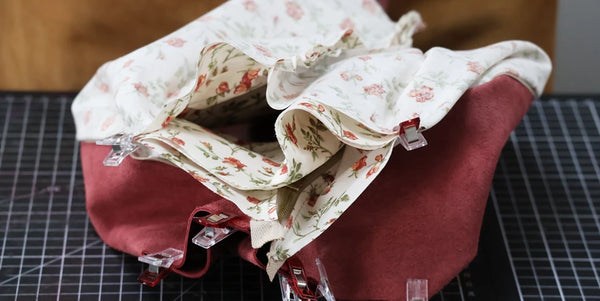 |
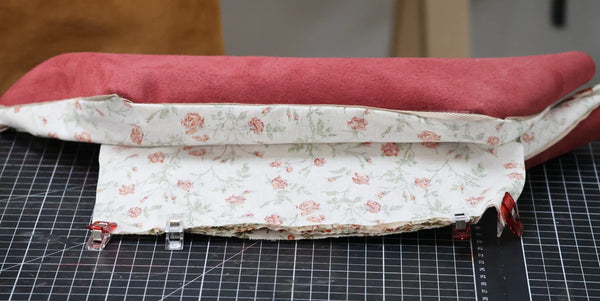
Finally, position the lining and leather parts together, edge to edge. Hold with sewing clips.
 |
 |
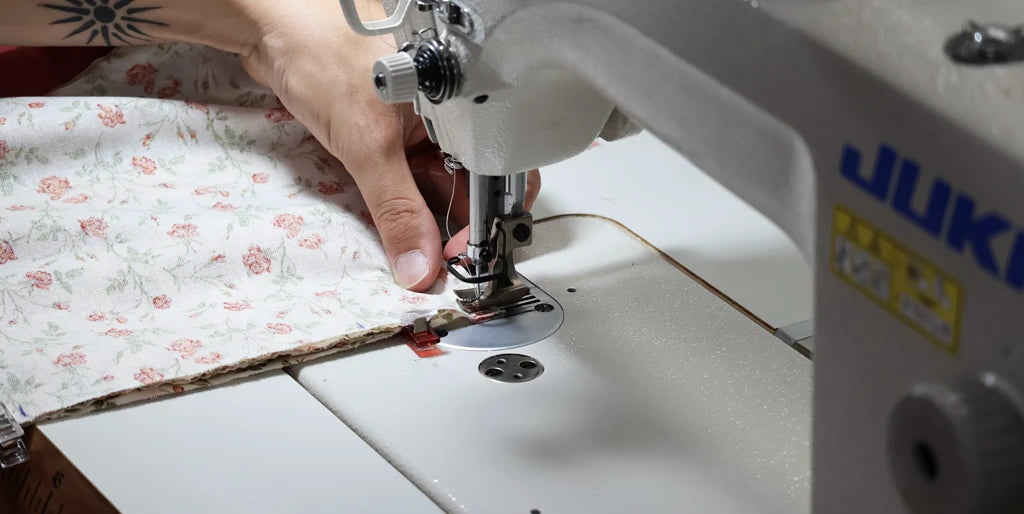
Sew this length of leather and coated fabric 1 cm from the edge.
 |
 |
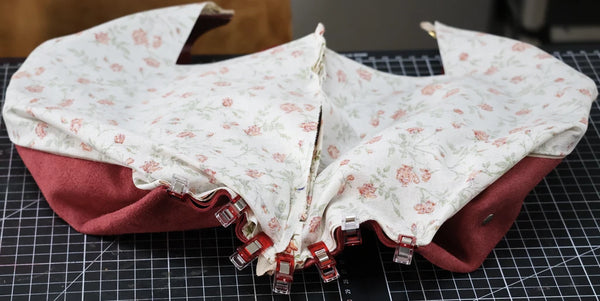
Repeat the same steps on the other side.
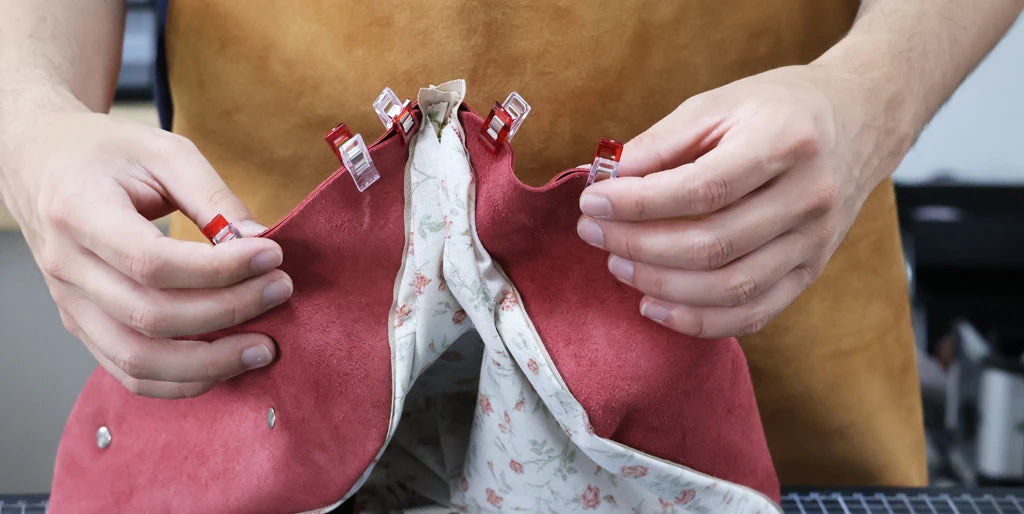
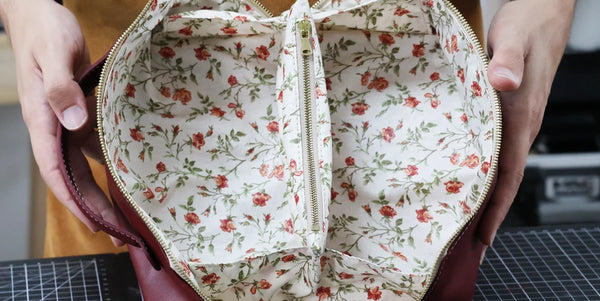
13. TURNING THE POUCH
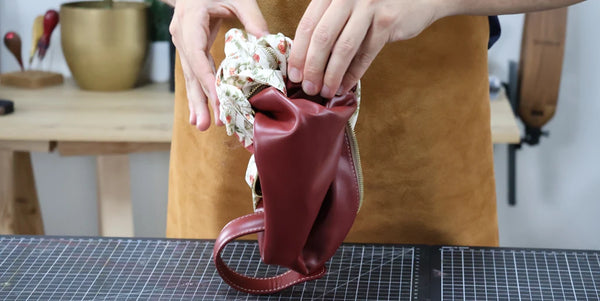
Turn the pouch right side out through the 6 cm opening left in the lining.
 |
 |
Sew the opening left in the lining.

14. ATTACHING THE GUSSETS
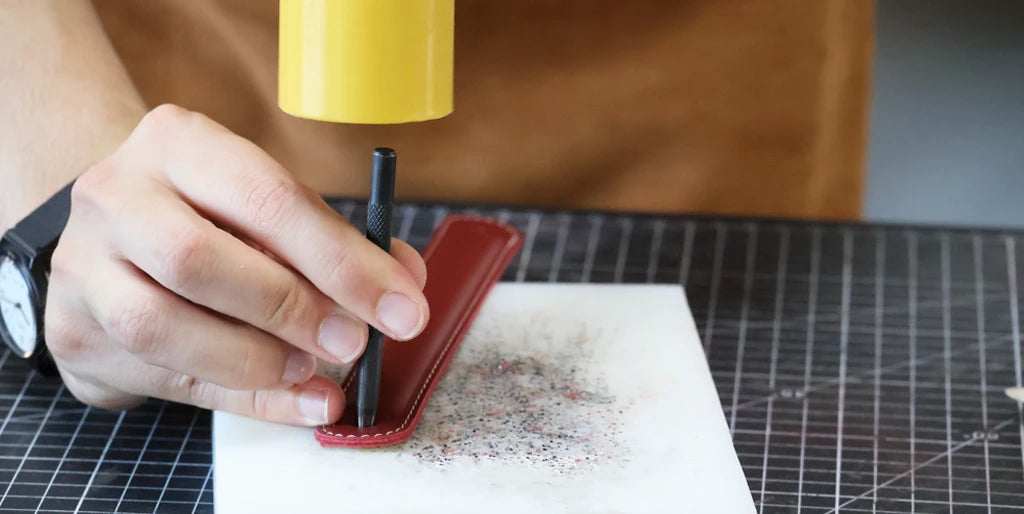
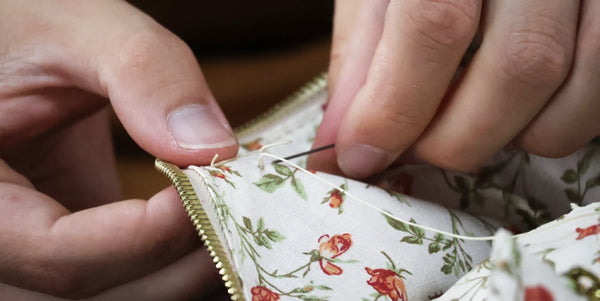
Sandwich the two corners of the inner pocket P4 into the gussets P3. Pierce a Ø 3 mm hole and attach a T2 double-cap rivet on each side.
 |
 |
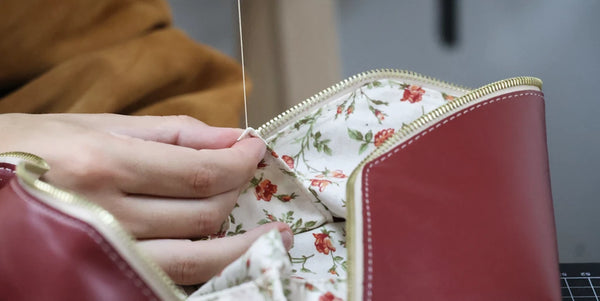
Hand stitch the 4 corners of the gussets to the lining at the angles. Push the needle through the corner of gusset P3, then through lining P2, at the locations indicated on the X pattern. Make several passes and secure with a knot.
 |
 |
 |
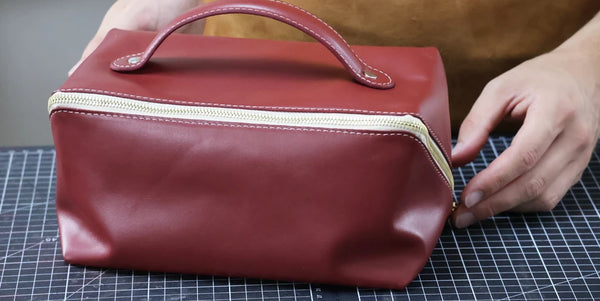 |
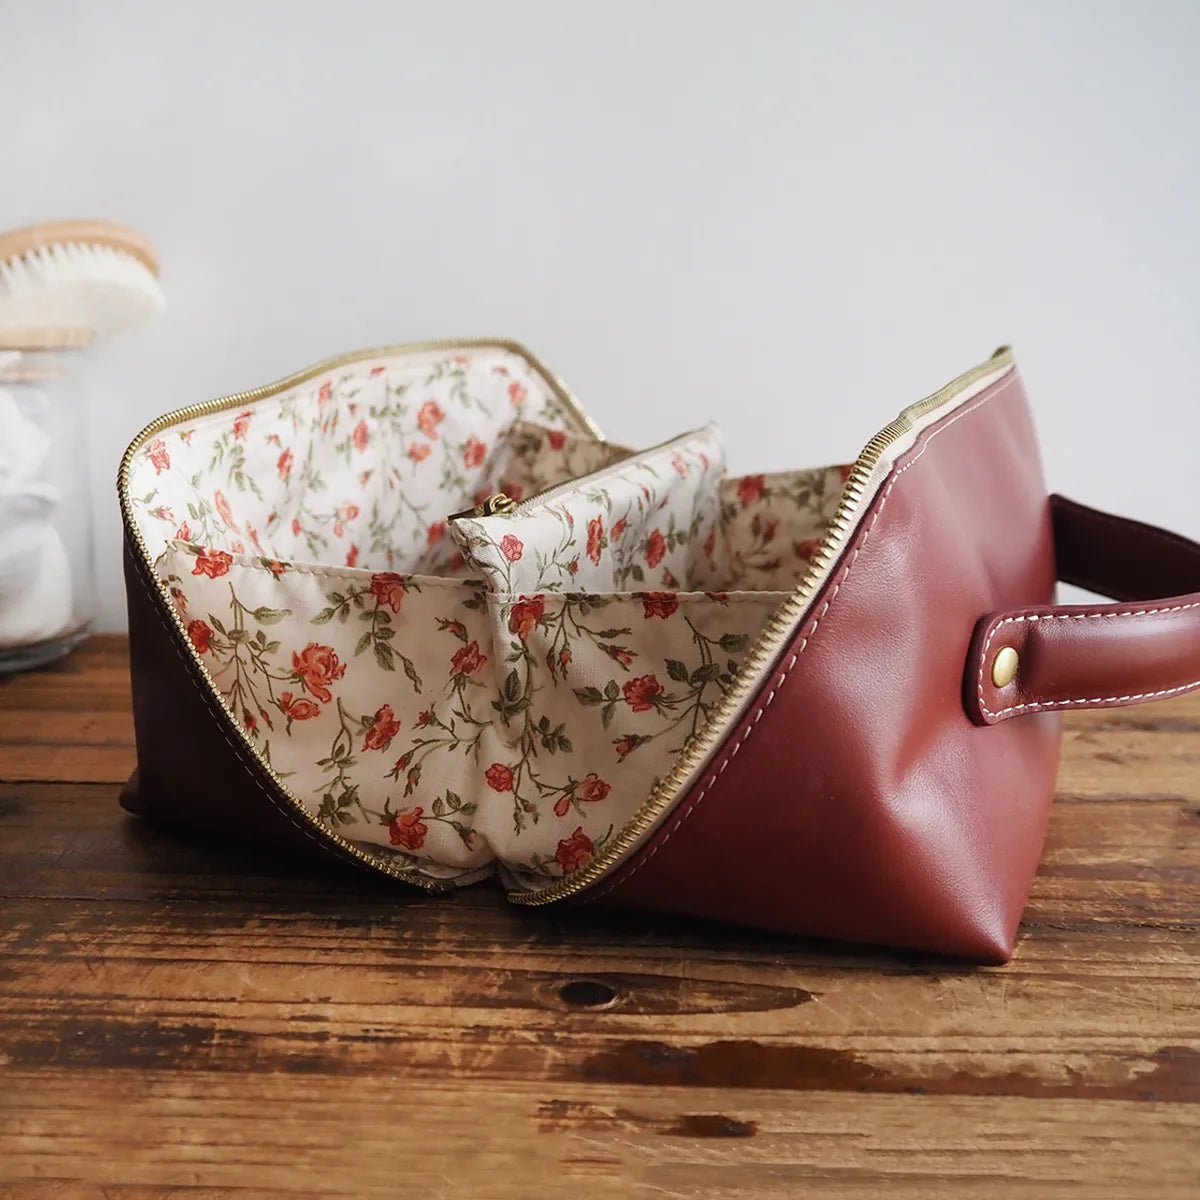
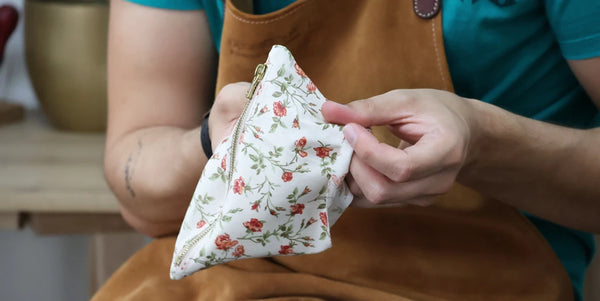
THE MAGIC POUCH IS COMPLETE!
 |
 |


Also discover our men's version:
VIEW TUTORIAL >


2 comments
Anonymous
Bonjour Aline,
Nous vous conseillons de vous rapprocher d’entreprises spécialisées notamment : BFM – Outils et machines pour cuir.
BFM concevra votre outil pour une gravure/marquage à froid ou à chaud du cuir.
Bonne journée,
Cordialement,
L’équipe Deco Cuir
Asson Aline
Bonjour je voudrais appliquer ma marque sur mes réalisations en cuir mais je sais pas et où trouver un pointeau je voudrais une orchidée d’un centimètre merci dans l’attente de votre réponse