
Version 1 – Seamless
MATERIALS REQUIRED
- 1 piece of leather 20 x 30 cm - Firm - Thickness 1.3 to 1.8 mm
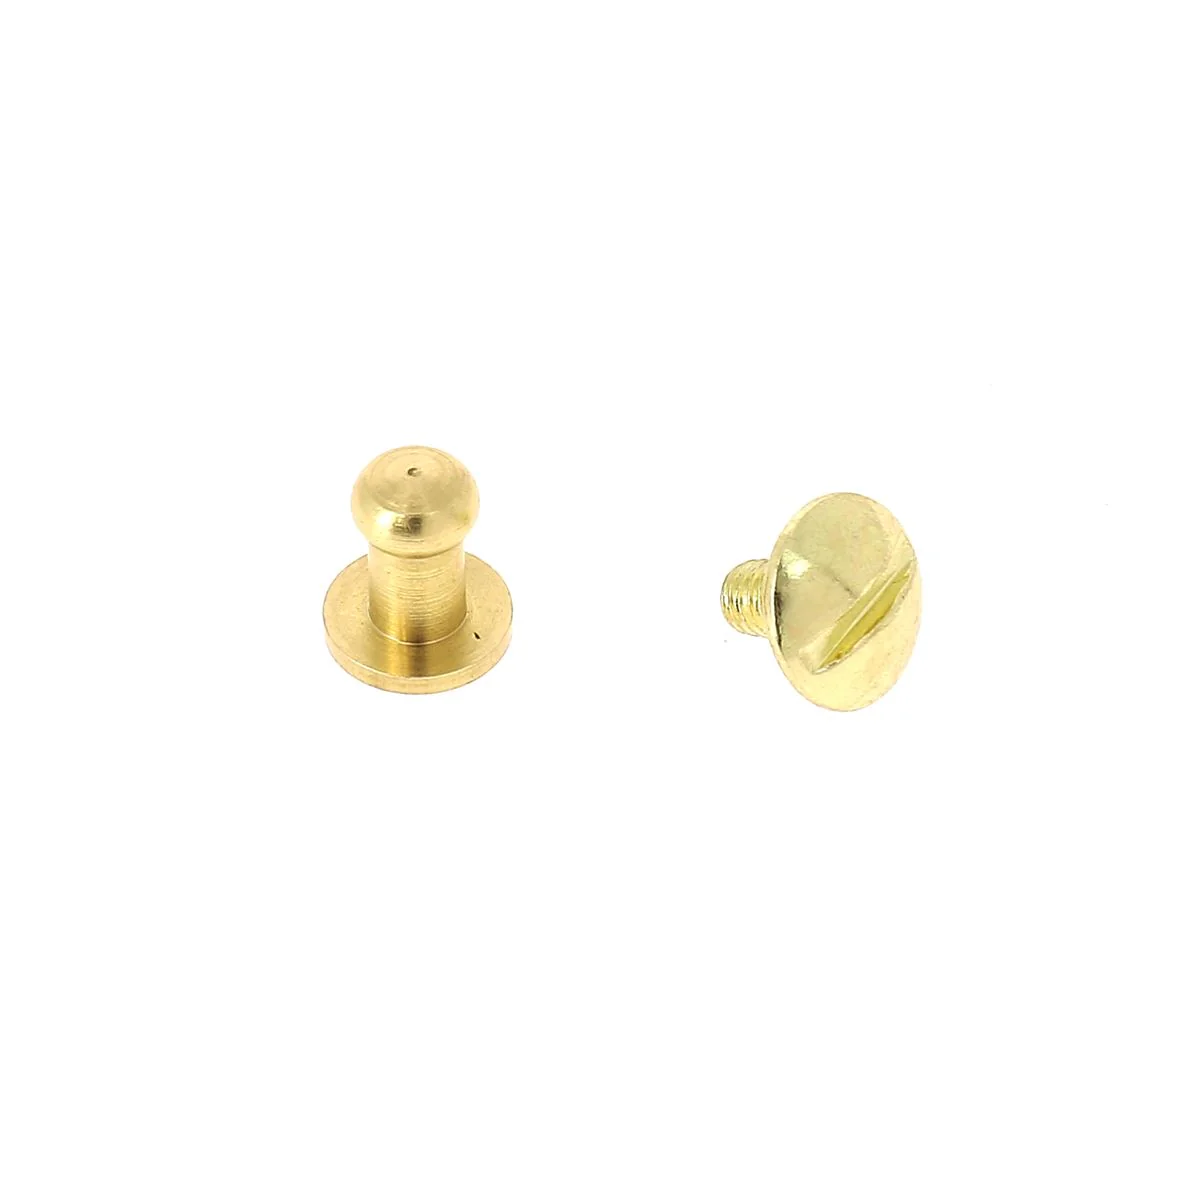
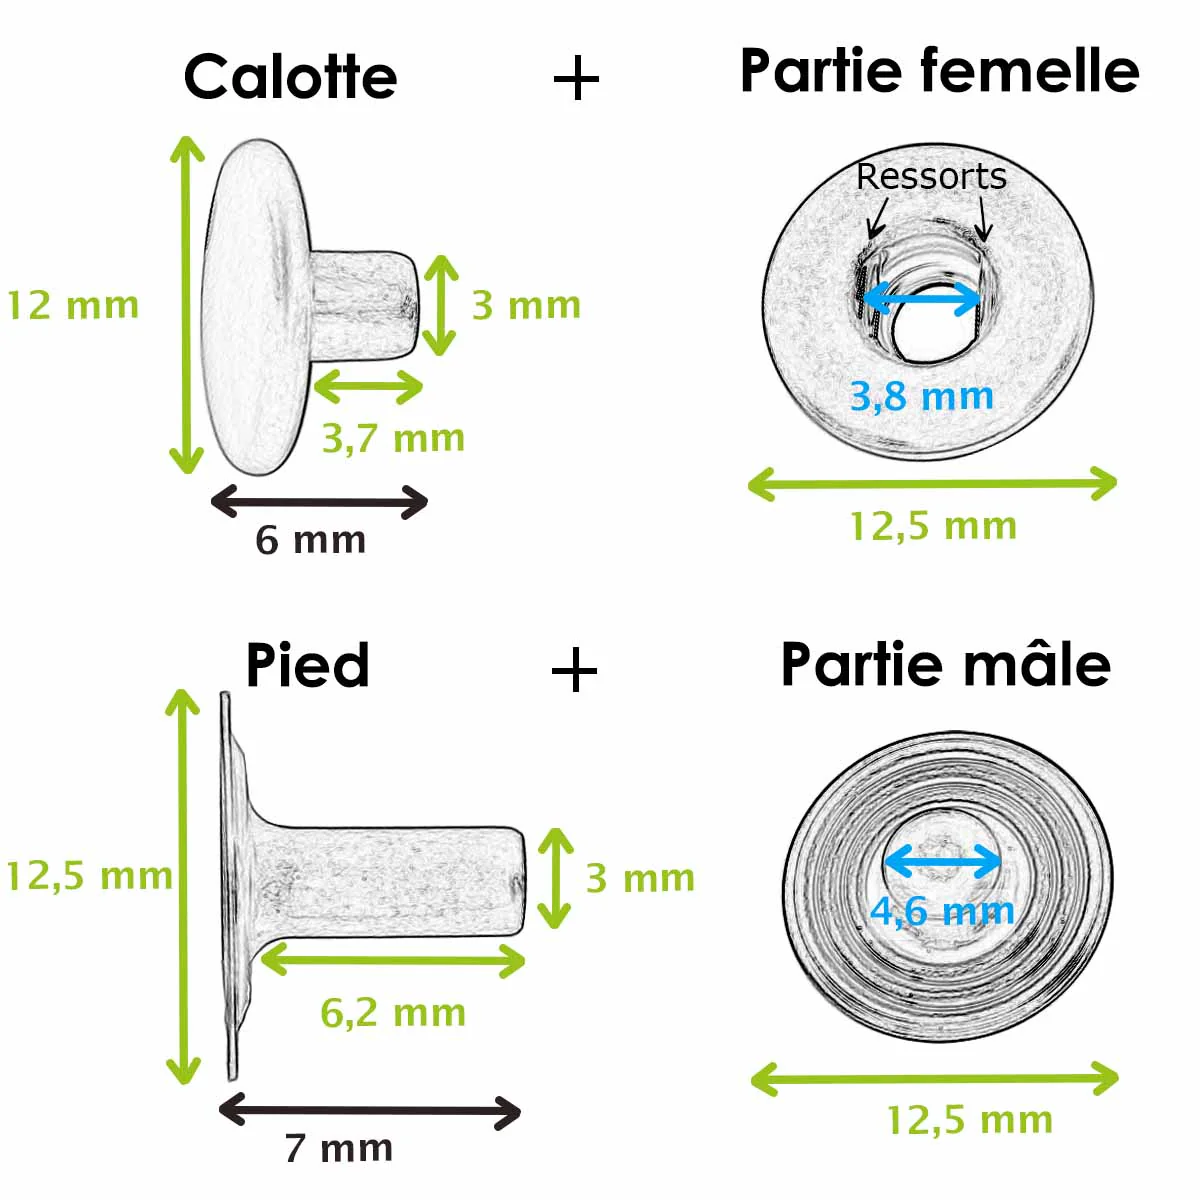
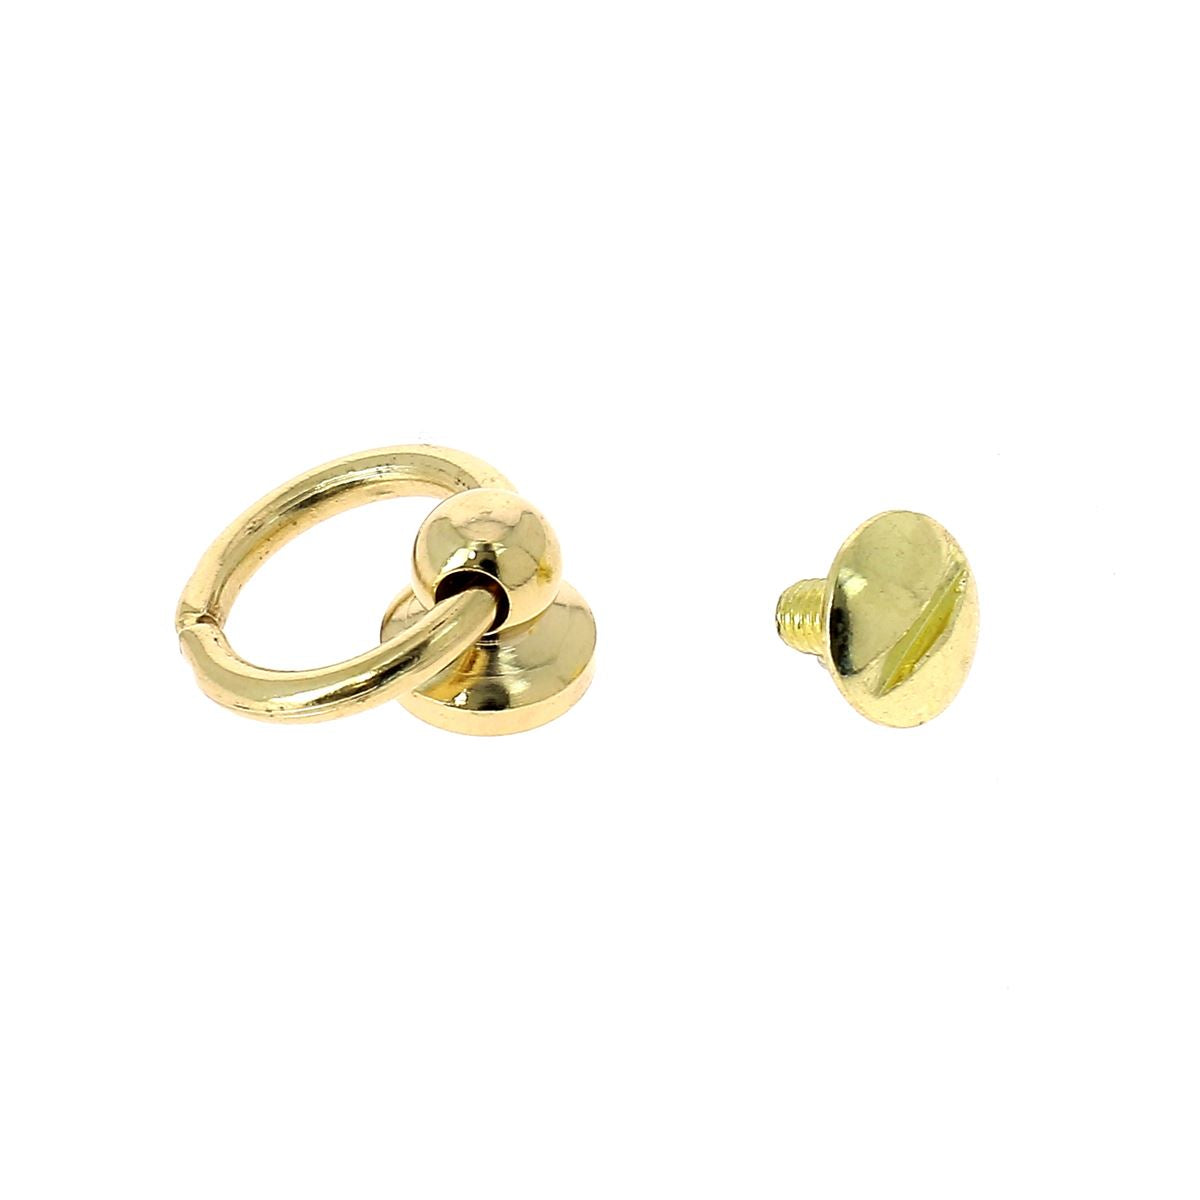
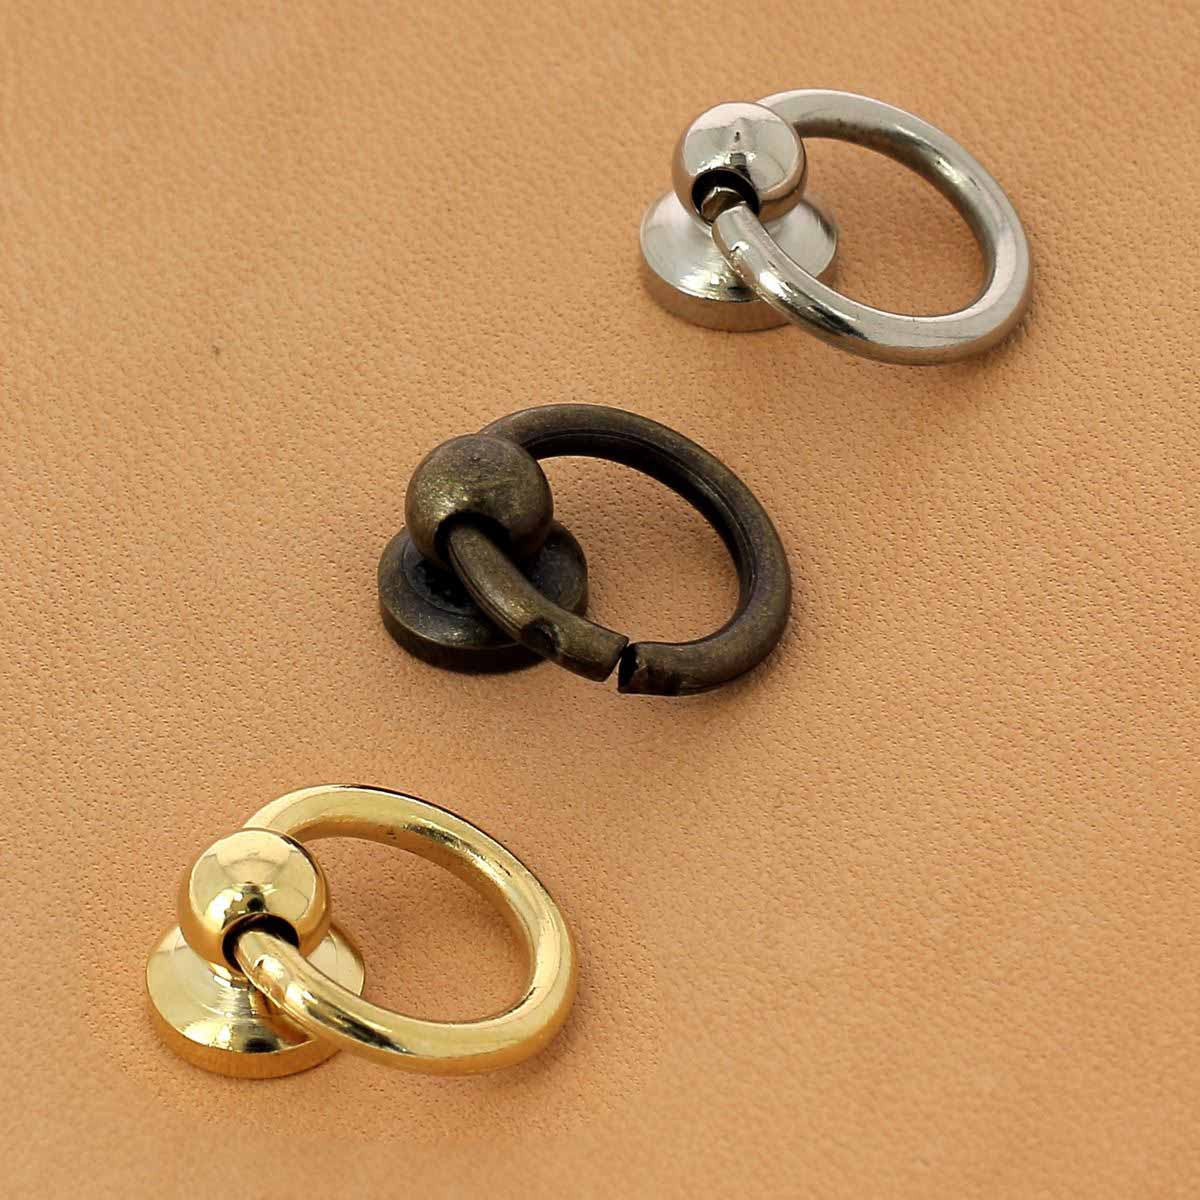
- 1 collar button
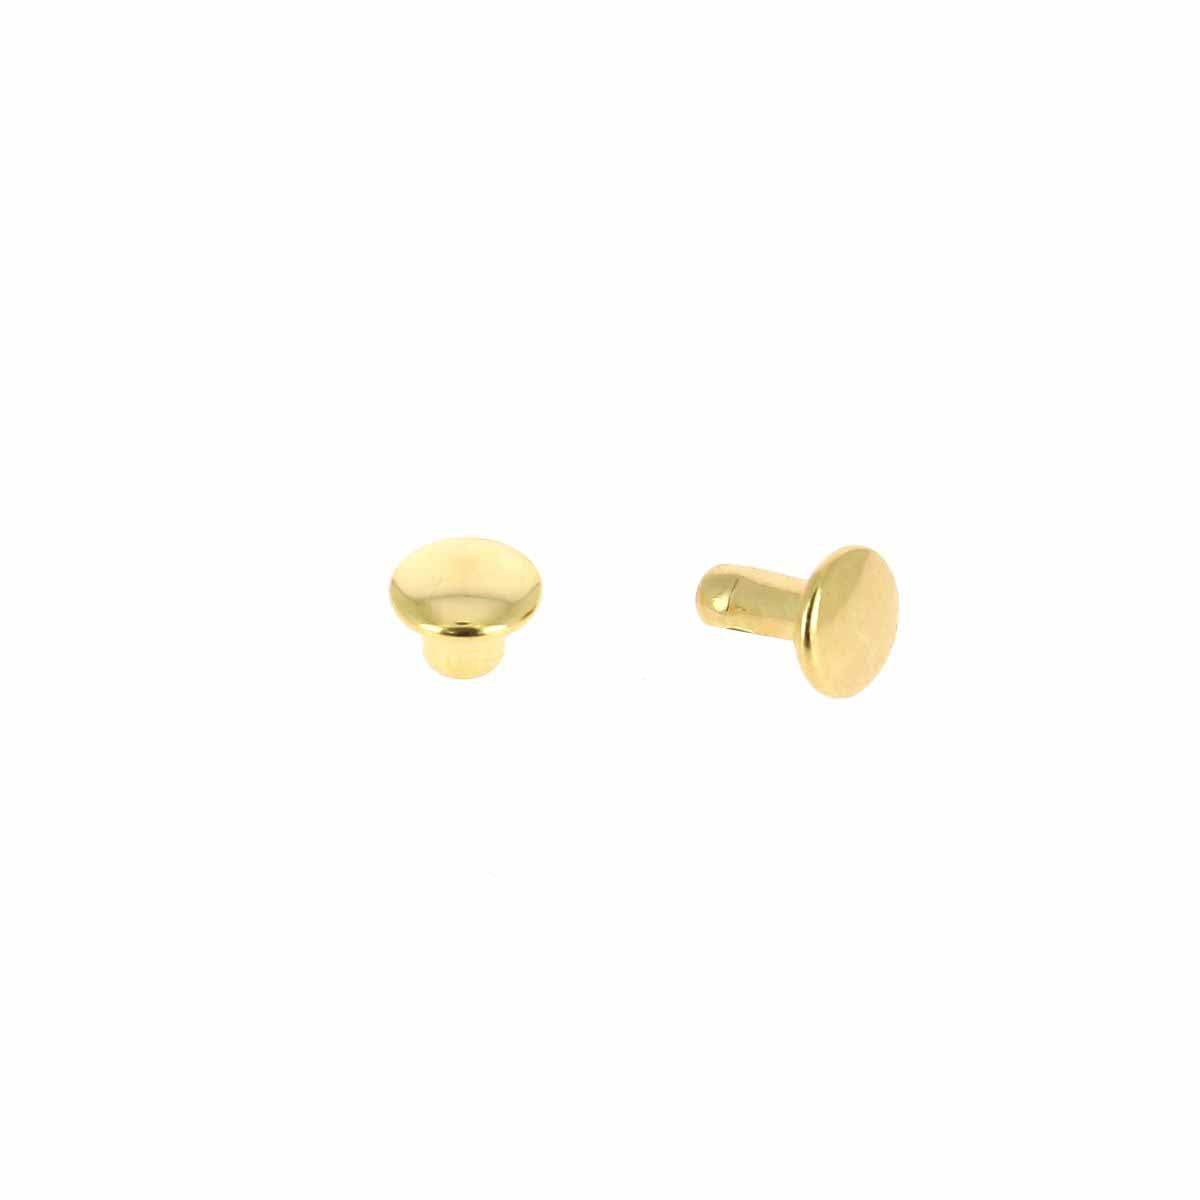
- 1 3 x 7 mm screw
- 1 cutter and 1 ruler
- 1 3 mm hole punch
- 1 mallet


-
Blue


-
Blue


VIDEO
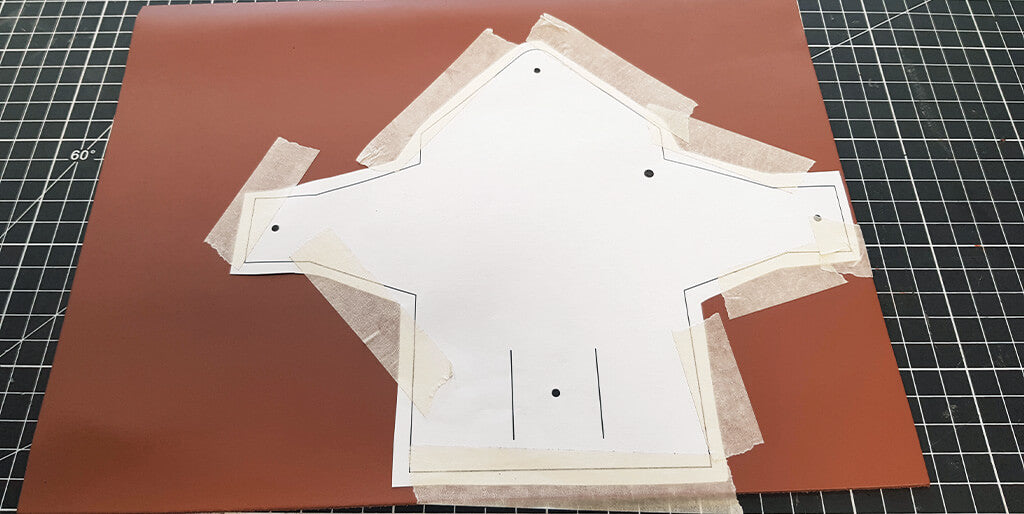
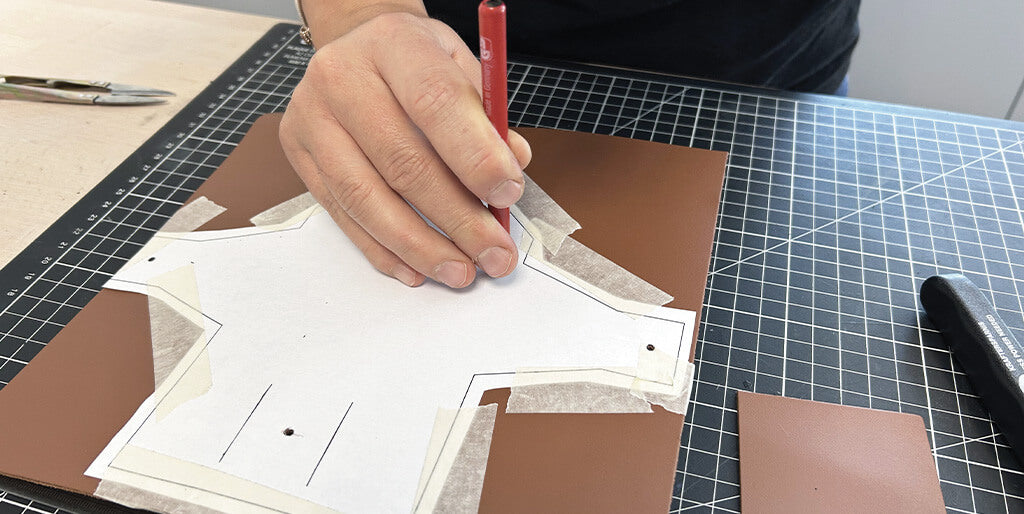
1. CUT THE PATTERN
Cut the pattern, leaving a 5 mm margin around the lines. Then place and secure the piece onto the leather using masking tape.
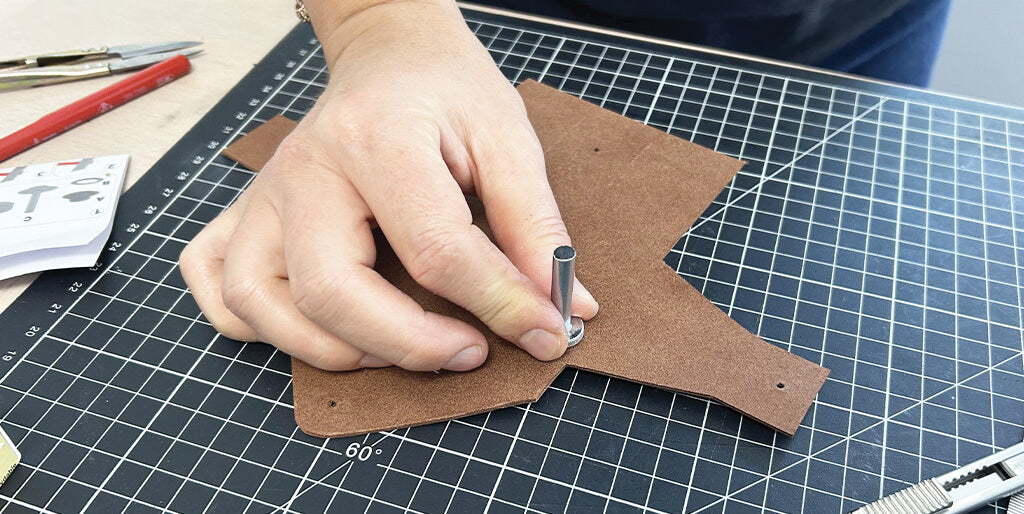
2. PUNCH THE HOLES
Punch the various 3 mm diameter holes using a mallet and a round punch.
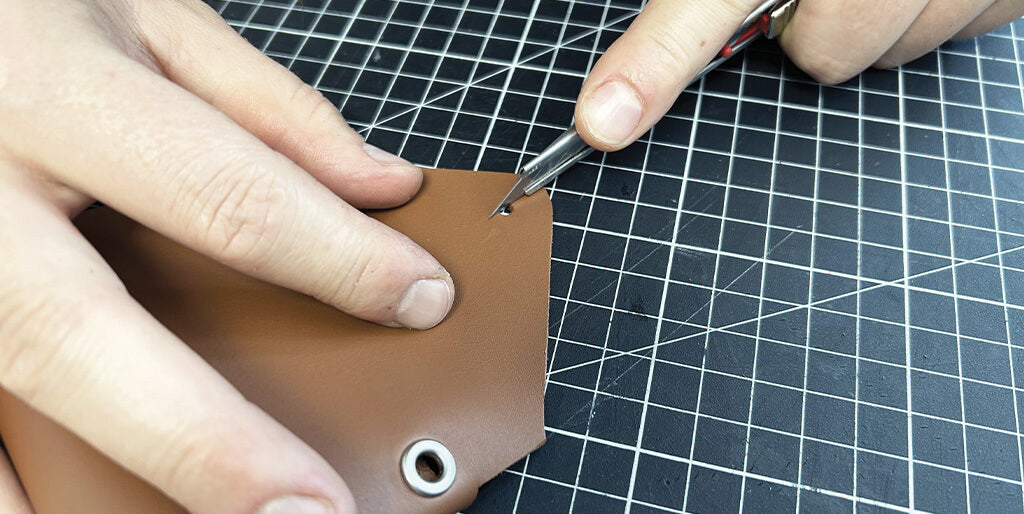
3. CUT THE SLOTS
Using a cutter, cut the 2 slots, each 3.2 cm long.

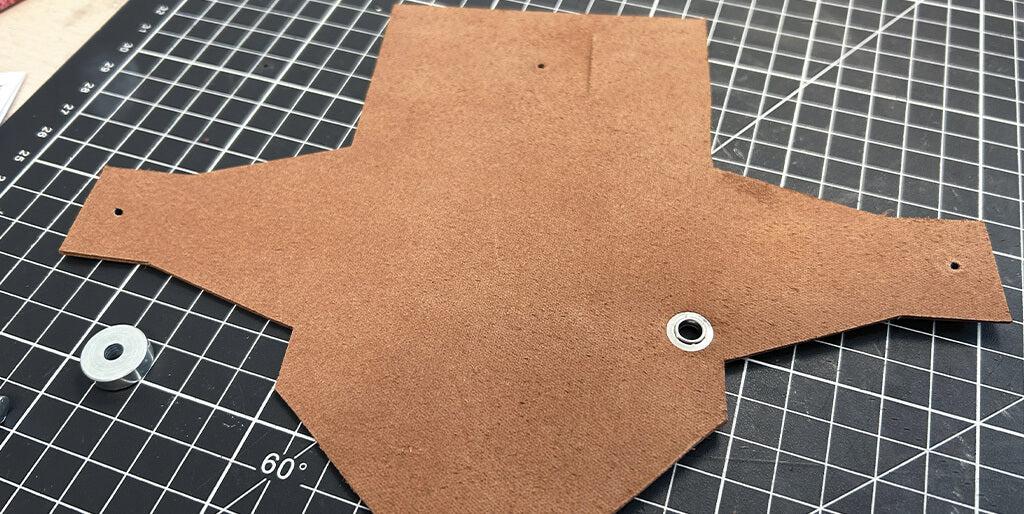
4. CUT THE PIECE
Then cut out the entire piece following the outline.

5. ATTACH AN EYELET
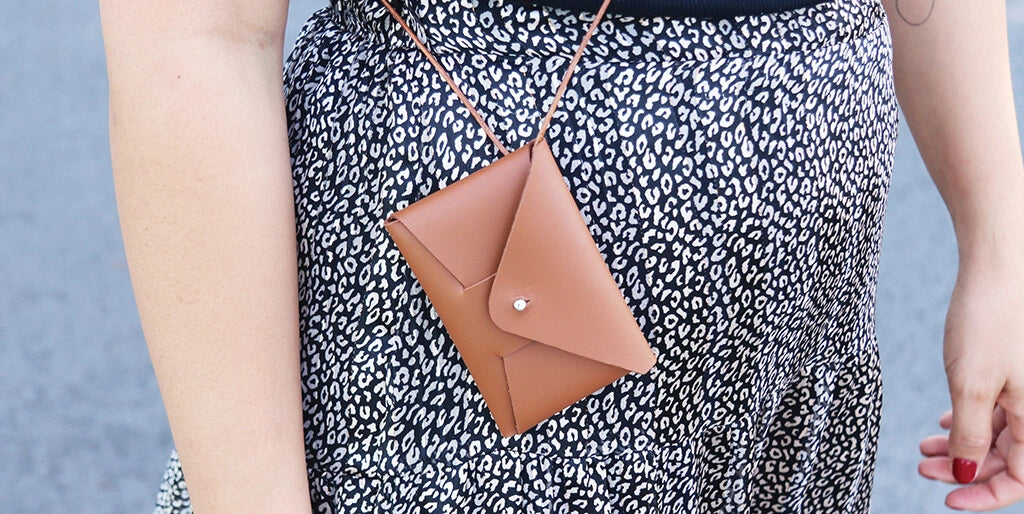
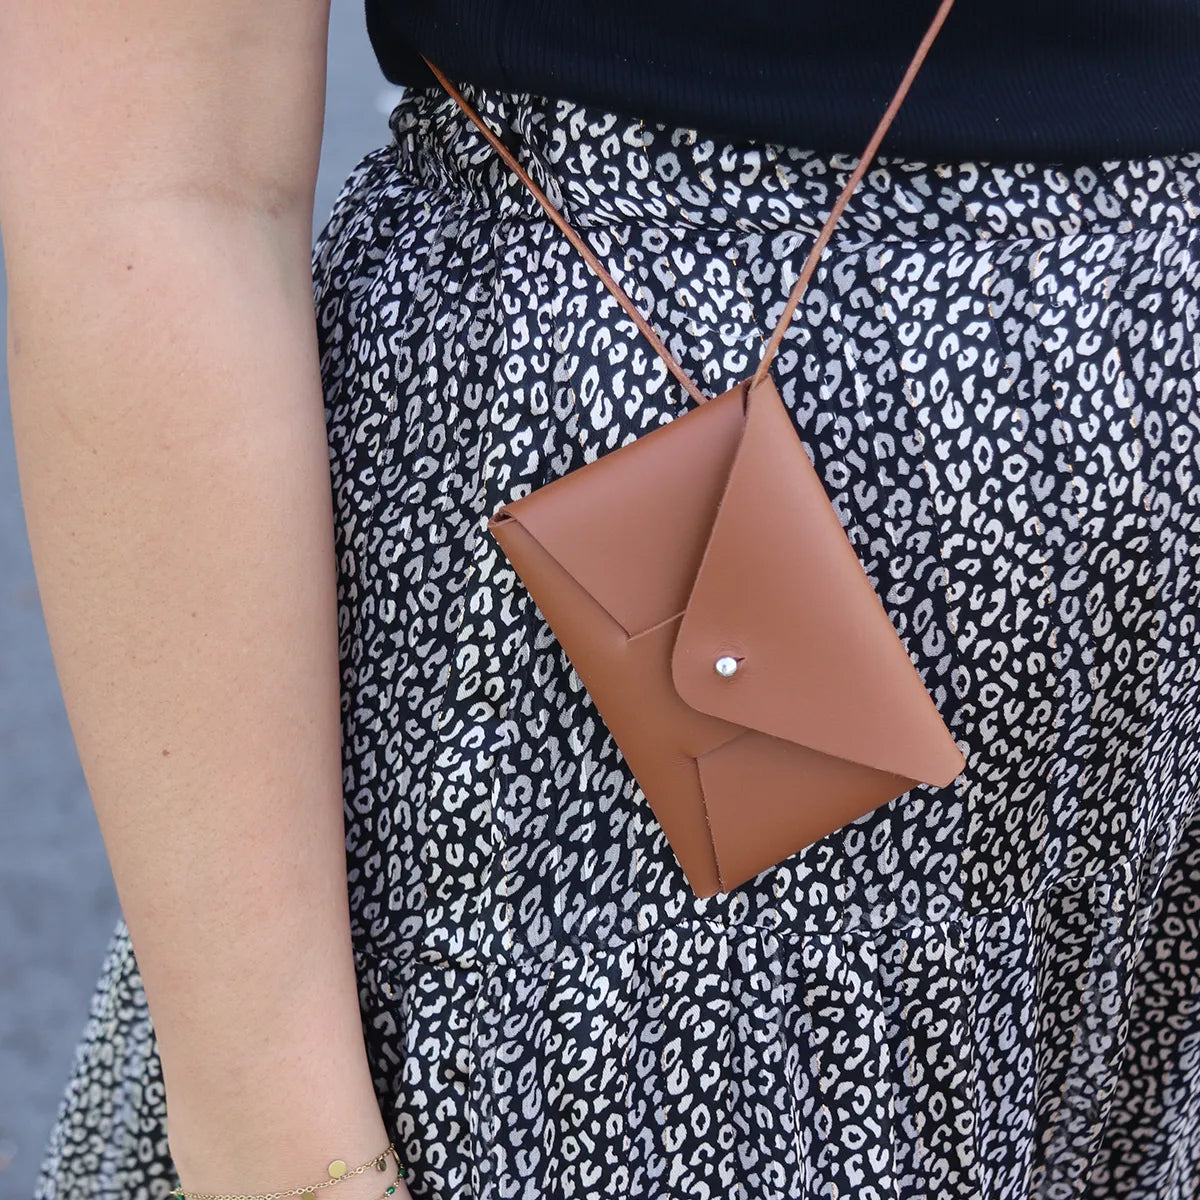
OPTIONAL: To wear the card holder as a crossbody (with a round leather lace), attach a 4 mm diameter eyelet at the designated spot on the pattern.
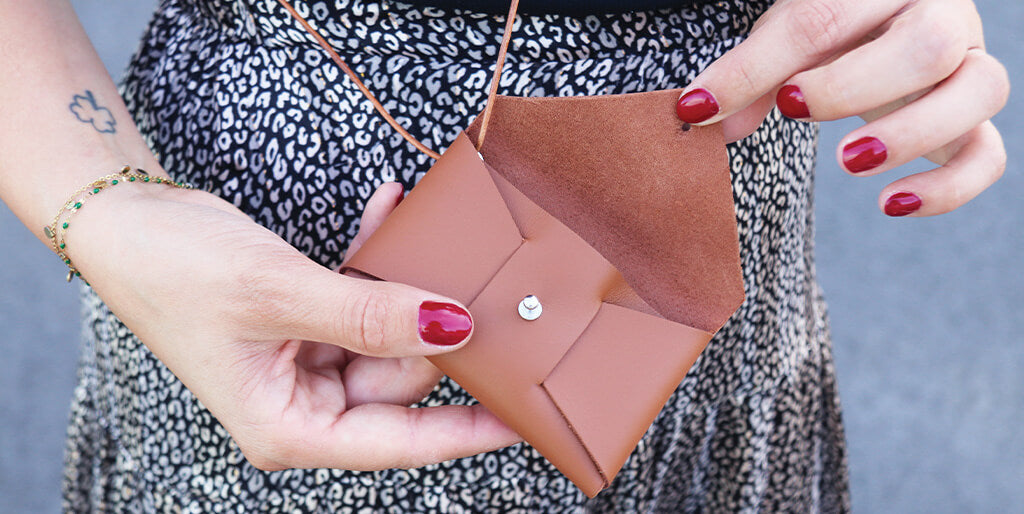
6. FOLD THE CARD HOLDER
Insert the two tabs into the card holder's slots. Insert the 3 x 7 mm screw of the collar button from the inside (into the three holes), then screw on the collar button.
 |
 |

7. MAKE THE COLLAR BUTTON SLIT
Using a cutter, make the slit for the collar button head.
YOU'RE DONE!
Version 2 – With stitching
Here is the tutorial for the card holder with stitching. This version is slightly larger than the second version. The card holder will be more complete than the first version. We offer two versions, one with machine stitching and one with hand stitching.
-
Blue


If possible, opt for firm leather, and have a piece measuring 15 x 20 cm with a skived thickness (0.8 mm) for the card holder and the inner flap.
MATERIALS REQUIRED
- Double-sided adhesive tape
- Alphabet stamps and a scrap of vegetable-tanned leather (for marking)
- 1 silver pen
- Round punches (3 and 5 mm)
- Setting tool set for 12 mm snap buttons and T2 double cap rivets
- Manual press plier for attaching accessories or a striking handle
Optional: creaser or manual creaser for edge finishing


1. CUT THE PATTERN
- Print the second pattern, cut it out, and punch the holes (5 and 3 mm).
The pattern includes both the machine-stitched and hand-stitched versions.
- Using the silver pen, trace the 4 pieces onto the leather as well as the holes.
- Cut the pieces with a ruler and a cutter.
The pen is erasable on most leathers with a simple eraser (do not use on vegetable-tanned leather). We recommend doing a test beforehand to verify the erasable function on your leather, or tracing your pieces on the flesh side.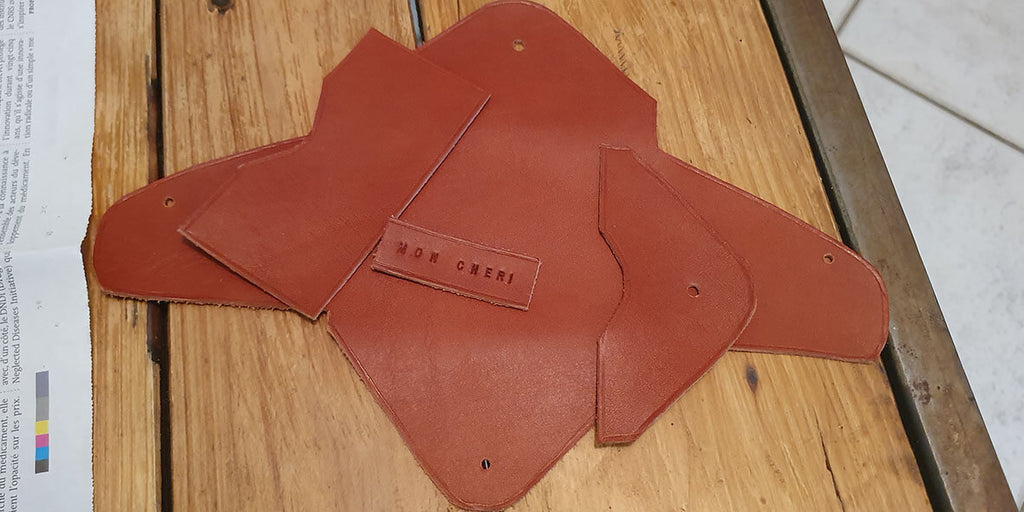
Simplified stitching version: punch 1.5 mm diameter stitching holes before cutting the leather.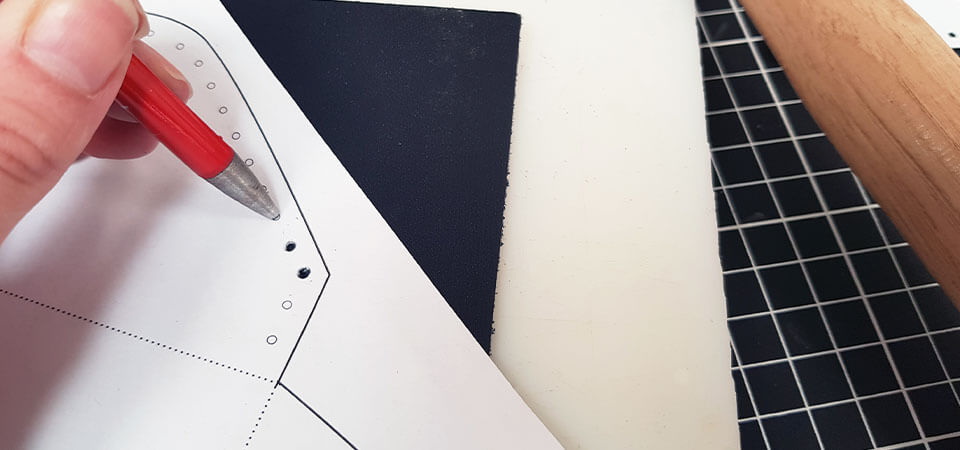
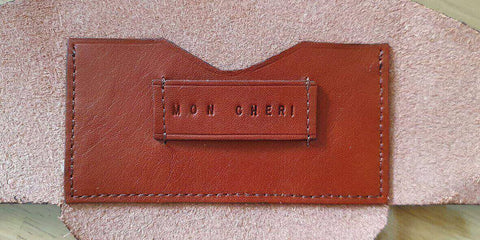
2. MARK PIECE NO. 4 WITH A PERSONALIZED MESSAGE
Dampen the piece thoroughly with a sponge and then strike the alphabet stamps. Please note that this is only possible on vegetable-tanned leather. You need to wet your leather with a sponge and water, then strike the stamps with a mallet.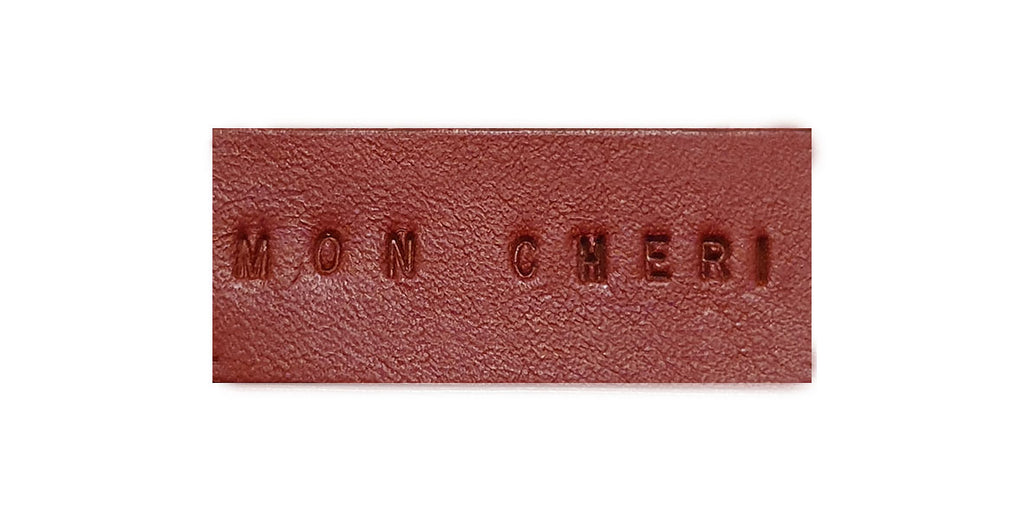
3. FINISH THE EDGES
- Prepare the edges with light sanding (fine abrasive sponge - 800) – always sand in the same direction at a 45° angle.
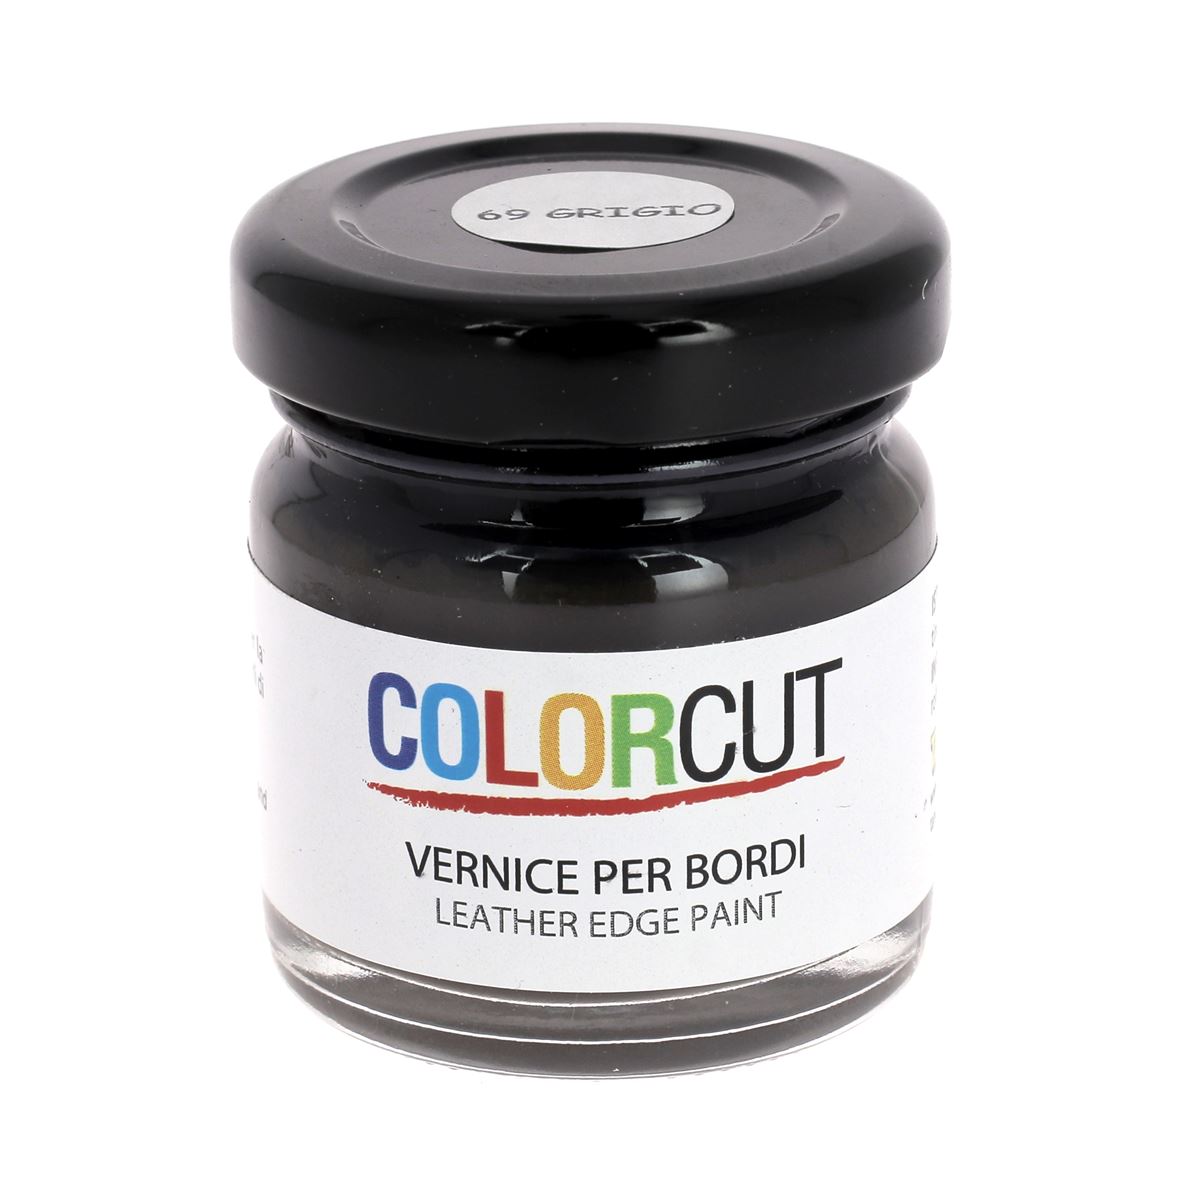
- Apply the dye to the edge using a sponge, awl, roller pen…
- Apply the necessary number of coats to achieve the desired result. We recommend applying 3 coats of edge wax.
- Wait for the dye to dry completely, then buff the edges with beeswax: rub beeswax onto the edges and then rub with a cloth.
Attention: For piece N°3, we recommend working only on the lower edges, as the upper edges should be worked when the piece is sewn onto the main piece (N°1).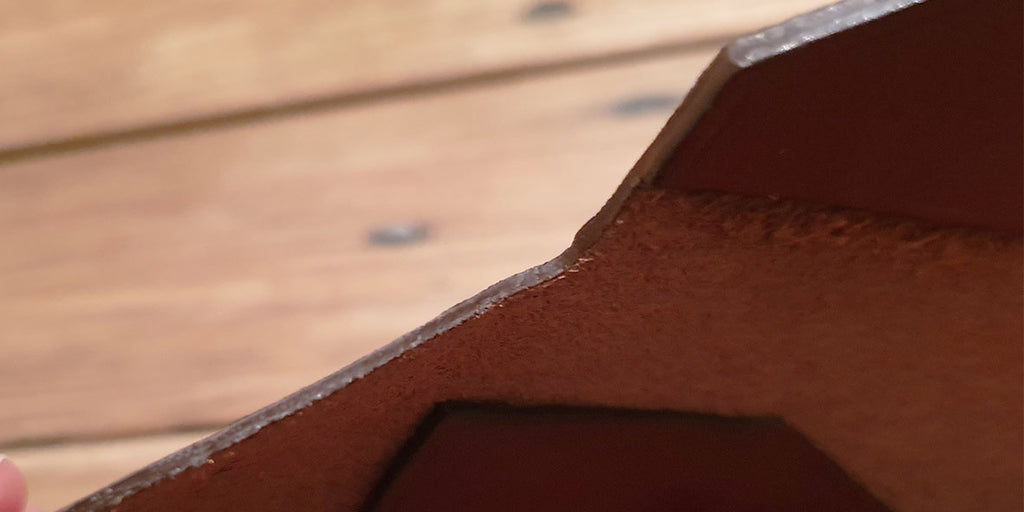
The little extra: work the edges with a creaser or a manual creaser and make a decorative crease all around your pieces.
LEARN MORE >
|
|
|
4. GLUE AND STITCH PIECE NO. 3 TO PIECE NO. 1
Apply neoprene or water-based glue to the flap of piece No. 1 (reverse side - flesh side) and to the reverse side of piece No. 3 (contact adhesive = on both sides). Wait a few minutes for the solvent to evaporate and then glue the pieces together.
Don't forget to finish your edges afterwards (see previous step).
The little extra: for machine stitching, we recommend a Teflon foot, a special leather needle, and 100% polyester thread. Be aware that your machine must also be able to handle thick materials.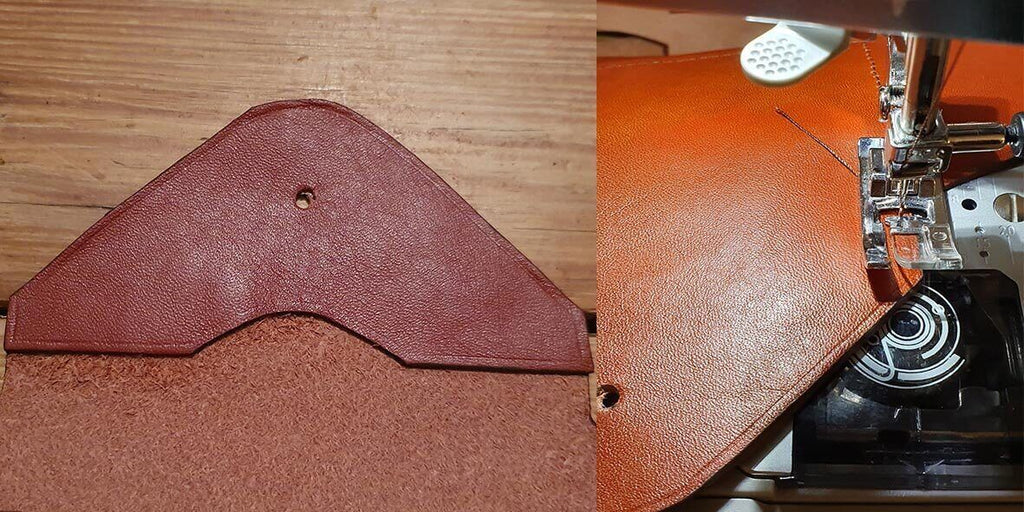
Simplified stitching version: To start stitching, cut a thread equivalent to 5 times the length to be stitched. Then, thread a needle through each end of the thread.
Stitch by passing each needle through each hole. At the end of the stitching, make 3 backstitches and hammer the seams with a joining hammer/mallet.
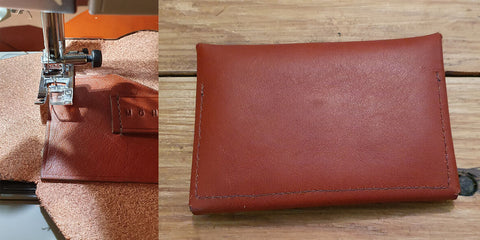
MACHINE SEWING TIP:
HOW TO SEW BY MACHINE >
MACHINE SEWING TIP:
GUIDE TO SIMPLIFIED HAND STITCHING (WITH HOLES) >
5. GLUE AND STITCH PIECE NO. 4 TO PIECE NO. 2
Glue the label with the personalized message onto the card holder using neoprene glue. Then stitch the label along its two short edges (width-wise).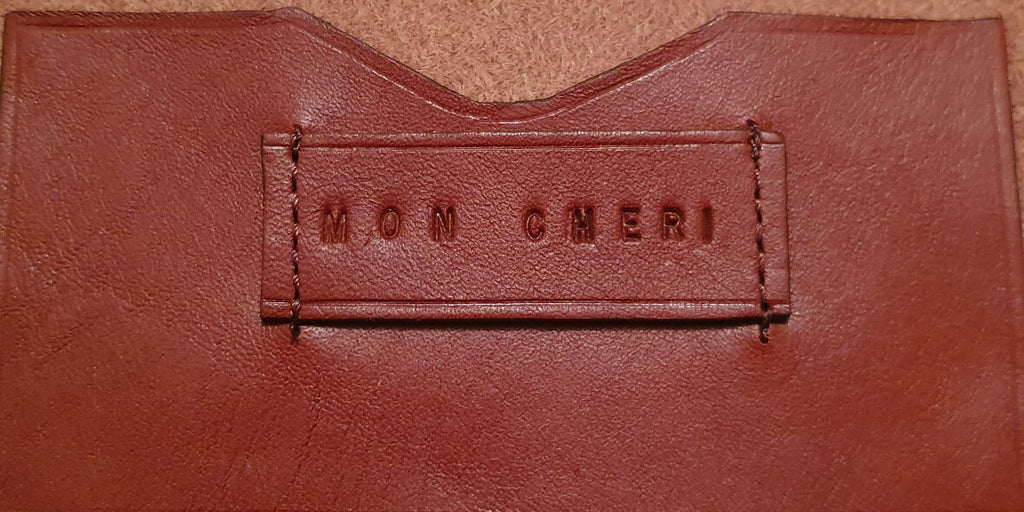
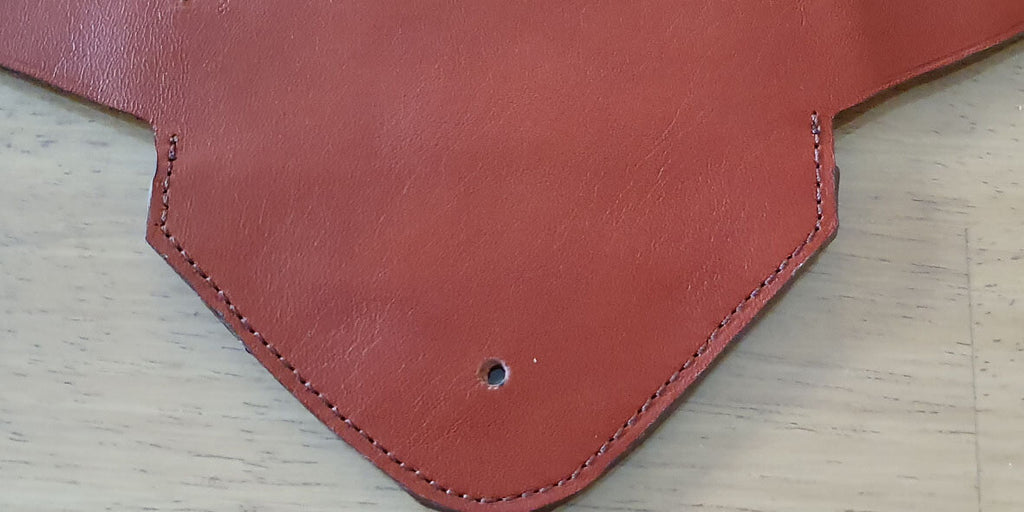
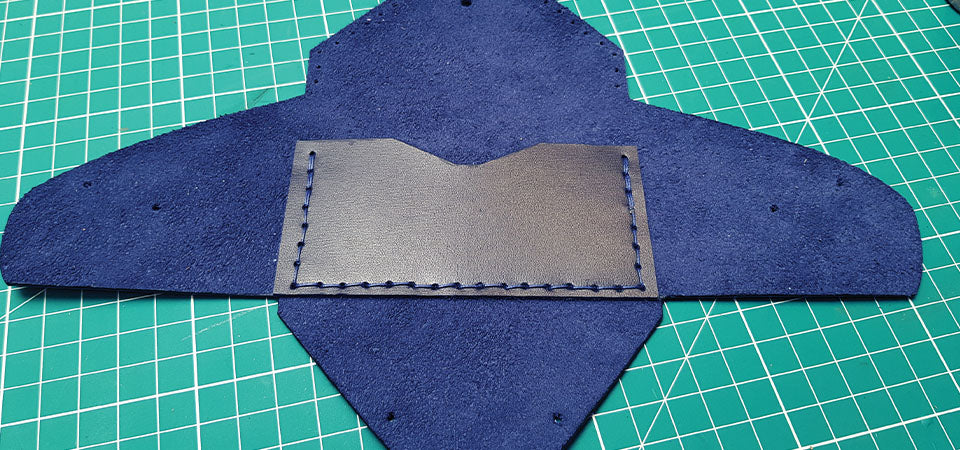
6. STITCH THE CARD HOLDER TO THE MAIN PIECE
Stitch the leather card holder to the center of the main piece. Use double-sided tape to position it on piece No. 1. Do not stitch the upper part of the card holder.
 |
 |
7. GLUE THE ENDS TOGETHER
Apply neoprene glue to each end of the main piece (right reverse side and left front side) and wait a few minutes for the solvent to evaporate before gluing the pieces together. Then do the same to glue the lower flap. This will prevent coins from escaping!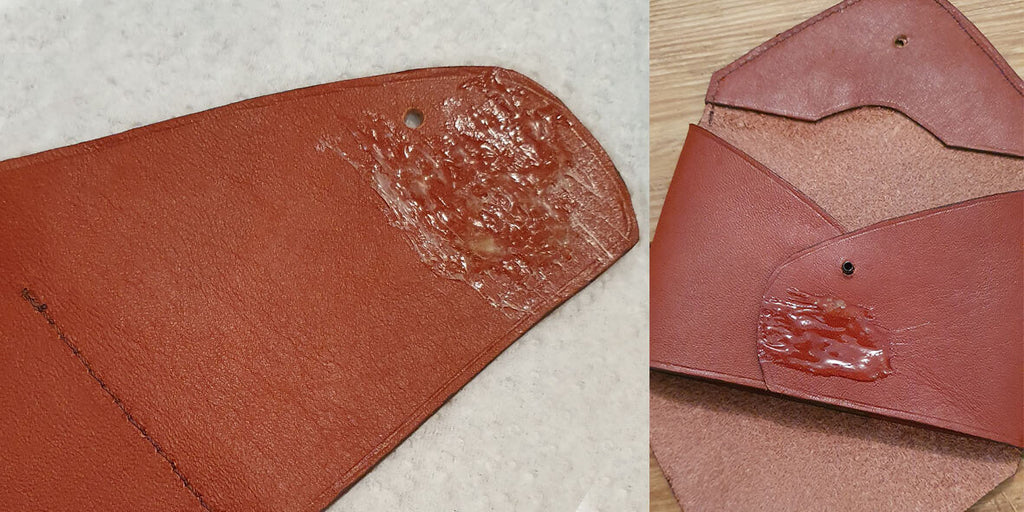
8. ATTACH THE SNAP BUTTON
Using your chosen setting tool (striking handle, pliers...), attach the 12 mm snap button.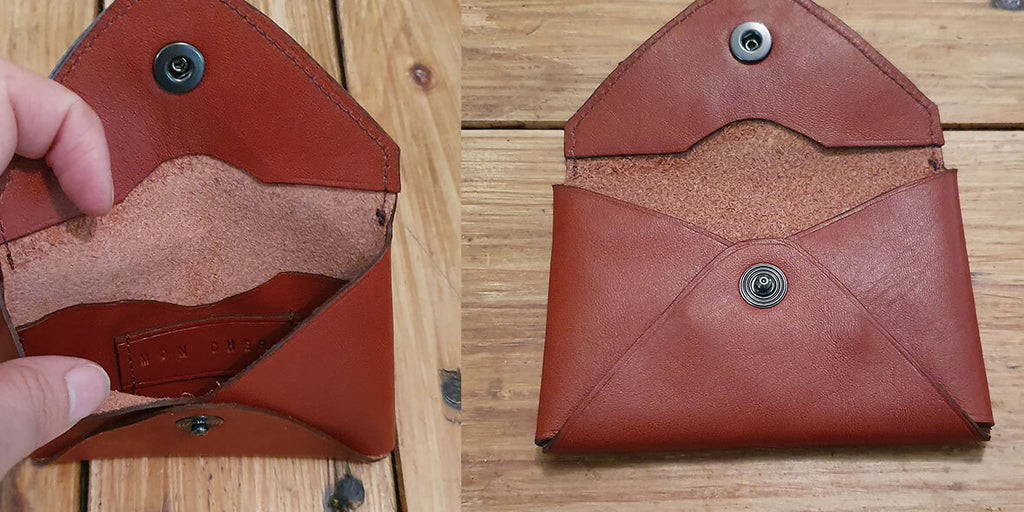
9. ATTACH THE RIVETS
To ensure you don't lose any coins, we recommend attaching 2 rivets to the front of the leather card holder/wallet. The holes are indicated on the pattern.
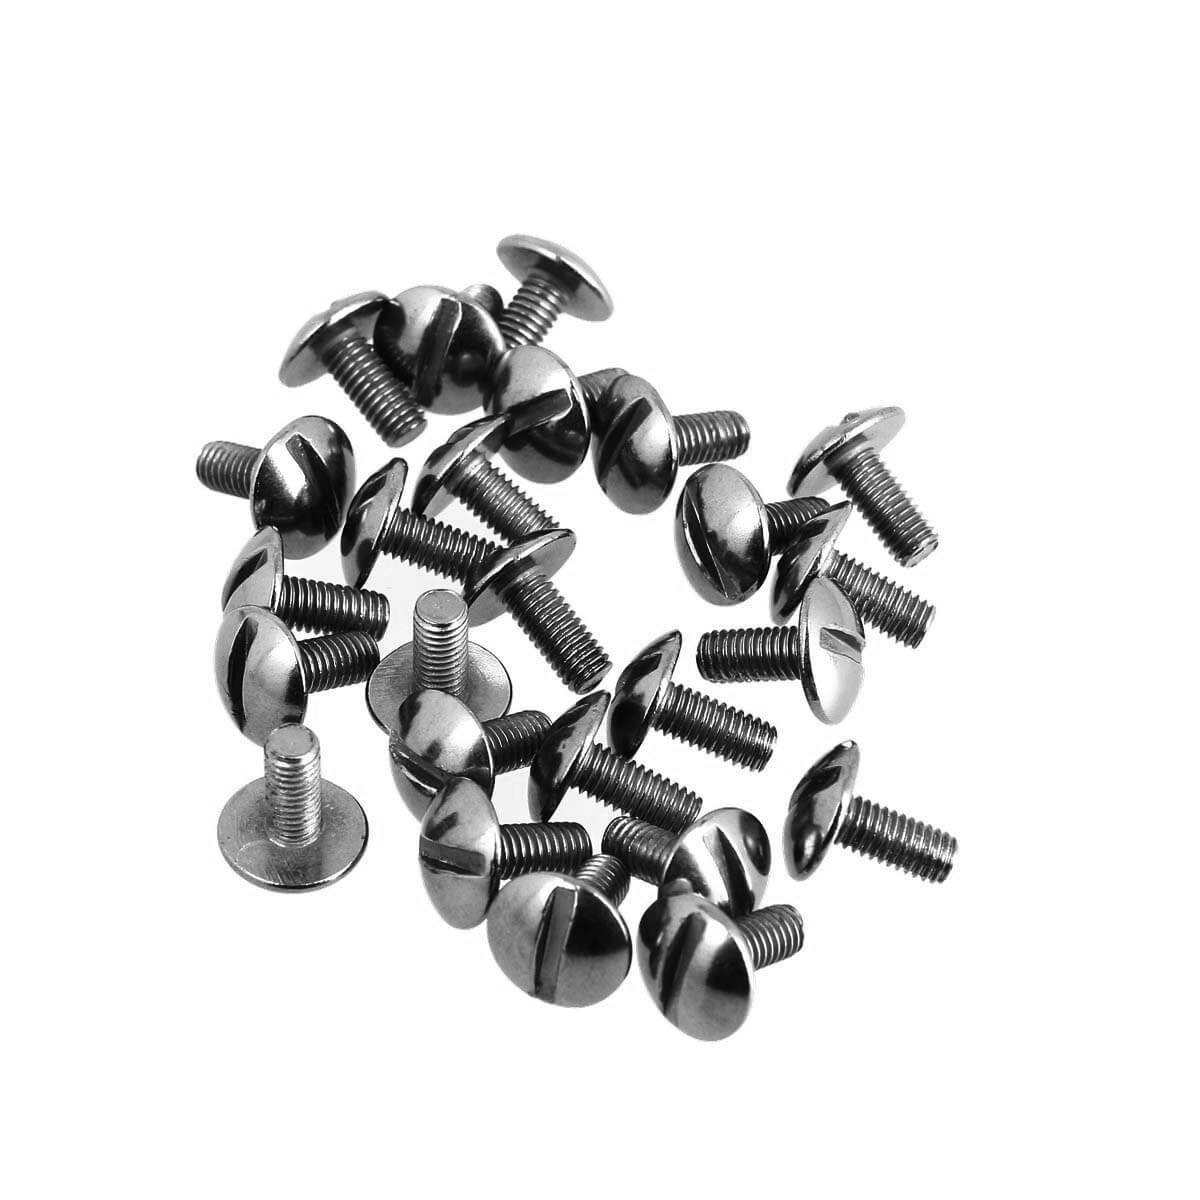
If you don't have a setting tool kit: screw in Chicago screws instead of rivets and use a collar button instead of the snap button.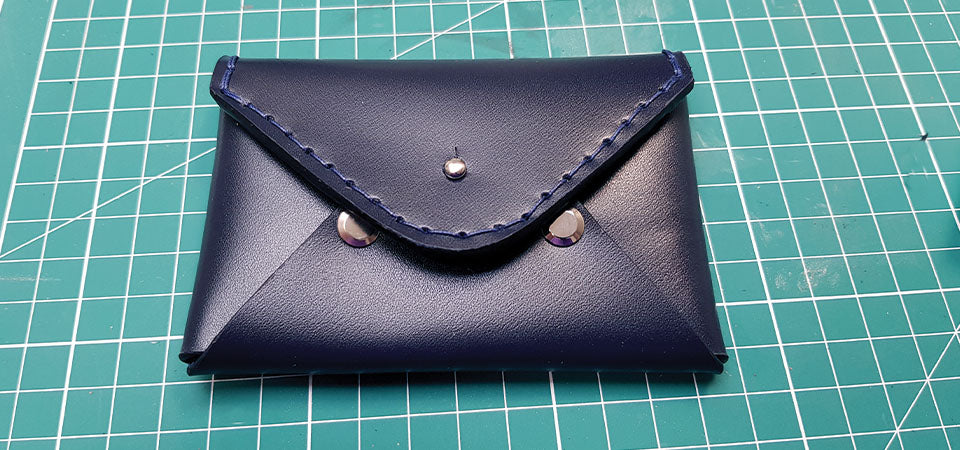
TIP
If the flesh side of your leather isn't very attractive, you can use double-sided tape to glue a piece of fabric onto the central part of the card holder/wallet.
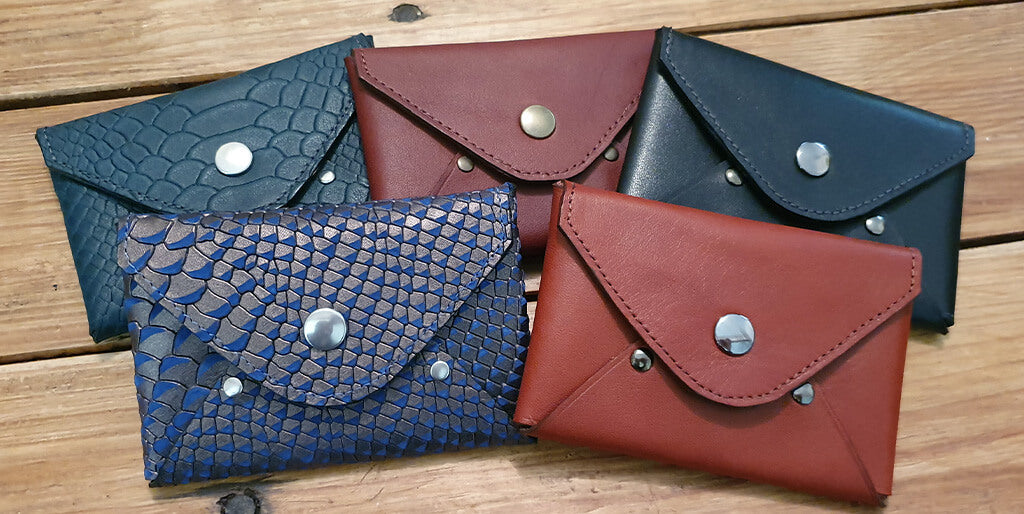
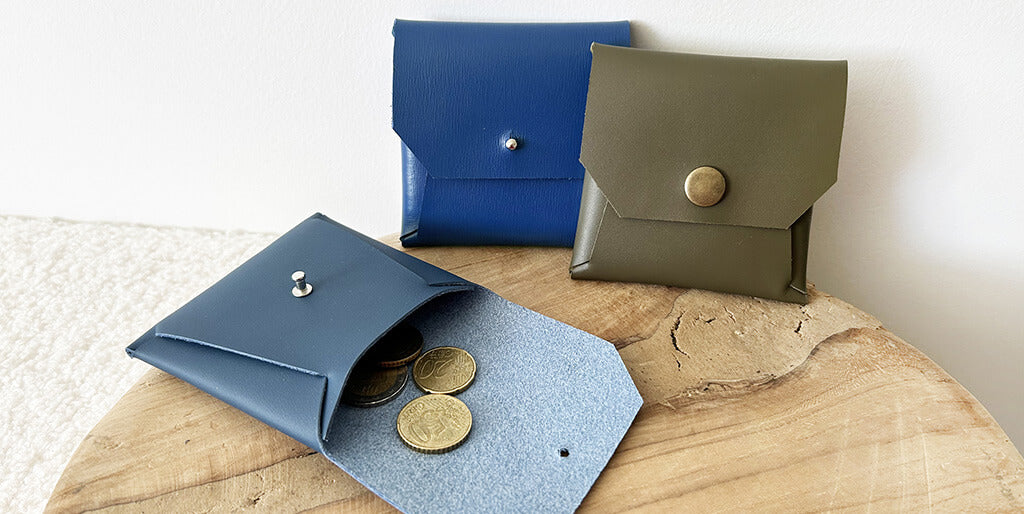
ENVELOPE POUCH
Discover our leather cut-outs to make an envelope pouch.
Final pouch dimensions:
Width: 20 cm
Height: 15 cm
Thickness: 2.5 cm


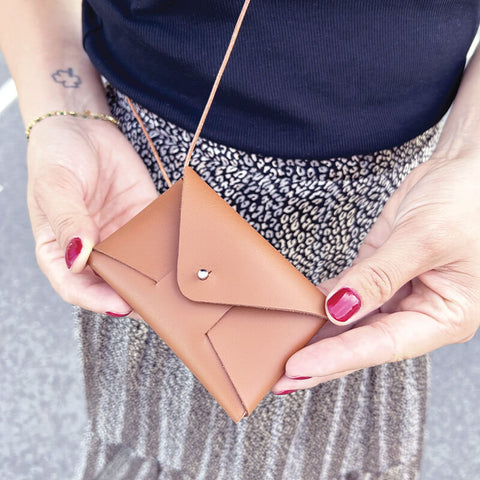
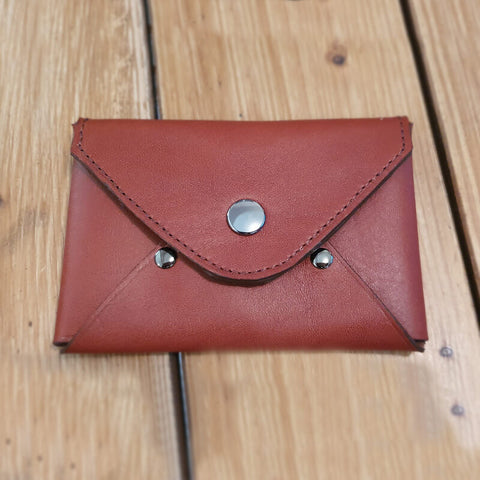
MINI LEATHER POUCH
Also discover another version of a seamless leather wallet / mini-pouch.
Final pouch dimensions:
- Height: 9 cm
- Length: 9 cm
- Thickness: 1 cm


2 comments
Ramdaya
Merci, j’ai tellement envie d’apprendre et plein d’idées, je me former avec votre contenu,.Merci pour le partage je ferais de même
Anonymous
Merci, très bonne idée simple à réaliser même avec les enfants