


THE NECESSARY MATERIALS
To complete this tutorial, you will need:
- 1 piece of CLASSIC natural vegetable tanned collar leather - 30 x 40 cm - Thickness 1.2 mm
- 1 pot of oil dye - Fiebing's OIL DYE / PRO DYE - Fawn
- 1 box of MeiSi super fine waxed linen thread M50 - CARAMEL
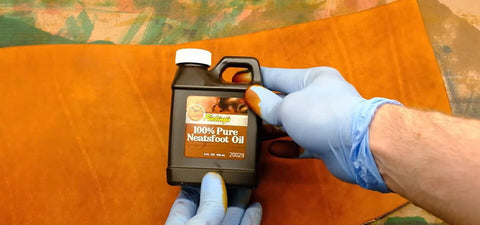
- 1 jar of neatsfoot oil
- 1 jar of tragacanth or Tokonole gum
- 1 pot of water-based contact adhesive
- 1 brass scabbard "The essential"
- 1 square blank N°00 - Barry king tools
- 1 leatherworker's fillet iron with 1.5 mm guide - Deco Cuir
FRENCH VERSION
ENGLISH VERSION
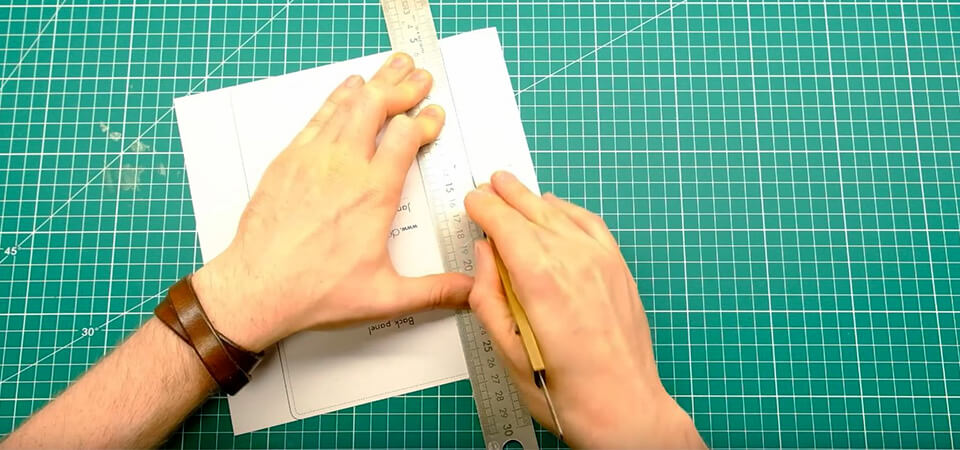
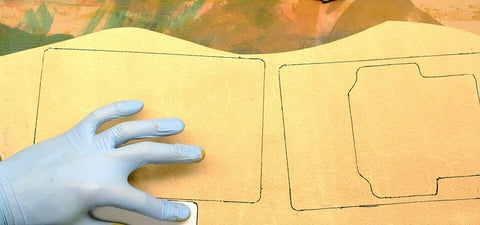
1. PRINT AND CUT OUT THE PATTERN
Print the PDF pattern on A4 paper. Be sure to respect the original size of the document.
Cut out the pattern and glue it onto stiff paper or cardboard.
- Print PDF file on A4 paper, making sure your printer settings respect the original scale of the document (check Print Guide on the last page).
- Cut out paper template and glue the paper template to card stock.
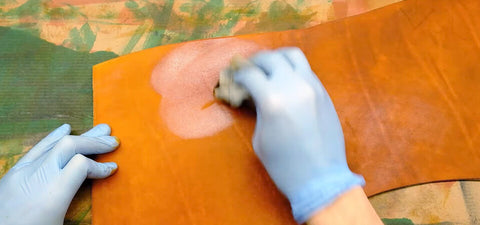
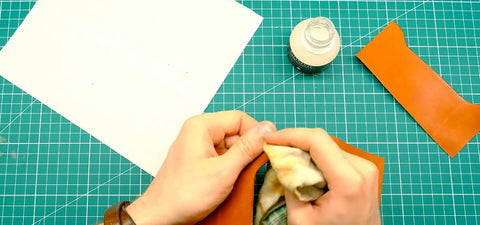
2. DYING VEGETABLE TANNED LEATHER
Dye vegetable-tanned leather with a soft cloth. Here: FIEBING'S OIL DYE / PRO DYE - FAUVE - SADDLE TAN
Nourish and shine leather with neatsfoot oil.
SEE THE LEATHER DYEING GUIDE >
- Tint the vegetable tanned leather. Here: FIEBING'S Professional OIL DYE / PRO DYE - FAUVE - SADDLE TAN
- Nourish the leather with neatsfoot oil.
 |
 |
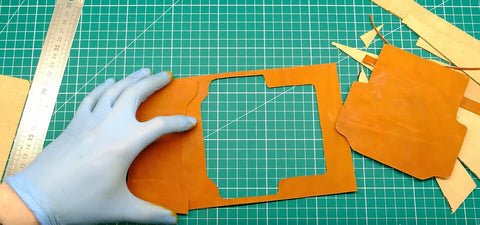
3. CUT THE LEATHER USING THE PATTERN
Using the cut-out pieces from the pattern, trace the elements onto the leather. We recommend using a silver pencil.
Cut the leather following your traced lines
- Using cut-out template, scribe pattern onto the leather.
- Cut leather along your scribed lines.
 |
 |
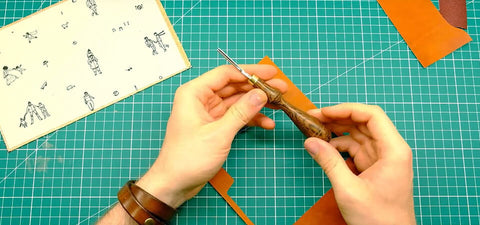
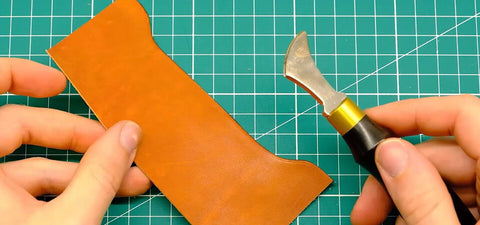
4. WORK ON THE SLICES THAT WILL NOT BE SEWN
Prepare the edges with a square cutter, then stain and burnish the edges (with gum tragacanth) that will not be sewn (the top of the Card Holder and the inside of the Front Panel). If necessary, use light sandpaper to even out the edges before burning.
Use a leatherworker's net to add a decorative line to the prepared edges.
- Dress and burnish edges that will not be stitched - Card Panel and inside of Front Panel.
- Using edge creaser, add decorative crease lines along these edges.
 |
 |
 |
 |
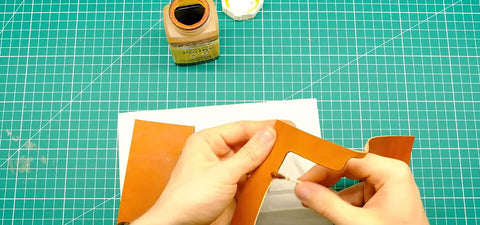
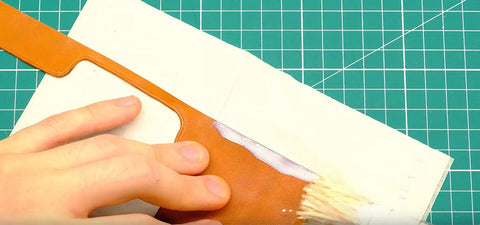
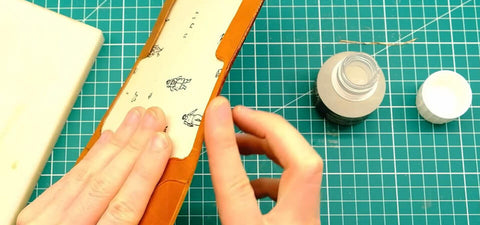
5. STICK THE CARD HOLDER ON THE FRONT SIDE
Glue the card holder to the front side along the outer seam line indicated on the card holder.
- Glue the Card Panel to the Front Panel, along the stitch lines indicated on the sides of the Card Panel.
 |
 |
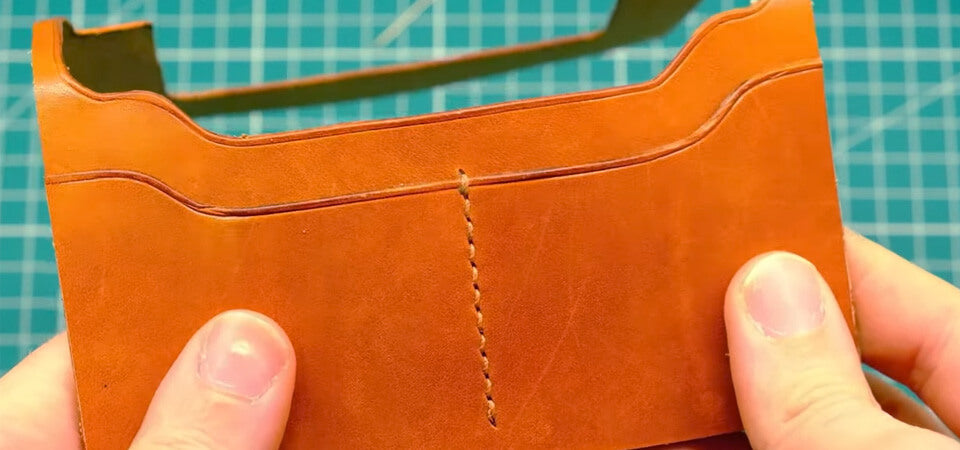
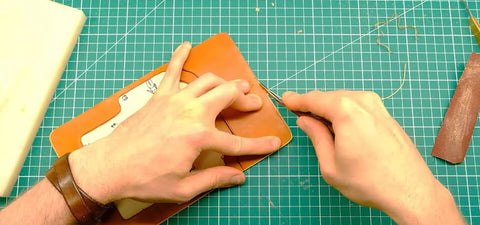
6. SEW A SADDLE STITCH
Sew the card holder to the front: seam line located in the center and indicated on the pattern. James opted for a saddle stitch seam.
SEE THE SADDLESTITCH SEWING GUIDE >
- Stitch down the middle part of the Card Panel onto the Front Panel using pricking irons or awl to make the holes.
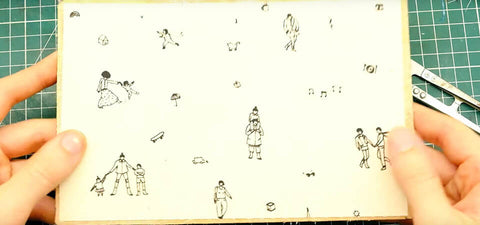
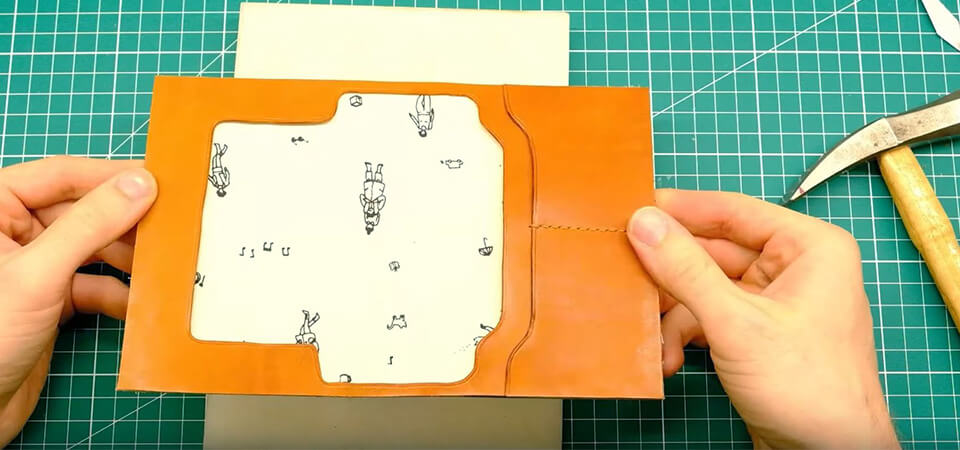
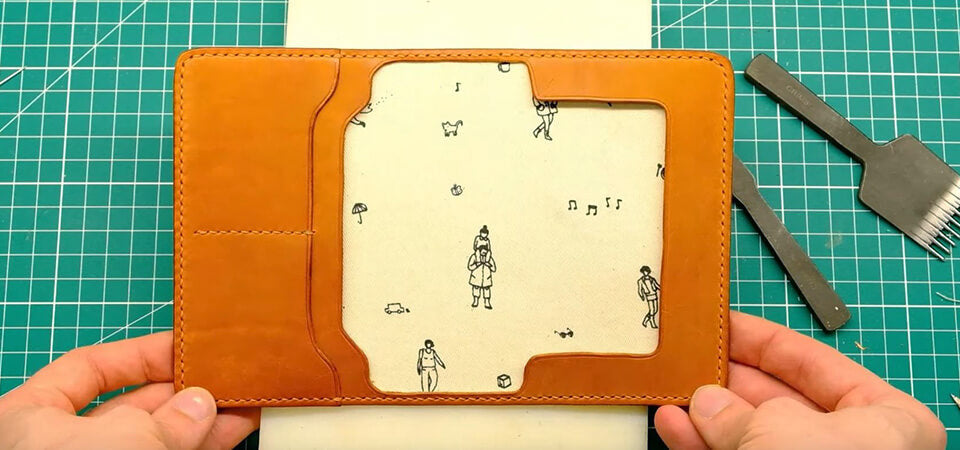
7. GLUE THE LINING TO THE BACK SIDE
If you want a lining: stick it with water-based glue on the back face.
- If you want to have an inner coat: glue it with aquagum on the Back Panel.
 |
 |
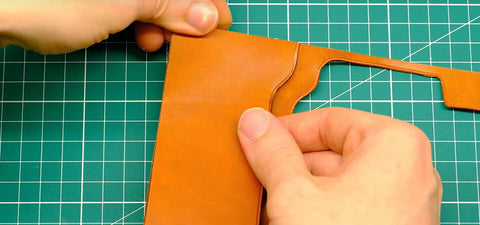
8. GLUE THE FRONT SIDE TO THE BACK SIDE
Glue the front and back sides together and then let your project rest until the glue is completely dry.
- Glue the Front Panel to the Back Panel and let your project sit for a couple of hours until the glue sets.
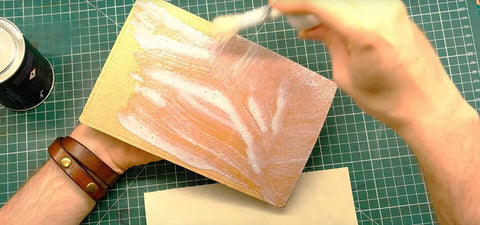
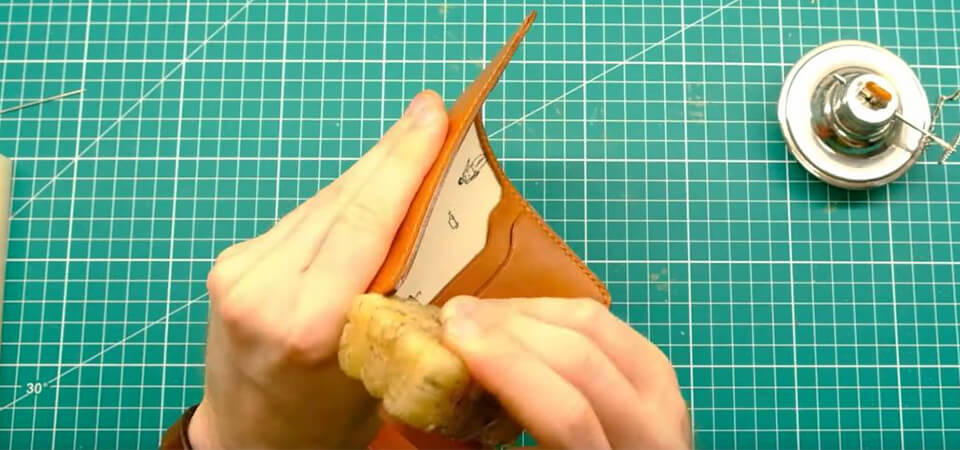
9. WORK THE SLICES
Make a thin cut all around your project to even out the glued edges - if necessary use sandpaper to even out.
Then work the slices with a square cutter and then stain and burnish the edges (with gum tragacanth). If necessary, use light sandpaper to even out before browning.
- Clean the outer edges to be stitched by cutting a clean edge or sanding until all layers of leather are flush.
- Dress and burnish edges that will not be stitched - Card Panel and inside of Front Panel.
 |
 |
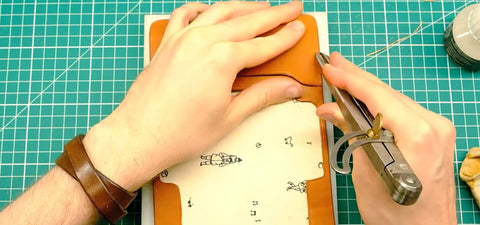
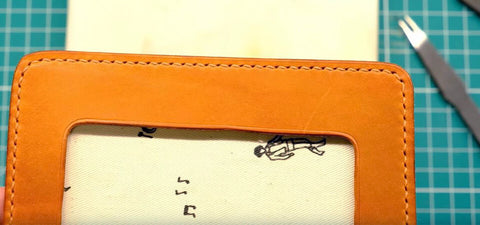
10. SEW THE PASSPORT HOLDER
Draw a stitching line 3 mm from the edge all around your project, then mark the points (marking wheel or punching claw) and sew using your usual technique. James opted for a saddle stitch.
- Mark your stitching line 3 mm from the edge, punch holes for stitching using pricking irons or awl, and stitch.
 |
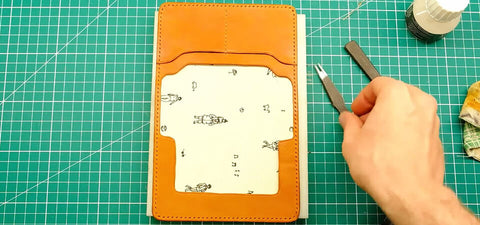 |
11. MAKE A DECORATIVE NET
Use a leatherworker's net to add a decorative line to the prepared edges.
Then wax the slices by heating beeswax.
- Using edge creaser, add a decorative crease line along the edge.
 |
 |
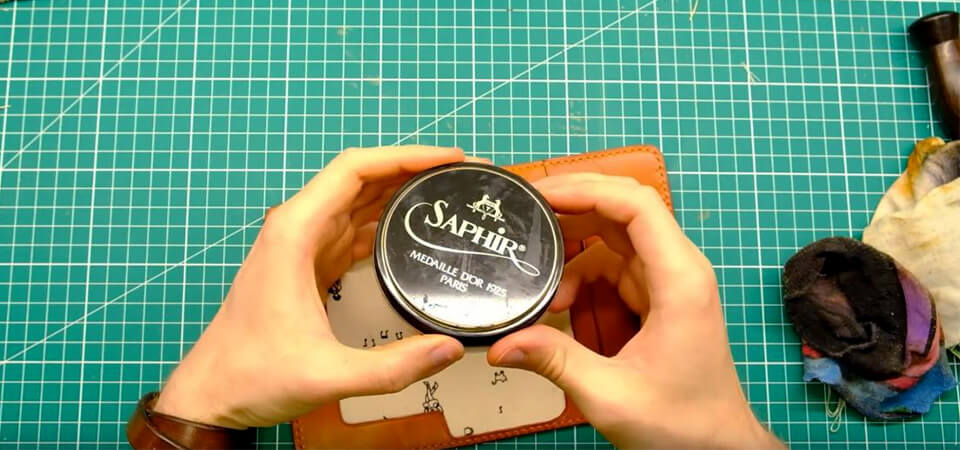
12. WAX AND PROTECT YOUR CREATION
Wax your creation to nourish and protect your leather.
- Polish your creation to nourish and protect your leather.
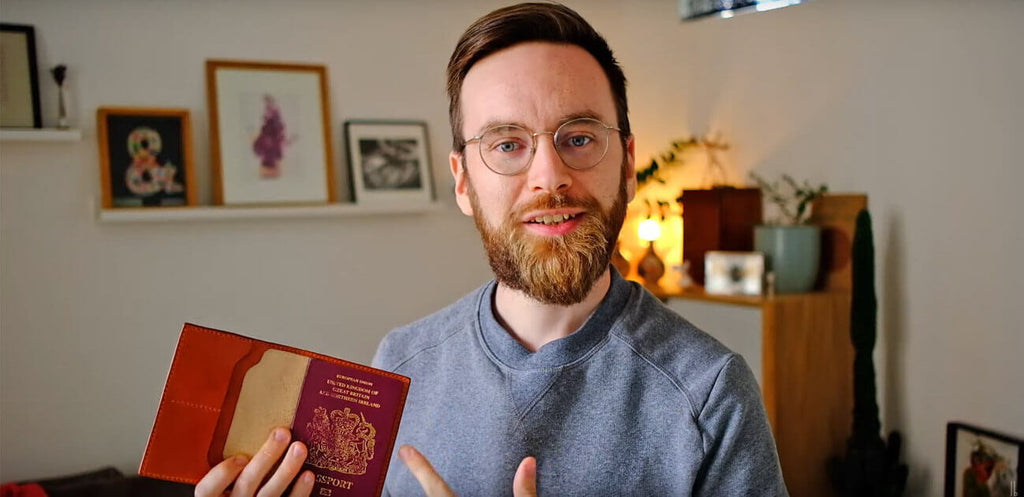
WHO IS JAMES BERRY?
James Berry is passionate about leatherwork, especially vegetable-tanned leather. Through his YouTube channel and various tutorial videos, he introduces you to new techniques.
James Berry is passionate about leatherwork and especially vegetable tanned leather. Through his Youtube channel and his various tutorial videos in English, he introduces you to new techniques.
ACCESS HIS YOUTUBE CHANNEL >