


1. ASSEMBLE AND CUT
- Download and print the pattern. Using tape, assemble the pattern pieces (pieces 4 and 5 / pieces 7 and 8).
- Using the silver pencil, trace the pieces onto the leather.
- Using chalk, trace the main LINING piece
- Cut out the pieces using a ruler, a set square and a cutter (or sewing scissors).
The pencil is erasable on most leathers with a simple eraser (do not use on vegetable tanned leather). We recommend that you test it first to confirm the erasability on your leather. 
2. MAKE THE SLICES
- Before assembling the pieces, you need to work the edges of the leather. Be careful, you only need to dye the edges where there will be no assembly:
- Make all the slices of part no. 2
- Make the upper and lower slices of pieces #3
- Make the lower slice of part #1
- Make the top slice of part no. 4
- Sand the edges with the abrasive sponge: always in the same direction, at 45° and towards the grain side of the leather.
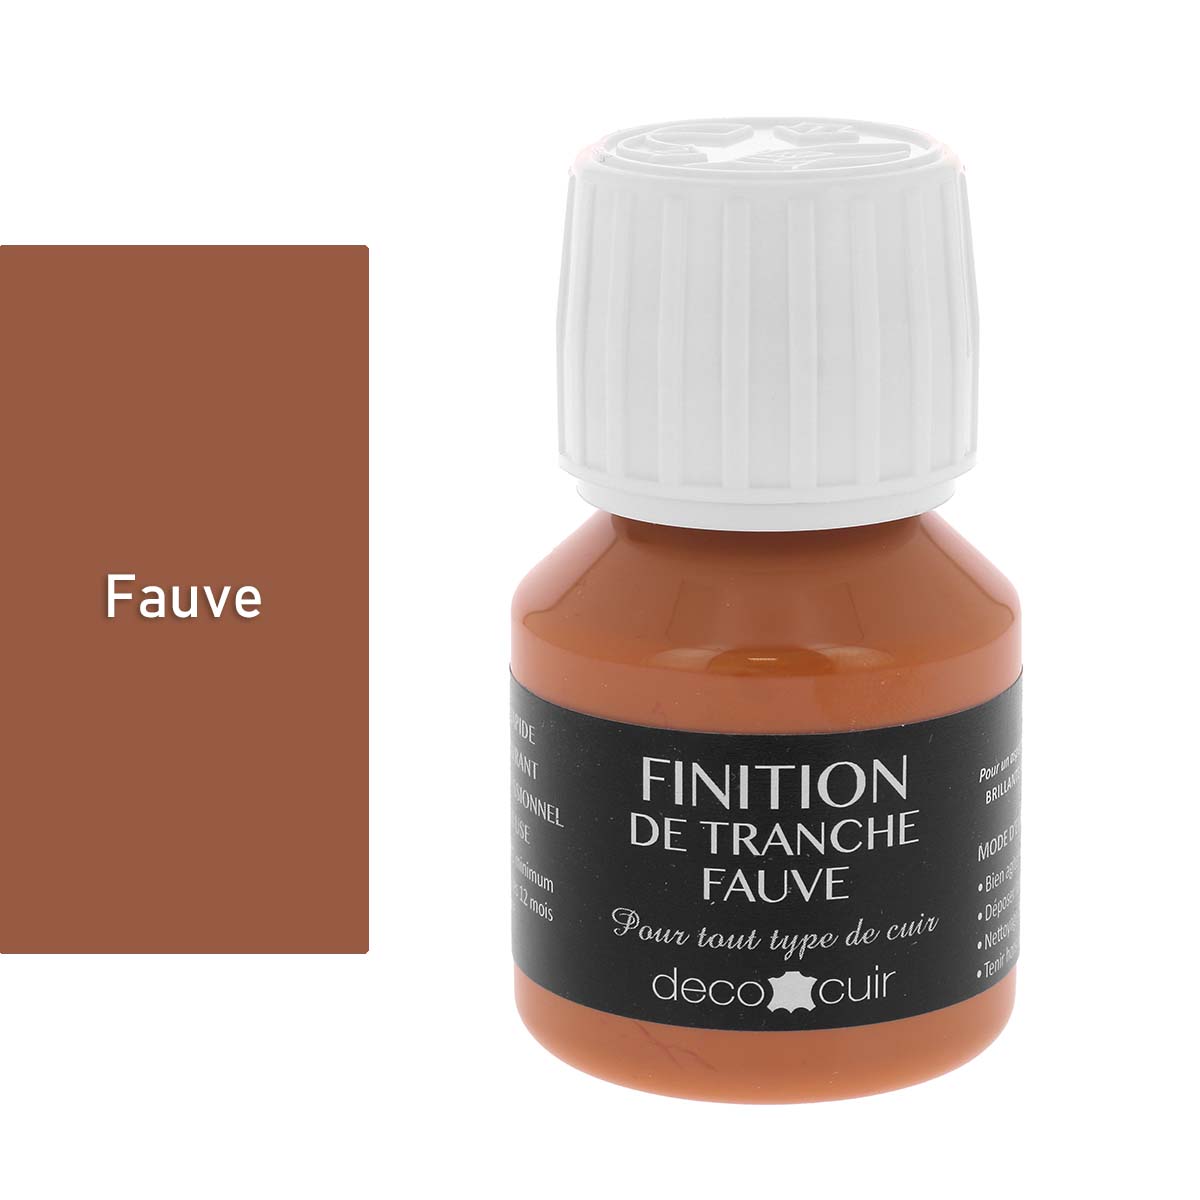
- Apply the edge dye using your tool of choice (here we used a rollerball pen).
- Lightly sand the edge after the first coat has dried (do 3 coats of stain).
- To finish the slices we used the threading iron but you can simply rub beeswax on the slice and rub with a cloth.

3. PLACE AND SEW PIECE NO. 2 ON PIECE NO. 4/5
- Place double-sided tape on the 2 lengths of part no. 2 (belt support) with a maximum width of 5mm.
- Glue the piece onto piece no. 4/5 on the leather side (where the dotted lines appear on the pattern).
- Sew the piece on the 2 lengths only.

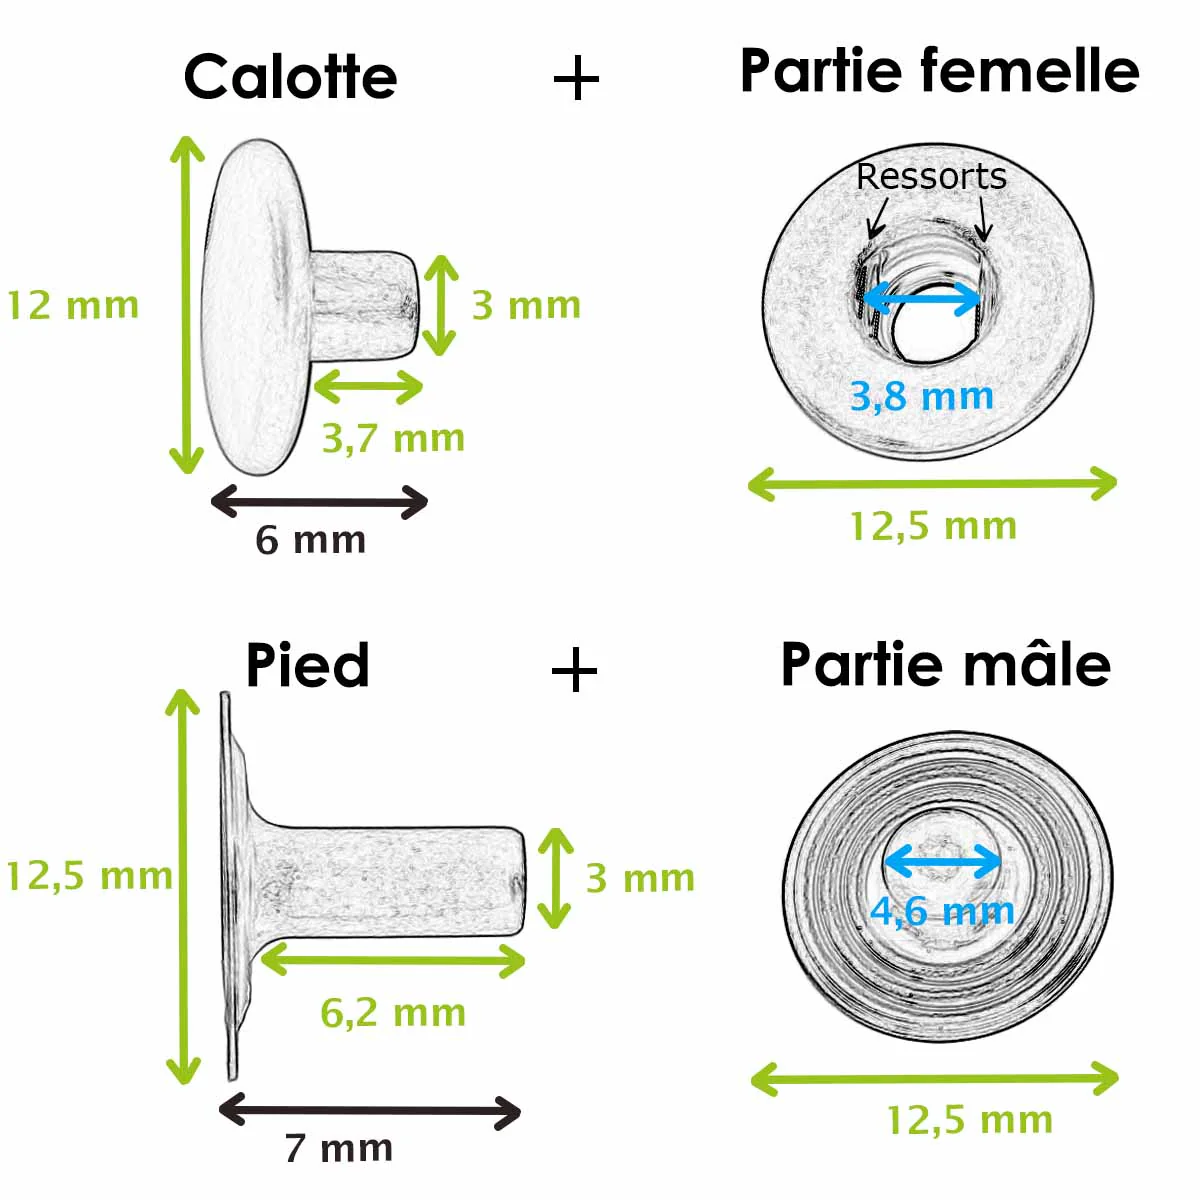
4. INSTALL THE SNAP BUTTON (3 MM HOLE)
- Using the 3 mm punch, make the hole indicated on part no. 4/5.
- Only install the press stud foot with the striking handle and the installation set (we will install the head later).

5. PUT DOUBLE-SIDED PAINT ON FABRIC LININGS
- Apply double-sided tape around the entire edge of the fabric lining (piece no. 7+8 and pieces no. 6).
- Then fold the contours of the lining over themselves by about 5 mm (photo no. 3).


6. Glue the lining to the main piece
- Then, still using double-sided tape, stick the fabric lining on the main piece and pieces no. 3.
- Glue part #1 to the top of the main part.


7. SEW PIECE NO. 1 TO THE MAIN PIECE
Sew piece #1. 
8. SEW THE UPPER PARTS OF THE PIECES
Sew the upper part only of the main piece and pieces no. 3. 

9. PLACE THE HEAD OF THE SNAP BUTTON (5 MM HOLE)
- Using the 5mm punch, make the hole indicated on the main piece.
- Place the snap fastener head with the striking handle and the installation set.
10. Place pieces no. 3 on the main piece
Place pieces no. 3 on the main piece with double-sided tape: to know the exact position of the pieces, make sure that the corners meet. 

11. Sew pieces #3 onto the main piece
Sew the bottom part of pieces #3 onto the main piece. 
12. Sew the sides
All that remains is to sew the pieces on each side. 

13. Finish working the slices

Sand the edges with the abrasive sponge: always in the same direction, at 45° and towards the grain side of the leather.
Apply the edge dye using the tool of your choice (here we used a roller pen – helps hide the fabric lining).
Lightly sand the edge after the first coat has dried (do 3 coats of stain).
To finish the slices we used the threading iron but you can simply rub beeswax on the slice and rub with a cloth.
14. ALL THAT'S LEFT IS TO MAKE THE BELT!
METHOD WITH A CLAW LOOP
- Cut the strap to fit your size.
- Make 5 holes with a punch on one side (diameter of the hole to be defined according to the width of the barb).
- Work the end of the belt into a ogive (with a template and a cutter)
- Square the edge of the belt (on both sides) to round it (break the sharp edge to reduce friction).
- Sand the slices and stain them
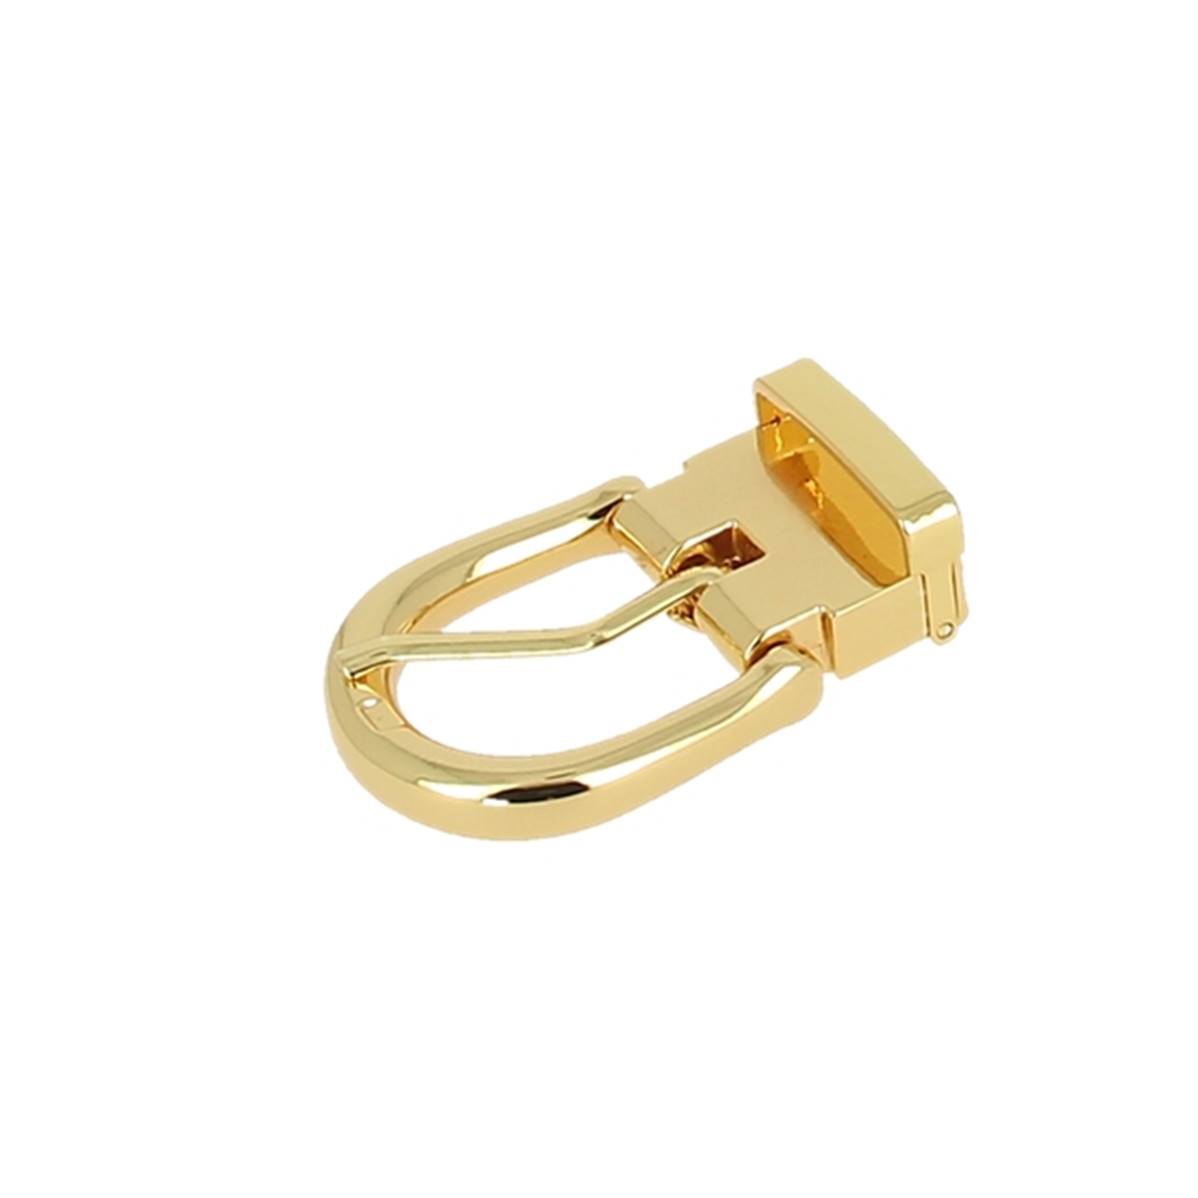
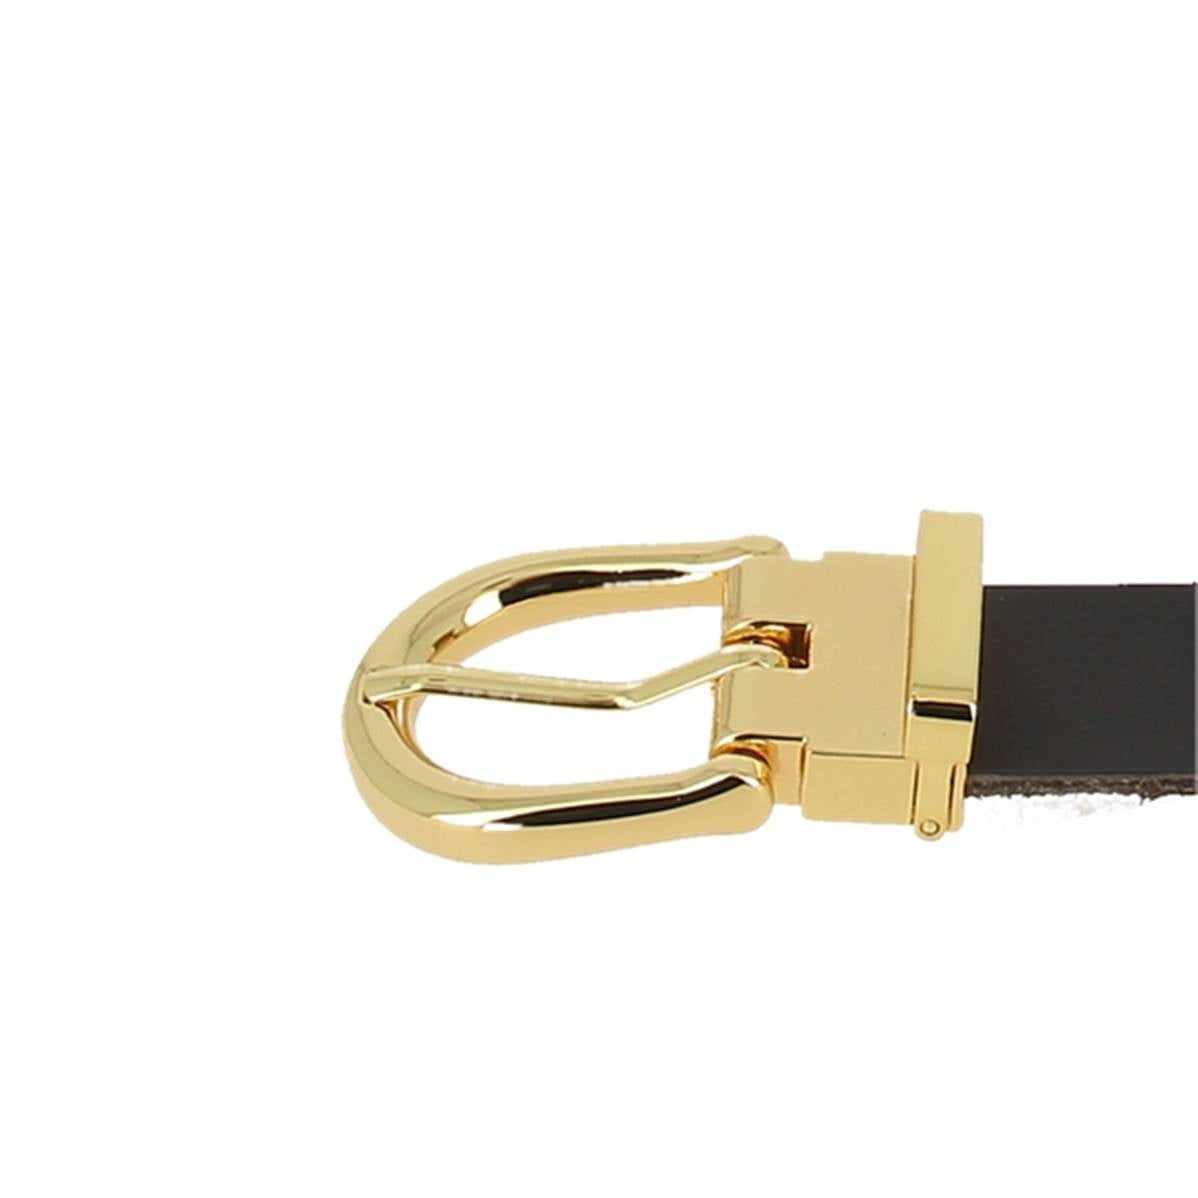
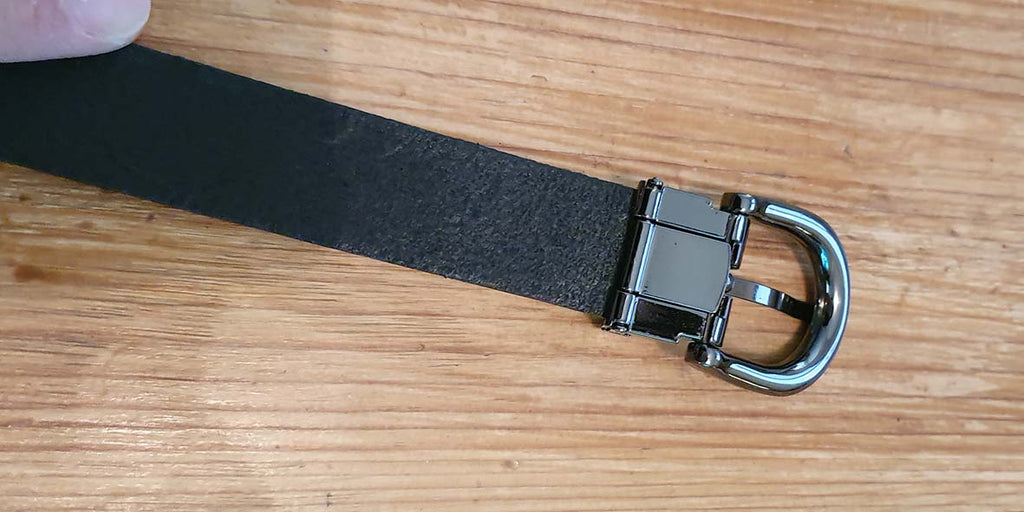
- Install the claw belt buckle.
LITTLE EXTRA IF YOU OFFER THE CREATION:
Add a vegetable-tanned leather tag with an inscription to the inside of your fanny pack.
OPTION: WEAR THE BELT BAG AS A CROSSBODY
Want to be able to wear your fanny pack across your shoulder? Create an adjustable nylon strap! You can choose between the leather belt or the nylon shoulder strap at any time. 
For that :
- Take about 2 meters of nylon strap (width 20 mm) then cut it according to your size (keep about 15 cm extra so you can adjust the strap).
- Place 1 strap end at each end and burn the excess threads.
- Thread one end of the nylon strap through one of the CLIP belt buckle sections and secure it with a Chicago screw. Be careful not to use a rivet, otherwise you won't be able to thread the strap through the belt pouch.


- Pass the sliding loop through the other end.
- Then pass the strap through the other part of the CLIP buckle.
- Then pass this same end through the sliding loop and secure it with a rivet (photo 1 and 3).
 |
 |


Results
 |
 |
 |


5 comments
Anonymous
Bonjour Léa,
Pour poser les boutons pression 12 mm il faut effectivement un outil de pose (manche à frapper, pince ou presse) et une matrice/un jeu de pose (voici le lien de l’article) : https://www.decocuir.com/products/jeu-de-pose-pince-bouton-pression-diametre-12?variant=40658930401334
En ce qui concerne le retrait de commande sur le salon CSF cela ne sera pas possible.
Bonne journée et à très bientôt 😊
L’équipe Deco Cuir
Loyer
Bonjour !
Je voulais acheter le nécessaire pour poser les pressions de cette pochette, je trouve bien les pressions, le manche à frapper et la plaque ertalon mais je n’arrive pas à trouver les jeux de pose qui vont avec. Vous auriez la référence du produit s’il vous plait ?
Aussi, est-il possible de retirer des commandes au CSF à la fin du mois ?
Anonymous
Bonjour,
Votre machine à coudre accepte-t-elle bien les grosses épaisseurs ? Est-ce bien une aiguille spéciale cuir avec laquelle vous travaillez ? Si le double-face ne vous convient pas, le mieux serait de coller directement les parties à assembler avec de la colle pour cuir : https://www.decocuir.com/colle-contact-base-eau-avec-pinceau-integre-bouchon-c2x16972069
Bonne journée, l’équipe Deco Cuir
Anonymous
BONJOUR
LORRSQUE JE COUDS LA OU J AI MIS DU DOUBLE FACE MON AIGUILLE COLLE ET CASSE COMMENT FAIRE
Anonymous
très jolies pochettes .je possède quelques chutes de cuir et je suis tentée d’en réaliser une .