
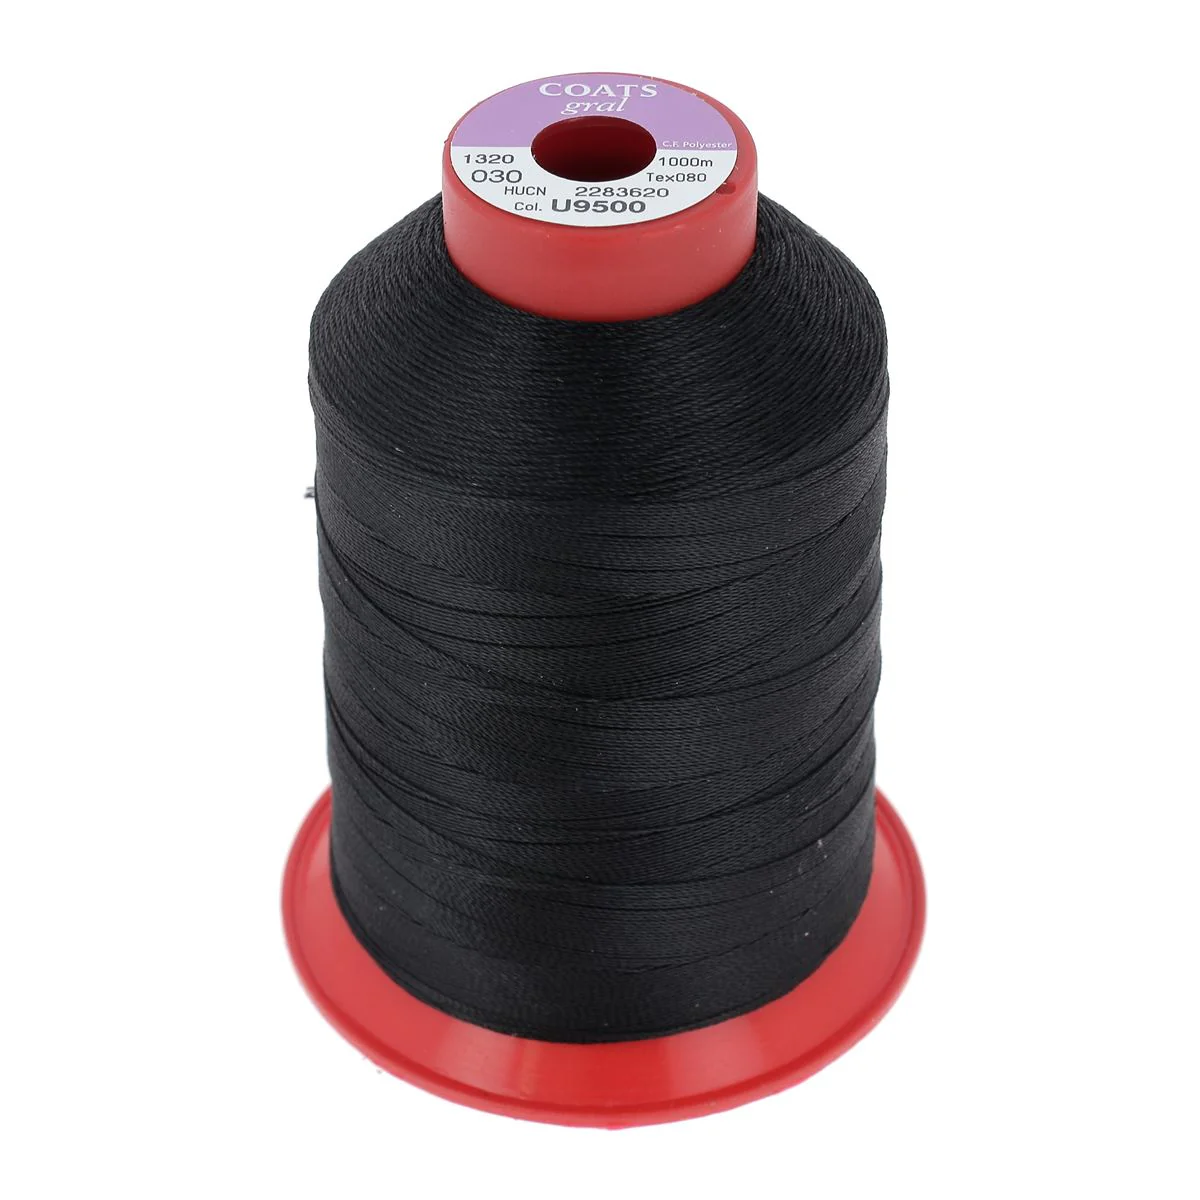

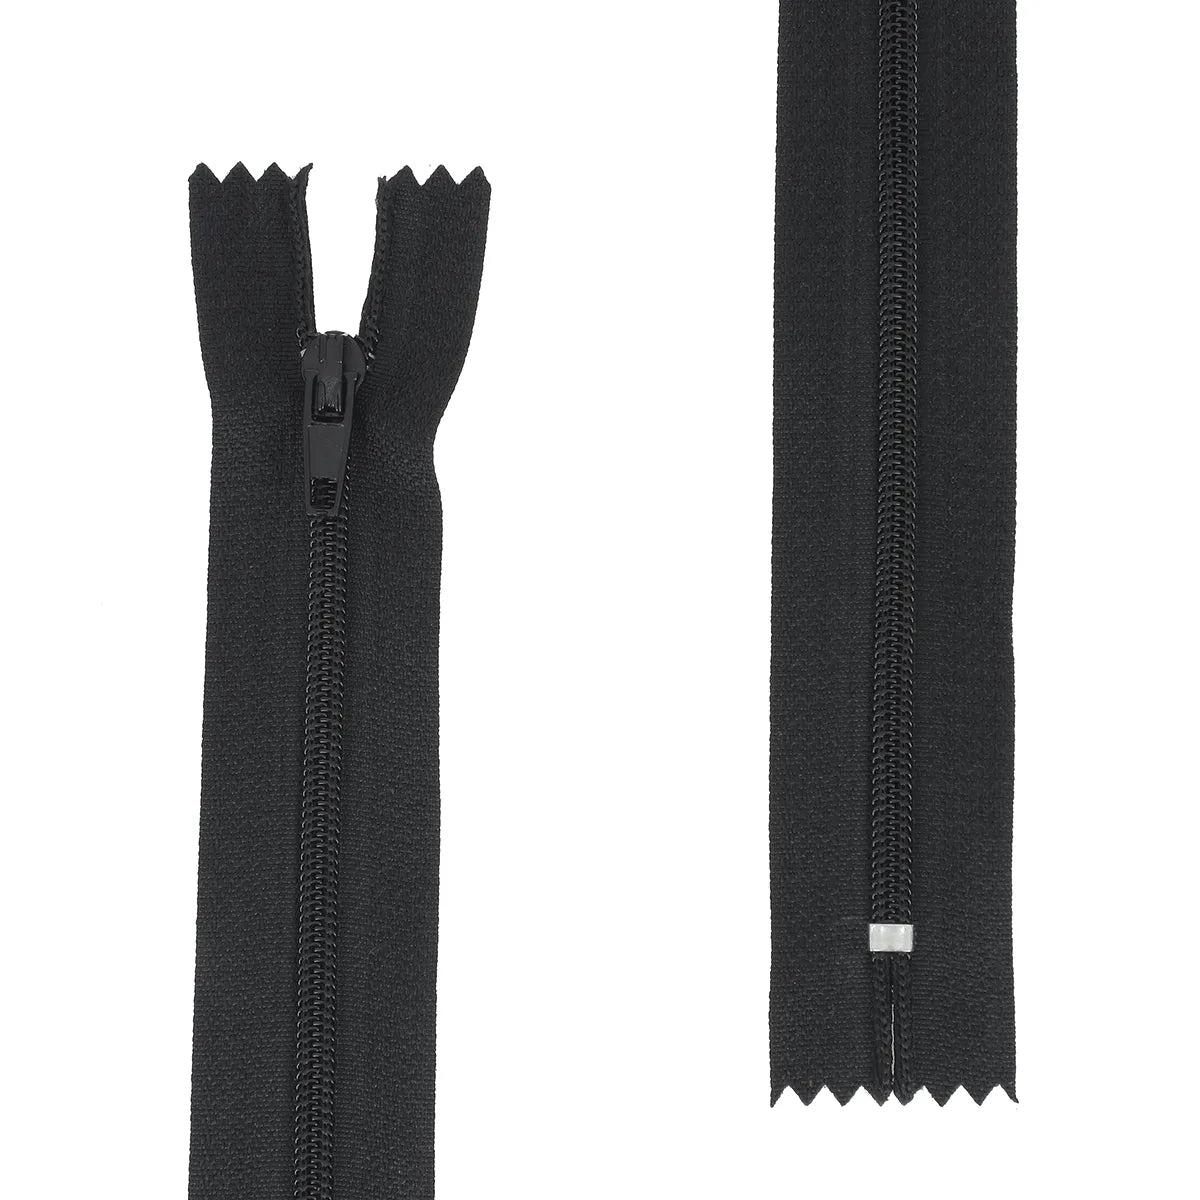


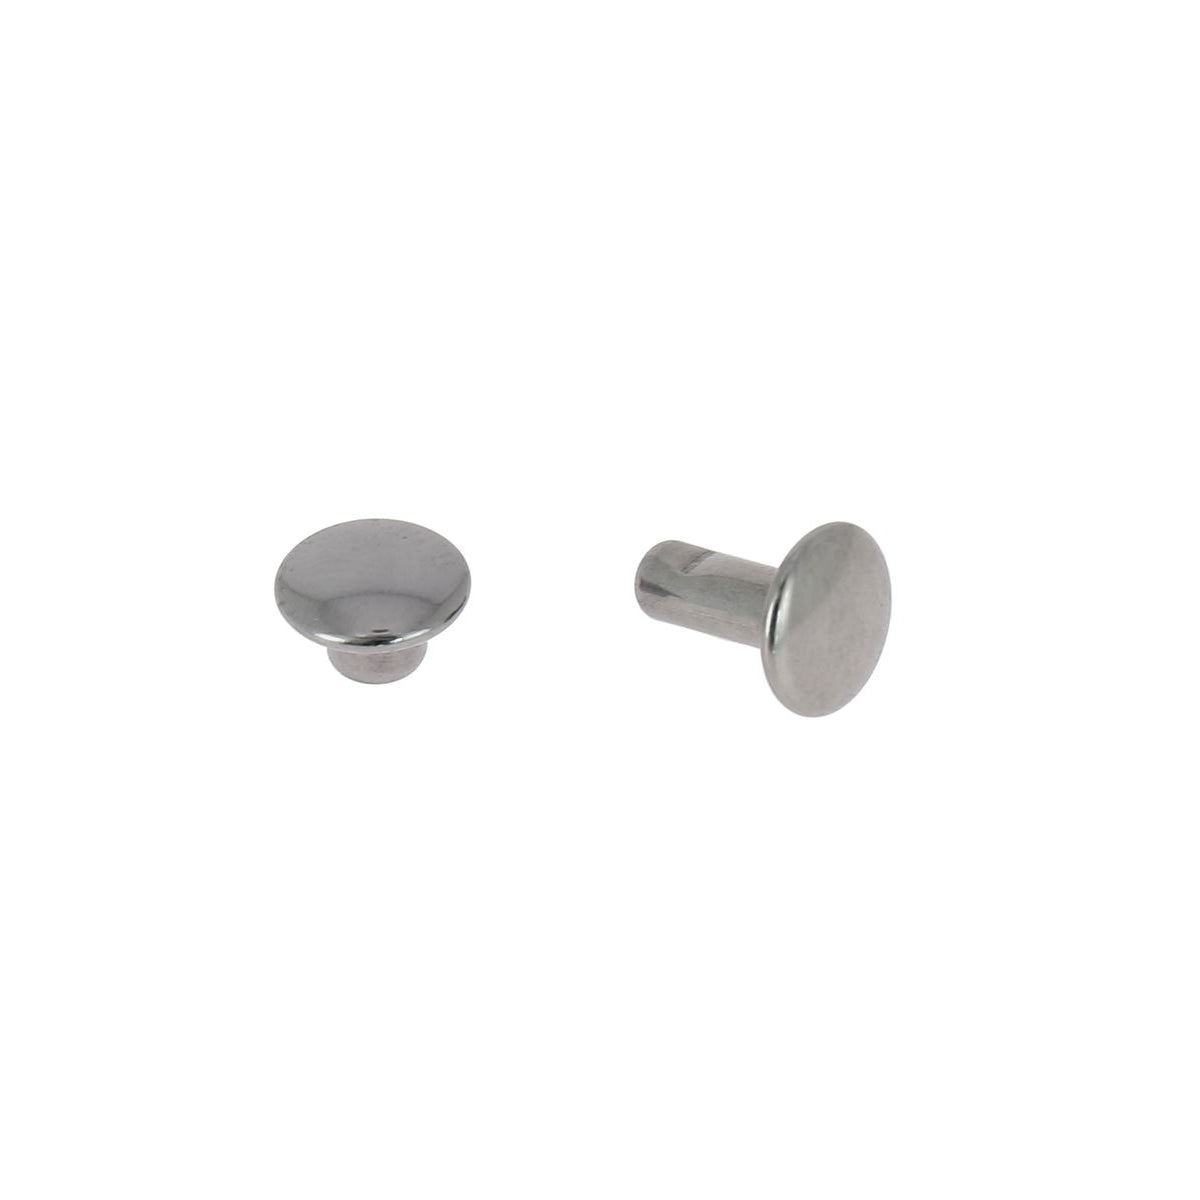

THE NECESSARY MATERIALS


Not forgetting a sewing machine that can handle large thicknesses.
This concho version is a bit tricky since the snaps on the flap are hidden. I recommend keeping it simple and leaving the snaps visible.
You will also find other versions of the Janis companion with snaps below...
SEE OTHER VERSIONS >
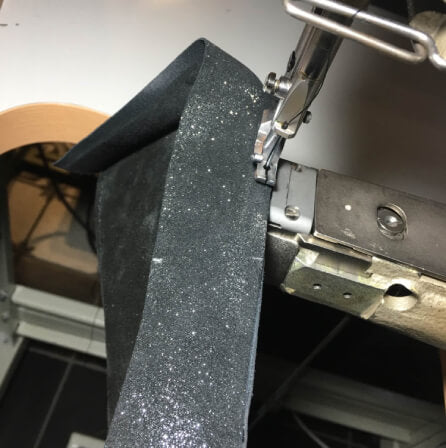
HOW TO SEW LEATHER WITH A MACHINE?
LEXICON
Trimming: a step which consists of refining the leather to a defined width, to avoid excess thickness and obtain flexibility.
Edging: folding and gluing the leather, like a small hem, for a clean finish.
VIDEO TUTORIAL
We invite you to watch the video for a better understanding of the steps of the tutorial.
1. PRINT THE PATTERN
- Print the pattern. This one was created for a companion measuring 18.8 x 12 cm.
- Using tape, assemble the parts: “Bellows-1” and “Bellows-2”.
- Trace the templates onto light cardboard and cut them out carefully (do not cut out the rounded corners; it is easier to do this later).
2. TRANSFER THE TEMPLATES TO THE LEATHER
- Using the silver pencil, transfer the templates onto the chosen leathers. Mark all the reference points: the holes for the rivets, the centers, etc.
- Cut the leather pieces along the lines EXCEPT for the back of the companion and the flap for which you leave a 5 mm margin all around (you will cut it after laminating it on the lining leather: it's easier and above all much neater!).
- Cut out the pieces using a ruler, a set square and a cutter (or a pair of sewing scissors).
The pencil is erasable on most leathers with a simple eraser (do not use on vegetable tanned leather). We recommend that you test it first to confirm the erasability on your leather.
3. GLUE THE FLAP AND THE BACK
- Glue the flap and the back of the companion onto the chosen lining leather: I have personally been using the water-based glue from Deco Cuir for years with great satisfaction.
This concho version is a bit tricky since the snaps are hidden. We recommend keeping it simple and leaving the snaps visible.
4. PREPARE THE CB POCKET
- While the pieces are drying quietly: prepare the CB pocket (you must of course mark the middle of the piece vertically for the future sewing, the location of the snaps and rivets).
- Trim the top of the CB pocket by about 1.2 cm and fold it over (glue and fold) by 1 cm, then stitch. If you don't have a trimmer or a trimming knife and your leather has enough strength, you can skip this finishing step: in this case, reduce your template by 1 cm in height.
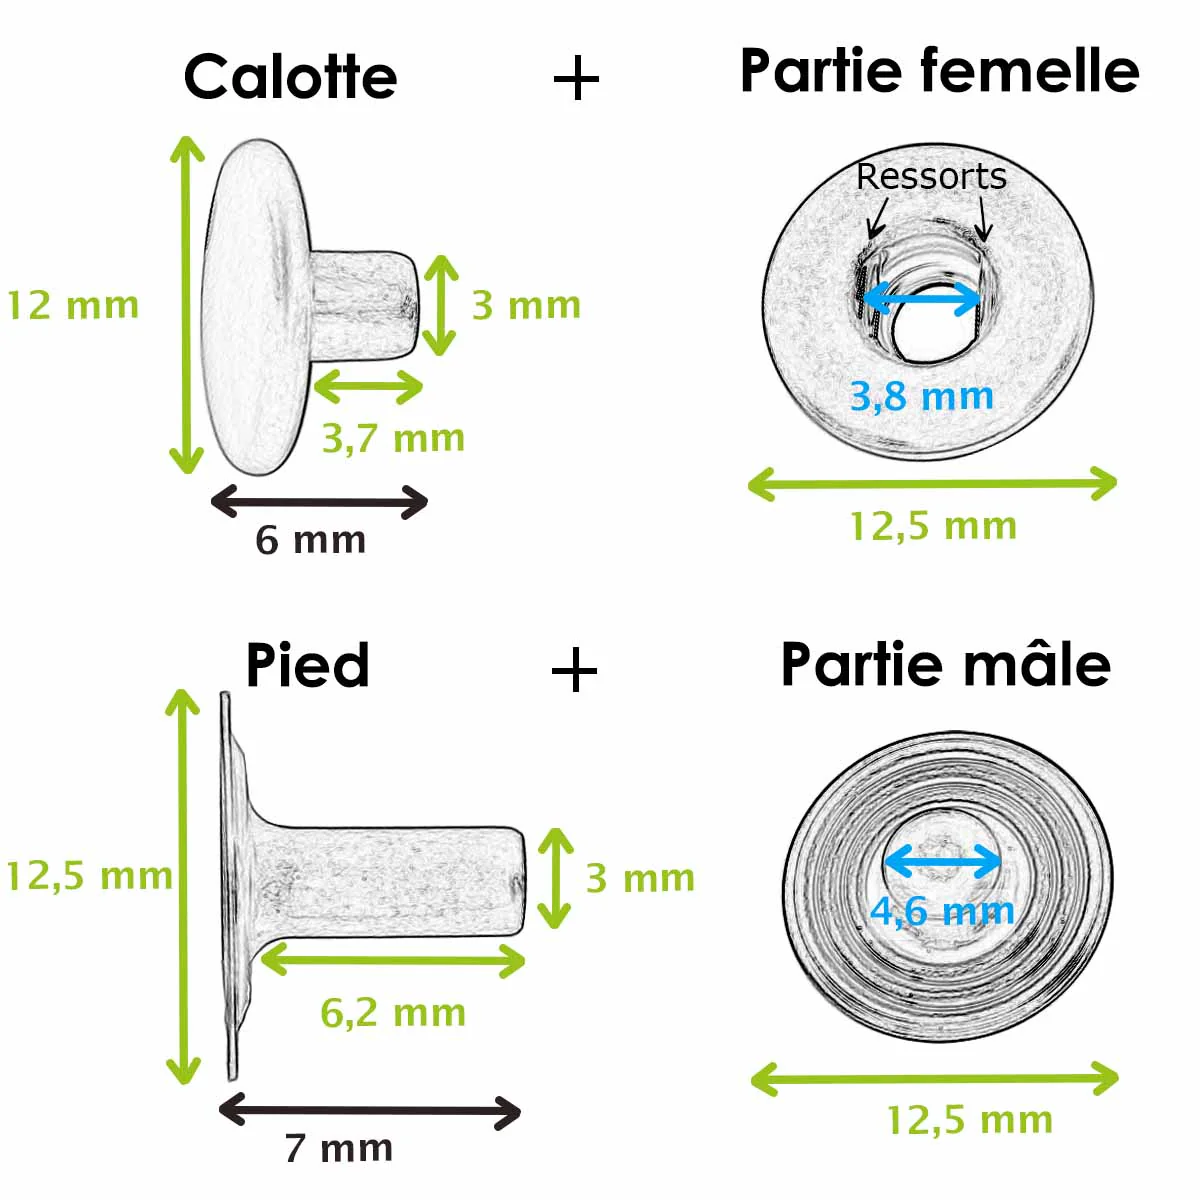
- Then make the holes to install the snaps (the 2 feet - male part) and place them (with the installation tool of your choice). With the 3 mm round punch, make the holes for the foot.
- Then install the snap fasteners using the appropriate tool and installation kit.
- Finally, cut out the bottom corners of the pocket with a cookie cutter or scissors (if you don't have a corner cutter).
5. CUT OUT THE 5 MM MARGIN FROM THE FLAP AND BACK
- Once the flap and back have dried, cut them to the correct size, removing the 5 mm left in reserve.
6. TRIM THE SIDES AND BOTTOM OF THE FRONT FACE
- Trim (if you can) the sides and bottom of the front of the companion which will be lined by the back of the purse, to avoid too much thickness. But this remains optional
7. ATTACH THE CB POCKET TO THE FRONT OF THE COMPANION
- Fix the CB pocket on the front of the companion with 5 mm double-sided tape as shown in the video (the pocket is positioned 1.5 cm from the bottom and sides of the front)
- Stitch a half-outline, arriving at the vertical line of the center, make the separation stitch of the cards going up and double the stitch going down, then finish the stitching of the rest of the pocket.
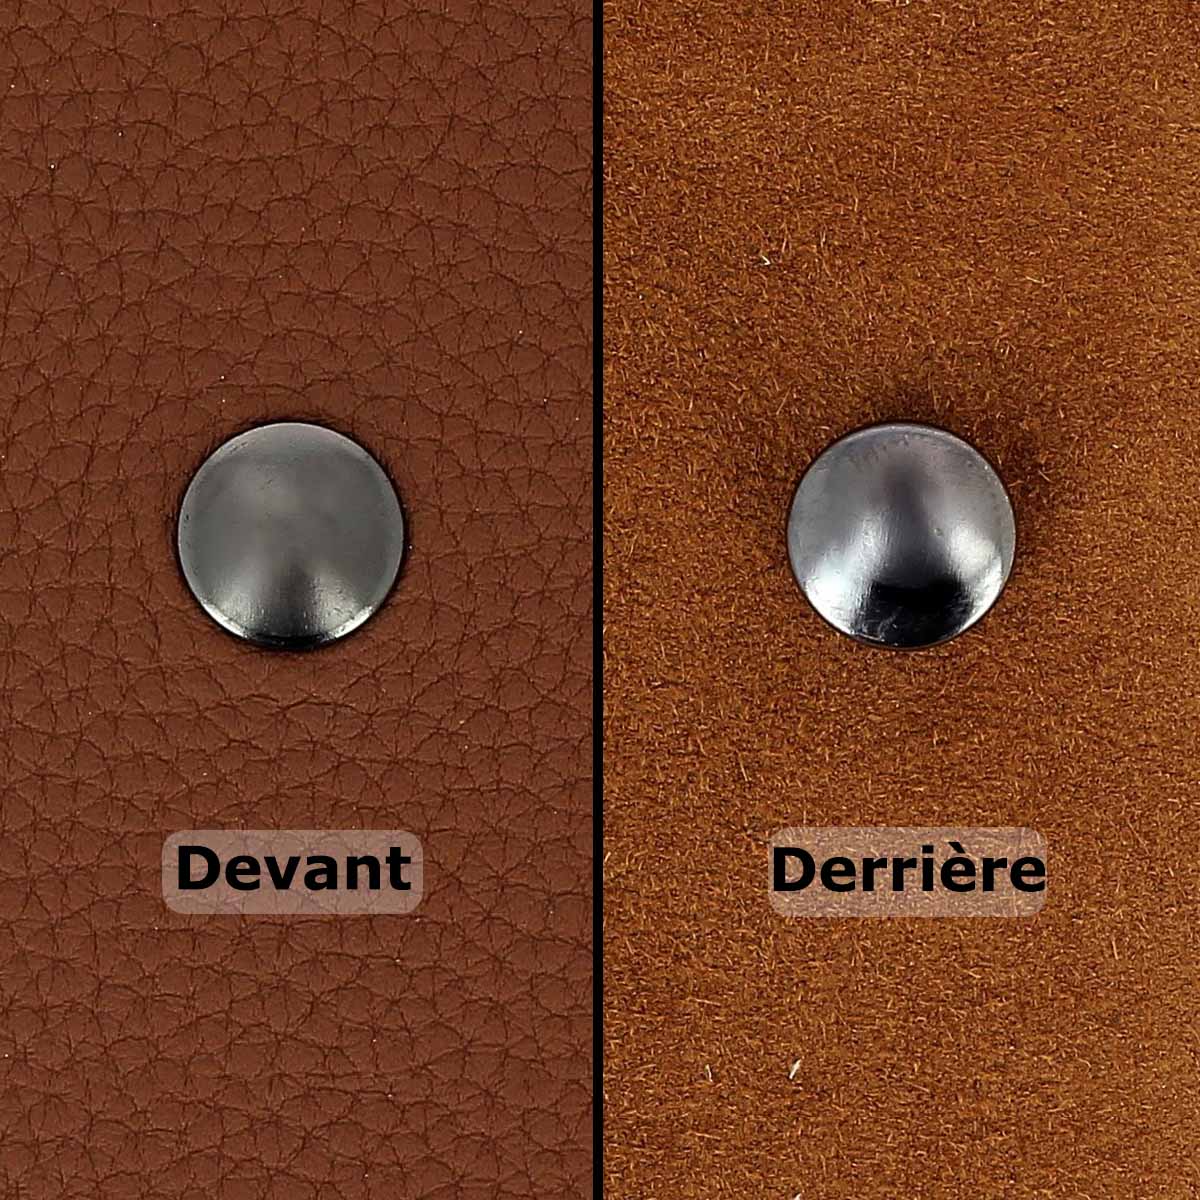
- Place the T3 rivets (hole locations indicated on the template).
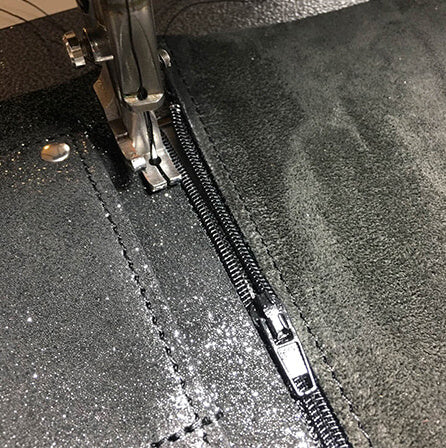
8. INSTALL THE ZIPPER
- Still using 5mm double-sided tape, position the zipper by "tucking the ends in a little" as shown in the video. Start with the front side of the companion, then take the back side (the slightly thinner suede one) and make sure that the two pieces are facing each other so that there is no shift in the zipper. Stitch carefully.
9. Glue the seam allowance of the front and back
- Glue the seam allowance of the front and back of the purse, about 5 mm, and join them carefully and as precisely as possible. Do not stitch.
10. CUT THE ANGLES
- Cut out all the corners that need to be cut with a die cutter (see video) (for this model, I use the Craftool 3780-02 die cutter from Deco Cuir). If you don't have a die cutter, cut the corners with scissors.
11. ATTACH AND SEW THE FLAP TO THE BACK OF THE COMPANION
- It's time to fix the flap to the back of the companion, still with 5 mm double-sided adhesive, on the line at 1.5 cm on the back of the companion (marked beforehand): use the template to position it well also in width. Stitch. CAUTION: you must only stitch the edge so that the flap remains free: don't forget that you still have to fix the gusset!
- Place 2 T3 rivets (position of the holes indicated on the pattern).
12. ATTACH AND SEW THE GUSSET TO THE FRONT SIDE
- All that's left is to attach the gusset to the front of the companion (the purse assembly, in fact, now!). Of course, since you've carefully marked your center marks, this will help. This is the trickiest part, but if you apply yourself, you should get a clean and tidy result. Remember, the leather is supple and will lend itself to your movements! Stitch along the edge. Repeat this process to assemble the gusset to the back.
13. PLACE THE SNAP BUTTONS ON THE FLAP
- Make the holes to install the snaps (head - female part) and install them (with the installation tool of your choice).
- Using the 5mm punch, make the holes for the head.
- Then place the snap fasteners using the tool and installation kit of your choice.
"I hope that with this educational tutorial and the video, you will be able to make this pretty companion, I can't wait to see your creations!"
Pascale Janvier
![]()


