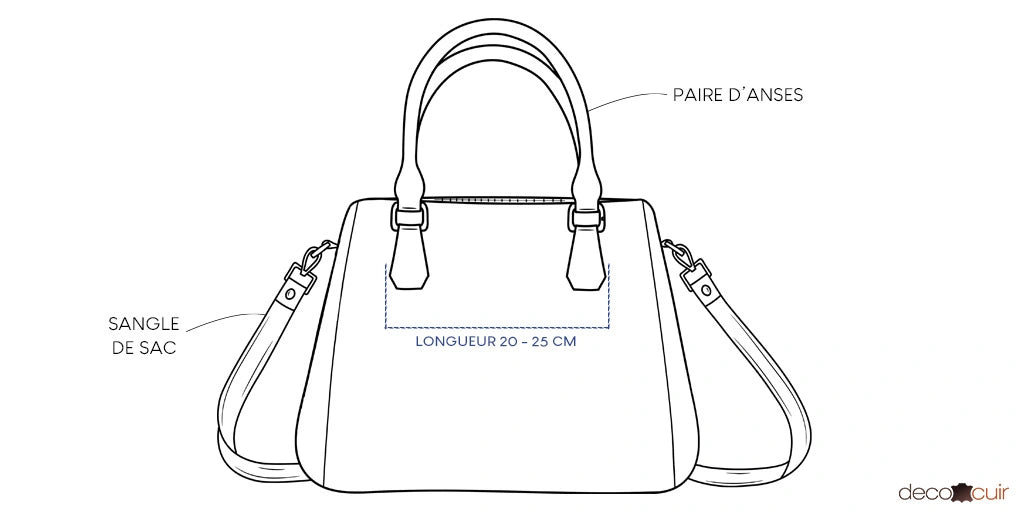
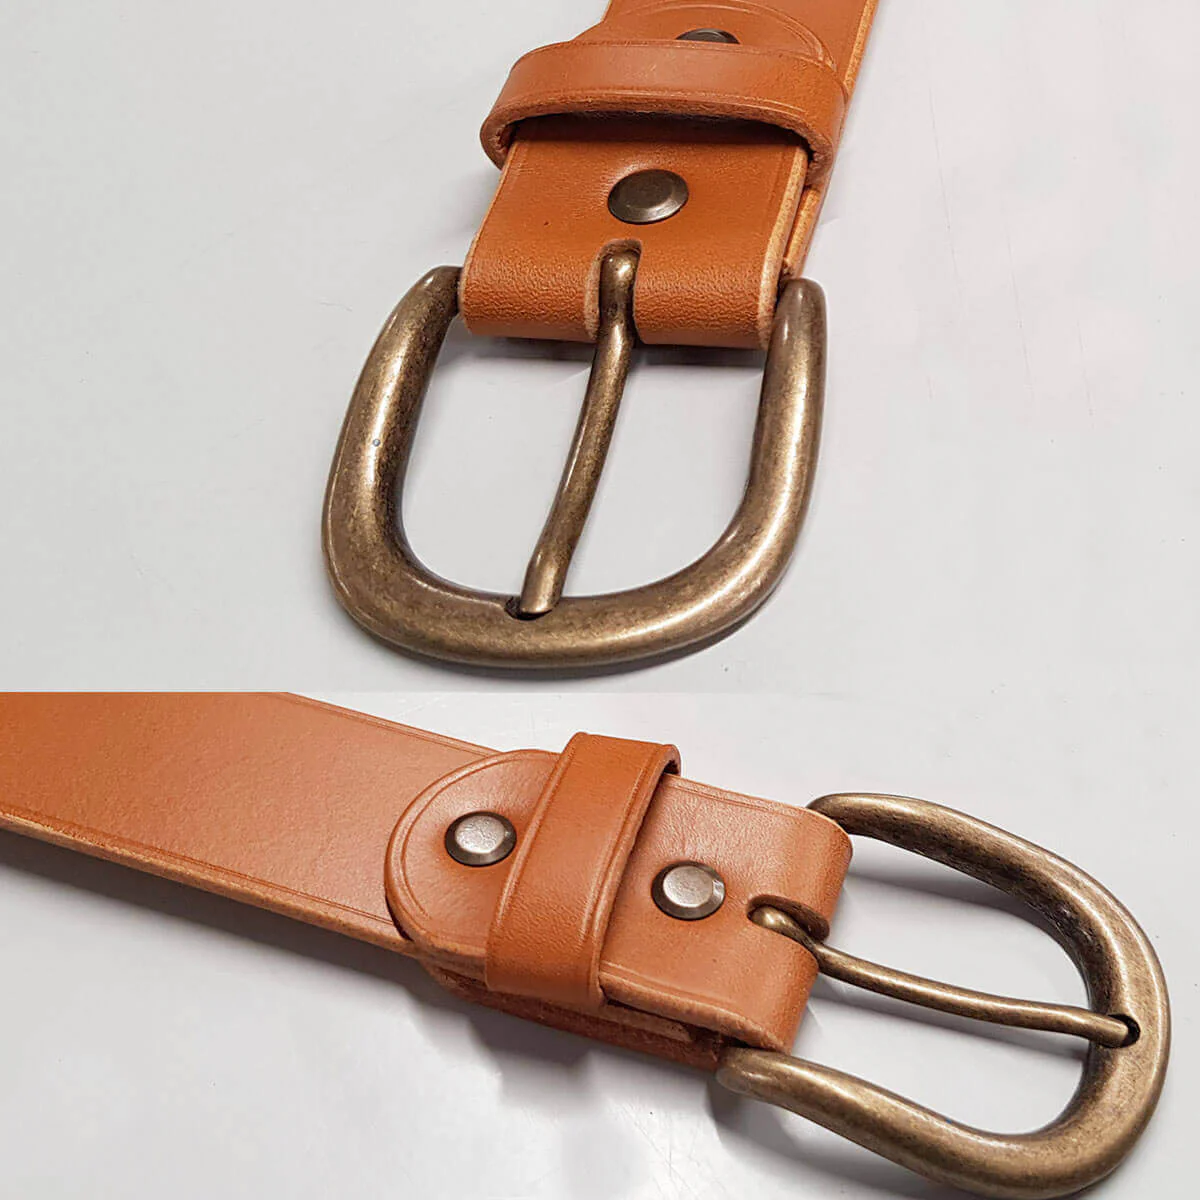
What is the typical length of a leather bag handle?
Each bag handle is usually between 60 and 80 cm. They are perfect for carrying your bag by hand (60 cm) or on the shoulder (70 to 80 cm) .
What is the difference between a bag handle and a bag strap?
Unlike a pair of handles, a strap allows you to carry your bag over your shoulder. It has a length of between 100 and 120 cm.
In addition, the handles are sewn onto the front and back of the bag, while the shoulder strap is sewn onto the sides.
What is the average distance between two bag handles?
The distance is approximately 20 to 25 cm (outside to outside of the handles - see diagram).
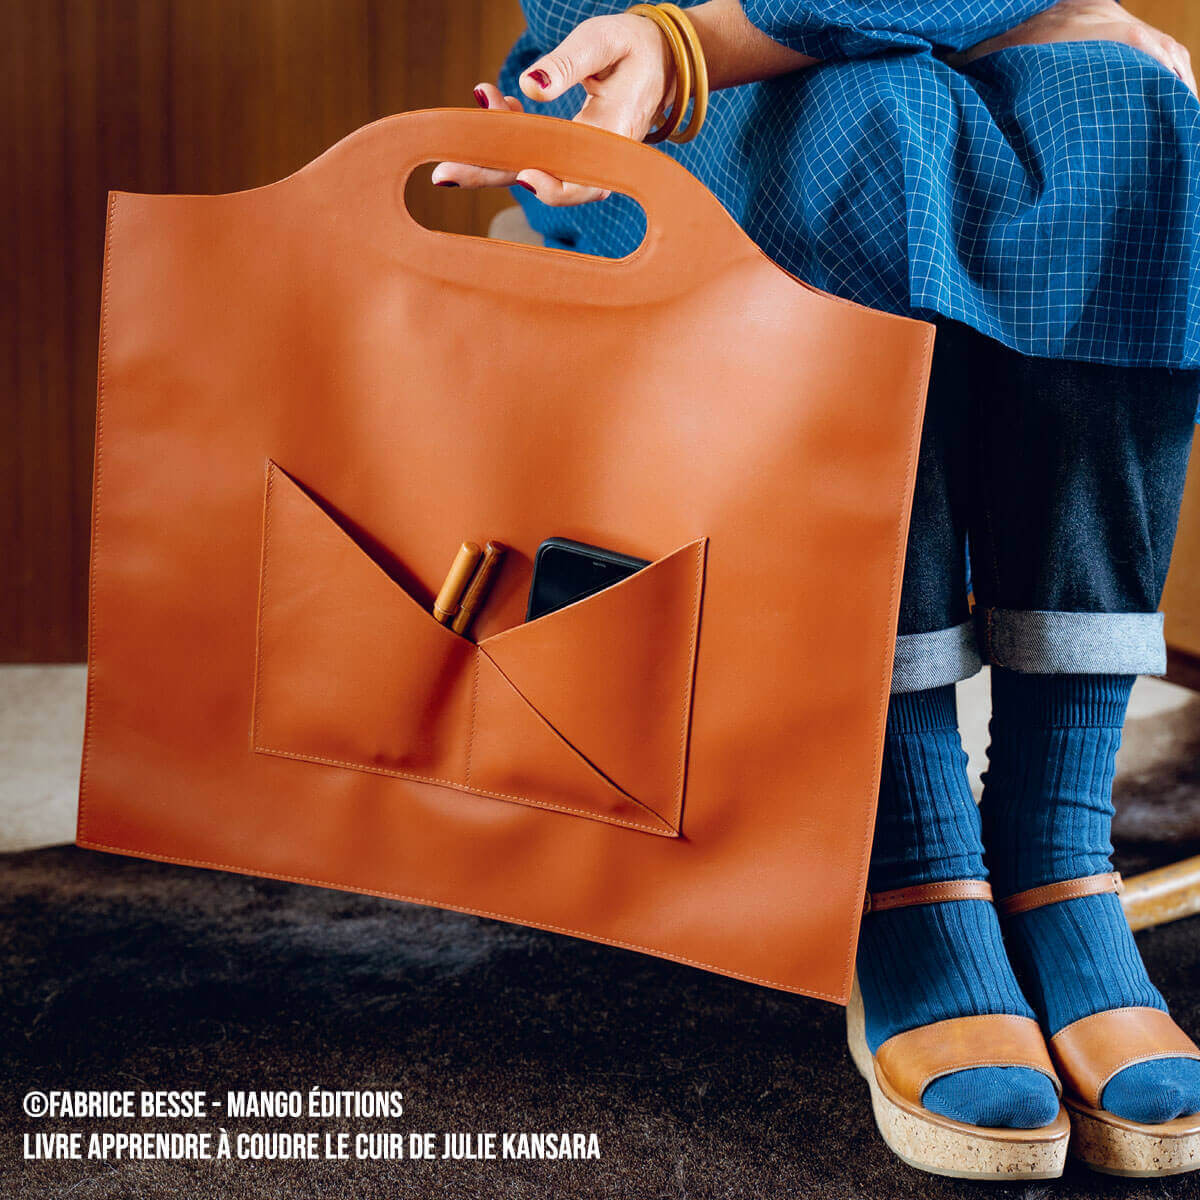
We begin this guide by explaining how to sew and reinforce a leather bag handle to give it a nice sheathed look and therefore a better grip on your bag.
The advantage of this technique is that you can have handles made from the same leather as your leather goods creation!
How to reinforce a leather bag handle?
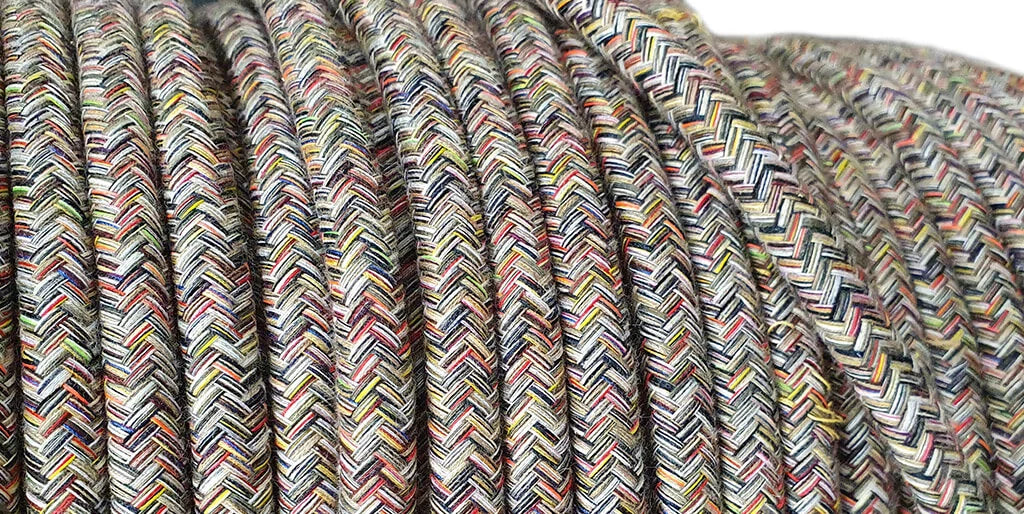
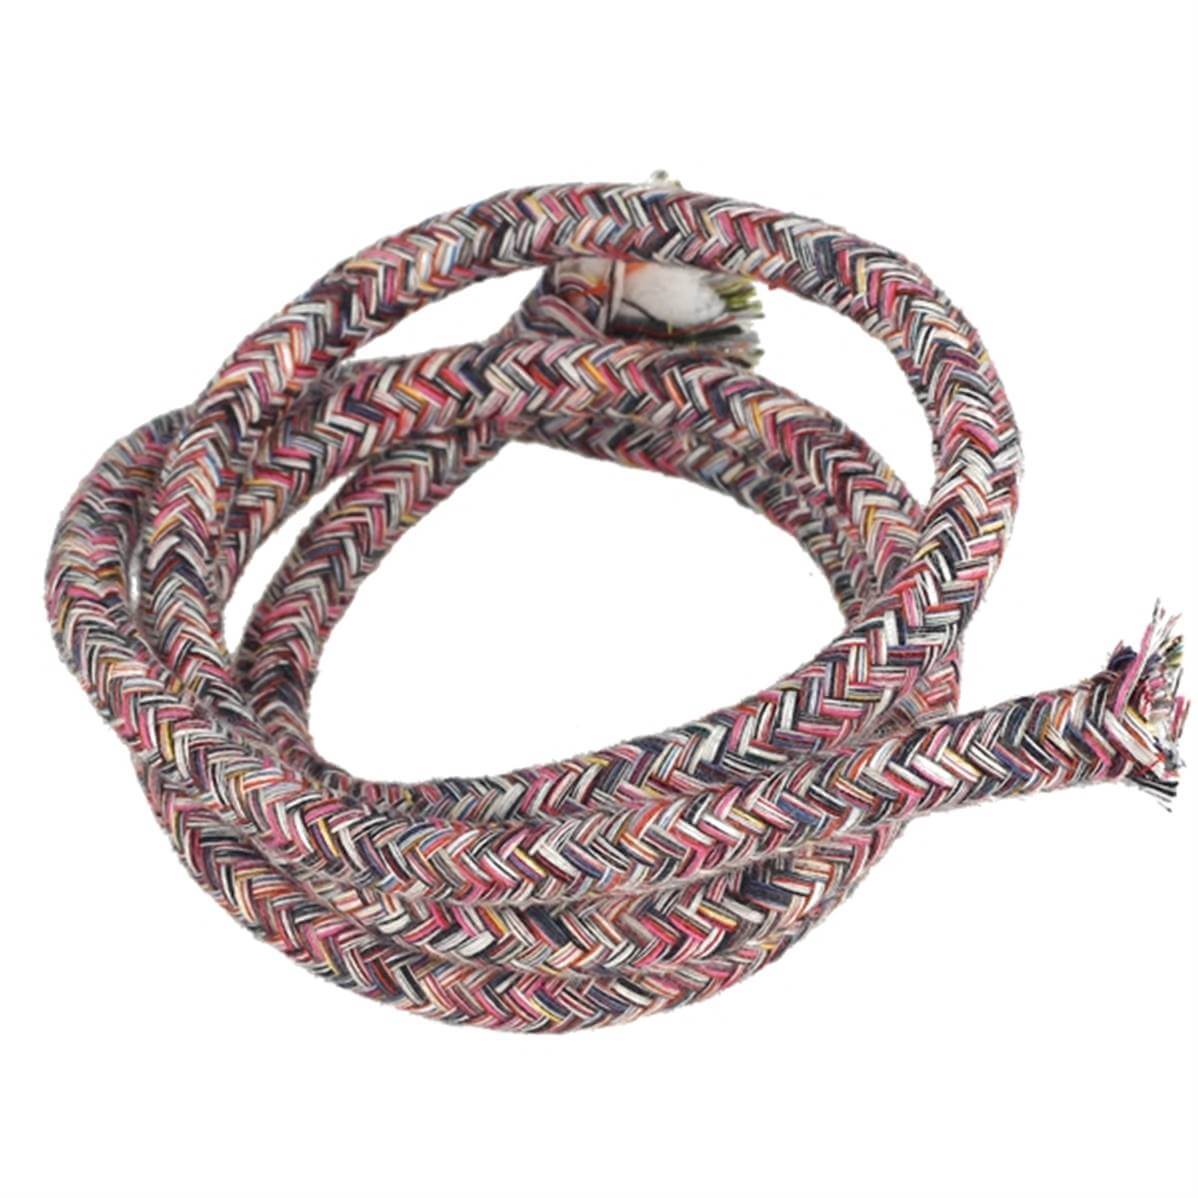
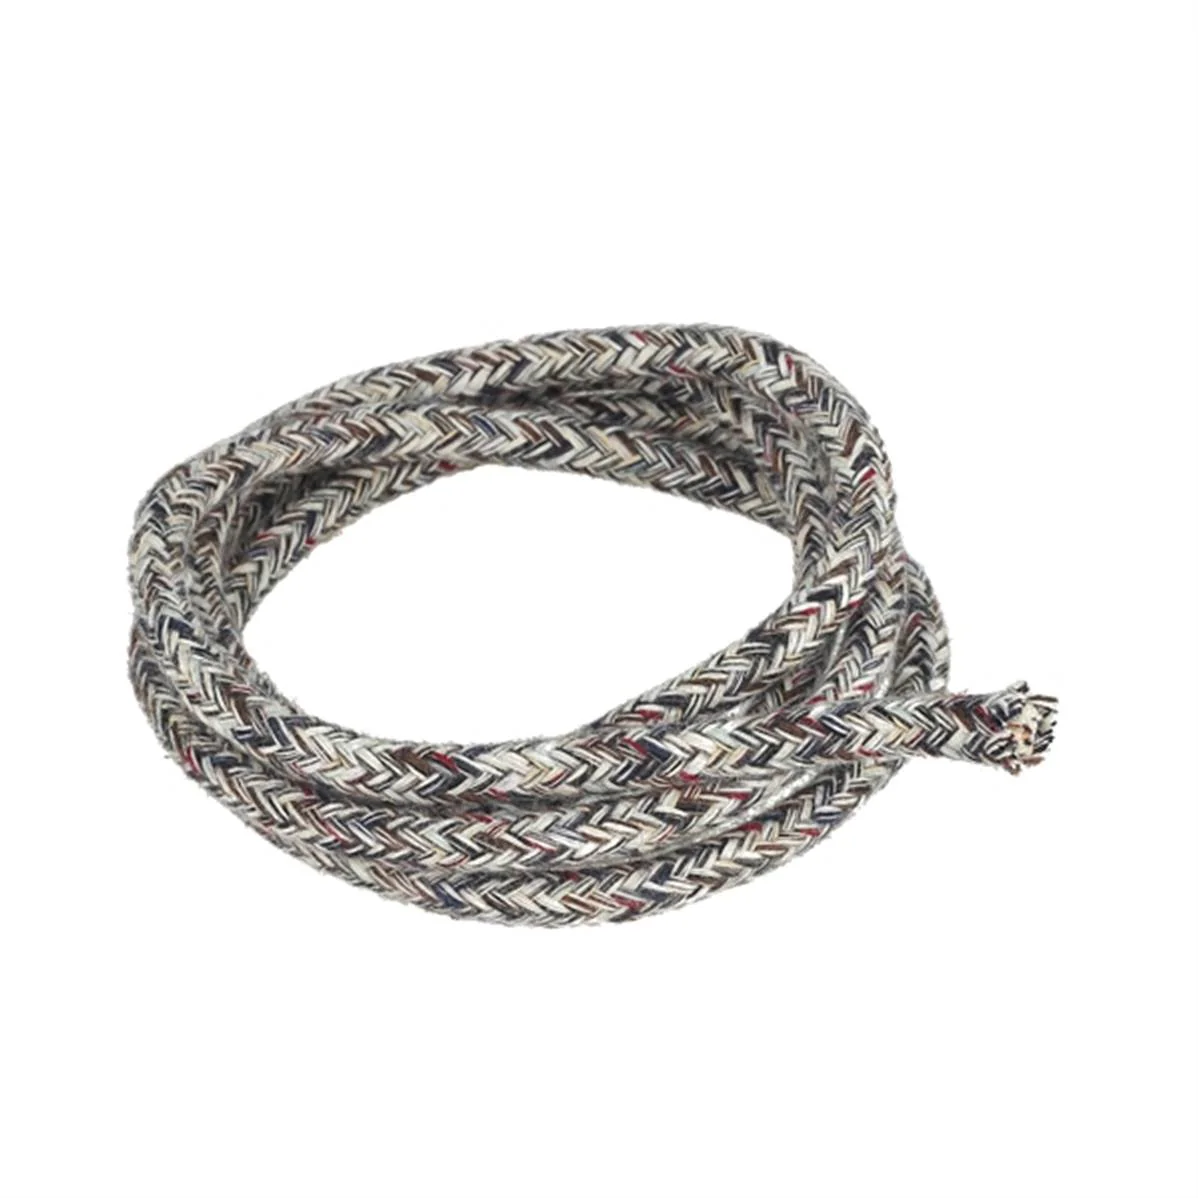
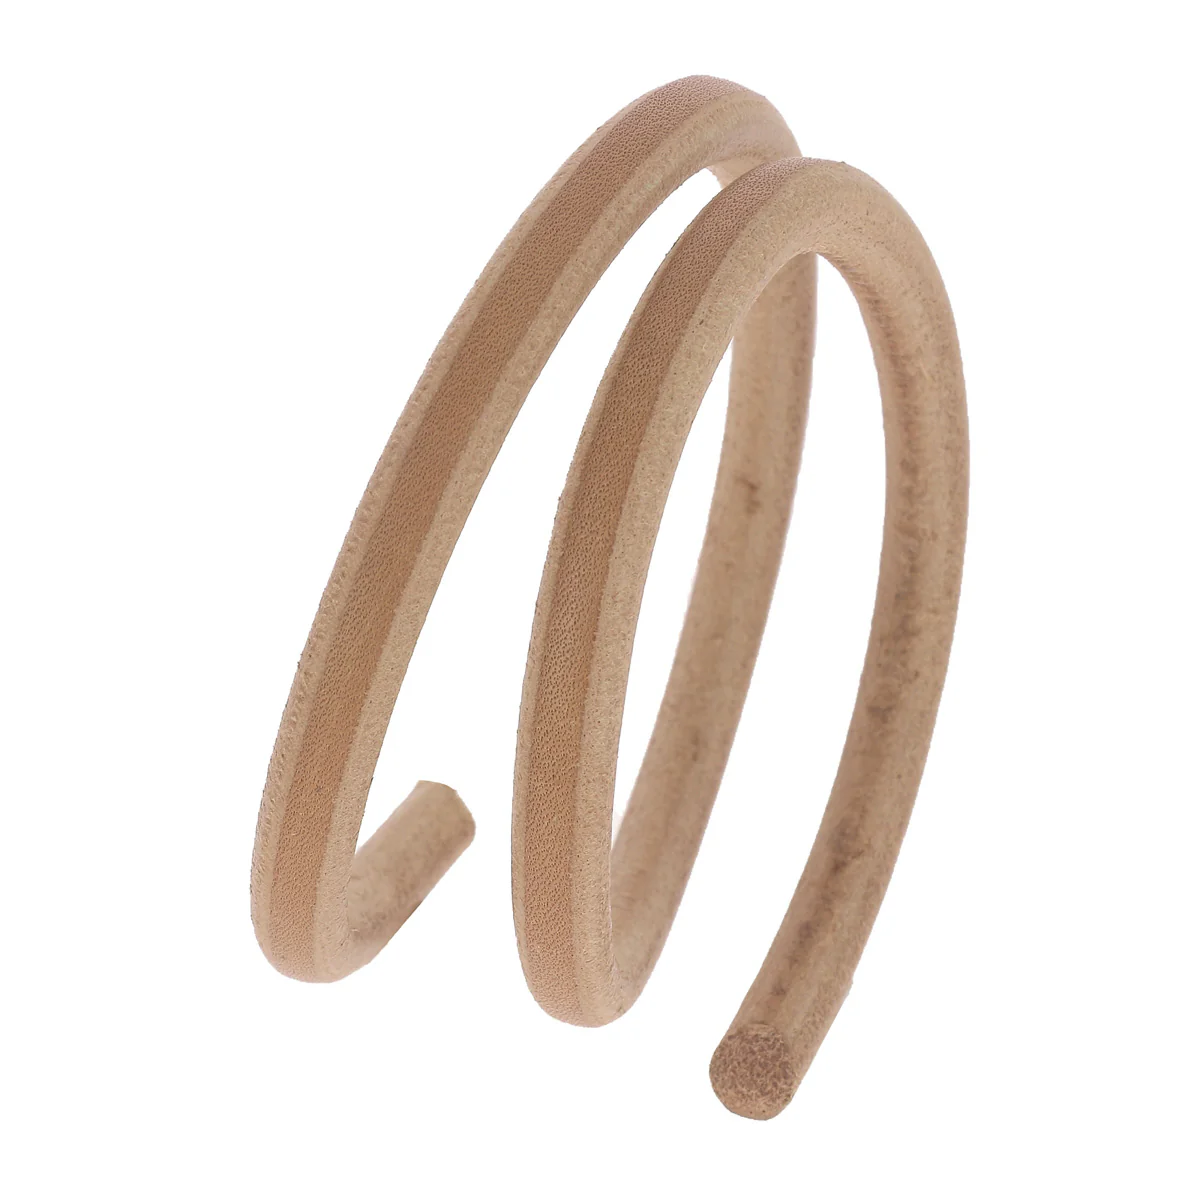
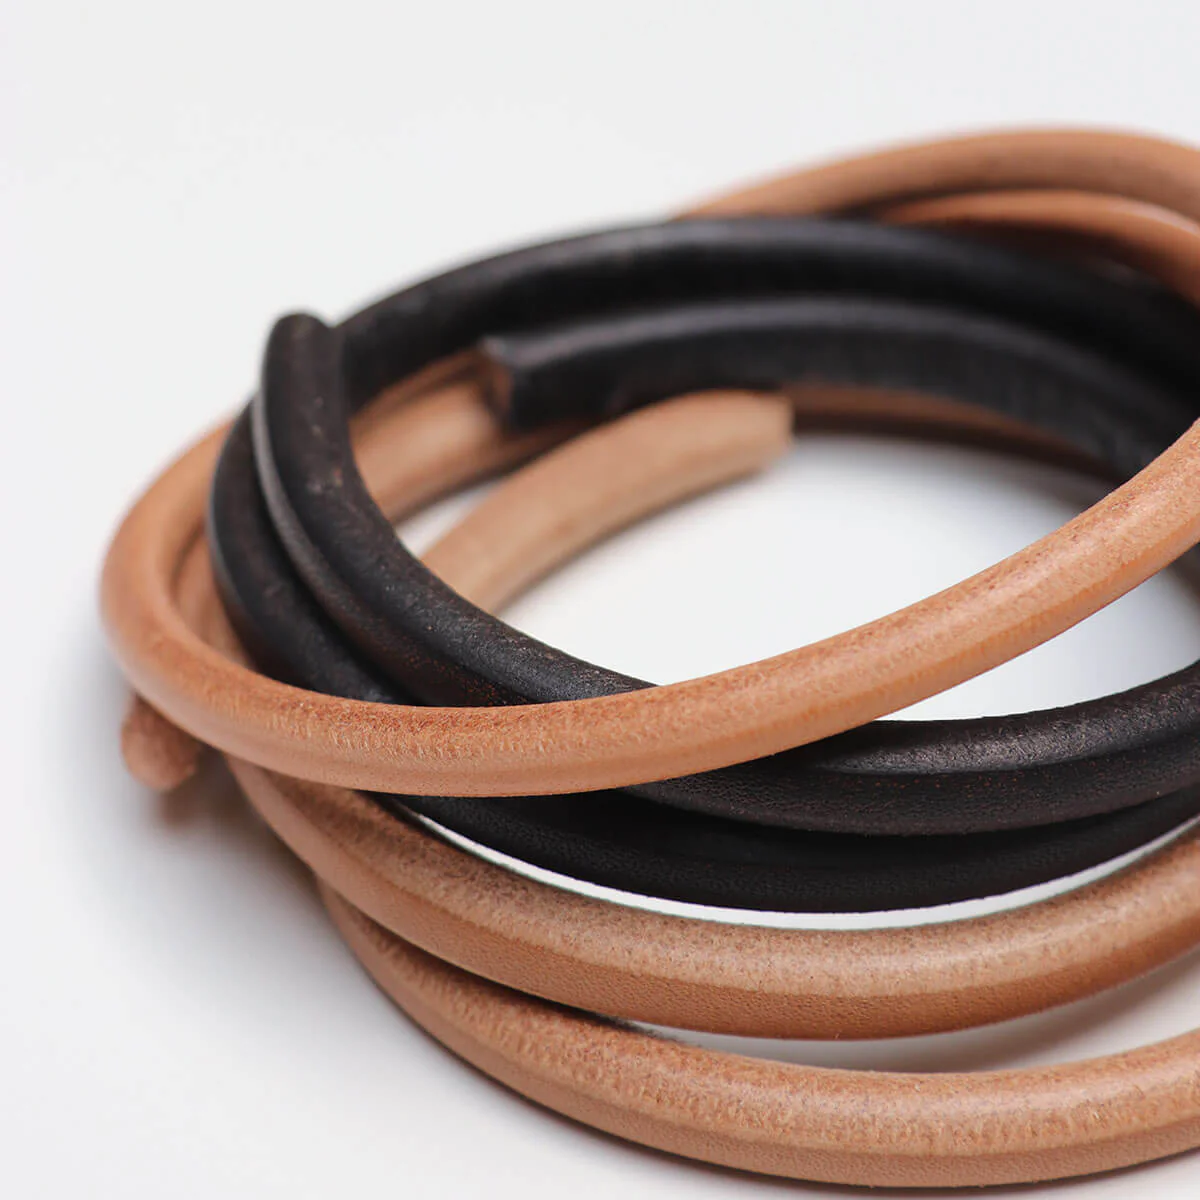
It is possible to reinforce/cover a leather bag handle with braid.
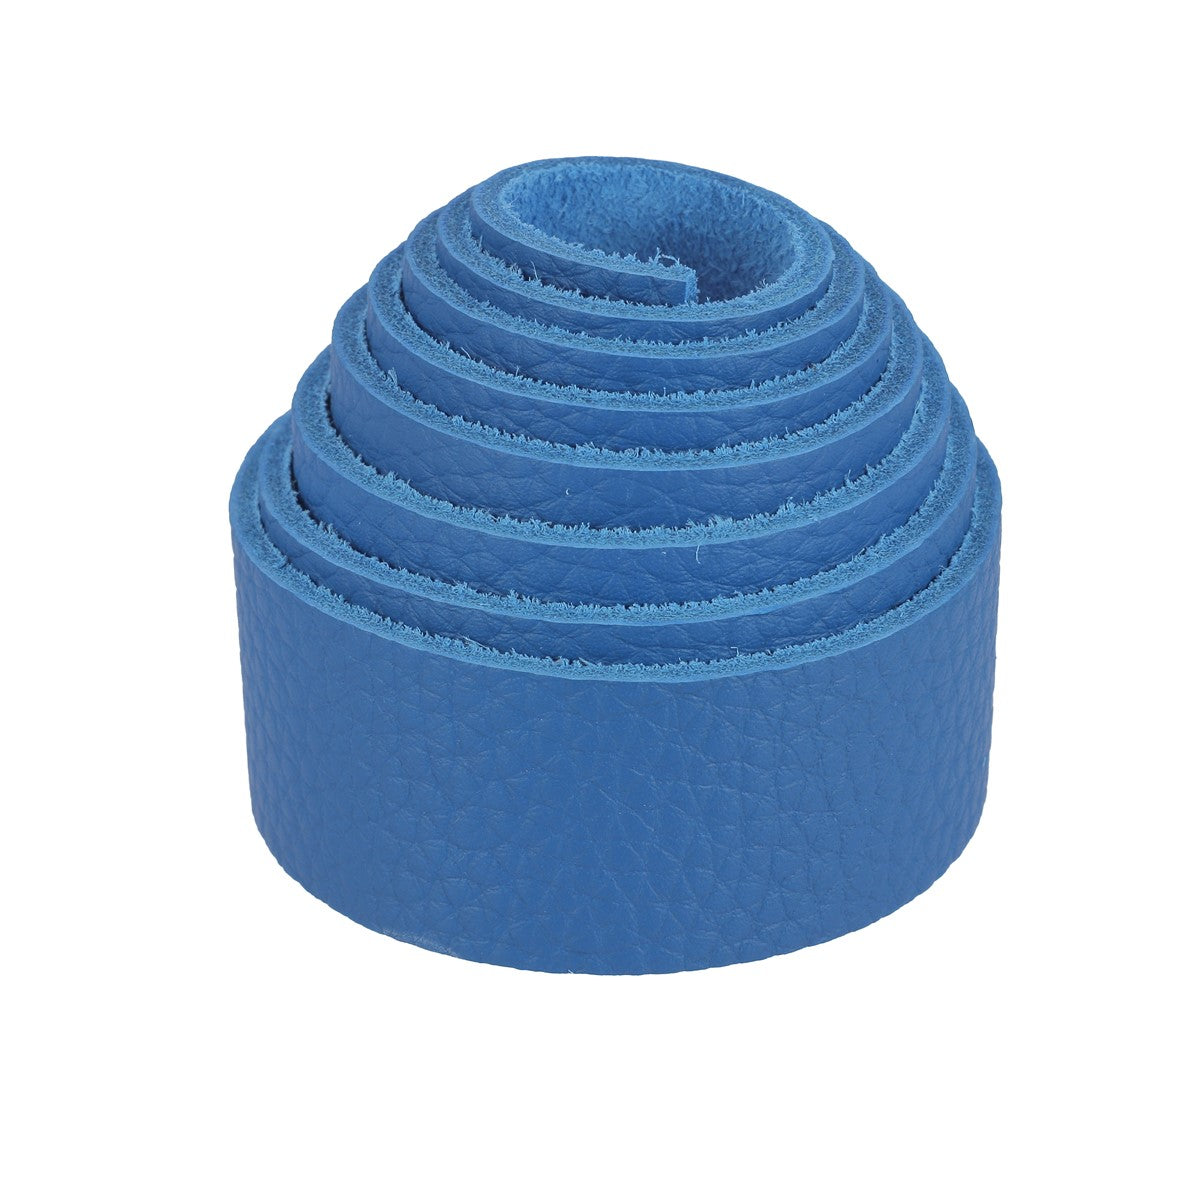
A strand, also called a cord or braid, is a bundle of twisted threads used to form a rope/cord. It provides strength and rigidity to round handles and grips. All our bag handle strands are 100% cotton. We recommend a 6 mm diameter strand for small leather goods (e.g., small bags) , a 7 mm diameter strand for larger leather goods (e.g., tote bags) , and an 8 mm diameter strand (and larger) for larger creations (e.g., travel bags) .


If you prefer to stick with "all leather", we have round leather laces in diameters of 6 and 8 mm which can also be used as reinforcement!


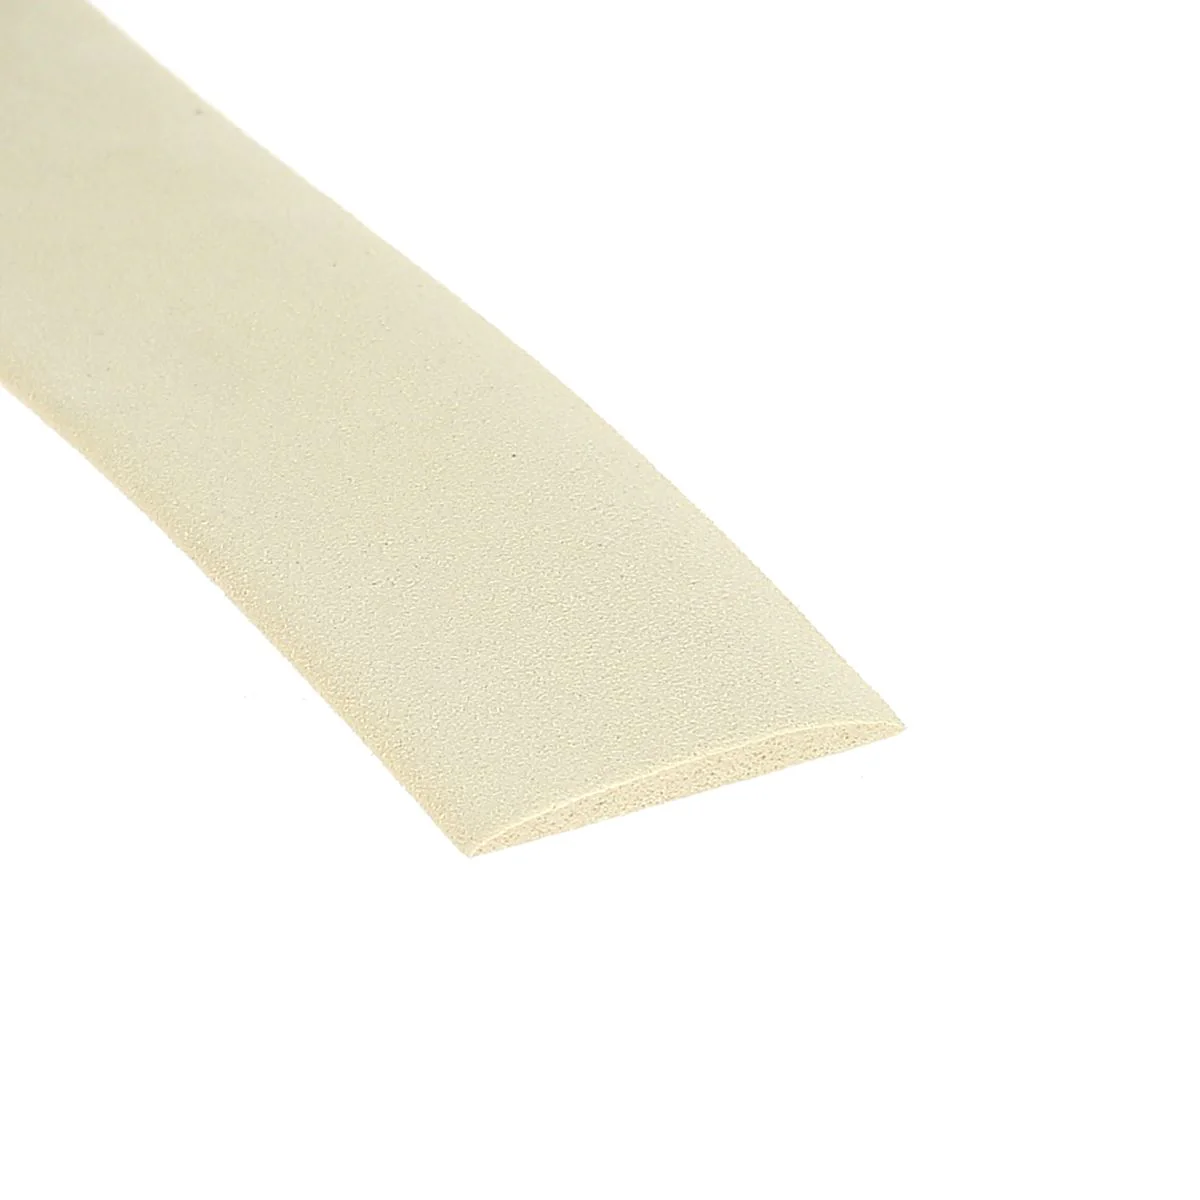
Are you familiar with sugherite?
Add volume to your belt, straps, or bag handle with Sugherite reinforcement. It also provides strength and rigidity to the leather and gives your creation a professional finish.
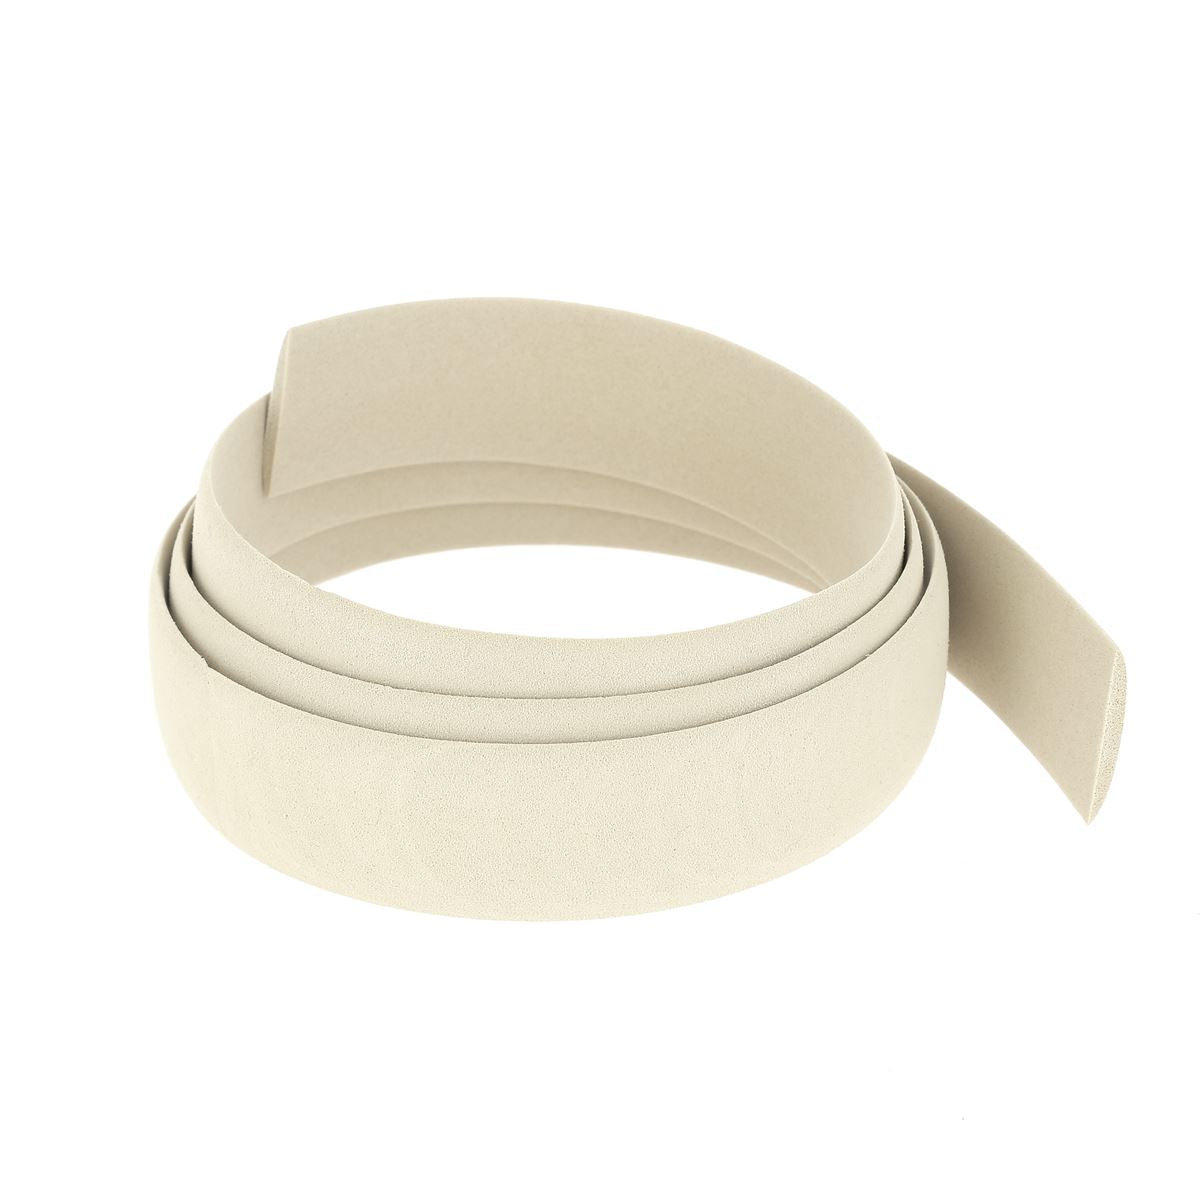

EXAMPLE OF THE USE OF A SUGHERITE
for the making of a leather belt by Choral Sac.
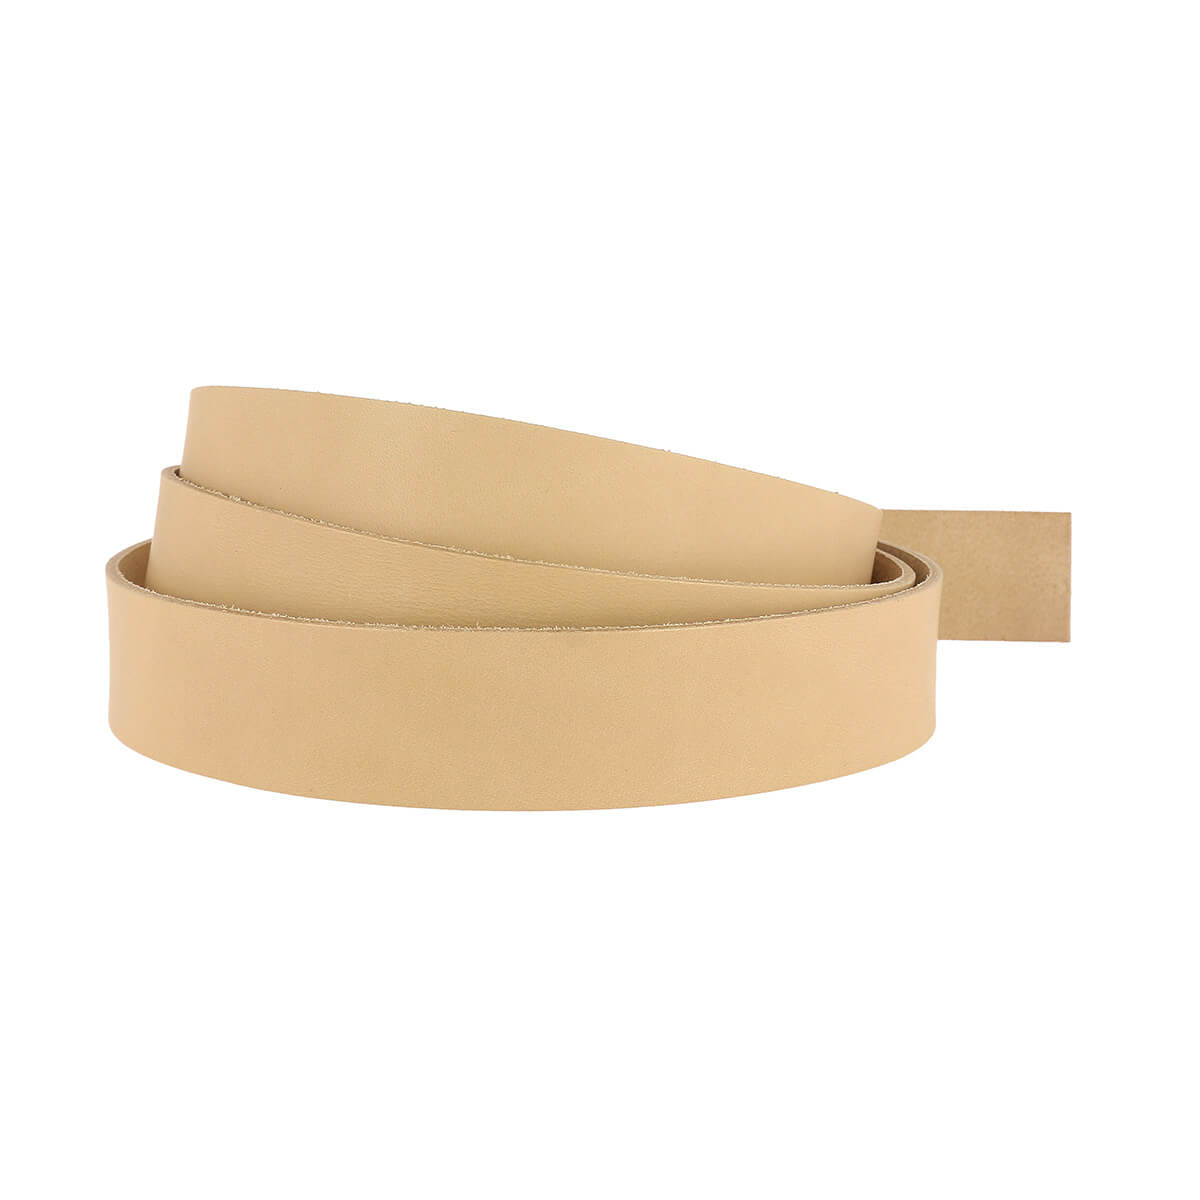
What type of leather should I choose to make a handle?
We recommend a fairly supple leather, 1.2 to 1.8 mm thick. You can certainly make handles from vegetable-tanned or mineral-tanned leather. The main difference will be the strength. If you choose vegetable-tanned leather, it will be firmer and more durable. This leather can also be cut with a strap cutter. If the leather is very supple, you will need to reinforce it with tear-resistant tape, and it won't be possible to cut it with a strap cutter (you'll still need the ruler and cutter method 😊 ) .
Finally, you can also opt for our flexible webbing (e.g., GROGRAIN), sold in various lengths and widths. They are generally around 2.5 mm thick and are perfect for making attractive handles.

ROUND LEATHER HANDLE TUTORIAL
Let's get started, we're going to explain how to sew and attach a leather handle: saddle stitch, simplified stitching (with holes) and machine stitching.
As a reminder: the handles are always attached to the body of the bag before sewing the lining.
SADDLE STITCH SEWING
To master the saddle stitch technique on leather, you need to be proficient in this stitch. We recommend you consult our complete guide on this method.
VIDEO TUTORIAL: HOW TO MAKE A PAIR OF LEATHER BAG HANDLES
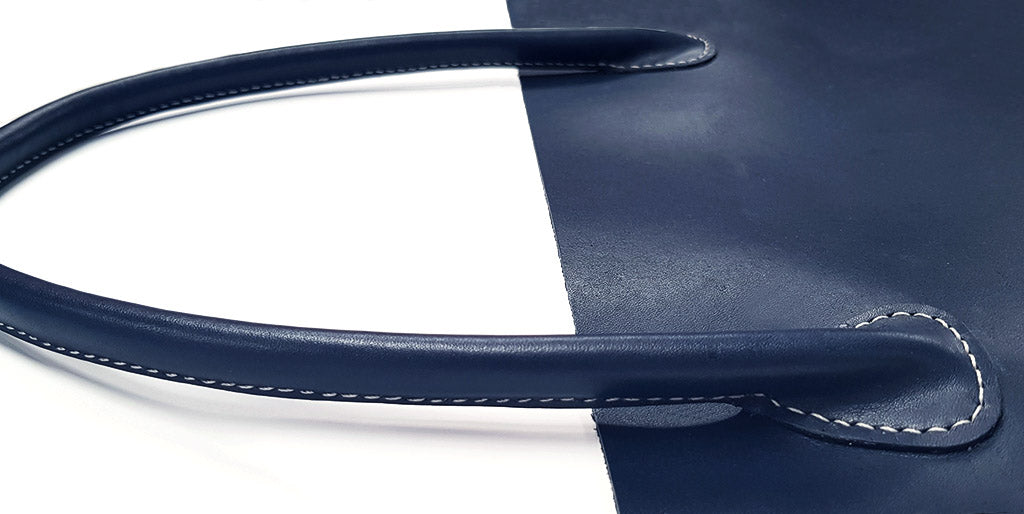
The tubular handle adds a sophisticated touch to your leather goods creation; it's the detail that will transform your entire bag. The strap sits straight on the bag's body, and the cord is invisible. For this tutorial, we chose a 7 mm diameter cord.
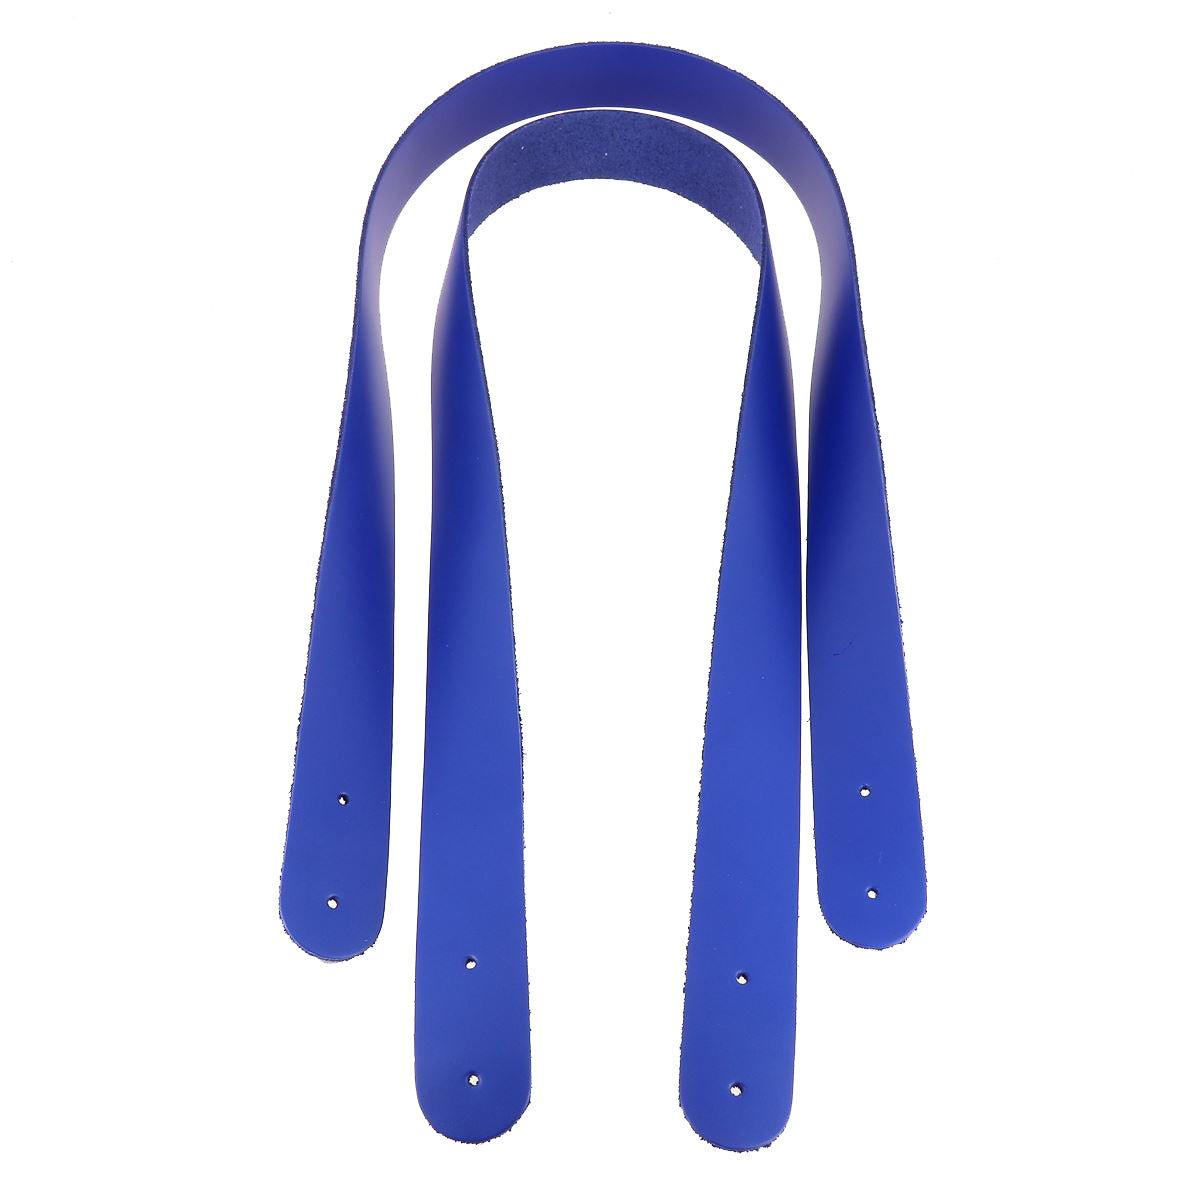
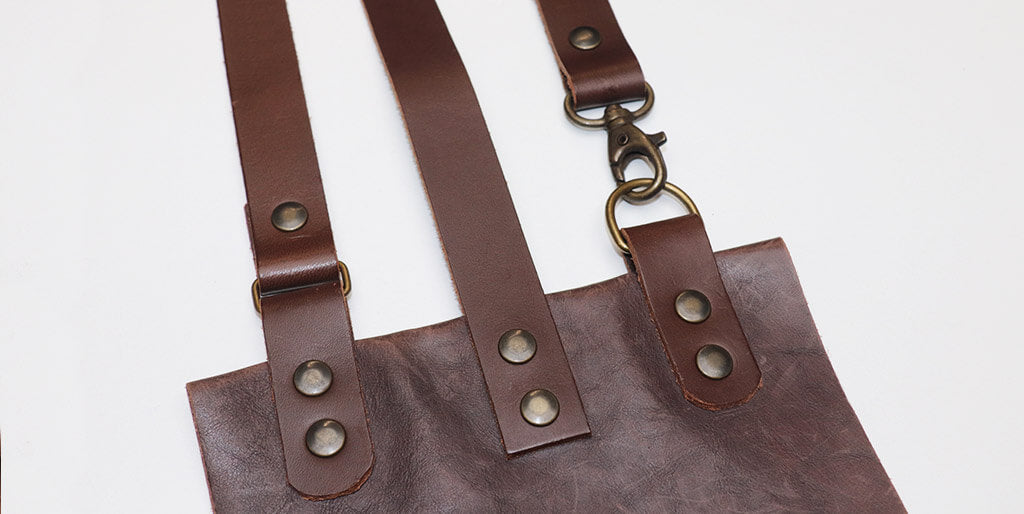
1. Cut two strips of leather for the pair of handles
Cut two strips 4 cm wide and at least 60 cm long. Use a strap cutter for firm leathers or a ruler and cutter for soft leathers.

2- Work the ends of the handles
Let your creativity speak for itself on the shape of the ends of the handles: rounded, ogive, trapezoidal... We chose to only round the corners (radius 10 mm).

3- Cut, trim and glue the strand
At each end, make a first mark at 4 cm to identify where the gluing will stop (this dimension is equivalent to the width of the strip) . Make a second mark at 5 cm for the position of the strand. The strand will not be visible.

To determine the required length of cord, measure between two marks made 5 cm from each end. For a 60 cm handle, you will need 50 cm of cord.

Apply masking tape to each end of the strand to prevent it from disintegrating and to allow for trimming.

Make a mark 1.5 cm from the end for trimming. Then trim the strand. The goal is to have a point approximately 1.5 cm long. Be careful to trim on the same side at both ends.

Make a mark in the center of the strip before gluing the strand. Then apply contact adhesive to both the leather and the strand to position it. It is important to center the strand precisely to avoid a zigzag stitch.

4- Fold the leather over the strand to form the handle
Apply leather glue to the entire strip and strand. Wait a few minutes for the glue to soak in. Then start gluing from the center to avoid any misalignment.

5- Form the handle and scratch the seam line.
Use a smoothing tool to tighten the strand and mark the stitching line. Mark the stitching points with a mallet and a pricking iron. The goal is not to pierce the leather completely, but only through part of its thickness.

6- Sew using the saddle stitch
Sew the handle using the saddle stitch. Finish the seam with 2 knots (on the inside) .
SEE THE SADDLE STITCH SEWING GUIDE >

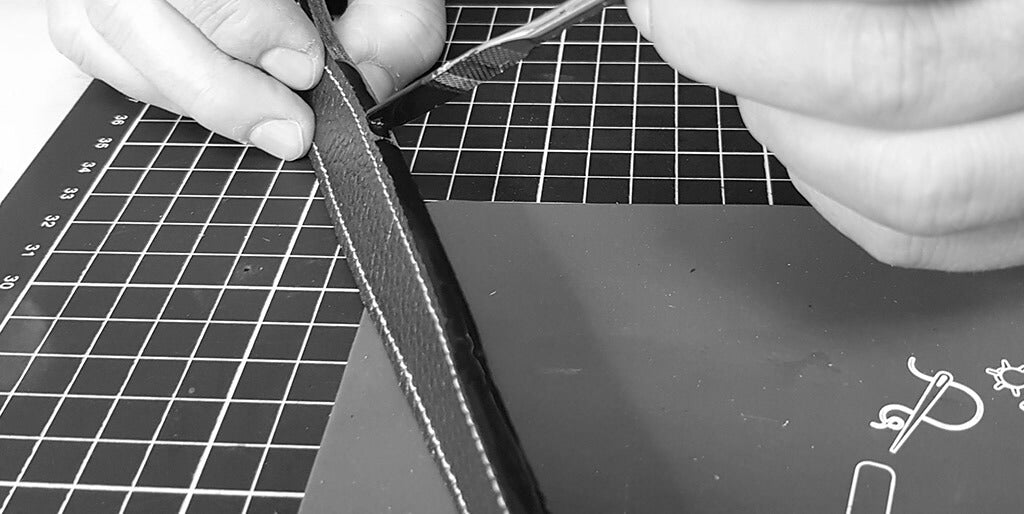
7- Cut the leather handle
Using a compass with a dry point, make a mark 3-4 mm from the seam line. Then cut two semicircles at each end of this mark. Next, cut around the edges with a craft knife or paring knife.

8- Work the slices
Sand the edges then apply at least 3 coats of edge finish, sanding between each coat.

9- Scratch the ends of the handles
On each end, draw a stitching line 3-4 mm from the edge. Then mark the stitching points (do not pierce the leather completely).

10- Glue and sew the handles onto the body of the bag
Pass a thread through a stitch at each end of the handle and tie a knot. This ensures a consistent spacing when gluing: between 20 and 25 cm.

Then mark the position of the handles on the body of the bag. Roughen the surface of the leather to improve glue adhesion. Glue the handles in place and sew using a saddle stitch. Finish the stitching on the lining side by making two knots.


SIMPLIFIED SEWING (WITH HOLES)
This technique is for anyone unfamiliar with saddle stitching. This simplified stitching method involves punching/marking the stitching points using a round punch. This "hole" stitching with straight stitches is ideal for beginners.


SUPPLIES
- 1.50m of strand, 7mm diameter
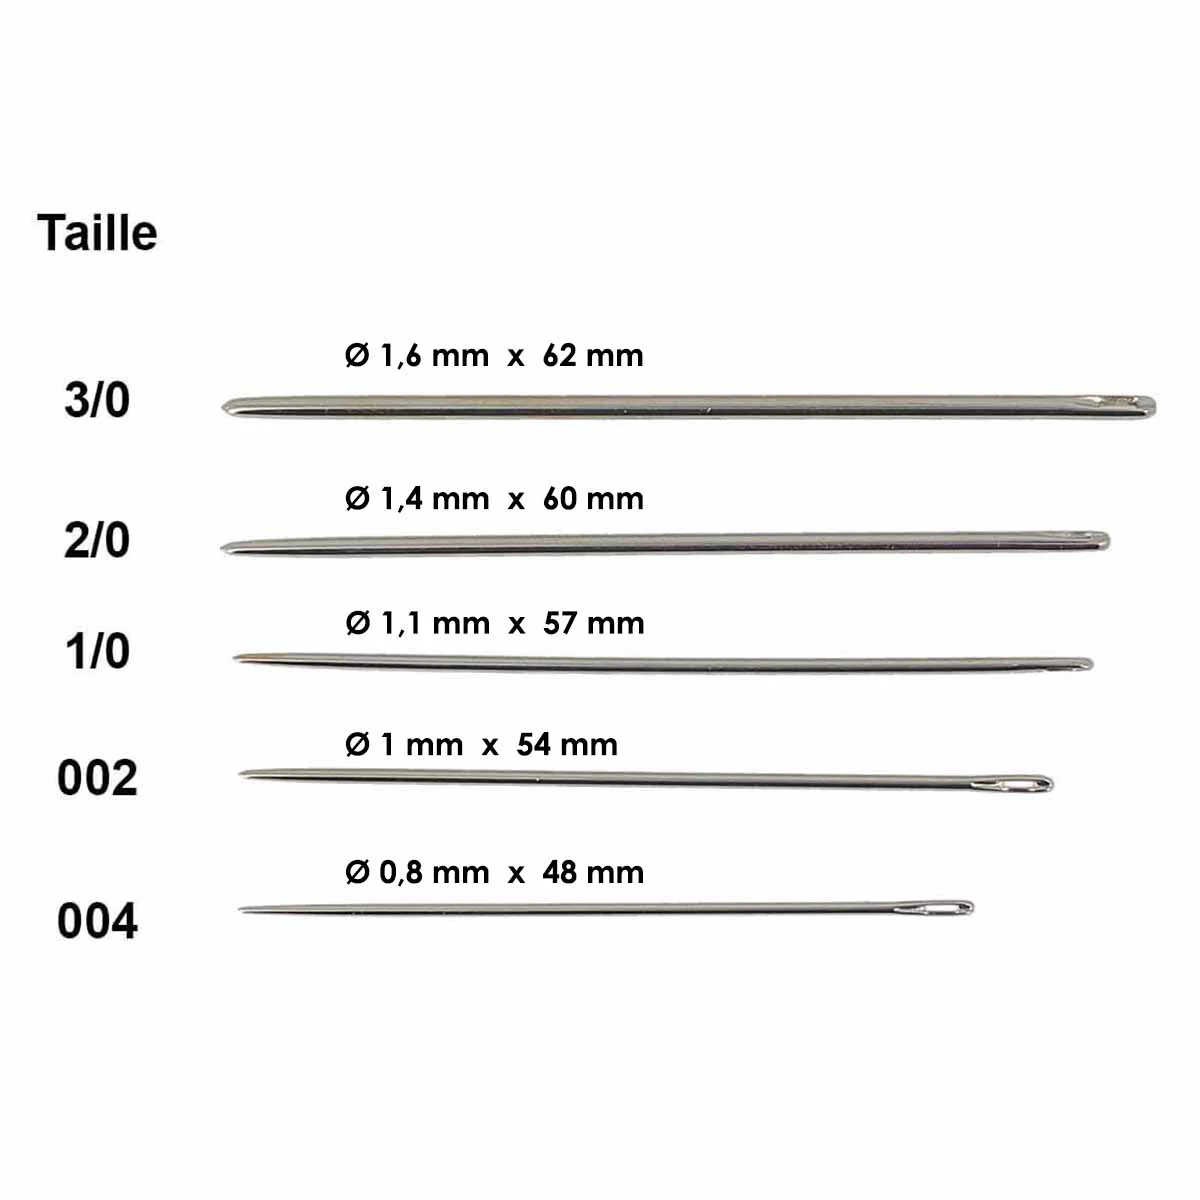
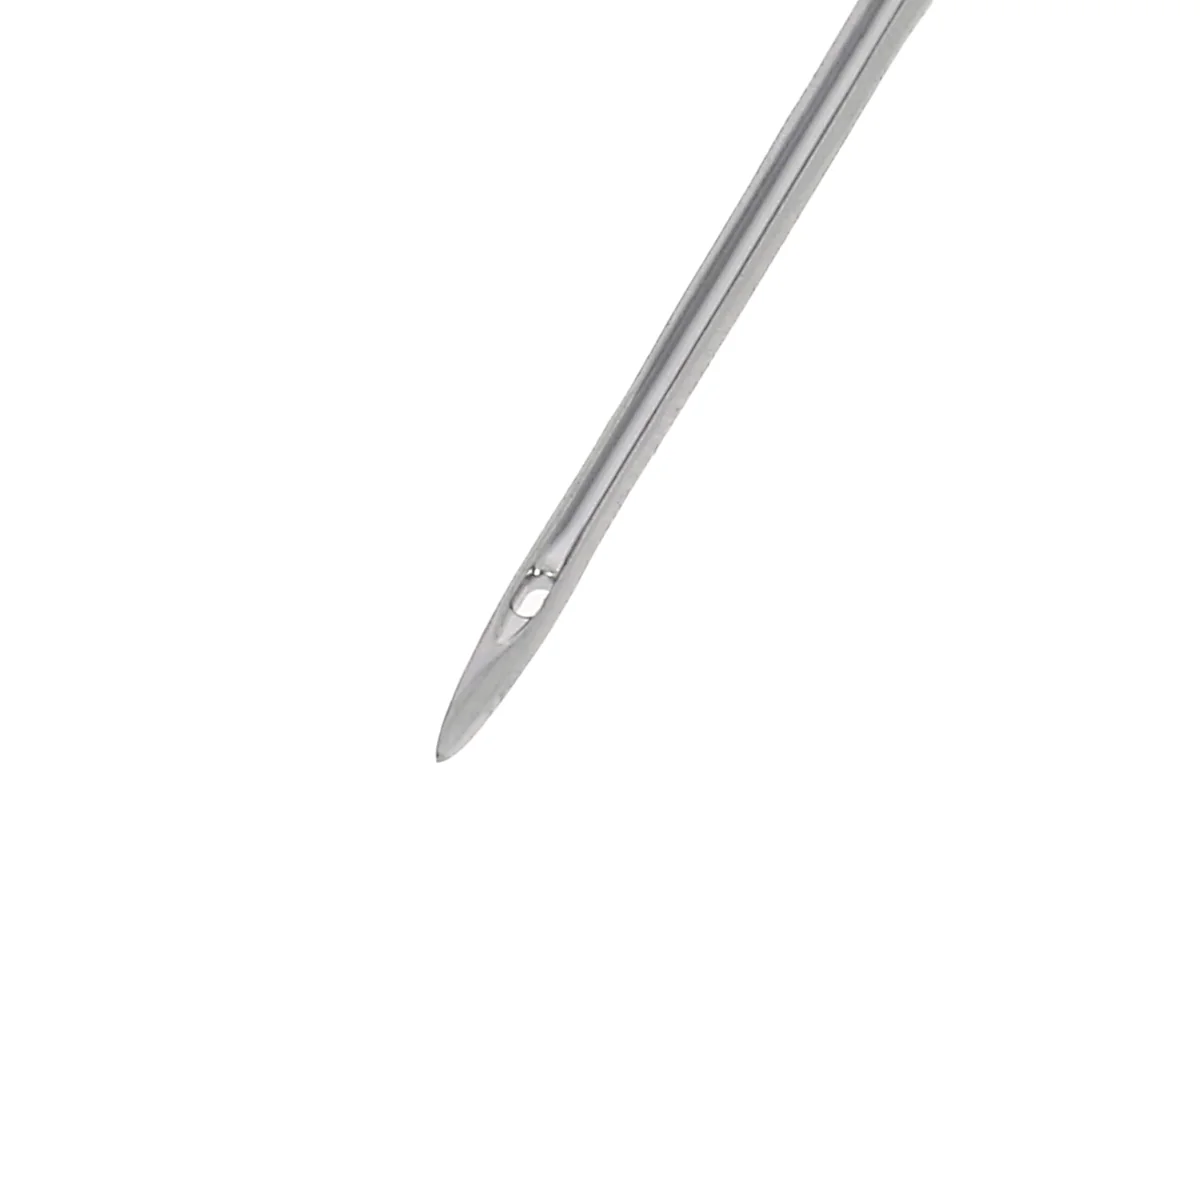
- 1 Seiwa cookie cutter ⌀ 0.90 mm
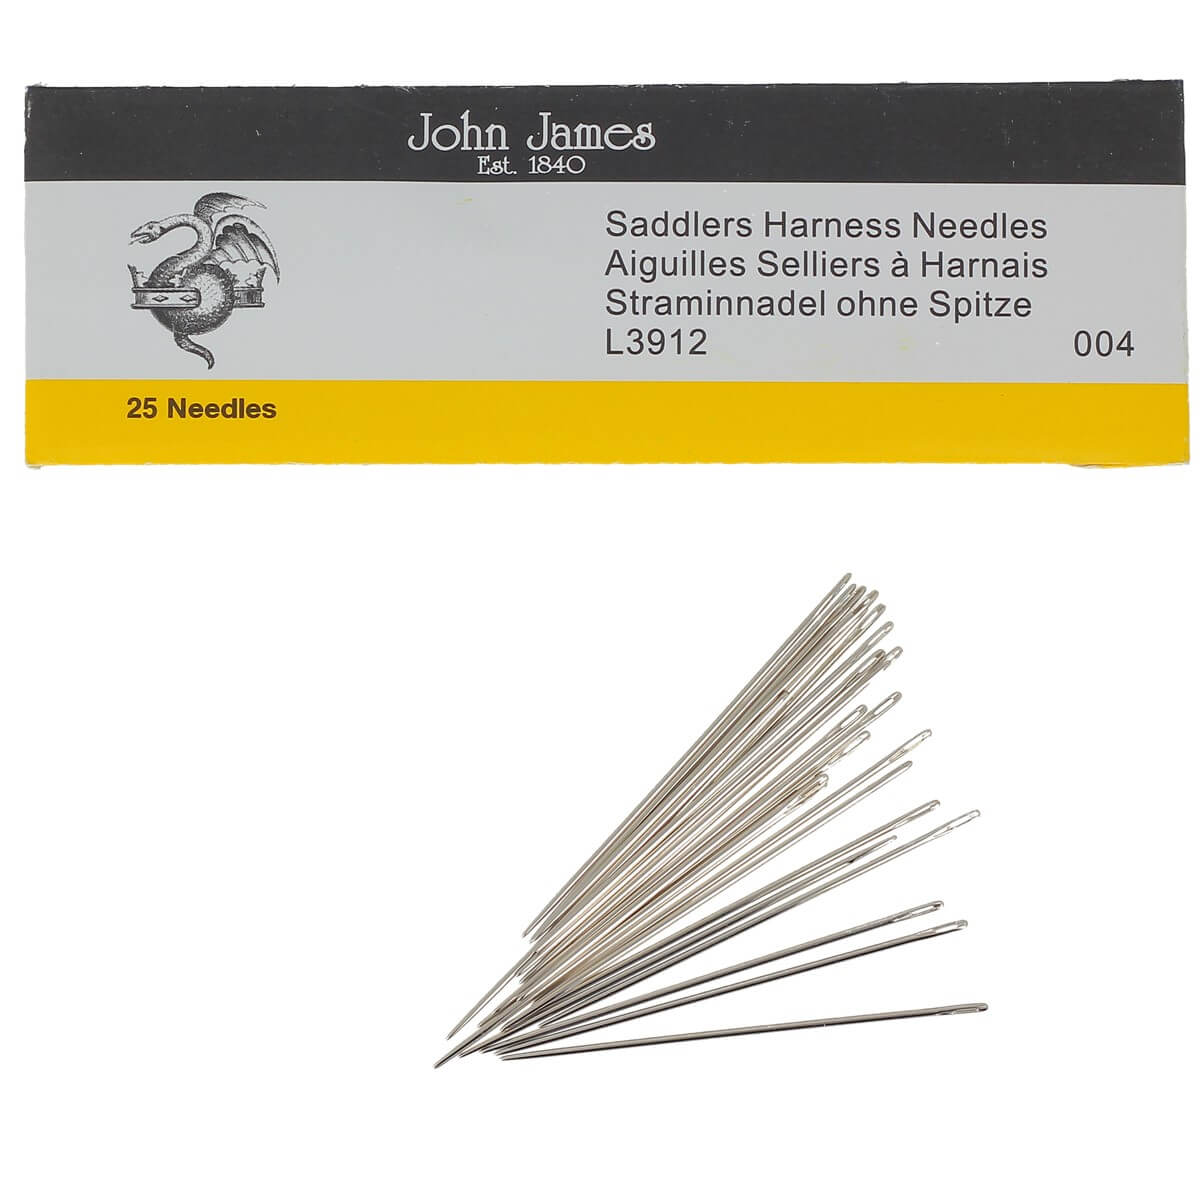
- 2 size 2/0 needles
- Braided and waxed polyester thread ⌀ 0.80 mm
- Neoprene or water-based glue for leather
ASSEMBLY STEPS
The handles are approximately 64 cm long.
1- Download the PDF pattern below for the pair of leather handles and print it twice at actual size.
2- Cut out the pattern, leaving approximately 1 cm of margin around the pieces. Assemble the pattern and tape it to the grain side of the leather using masking tape (to avoid damaging the leather) .
3- Punch the sewing holes indicated on the pattern with a 0.9 mm diameter round punch
4- Following the lines, cut out the 2 pieces of leather with a cutter.
5- Take the required length of strand (approximately 52 cm). Remove approximately 6 cm from each end (the strand stops before the ogive end at the 2 central points).
6- Apply glue to the entire handle (except at the ends) and position the strand in the center (don't hesitate to make marks) . Then apply glue to the strand.

7- Wait a few minutes for the glue to soak in and then fold the handle back on itself. Then flatten the glued area with a small smoother or a roller.

8- Sew the handle. Cut a length of thread five times longer than the length you need to sew. Thread a needle onto each end of the thread. To begin sewing: pass the thread through the first hole and even out the ends. Sew by passing each needle through each hole, one at a time. Finish the seam by bringing the thread out through the edge, tying a knot, and trimming the thread close to the edge. For more information on "simplified" leather sewing, see our guide.

9- Work the edges with an edge finish. Apply at least 3 coats of paint and sand between each coat.

TADAM ⬇️ 

SEE THE BAG TUTORIAL >
MACHINE SEWING OF THE BAG HANDLE
Not a fan of hand sewing but have a sewing machine that can handle thicker fabrics? We'll show you how to sew a leather handle by machine!
LEARN MORE ABOUT MACHINE SEWING OF LEATHER >
VIDEO TUTORIAL: LEATHER HANDLE - MINUTE 13:22
Since machine sewing requires supple and not very thick leathers, the ends of the handles must be reinforced with tear-resistant tape and lined (at the ends) with leather approximately 0.8 mm thick. 
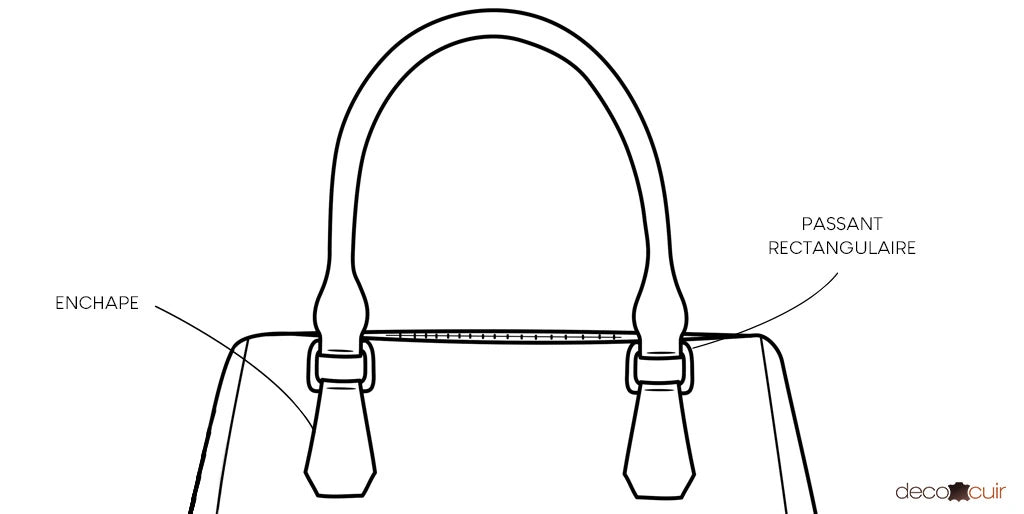
Furthermore, with machine sewing it is very difficult to sew the handle directly onto the body of the bag, so leather patches must be made. These patches allow the handle to be attached to the handbag using a rectangular or round loop.
We invite you to watch the video above or consult step 4 of the "Leather Travel Bag" tutorial to learn more about this method.


If you've read this far, you now know how to make a tubular leather handle. But braiding isn't the only way to cover a leather handle; we'll now explain how to make a reinforced leather loop with a collar strap.
Flat handles/straps have a slightly more masculine look, they will be ideal for leather laptop bags or briefcases.
FLAT LEATHER HANDLE TUTORIAL

You need to master the saddle stitch to make these handles. We recommend you check out our complete guide on this method.
VIDEO TUTORIAL: HOW TO MAKE A PAIR OF FLAT LEATHER HANDLES
1- Define the shape of the reinforcement.
Take a collar strap 25 mm wide and 1.9 mm thick. Then cut the ends at an angle. The required length of strap must be determined based on the final length of each flat handle (subtract 8 cm from this final length – the ends are not reinforced) .

Then, slightly bevel the edges that will be at the level of a seam (do not bevel the longest length of the reinforcement) . Bevel the edges on both the grain and split sides of the leather.

2- Cut a strip from the leather hide
For this tutorial, we chose a leather from our Satinlys range (Brick Brown - Thickness: 1.2 mm - Reference: SY007). Given the leather's suppleness, we reinforced the bag's body with Texon.
The width of the band is determined by the width and thickness of your reinforcement. In this case: width 25 mm and thickness 1.9 mm. Then, add 2 x length (50 mm) + 2 x width (4 mm) + add 8 mm (for the seam allowance) = 6.2 cm width.

The length of the band must be 11 cm longer than the reinforcement. For example, if the reinforcement is 52 cm long, the band must be 63 cm long. The final handle will be 60 cm long (after trimming) .
Don't forget to make everything in duplicate to get a pair of flat handles.
3- Glue reinforcement to the back of the strip
Mark a point 3 cm from one edge (add 5 mm to the width of the reinforcement: 25 + 5 = 30 mm). This mark will allow you to glue the reinforcement to it.

Position the reinforcement on the mark. Be careful to center it properly before gluing.

Improve glue adhesion with a leather rasp (only on the grain side of the reinforcement – see step 4). Then apply leather contact adhesive (neoprene or water-based) to the back of the strip and the reinforcement. Wait a few minutes for the adhesive to soak in, then glue the reinforcement in place.
4- Form the flat handle
Apply glue to the grain side of the reinforcement, ensuring it covers its entire thickness. Then use a bone folder/smoothing tool to fold the strip over the reinforcement.

Next, fold the leather down starting from the center (don't hesitate to use a guide).

Fold over also at the ends where there is no reinforcement.

5- Mark the outline of the handle
Use a bone folder/smoothing tool to mark the edges of the reinforcement and form the handle.

6- Cut off the ends of the handle
Position a ruler (here 2 cm wide) diagonally and parallel to the ends of the reinforcement. Then cut.

7- Trace and mark the seam line
At the ends of the handle, draw the sewing line with a dry-point compass 3-4 mm from the edge.

Then mark the stitching points with a mallet and a pricking iron. The goal is not to pierce the leather completely, but only through part of its thickness.

8- Coupling the excess leather
Using a rotary cutter, even out the edges of the leather.

9- Sew using the saddle stitch
Thread a needle onto each end of the thread and sew using the saddle stitch.
SEE THE SADDLE STITCH SEWING GUIDE >

Use a round awl to help, then finish the stitching by bringing the needles out through the edge and making a knot.

Smooth/hammer the stitches using a smoothing tool.
10- Working the edges of the leather
Sand the edges and apply at least 3 coats of finish, sanding between each coat.

11- Glue the handles onto the body of the bag
Position the handles on the body of the bag. Leave at least 1 cm of space between the top of the bag body and the beginning of the handle seam.

Using a round awl, mark the position of the handles on the body of the bag.

Lightly roughen the surface of the leather to improve glue adhesion. Do the same on the end of the strap that will be glued, making sure to do this only inside the stitching line. Then glue and hammer the glued section in place.

12- Sew the handles onto the body of the bag
Sew the handles and finish the stitching by making knots on the side that will be lined. 
*The body of the bag has been reinforced with Texon. 
Repeat the same process on the other part of the bag. Sew on the second handle/strap.


FLAT LOOPS/STRAPS WITHOUT COVERING
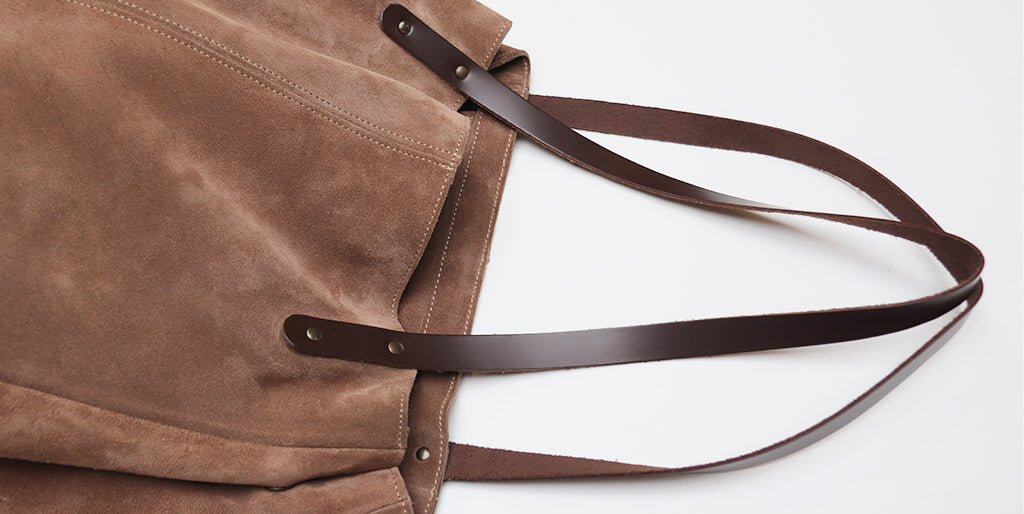
Make your life easier with our removable leather handles; they are ready to be attached, sewn and/or riveted onto your handbags!
How to attach a bag handle to leather?
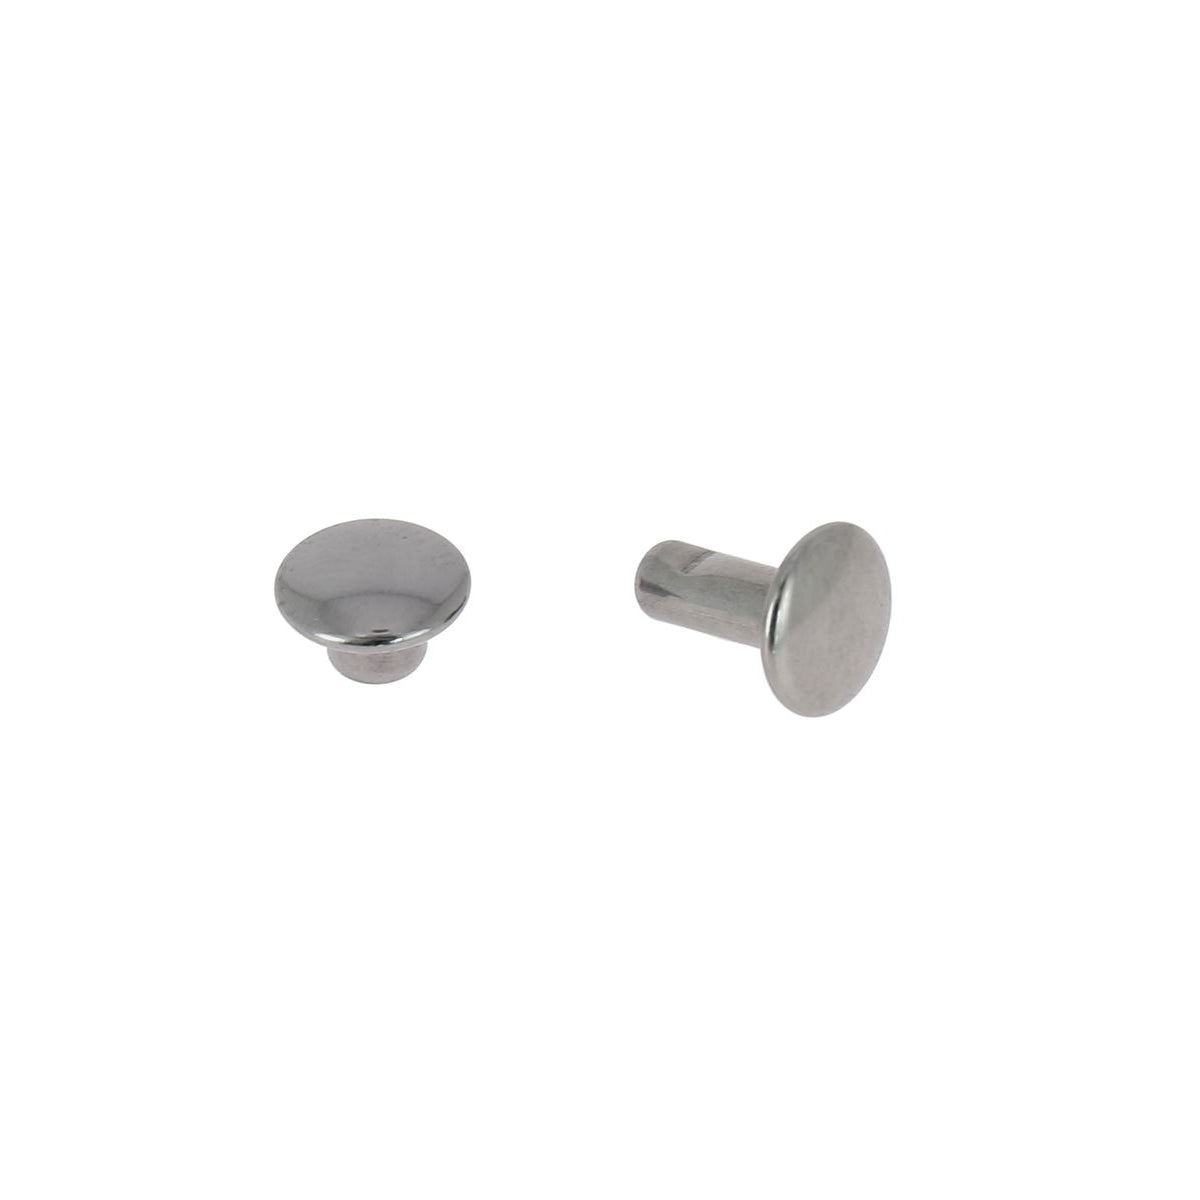
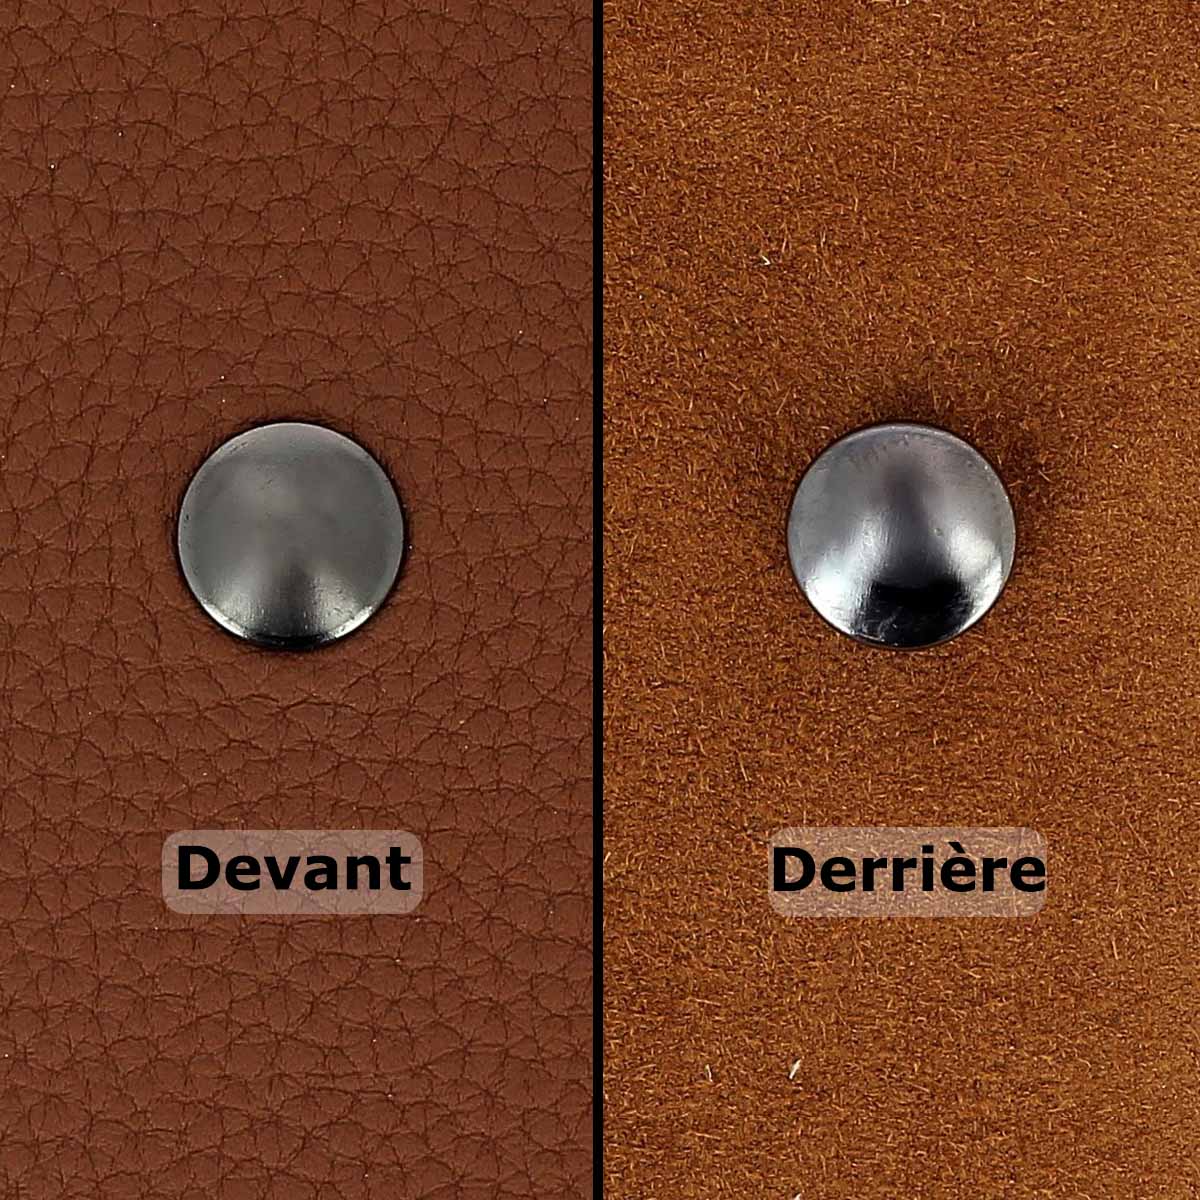
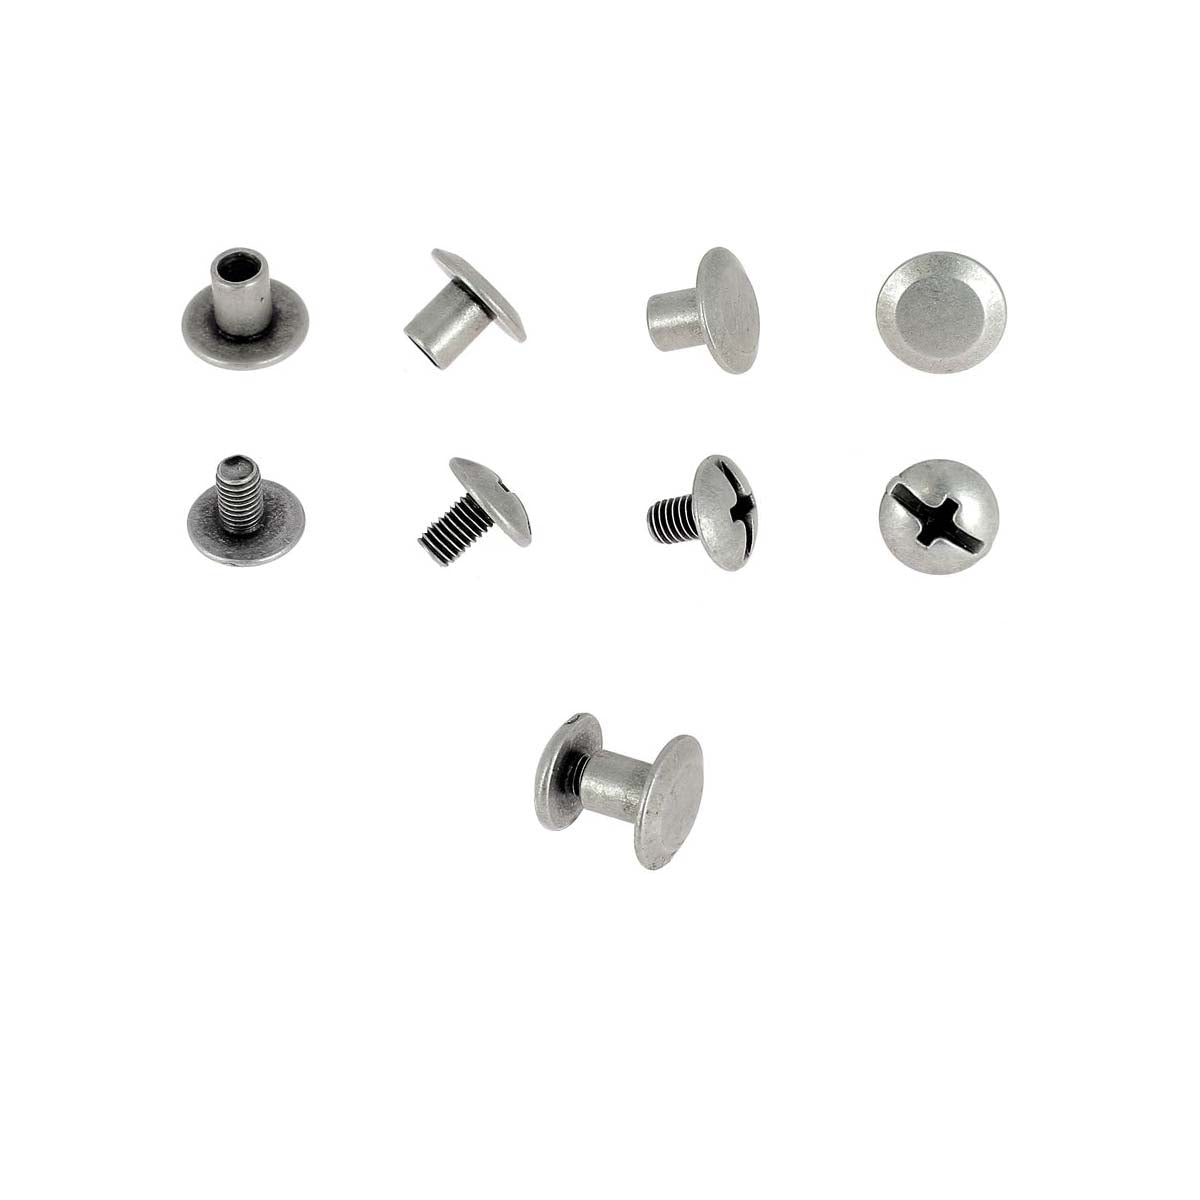
Choose our pre-cut leather bag handles! They are available in several colors, widths (15, 18, and 29 mm) , and lengths (60, 70, 75, and 80 cm). For this type of handle, you only need 8 Chicago screws or 8 T3 to T6 rivets to attach them to your bag!


Next, let your creativity flow by adding or not adding buckles: rectangular loop, swivel carabiner, half-round ring...
How to make a leather strap/shoulder strap?
As mentioned in the introduction, a leather strap is on average 100 to 120 cm long.
If you choose one of our (flexible) mineral-tanned webbing straps for your bag strap, we recommend doubling it (sewing two strips together) to make it more durable and prevent it from losing its shape. This will also hide the tanned side, which tends to bleed color if the strap is brightly colored (another option is to wax the tanned side with Tokonole) .


TUTORIAL
For this tutorial, choose soft straps as the leather is more supple and therefore easier to machine sew. We opted for a 2.3 mm thick and 40 mm wide GROGRAIN leather strap: always choose a width greater than the final strap width because the strap will be trimmed after gluing.
1- Put tear-resistant tape on the rough sides of the straps to reinforce them and prevent them from stretching.

2- Apply leather glue to the back of the straps and glue them in place. Reinforce the glue with a steel roller.

3- Define and mark the final width of the strap. Then overcut , this allows you to have very clean edges (be careful to choose a wider strap to begin with) .

4- Sew all around the strap 4 mm from the edge and with a Teflon presser foot.

5- Work the edges to achieve a professional finish (sand the edges and apply a finish/paint) .
For collar straps, we invite you to consult our guide "How to line a leather strap with suede pigskin?" , you will also learn how to make an adjustable strap.
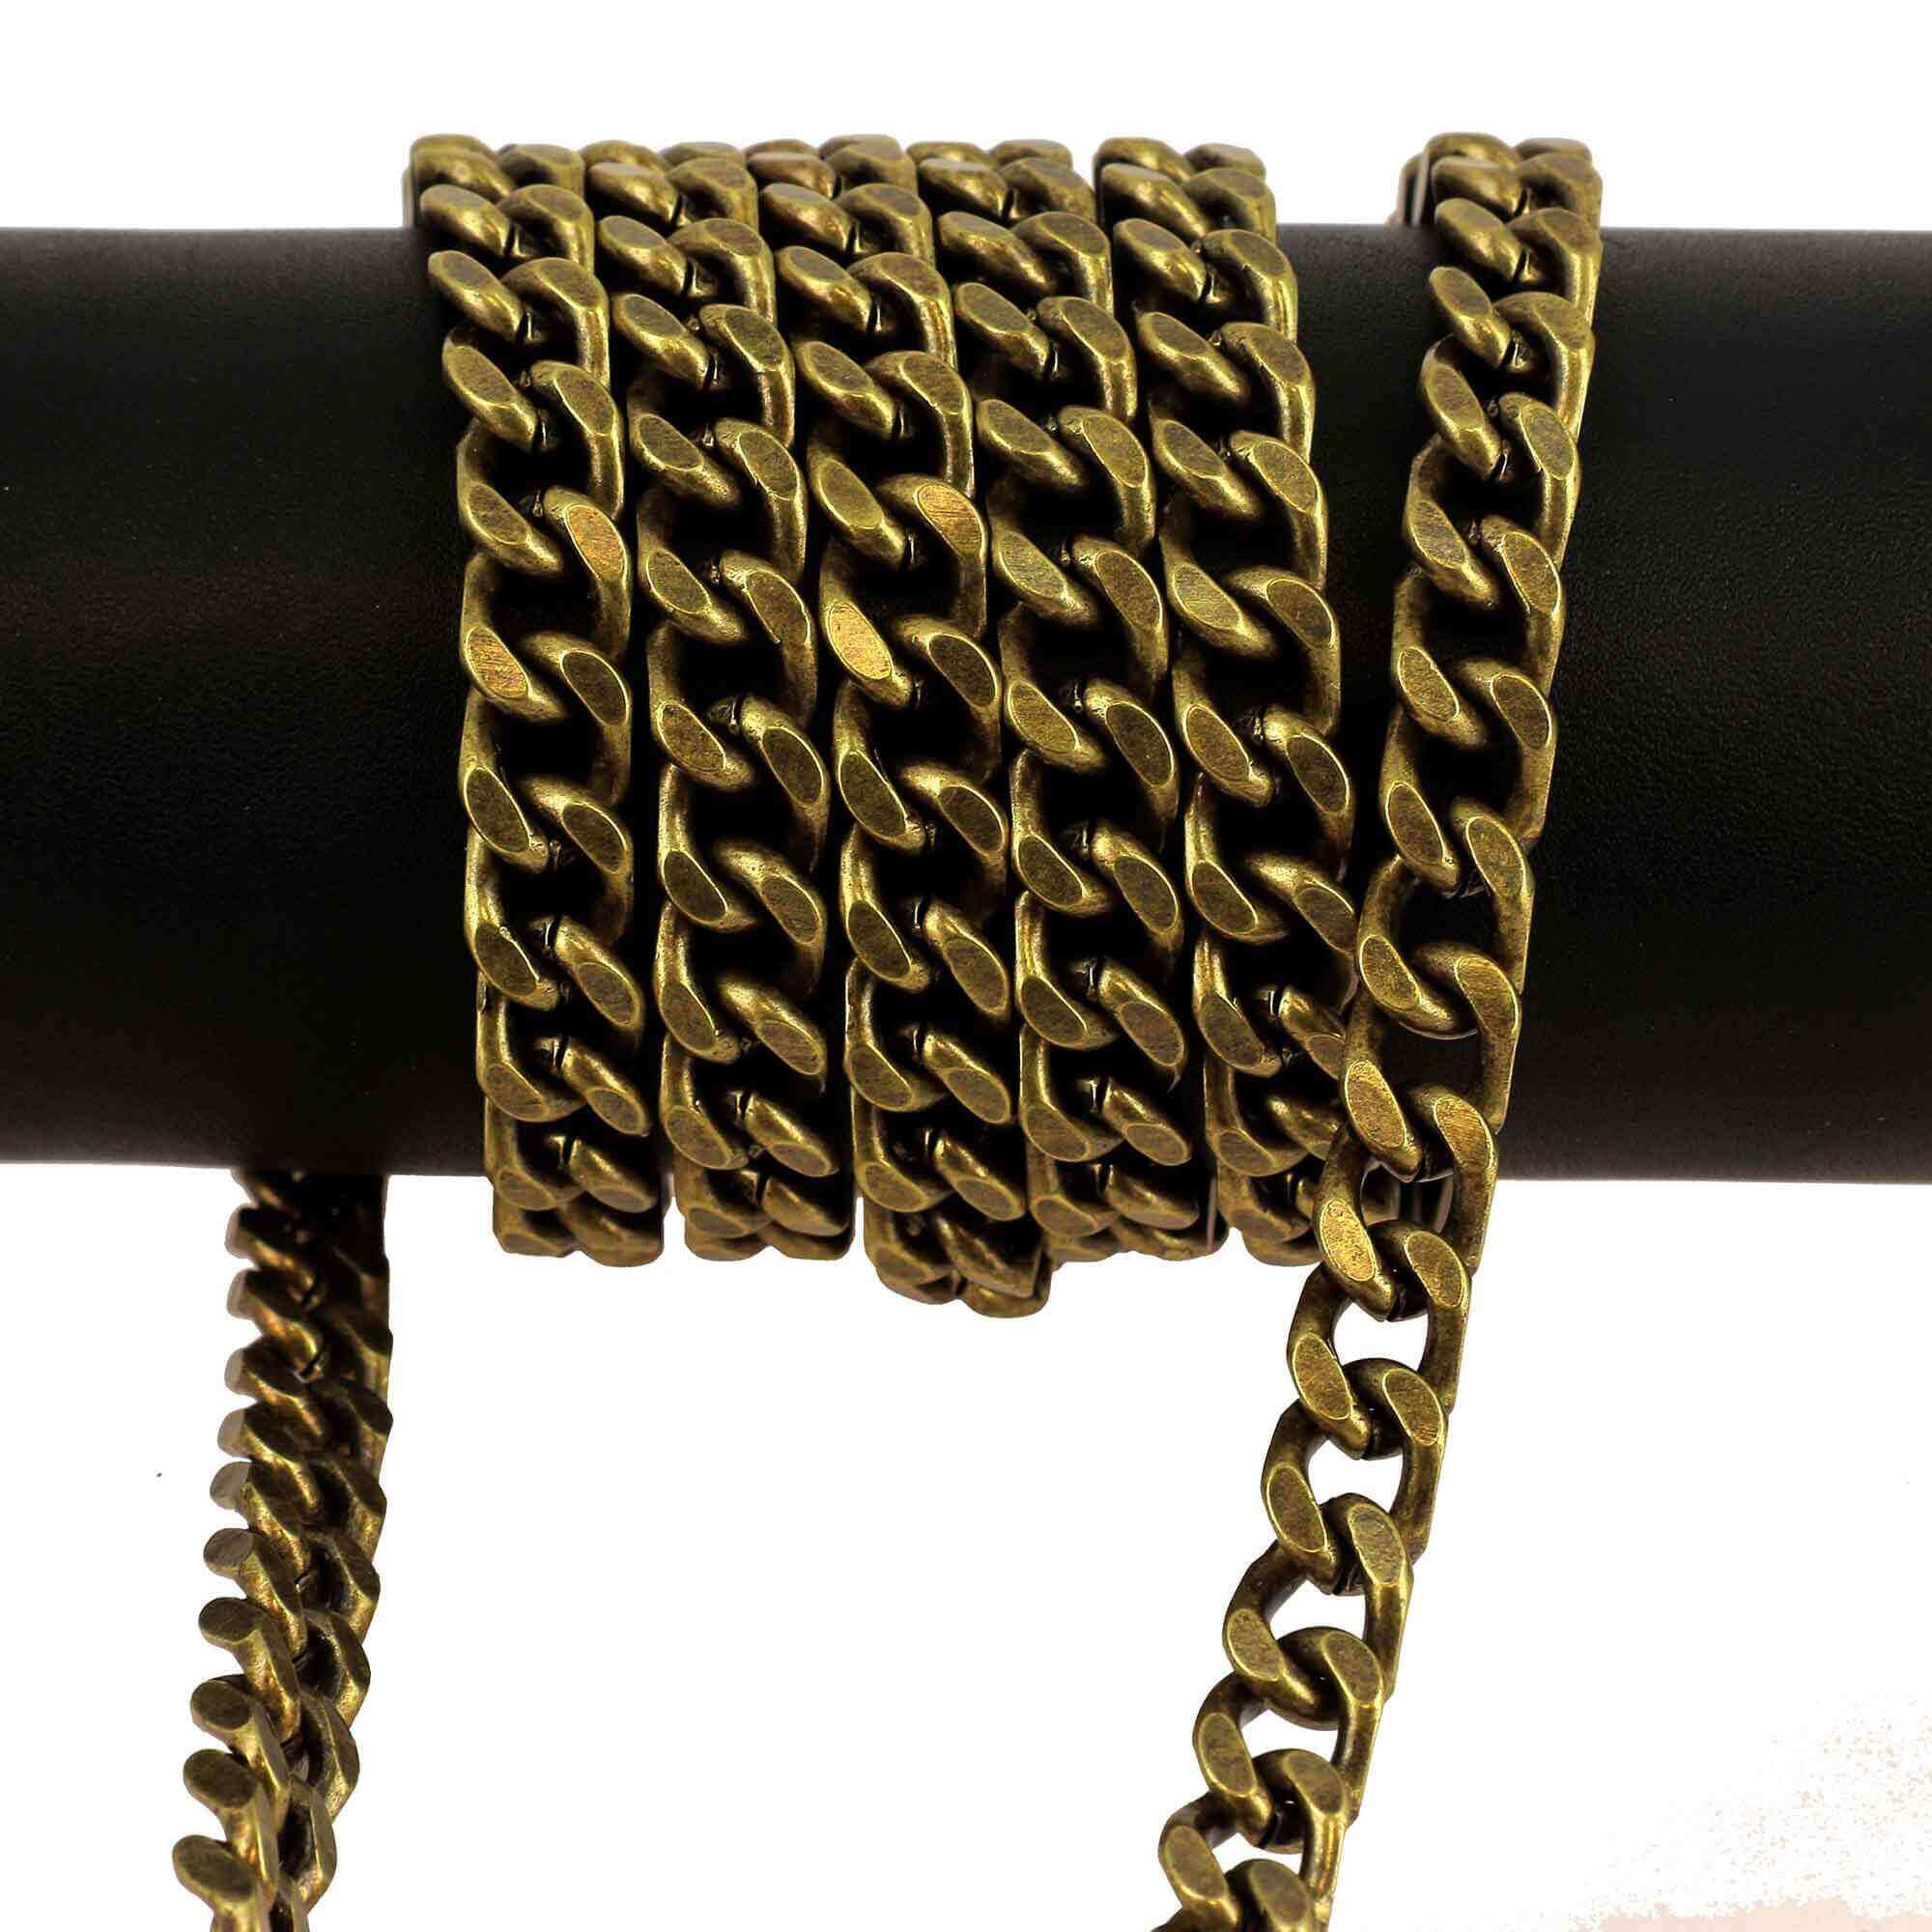
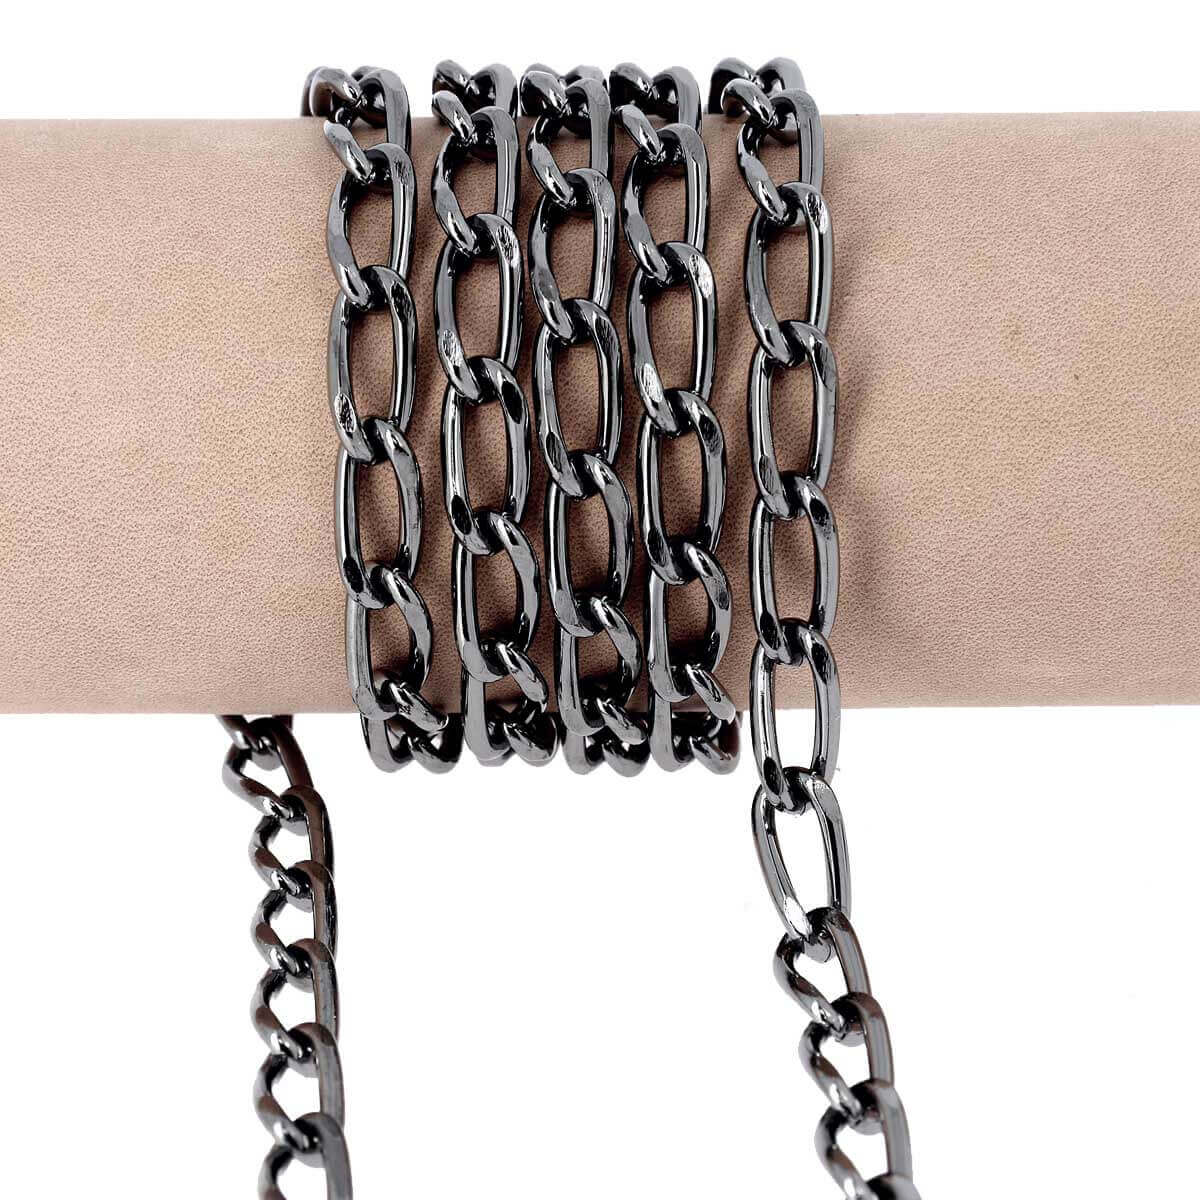
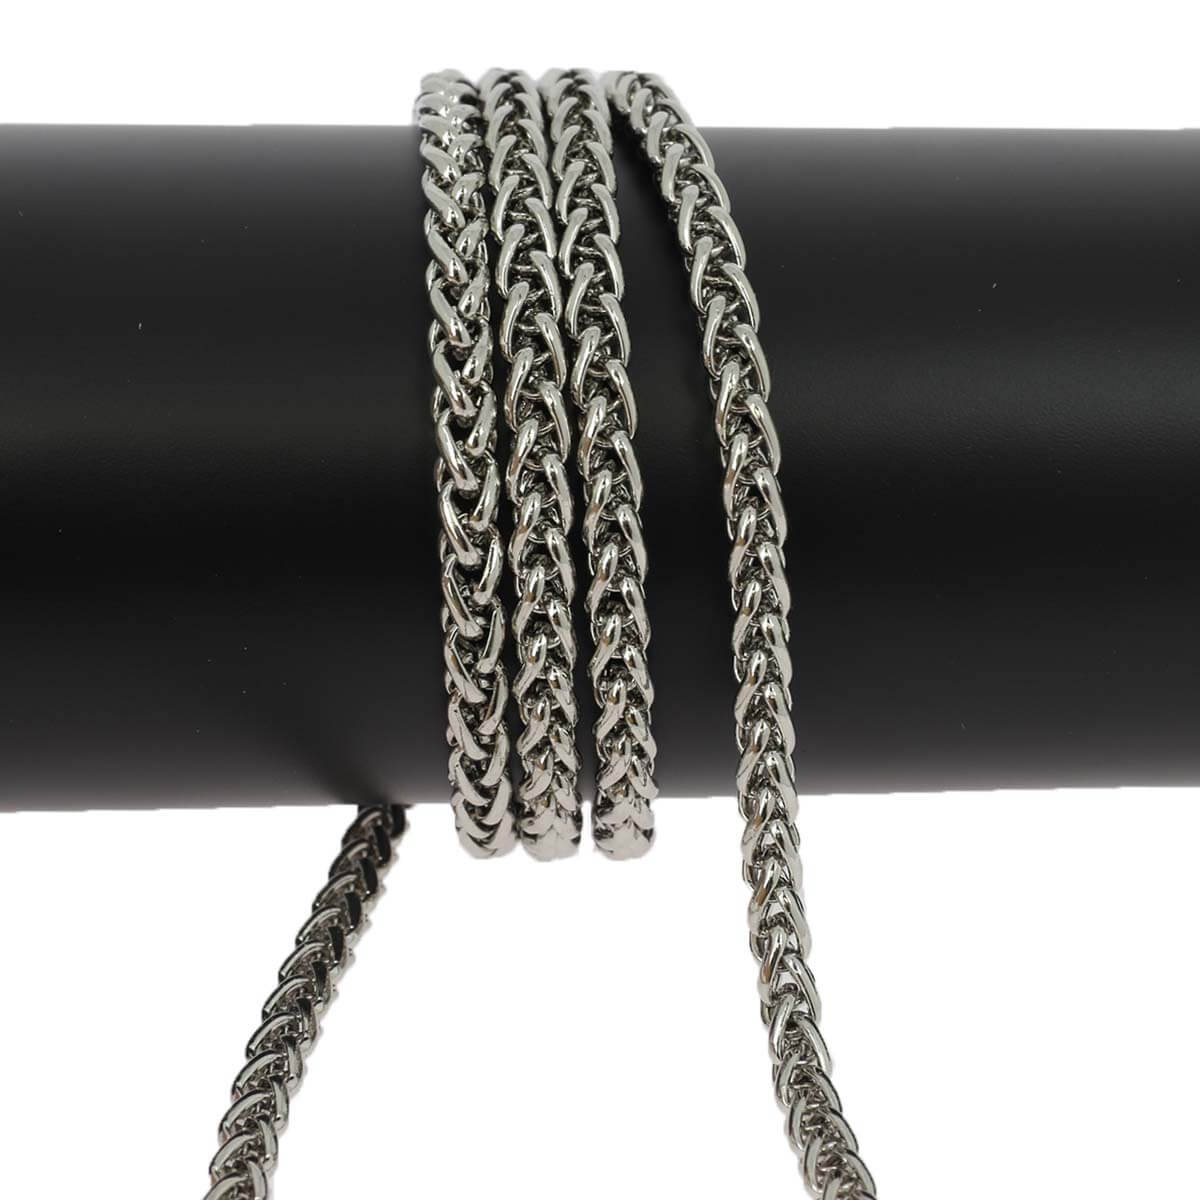
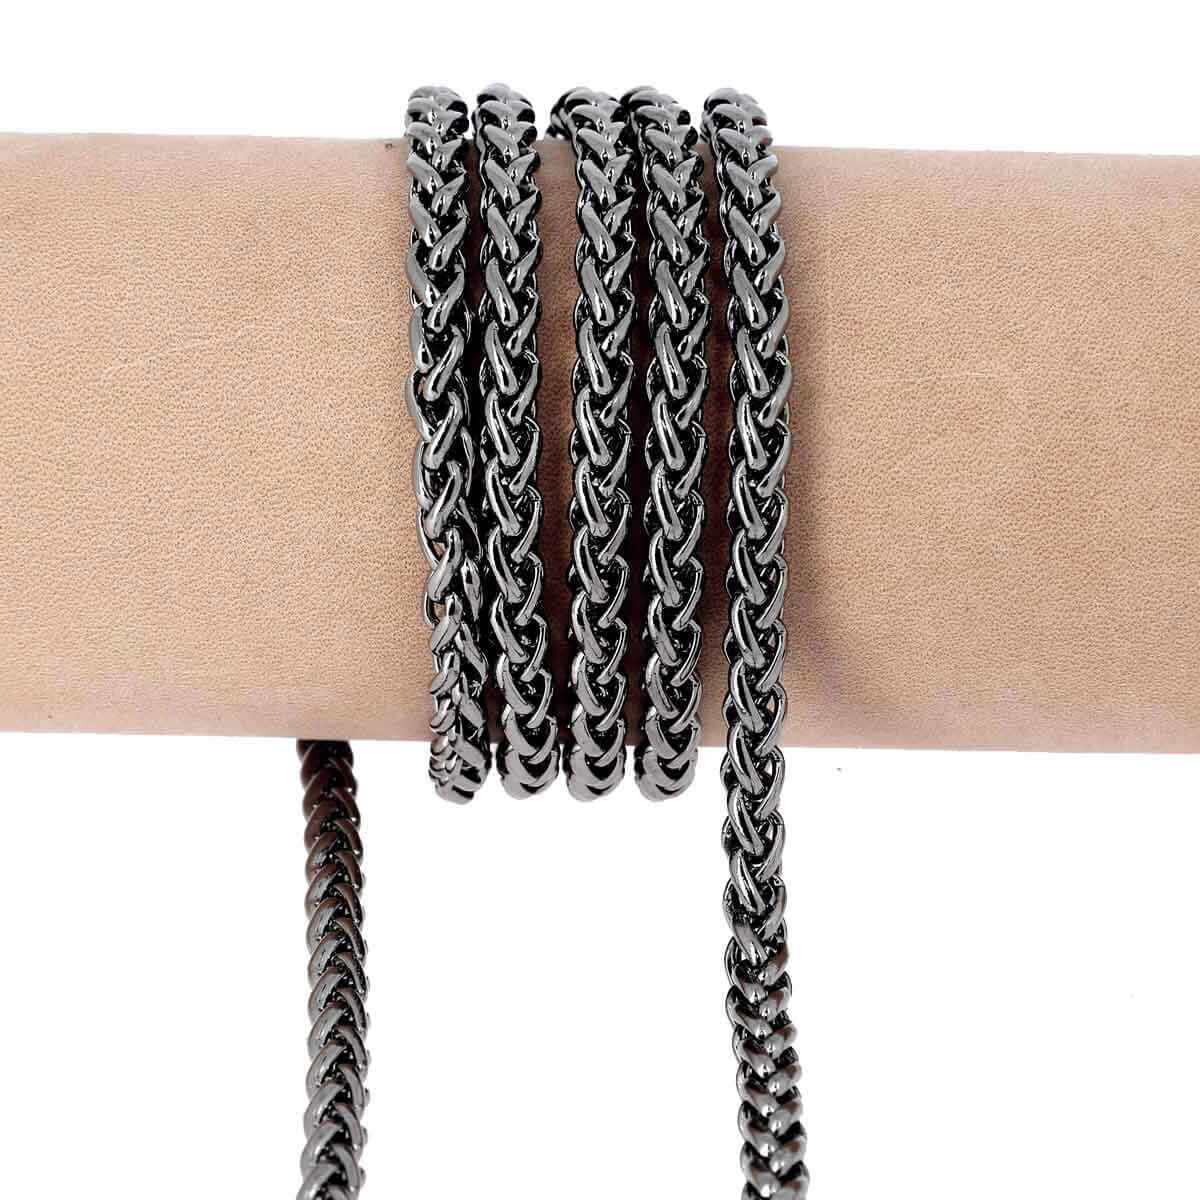
What are the alternatives to leather straps?
To give your bag a more "rock" look, you can opt for a bag chain. You can always add a leather shoulder strap. The links of our bag chains are not welded, which allows for easy adjustment of the chain length. Several finishes are available: nickel-plated, gold-plated, antique brass, gunmetal...