


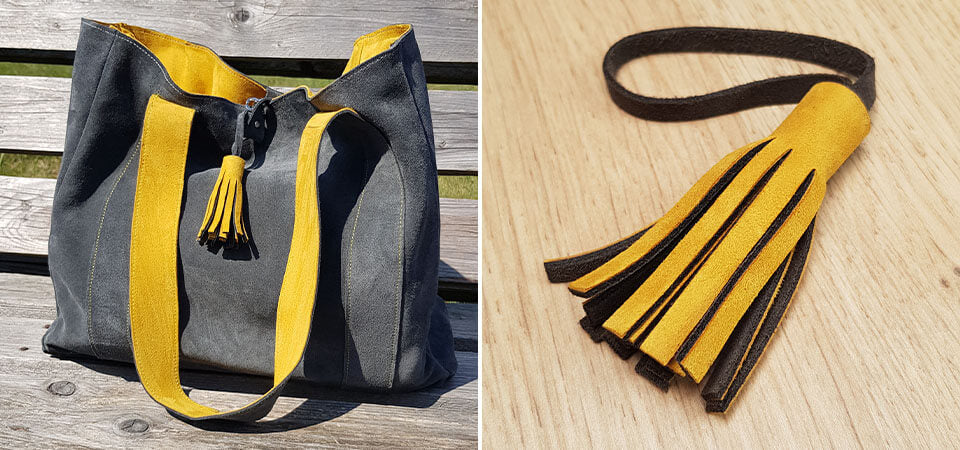
How to attach the tassel to your creation? Discover our tip!
MATERIALS NEEDED TO CREATE YOUR OWN TASSEL
- 1 silver pen
- 1 metal ruler or straightedge
- 1 cutting mat
- 1 cutter and scissors
6 CM TASSEL
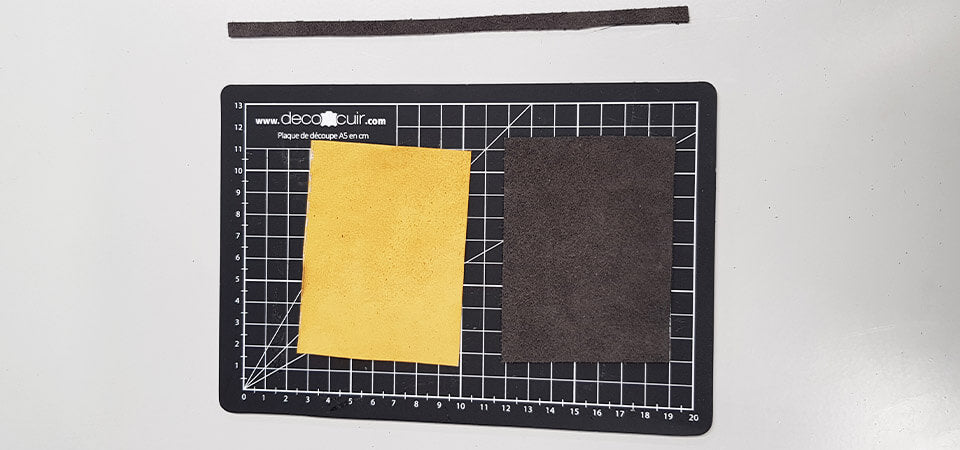
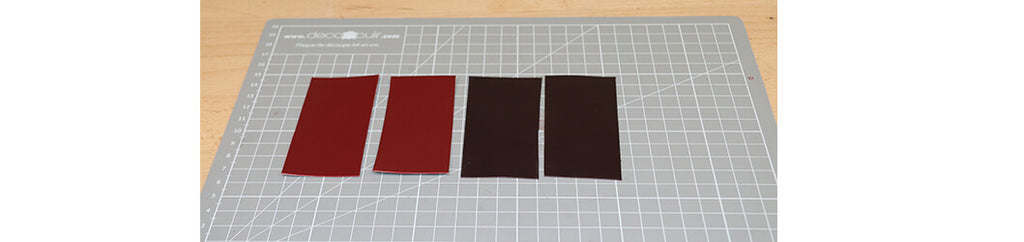
1. CUT 2 RECTANGLES
Using the silver pen, draw a 7.5 x 10 cm rectangle on each piece of leather (see pattern).
Cut out the rectangles using a straightedge and a cutter.
Also cut a strip of 20 cm by 0.5 cm to make the tassel attachment.
The pen is erasable on most leathers with a simple eraser (do not use on vegetable-tanned leather). We advise you to do a preliminary test to validate the erasable function on your leather.
2. GLUE THE RECTANGLES TOGETHER
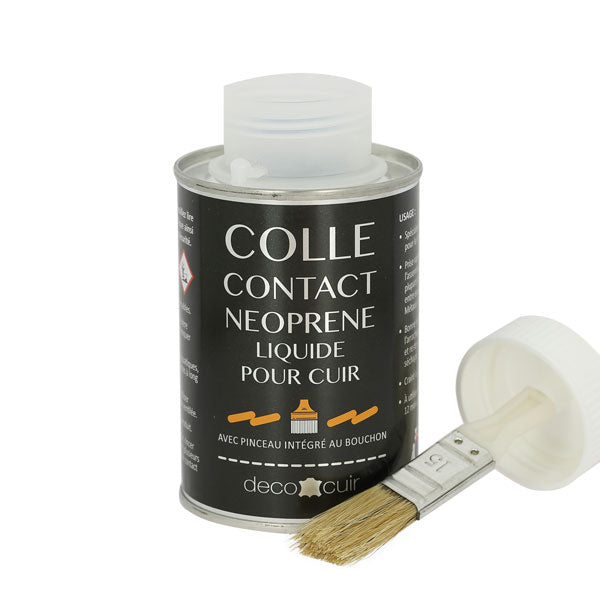
Apply leather glue to the two wrong sides of the rectangles. Wait a few moments, then glue the two pieces together. To maximize the glue's adhesion, flatten the leather with a steel roller.
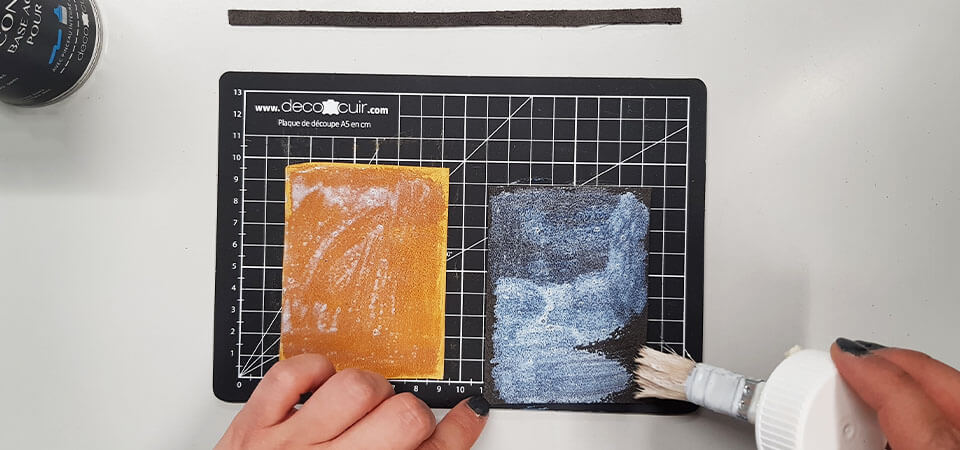
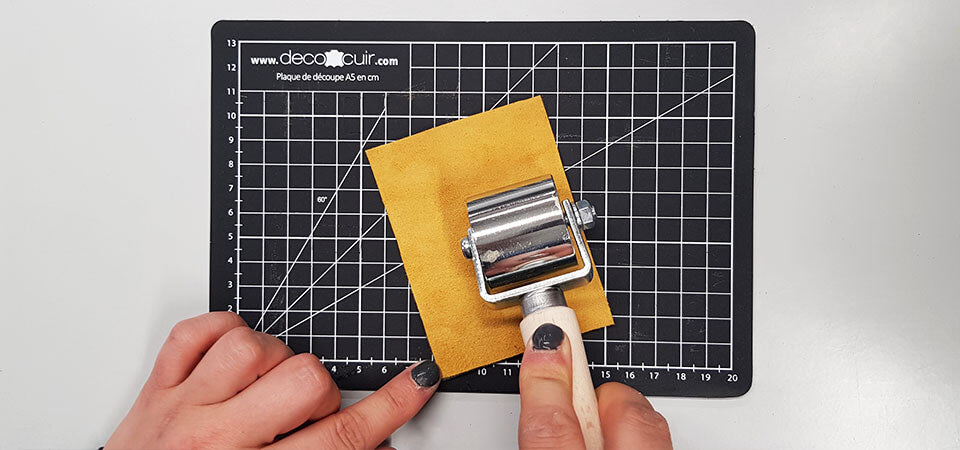
Finally, cut off any excess pieces with a cutter.
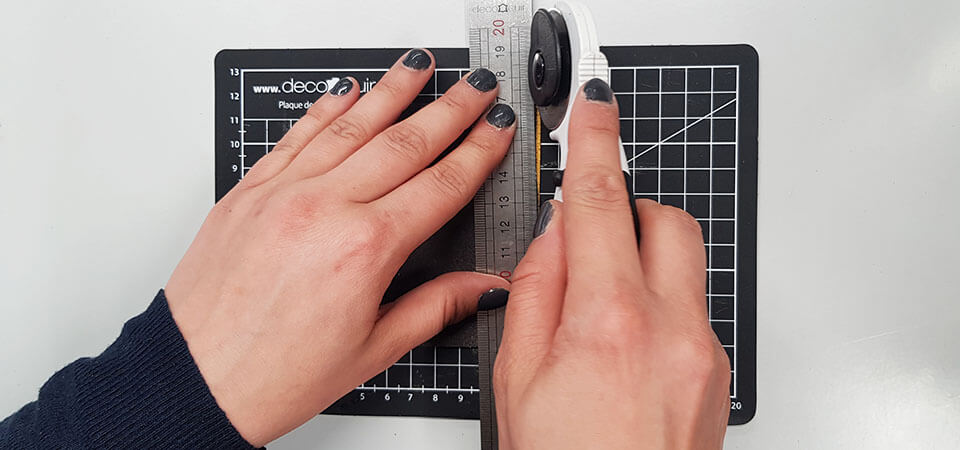
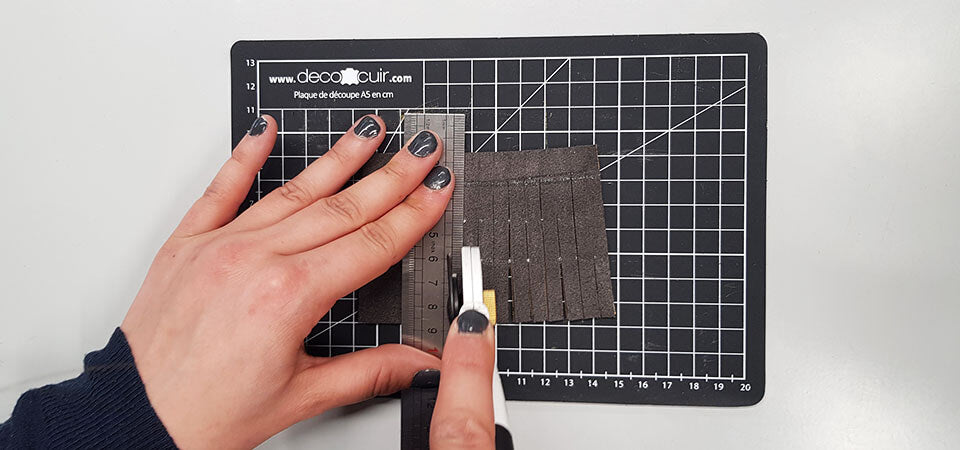
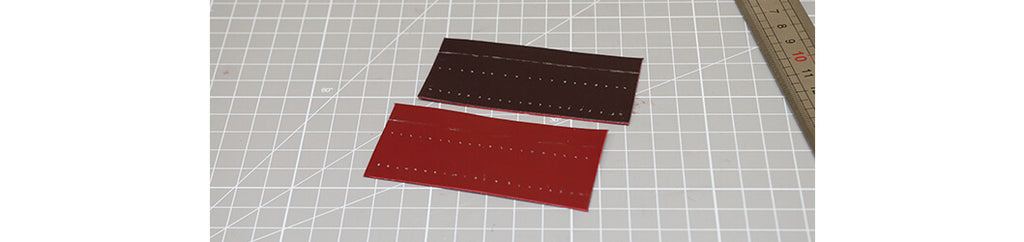
3. DRAW A LINE WITH THE SILVER PEN
On the inner part of the tassel, draw a line 1.5 cm from the edge (along the length) with the silver pen.
Then, with a ruler, make marks every 0.5mm (to cut the fringes at regular intervals).
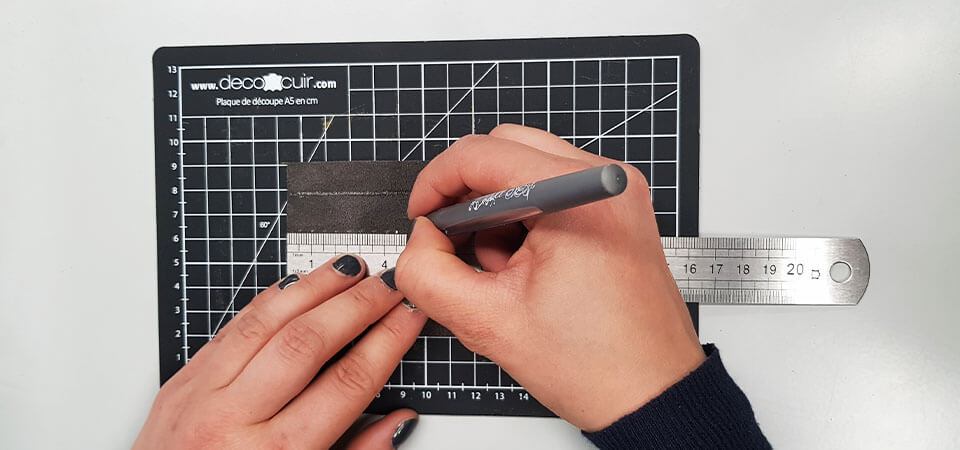
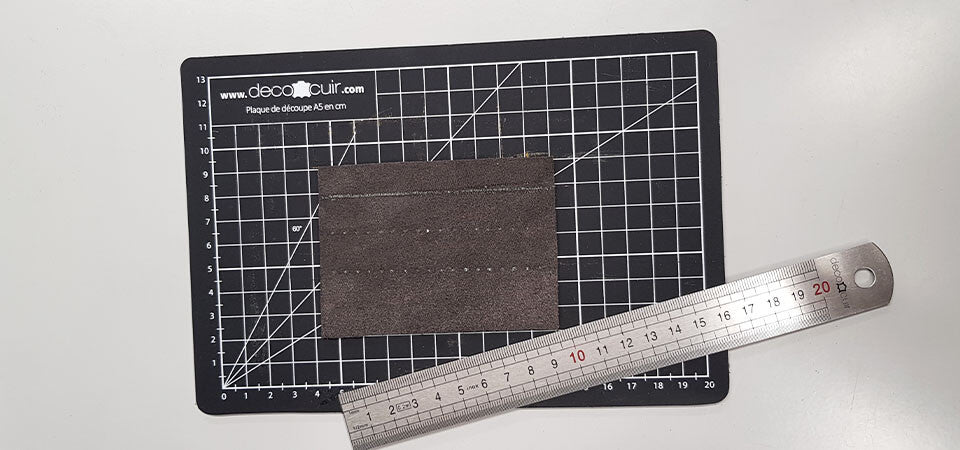
Using a cutter or scissors, cut the fringes up to the line drawn with the silver pen. Then erase all traces of the silver pen.
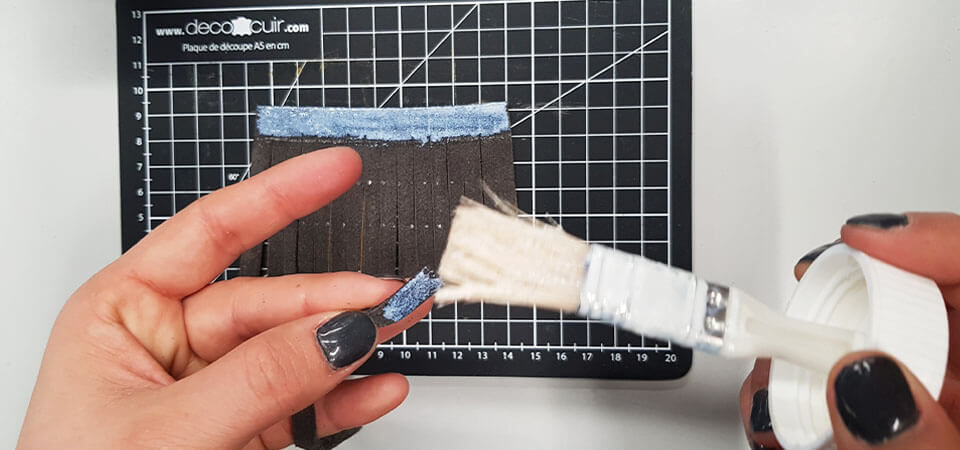
4. ATTACH THE LEATHER STRIP
Apply contact glue 1.5 cm from the edge of the rectangle and on the ends of the strip.
Then, fold the strip back on itself before gluing it onto the leather rectangle.
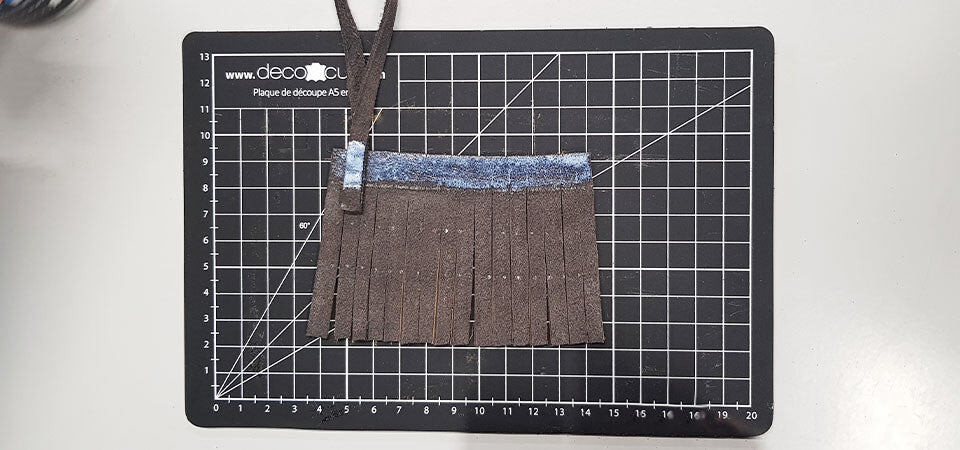
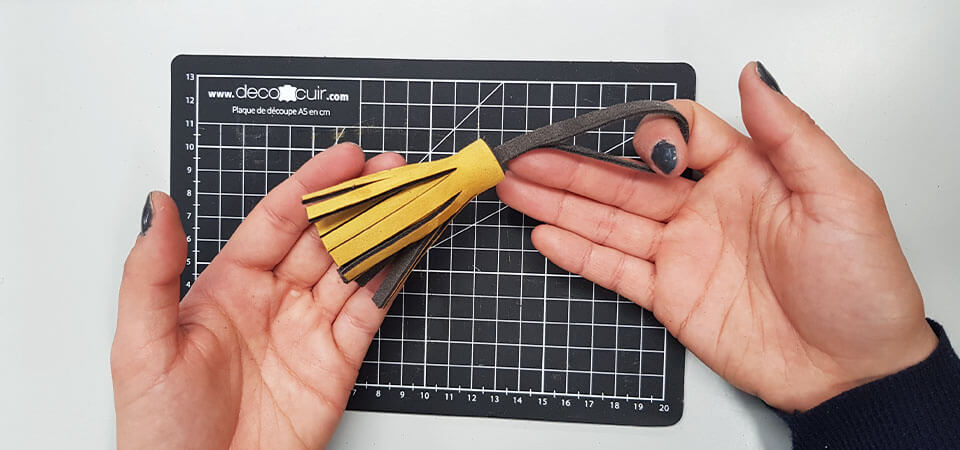
5. FORM THE TASSEL
Tightly roll the tassel, starting from the left.
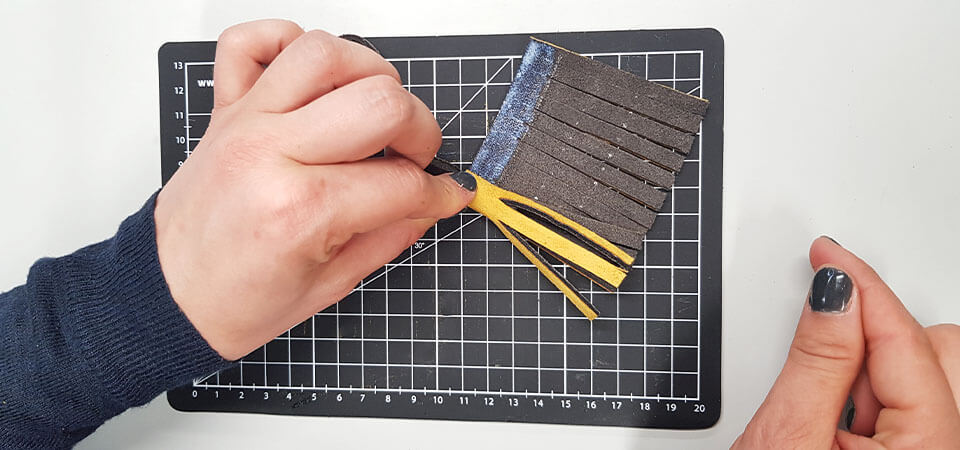
9. FINISH THE TASSEL
Wait a few minutes, keeping the tassel tightly held.
And there you have it, your tassel is finished!
MAKE 2 MORE SMALL TASSELS
WITH THE REMAINING LEATHER
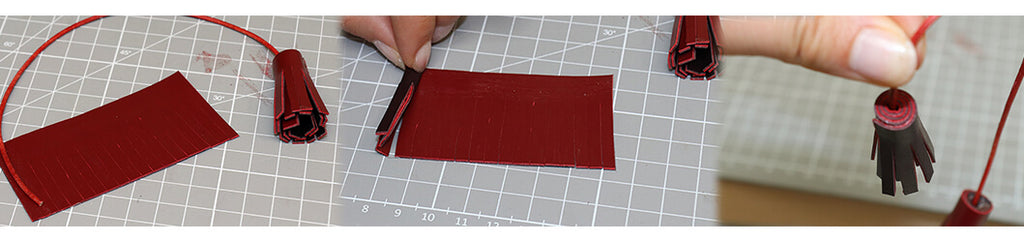
1. CUT 4 RECTANGLES
Using the silver pen, draw 2 rectangles measuring 4x8 cm on each piece of leather (see pattern). Cut out the rectangles using a ruler and a cutter.
2. GLUE THE RECTANGLES TOGETHER
Glue the rectangles together (using 3M double-sided tape).
- 1 with 3
- 2 with 4

3. DRAW A LINE WITH THE SILVER PEN
Along the length, 1 cm from the edge, draw a line with the silver pen.
With a ruler, make dots every 0.4mm (to cut the fringes at regular intervals).
4. CUT THE TASSEL FRINGES
With a cutter or scissors, cut the fringes up to the line drawn with the silver pen. Then erase all traces of the silver pen.

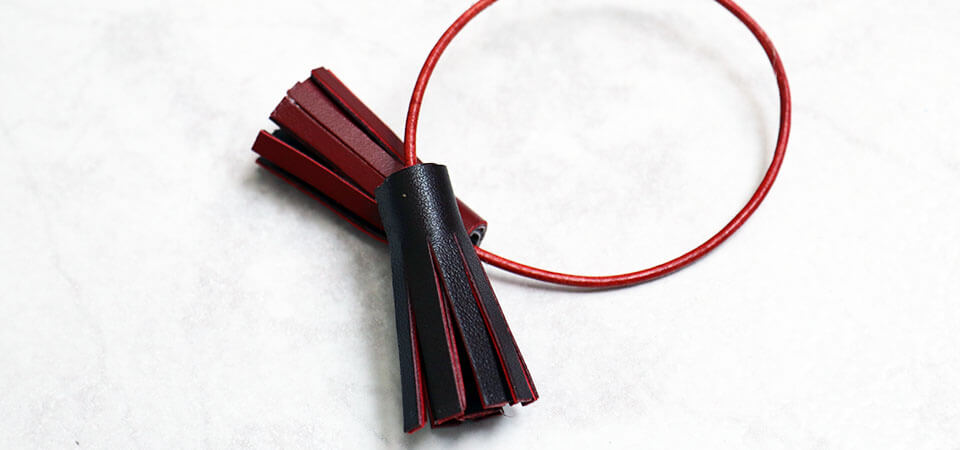
5. GLUE THE ROUND LACE
Using neoprene glue, glue one end of the lace onto the first fringe of one of the rectangles and wait a few seconds for the glue to dry. Then apply glue to the entire top strip (where there are no fringes). Tightly roll the tassel, starting from the left.
Do the same with the second rectangle and the other end of the lace.