


THE NECESSARY MATERIALS
To complete the tutorial you need:
- 1 leather skin of 0.95 m2 minimum (please note that each skin is unique, we cannot guarantee a surface area, please contact us), fairly flexible, 1.2 mm thick
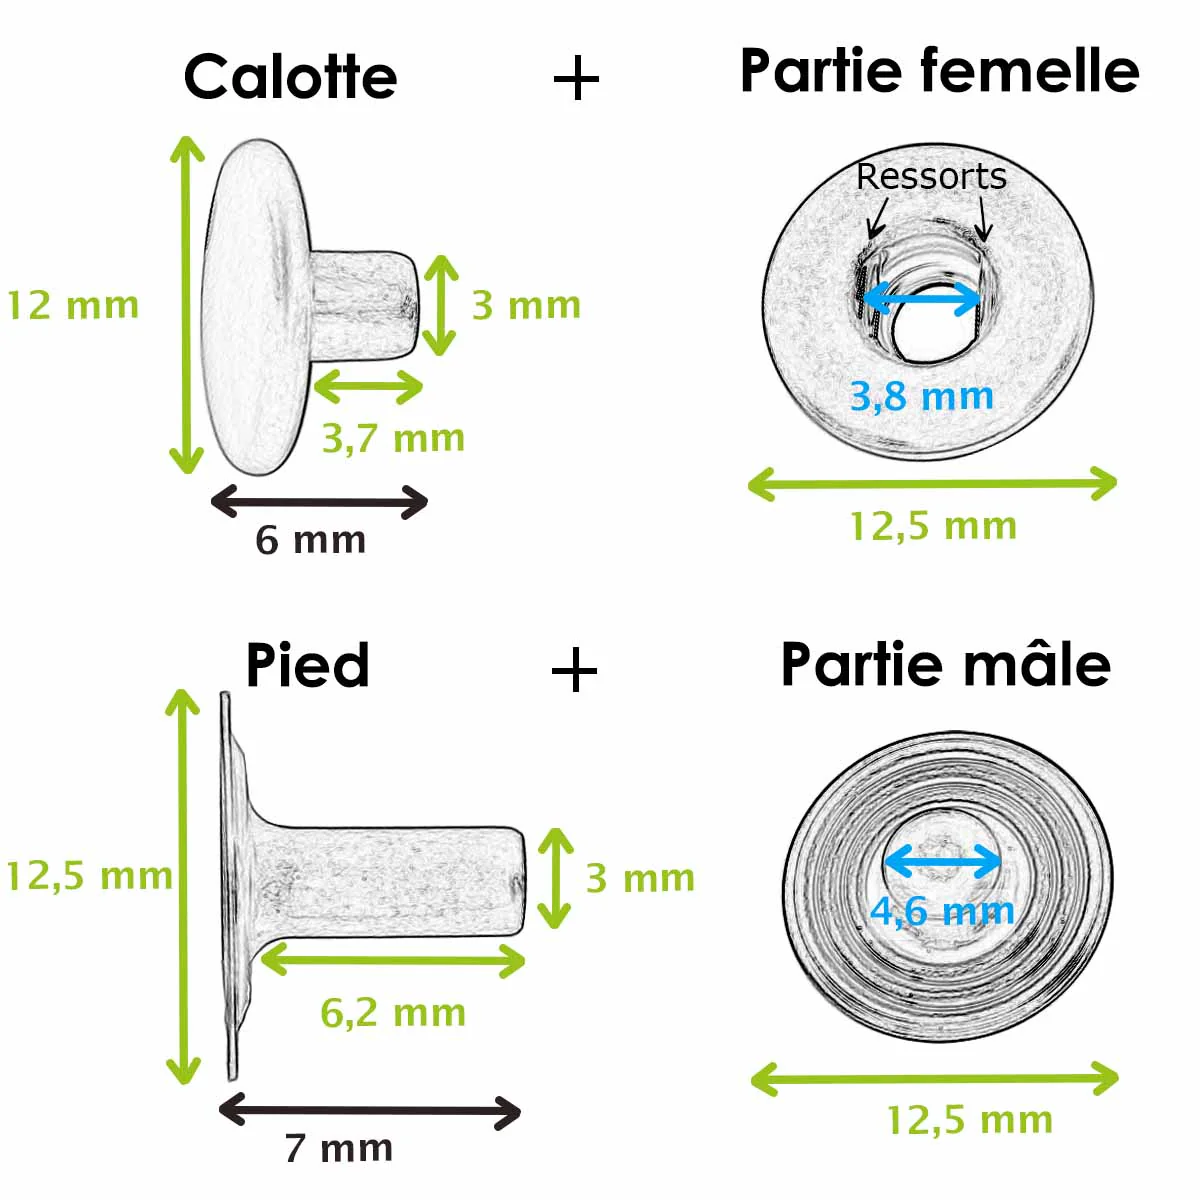
- 6 aged brass snap fasteners - diameter 12 mm
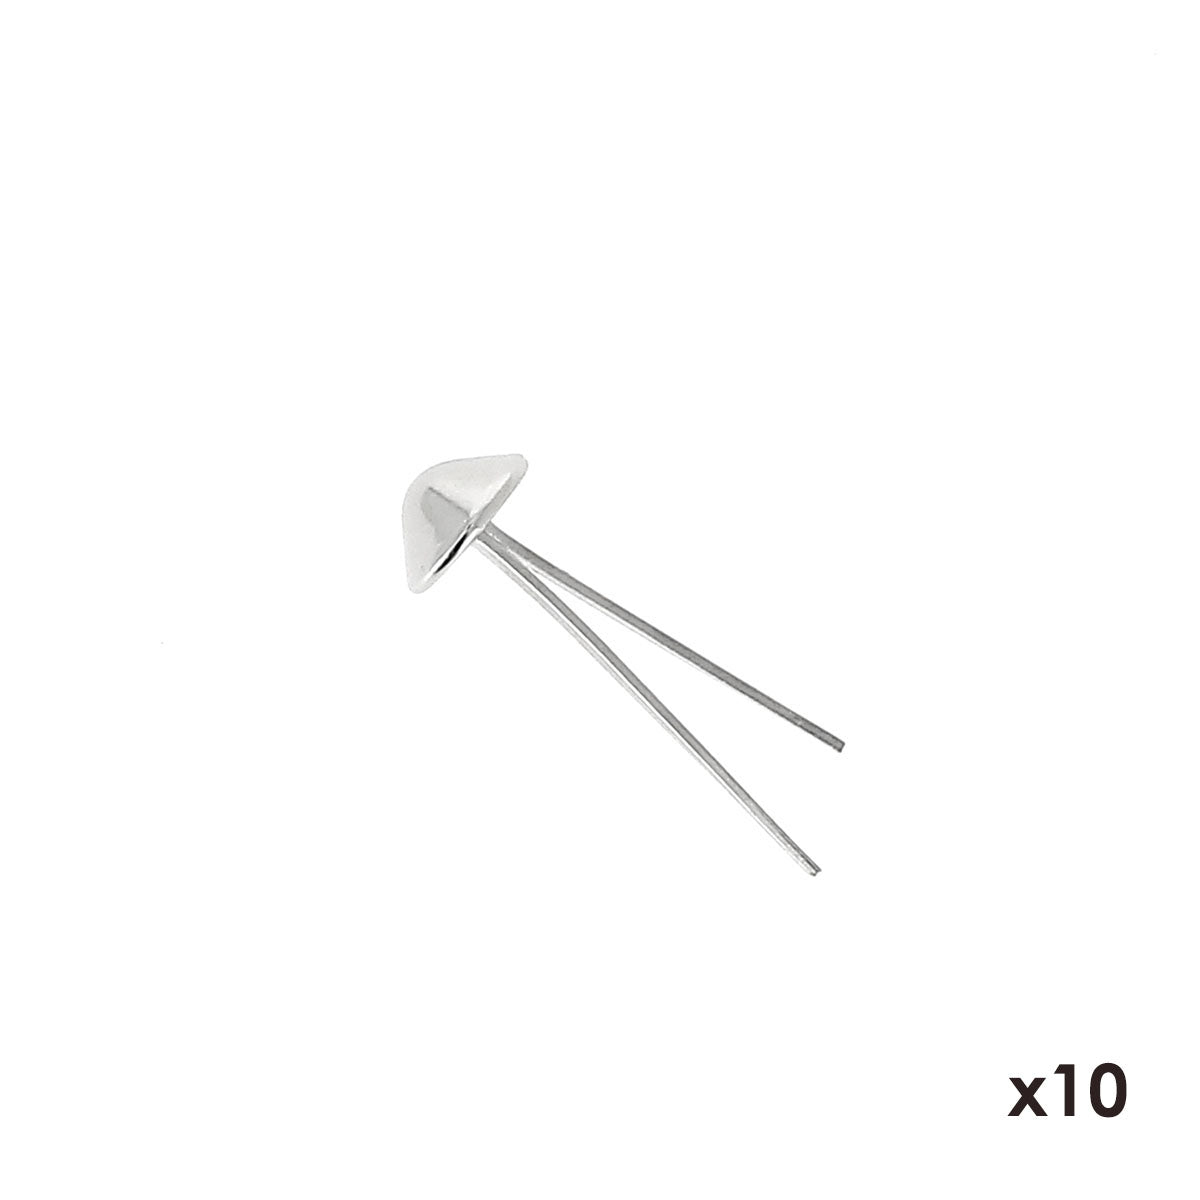
- 4 round bag feet - aged brass - 12 mm
- 4m of flat round dyed leather lace - diameter 3 mm - black
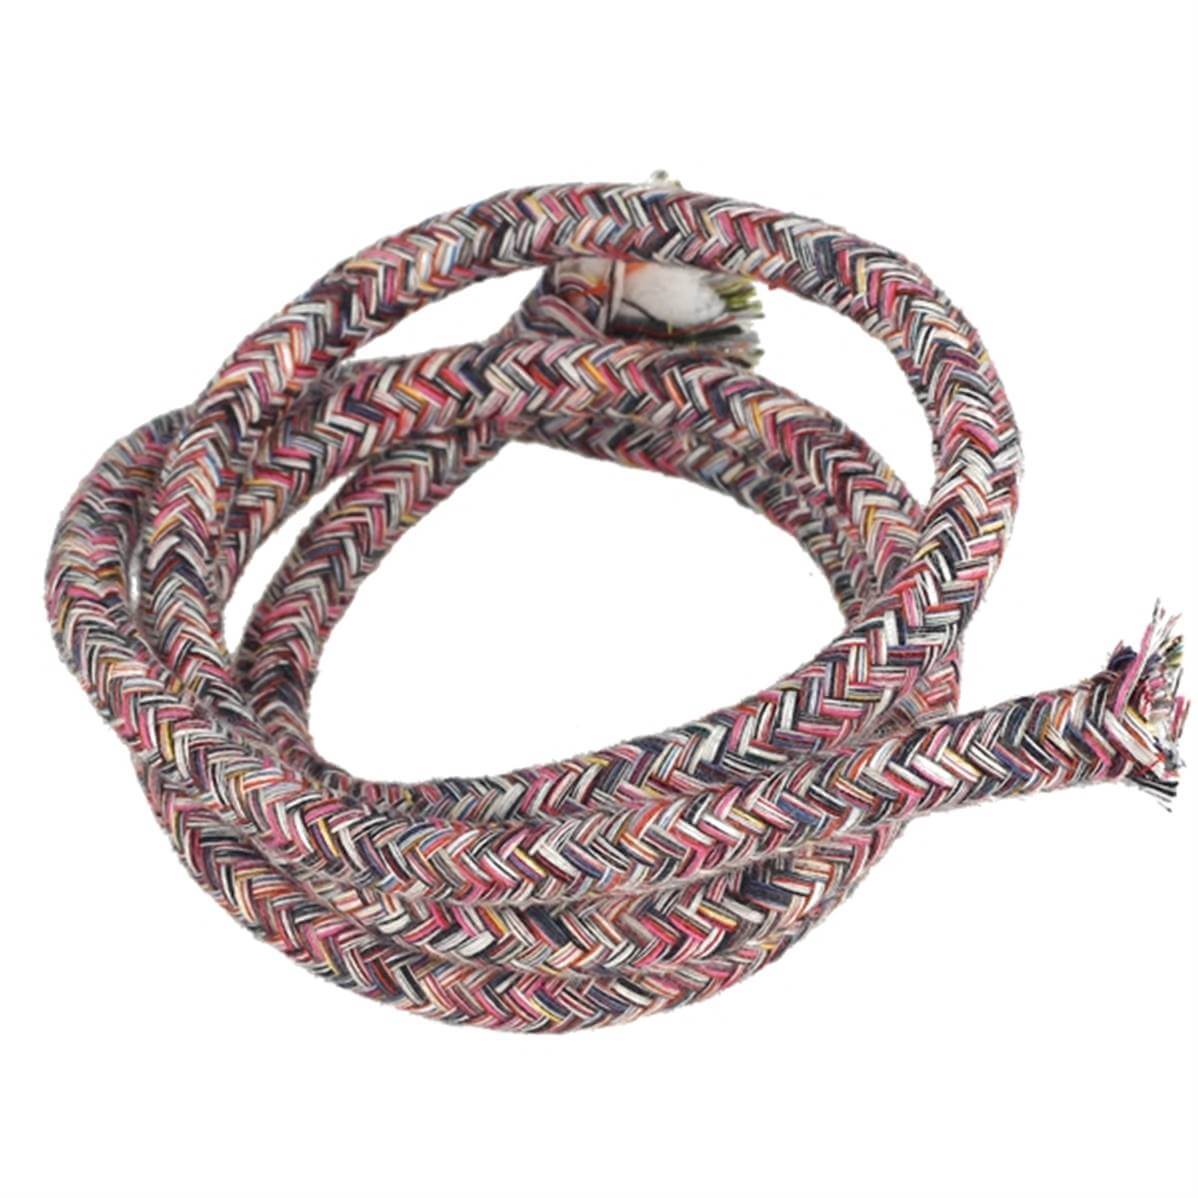
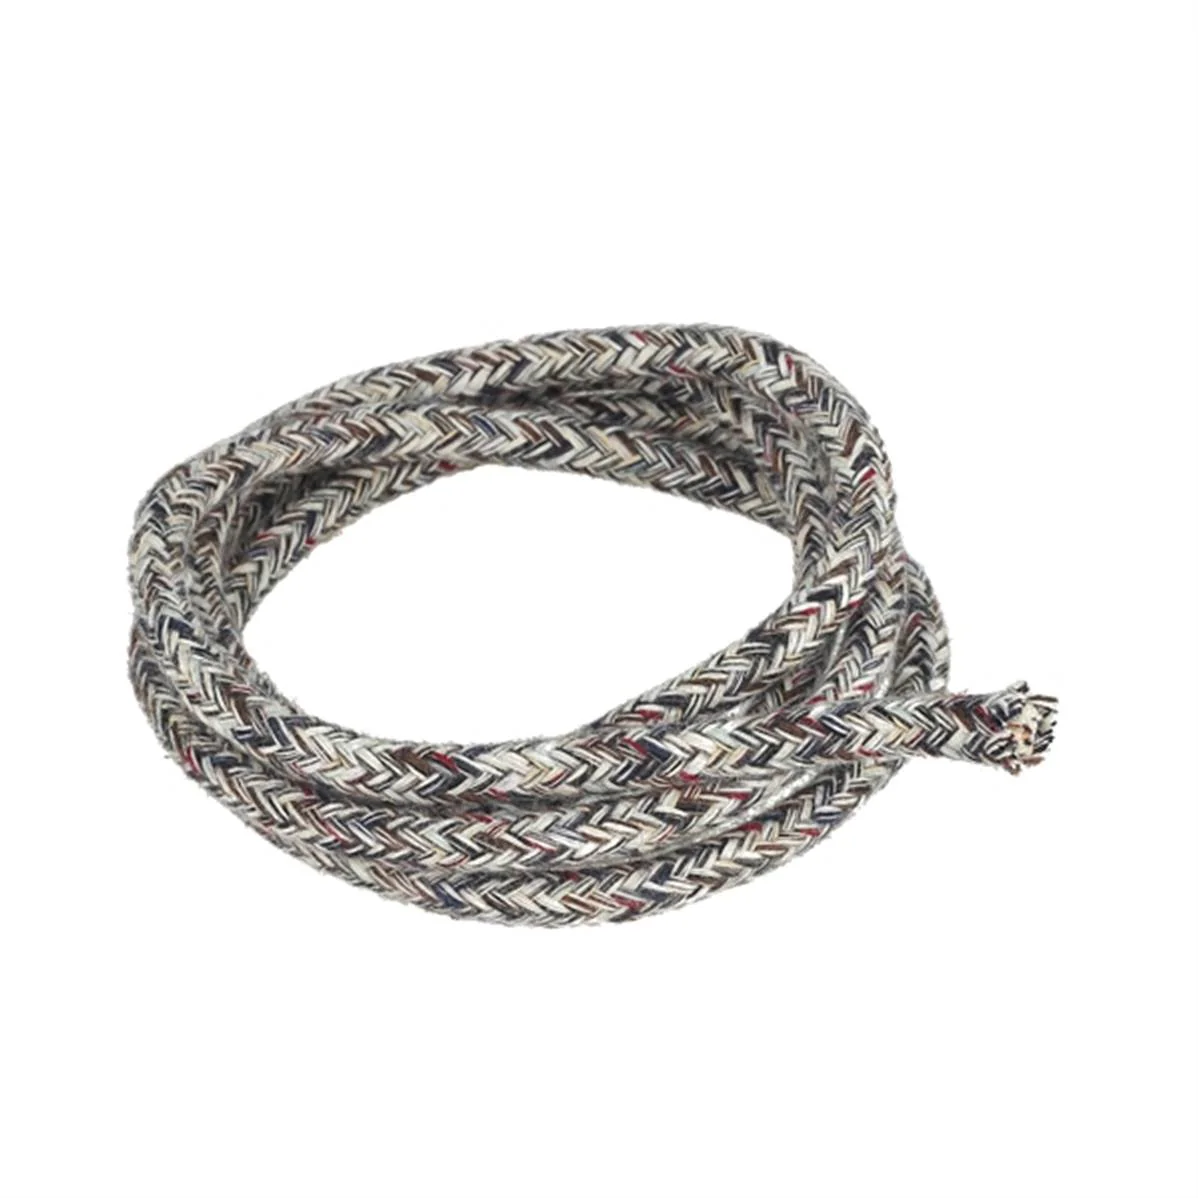
- 60 cm of strand for bag handle - diameter 8 mm
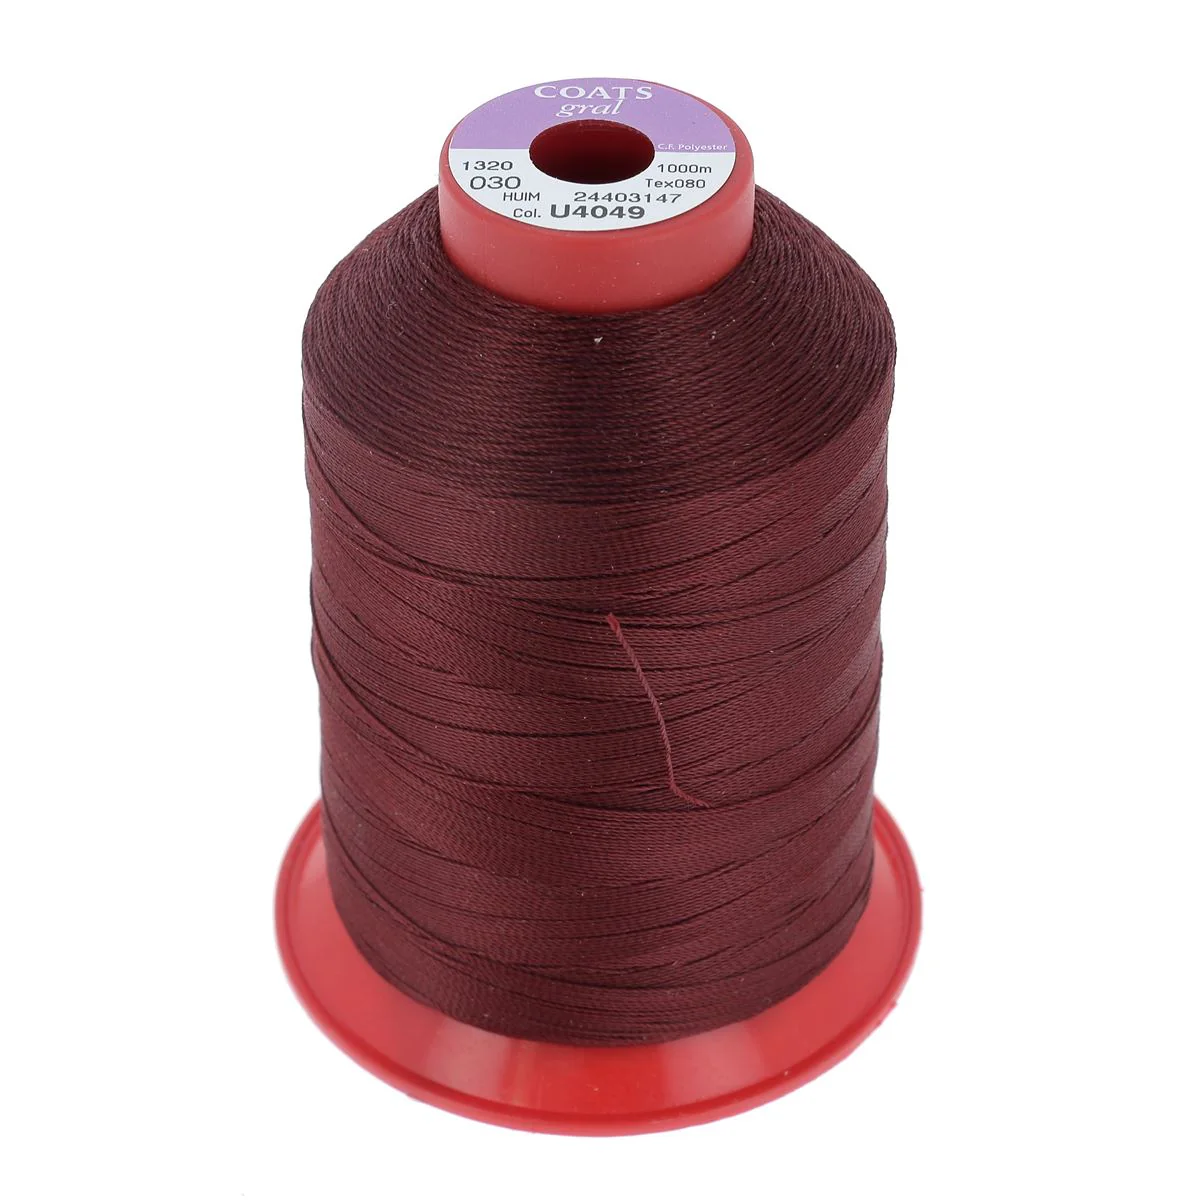
- 100% polyester cord "Au Chinois" - BLACK 180
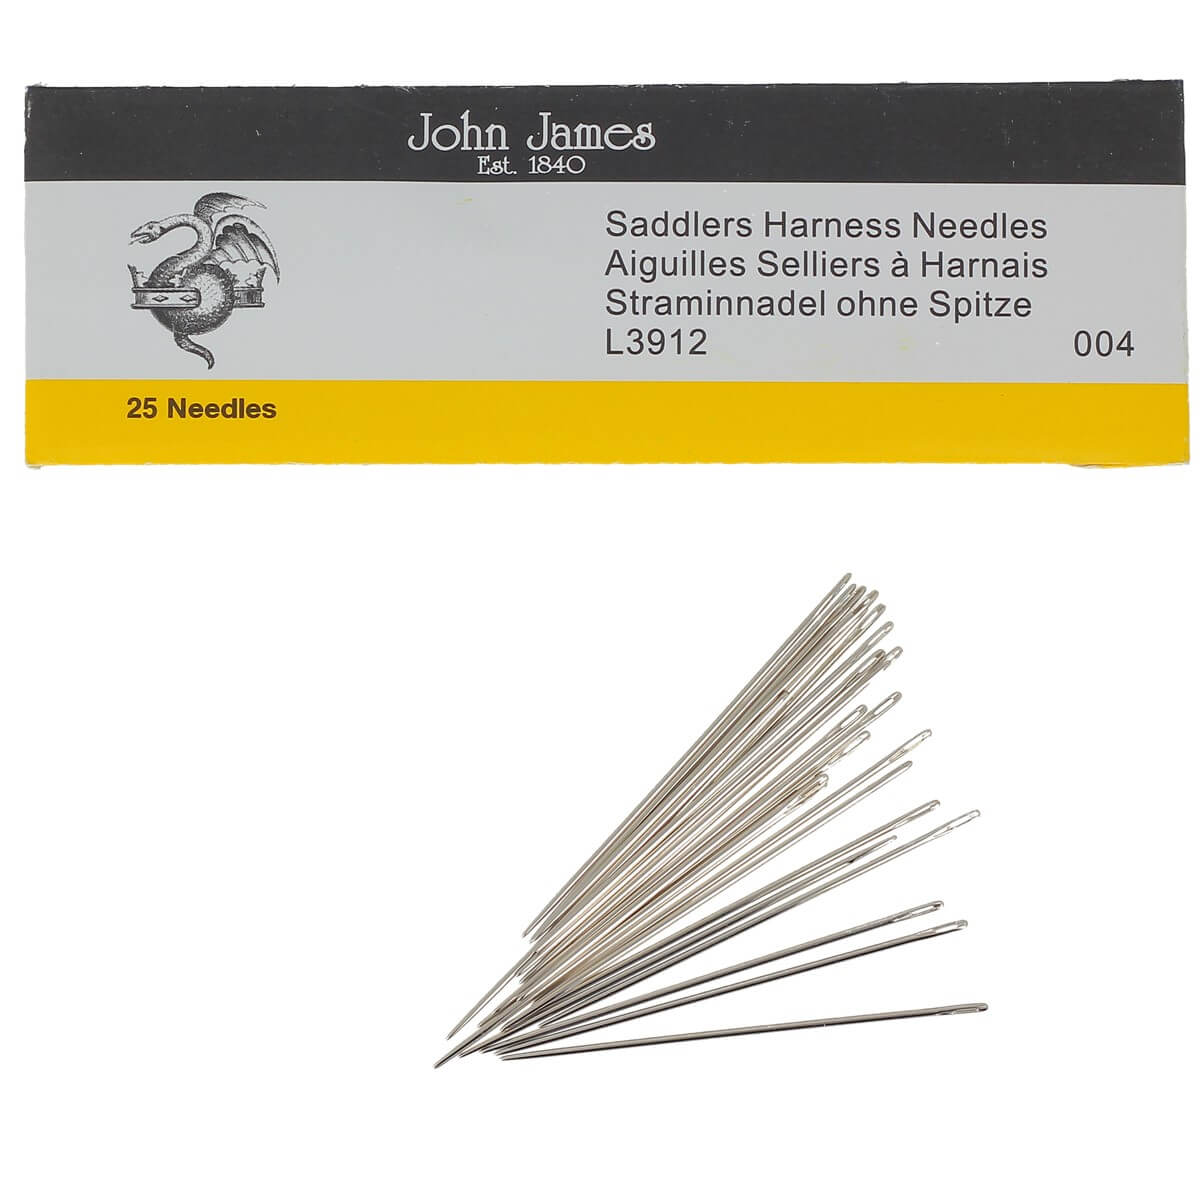
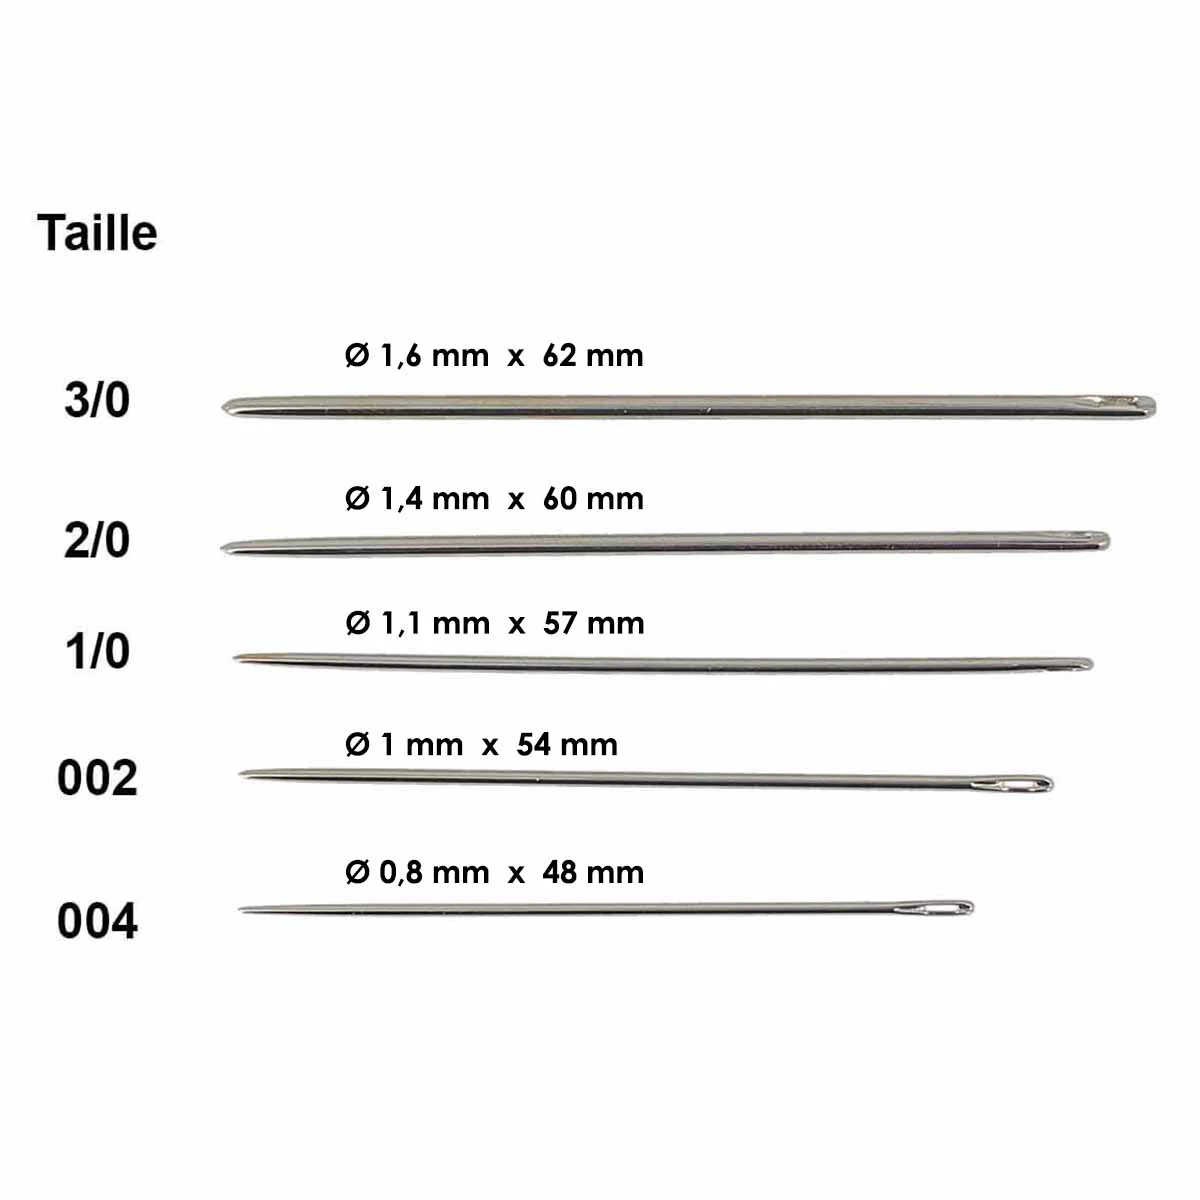
- Saddler's needle - Round tip - Size 002
- 3 and 5 mm round punch cutters
- 12 mm snap fastener installation set
- Ertalon plate for attaching accessories and striking handles
- Striking claw - 4 diamond point - 5.1 mm center distance
- 1 drypoint compass
- Neoprene glue for leather
- Silver pencil
1. ASSEMBLE AND CUT
- Print the pattern. This one was created for a 14-inch laptop. (For a smaller or larger laptop, you will need to adjust the pattern.)
- Using tape, assemble pieces 1 to 8 and pieces 11 and 12 together. You will end up with 2 main pieces + pieces 9 and 10. Make the 3 and 5 mm holes mentioned on the pattern.
- Using the silver pencil, trace the 4 pieces on the leather as well as the holes (piece 10 in 8 copies).
- Cut out the pieces using a ruler and a cutter (use a rotary cutter for rounded shapes).
The pencil is erasable on most leathers with a simple eraser (do not use on vegetable tanned leather). We recommend that you test it first to confirm the erasability on your leather. 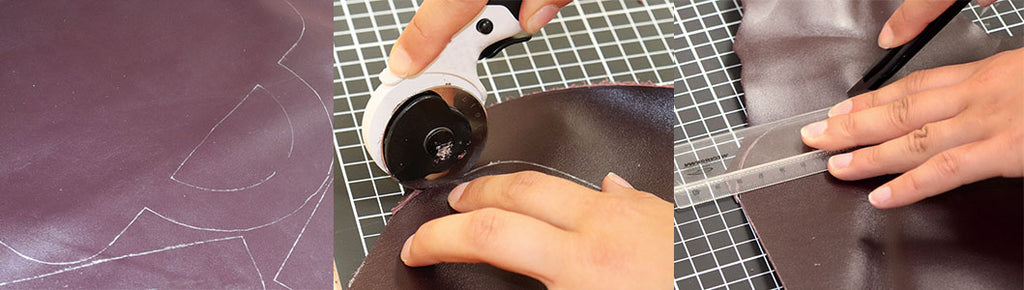
2. GLUE PIECE NO. 11-12
- Place double-sided tape on the back (crust side) of piece 11/12 (25 x 36 cm rectangle) and position it on the grain side (leather) of the main piece (where the 3/4 pieces are).
- Do the same with piece 9 (mouse pad) and position it on the crust side of the main piece (on the dotted lines of piece 1).
The little extra: if you decide to finish the edge (step 9), we recommend that you finish the edges of part 9 and the upper and lower edges of part 11/12 before gluing them to the main part. 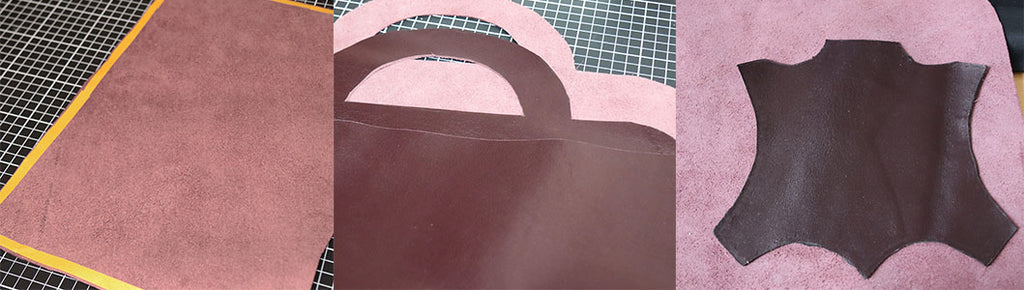
3. HAND SEWING (ACCESSIBLE FOR BEGINNERS - EASY SEWING)
- Using a double glove stitch on the leather: assemble piece 11/12 and piece 9 on the main piece.
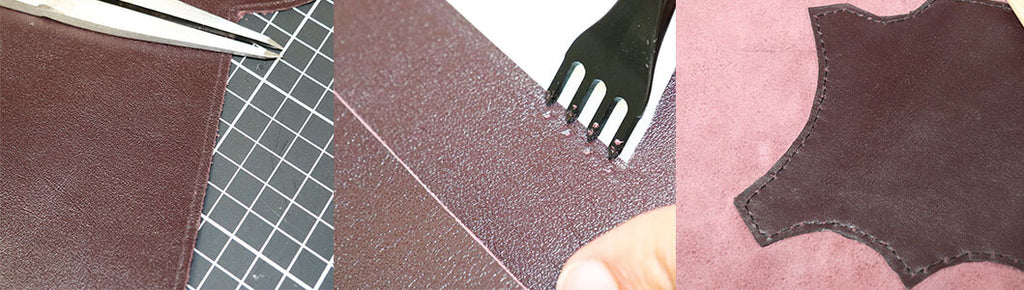
- Using a dry point compass, make a line 5 mm from the edge along the entire length of the 2 pieces to be assembled (do not make a line on the upper edge of piece 11/12).
- Then, using a hammer and a mallet, make holes along the line to mark the stitching points.
- Sew the pieces.
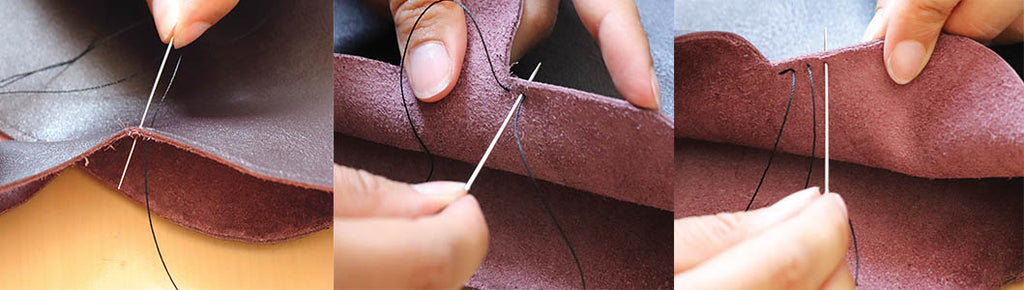
The sewing steps are explained in the tutorial, you can also find the explanation in video.
The little extras :
- We decided to do decorative stitching all around the main piece.
- At the very end: hammer the seam for a more finished look.
- If you are not comfortable with hand sewing you can sew the pieces with a sewing machine (be careful, your machine must accept large thicknesses). Otherwise you can skip this step and remove piece 11/12 (rectangle which will serve as a document holder).
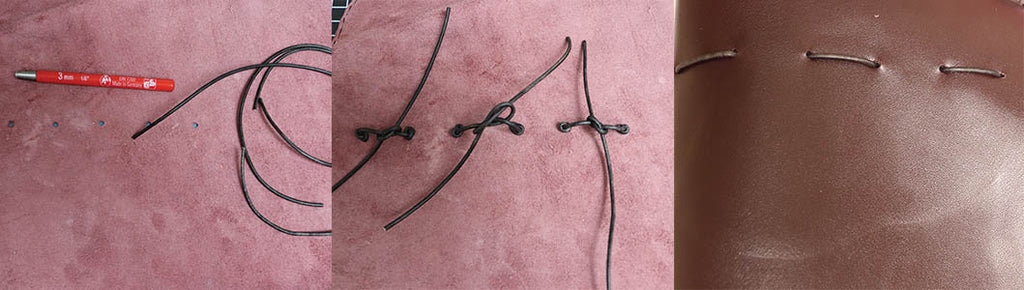
4. PASS THE 3 MM ROUND LACE THROUGH
- Cut the round dyed leather lace (diameter 3 mm) into 3 pieces of 30 cm.
- Make 6 holes on the main part (part 2) – hole positions indicated.
- Thread the laces through and tie knots to secure them. You can then attach your cables, chargers, etc. to them.
5. INSTALL THE 6 SNAP BUTTONS
- Place the 6 snap fasteners – 12 mm
- Using the 5 mm punch, make the holes for the heads (diameter and position of the holes indicated on the pattern).
- Using the 3 mm punch, make the holes for the feet (diameter and position of the holes indicated on the pattern).
- Then place the snap fasteners with the striking handle and the installation set.
The little extra : remember to place the pieces in the right direction because it will not be possible to unhook the snap button after installation. 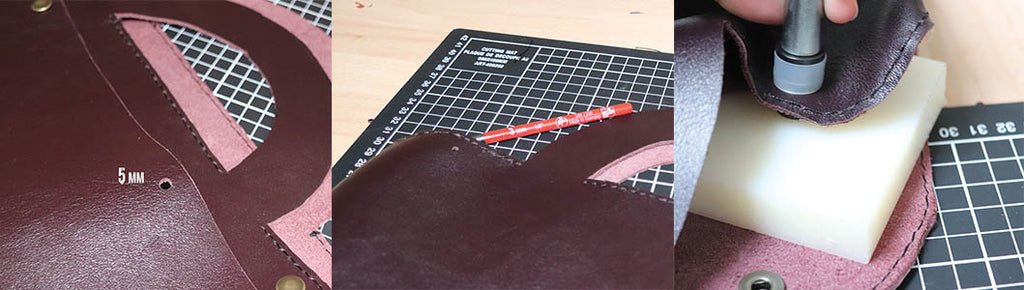
6. GLUE 4 OF PIECES NO. 10
- Take 4 of the 8 pieces (no. 10) and make an incision in the middle with a cutter.
- Place a round bag foot in the incision of these 4 circles.
- Fold down the claws on the bag feet.
- Put neoprene glue behind each circle and stick them crust side down on the main piece (at the dotted lines – piece no. 5-6-7-8).
These 4 small circles will serve as a support for your computer so that it ventilates properly and does not heat the leather.
The little extra : if you decide to do a slice finish (step 9), we recommend that you do the slices on these 4 pieces before gluing them to the main piece.
The little extra : remember to place the pieces in the right direction because it will not be possible to unhook the snap button after installation. 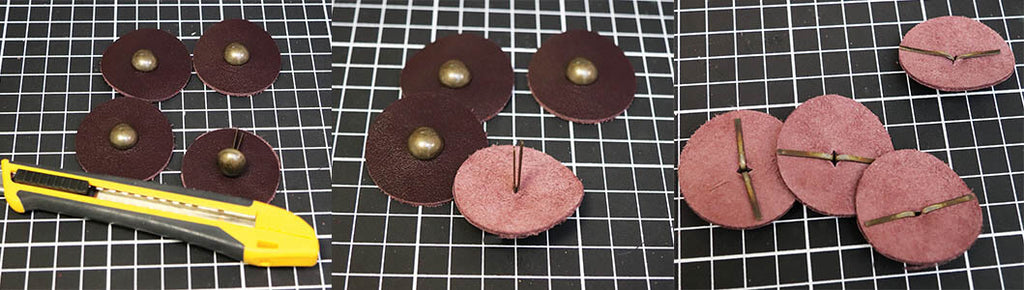
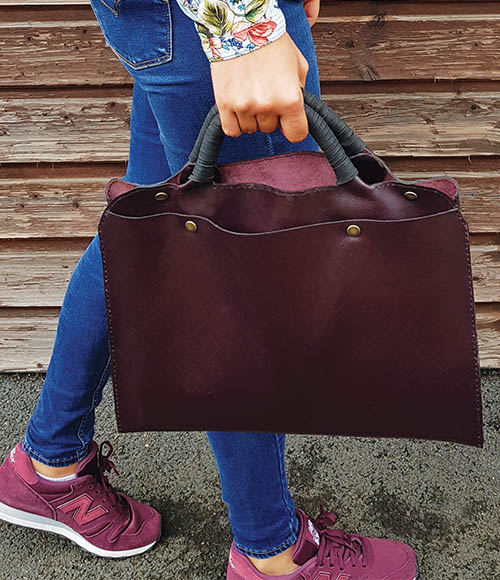
7. MAKE THE HANDLES OF THE BAG
- Put neoprene glue on the 2 handles.
- Glue 25 cm of strand, crust side, onto the 2 handles.
- Fold the leather over the strand, press firmly and wait for the glue to dry.
- Place double-sided tape on the handles and wrap the flat lace (4 mm) along the entire length.
The little extra : if you want your handles to be more durable over time, we recommend sewing them. 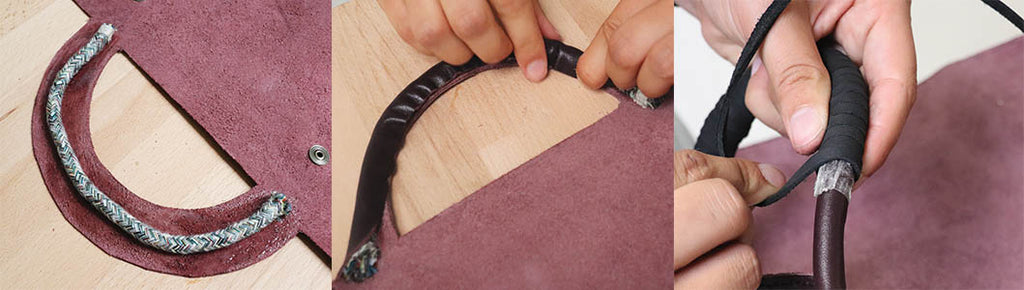
8. HIDE THE END OF THE SHOECLOTH
To hide the end of the lace, glue the other 4 pieces no. 10.
The little extra : if you decide to do a slice finish (step 9), we recommend that you do the slices on these 4 pieces before gluing them to the main piece. 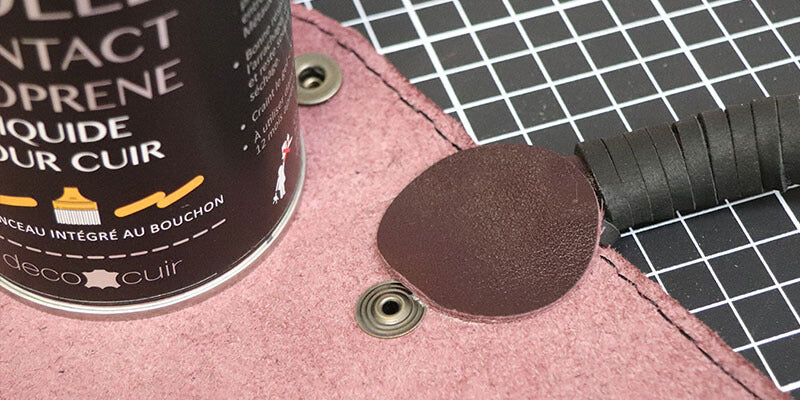
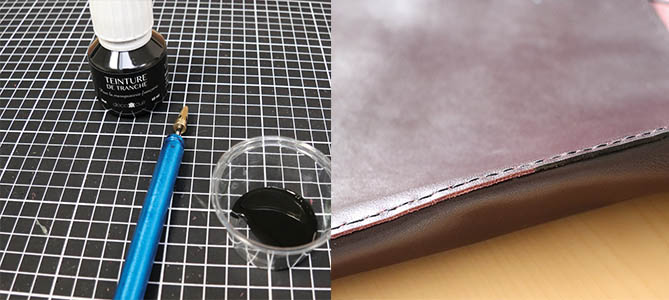
9. SLICE FINISHING
- Prepare the edges with light sanding (abrasive sponge) – always sand in the same direction and at 45°.
- Apply the dye to the edge using a sponge, awl, rollerball pen, etc.
- Apply the number of coats necessary to achieve the desired result.


3 comments
Anonymous
Hola Carmen, aquí está el enlace directo del jefe: https://www.decocuir.com/Files/26684/193234692619993.pdf Si no, no dude en enviarnos su correo electrónico a boutique@decocuir.com para que podamos enviarle la versión PDF.
L’équipe Deco Cuir
Anonymous
Buenos días:
No puedo descargar el patrón del maletín para computadora. Podrían decirme como hacerlo?.
Gracias
Anonymous
Juste nécessaire. Enfin de l’utile. Transport pensé fondamental. Bravo