


MATERIALS NEEDED
To make the plant pot cover, you will need:
- The pattern (our pot is 9 cm in diameter, so the squares forming the pattern are 9 cm).
- 4 m of round leather lace - 2 mm diameter - in the color of your choice.
- 1 piece of leather 30x40 cm, 1 or 1.5 mm thick, in the color of your choice.
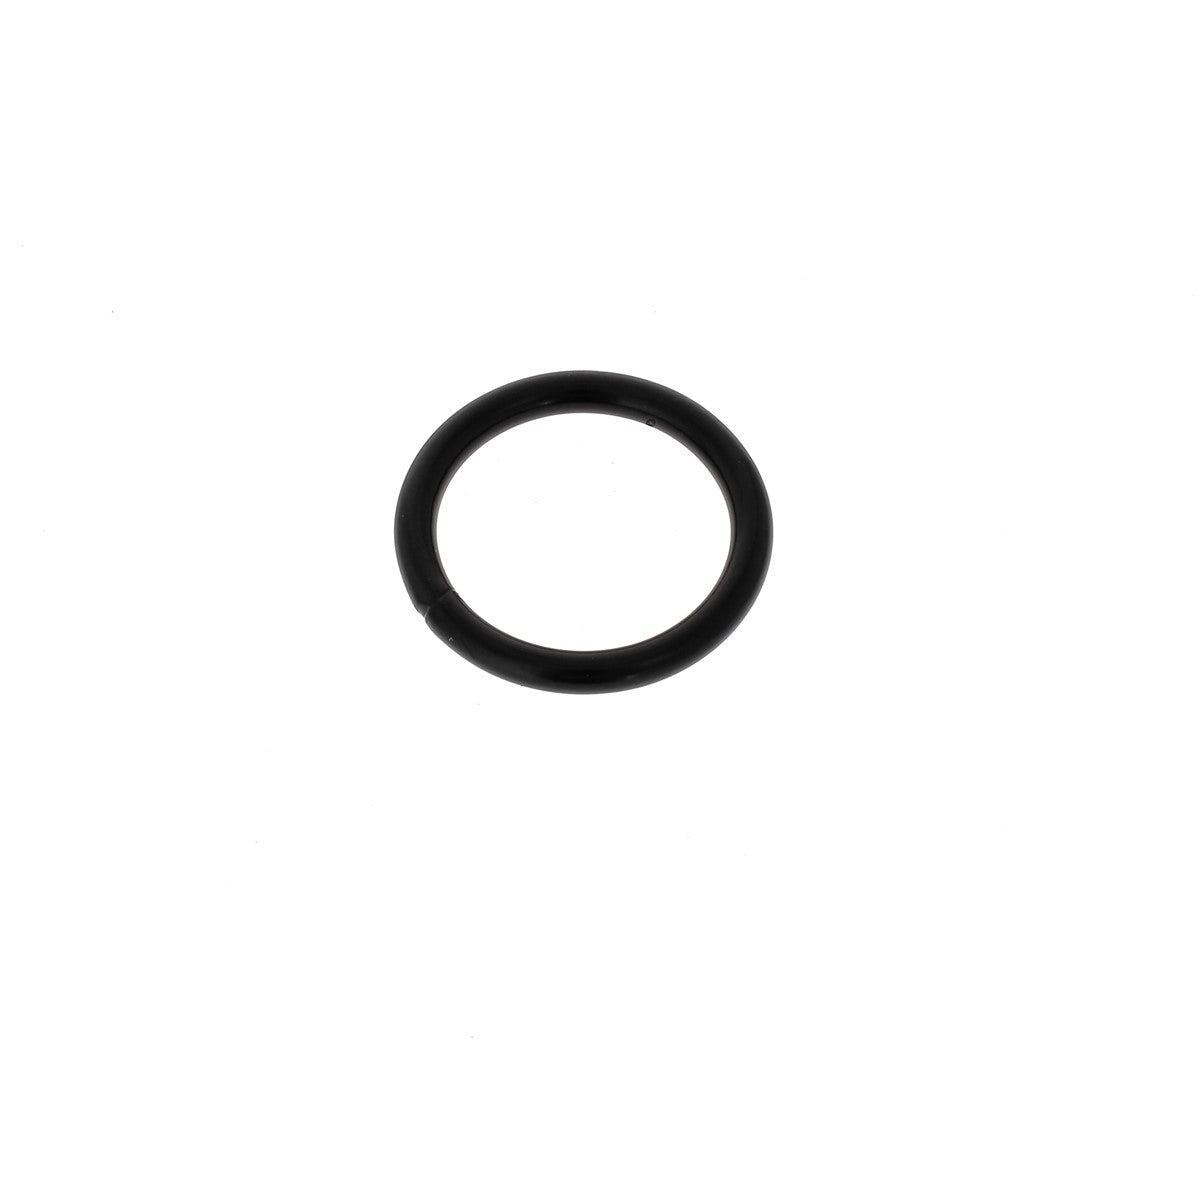
- 1 welded round ring – MATTE BLACK – 30 mm internal diameter
- Roll-up eyelet kit and setting tool – 4 mm – GLOSSY BLACK
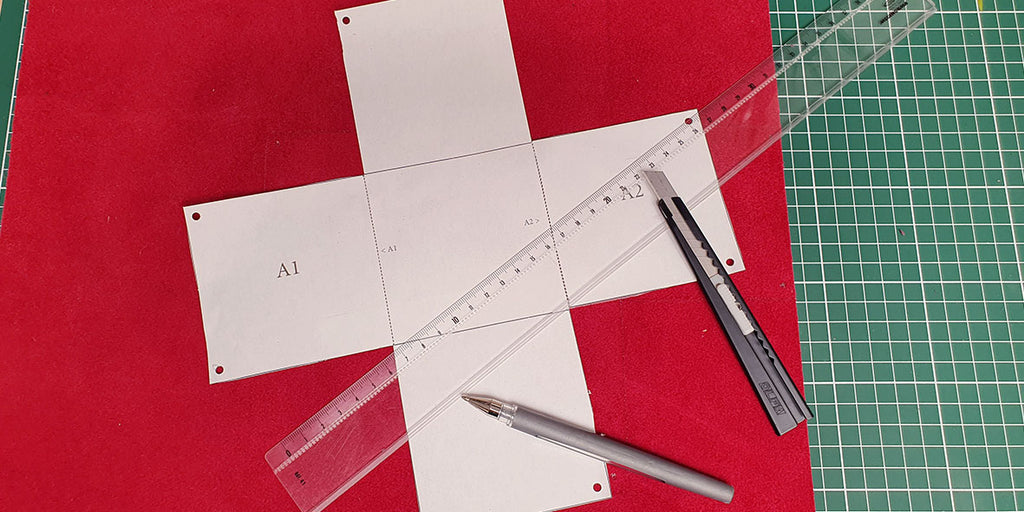
1. CUT OUT THE PIECE FOLLOWING THE PATTERN
- Using the silver pencil, trace the piece onto the leather.
- Cut out the piece using a ruler and a utility knife.
The pencil is erasable on most leathers with a simple eraser (do not use on vegetable-tanned leather). We recommend testing it beforehand to ensure it is erasable on your leather.
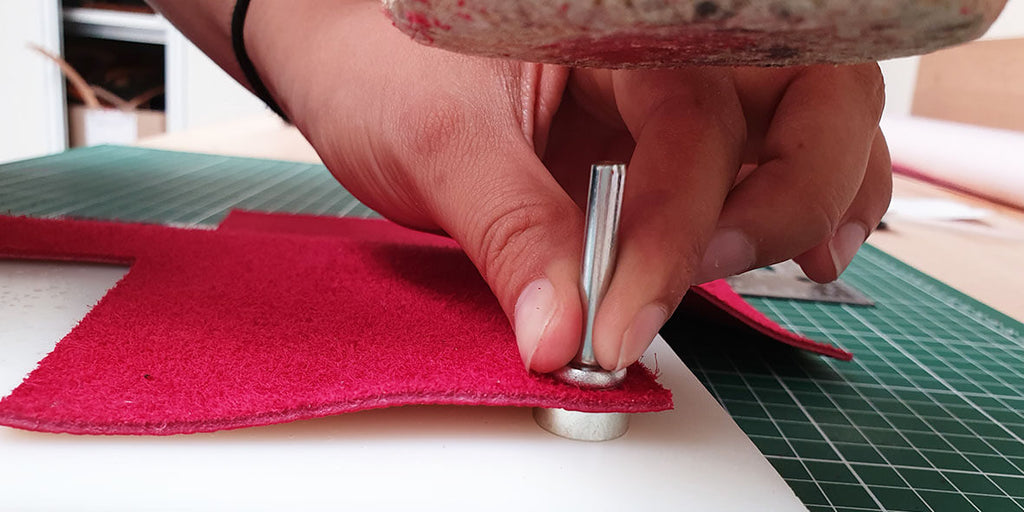
2. PUNCH HOLES IN THE LEATHER FOR THE EYELETS
Make the 8 3mm holes (indicated on the pattern) either with the eyelet setting tool or with a round punch.
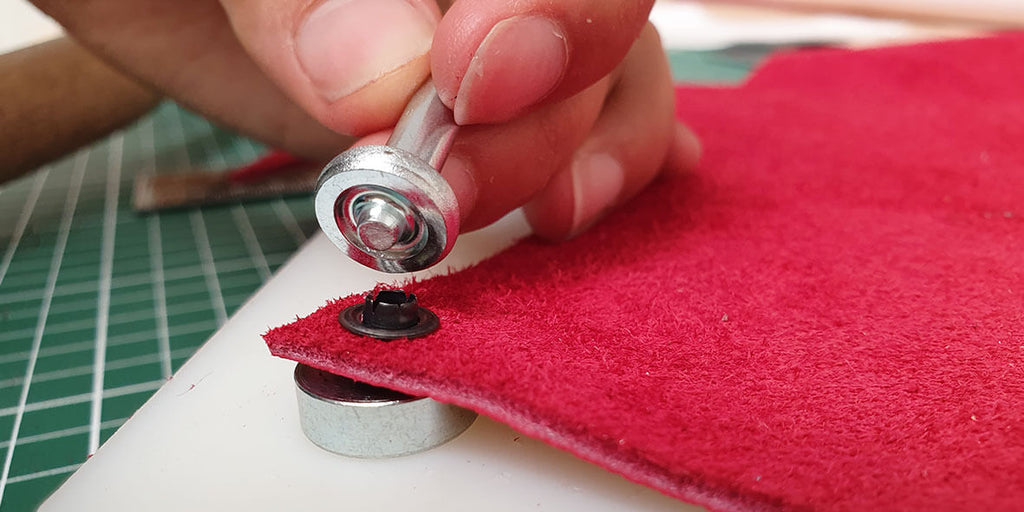
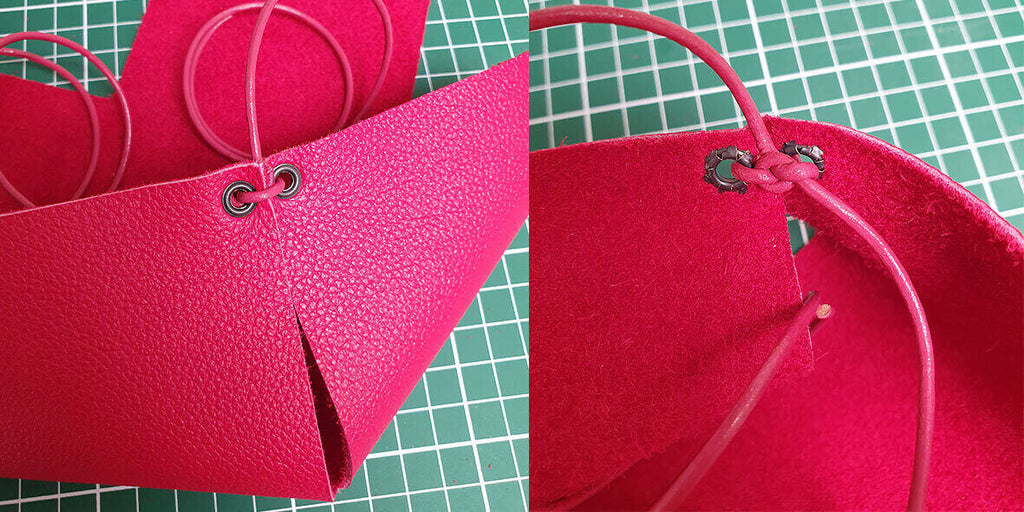
3. INSTALL THE ROLL-UP EYELETS
Install the roll-up eyelets with the setting tool (provided in the kit).
4. THREAD THE LACE THROUGH THE EYELETS
- Cut 4 pieces of lace 80/90 cm long.
- Thread a lace through 2 eyelets at each corner and tie a knot.
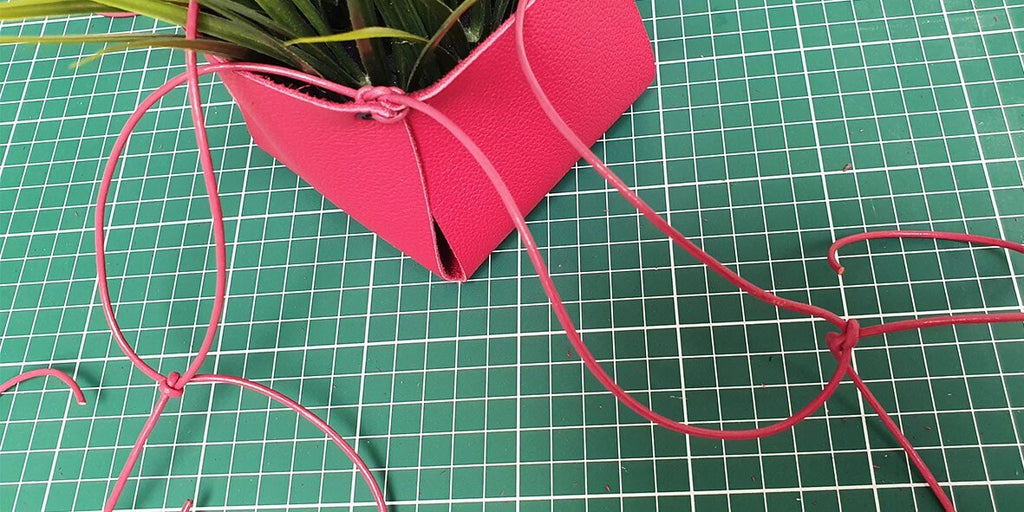
5. TIE A KNOT AT 15 CM
Tie a knot approximately 15 cm from the plant pot cover between the 2 laces on each side.
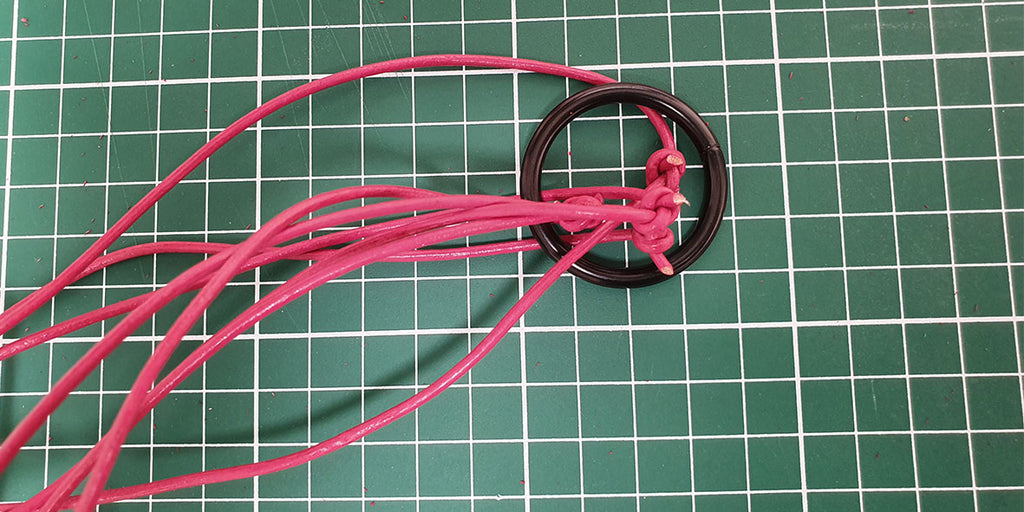
6. ATTACH THE LACES TO THE WELDED ROUND RING
Attach the laces in pairs, with a knot, to the welded round ring.
ALTERNATIVE: THE NON-HANGING PLANT POT COVER


