


THE NECESSARY MATERIALS
To complete this tutorial, you will need:
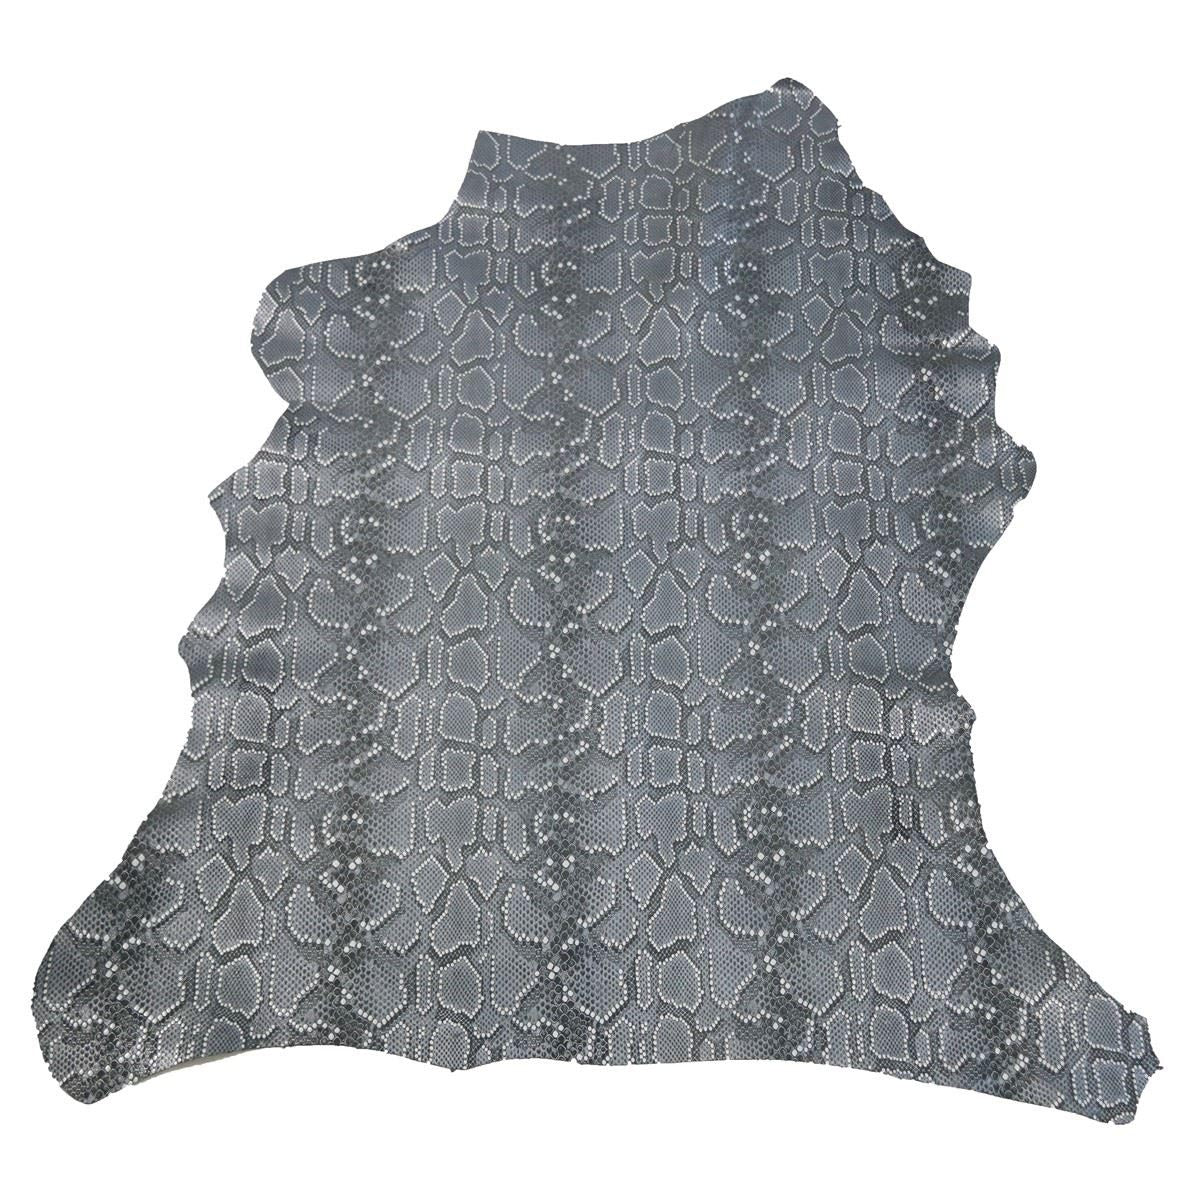
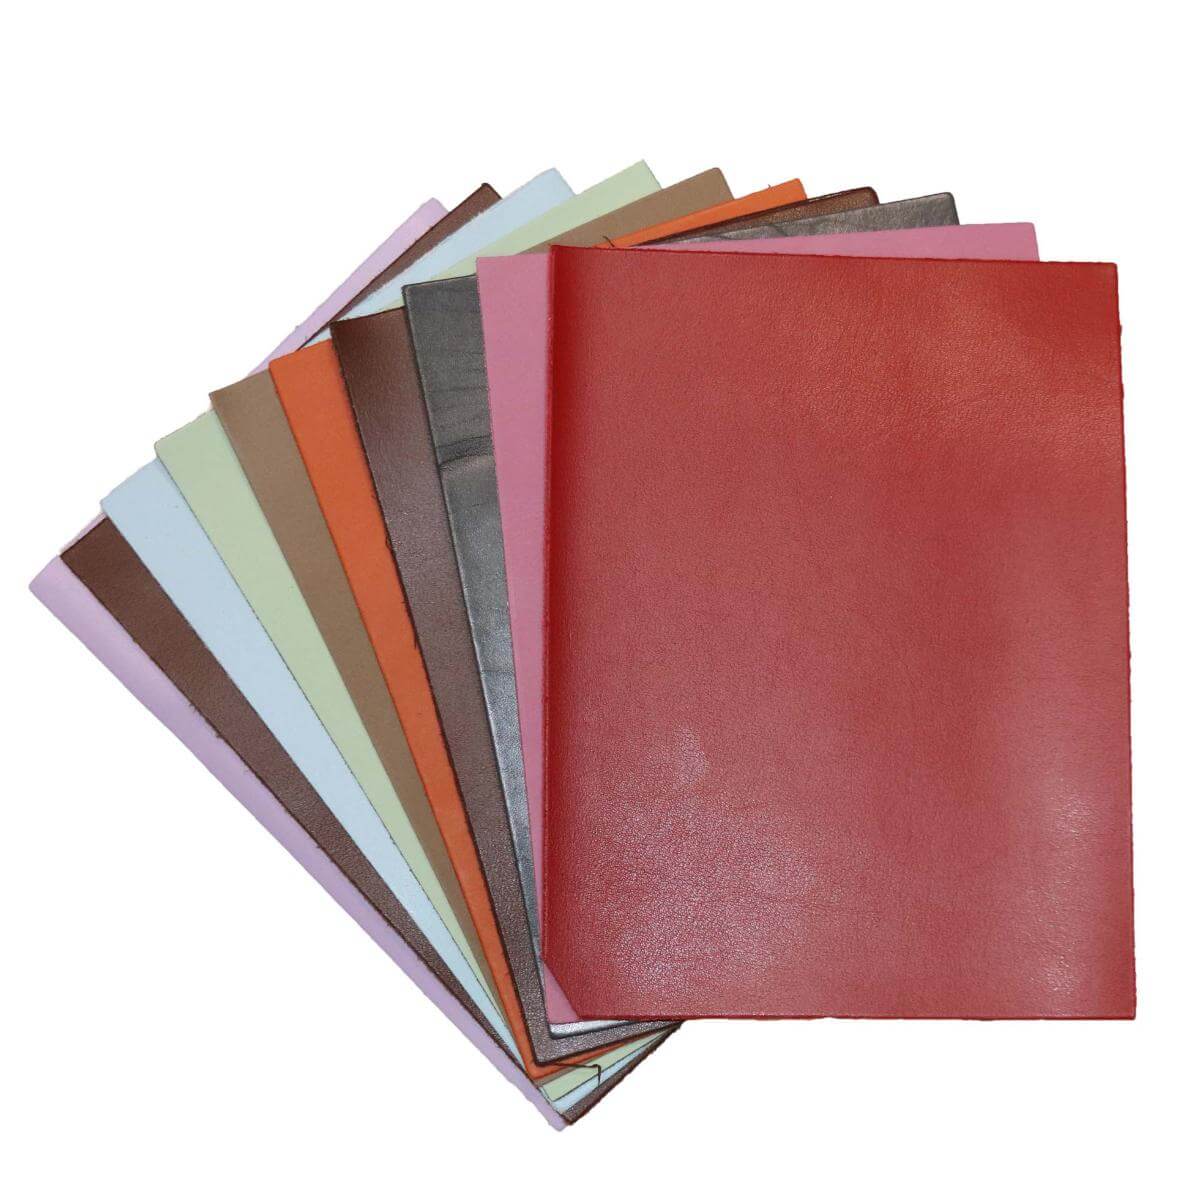
- 1 piece of soft leather measuring 30 x 40 cm / between 0.8 and 1.1 mm thick
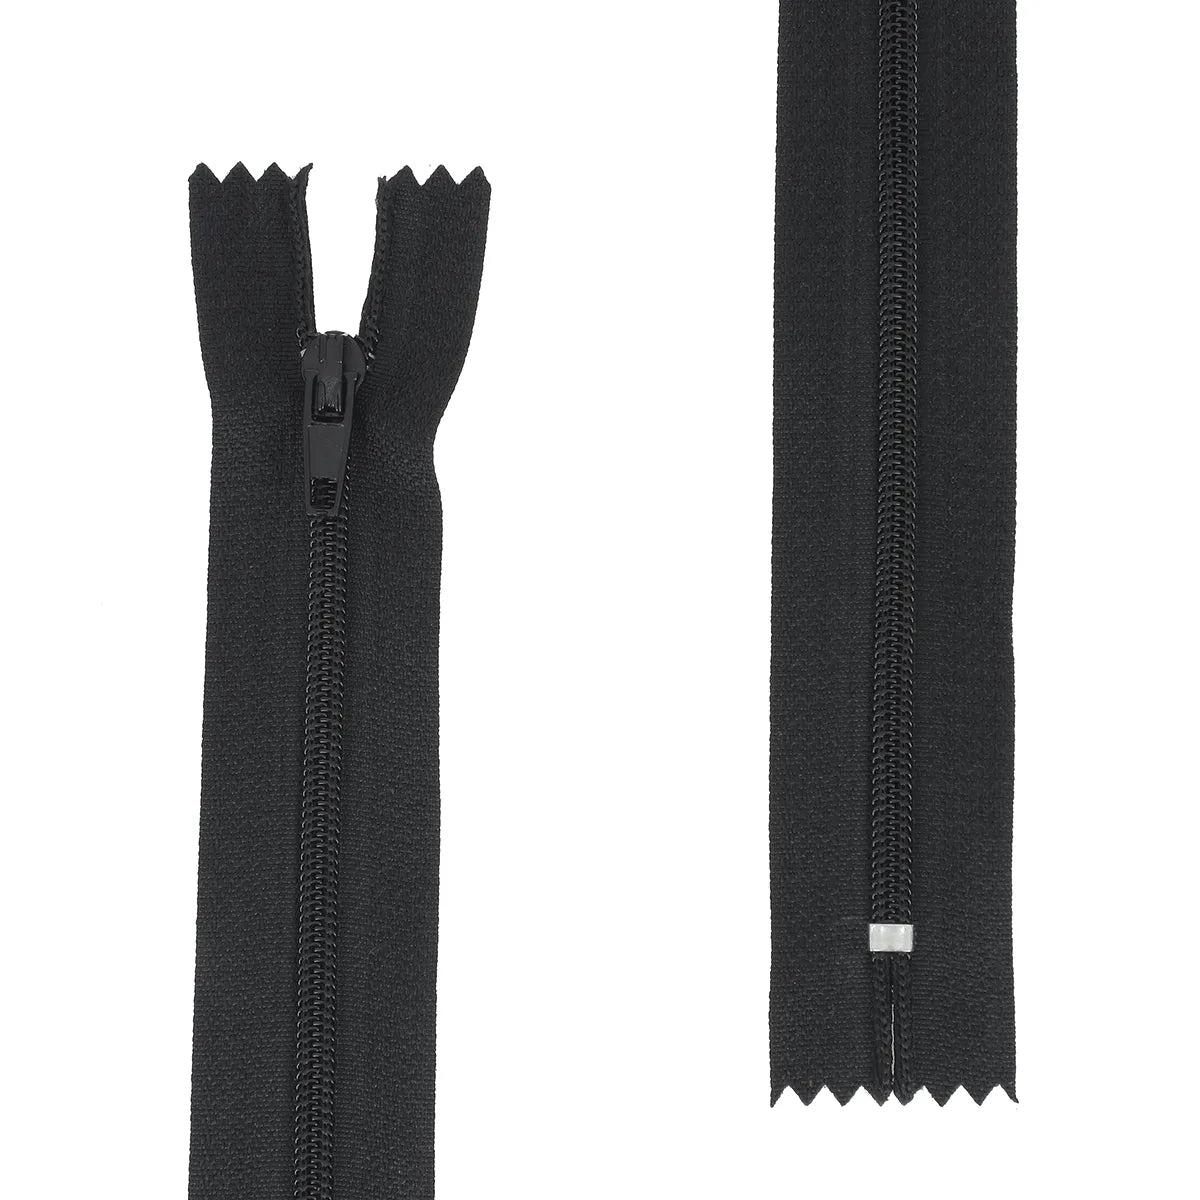
- 1 NYLON zipper - 4 mm - Beige / Length 18 cm
- Fabric for the lining
And the following material:
- 1 cutter
- 1 sewing machine
- 1 spool of polyester thread no. 30 (diameter 0.41 mm)
- Masking tape
Video
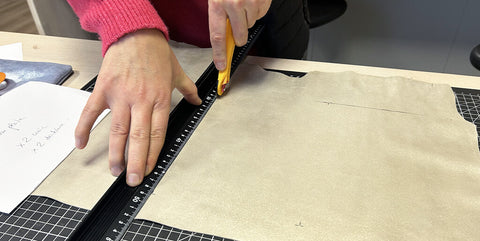
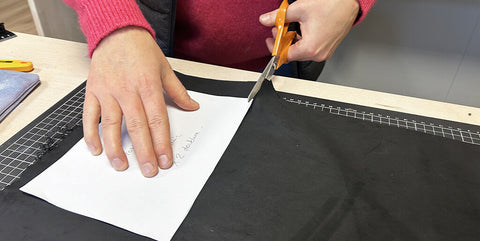
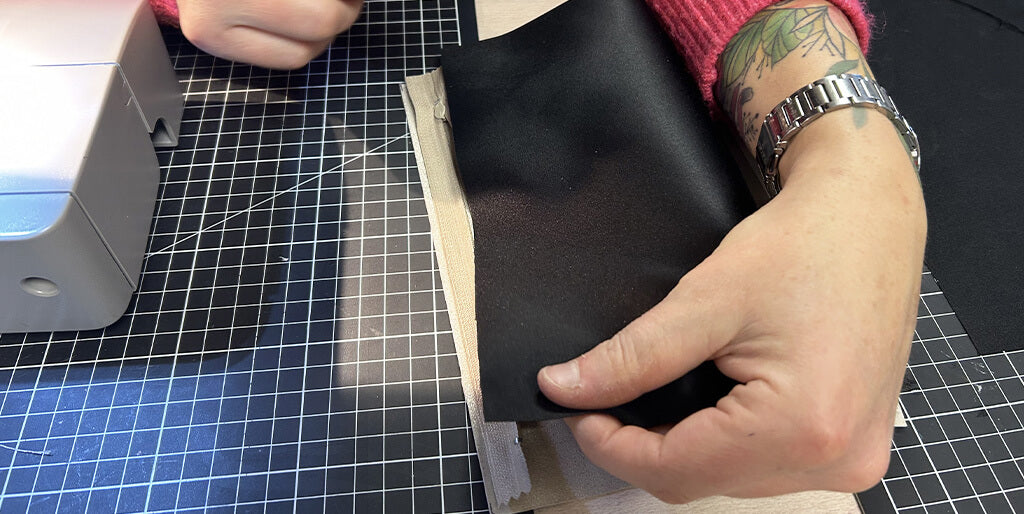
1. Cut out the pattern pieces
Cut piece P1 twice in the leather and twice in the lining.
 |
 |
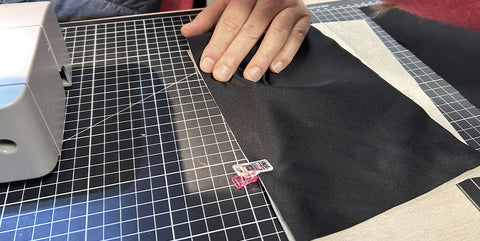
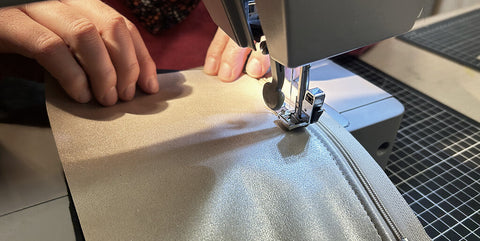
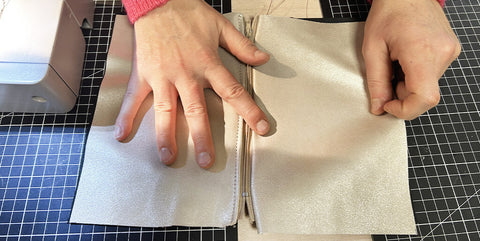
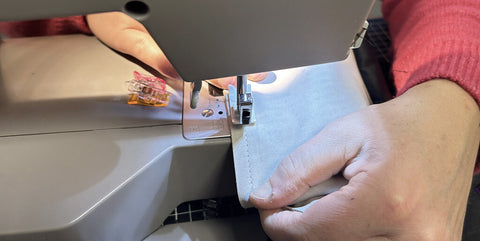
2. Sew the first side of the zipper
Place the right side of the zipper on the right side of one of the P1 leather pieces.
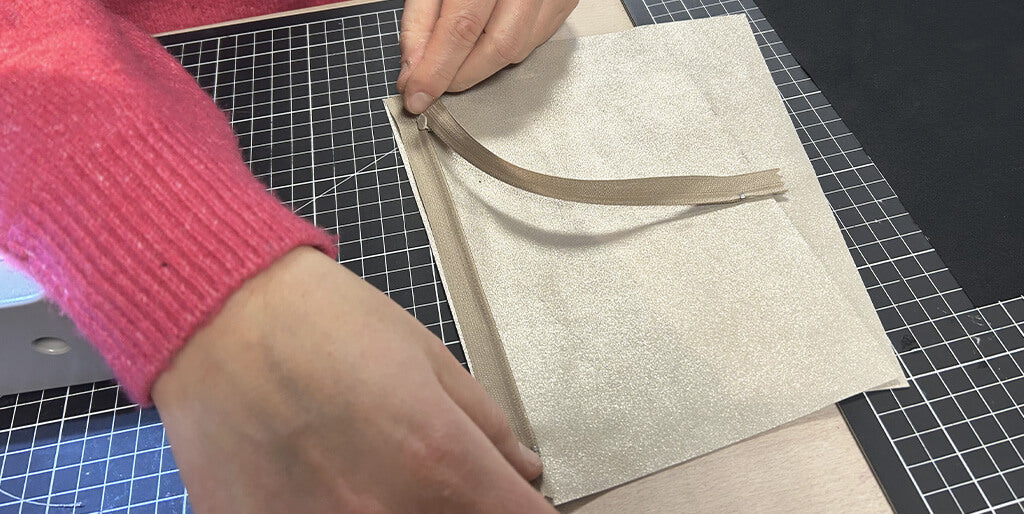
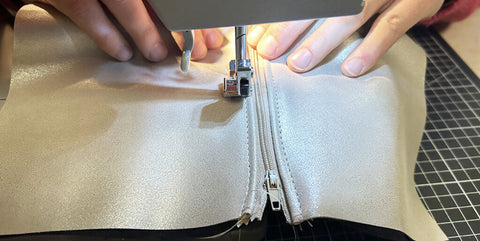
Hold with sewing clips and sew the leather piece, zipper, and lining 5 mm from the edge (use the zipper foot). While sewing, lift the presser foot and move the zipper pull so that it does not block the stitching.
 |
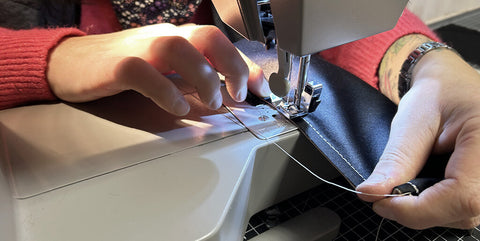 |
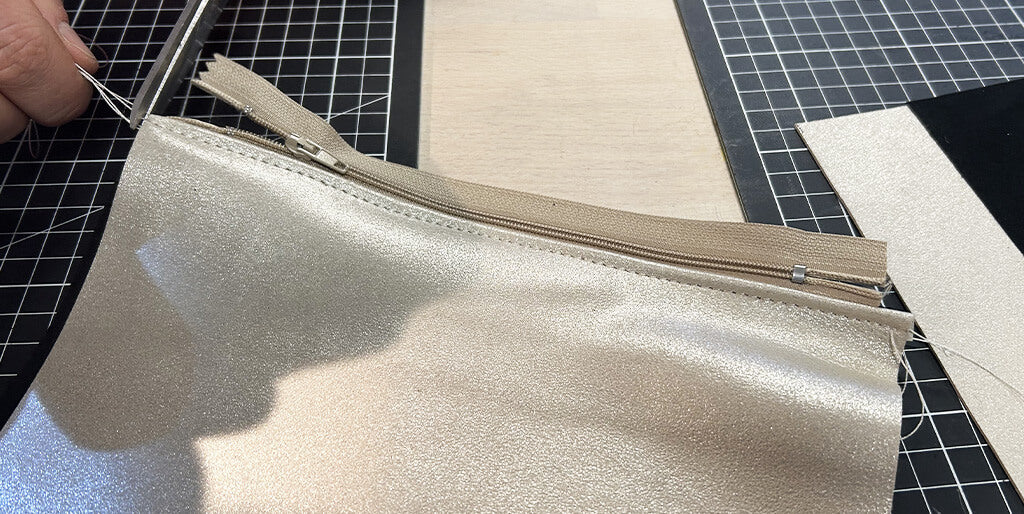
You can also do this step in two stages by sewing the zipper and leather first, then the lining onto the zipper.
Place the P1 leather and P1 lining pieces on the same side then topstitch 3 mm from the edge.
 |
 |
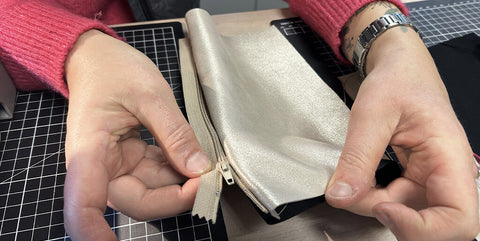
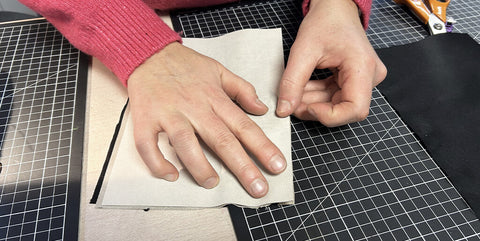
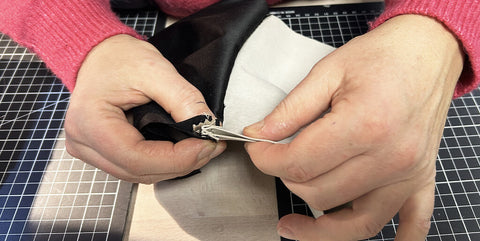
3. Sew the second side of the zipper
Do the same with the second piece P1 leather and lining, on the other side of the zipper. Place the right side of the leather on the right side of the zipper, then position the right side of the lining on the wrong side of the zipper.
 |
 |
Sew 5 mm from the edge.

Then, topstitch 3 mm from the edge.
 |
 |
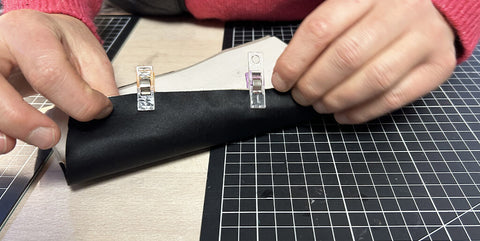
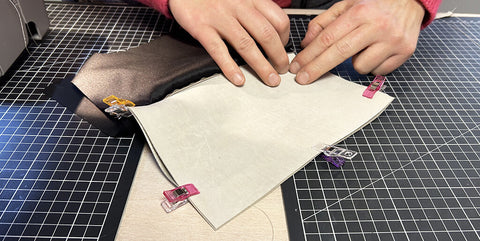
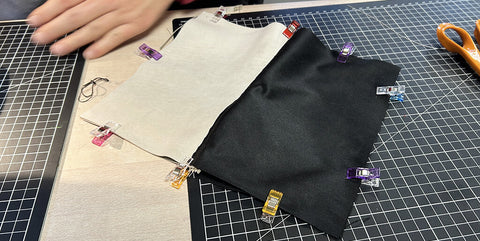
4. Sew the kit
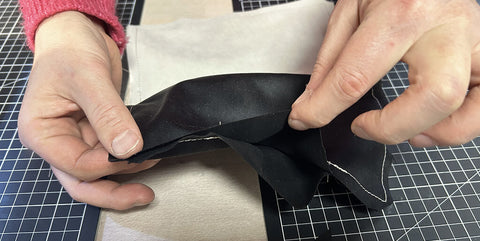
Open the zipper so you can turn the kit inside out at the end. Place the two P1 leather pieces on the same side. Position the two P1 leather pieces correctly, right sides together, edge to edge, and hold with sewing clips.
 |
 |
Do the same with the two P1 lining pieces, position them edge to edge, right sides together and hold with sewing clips.
 |
 |
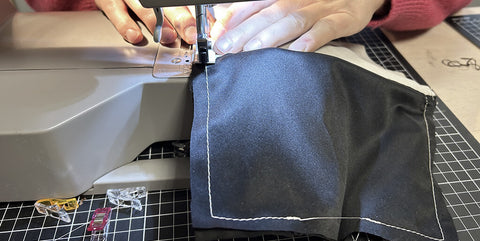
Sew all the way around, 1 cm from the edge to close the bag. Leave an 8 cm opening in the lining so you can turn the bag inside out.
 |
 |
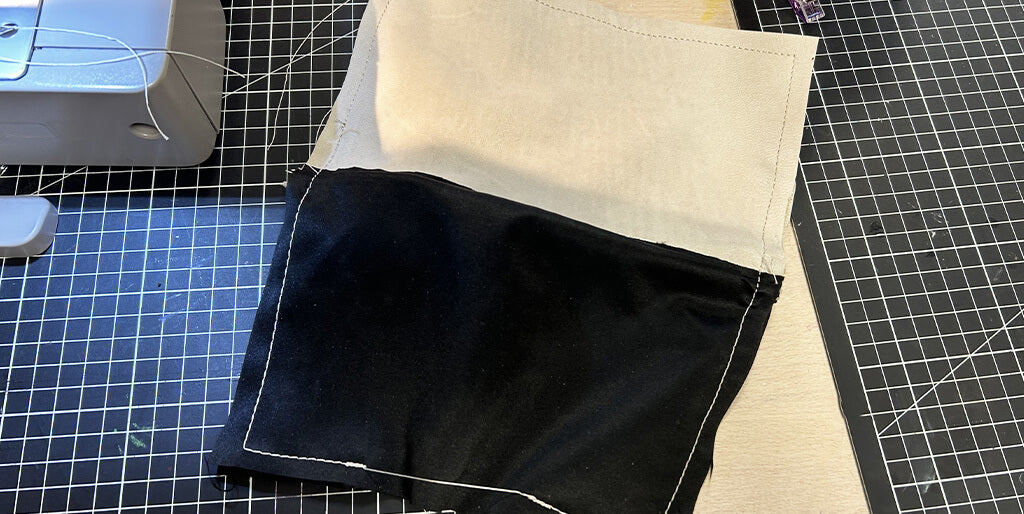
Cut the corners of the leather part. 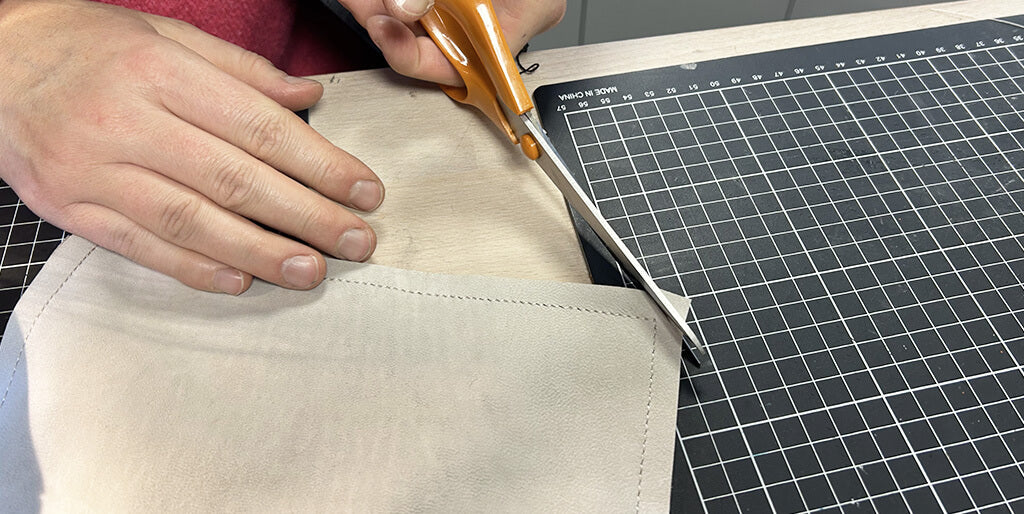
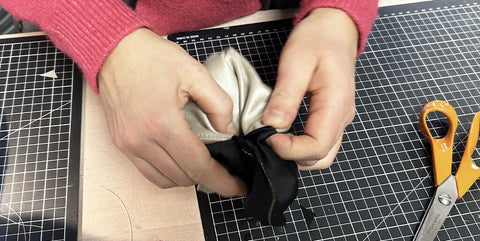
Then, turn the kit inside out through the opening in the lining.
 |
 |
Close the lining by sewing the opening.
 |
 |
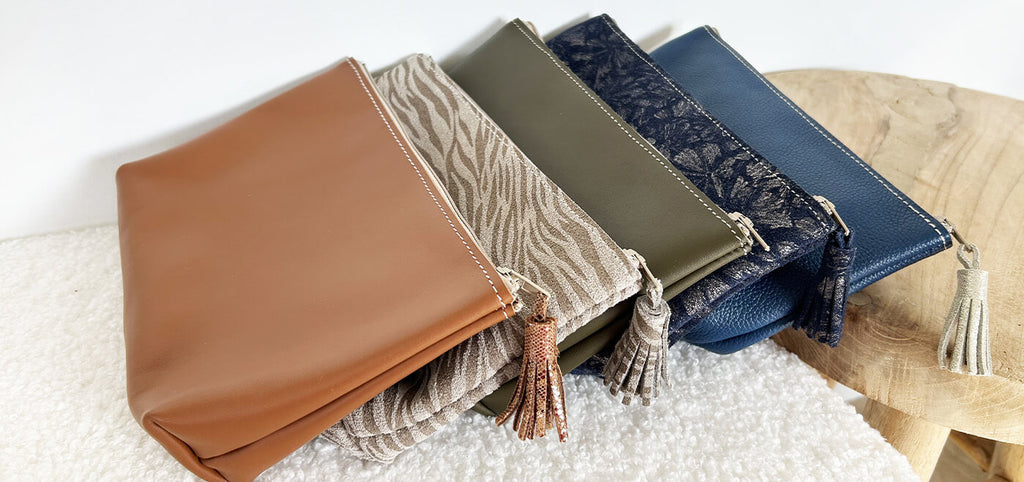
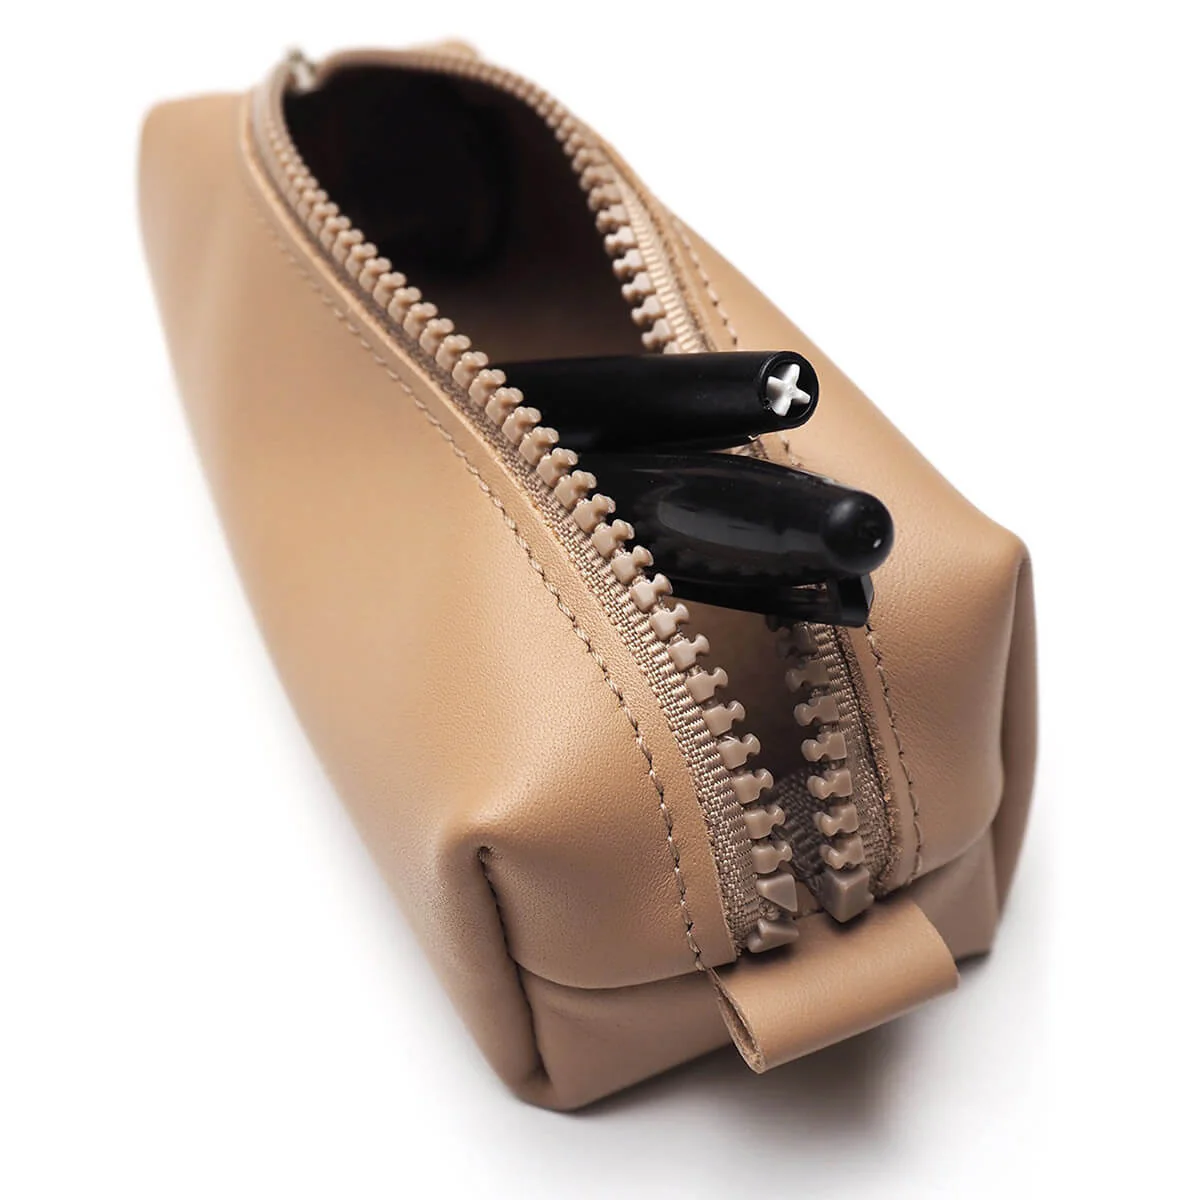
You're done!
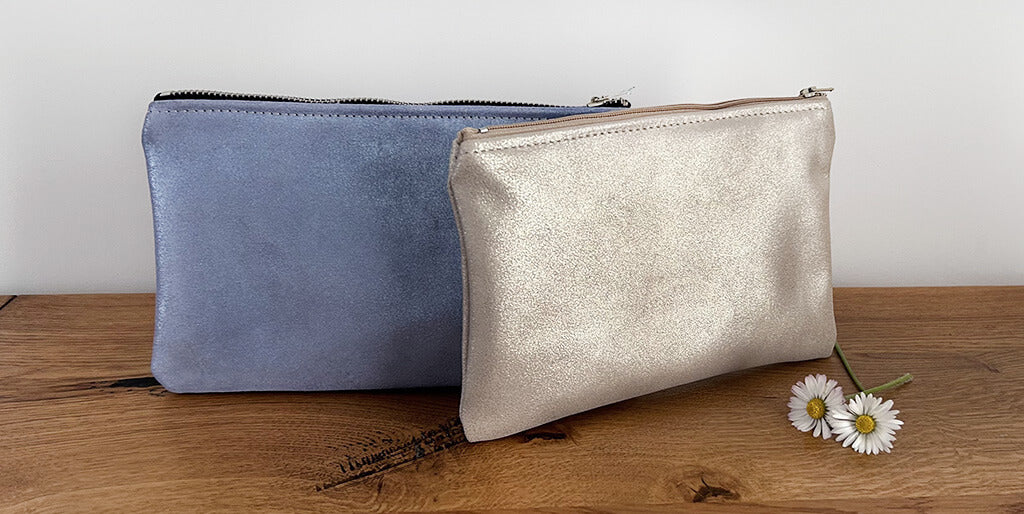

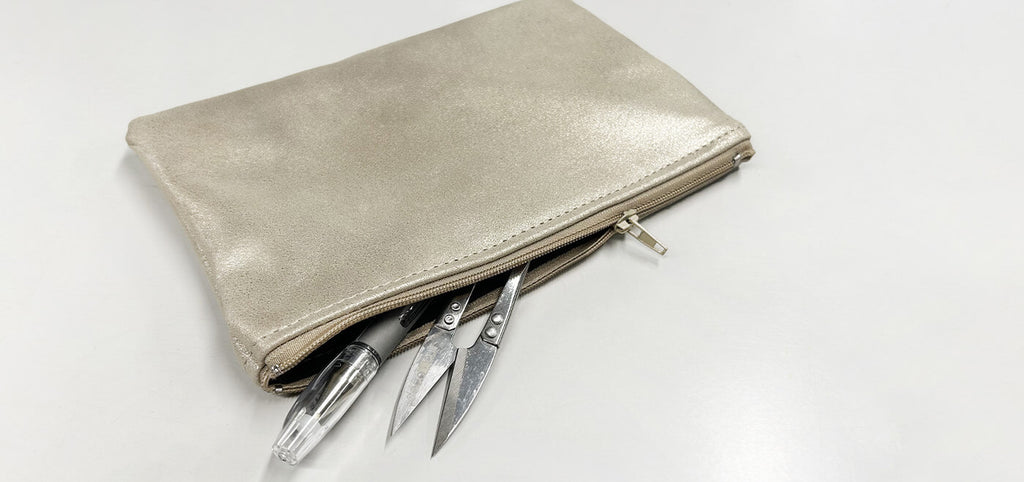
ANOTHER VERSION OF THE LEATHER PENCIL CASE
Discover our other version of the leather pencil case, with corners: