


For this tutorial, we do not offer a free pattern download.
GET THE PATTERN
Two options to purchase the pattern:
- Digital version (PDF to print at actual size and assemble)
- Paper version (B1 poster that you will receive at home).
Available for sale on our website!


NECESSARY MATERIALS
To complete this tutorial, you will need:
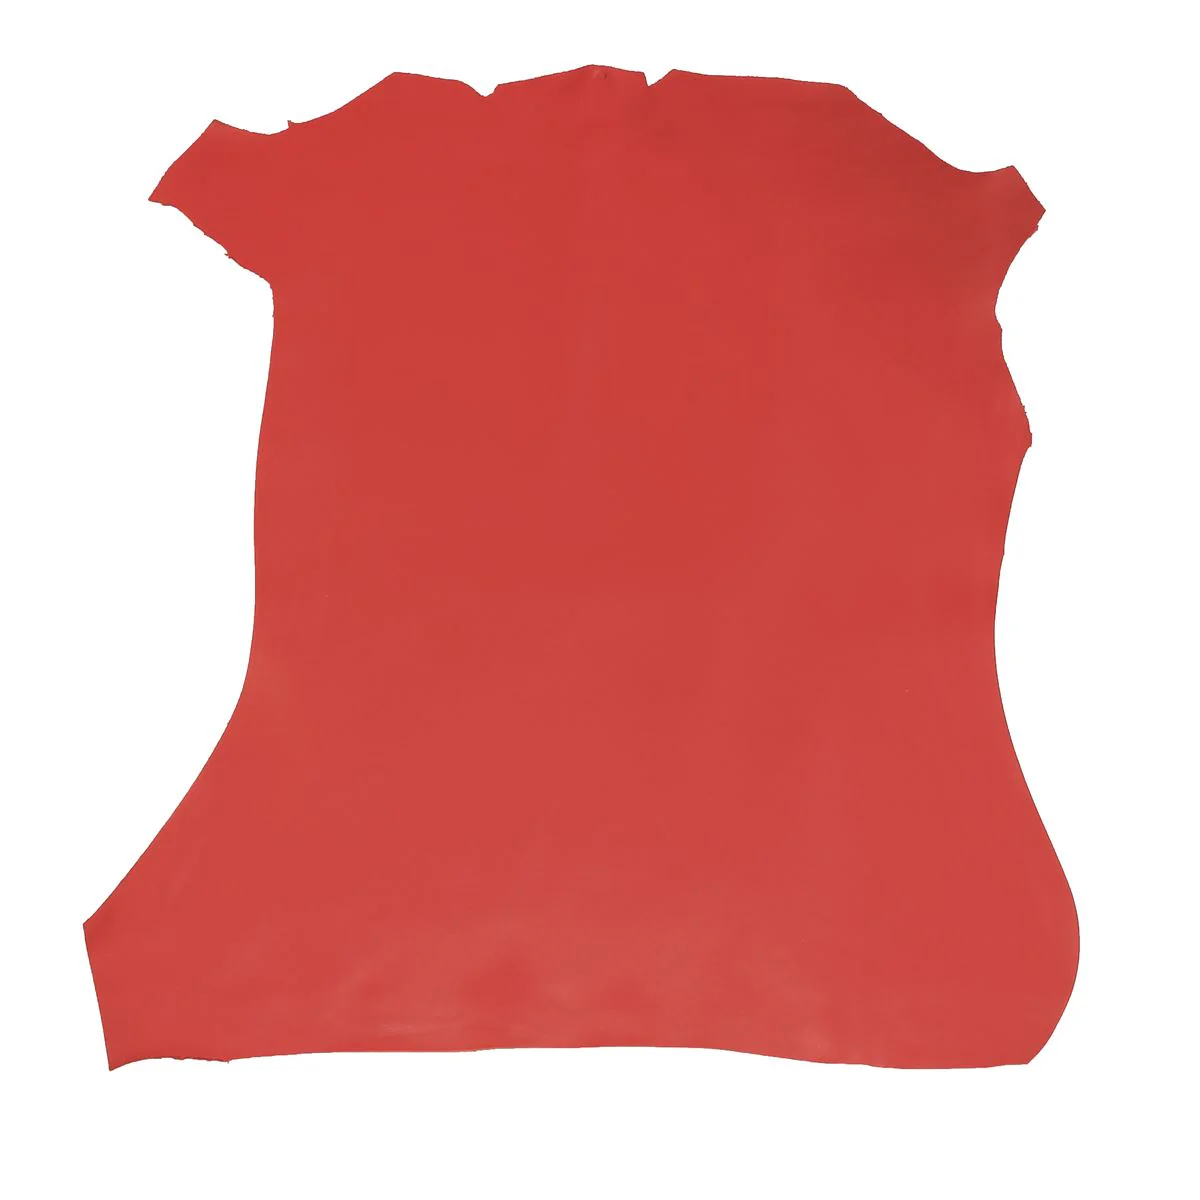
- 1 soft leather hide of 0.55 m² (approximate surface area) - approximately 1 mm thick OR for the hand-sewn version: firmer leather from the Venus range (discontinued leather).
- 8 roll-up eyelets and setting tools - Ø11 mm
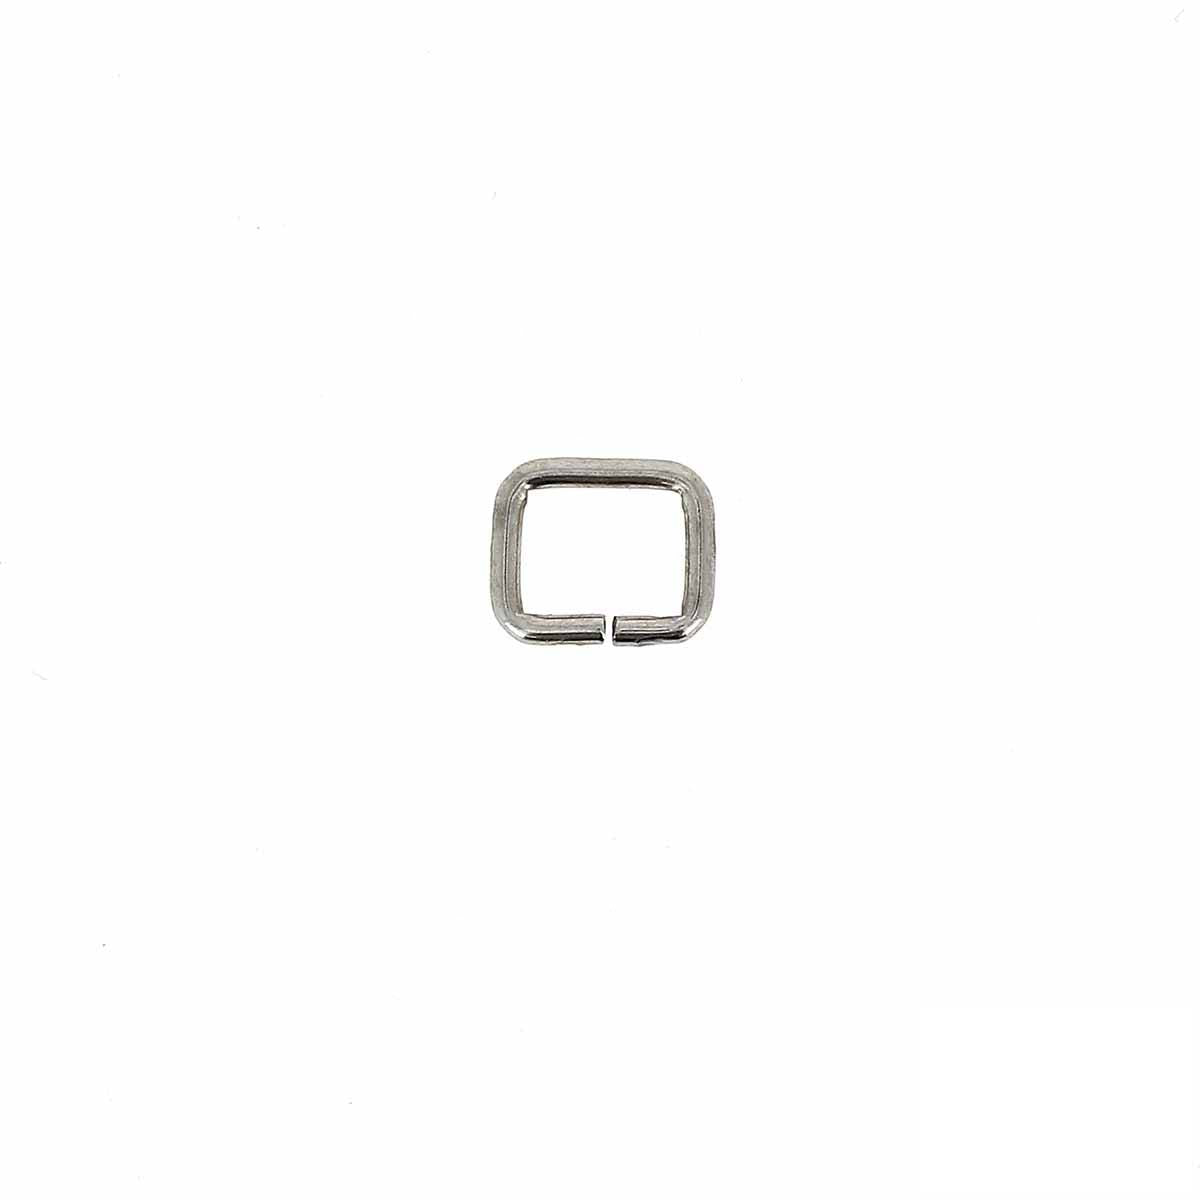
- 4 rectangular loops - dimensions 25 x 8 mm
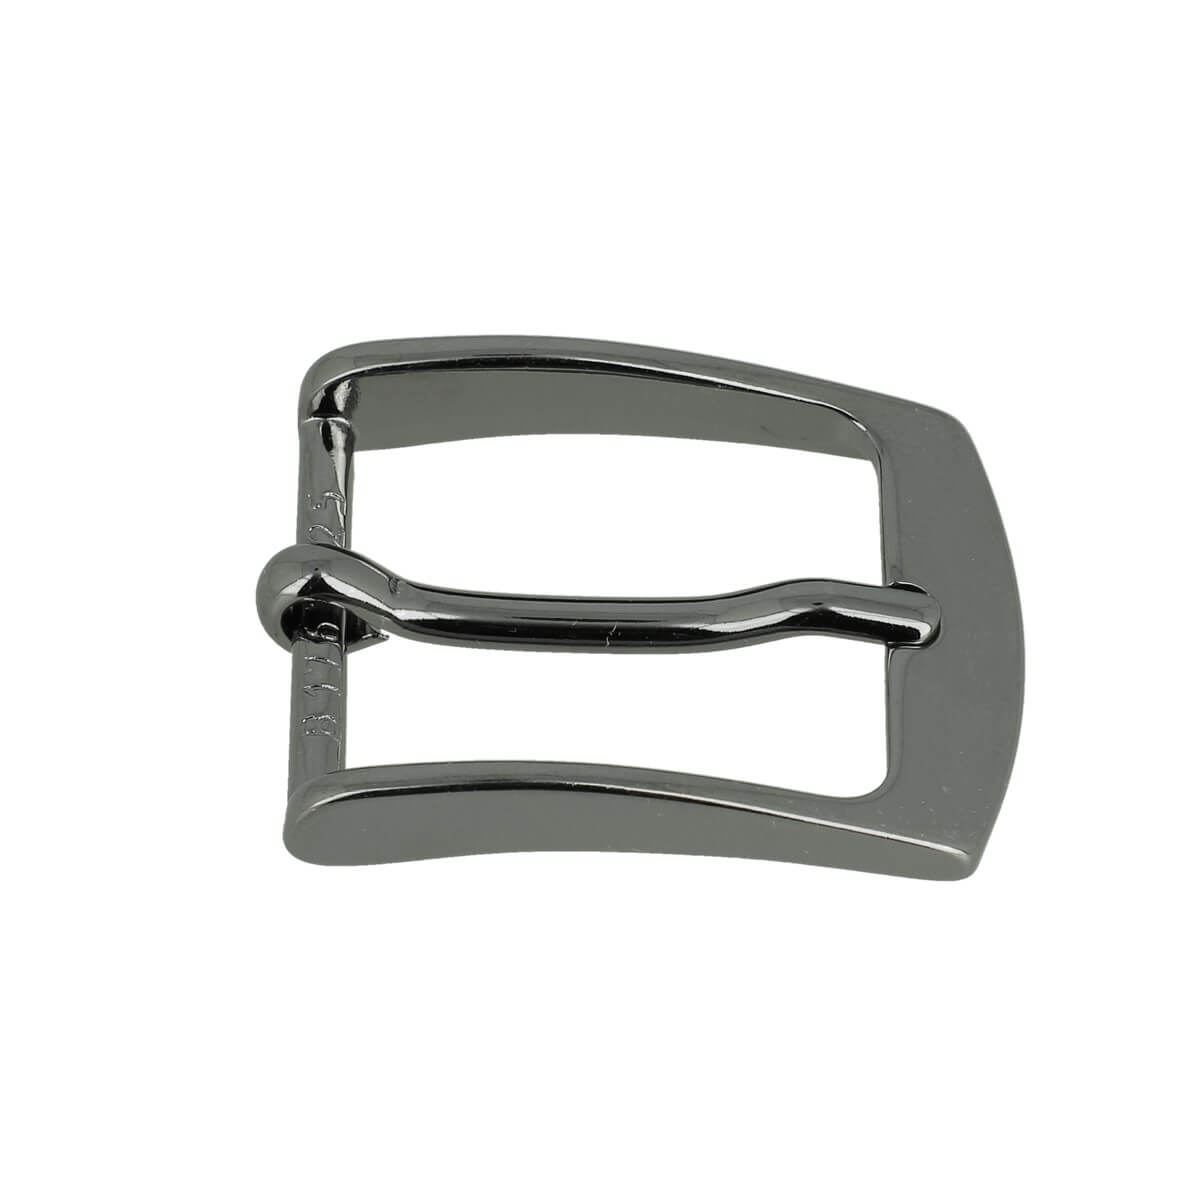
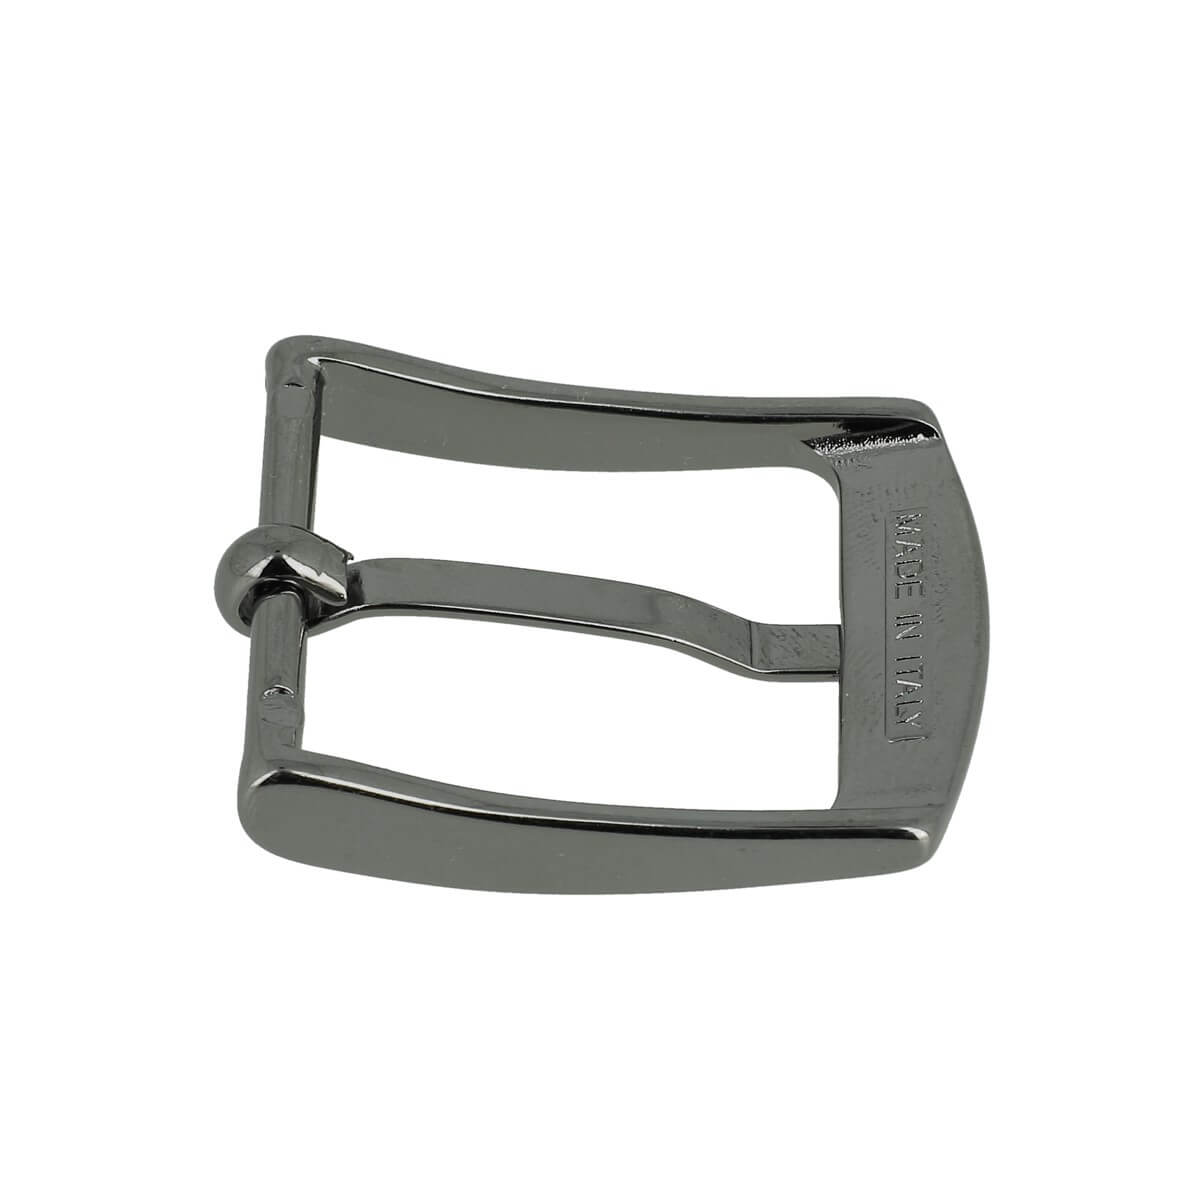
- 1 belt buckle - width 25 mm
- 1 magnetic TOP clasp Ø 14 mm - ROUND
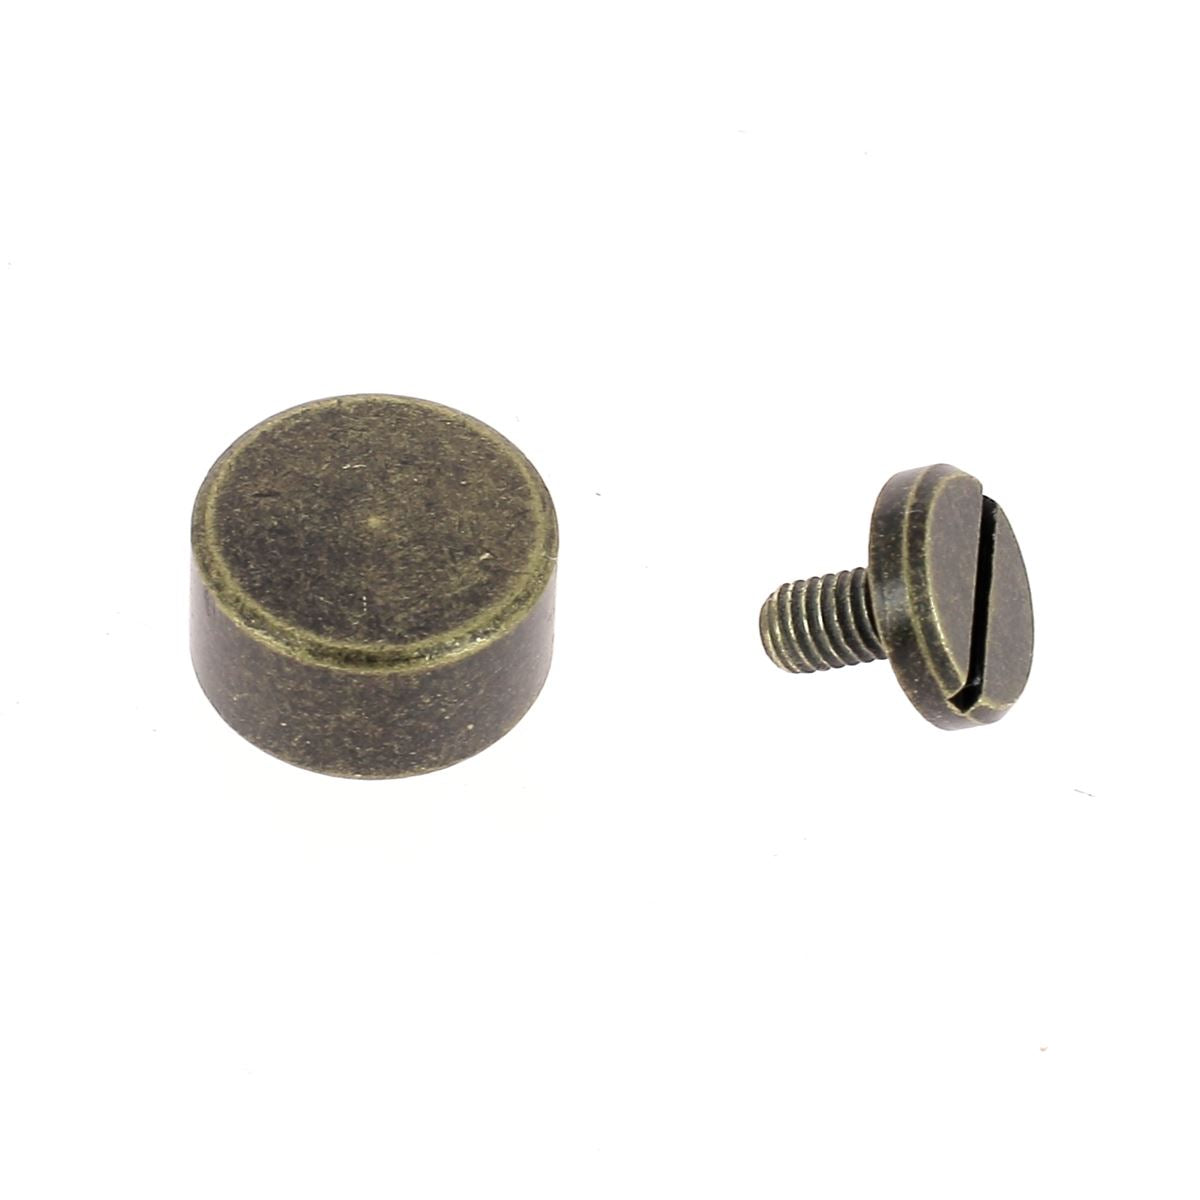
- 4 flat brass screw-in bag feet - Ø 11 mm
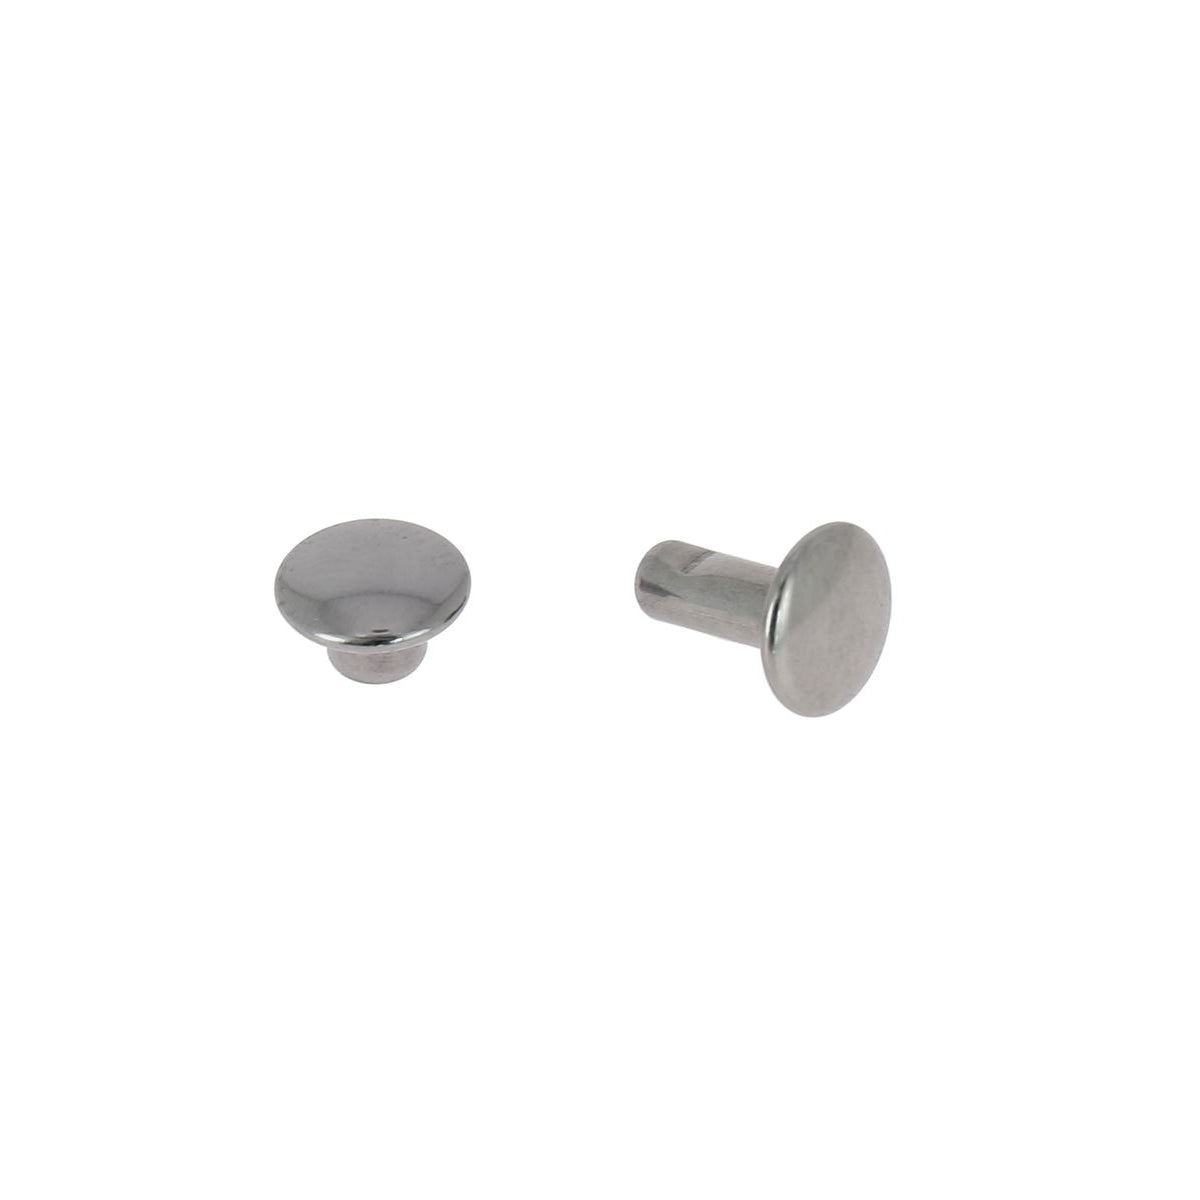
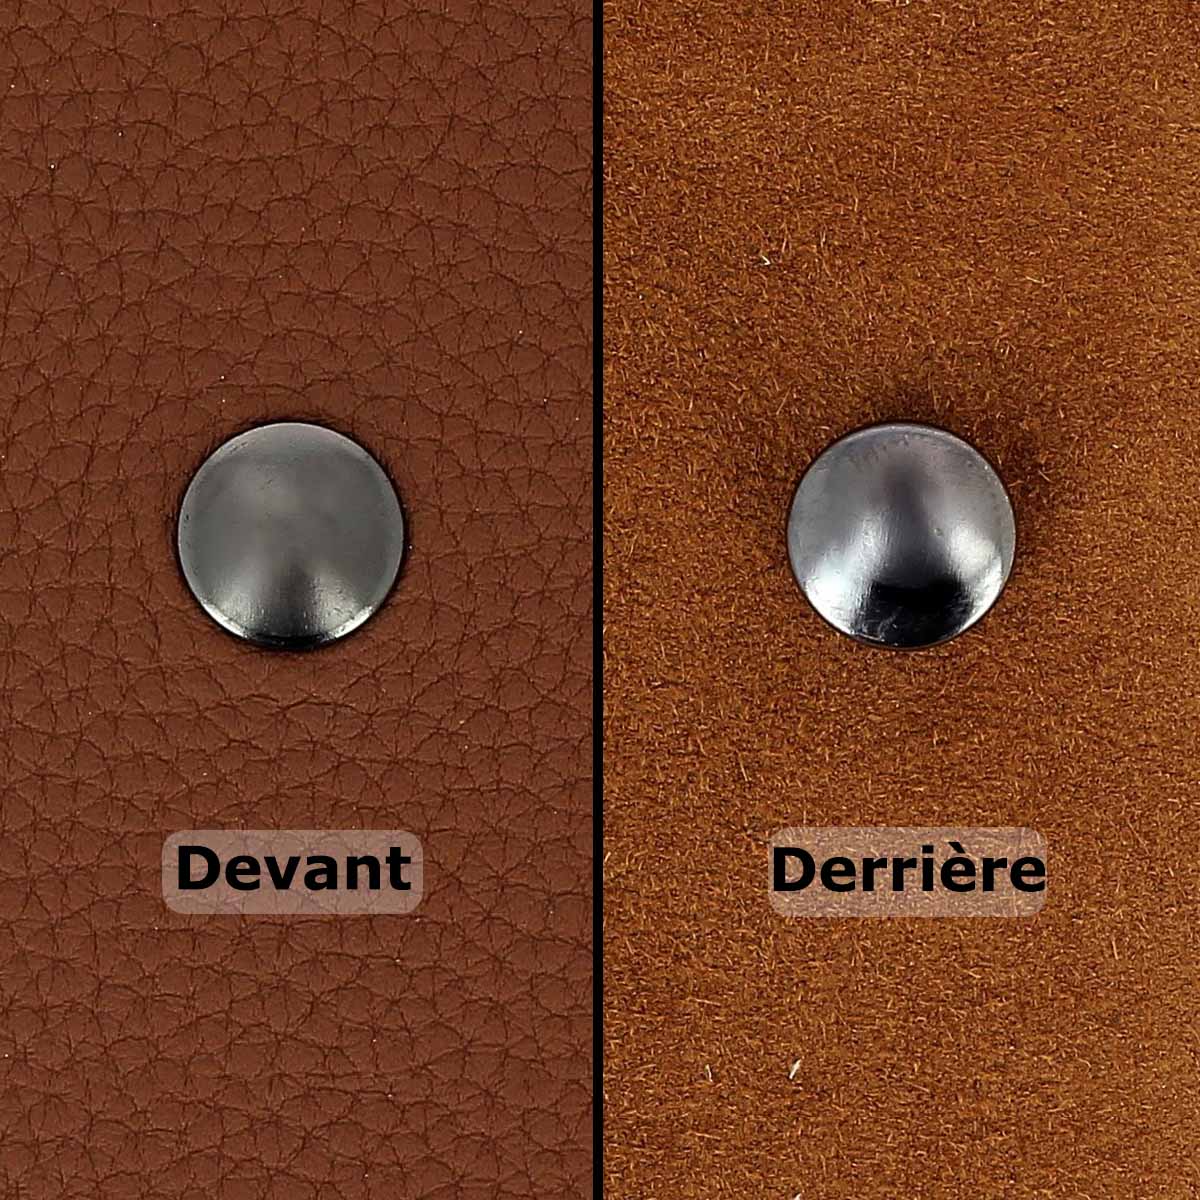
- 1 set of 10 T3 double-cap rivets
- 1 TEXON reinforcement plate - 20 x 30 cm - 0.8 mm thick
- 1 piece of Alcantara microfibre for lining - 0.50 x 1.40 m
- The full-size pattern
And the following equipment:
- 1 cutter or scissors
- 1 Ø11 mm punch
- Double-sided adhesive tape
- Tear-resistant tape
- Sewing clips
- Contact glue for leather
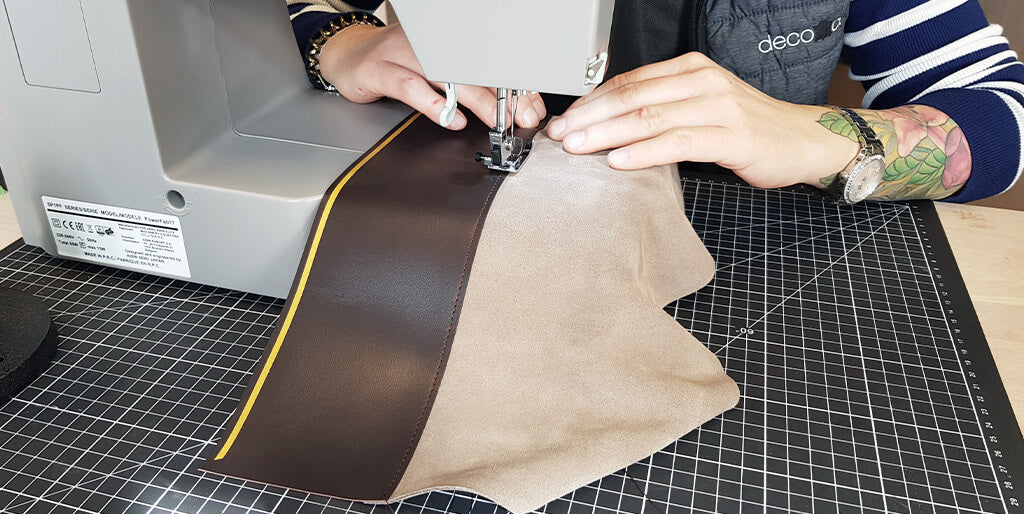
For machine sewing:
- 1 spool of polyester thread no. 30 (diameter 0.41 mm)
- Leather needle no. 100
- Teflon foot
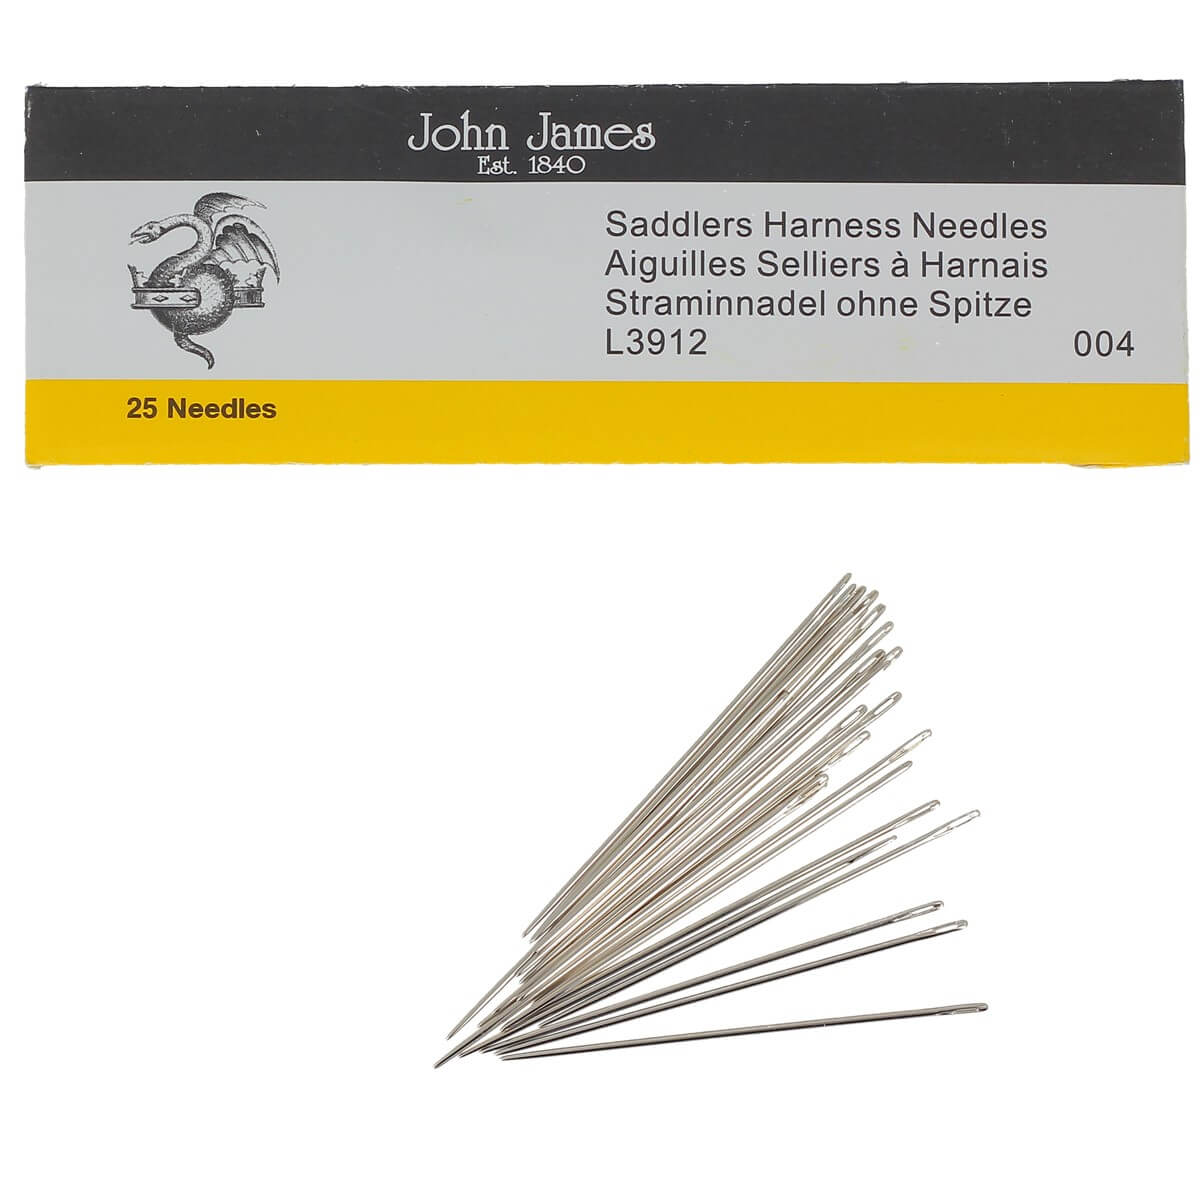
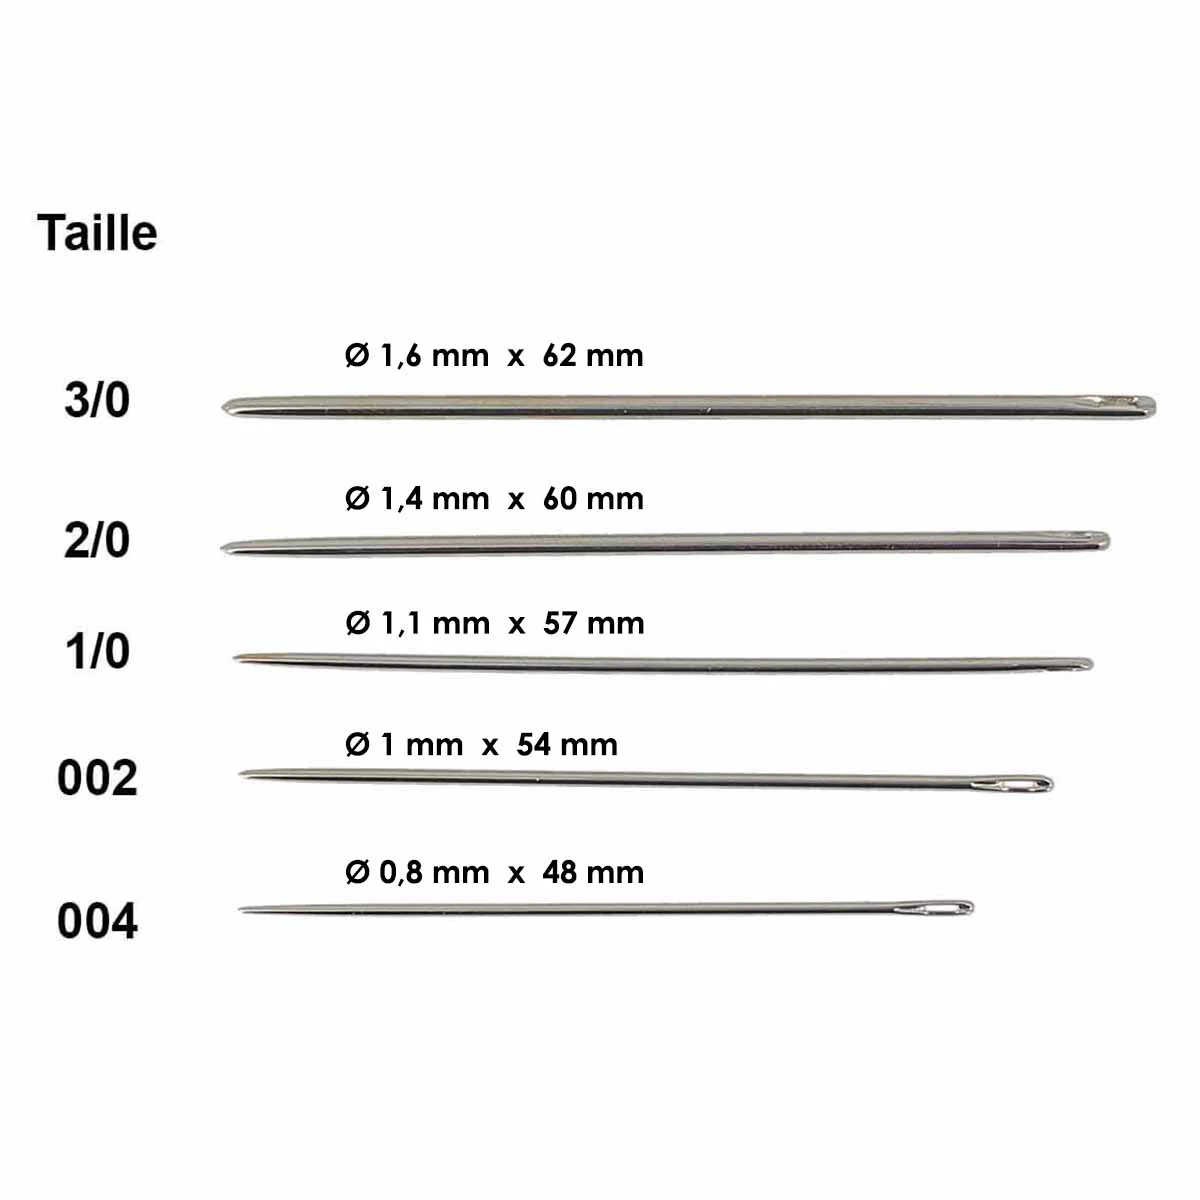
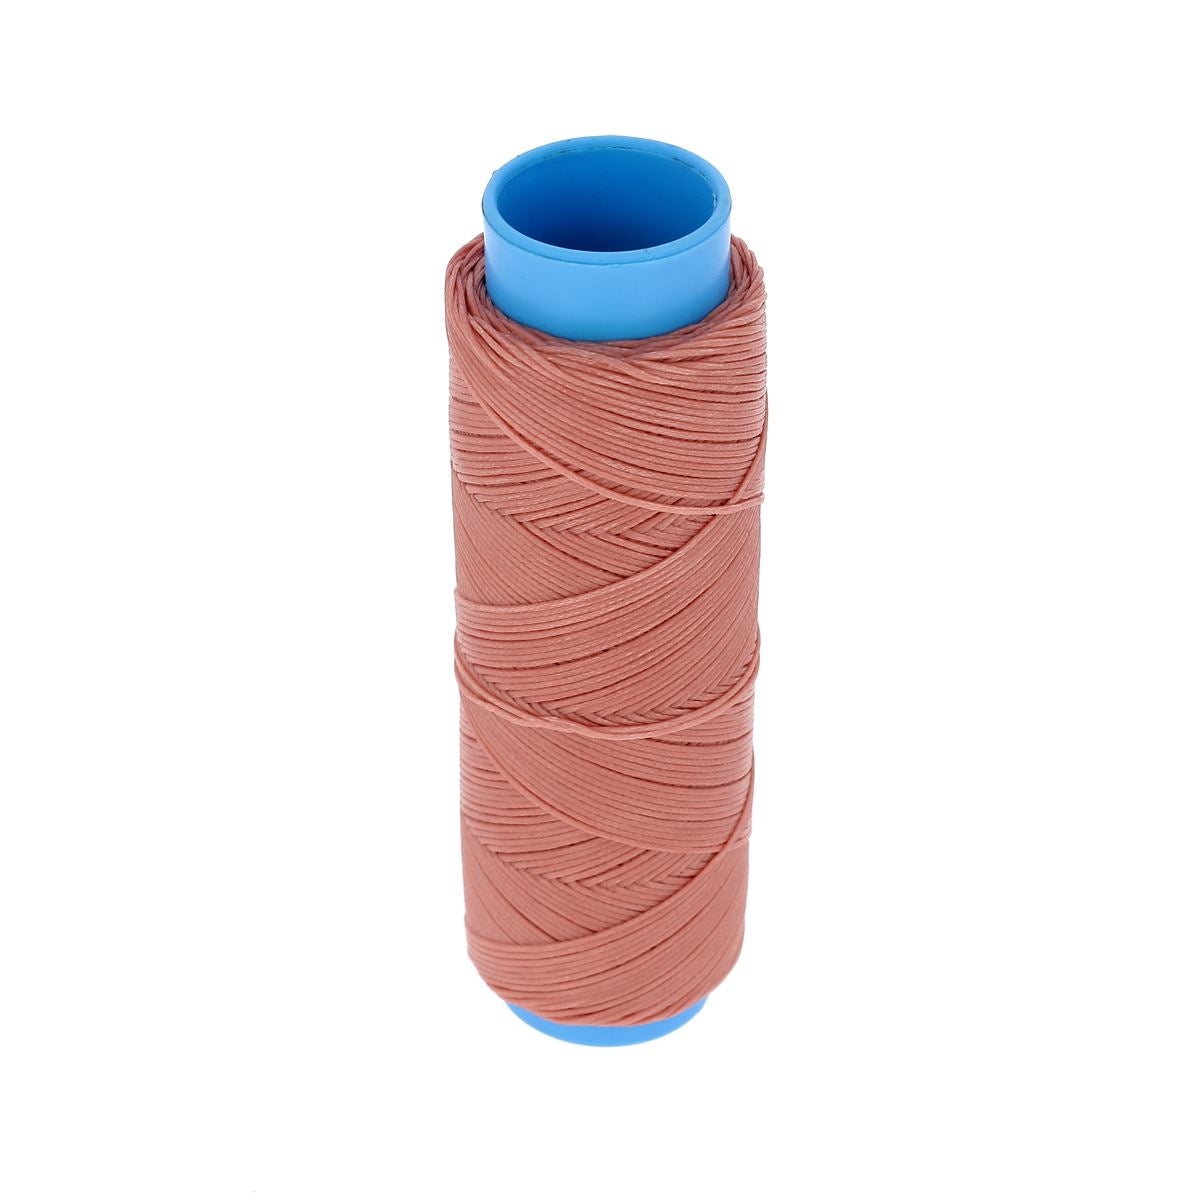
For hand sewing:
- 1 spool of 100m braided and waxed polyester thread - Dia 0.80 mm
- 1 ROUND punch - Ø 1.20 mm
- 2 saddler's needles - round tip - Size 1/0 - Ø 1.1 mm
CHOOSING THE LEATHER
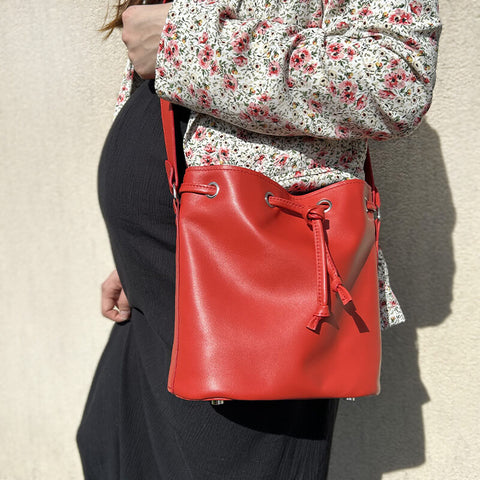
For the classic version: we recommend a soft nappa lamb leather for a standard home machine. For a more powerful or industrial machine, you can choose firmer leathers such as one of our vegetable-tanned sheepskins (lamb leather - ongoing range).
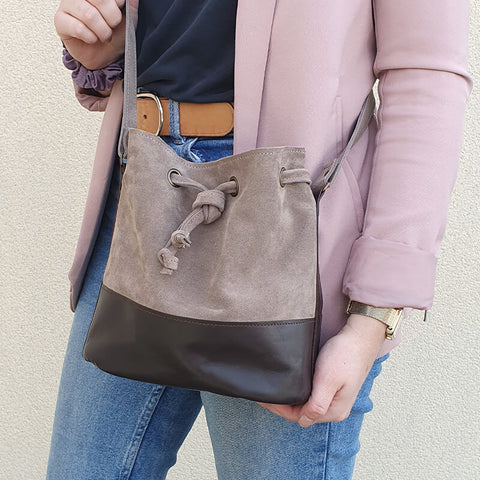
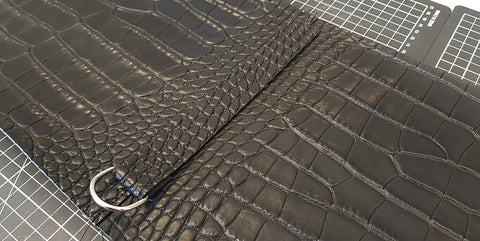
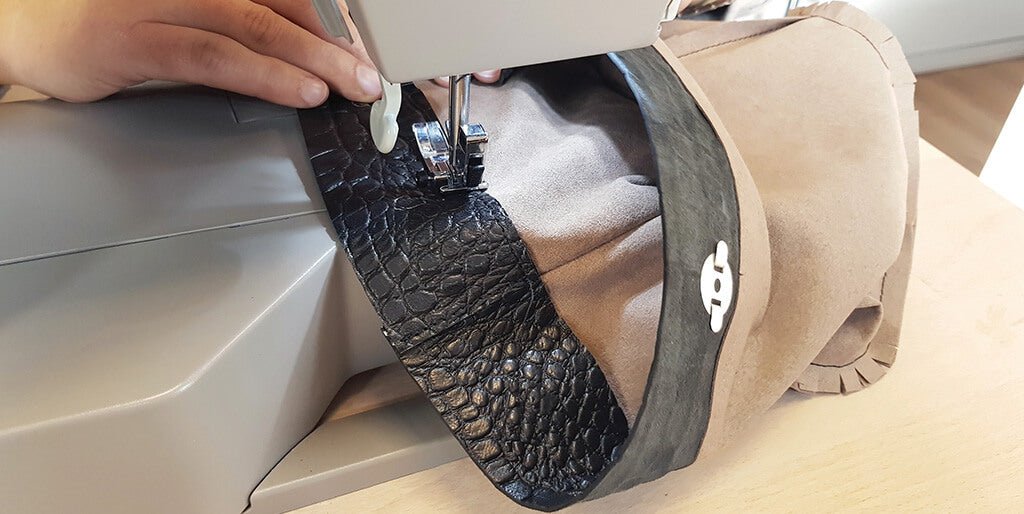
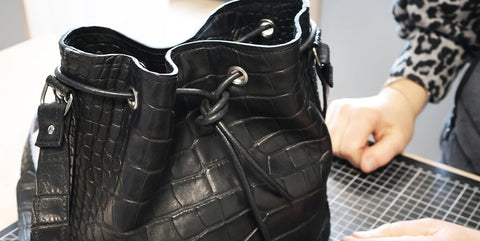
For the two-tone version: we chose a leather from the Satinlys range (split to 0.8 mm thick) with a velvet leather split (1.4 mm thick) to vary textures.
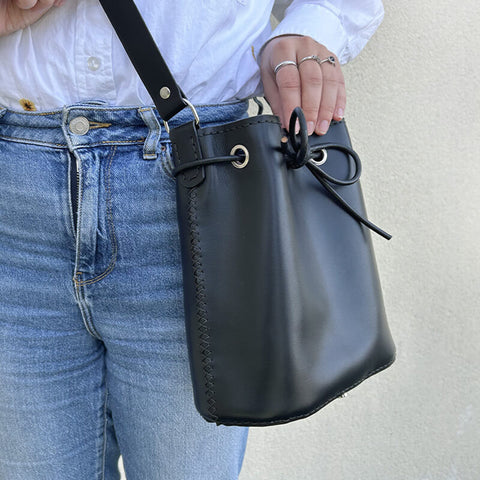
For the hand-sewn version: we chose a semi-soft, semi-firm cowhide leather, 1.5 mm thick (discontinued Venus range).
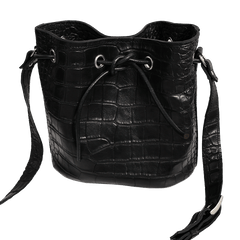
Some examples:
|
|
 |
 |
 |
*Note for the crocodile vegetable-tanned version, an industrial machine is required.
For the two-tone and hand-sewn versions, please refer to the bottom of the page for additional information (tutorial).
CLASSIC VERSION
FULL TUTORIAL VIDEO
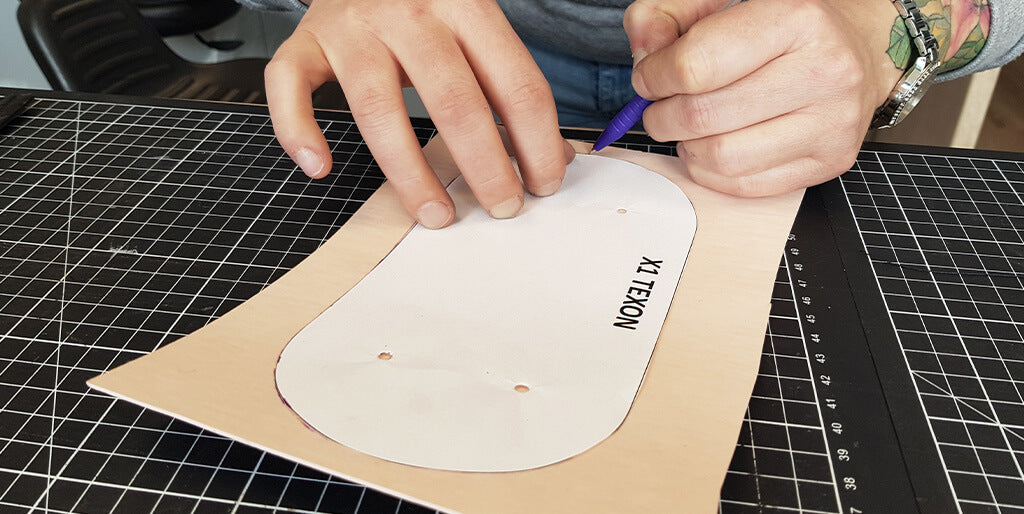
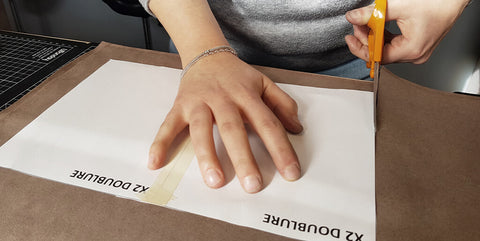
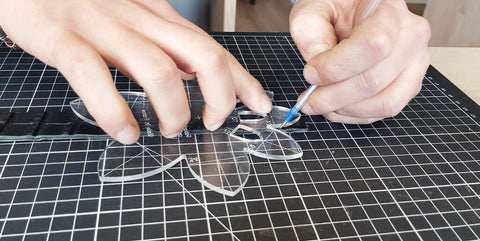
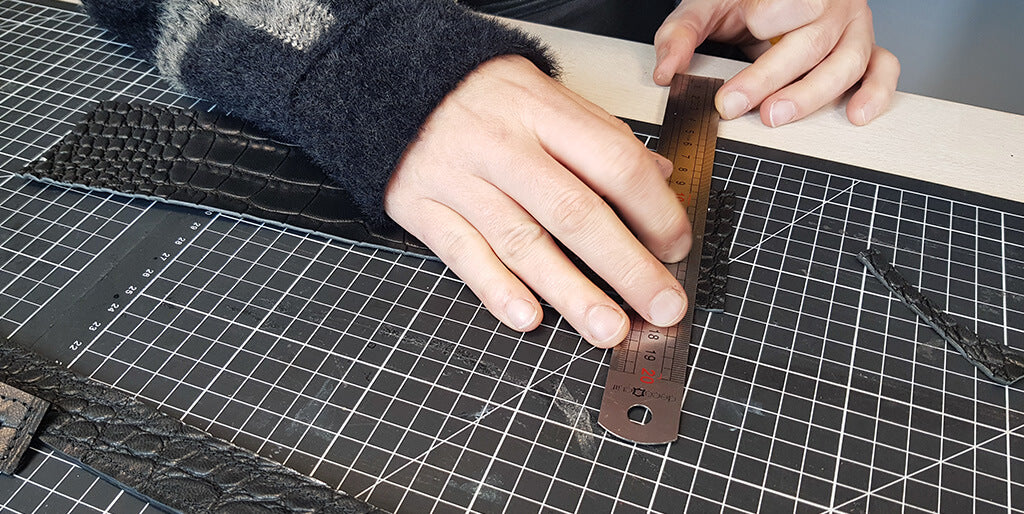
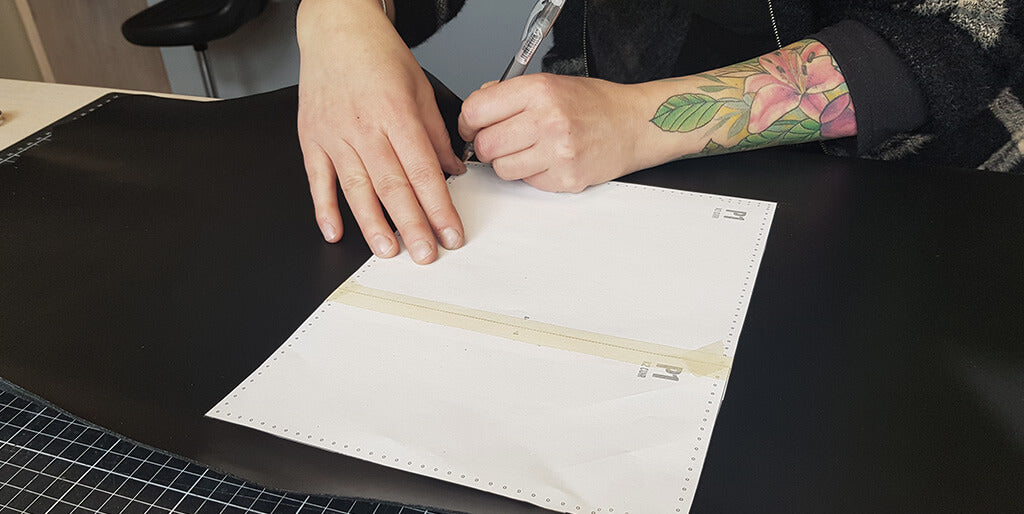
1. TRACE THE PATTERN
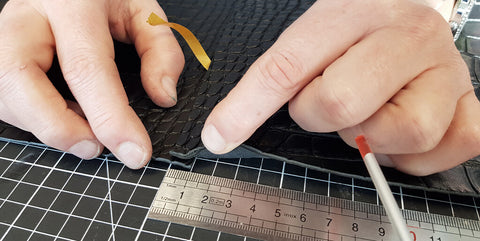
Using a silver pen, trace the pattern pieces onto the grain side of the leather. Mark the centers with a silver pen or by making a small 1 mm notch in the leather (see lines on the pattern).
Also mark the position of the eyelets on pieces P1.
Pay attention to the positioning of the pieces on the leather hide, keeping scraps to make the lace (see step 18).


Also trace pieces P2 and P3 in the lining and P4 in the Texon (mark the centers).
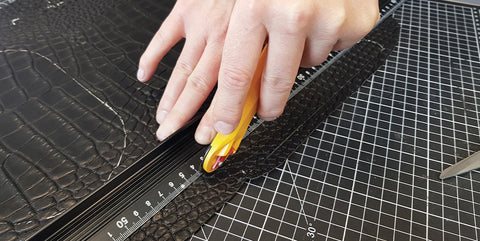
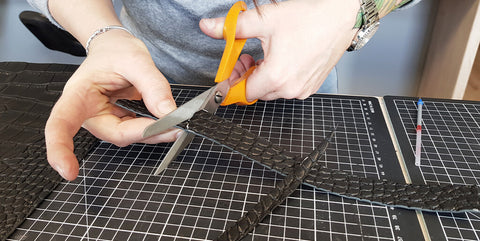
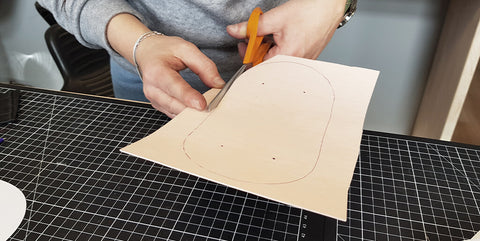
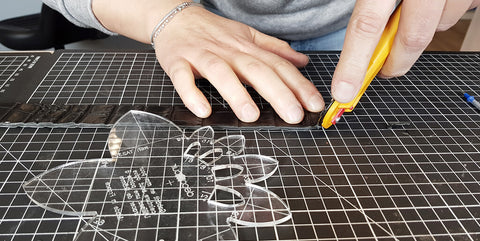
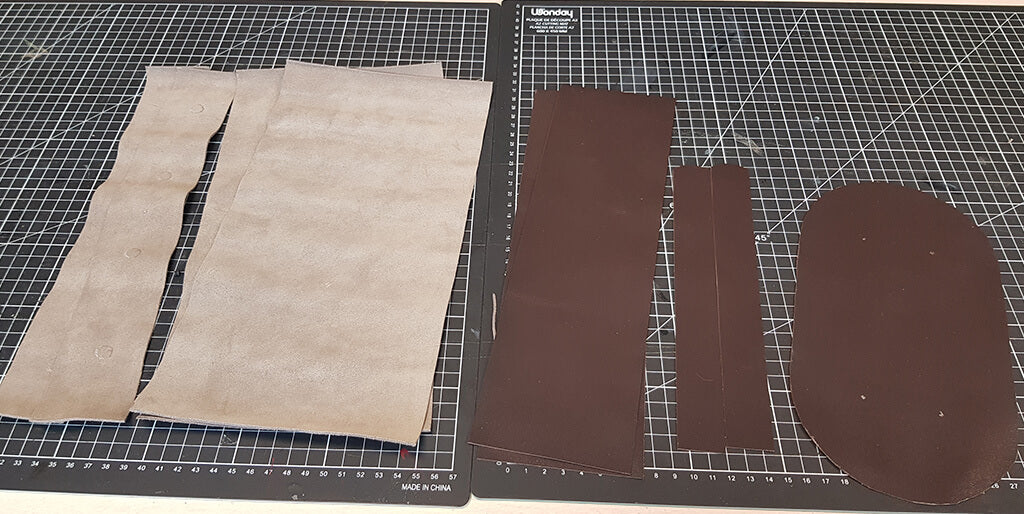
2. CUT OUT THE DIFFERENT PIECES
Cut out the different leather and lining pieces with a cutter or a pair of scissors. Also cut out piece P4 from the Texon.
 |
 |
 |
 |
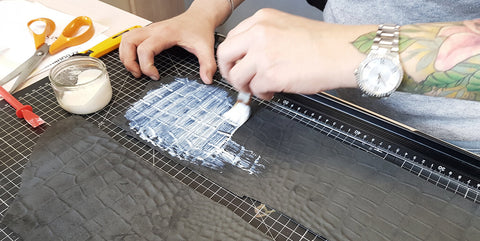
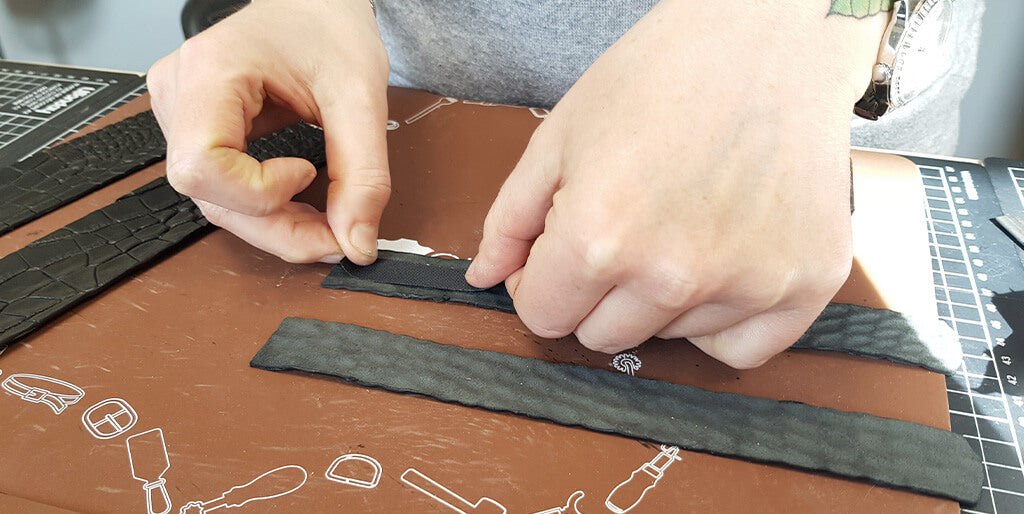
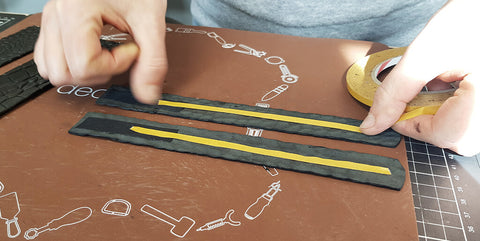
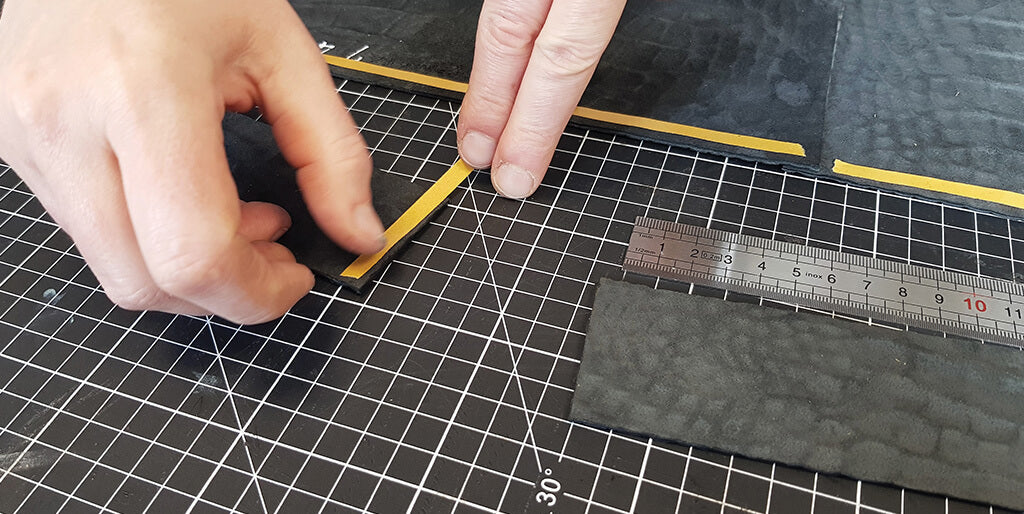
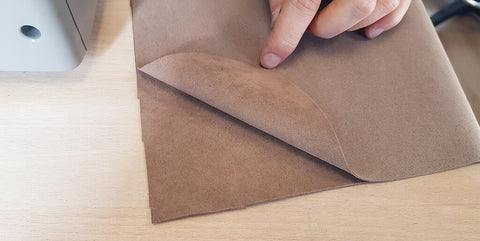
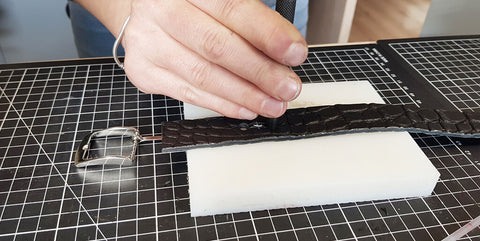
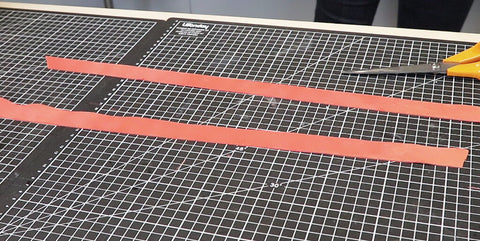
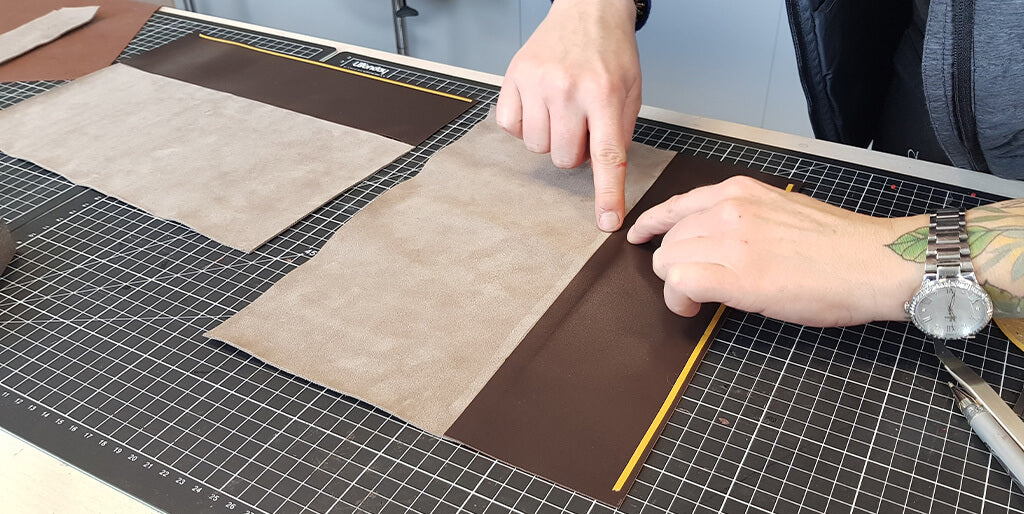
3. PREPARE THE BAG STRAP
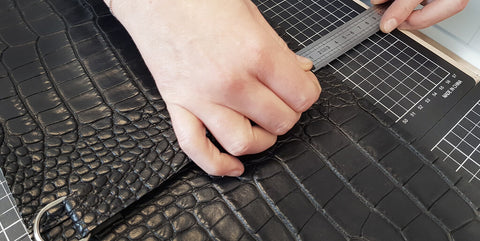
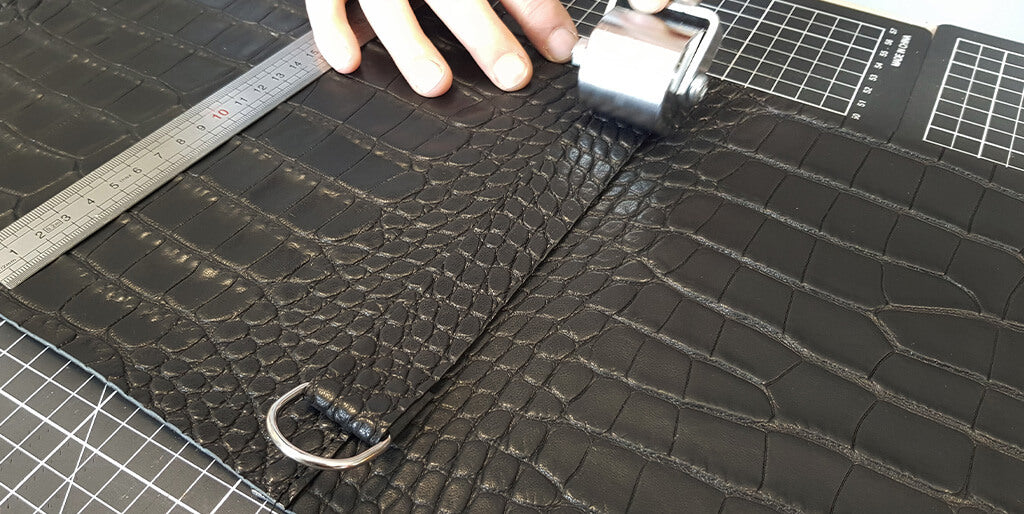
Cut 2 rectangles of 7 x 65 cm (or piece P7 on the full-size pattern). Then, glue the two strips, wrong sides together (flesh to flesh), with leather contact glue.
Option: add tear-resistant tape to the ends to reinforce the strap.
 |
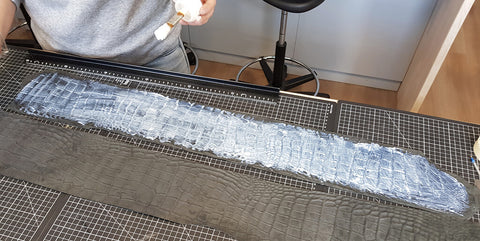 |
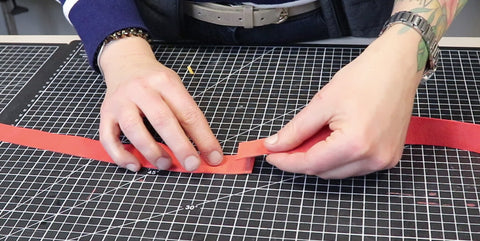
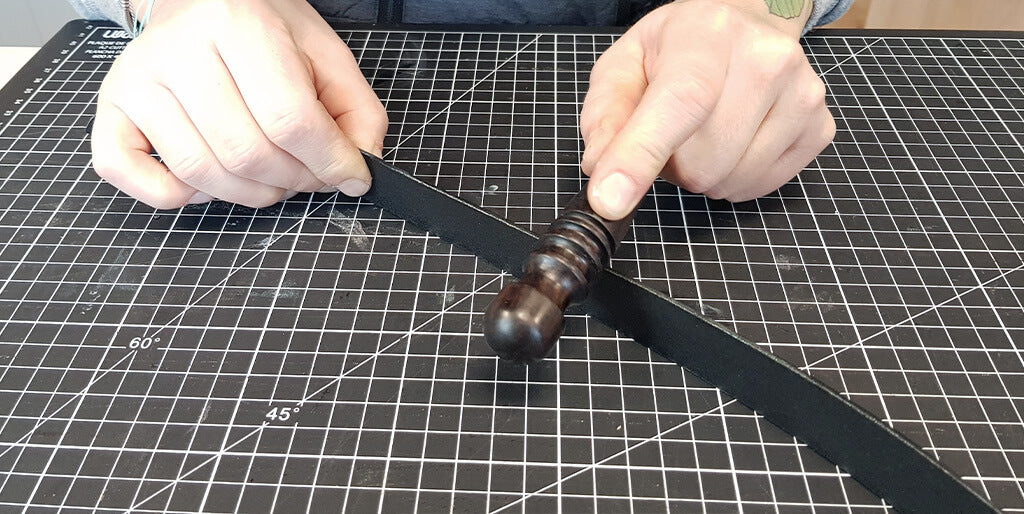
Flatten the glued parts with a steel roller.
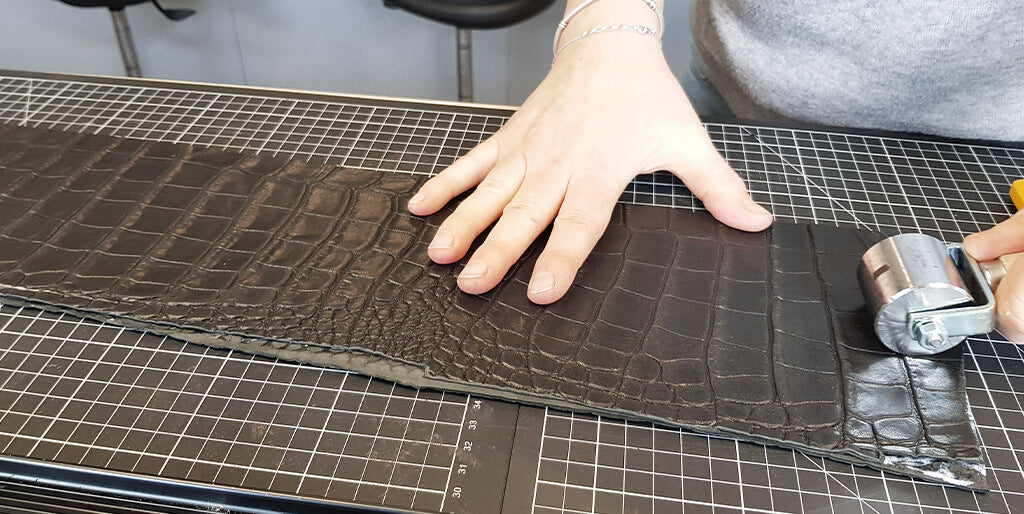
From this large doubled strip, cut 2 straps, 2.5 cm wide and 65 cm long.
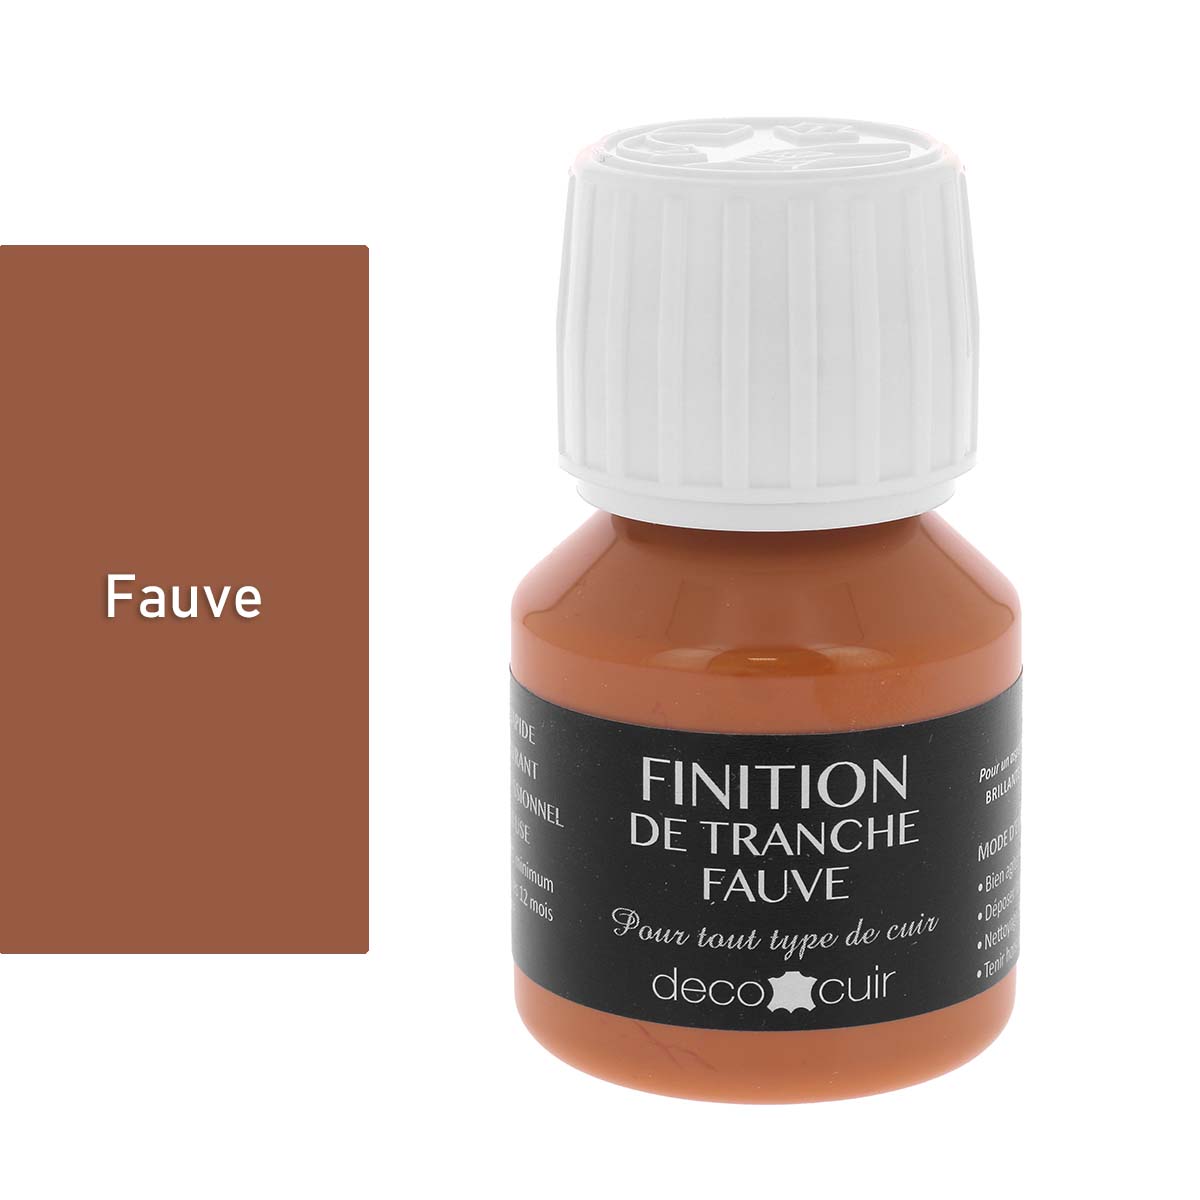
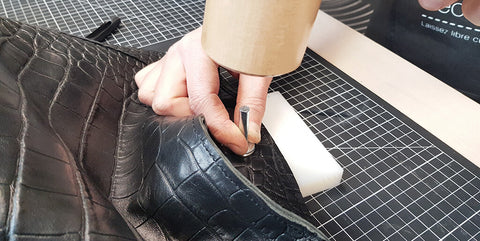
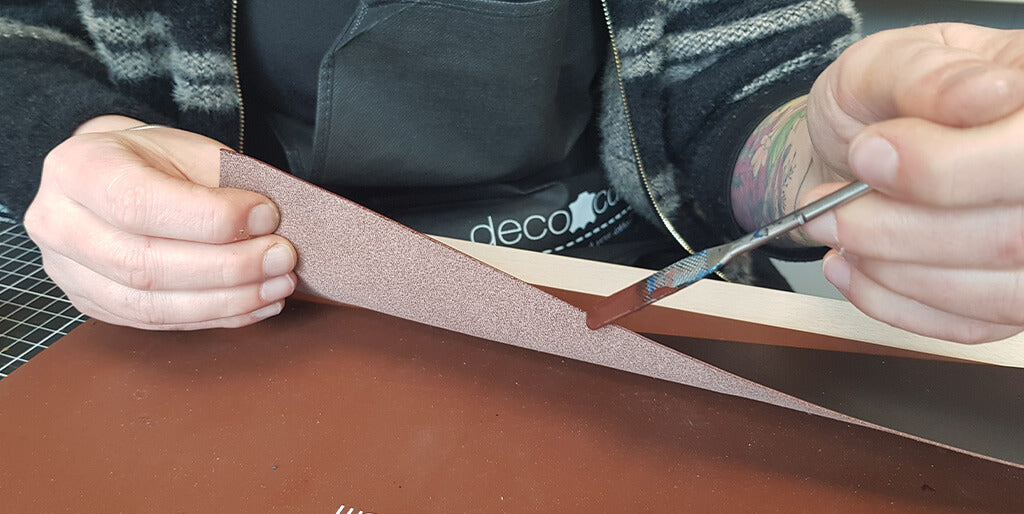
4. FINISH THE EDGES
Before assembly, finish the edges of the following pieces:
- all sides of the 2 pieces P5.
- the 2 widths of the 2 pieces P1 (dye only the top 5 cm, the rest of the widths will be hidden by pieces P5).
- only 3 of the 4 sides of the 2 pieces P6: do not finish the upper length.
The other edges will be finished at the end of assembly.
Edge finishing is done with an edge paint/finish. You need to apply 2 to 3 coats of finish. For more information, please refer to the guide below.
 |
 |


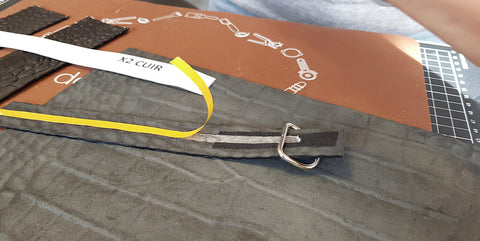
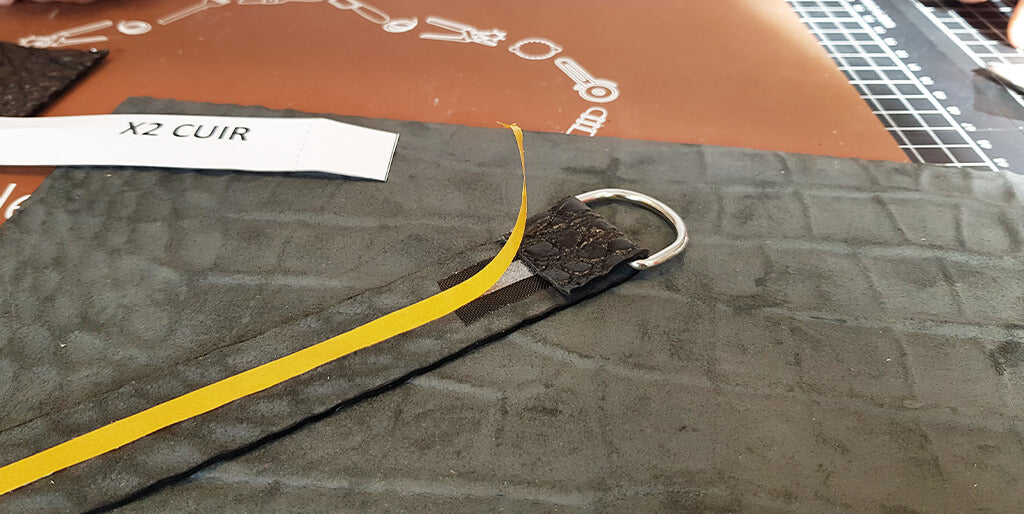
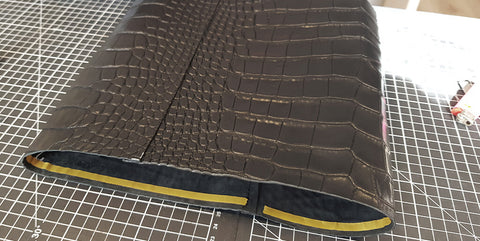
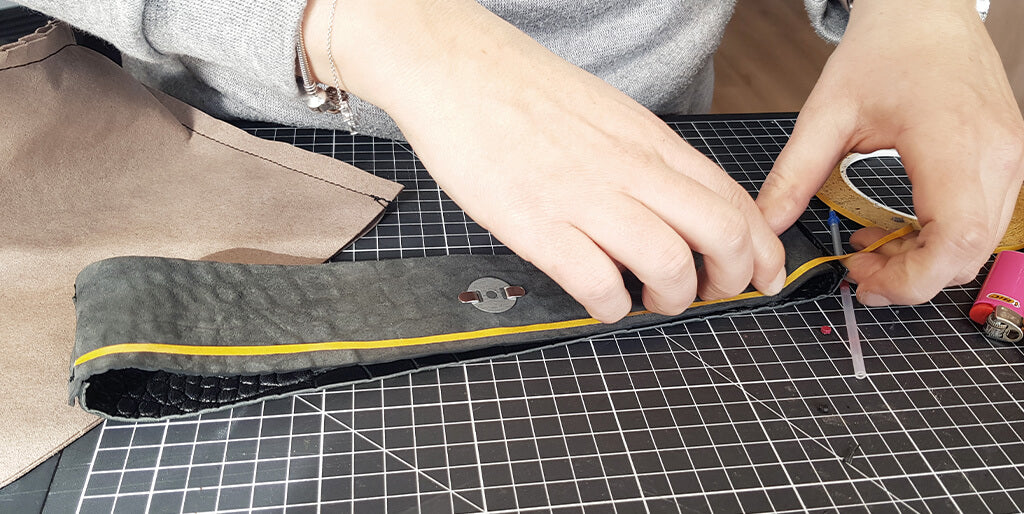
5. PREPARE THE DIFFERENT PIECES
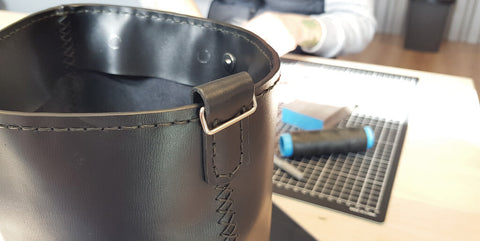
Apply tear-resistant tape to the top of the 2 P5 pieces for approximately 7 cm.
Apply double-sided tape along the entire length of the P5 pieces. Then, insert the rectangular loops and fold over 2.5 cm. Do not remove the double-sided tape along the entire length.
 |
 |
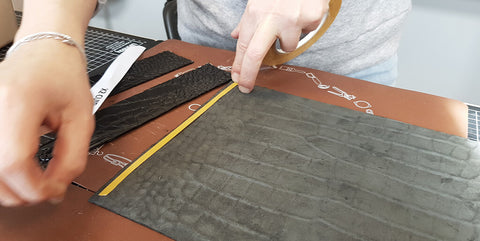
Apply double-sided tape to:
- the 2 widths of one of the P1 pieces on the back of the leather. Do not apply to the second P1 piece.
- the top length of the 2 P1 pieces on the back of the leather.
- the bottom length of the 2 P1 pieces on the front of the leather (see step 10).
 |
 |
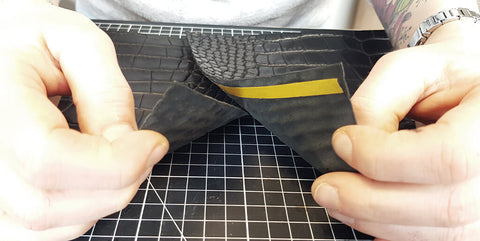
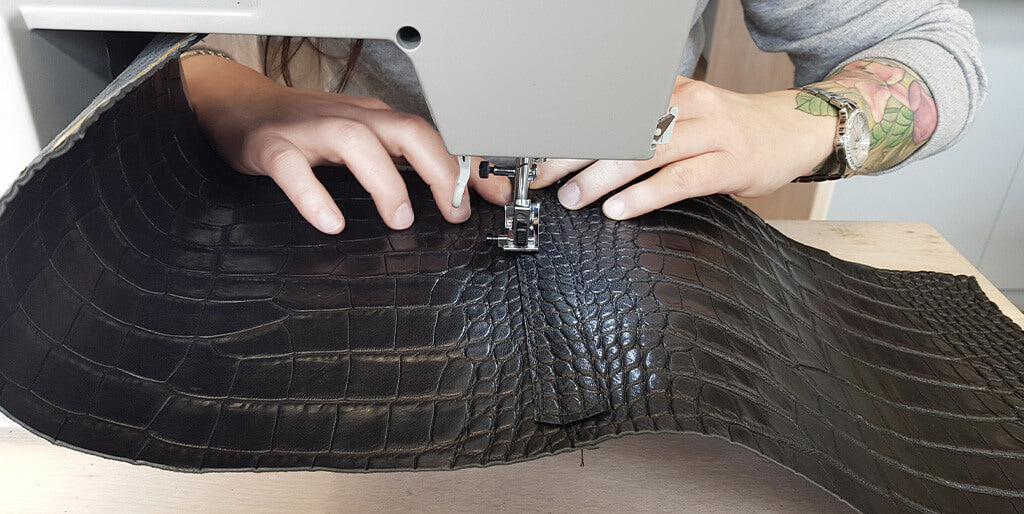
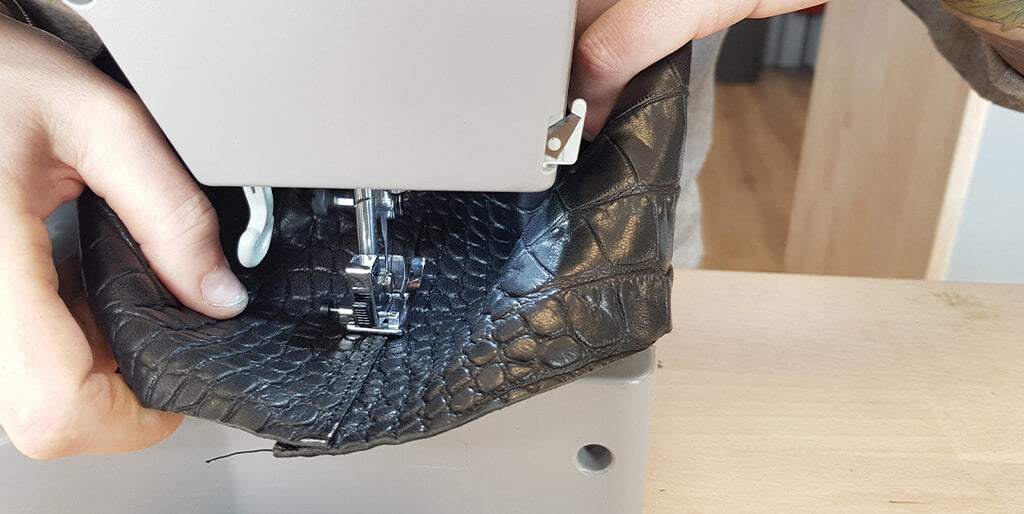
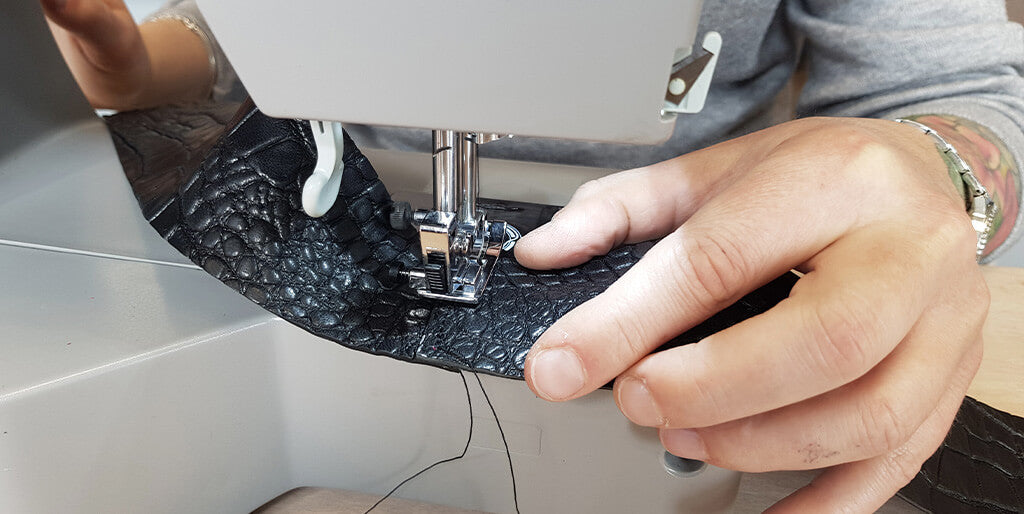
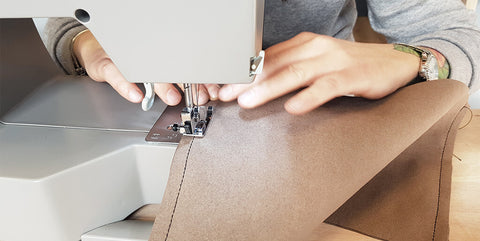
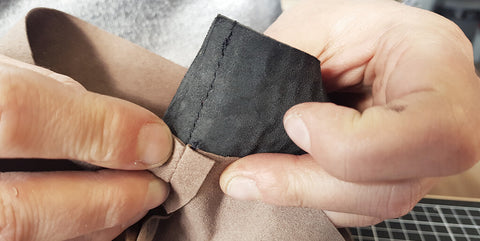
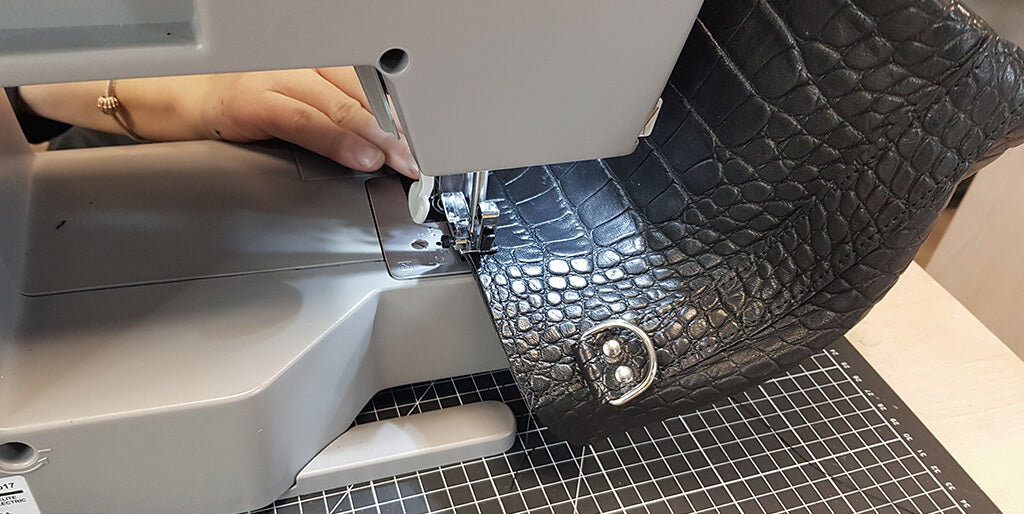
6. SEW THE BAG BODY
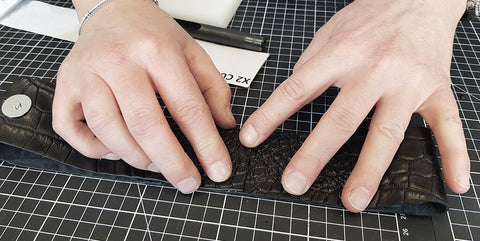
Glue piece P1 with double-sided tape onto one of the widths of the second P1 piece that does not have double-sided tape. Glue wrong side to right side, over 1 cm.
 |
 |
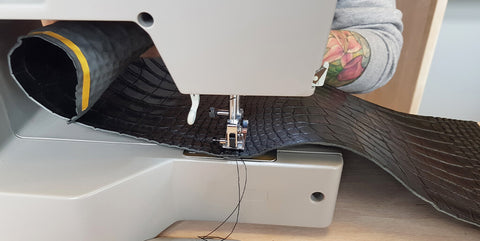
Then, sew the two P1 pieces along this width.
 |
 |
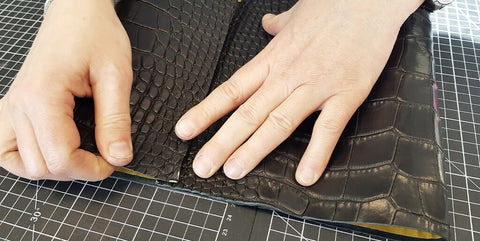
Glue one of the P5 pieces onto the seam line with double-sided tape, 1.5 cm from the bottom of piece P1. Flatten the glued parts with a steel roller.
 |
 |
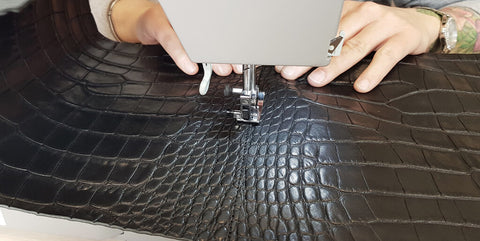
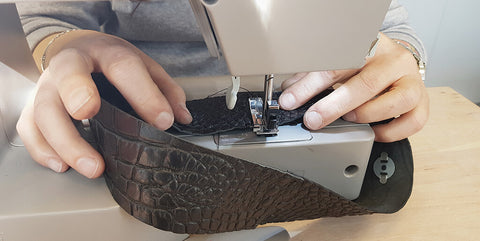
Sew in two passes, starting from the bottom so that the rectangular loop does not obstruct the sewing.
With double-sided tape, glue the second width of P1 onto the other P1 piece. Glue wrong side to right side, over 1 cm.
 |
 |
Sew this width. Be careful not to sew the part underneath.
Glue and sew the second P5 piece onto the side of P1 that has just been sewn.
 |
 |
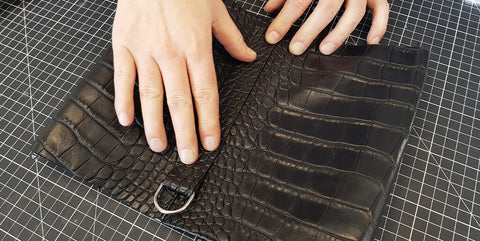
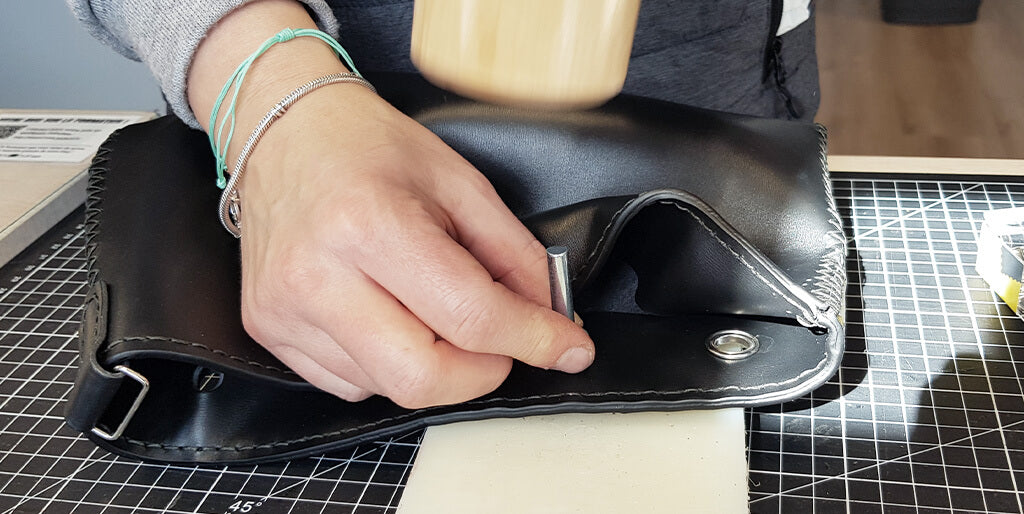
7. ATTACH THE RIVETS
Make two Ø 3 mm holes below the rectangular loops of pieces P5.
 |
 |
Then, attach T3 rivets with your chosen tool.
 |
 |
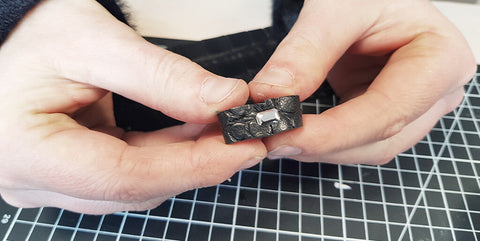
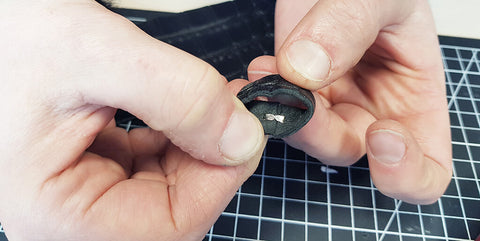
8. PREPARE THE FACING P6
Attach a magnetic top to pieces P6. The position of the clasp will depend on the position of your facing in the bag (see step 13).
Apply double-sided tape along the widths of one of the P6 pieces (on the wrong side of the leather).
Glue one of the P6 widths with double-sided tape onto the width of the second P6 piece that does not have double-sided tape. Glue wrong side to right side, overlapping by 1 cm.
Then, sew the two P6 pieces together along the recently glued width.
Glue the second width of P6 with double-sided tape and sew to close the facing.
 |
 |
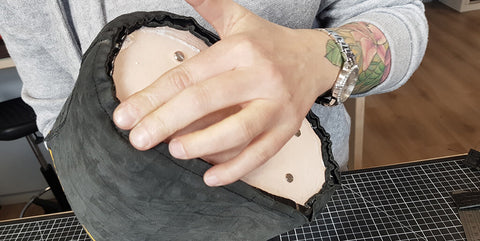
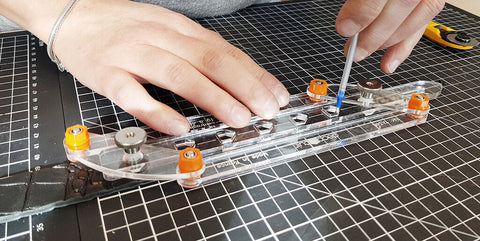
9. PREPARE THE BAG BASE
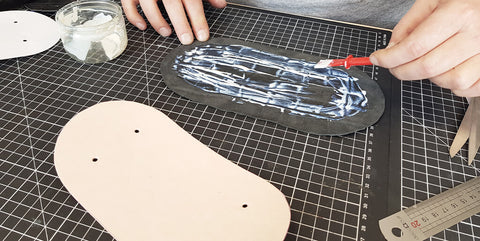
Glue piece P4 in Texon to the center of piece P3 in leather, on the wrong side.
 |
 |
Drill 4 holes of Ø 3 mm for the bag feet.
Screw in the bag feet.
 |
 |
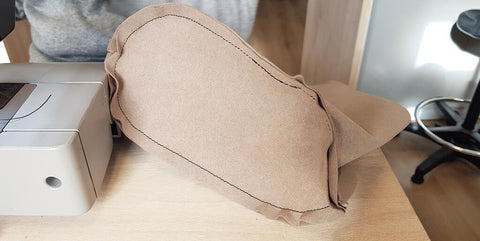
10. SEW THE BASE ONTO THE BAG
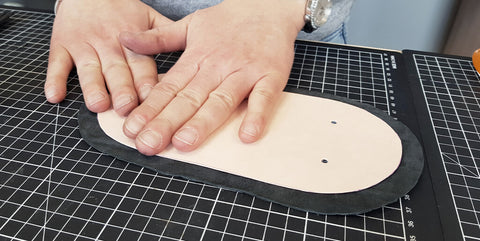
Glue piece P3 (bag base) onto the bottom of P1, edge to edge, right sides together. Use the center points of the pieces to glue in the correct place.
 |
 |
Secure everything with sewing clips.
Then, sew all around the bag base, using the Texon to create a nice curve (sew as close as possible to the Texon).
Glue the leather edges of the bag base onto the Texon part to avoid bulk once the bag is turned right side out.
 |
 |
Turn the bag right side out.
 |
 |
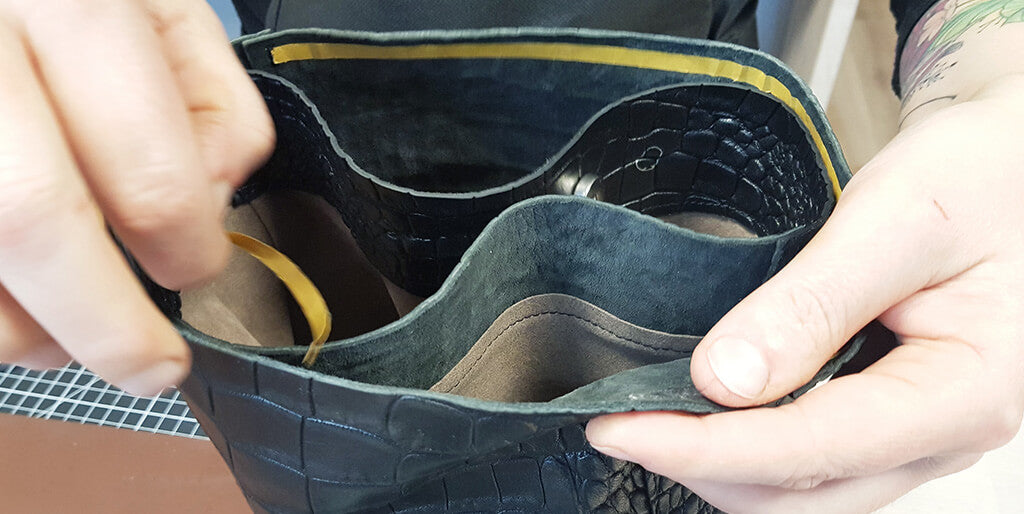
11. MAKE THE LINING (here alcantara)
Sew the two P2 pieces edge to edge and right sides together along the two widths.
 |
 |
Using the center points, position the lining bag base (P3) onto P2, right sides together. Secure with sewing clips.

Sew all around with a 1 cm seam allowance.
 |
 |
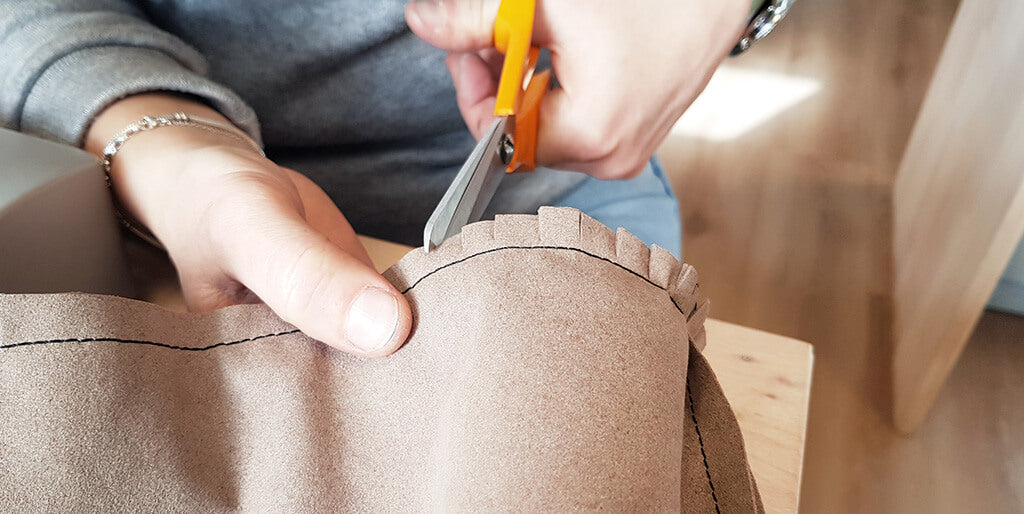
Clip the curve.
12. SEW THE FACING TO THE LINING
On the wrong side of the leather and on the bottom of P6, apply double-sided tape 1 cm from the edge.
Glue the right side of the P2 lining onto the wrong side of the P6 facing, 1 cm from the edge. Be careful to align the seams correctly.
 |
 |


Sew the facing to the lining 5 mm from the edge.
13. SEW THE LINING INTO THE BAG
Insert the lining into the bag. Glue the facing to the top of the bag with double-sided tape (wrong side to wrong side).
Stagger the center points to avoid bulk. Make sure to position the facing correctly relative to the magnetic top so that it is centered (see step 8).


Sew all around the top of the bag 5 mm from the edge.
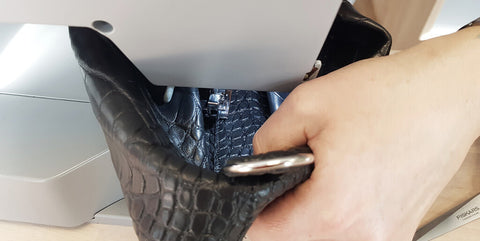
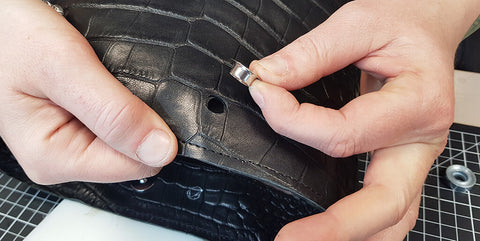
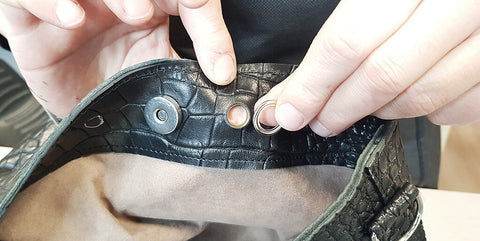
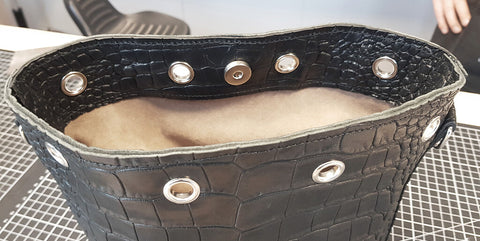
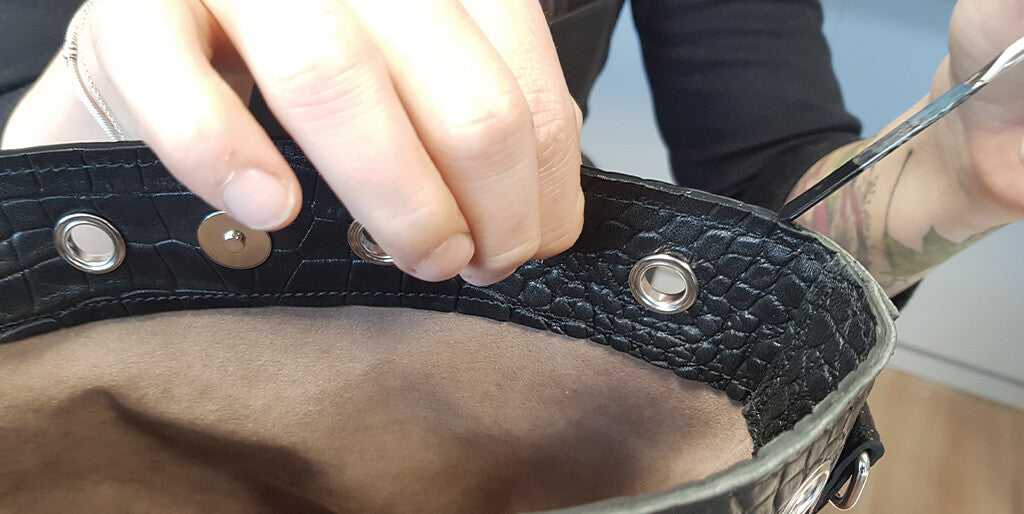
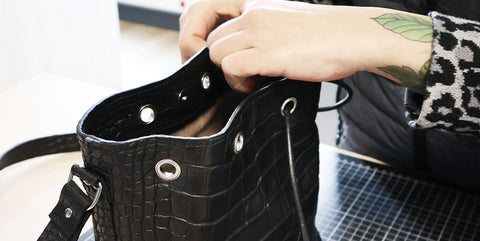
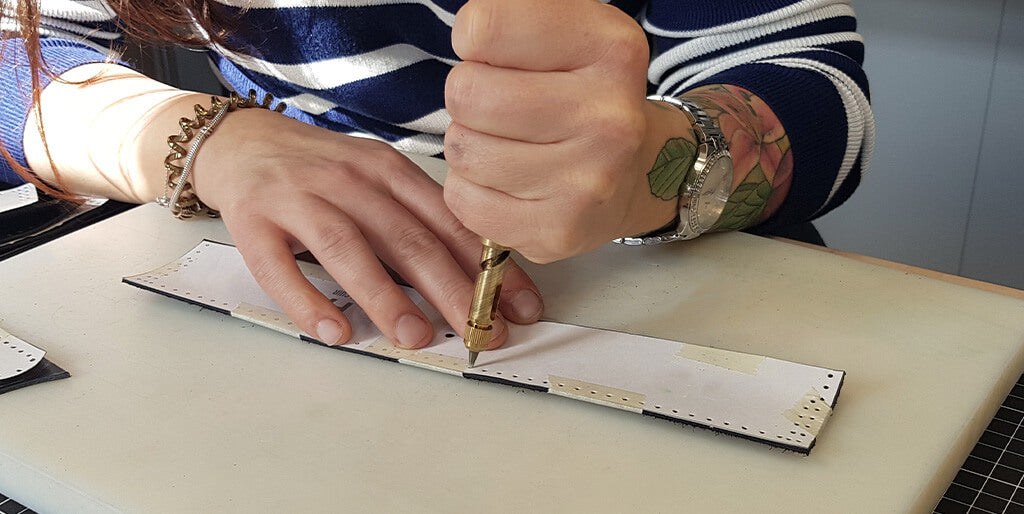
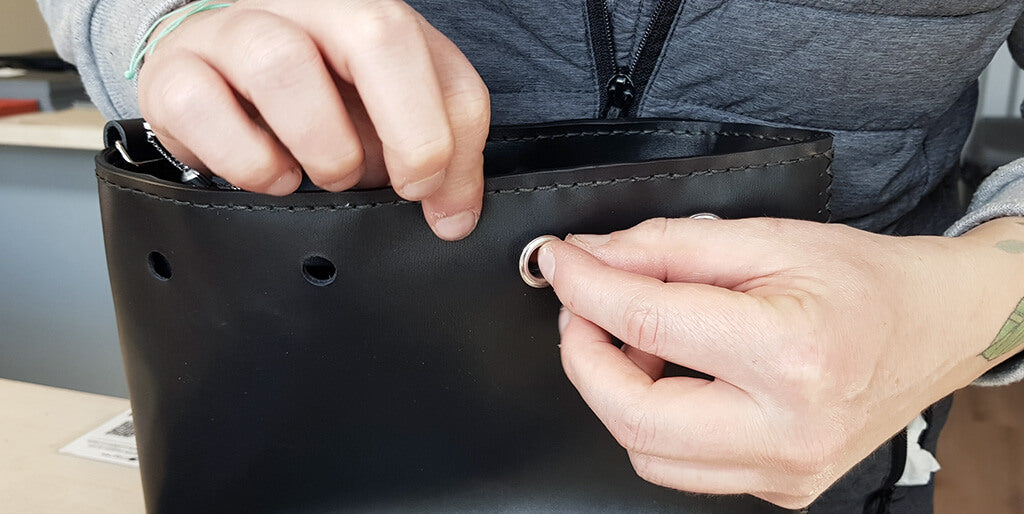
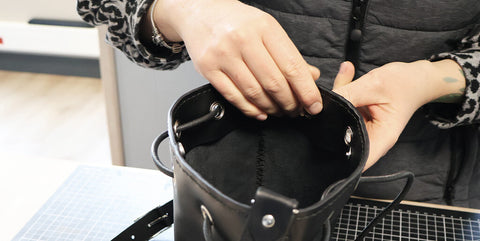
14. ATTACH THE EYELETS
Make Ø 11 mm holes for the eyelets at the designated locations on the pattern (see piece P1).
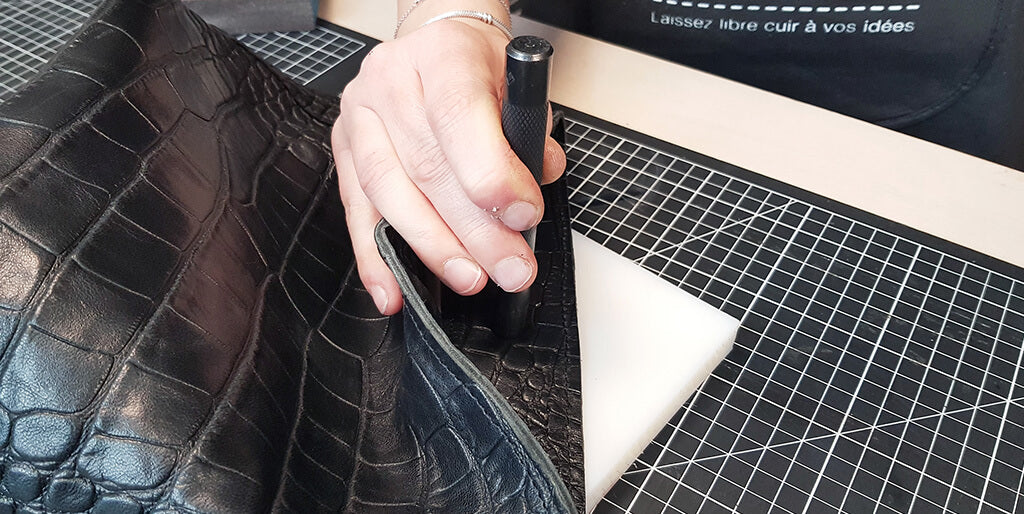
Attach the roll-up eyelets with the setting kit.
 |
 |
 |
 |
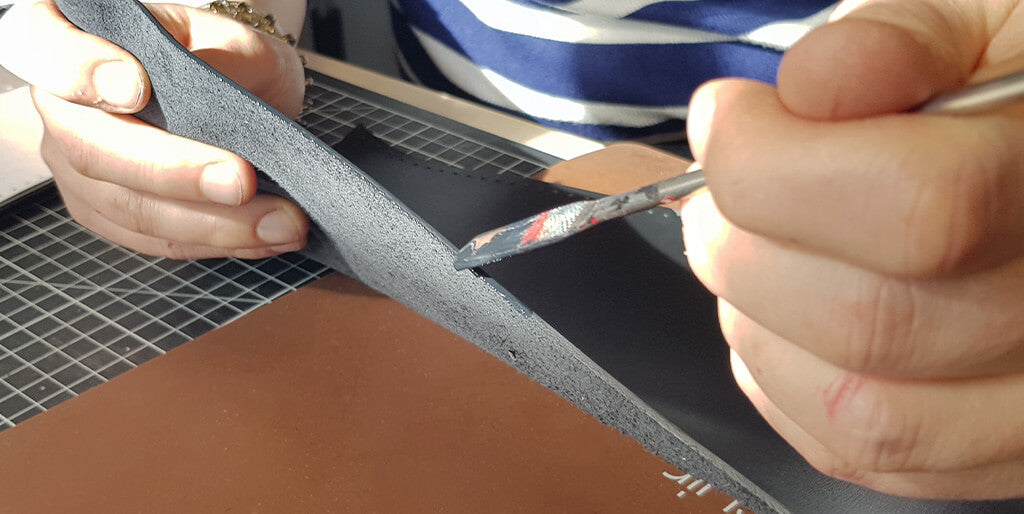
15. WORK THE EDGES
Work the edges of the top of the bag.
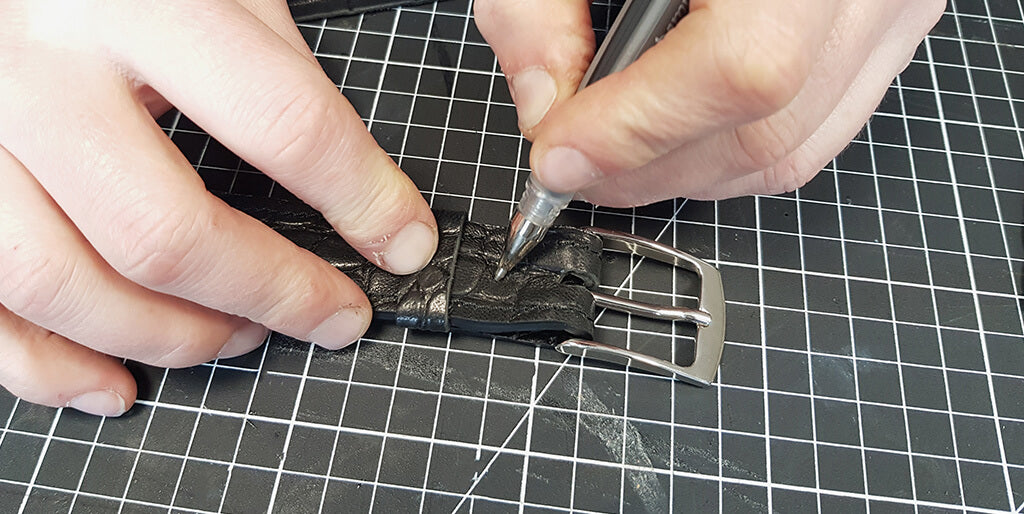
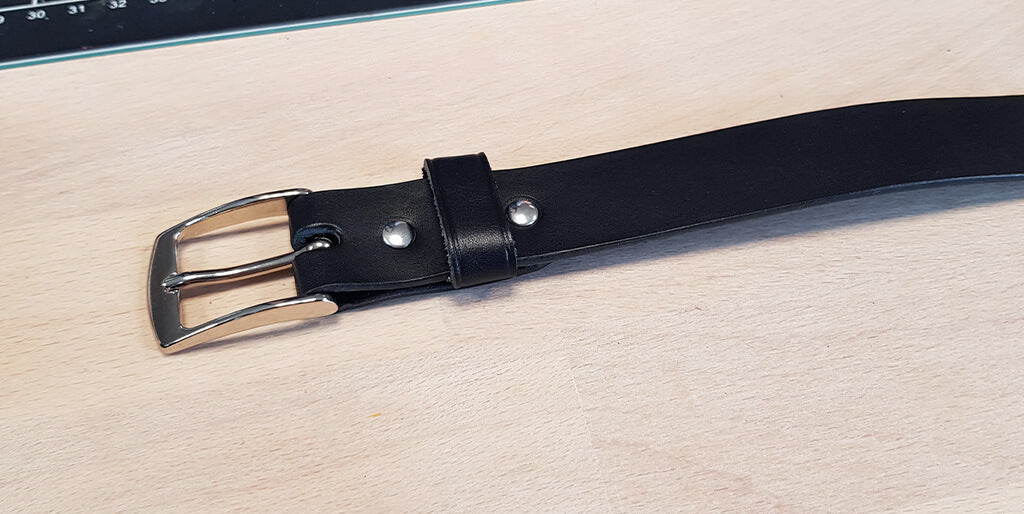
16. PREPARE THE SHOULDER STRAP
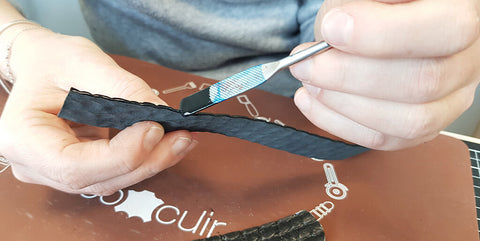
Take the straps cut in step 3. On one of the straps, shape one end into a point.
 |
 |
On the same strap, make 5 holes of Ø 3 mm, spaced 2.5 cm apart (center to center). Make the first hole 8 cm from the pointed end.
 |
 |
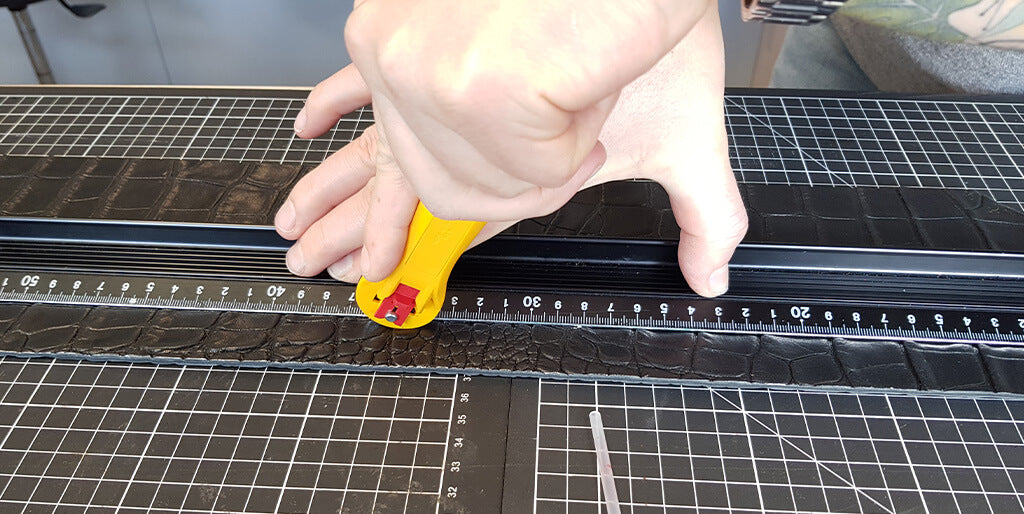
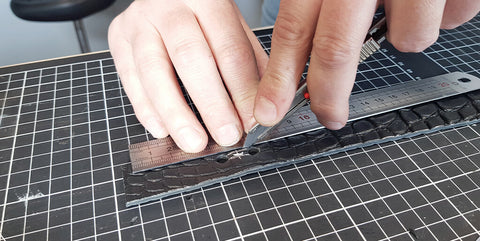
On the other strap, make an oblong hole (slot) 6 cm from one end. To make a slot, make two Ø 3 mm holes spaced approximately 2 cm apart and connect them with a utility knife.
 |
 |
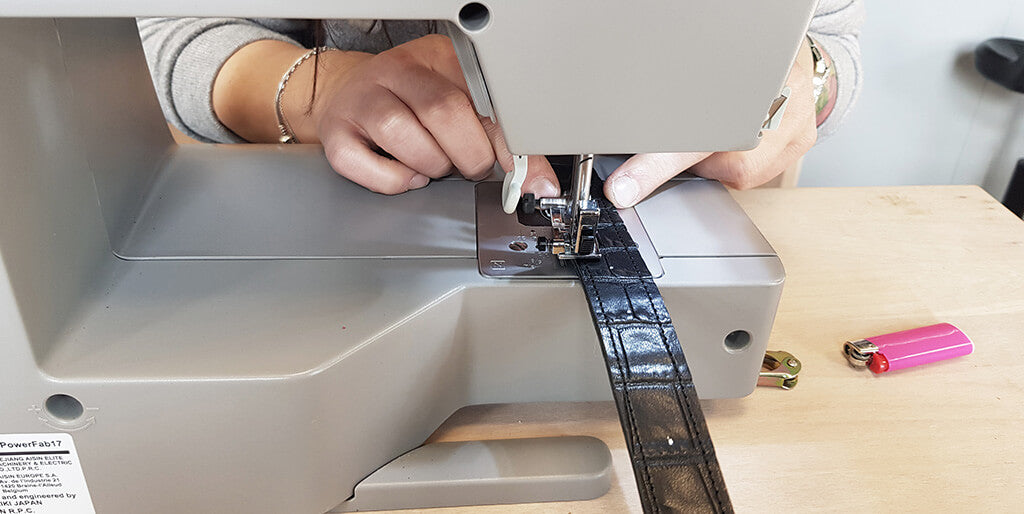
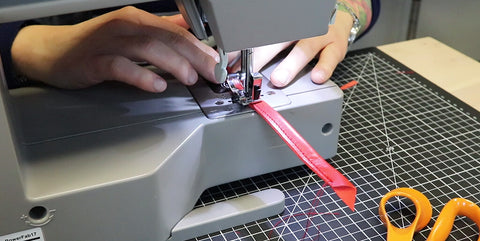
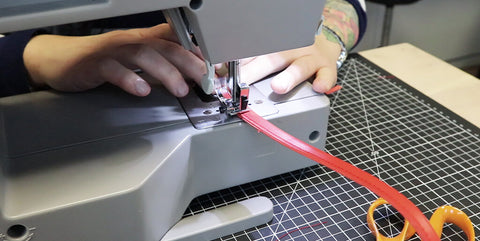
Sew all around the straps.
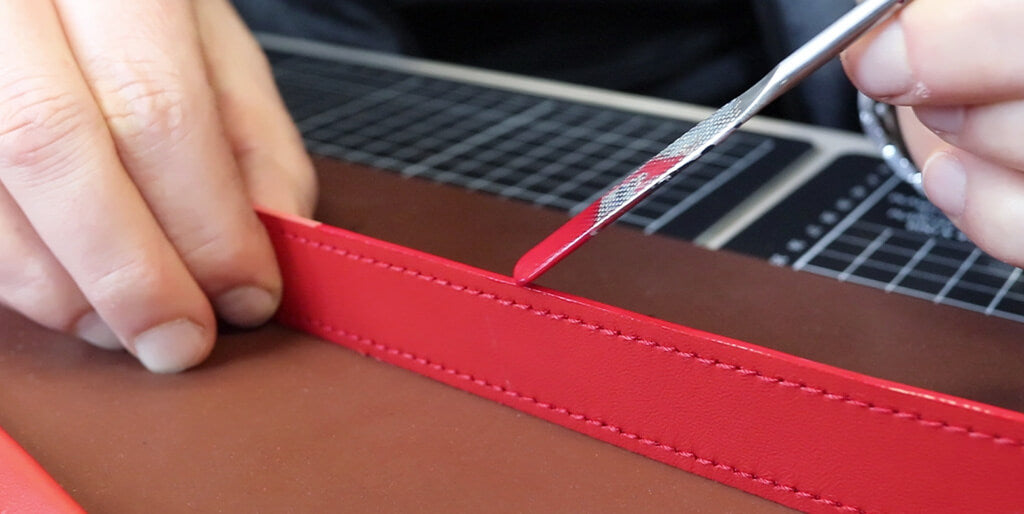
Work the edges of the straps.
Make a loop: cut a strip 1 cm wide. The length is equal to 4x the thickness + 2x the width of the strap.
Example for a laminated strap 2 mm thick: (4 x 2) + (2 x 25) = 58 mm.
Assemble the two ends of the loop with a staple or a stitch.
 |
 |
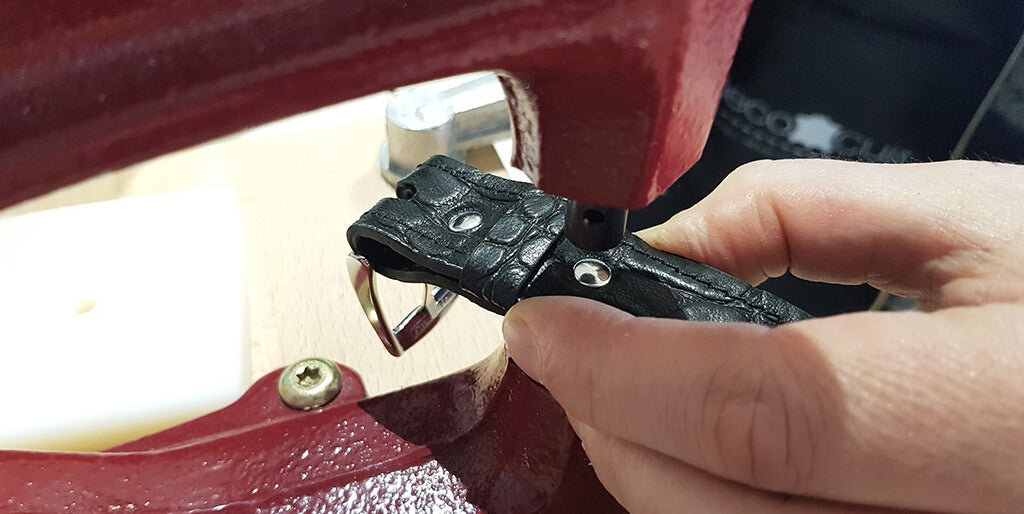
Insert the loop at the oblong hole. Then, thread the buckle through the slot and fold the strap over by 6 cm to secure the loop.
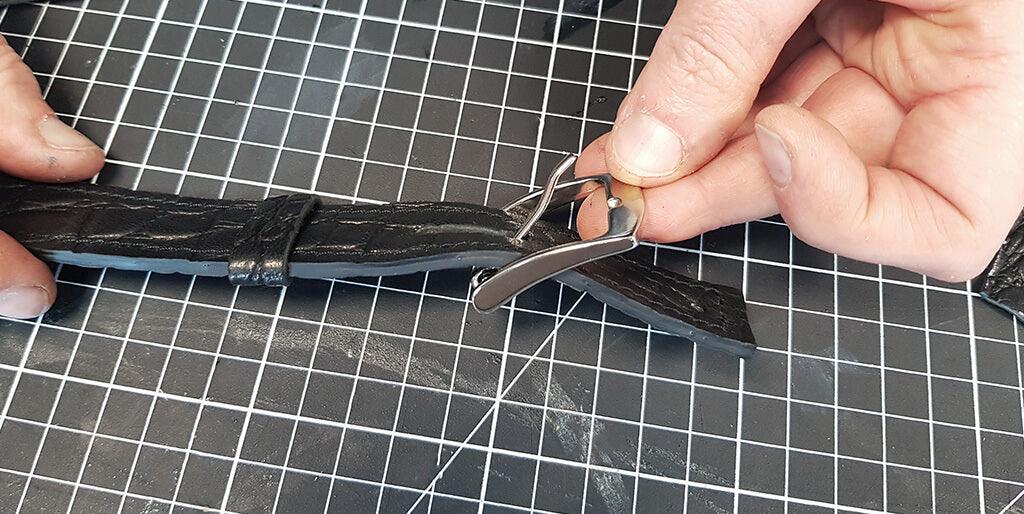
Hold the folded strap and make a hole (Ø 3 mm) 2 cm from the center of the slot. Then, attach a T3 rivet.
Make a second hole about 3 cm (center to center) from the first hole. Secure the loop between the two holes and attach a second rivet.
Assemble the two straps by passing the pointed end through the buckle.

17. ATTACH THE SHOULDER STRAP
Attach the shoulder strap to the rectangular loops with rivets.

18. MAKE AND ATTACH THE DRAWSTRING
To make the drawstring: cut 2 leather strips, 2 cm wide and 50 cm long. Join the 2 strips along the width and sew them together.
 |
 |

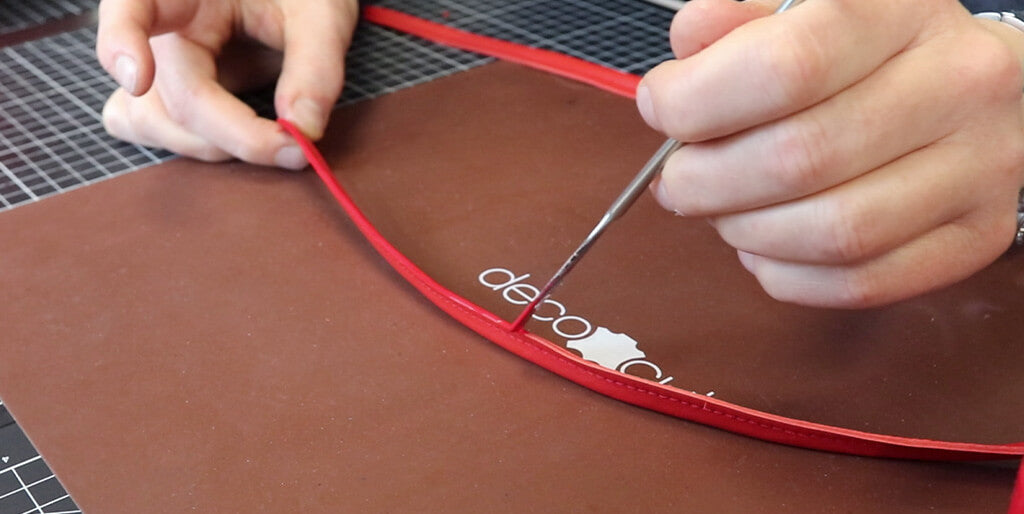
Fold the drawstring in half lengthwise and sew 3 mm from the edge. Use double-sided tape to help.
 |
 |
Finish the edges of the drawstring.
Finally, thread the drawstring through the eyelets and tie a knot.


Option: if you don't want to make your own drawstring, we recommend using 1 meter of round leather cord, Ø 5 mm.


 |
 |
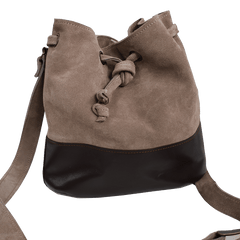
TWO-TONE VERSION
The pattern for this version is included in the classic version's pattern. The only difference from the classic version is that piece P1 is divided into two.
Video of the two-tone version
Leather required
- 1 calf suede leather hide - suede - 0.65 m² (approximate surface area) - 1.4 mm thick
- 1 piece of SATINLYS leather - 30 x 40 cm - 0.8 mm thick
- 1 piece of SATINLYS leather - 20 x 30 cm - 0.8 mm thick
Follow the same steps as the classic version, except for the following:
Steps 1 and 2 - Cutting the pieces
Piece P1 is divided into two parts. You must cut the correct pieces from the correct leather (suede leather or smooth leather). Pay attention when tracing the pattern and cutting the pieces.
- Pieces P1-1, P6, and P7 will be cut from suede leather.
- Pieces P1-2, P3, and P5 will be cut from smooth leather.
Step 4 - Edge finishing
Before assembly, finish the edges of the following pieces:
- all sides of the 2 pieces P5,
- the top length of the 2 pieces P1-2.
Between step 5 and step 6 - Assemble piece P1
Apply double-sided tape to:
- the top length of the 2 pieces P1-2 (on the wrong side of the leather).
- the bottom length of the 2 pieces P1-2 (on the right side of the leather).
- the 2 widths of one of the P1-2 pieces (on the wrong side of the leather). Do not apply to the second P1-2 piece.
- the 2 widths of one of the P1-1 pieces (on the wrong side of the leather). Do not apply to the second P1-1 piece.
- the top length of the 2 P1-1 pieces (on the wrong side of the leather)
Glue the top length of the 2 P1-2 pieces to the bottom length of the 2 P1-1 pieces, wrong side to right side. Glue for 1 cm.
Then, sew at 3 mm.
Pieces P1-1 and P1-2 now form piece P1.
From step 6 until the end, resume the steps of the classic version.
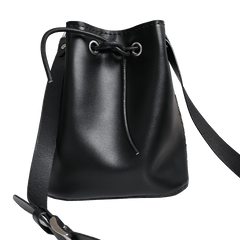
HAND-SEWN VERSION
Don't have a sewing machine or your domestic machine isn't powerful enough to sew leather? Opt for the hand-sewn version (saddle stitch or simplified hole sewing), suitable for beginners!
Video of the hand-sewn version
HAND SEWING LEATHER
Discover, in the guide below, the essential points to know before starting to sew leather by hand.
VIEW SIMPLIFIED SEWING GUIDE >
VIEW SADDLE STITCH SEWING GUIDE >
Leather required
- 1 piece of cowhide leather, semi-soft to semi-firm or firm - 1.5 mm thick - 0.45 m² surface area (approximate surface area).
- 1 vegetable-tanned leather strip - 1.9 mm thick - 25 mm wide - 120 cm long.
For this version, there is no lining or Texon (see the list of accessories at the top of the blog post).


GET THE PATTERN
The pattern for the hand-sewn bucket bag version is for sale on our website as a digital version (PDF to print at actual size and assemble).
1. Cut the pieces
Trace and cut the different leather pieces with a utility knife. Also mark the position of the eyelets, magnetic snap, and bag feet.
Hold the pieces in place with masking tape or a weight.
For the simplified sewing version: punch 1.2 mm diameter holes with a round punch.
For the saddle stitch version: mark the stitch points with a pricking iron.
2. Finish the edges
Before assembly, finish the edges of the following pieces:
- all sides of the 2 P5 pieces,
- the bottom length of the 2 P1 pieces,
- 3 sides of the 2 P6 pieces (do not finish the top length).
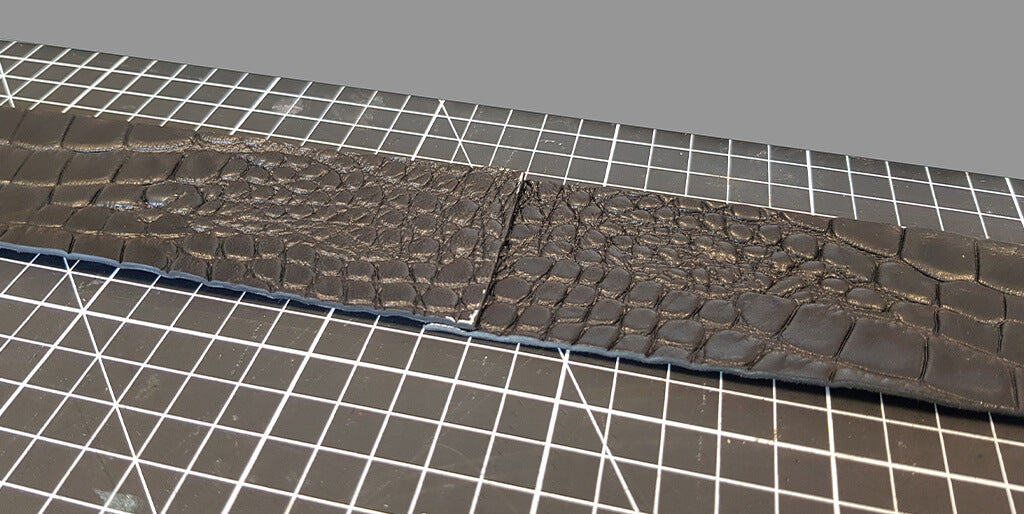
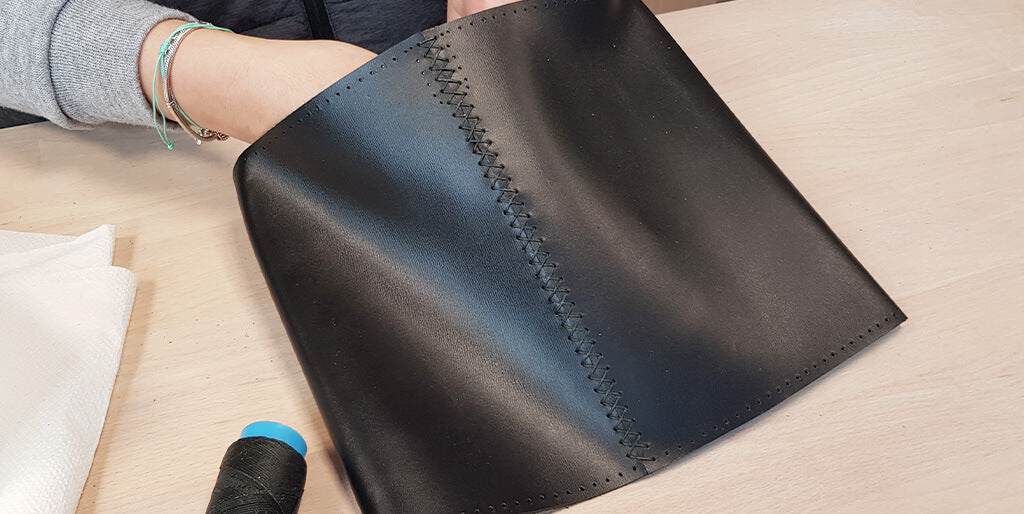
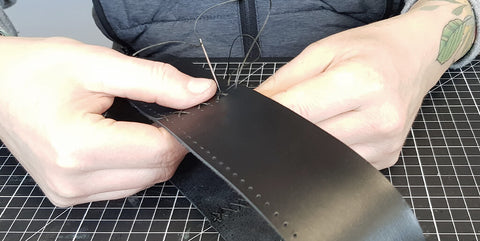
3. Sew the bag body
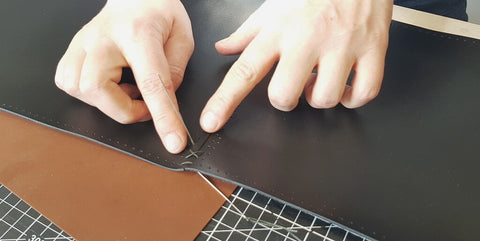
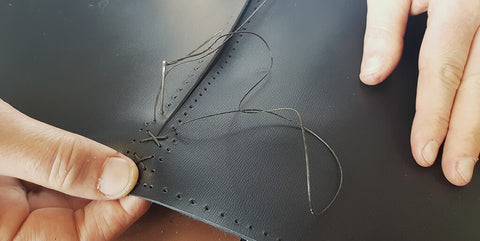
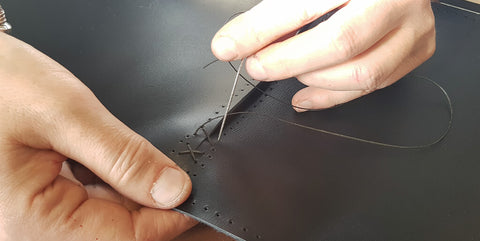
Assemble the two P1 pieces together (edge to edge) along one of the widths with a lacing stitch.
Lacing stitch technique:
- Cut a thread (polyester or linen): take an arm's length = arms outstretched length so you don't have to handle meters of thread.
- Thread a needle at each end of the thread (see the sewing guide).
VIEW SIMPLIFIED SEWING GUIDE >
VIEW SADDLE STITCH SEWING GUIDE >
- Position the two P1 pieces next to each other.
- Insert the needles into the first holes of each P1 piece (facing each other).
- Take one needle and insert it diagonally into the hole (like lacing a shoe).
- Do the same with the second needle and so on.
- Once at the bottom of the piece, go back up by sewing in the other direction.
- Tie a knot to close the seam.
Watch the video at 01:05 min.
 |
 |
 |
 |
Sew the second width of P1 in the same way.
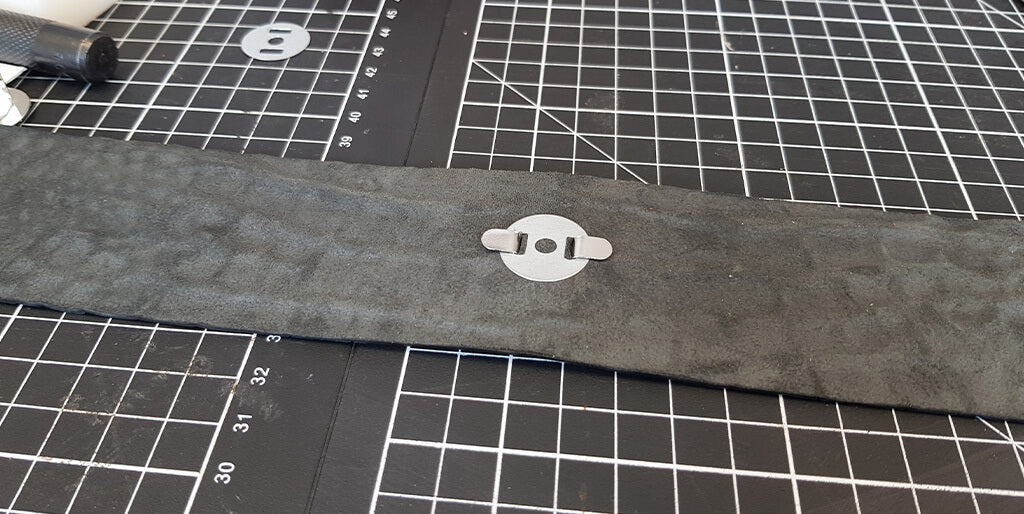
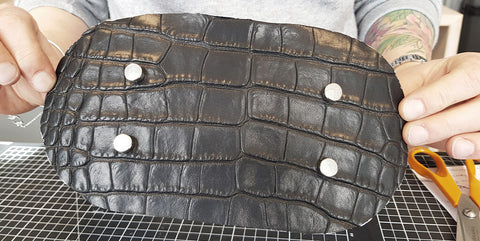
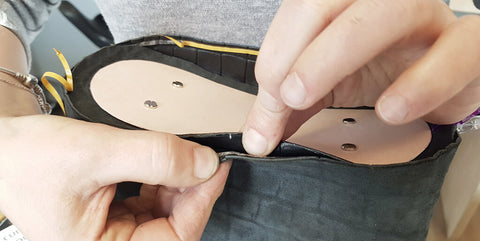
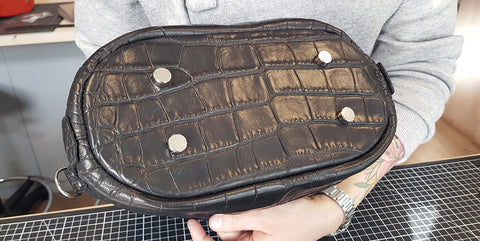
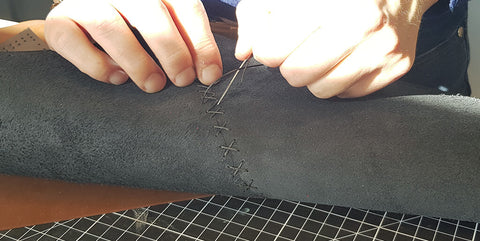
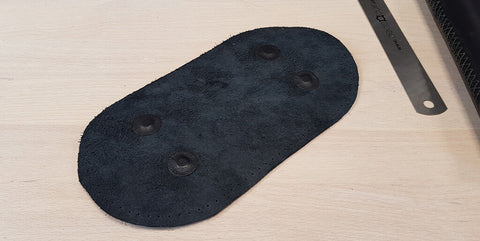
4. Sew the bottom of the bag
Punch the 4 Ø 3 mm holes and screw on the bag feet.
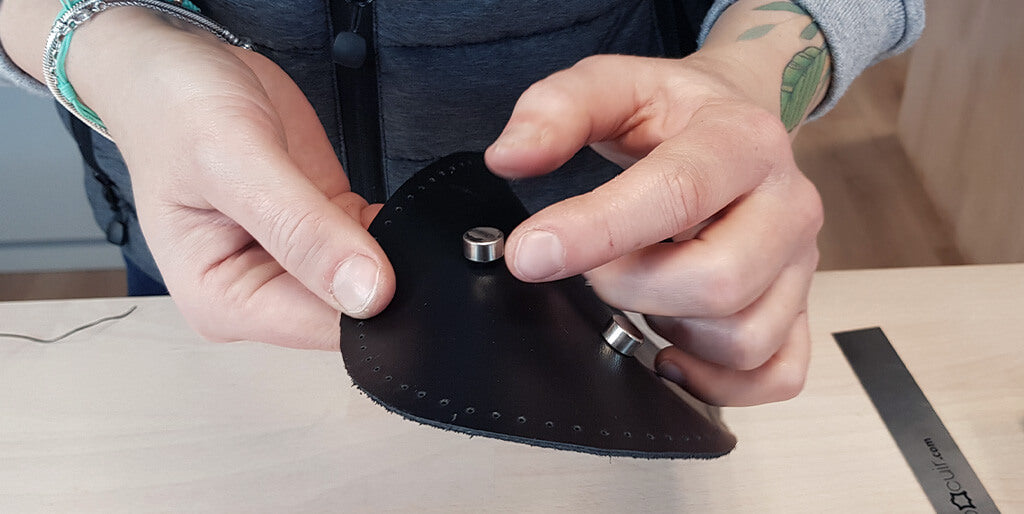
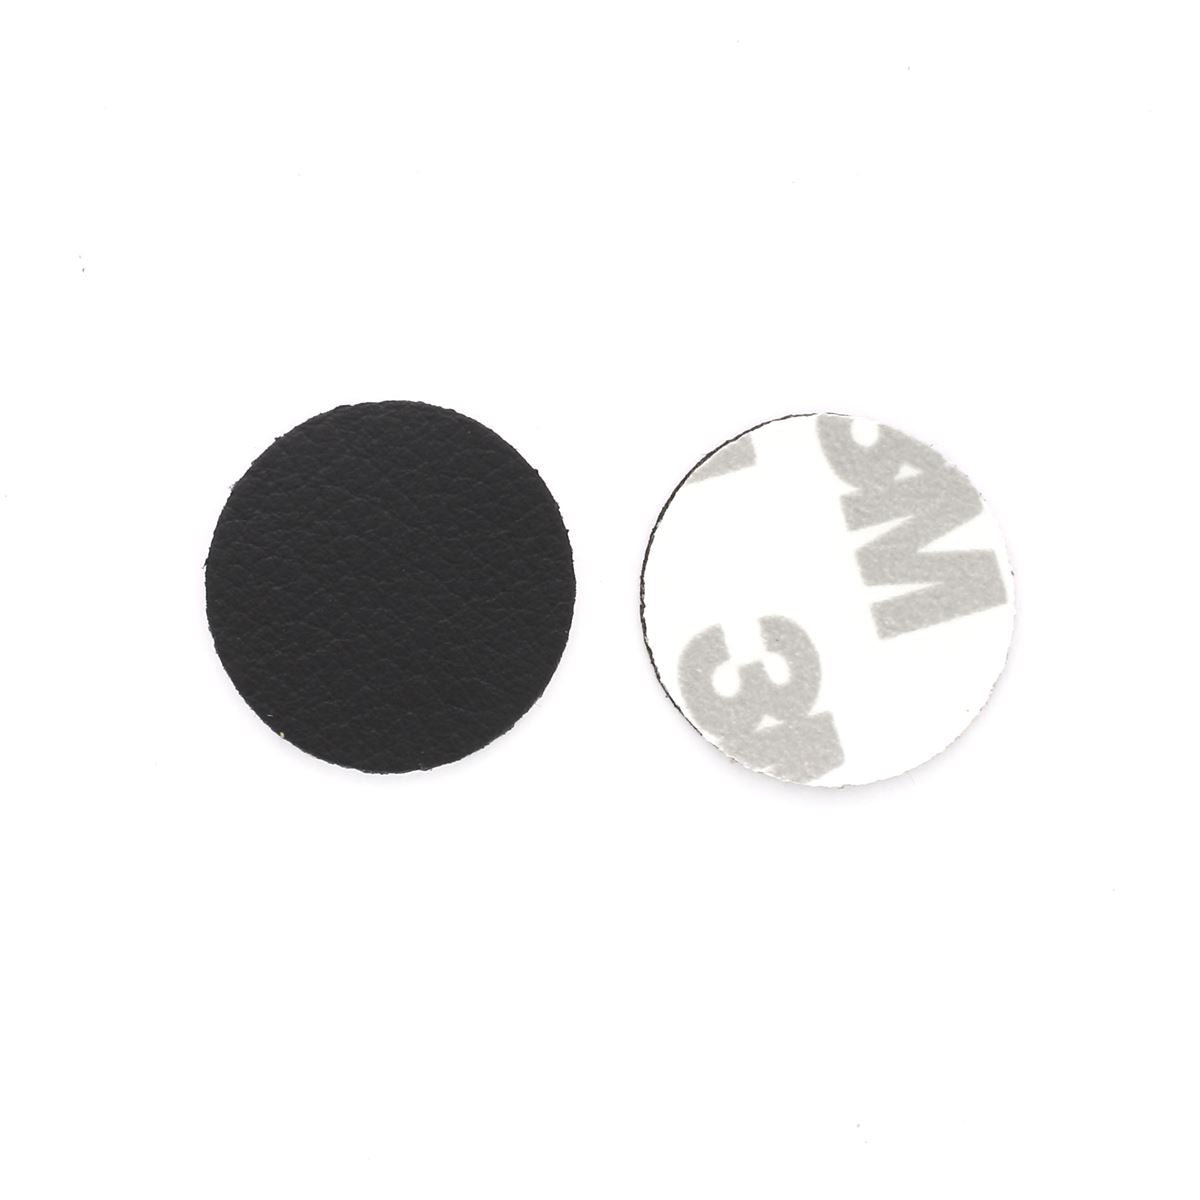
Place a self-adhesive leather disc over the screws of the bag feet so they are not visible inside the bag. We sell them on our website: self-adhesive leather protection circles - BLACK - Reference DA066.
 |
 |
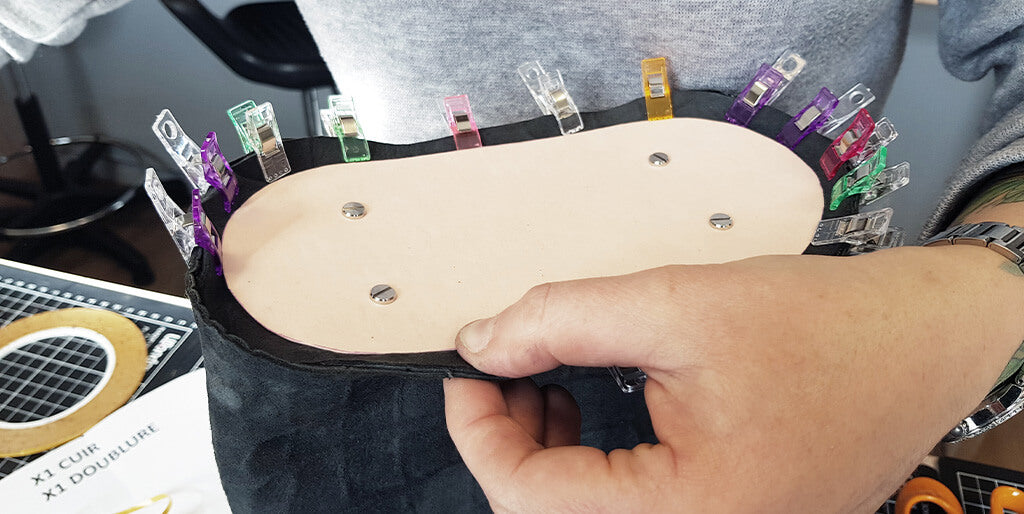
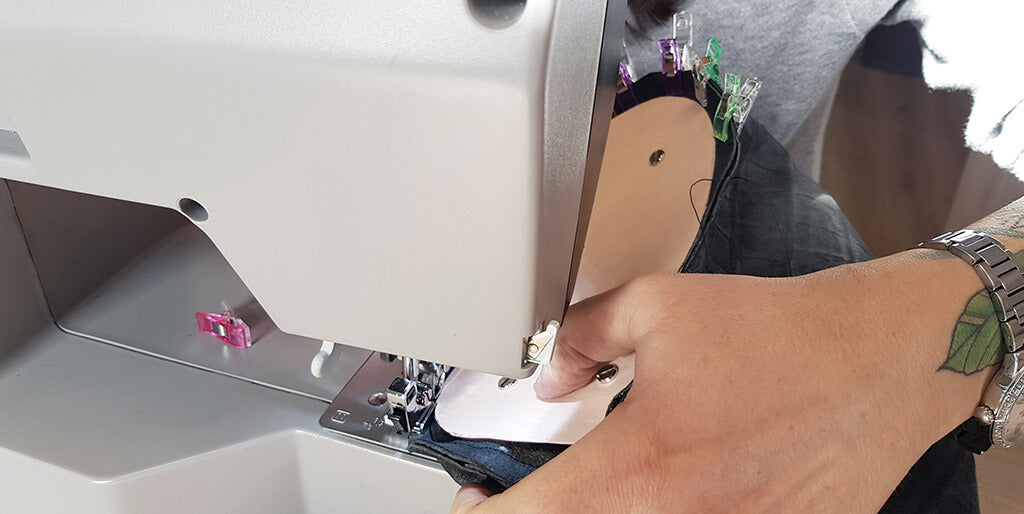
Sew the bottom of piece P1 to piece P3. Sew wrong side to right side using the simplified sewing technique or saddle stitching (do not lace as in the previous step).
VIEW SIMPLIFIED SEWING GUIDE >
VIEW SADDLE STITCH SEWING GUIDE >
 |
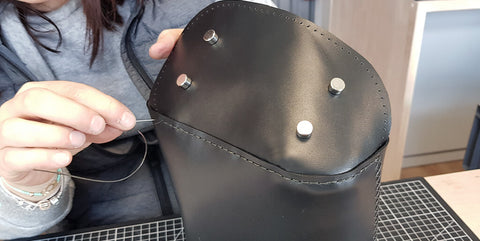 |
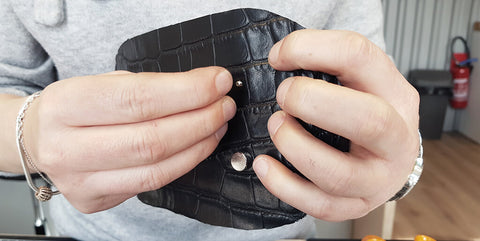
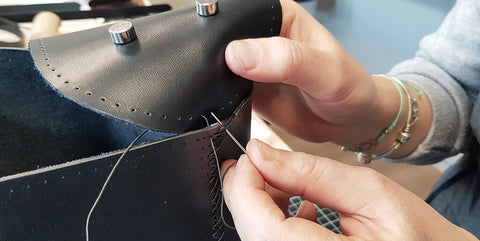
5. Sew the facing
Place a magnetic snap on the P6 pieces at the location indicated on the pattern.
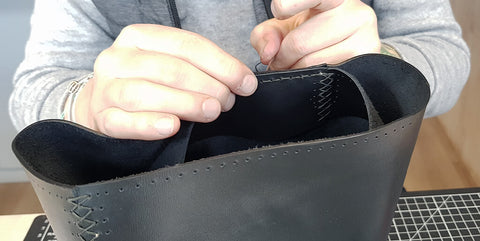
Assemble the P6 pieces by sewing the two widths together, in the same way as the side seams of the P1 pieces (a lacing stitch).
 |
 |
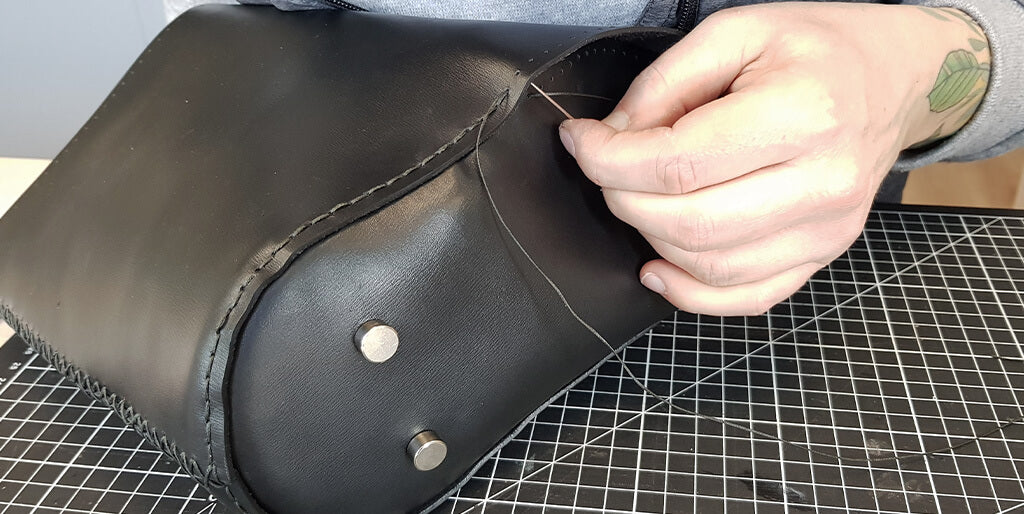
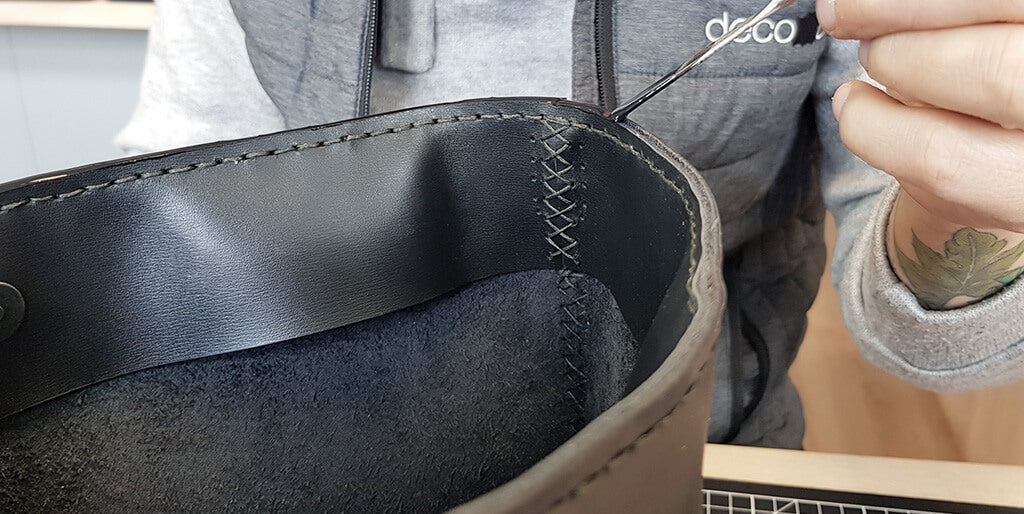
Sew piece P6 to the top of piece P1. Sew wrong side to wrong side with simplified sewing or saddle stitching.
 |
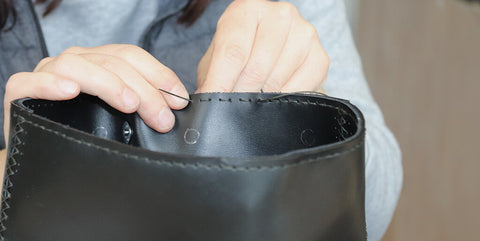 |
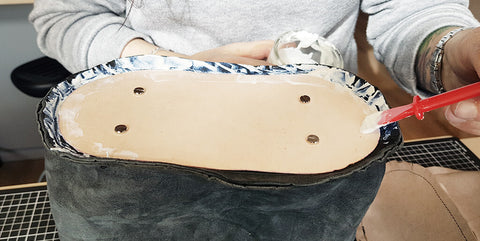
6. Finish the edges
Finish the edges of the top of the bag with edge paint.
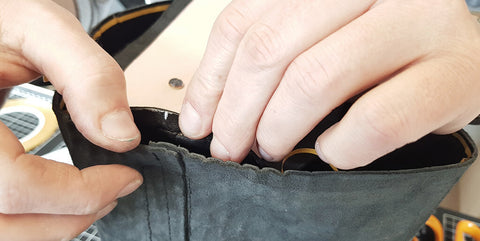
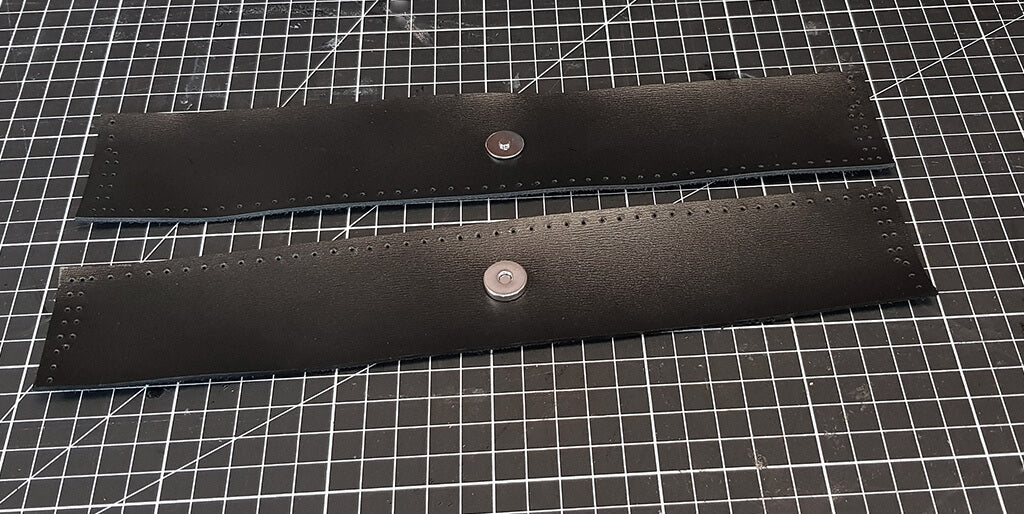
7. Sew the P5 pieces
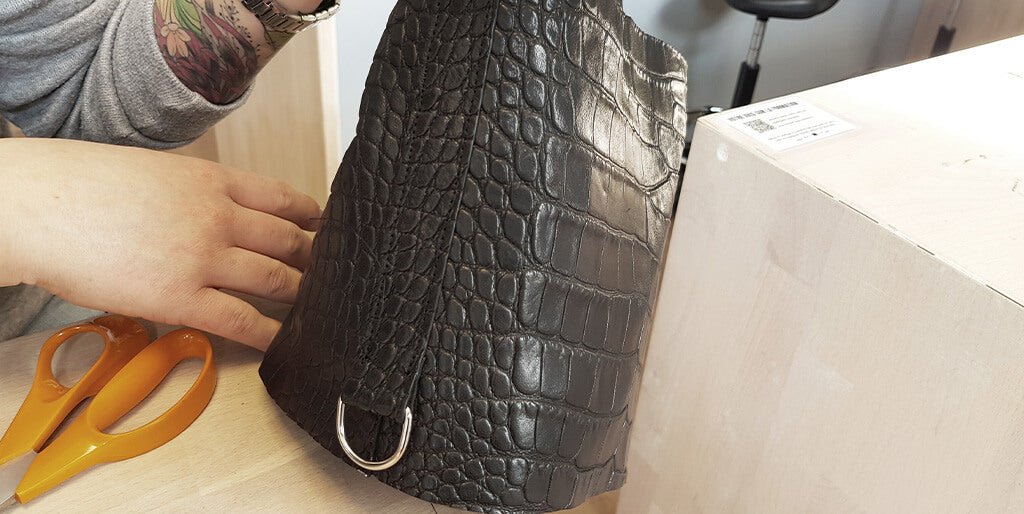
Insert the rectangular loops in the center of the P5 pieces. Then, sew the P5 pieces to the top of P1 with simplified sewing or saddle stitching.
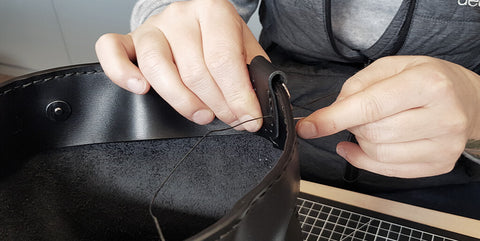 |
 |
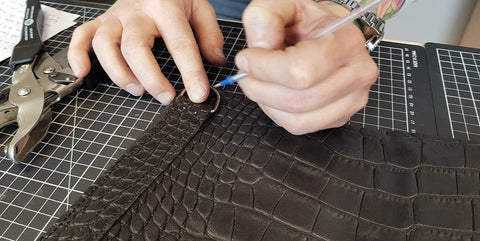
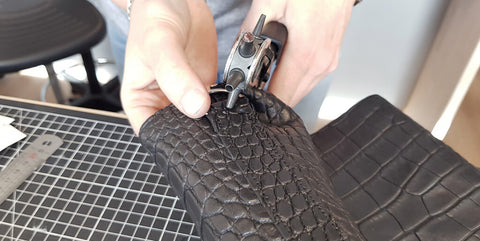
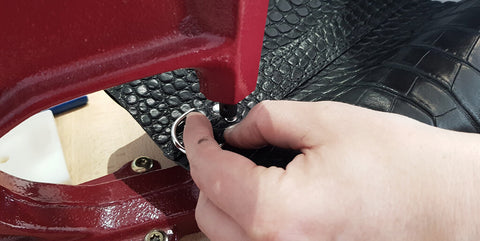
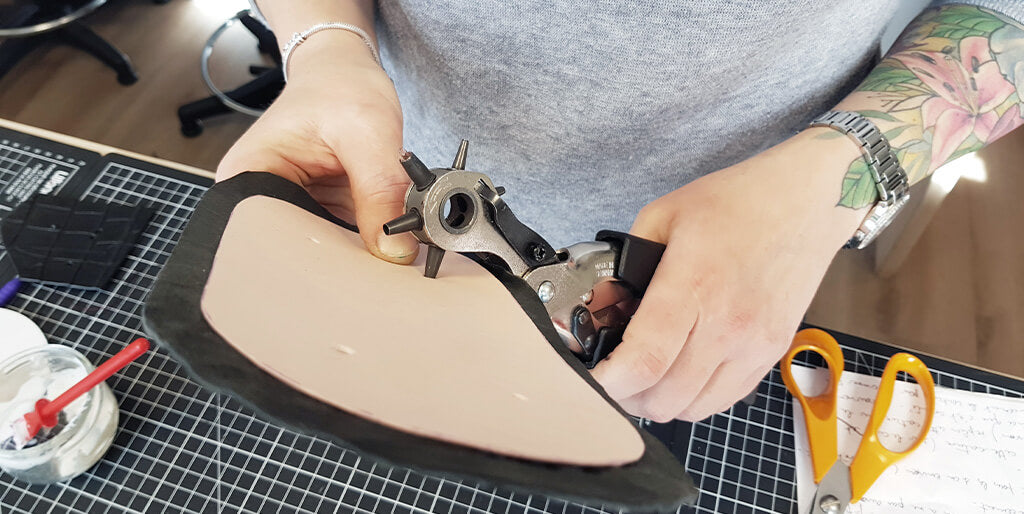
8. Install the eyelets
Make 11 mm diameter holes for the eyelets at the locations indicated on the pattern.
Then, install the eyelets (see instructions in the eyelet box).
9. Make the strap
Take the leather strap and treat the edges with Tokonole or an edge finish.
To prepare and attach the strap to the bag, follow steps #16 and #17 of the classic version.
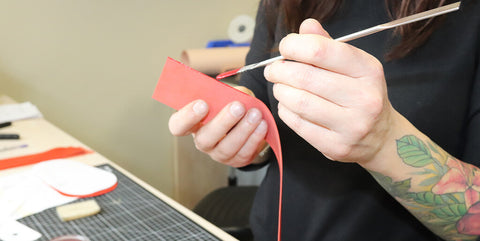
10. Thread the lace through the eyelets
Take the Ø5 mm round lace and thread it through the eyelets.
 |
 |
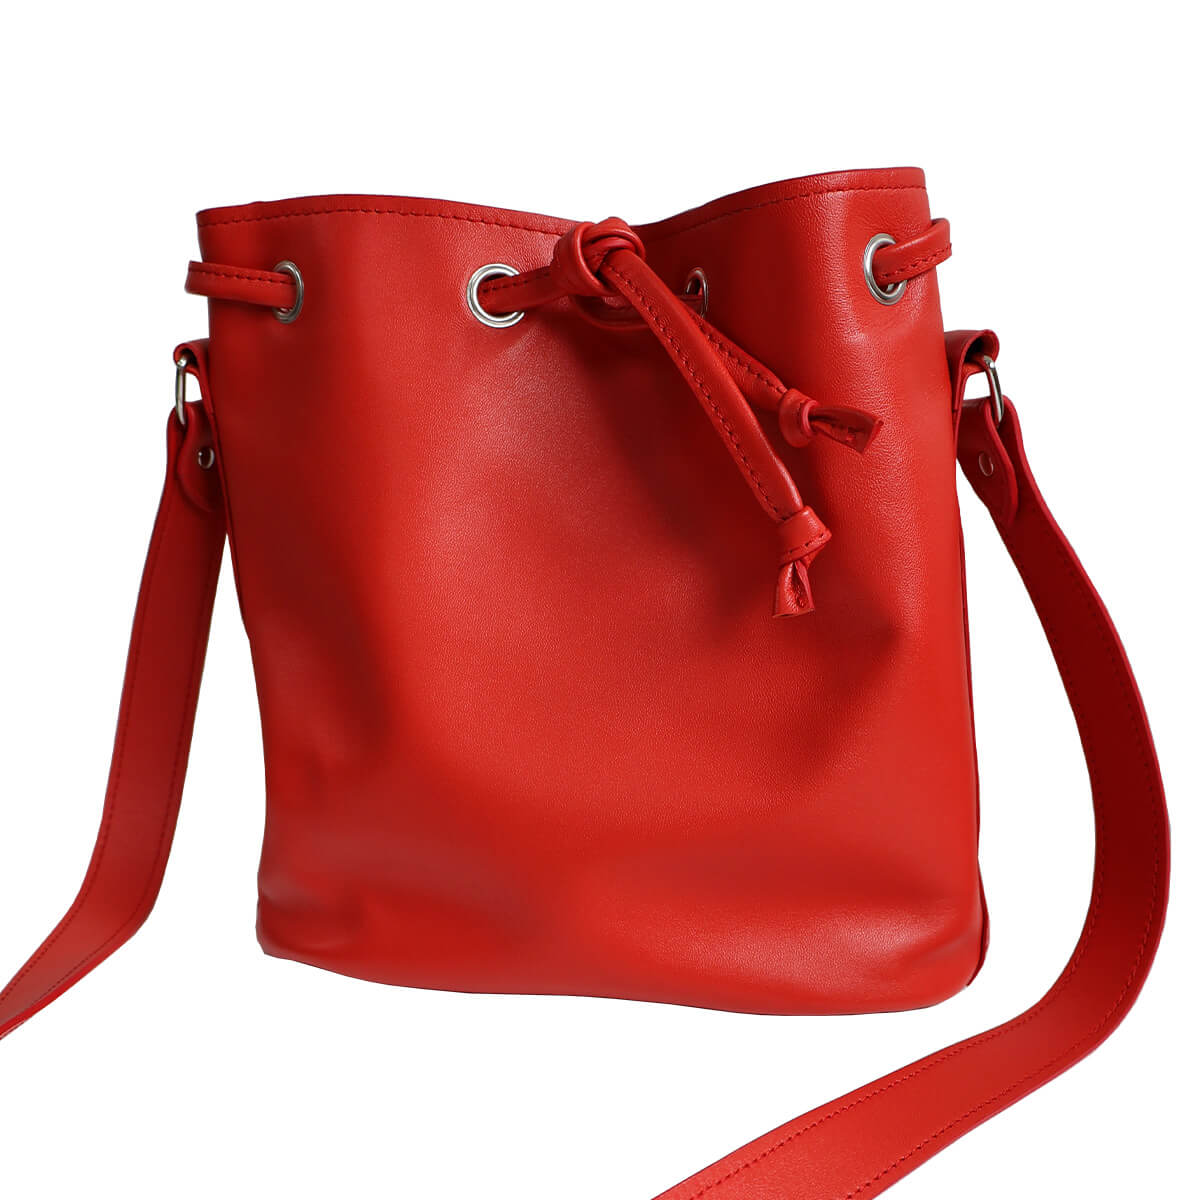
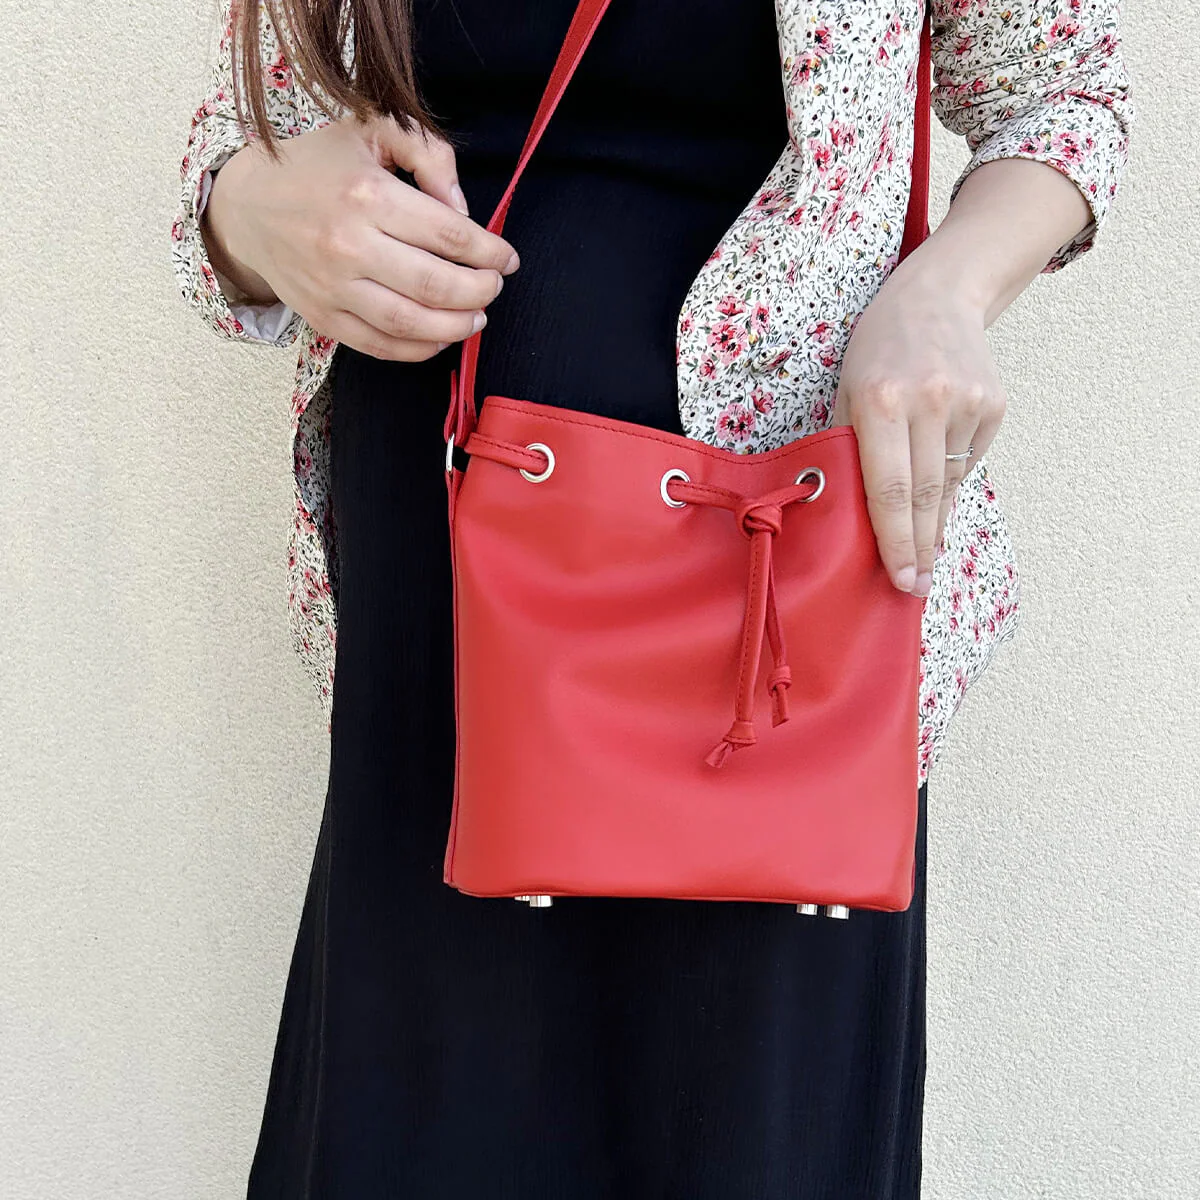
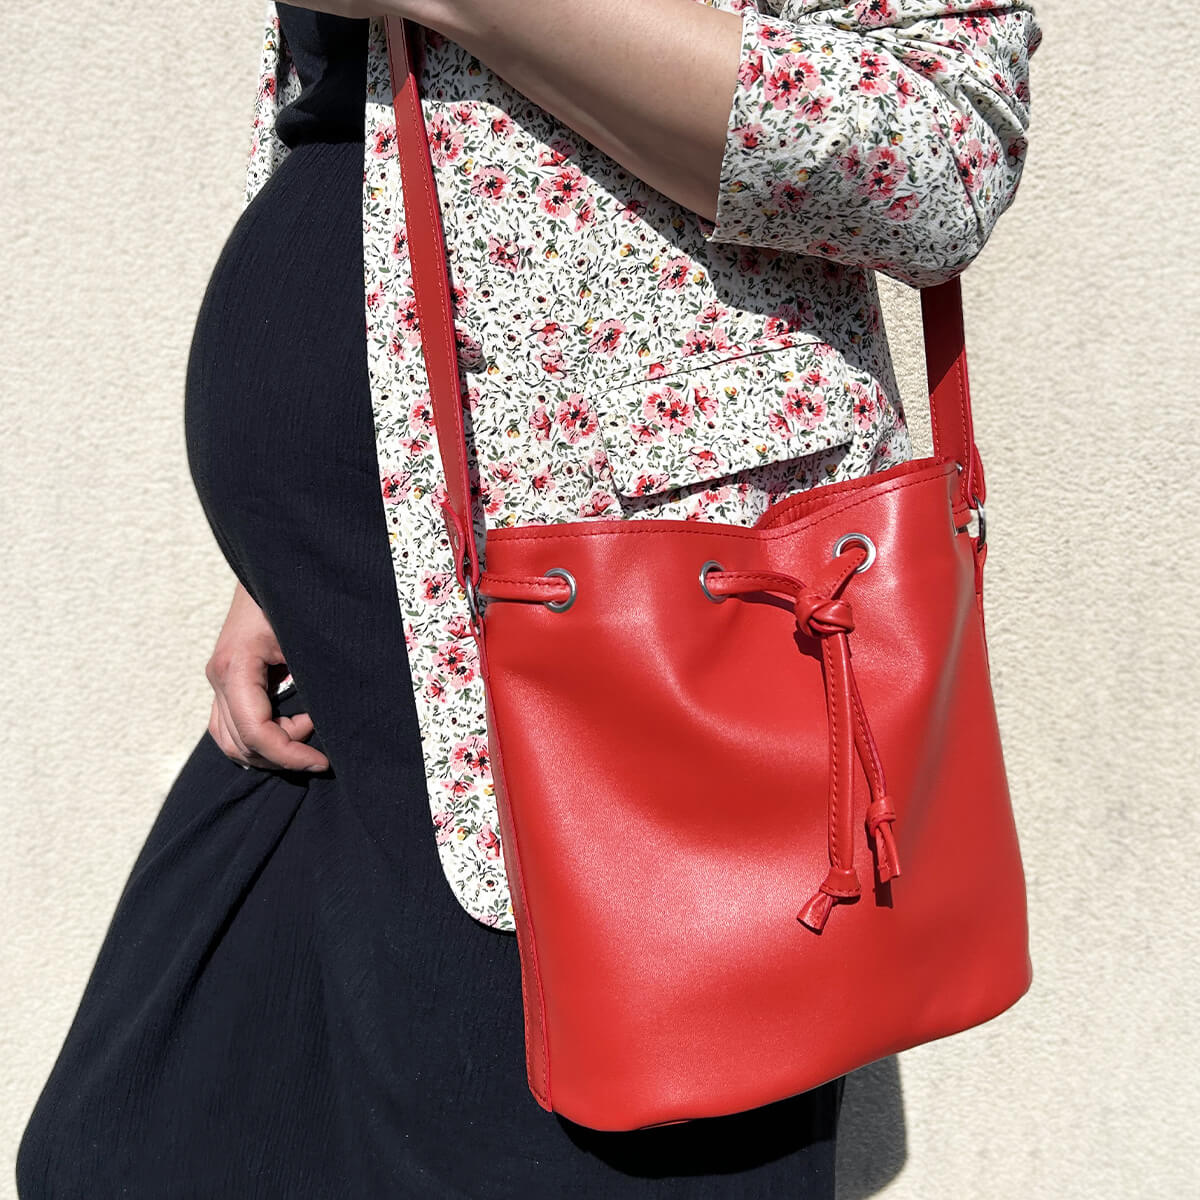
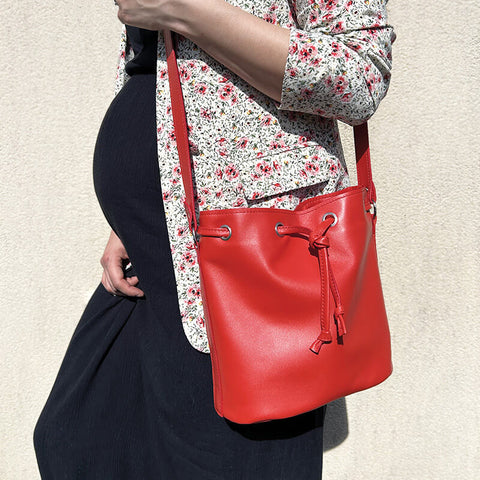
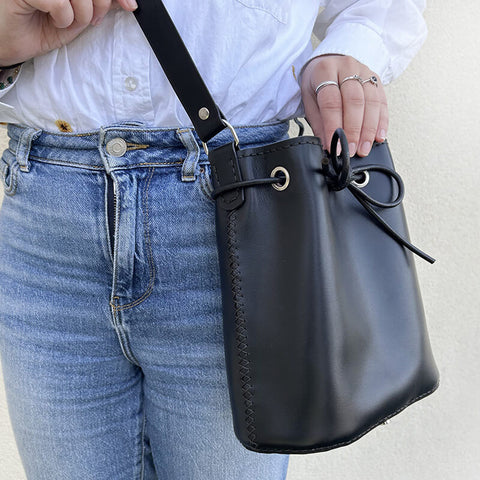
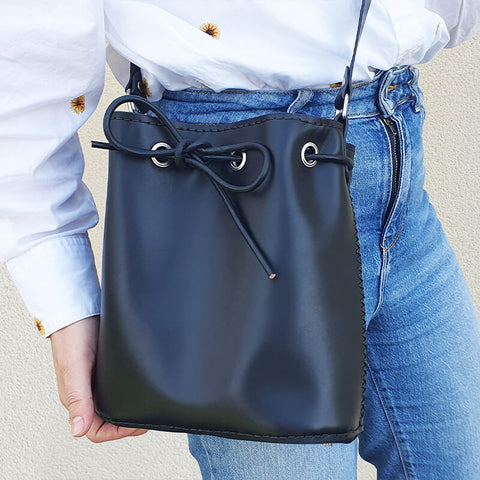
YOU HAVE FINISHED!
Classic version
 |
 |
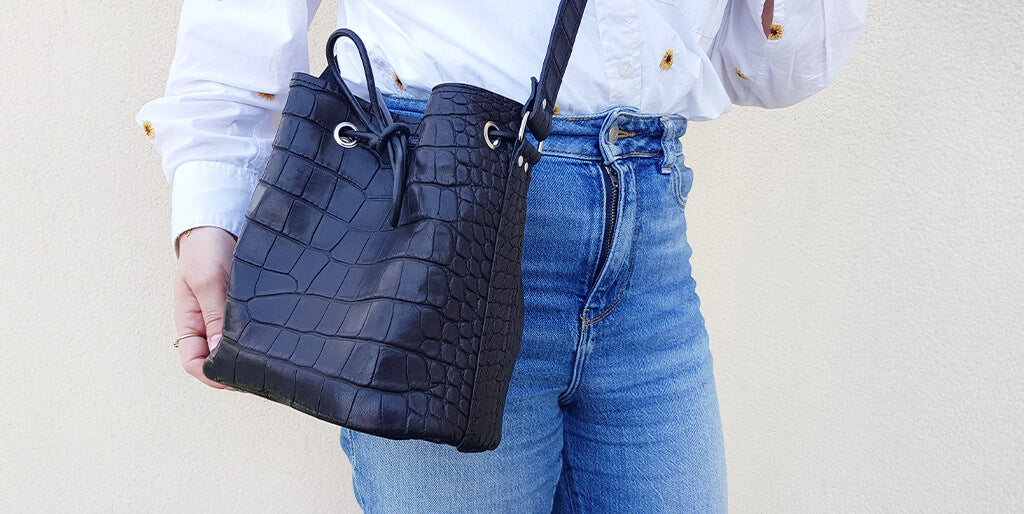

Hand-sewn version
 |
 |


