


THE NECESSARY MATERIALS
To complete this tutorial, you will need:
- 2 pieces of CLASSIC natural vegetable tanned collar leather - 20 x 30 cm - Thickness 1.6 mm
- Water-based FAUVE dye - Eco-Flo No. 7
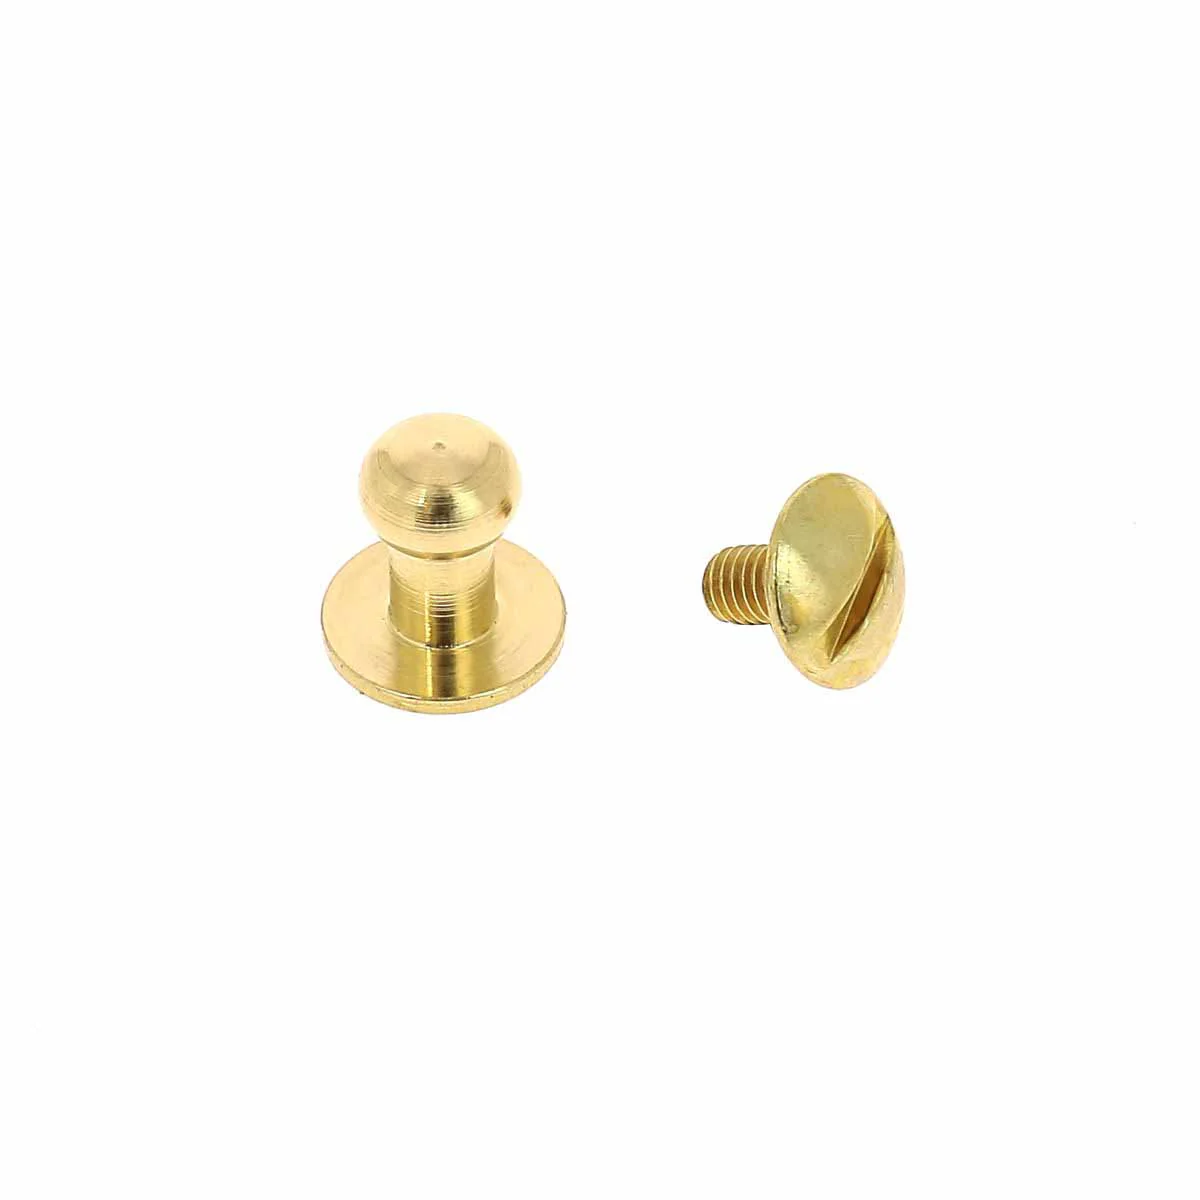
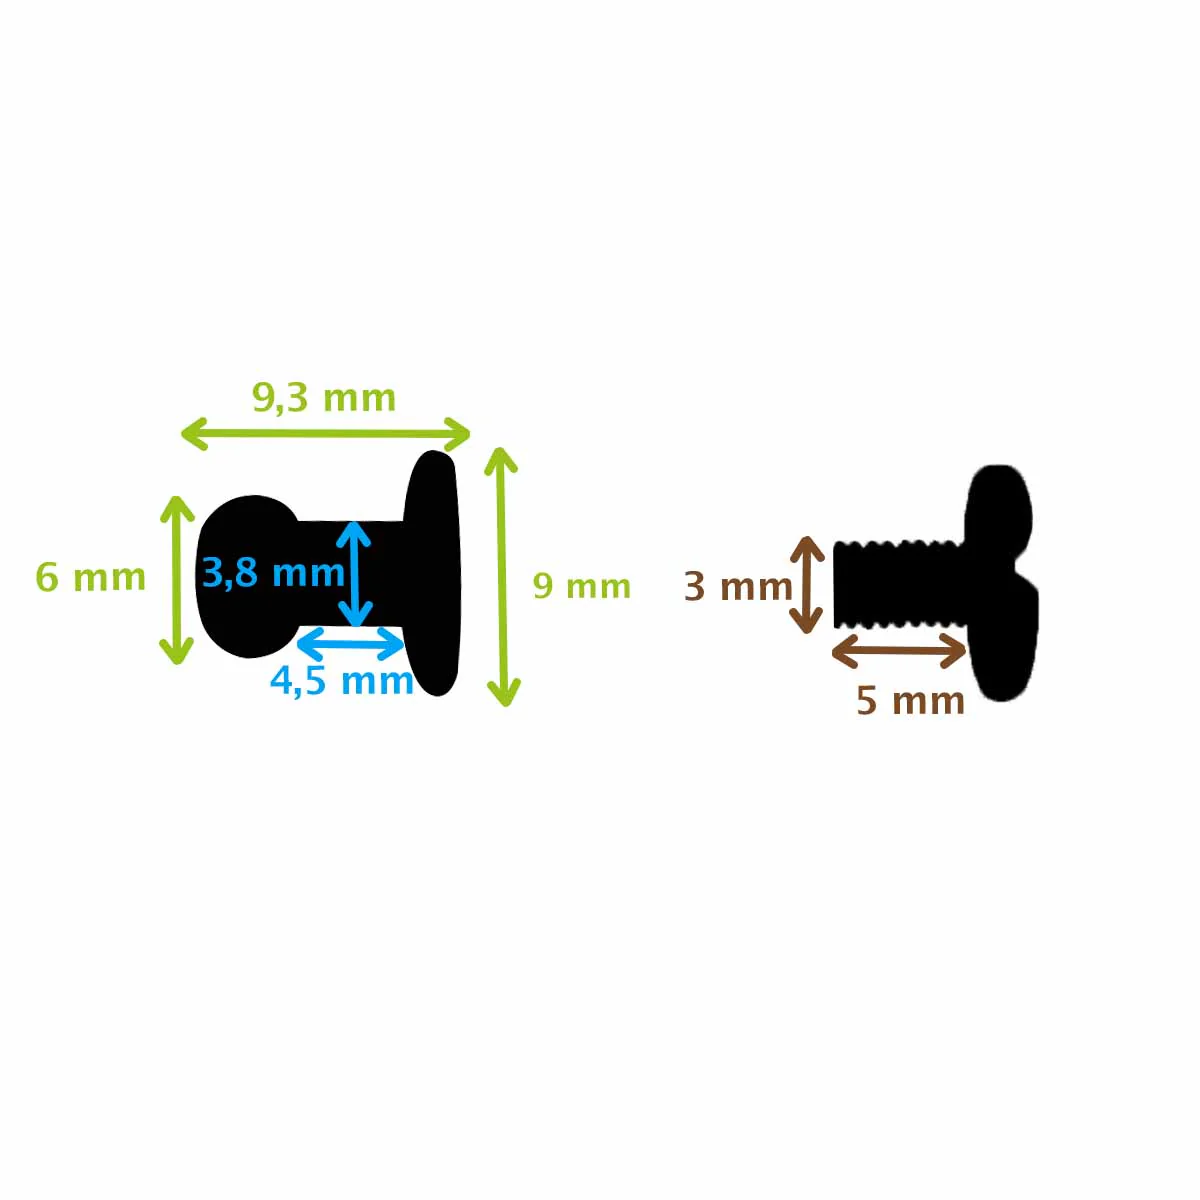
- Set of 5 T4 screw collar buttons - Aged brass with 3x5 mm screws
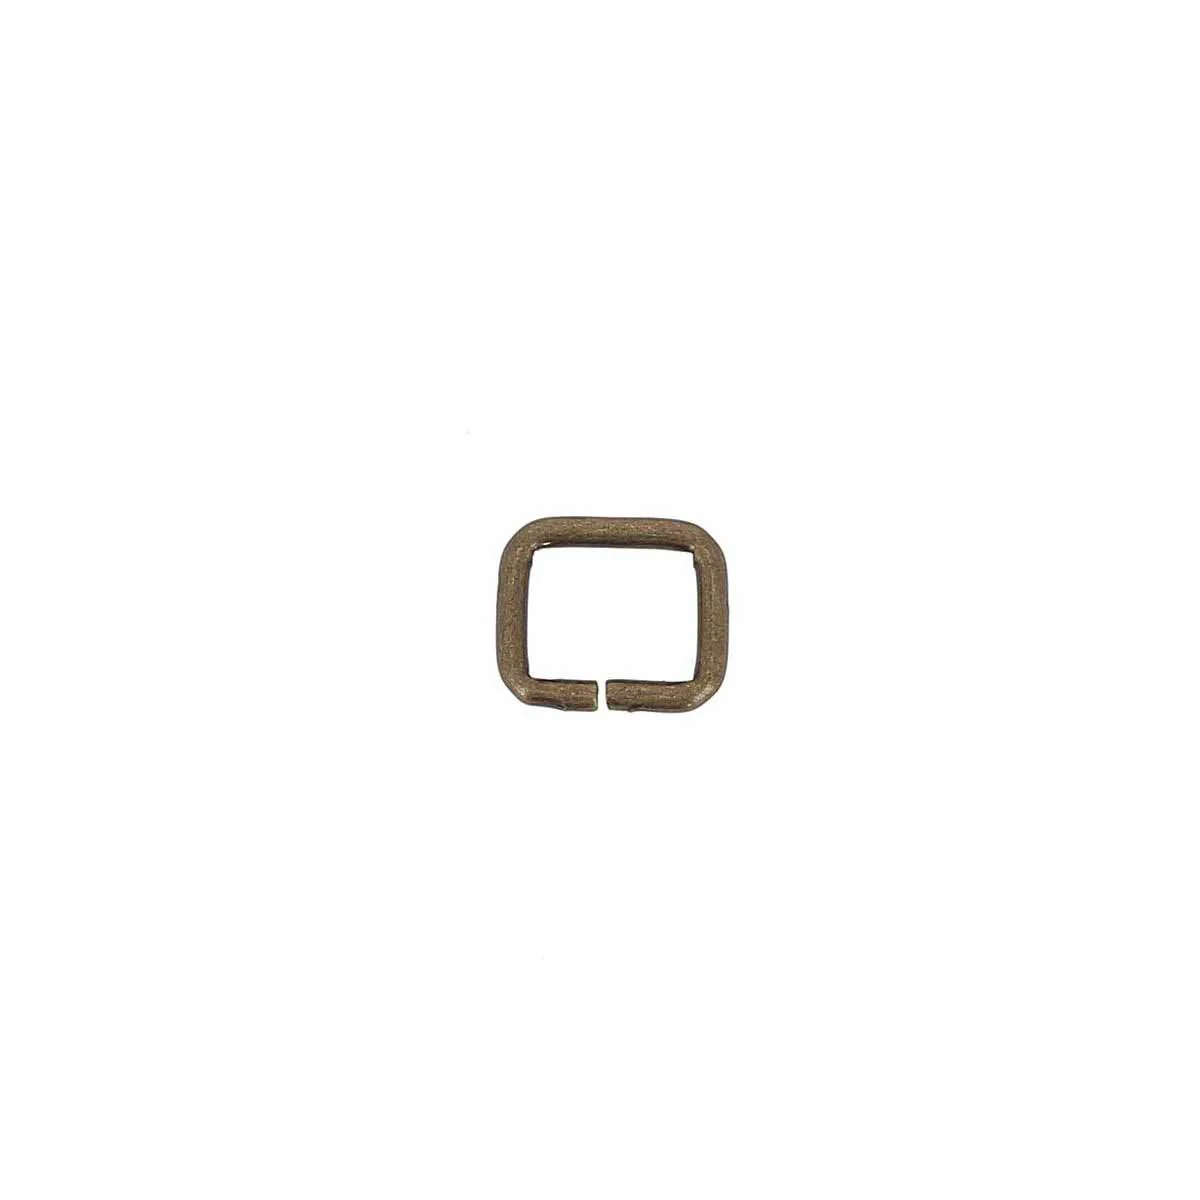
- Rectangular loop - Aged brass - 25 x 6 mm
- Spool of waxed linen thread - 18/3 - diameter 0.65 mm - Black
And the following material:
- 1 paring knife
- Handled stamps
- 1 swivel opening knife
- 1 leather awl with 50 mm handle - saddle stitch
LEATHER
Pascal used a piece of leather measuring 20 x 30 cm for the body and a second measuring 30 x 40 cm to make the two straps (2 cm x 40 cm) as well as the two circles that will form the sides of the case (diameter: 8 cm).
1. CUT THE LEATHER
Straight cuts are made with a cutter and rounded cuts with scissors. 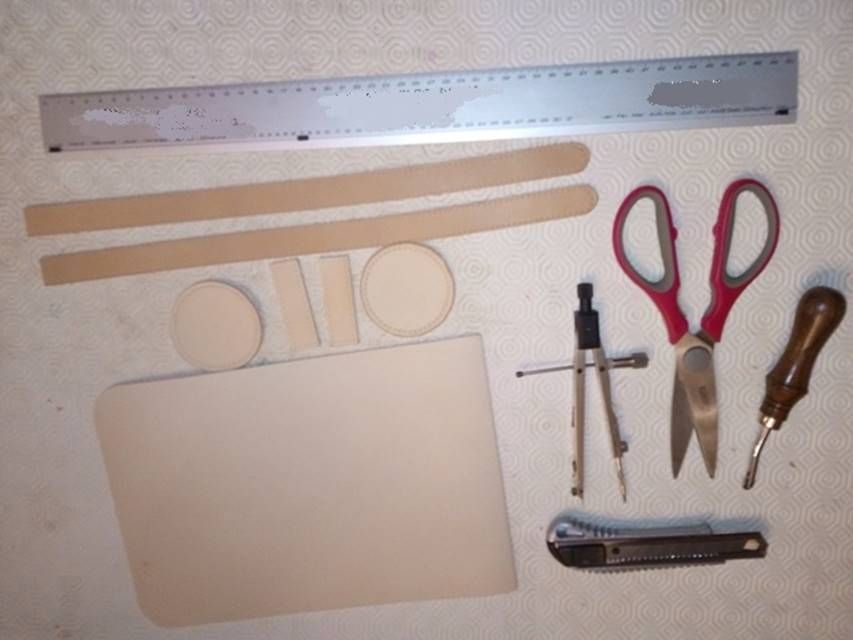
2. PARRY THE STRAPS
Thin the base of the two strips with a paring knife to avoid excess thickness. 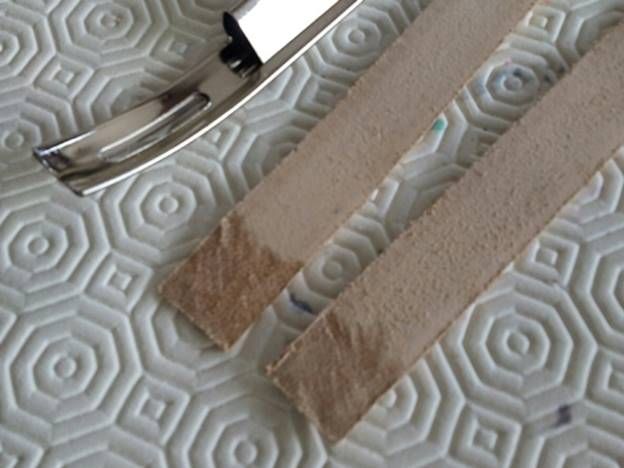
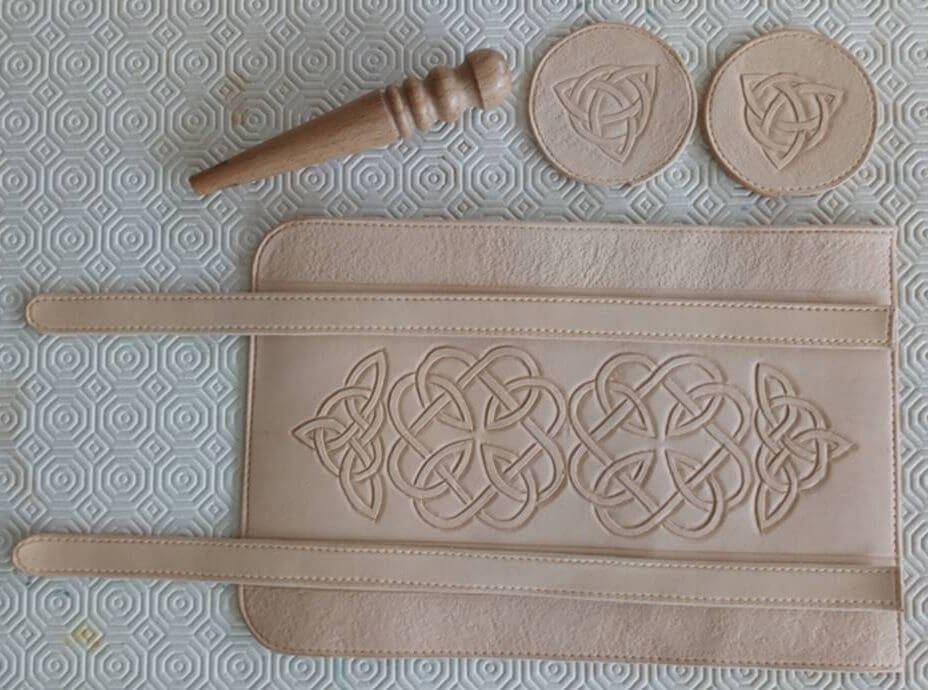
3. PUSH THE LEATHER BACK
Emboss the leather to create the patterns of your choice.
Pascal used an opening knife, two soft bevel stamps (2.5 and 5.5 mm) and the stamp (reference: 66294-00) for the grainy appearance.
COMPLETE GUIDE TO LEATHER EMBOSSING >
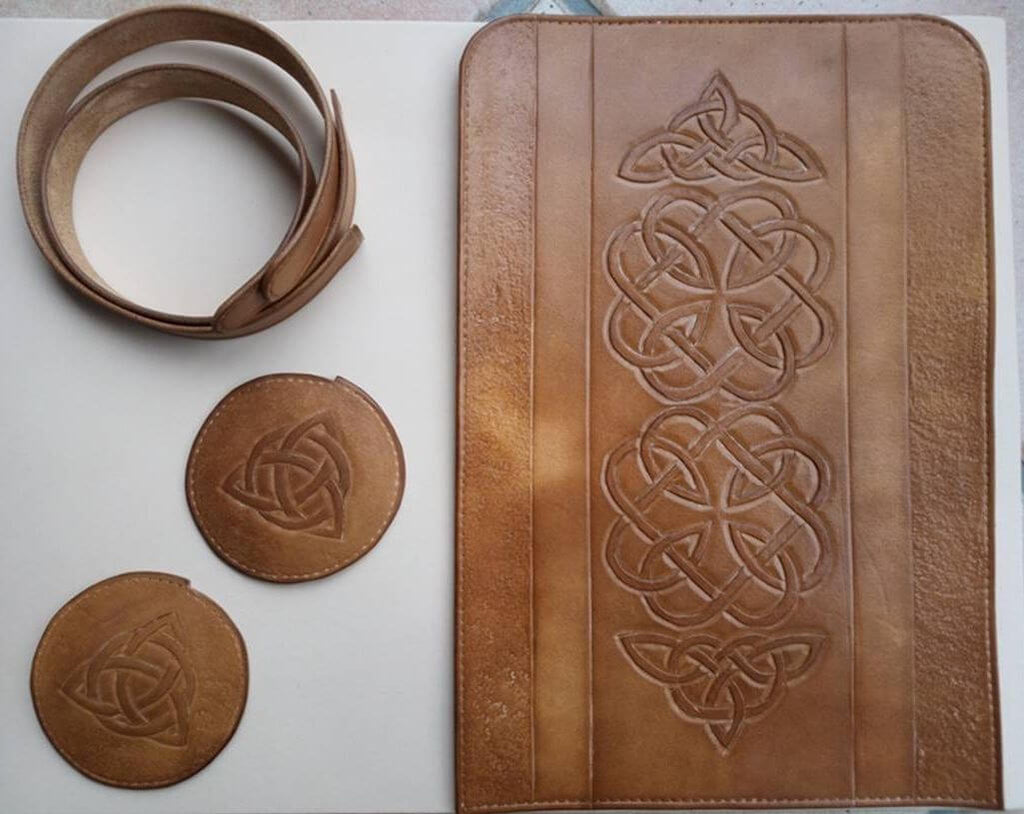
4. TINTING THE LEATHER
Dye your leather in a circular motion with a cloth to add color to your creation and avoid leaving marks.
Pascal has used more force in places to create nuances - Eco-Flo Fauve Dye No. 7.
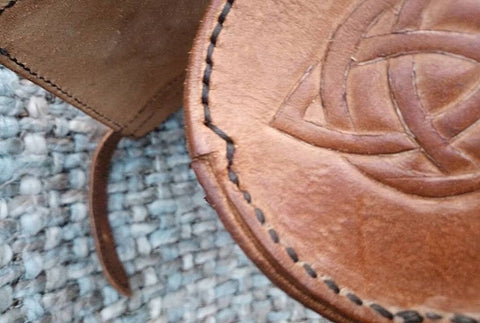
There is a small 2mm indentation on the rounded parts that will form the sides. This indentation will be used to position the leather in order to start sewing.
Please note : there is a right and a left part.
GUIDE / HOW TO DYE LEATHER? >
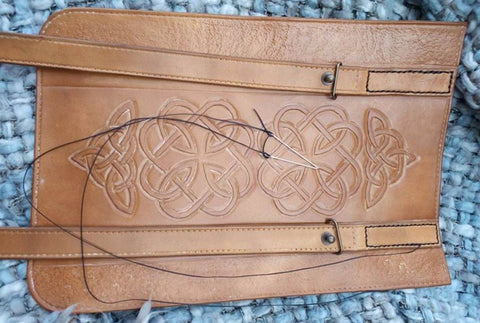
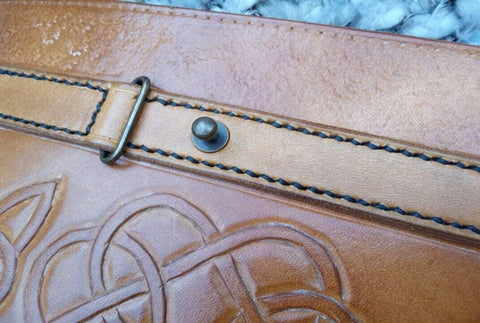
5. ATTACH THE COLLAR BUTTONS AND START SEWING
Fix the T4 screw collar buttons with a 3 mm diameter punch.
Don't forget the oval loops (aged brass - 23x5mm) or you'll have to redo the stitching. To avoid having the screw heads inside the case, the collar buttons are only attached to the strap. A little threadlock on the screw should prevent them from loosening.
Start sewing the straps.
Pascal used a plastic smoothing former and a point-marking wheel (size 6). Using the awl with pliers (reference: 050 - Vergez Blanchard) is really tricky. Little by little, the points become more regular.
 |
 |
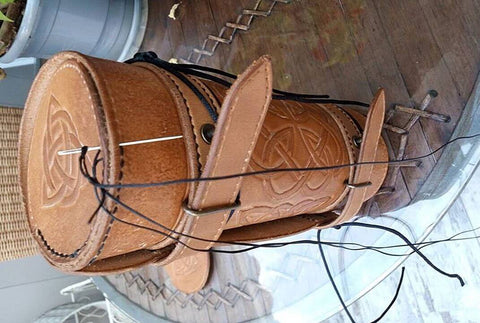
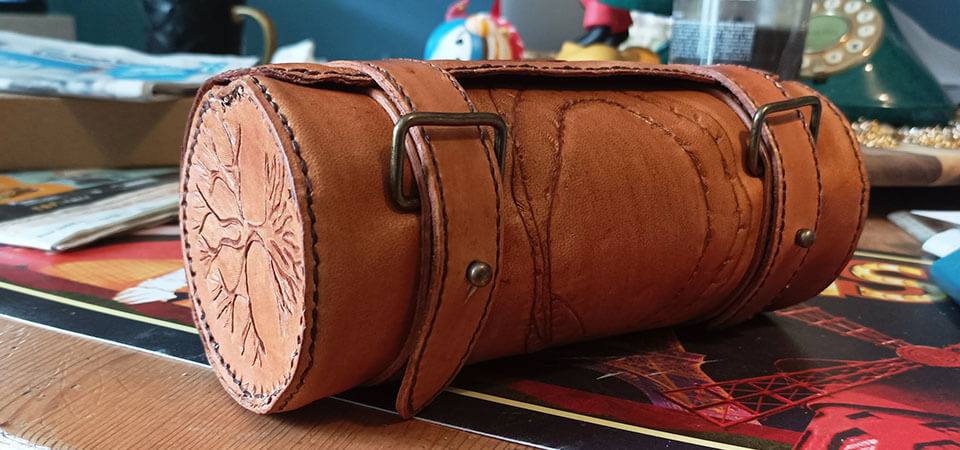
5. SEW THE SIDES OF THE PENCIL BAG
Put the sides in place and then sew.
Detail of the right side: we find the 2mm notch which is used to receive the piece of leather (photo n°2).
The leather pieces are positioned at 90° and sewn diagonally without glue. This type of sewing is very tedious and the result is unsatisfactory. On the following creations I abandoned this method and used a classic saddle stitch by positioning the leather pieces flat against each other (wetting the side piece of leather while sewing).
 |
 |
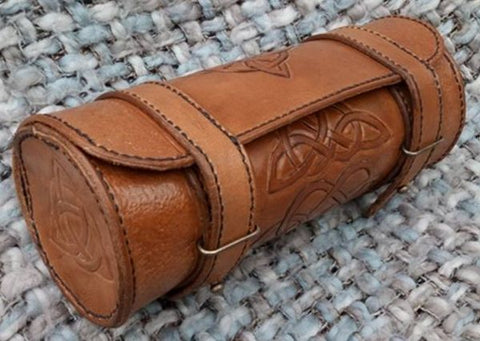
6. WAX THE LEATHER PATTERNS
Make a hole (diameter: 4mm) in each strap for the collar buttons.
Use brown shoe polish to bring out the patterns.
 |
 |
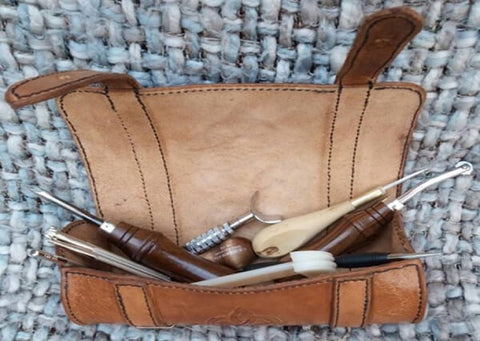
Congratulations to Emmanuel who made his first leather tool kit!


4 comments
DECO CUIR
Bonjour Laurent,
Malheureusement, nous n’avons pas de patron pour cette réalisation. Les différentes dimensions sont indiquées au début du tutoriel :
Il faut un morceau de cuir de 20 × 30 cm pour le corps et un second de 30 × 40 cm afin de faire les deux lanières (2 cm x 40 cm) ainsi que les deux ronds qui formeront les côtés de la trousse (diamètre : 8 cm).
Bonne journée, l’équipe Deco Cuir
Laurent LILLIU
Bonjour,
Le tuto est vraiment intéressant et j’ ai l’intention de m’en faire une que j’utiliserai comme trousse scolaire.
Par contre, j’aurais voulu savoir s’il y existe un patron.
Par avance merci.
raphaël duchesne
Juste génial !!!
Merci pour ce tuto passionnant !
Anonymous
Super bon tuto que je vais essayer pour une triplette de boules de pétanque!! avec une poignée pour les transporter! Merci