


MATERIALS NEEDED
To complete this tutorial, you will need:
- 1 piece of leather 20 x 30 cm - 1.2 mm thick
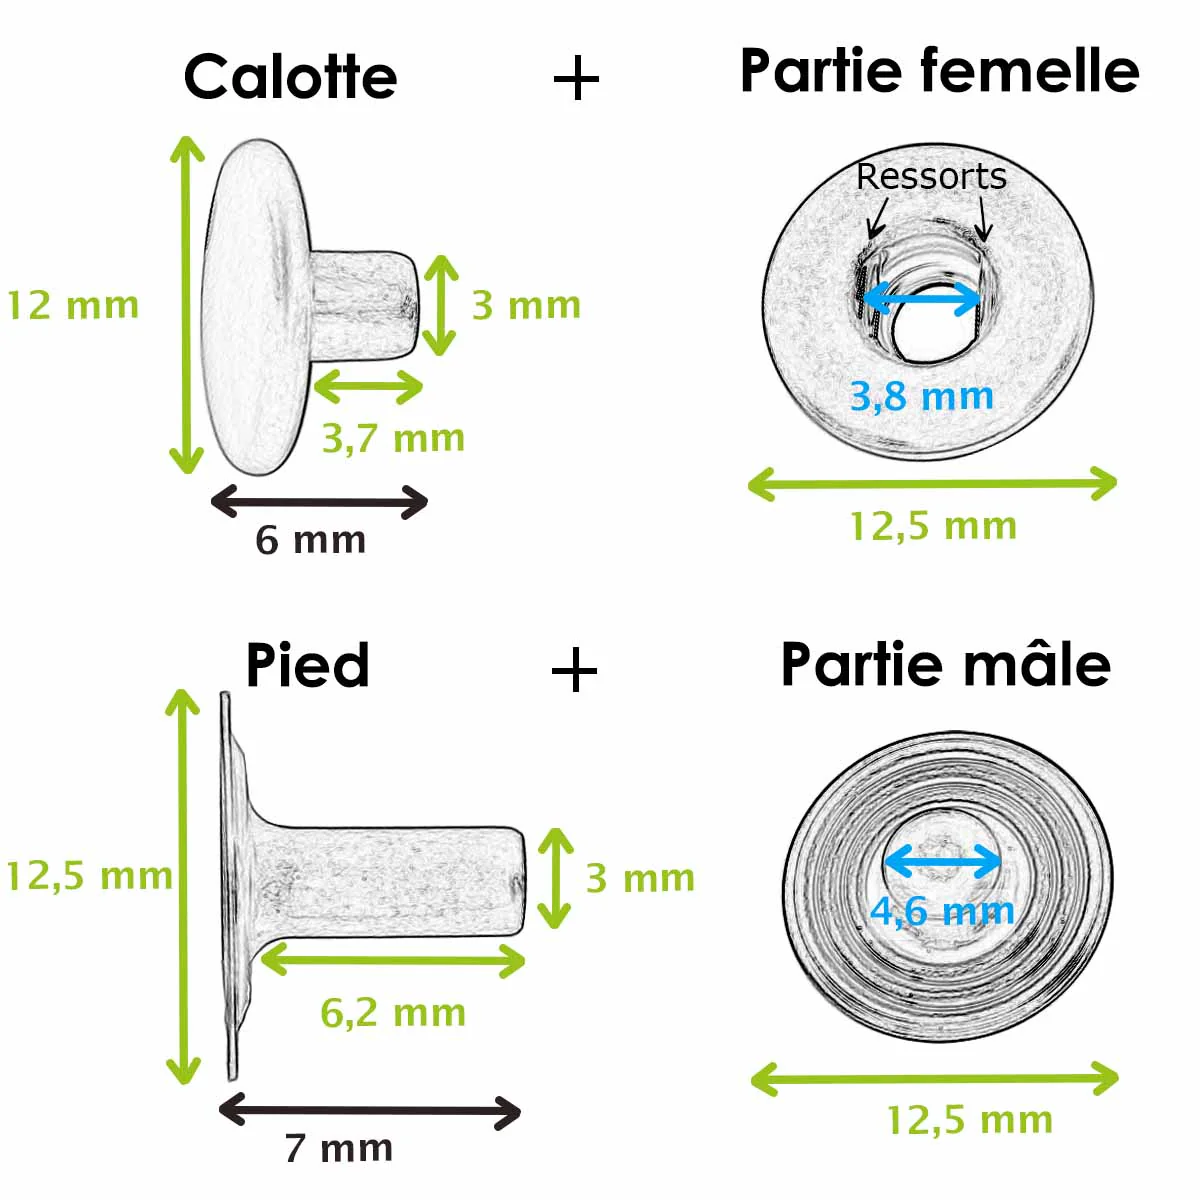
- 1 snap button - 12 mm diameter
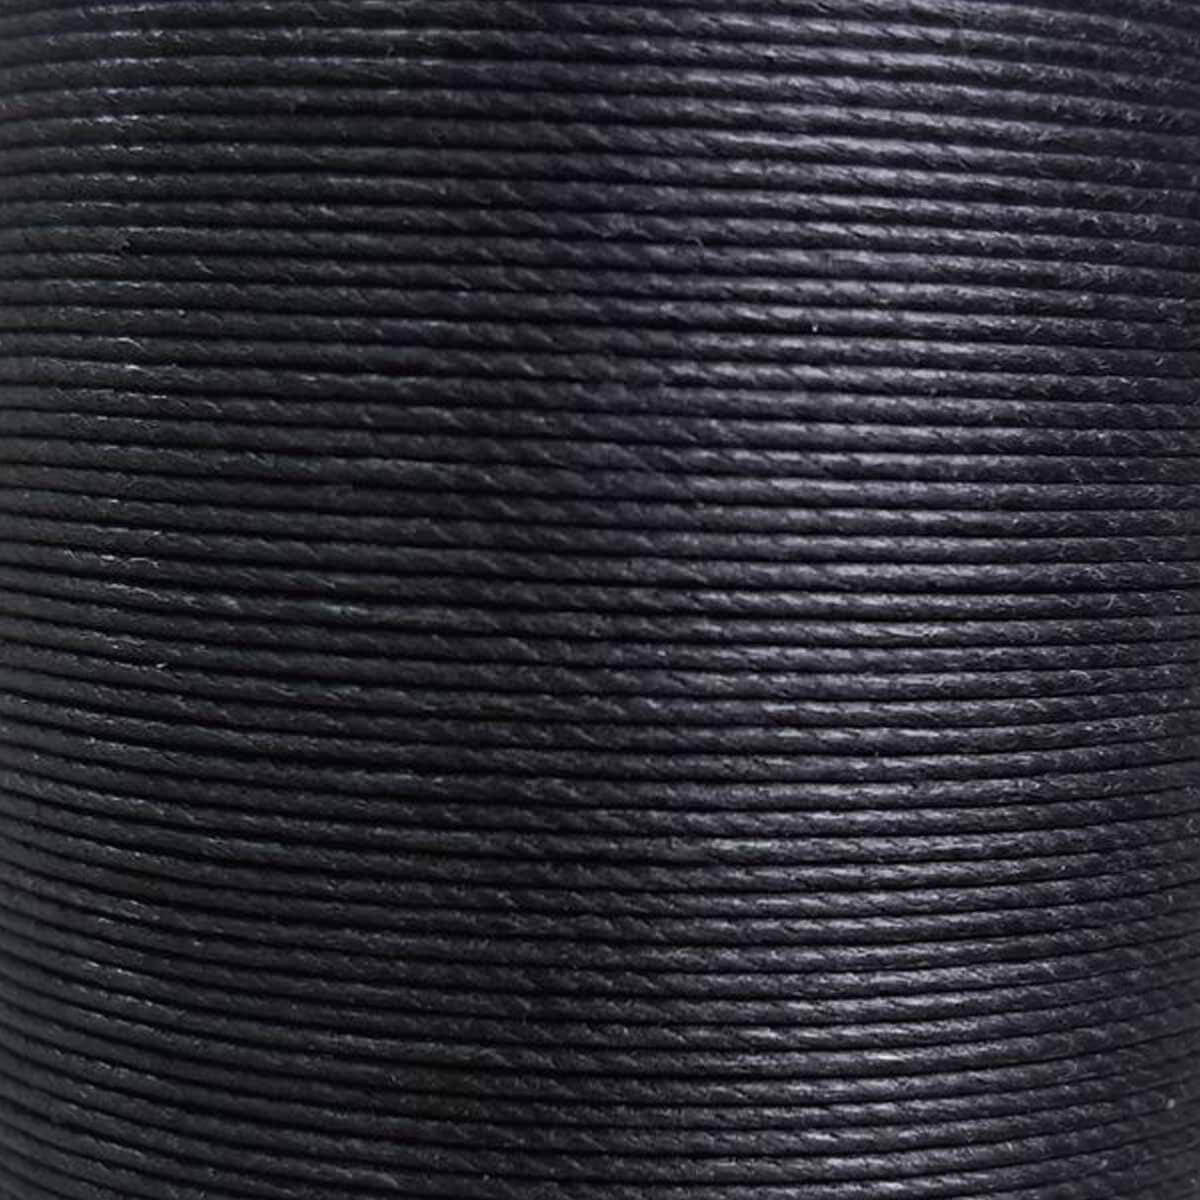
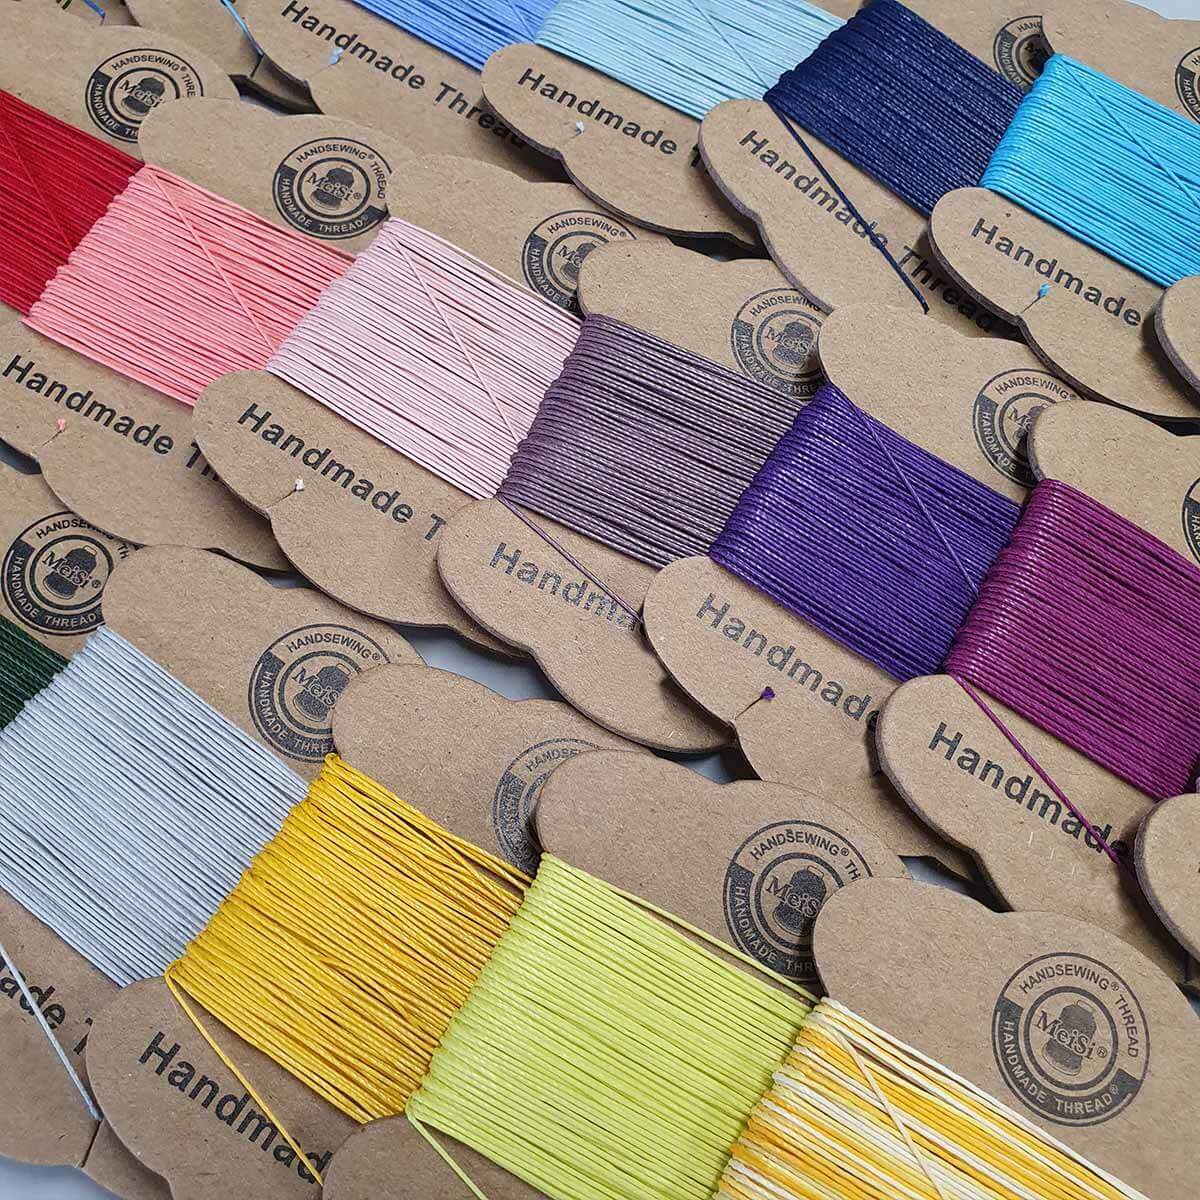
- 1 spool of Meisi M60 thread - 0.65 mm
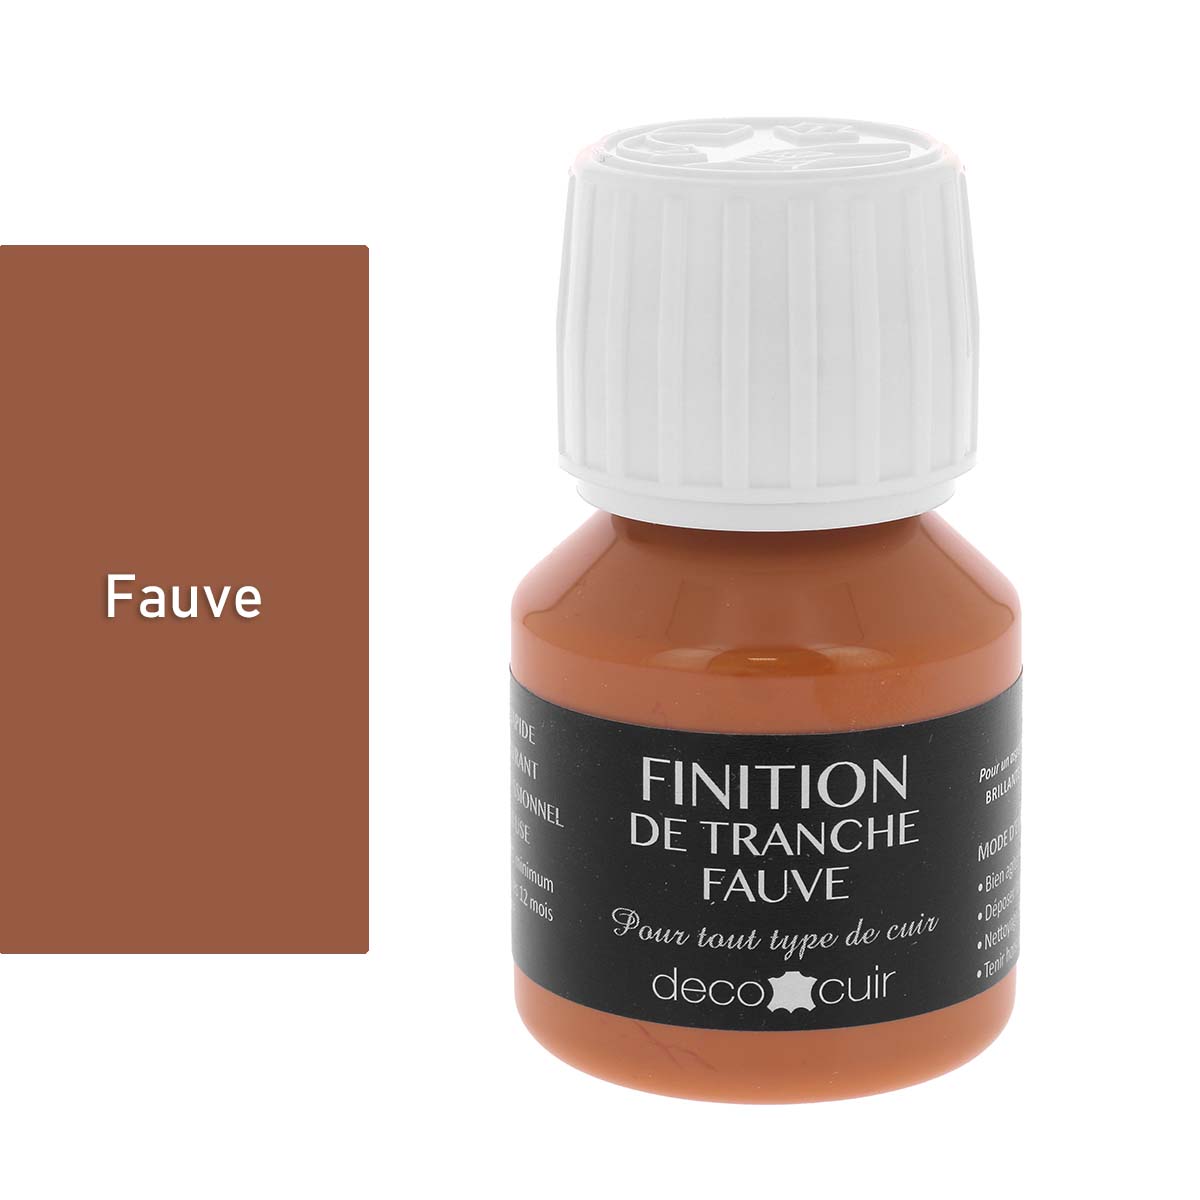
- 1 edge finish
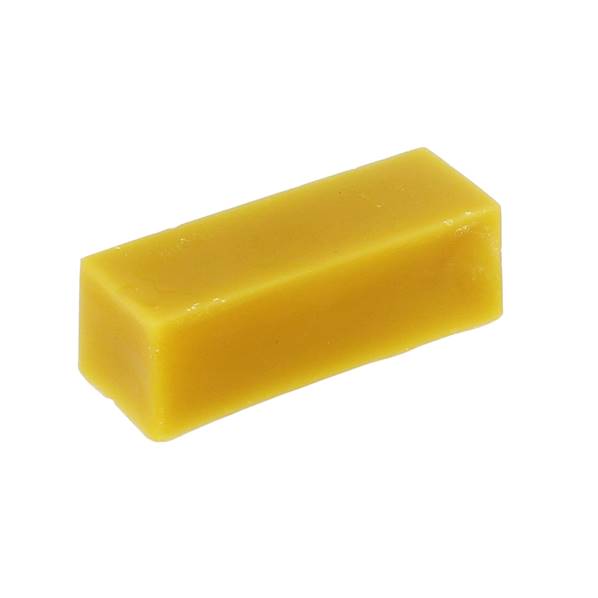
- 1 block of beeswax
And the following tools:
- 1 utility knife / brass sheath
- 1 awl with pliers
- 1 straight edge skiving tool - size 1
- 1 wooden burnisher
- 1 setting tool for snap buttons - 12 mm and the setting kit
1. DOWNLOAD THE WALLET PATTERN
Download and print the small wallet pattern.
A flat and simple design (2 pieces), the pattern is designed for 1.2 mm leather. If the leather is thicker or thinner, the pattern will need to be slightly adjusted to account for the thickness.
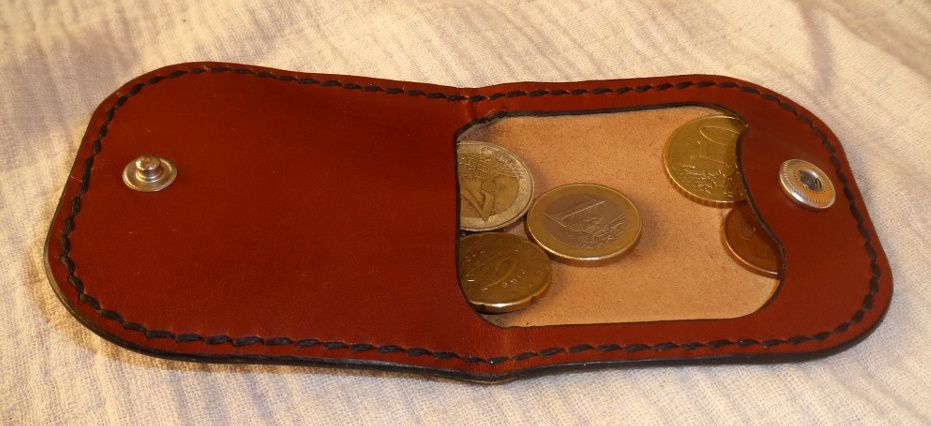
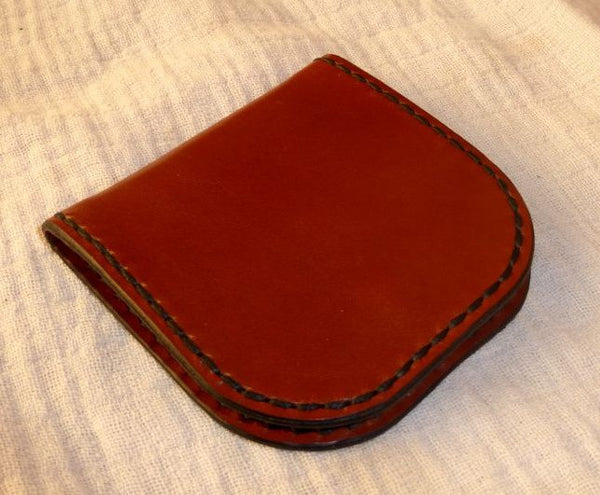
For this pattern, the chosen leather is 1.2 mm smooth collar leather in caramel color. The sewing thread is black waxed cotton. The stitch spacing is 5 mm. The edges are smoothed with beeswax and a burnisher (multi-purpose slicker). Finally, the closure system is a 12 mm ball snap button.

2. CUT YOUR LEATHER ACCORDING TO THE TEMPLATE
Cut your piece of leather, with a leather cutting knife or utility knife, carefully following the pattern.
3. GLUE THE EDGES AND SEW
- Glue the 2 leather pieces along the edges to be sewn
- Mark the sewing line using a creaser
- Mark the stitch points
- Perform a saddle stitch
4. WORK THE LEATHER EDGES
- Bevel and then sand the edges
- Apply tragacanth gum or Tokonole to the edges and rub with a cloth.
5. ATTACH THE SNAP BUTTON
Using the method of your choice, attach a snap button to the end of the leather. Before this operation, make sure you have a snap button.