


THE NECESSARY MATERIALS
To complete the tutorial, you will need:
- Piece of vegetable tanned leather - 30 x 40 cm - thickness approximately 3 mm
- Gum tragacanth for finishing edges
- Leather collar strip - BLACK - Width 20 mm - Length 120 cm - Thickness 1.9 mm
- Piece of soft leather 5 x 50 cm (for the protective tape)
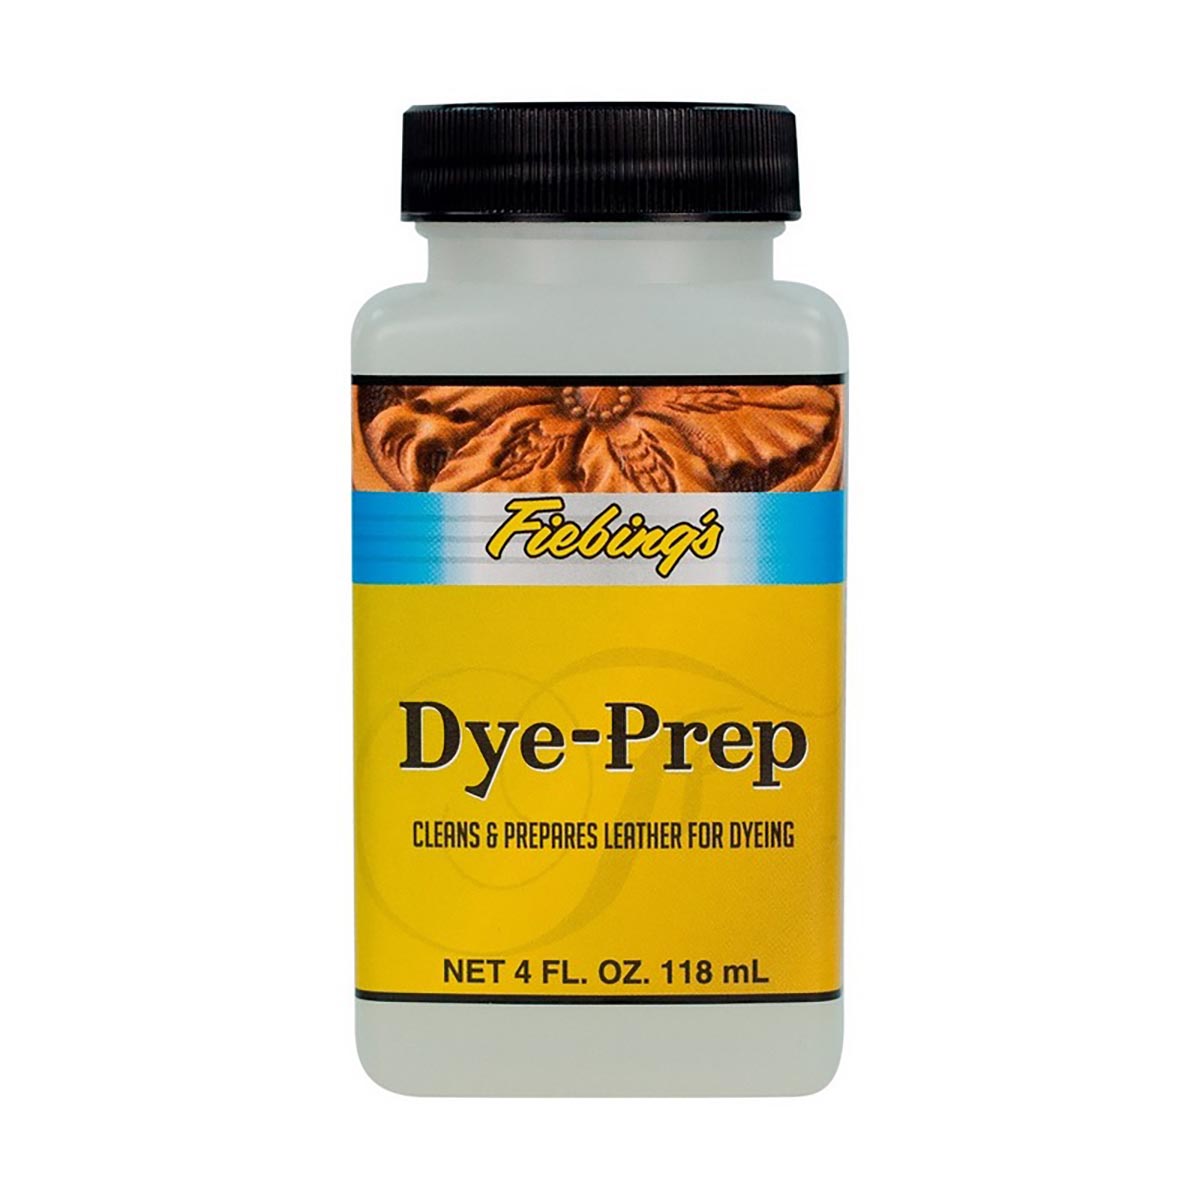
- Pre-dyeing preparation - FIEBING'S #5 DYE PREP - 118 ml
- Dye (Eco-Flo WATERSTAIN style)
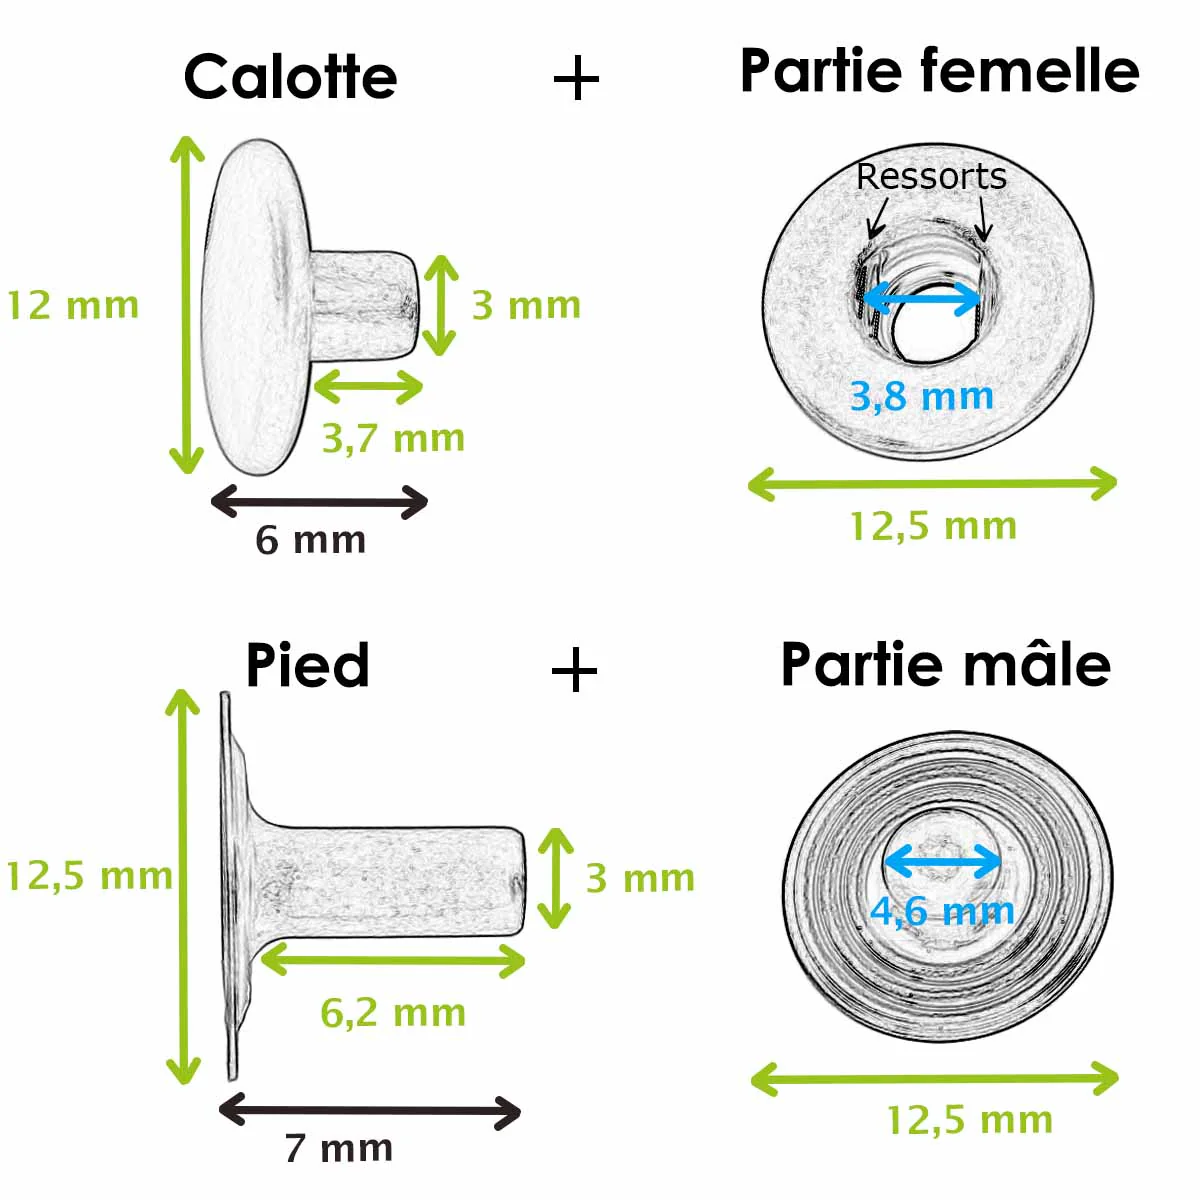
- 3 pressure buttons
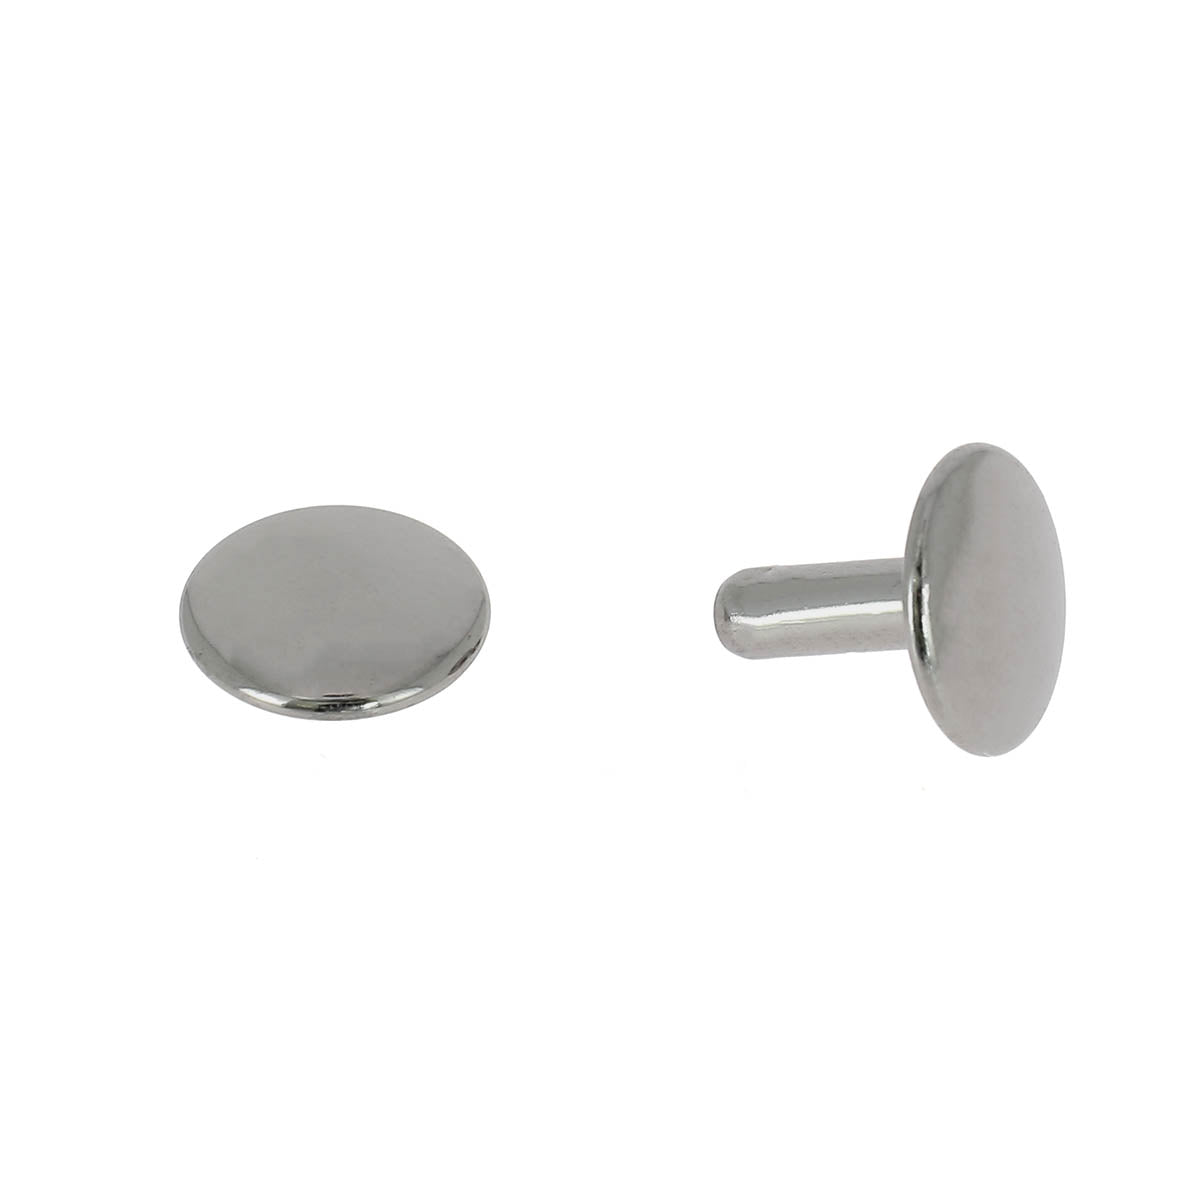
- 17 large rivets (T4/T6)
- 3mm and 5mm round punch cutters
- Rivet (T4/T6) and snap fastener pliers set
- A smoothing
1. CUT OUT THE PATTERN
Cut out the 3 pieces of the pattern and assemble them.
Please note : not all balls have the same diameter. Test first on a piece of strong cardboard. The balls in this case are 76 mm in diameter.
2. CUT THE LEATHER
Using the silver pencil and the template: mark the cutting lines on the leather.
The pencil is erasable on most leathers with a simple eraser (do not use on vegetable tanned leather). We recommend that you test it first to confirm the erasability on your leather.
Cut the leather: on the cutting mat and using a cutter and a ruler. 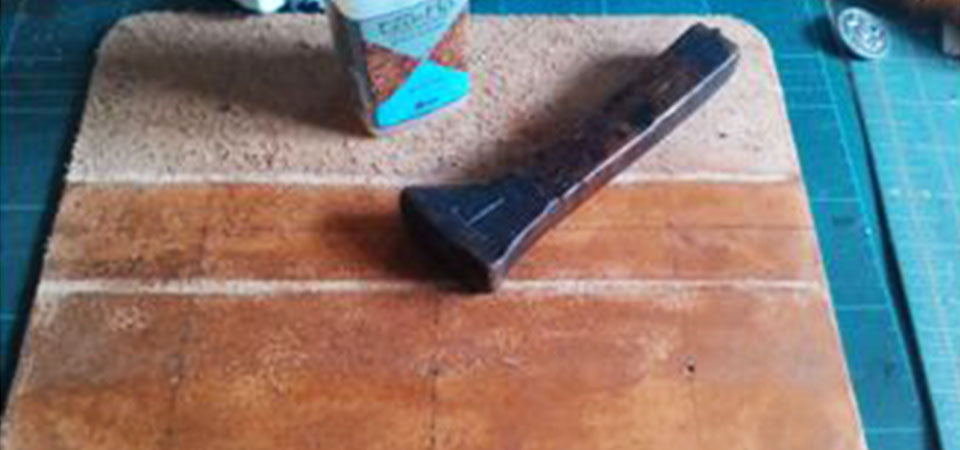
3. PREPARE AND DYE THE LEATHER
Using a furrow, carve two grooves in the leather to fold the case. Prepare the leather crust (inside) with DYE PREP (Fiebing's) - before dyeing. Dye the leather (here Eco-Flo WATERSTAIN BLACK). Then, smooth the edges (apply gum tragacanth and burnish the edge with a strop).
GUIDE: HOW TO DYE LEATHER?

4. INSTALL THE LEATHER TAPE
To hold the balls in place and increase security, add a corrugated leather ribbon. Cut a 5 x 50 cm piece of plain leather ribbon. Place the 10 rivets to hold the ribbon in place. 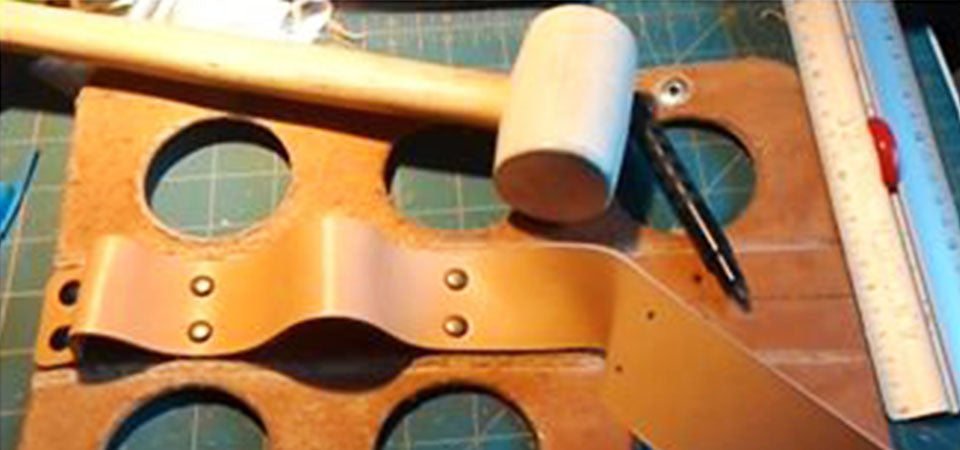
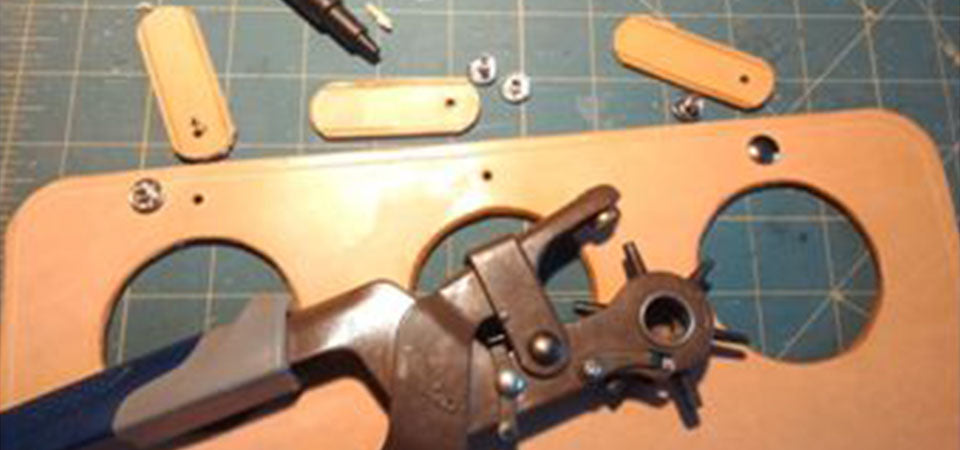
5. PLACE THE TABS
To close the case, you need to place tabs.
- Cut 3 tabs from the remaining piece of leather
- Place the 3 rivets on the tabs and the case
- On the other side, place the visible part of the pressure button on the tab
- Place one ball in place and press the button on the leather to determine where to put the second part of the pressure button
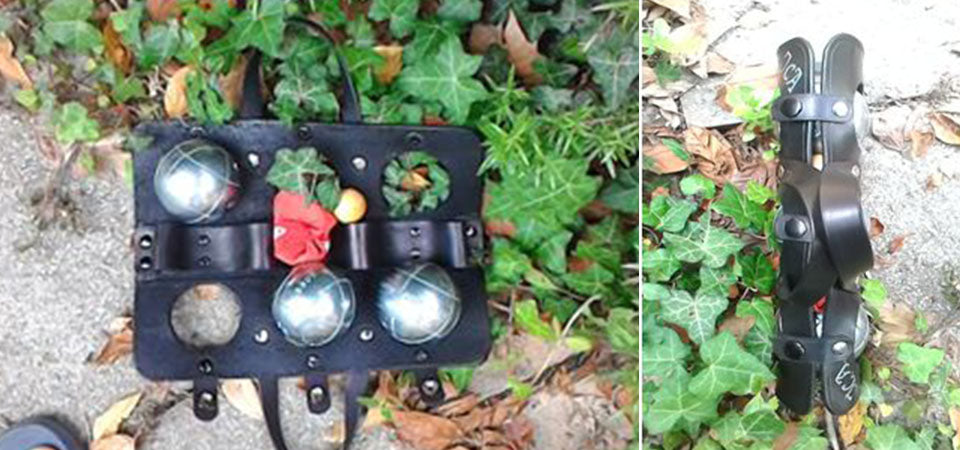
6. ATTACH THE CARRYING STRAPS
Drill and fix the two transport straps: with the pliers, pass through the hole made for the ball to fix the rivets of the straps.
With a 60cm long strap, you can create two 30cm straps.
TO LEARN MORE:
| Methods for installing a snap fastener | Methods for setting a rivet |
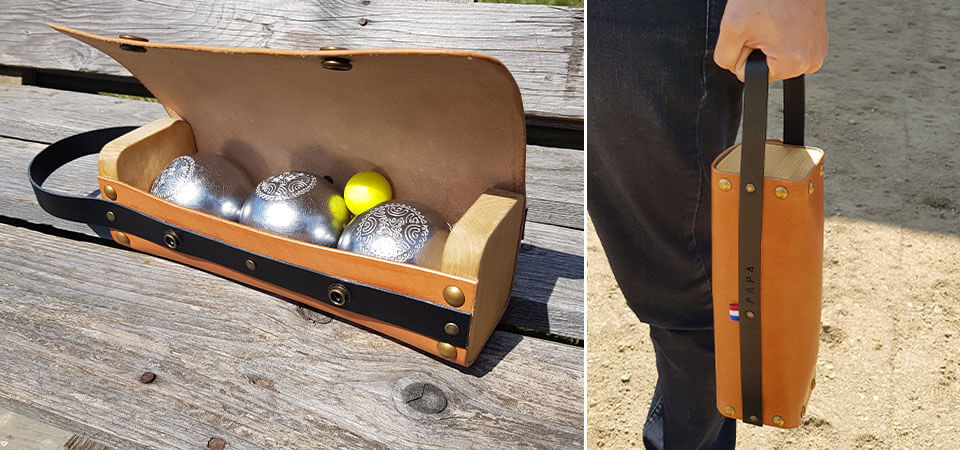
OPTION
The initials were made before dyeing. The leather must be wetted, then the message written with an inkless ballpoint pen.
Once the leather is dyed and dry, rewrite with a silver pencil.
UP TO YOU !