


MATERIALS REQUIRED
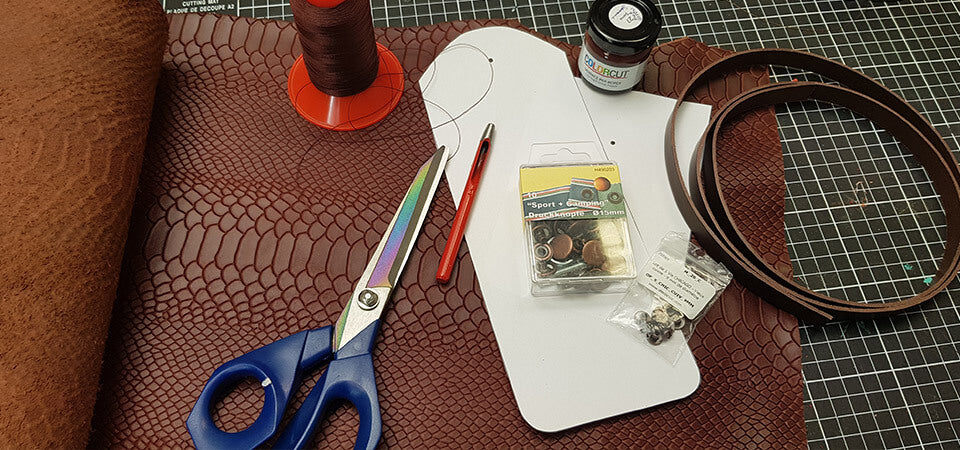
To complete this tutorial, you will need:
- 1 leather hide or 1 piece 30 x 40 cm (semi-soft, semi-firm) - Thickness 1.2 to 1.4 mm.
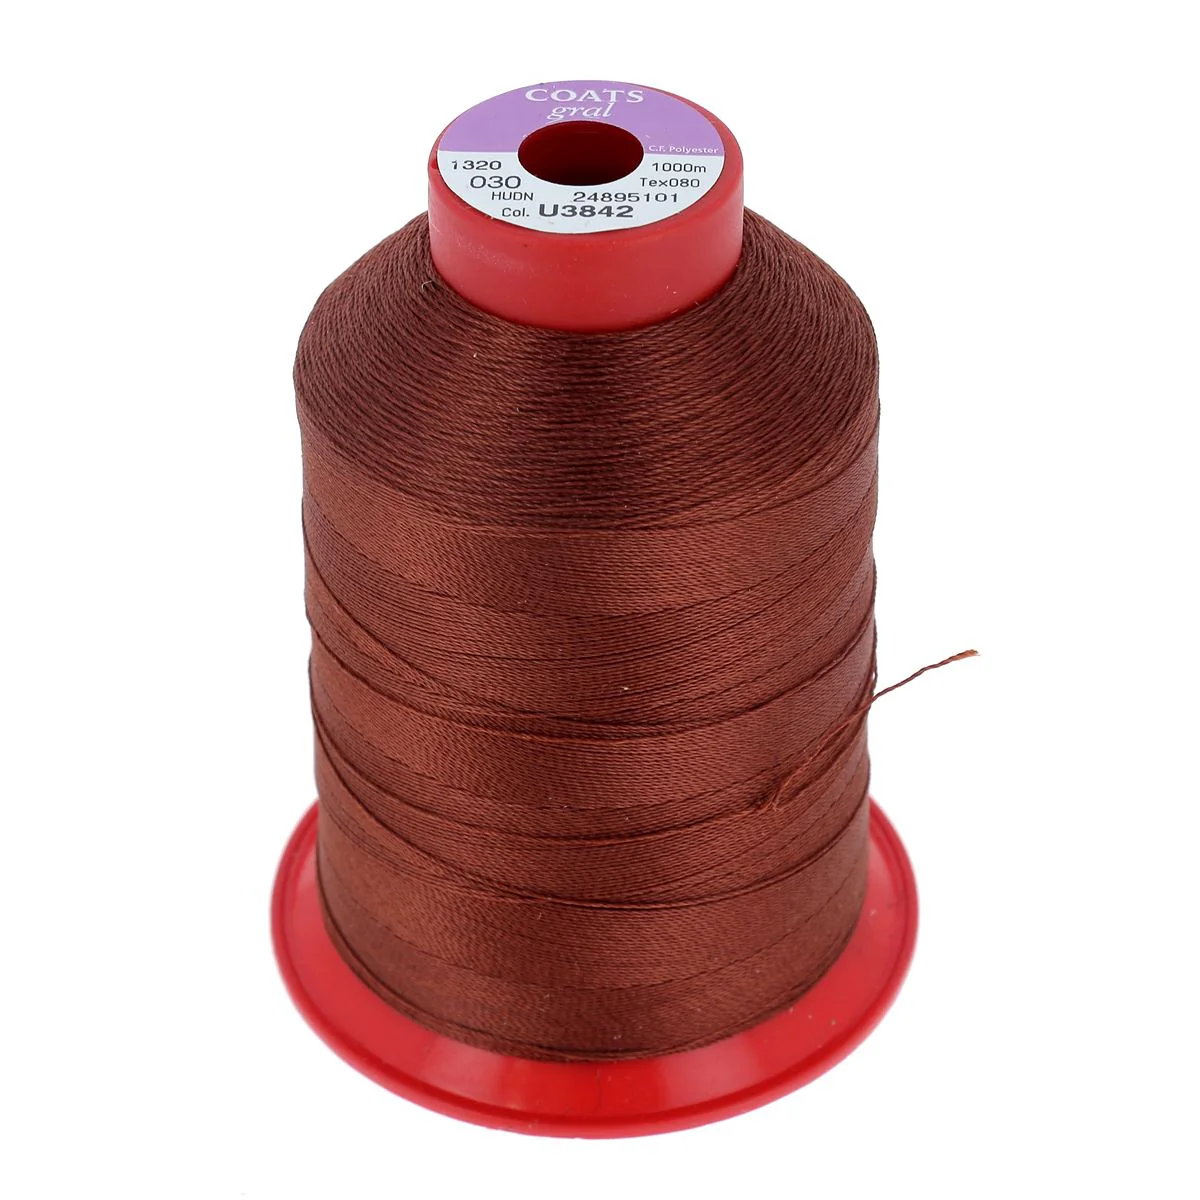
- 1 spool of GRAL N°30 polyester thread - 1000m - Color of your choice
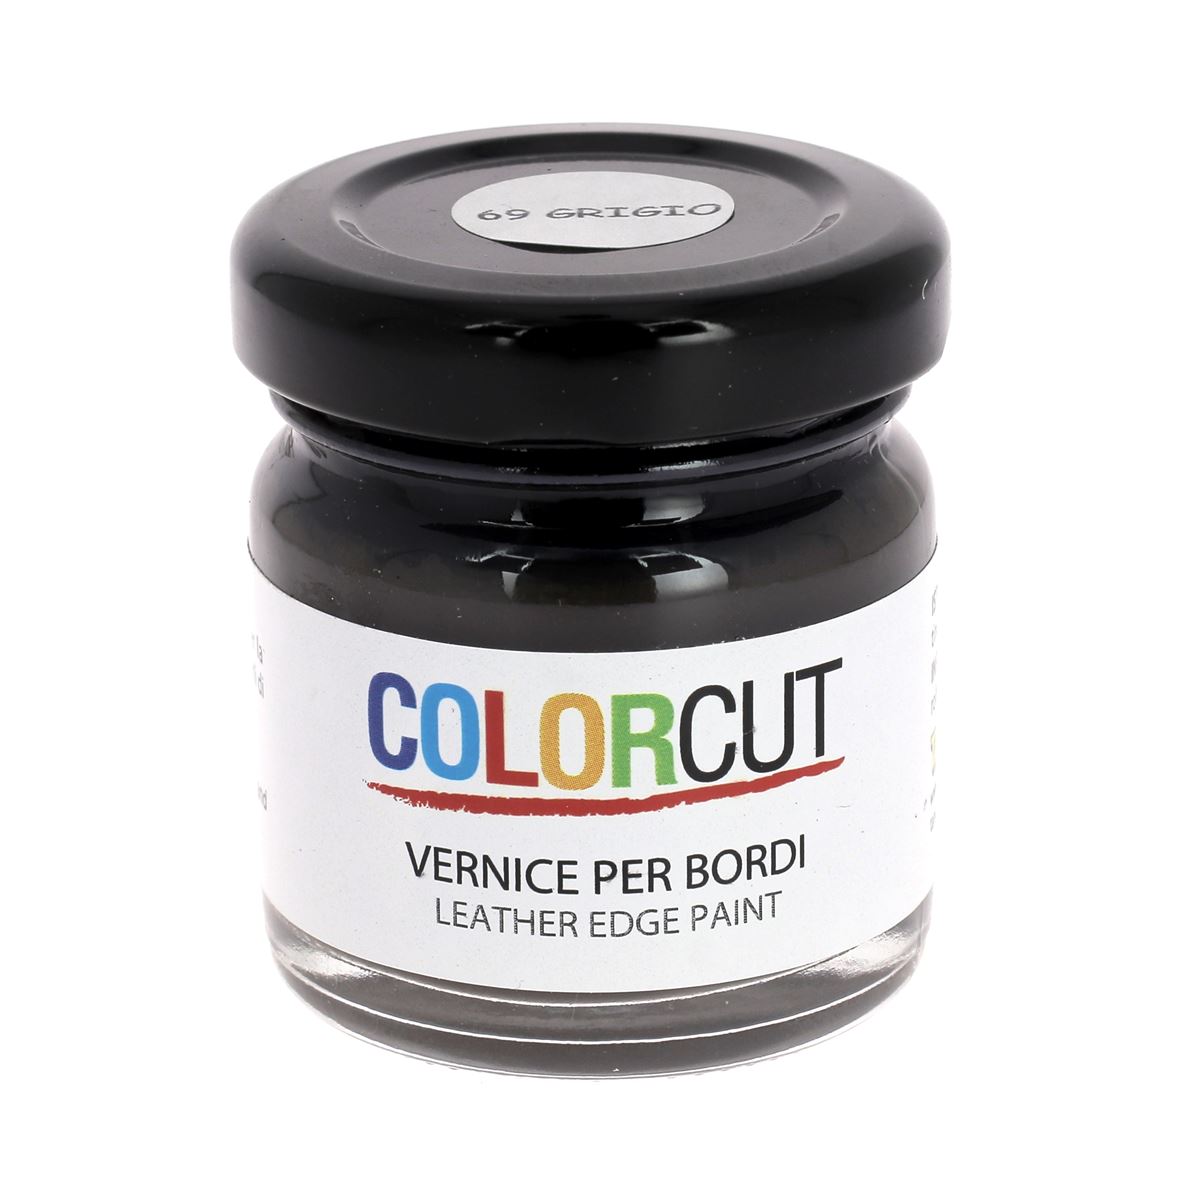
- 1 edge finish - Colorcut - 30ml - Color of your choice
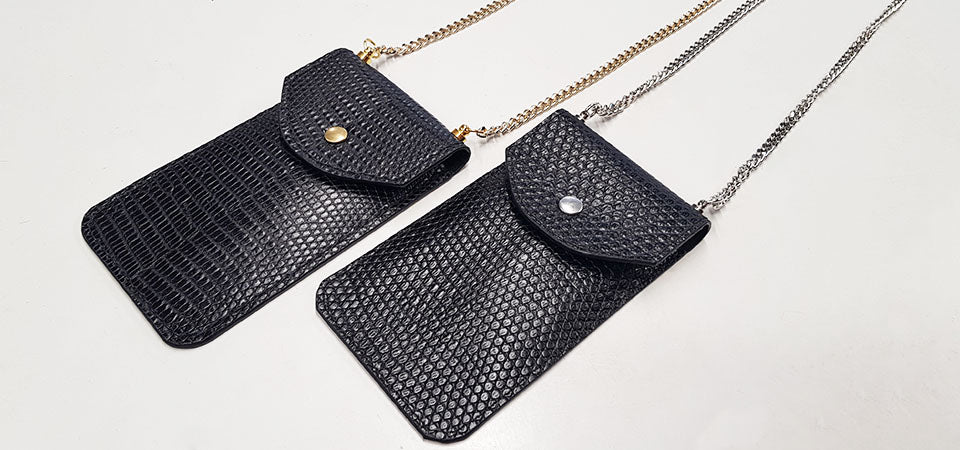
- 1 strap of collar leather - Width 10 mm - Length 120 cm - Thickness 1.9 mm or 120 cm of bag chain (Sydney model).
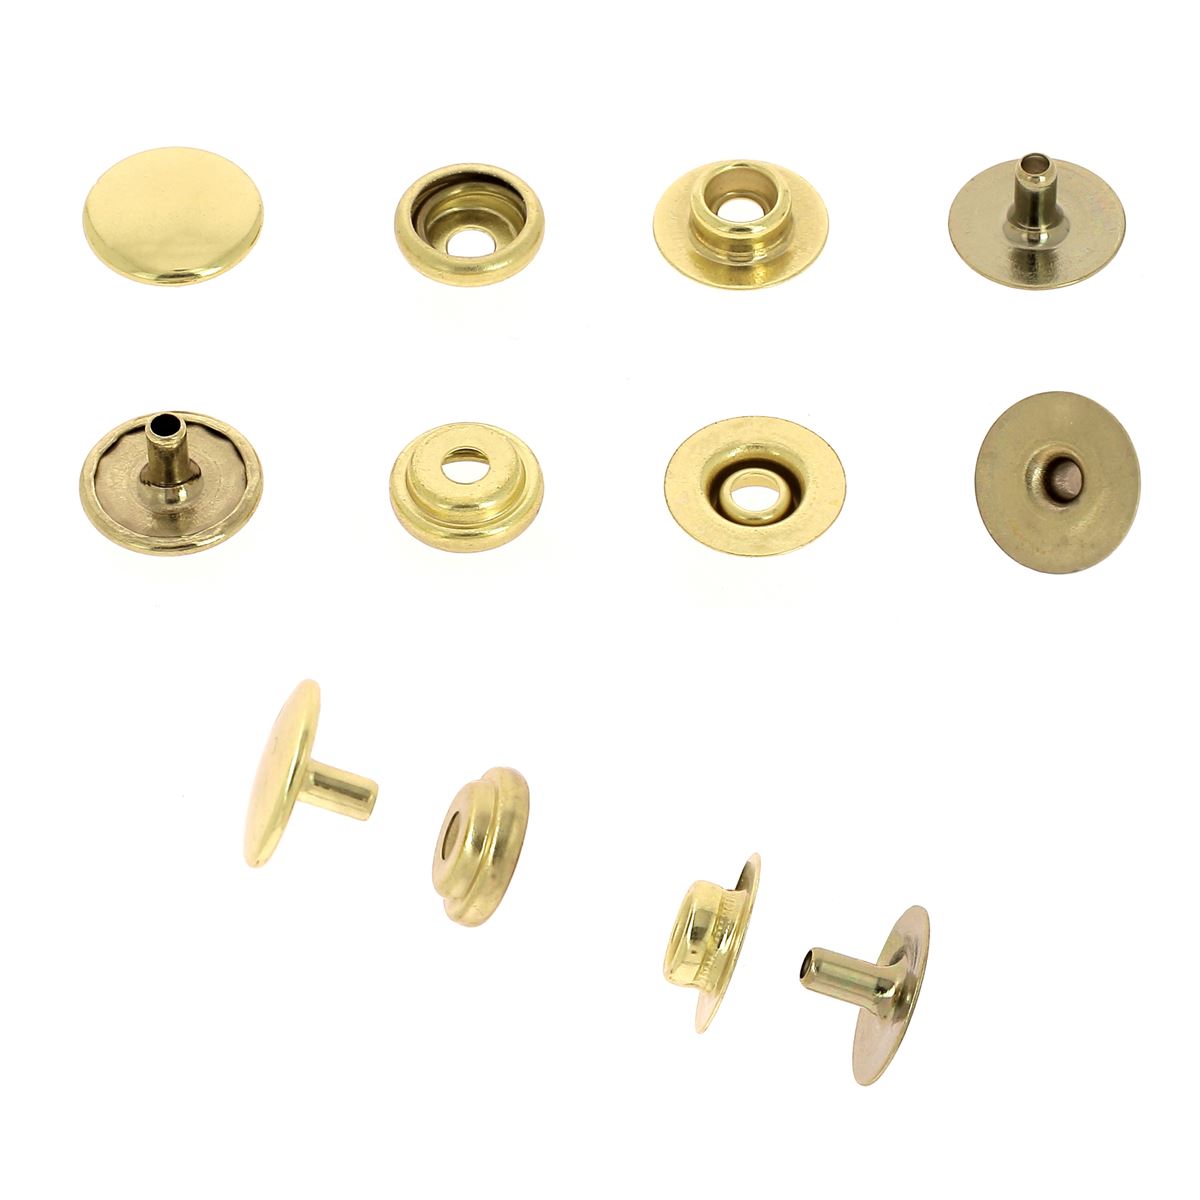
- 1 HEAVY snap fastener - TANDY LEATHER - Diameter 12.5mm LINE 20 - Antique Brass
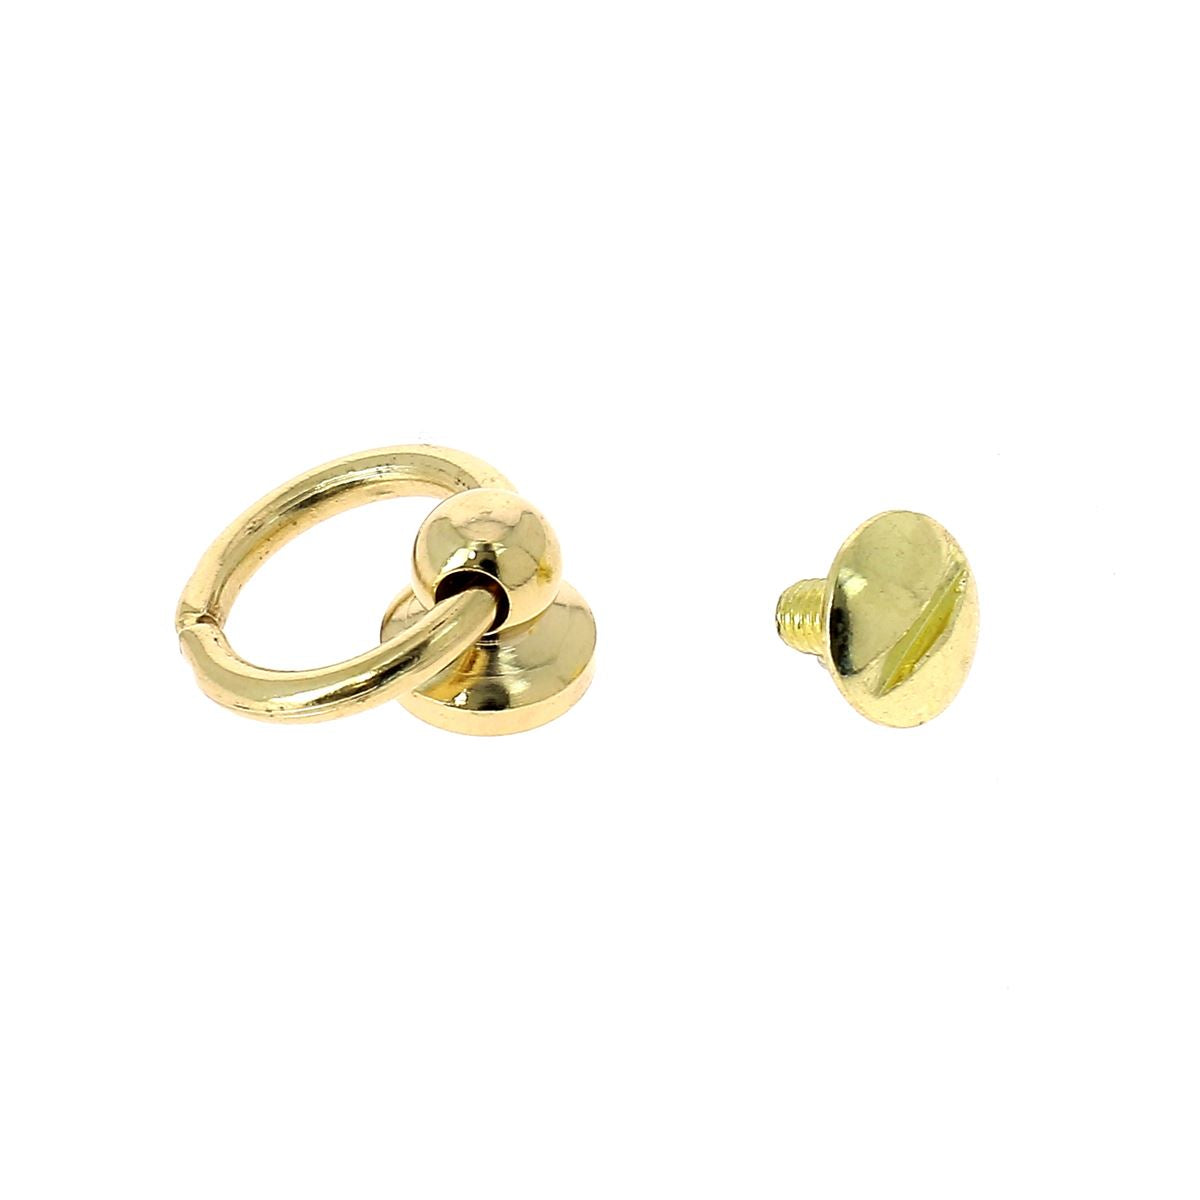
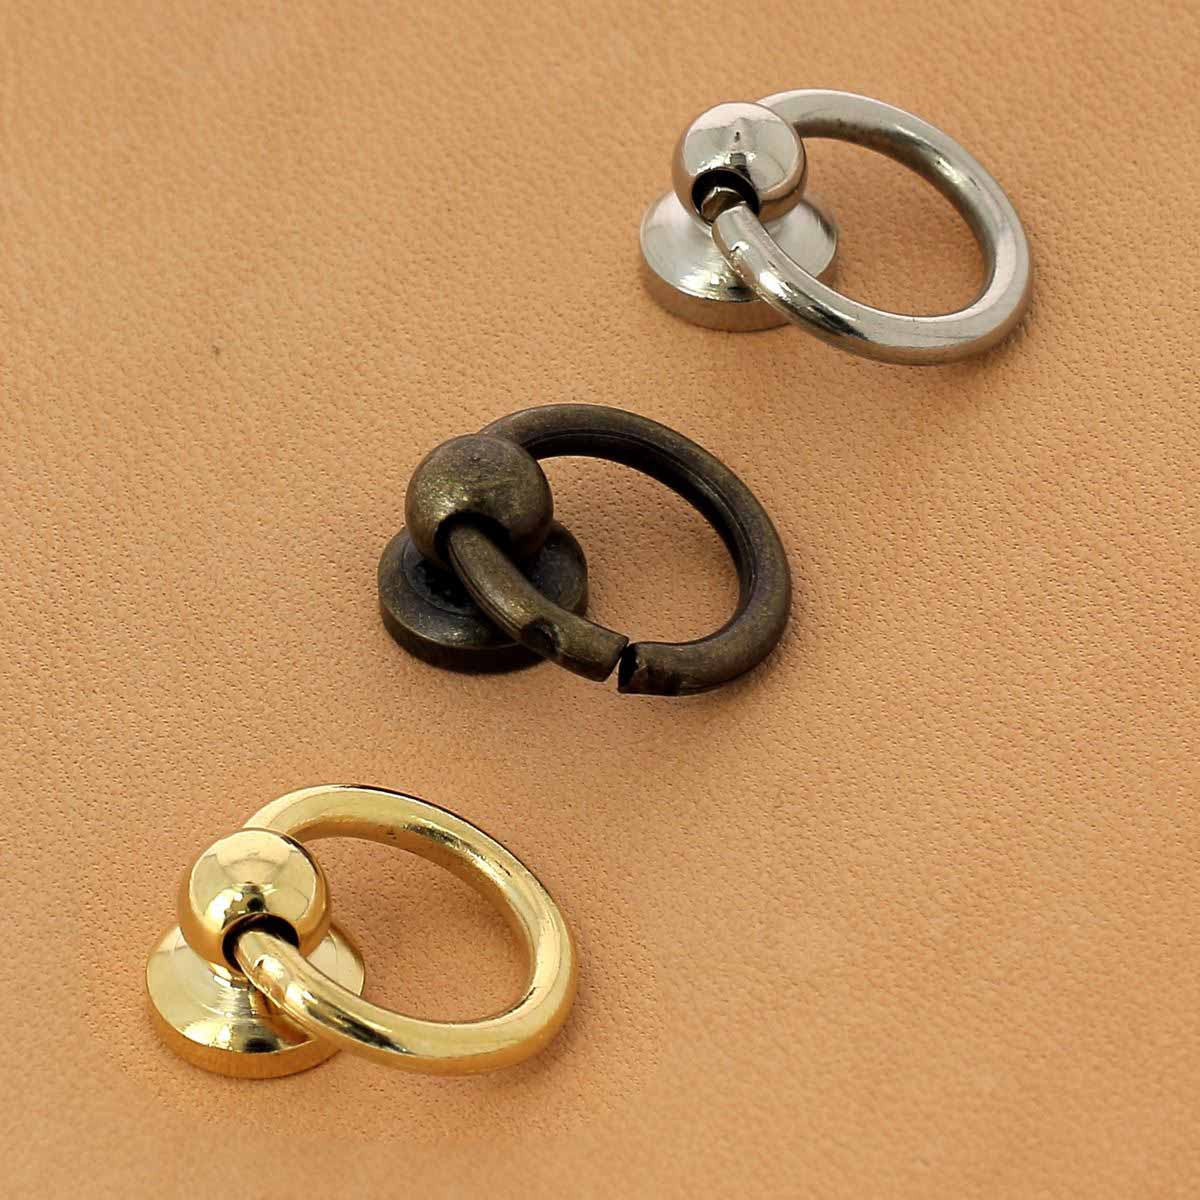
- 2 collar buttons with ring - For 10mm strap - Antique Brass
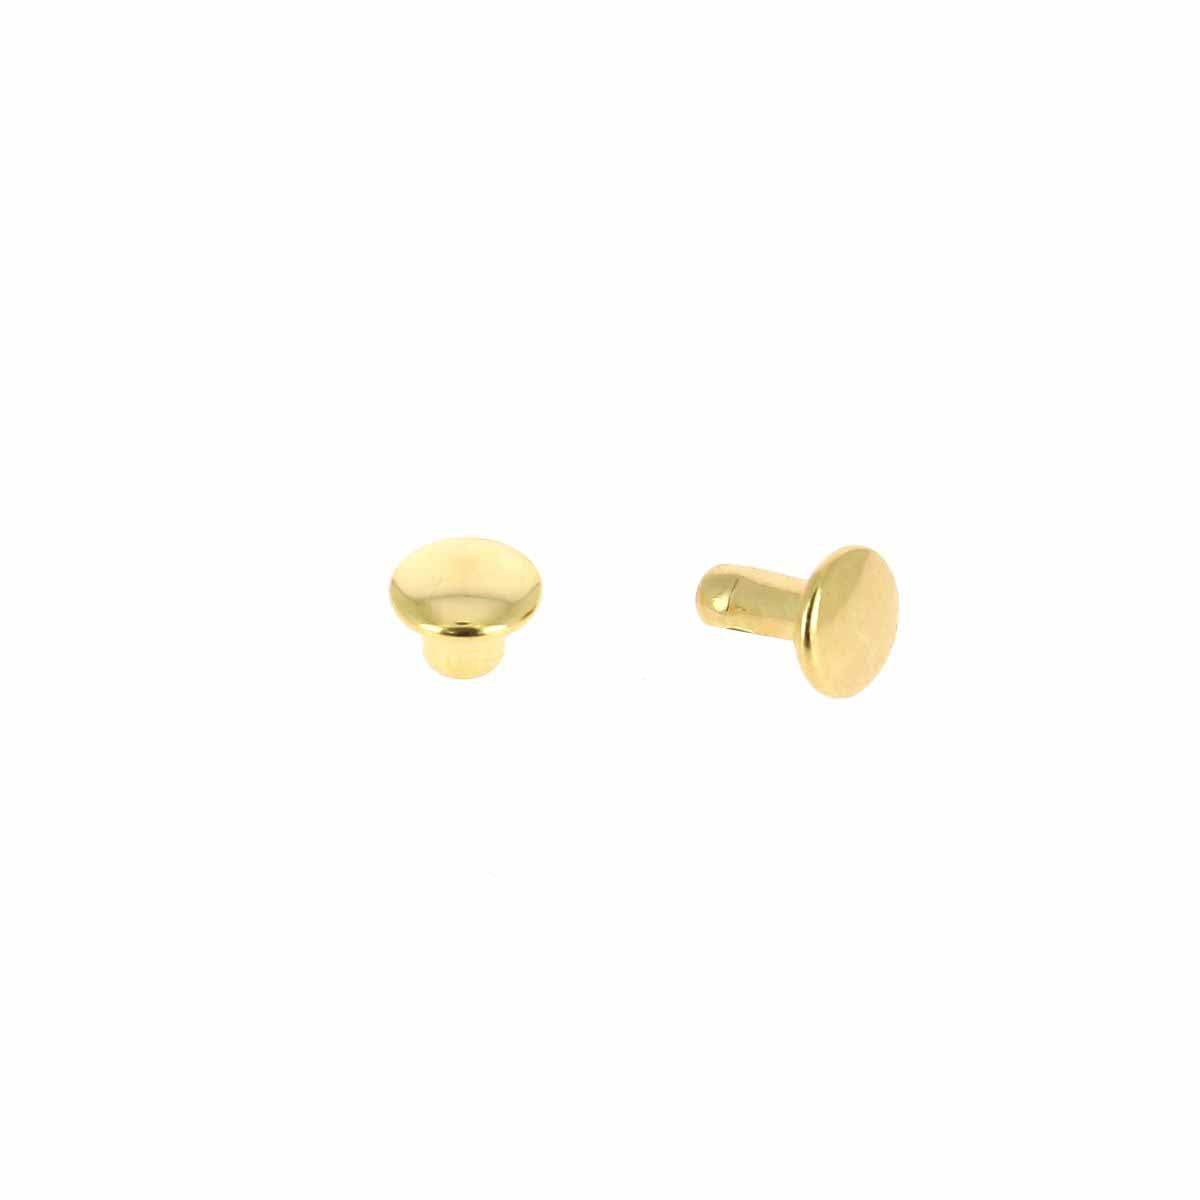
- 1 set of 20 small DOUBLE CAP rivets in brass (T2) Antique Brass finish
And the following tools:
- 1 ROUND punch with STRAIGHT handle - diameter 3 mm
- 1 mallet
- 1 screwdriver
- 1 abrasive sponge
- 1 silver pen
- 1 pair of scissors
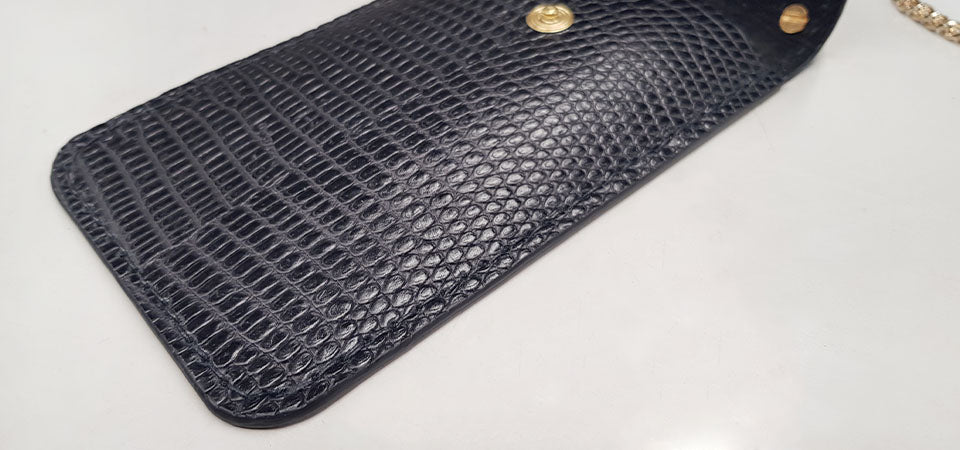
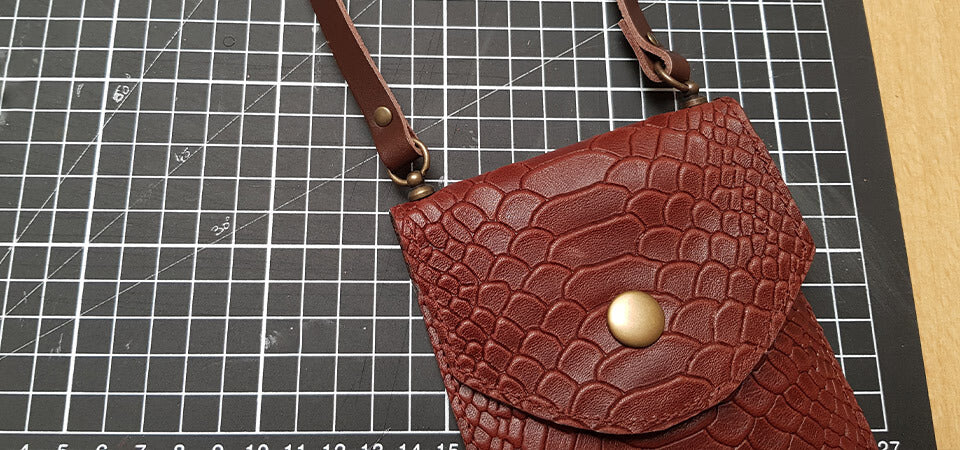
1. Cut the leather using the pattern
Download the pouch pattern and print it to actual size. Cut it out and transfer it to the leather piece using a silver pen (or tape it directly to the leather piece).
Cut the 3 pieces with a cutter, punch the 3 mm holes and the 1.5 mm stitching holes (for the hand-stitched version).
We recommend cutting/working the rounded sides when the pieces are assembled.
You will find both versions of the pattern in the file: with simplified hand stitching and machine stitching.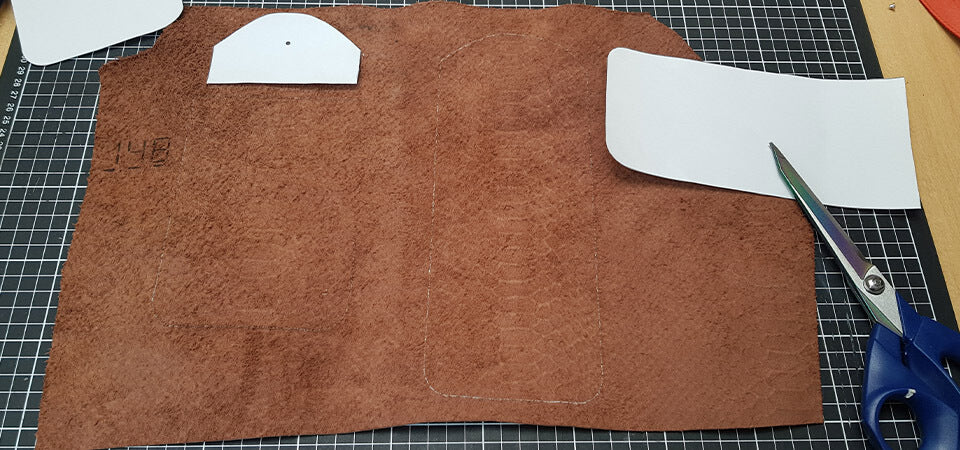
2. Prepare for stitching
Place piece n°2 on piece n°1 then attach them with sewing clips. Edge to edge, wrong sides together.
3. Glue the different pieces
Apply contact adhesive to the back (flesh side) of piece n°3 and to the top of piece n°1 to line the flap. Wait a few moments and laminate the pieces.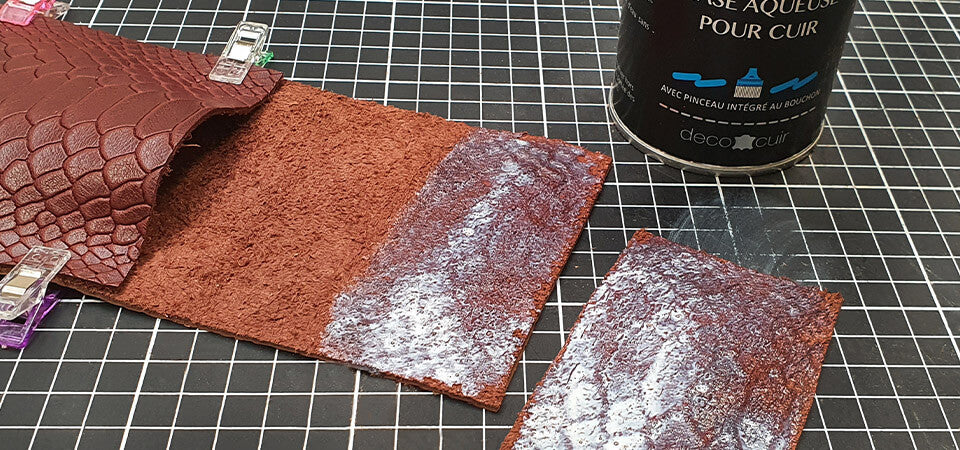
4. Cut the rounded edges
Neatly cut the rounded edges of the flap and the bottom of the leather pouch (with scissors or a cutter depending on the leather).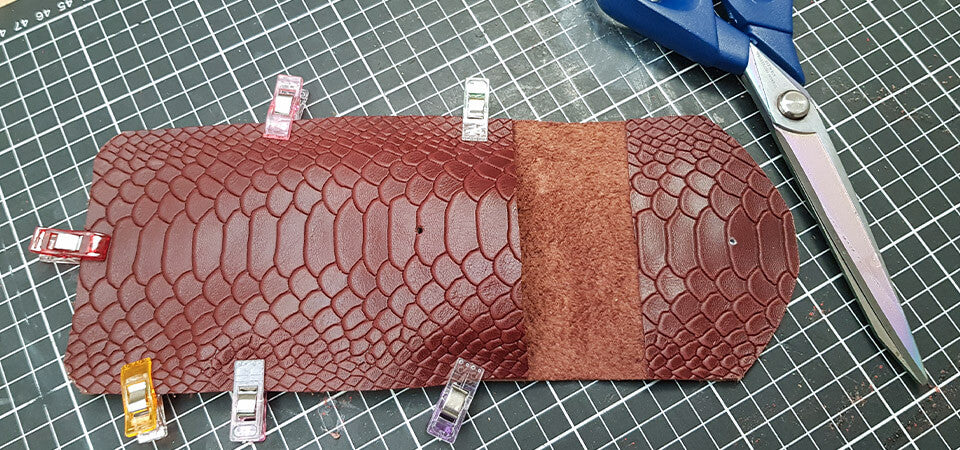
5. Stitch the pouch
Stitch all around the pouch (including the flap) with a sewing machine.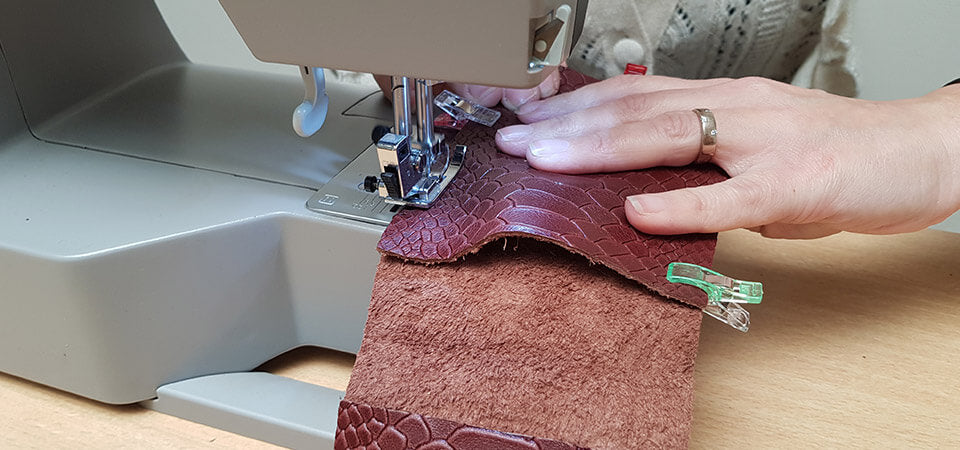
For simplified hand stitching, follow this guide:
VIEW GUIDE >
6. Finish the edges
Sand the edges of the pouch (always in the same direction) with an abrasive sponge.
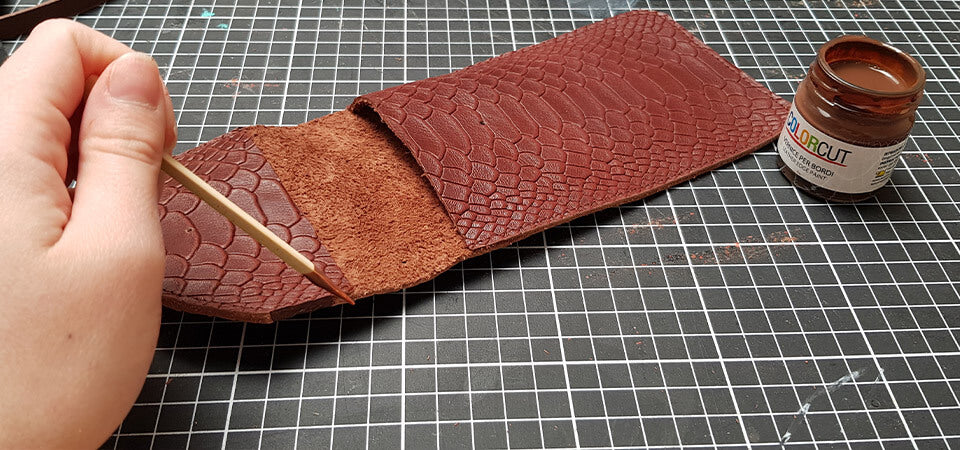
Apply dye to the edges of the case and the strap. Then sand with the abrasive sponge and apply a second coat. If necessary, apply a third coat.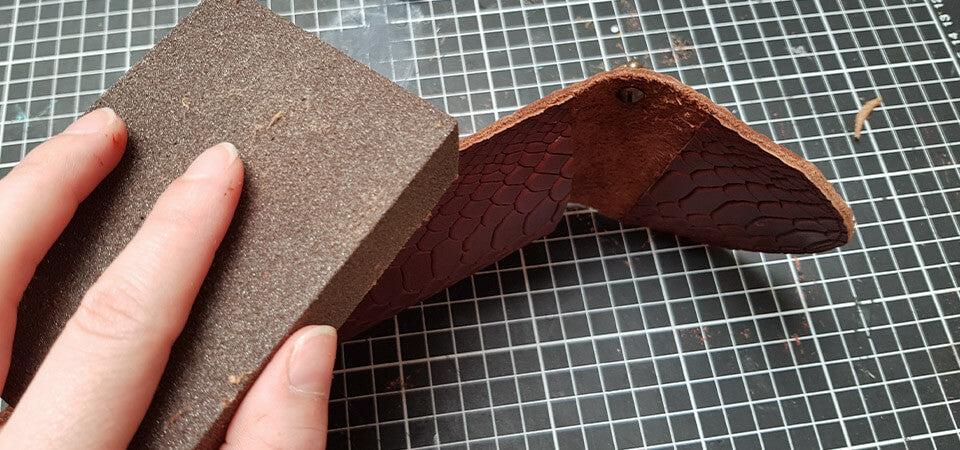
7. Attach the snap fastener
Attach the snap fastener to piece n°2 (post) and to the flap of the pouch (cap).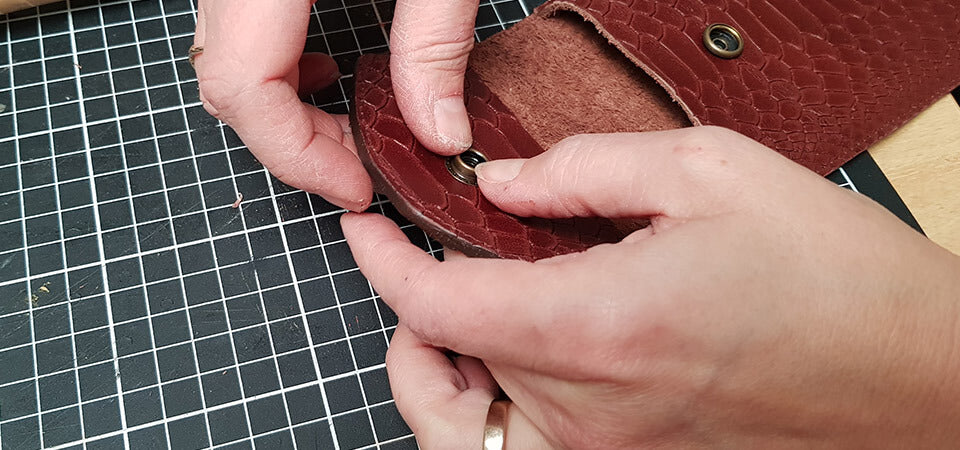
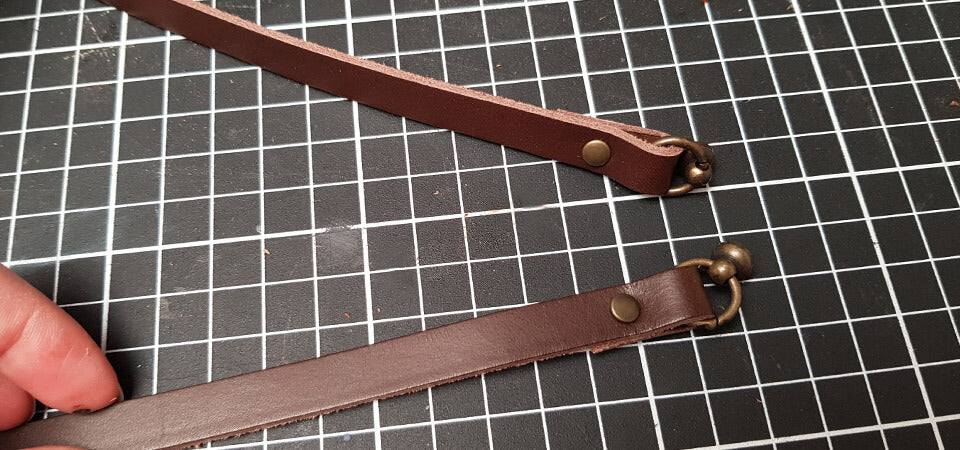
8. Make the strap
Insert the collar buttons with rings at both ends of the strap then close with T2 rivets.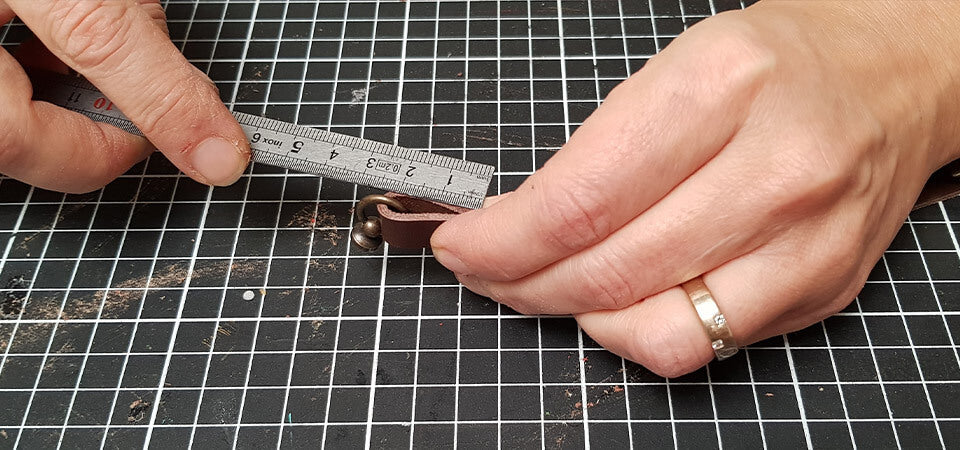
You can also choose to add a bag chain and a small leather strip (to protect the neck).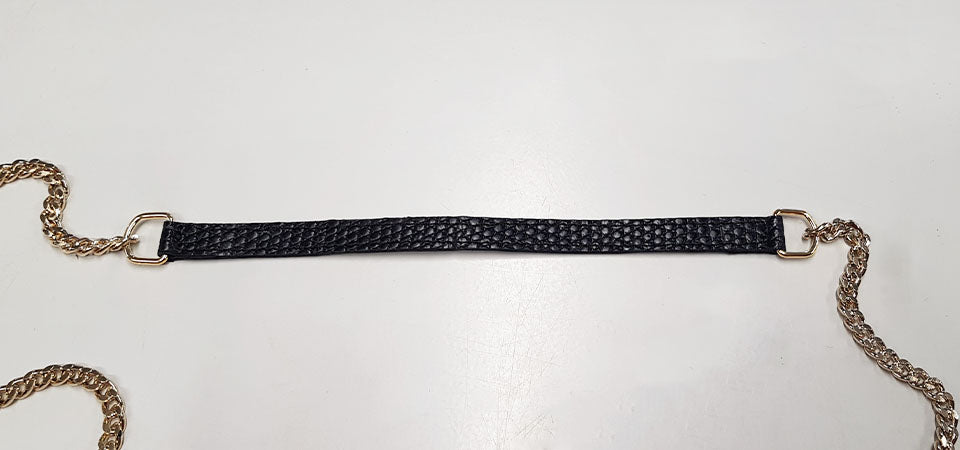
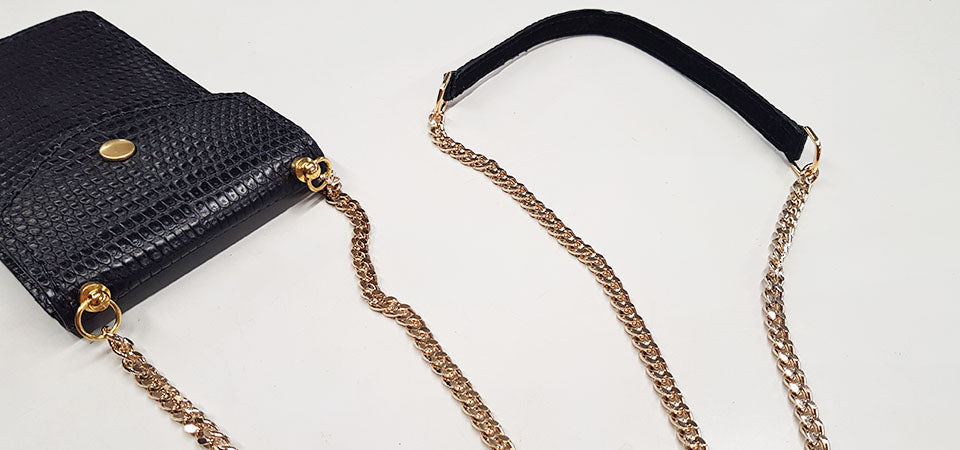
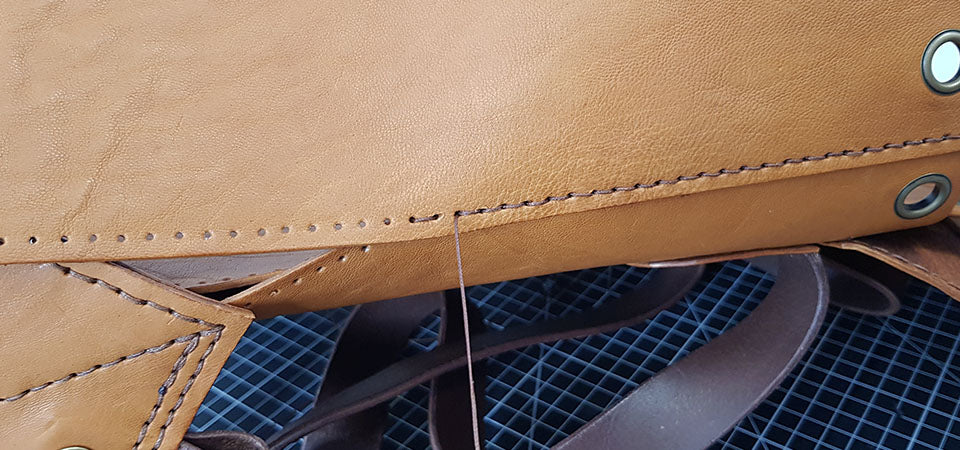
8. Screw on the strap
Using a screwdriver, screw the collar buttons onto the leather pouch.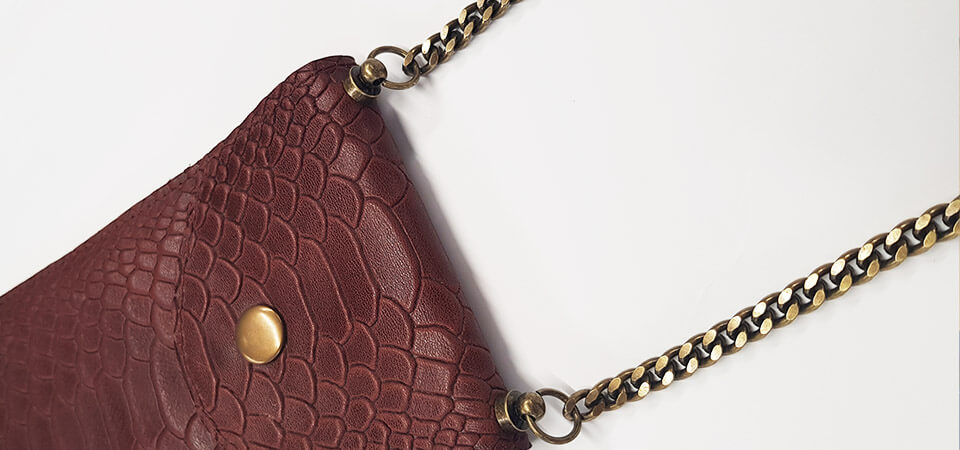
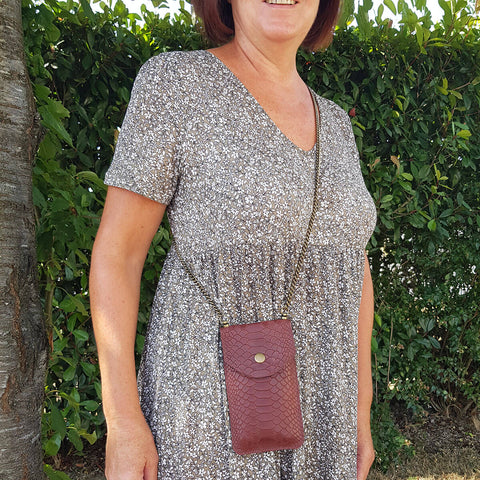
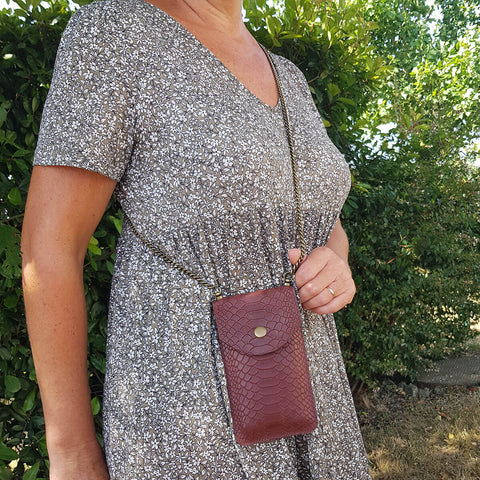
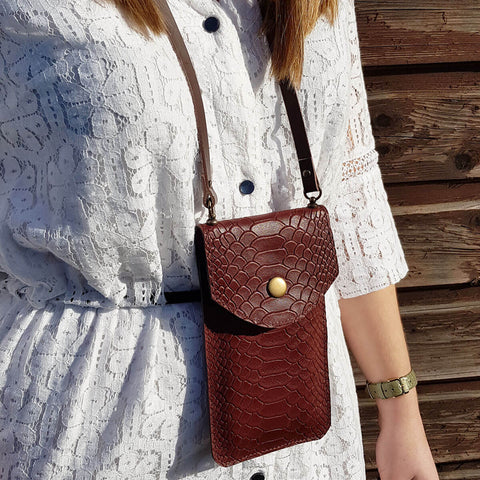
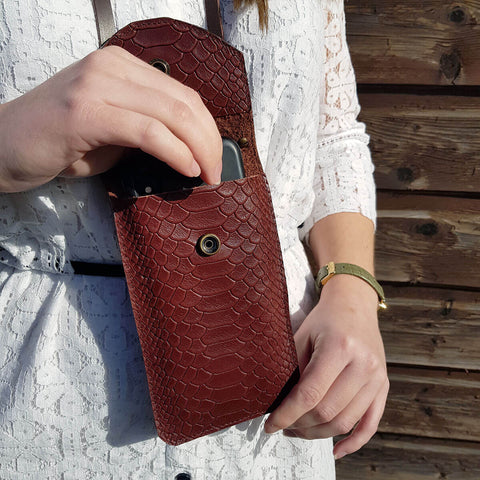
Your pouch is finished
Ready to go everywhere with you!
Bonus tip: sew a small pocket on the back of the pouch to store your credit card.
 |
 |
 |
 |
DON'T HESITATE TO PIN THE PHOTOS ON PINTEREST TO SHARE THE ARTICLE!
 |
 |


6 comments
Deco Cuir
Bonjour,
Ci-après le guide pour apprendre à gainer un bouton pression en cuir : https://www.decocuir.com/blogs/blog-tutoriel-patron-cuir/gainer-bouton-pression-cuir
Bonne journée
Justine
Cousseau katerine
Bonjour comment faire pour recouvrir les boutons pression avec du cuir? Le tuto d’etui à lunettes ne le précise pas, mais on voit sur les photos que certains modèles sont faits comme ça. Merci
Anonymous
Bonjour Mireille,
Merci pour votre commentaire sur notre blog. Les boutons de col avec anneau sont à visser avec un tournevis : il faut faire un trou de 3 mm de diamètre avec un emporte-pièce puis passer le pied de l’accessoire à travers et visser les 2 parties.
En ce qui concerne les rivets vous avez plusieurs outils de pose : pince, manche à frapper et presse : https://www.decocuir.com/collections/pince-poser-accessoires-rivet-oeillet-bouton-pression-cuir
Je vous conseille de consulter la vidéo suivante : https://youtu.be/WF1KNuuasec?si=x7ZhykPYAMYXL5GO
Bonne journée,
L’équipe Deco Cuir
MIREILLE BARBOT
Bonjour,
J’ai acheté dans votre magasin en septembre ce qu’il faut pour faire la pochette pour smartphone. Je l’ai confectionné, mais il n’y a pas d’explication pour fixer les boutons de cols et les rivets double calotte.
Je ne comprends pas le système.
Merci d’avance pour vos explications
Cordialement
Mireille Barbot
Anonymous
Bonjour Magalie,
Les attaches reliées au mousqueton sur notre pochette en cuir pour smartphone sont des boutons de col avec anneau, ils existent en plusieurs finitions :
https://www.decocuir.com/boutons-de-col-fermeture-bracelet-cuir-c102x1021010
Bonne journée,
L’équipe Deco Cuir
Anonymous
Bonjour, je suis curieuse et intéressée par les “boutons” d’attache fixés sur la pochette qui fixent la chaînette ??? les avez-vous, comment s’appellent-elles ? Merciii