


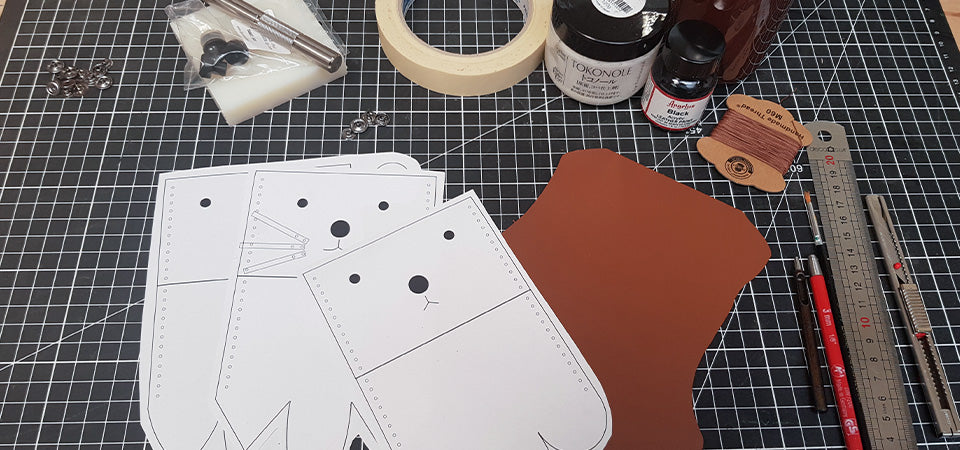
REQUIRED MATERIALS
To complete this tutorial, you will need:
- Leather scraps
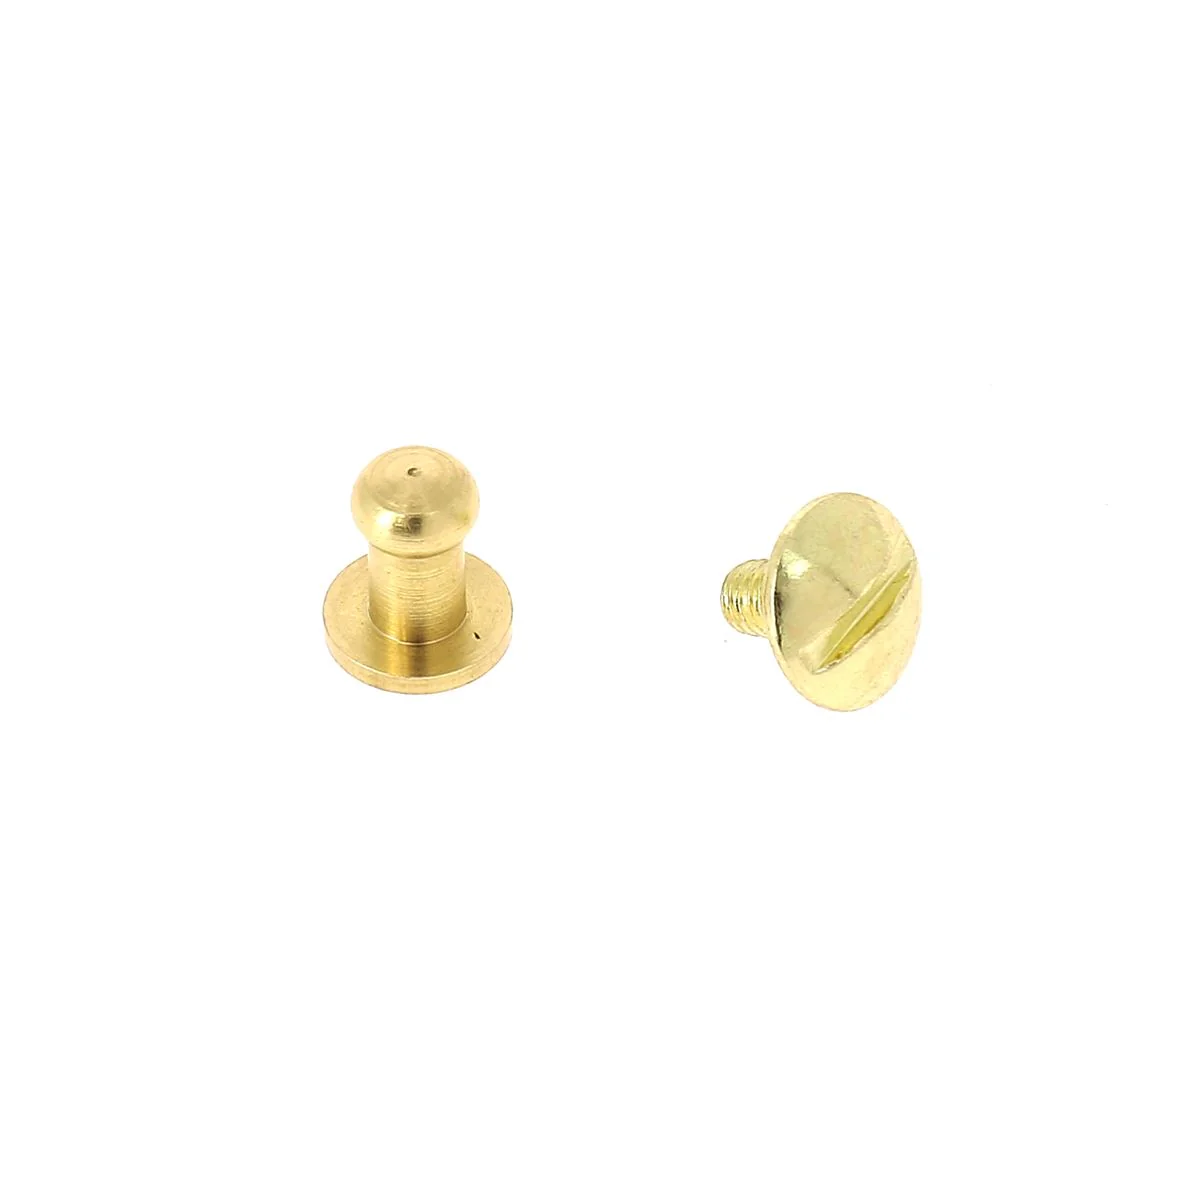
- 1 mini snap button Ø 10.5 mm and its setting tool OR a T3 collar button
- 1 spool of Meisi M60 thread Ø 0.65 mm
- 1 pot of Angelus leather paint
And the following tools:
- 1 round punch - Ø 1.5 mm
- 1 round punch - Ø 3 mm
- 1 mallet
- 1 cutter
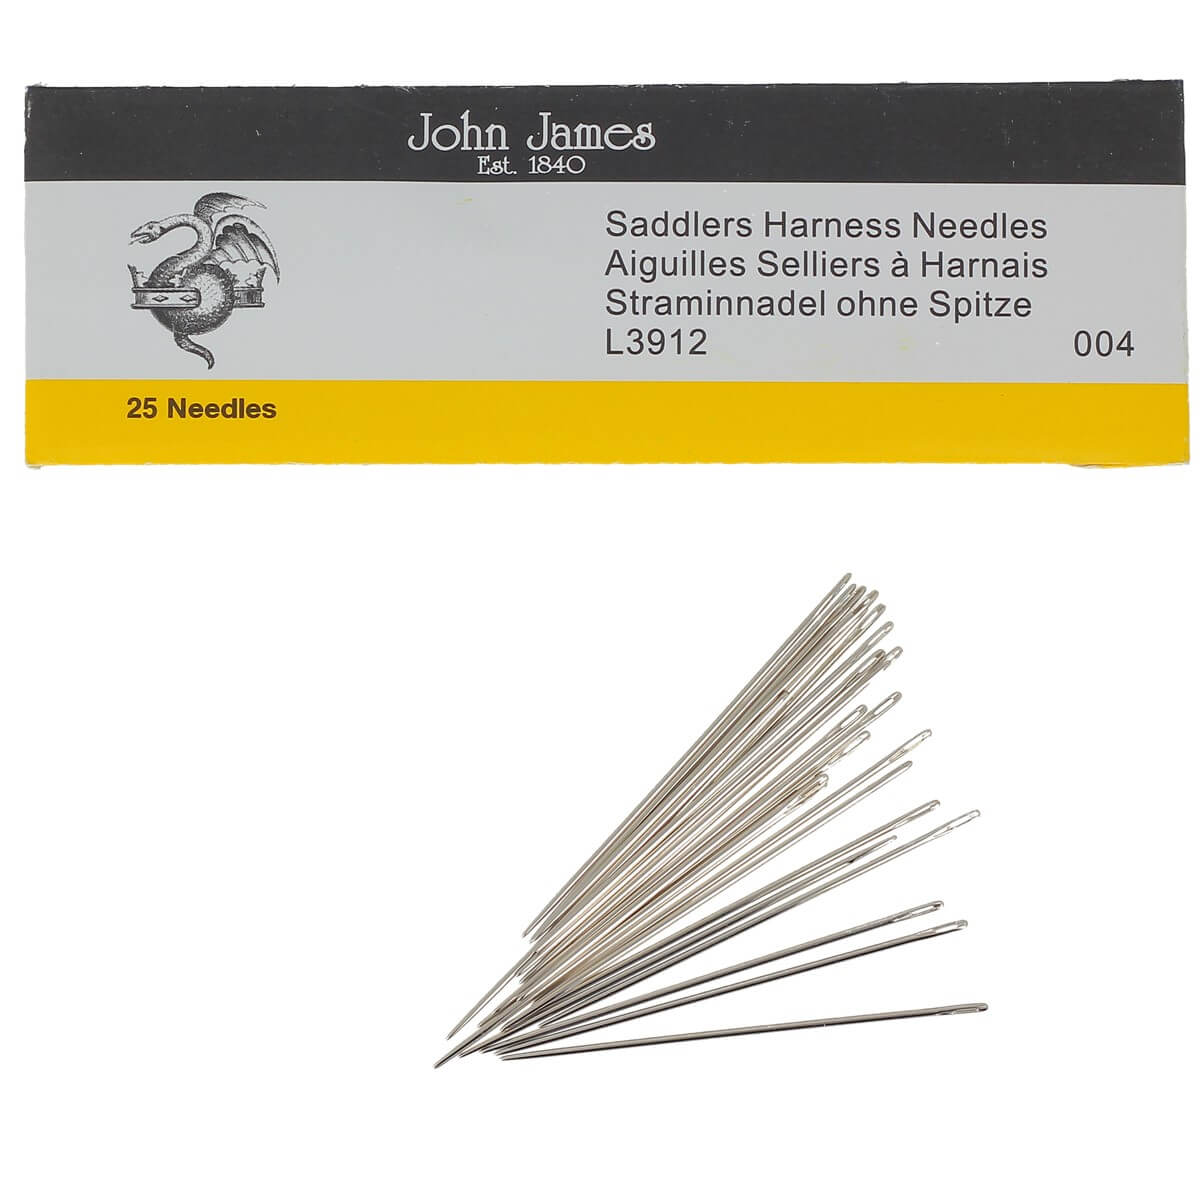
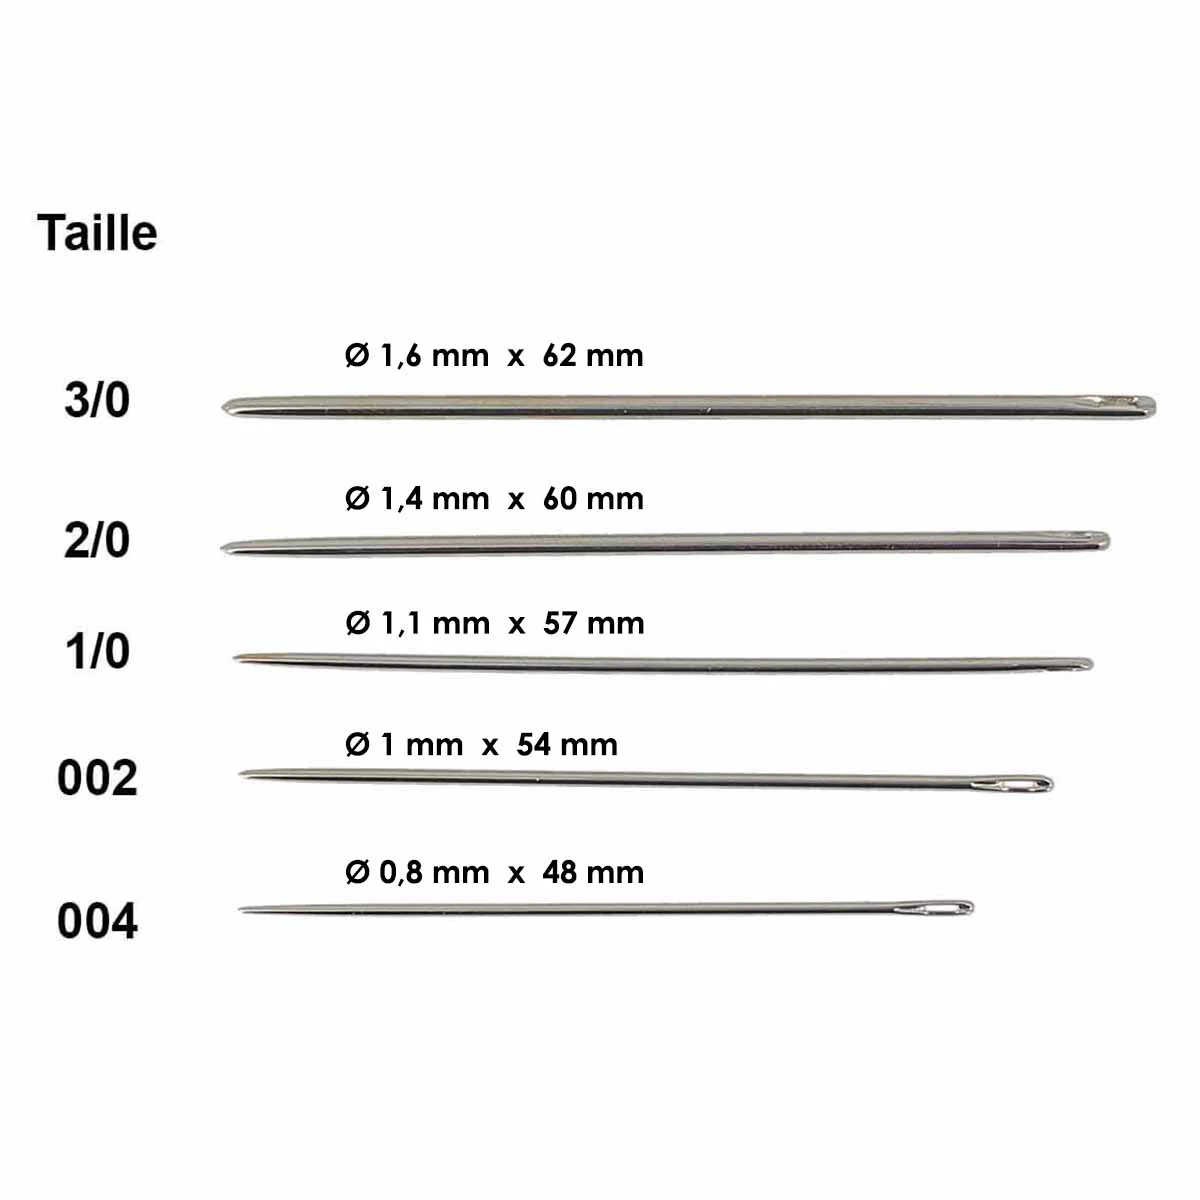
- 2 blunt needles
- 1 pot of neoprene contact glue
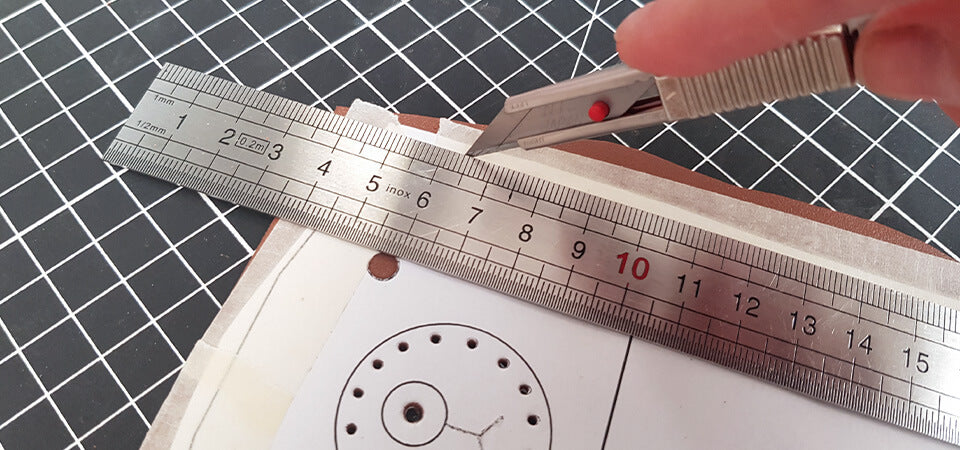
1. PRINT THE PATTERN
Download the pattern and print it to actual size. Cut out the paper pattern, leaving approximately 1 cm margin around the piece. Then, tape it to the leather scrap using masking tape (to avoid damaging the leather).
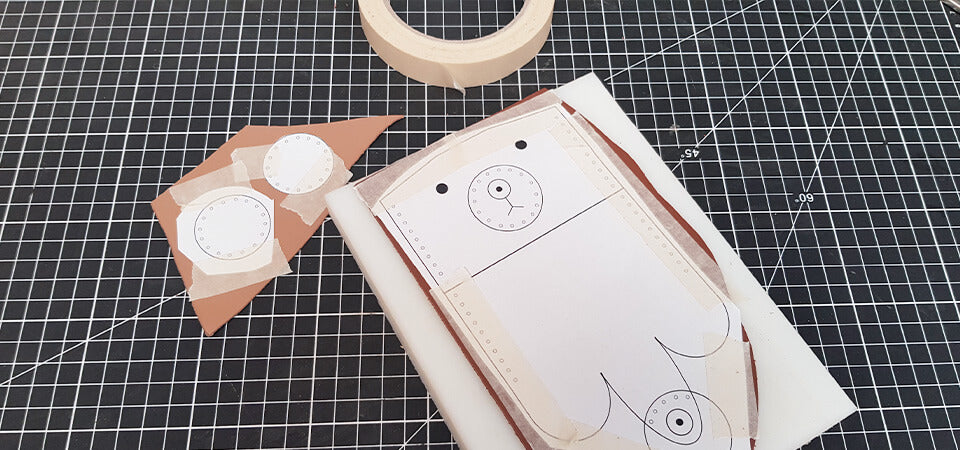
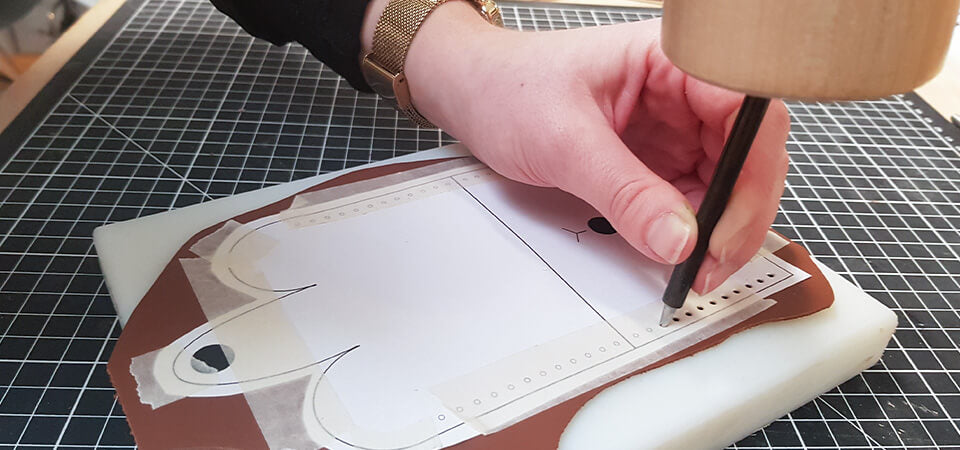
2. PUNCH THE STITCHING HOLES
Punch the stitching holes indicated on the pattern using a 1.5 mm diameter round punch.
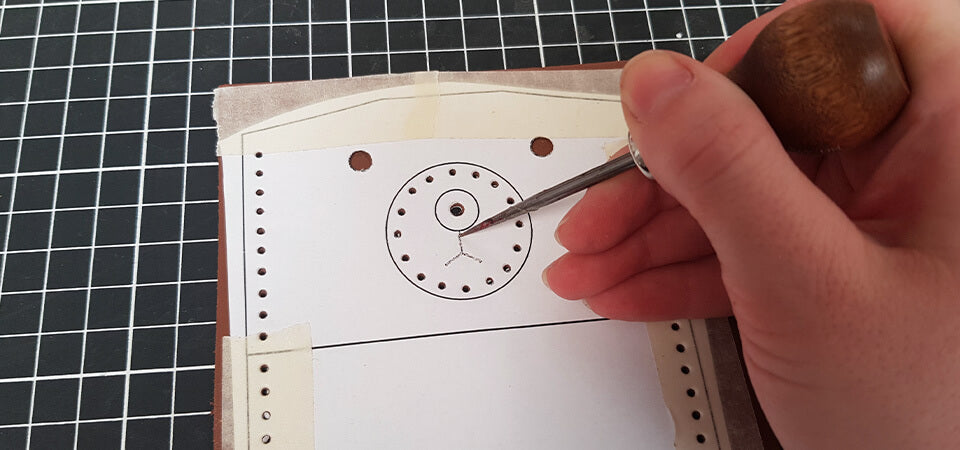
3. PUNCH THE OTHER HOLES
Punch the holes for the collar button or snap button using a 3 mm diameter round punch. For the collar button, remember to make a 3 mm incision at the button head.
If you have a punch about 20 mm in diameter, cut a circle from a leather scrap to make the dog's eye. If you have a 35 mm punch, you can also cut out the circle for the bear's nose and mouth.
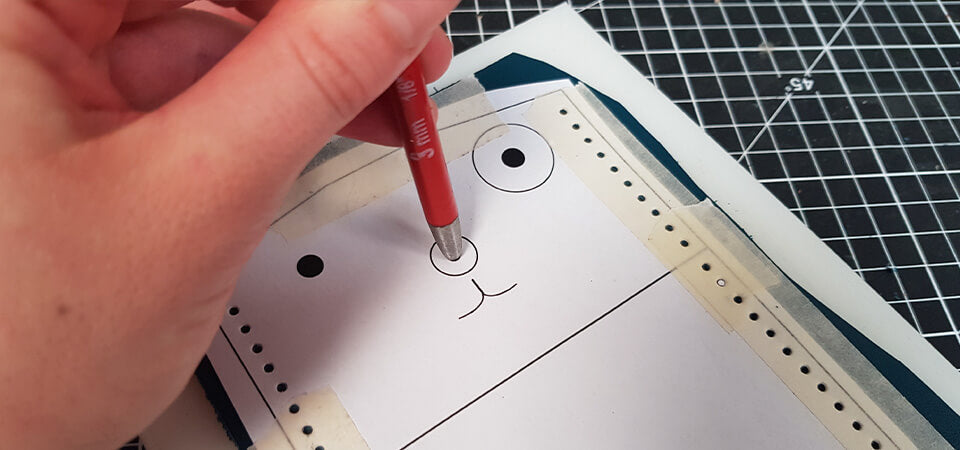
4. MARK THE FACE
Using an awl or a silver pen, mark the leather where the animals' eyes and mouths will be to facilitate the painting step later (step 7).
5. CUT THE LEATHER
Following the lines, cut out the different pieces with a cutter.
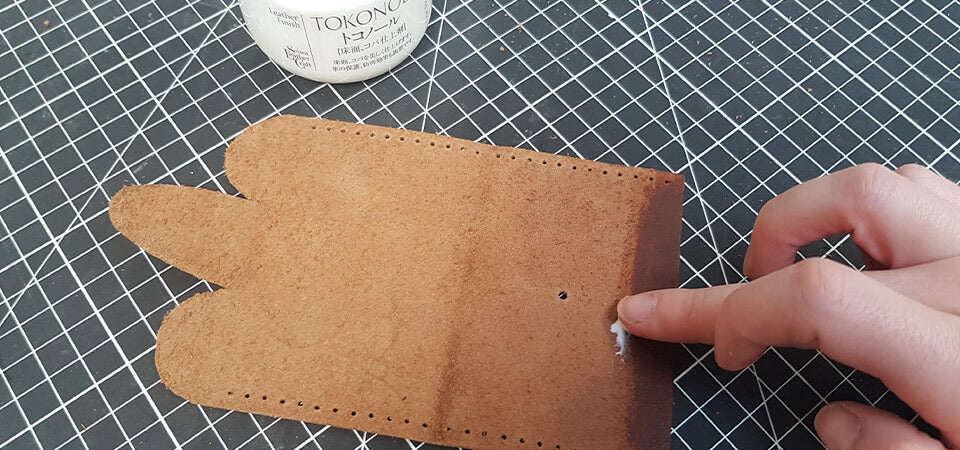
6. OPTION: SMOOTH THE BACK OF THE LEATHER
Apply Tokonole (finishing gum) to the flesh side of the leather (the back) to smooth it and achieve a nice finish on the ears.
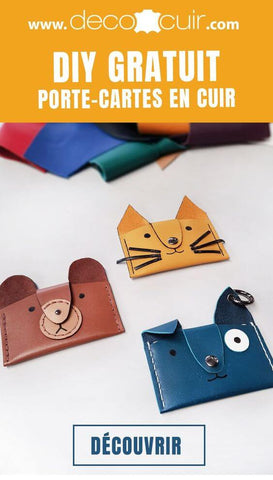
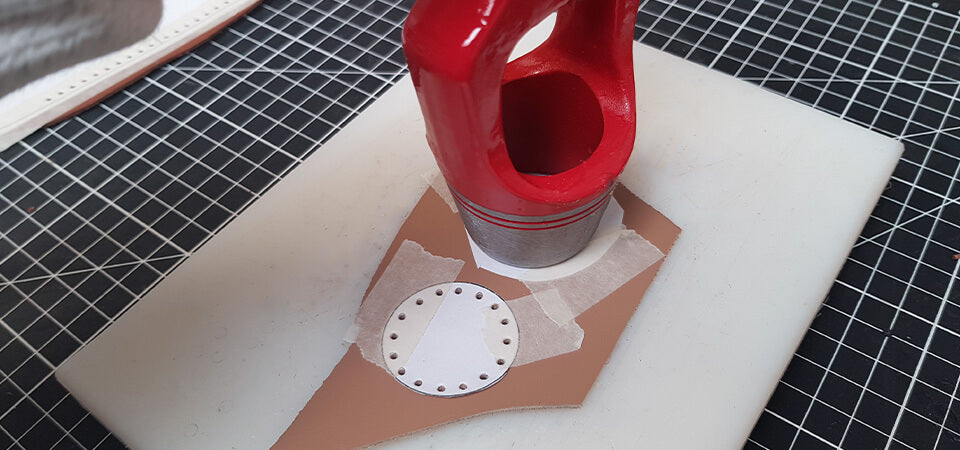
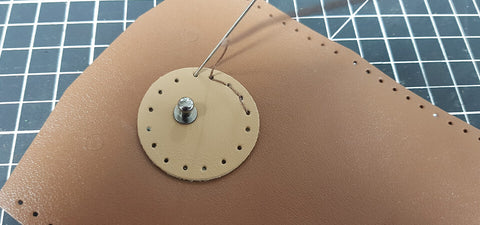
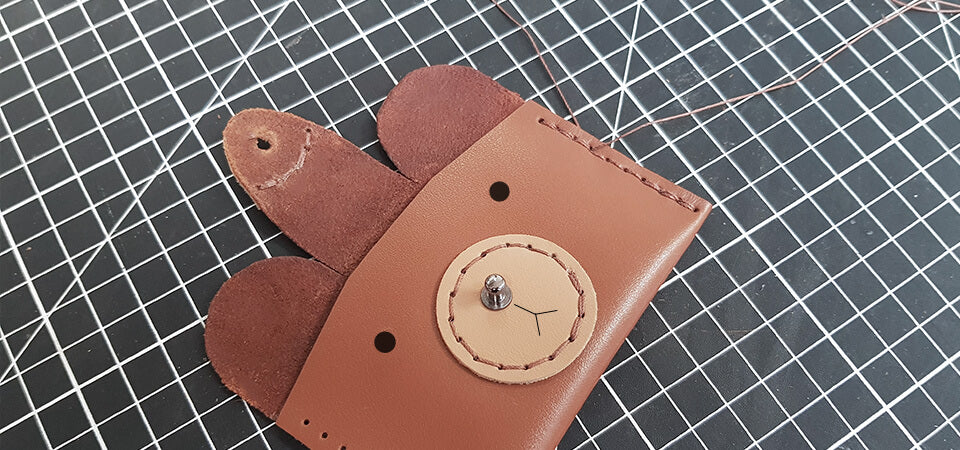
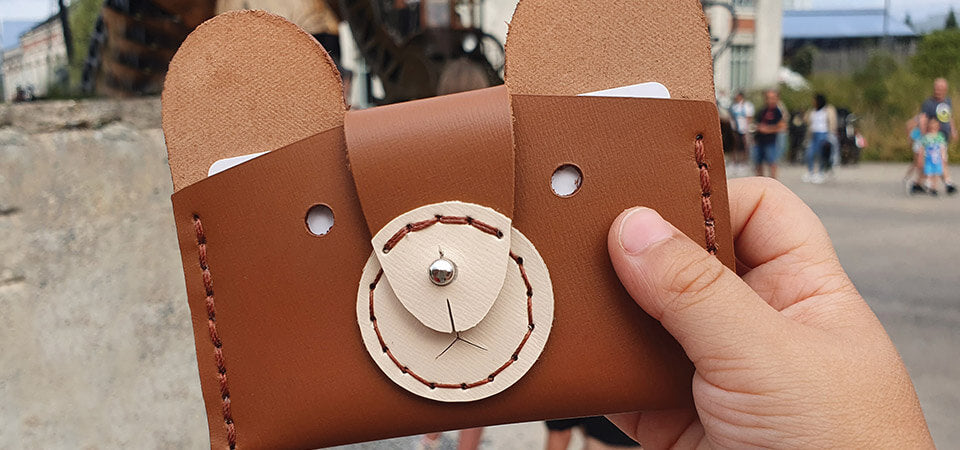
7. FORM THE ANIMALS' FACES
Before sewing the card holder, form the animals' faces.
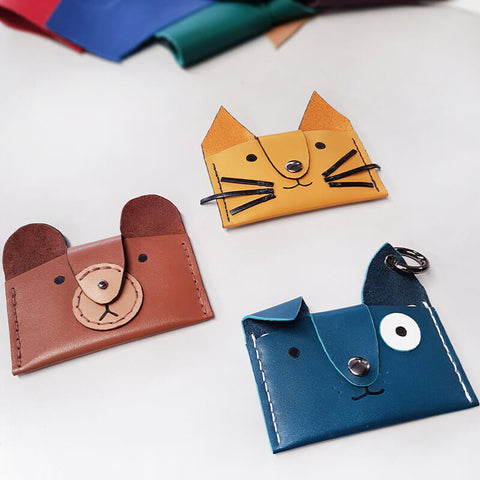
For the bear: glue and sew the 35 mm circle.
For the dog: glue the 20 mm circle at the eye and punch small holes to create the whiskers.
For the cat: sew lace scraps to create the cat's whiskers.
For the added pieces, remember to finish their edges before gluing/sewing them onto the card holder.
 |
 |
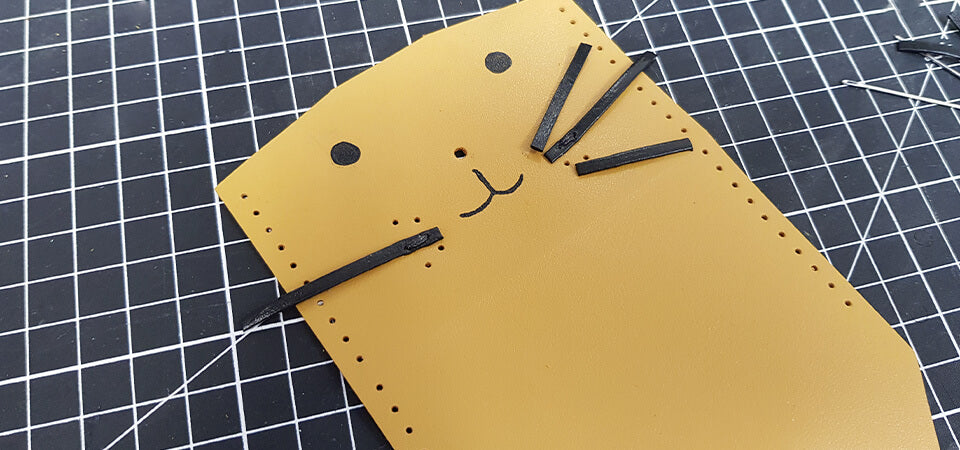
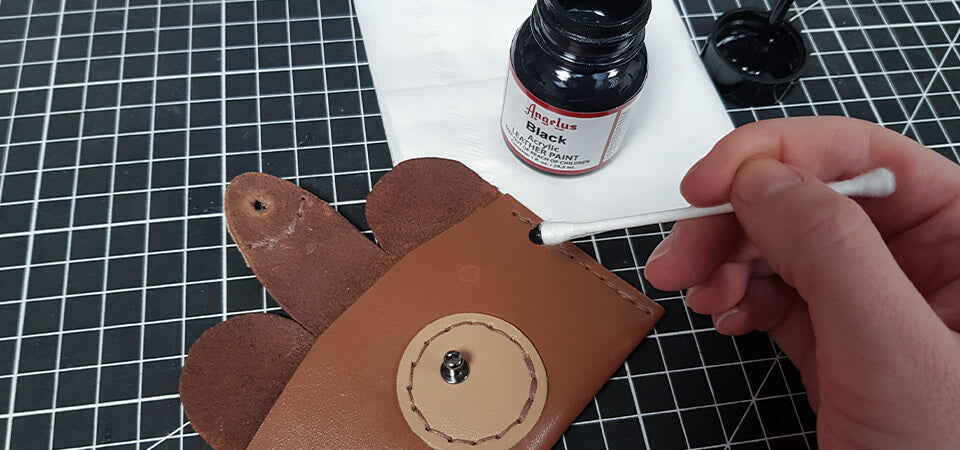
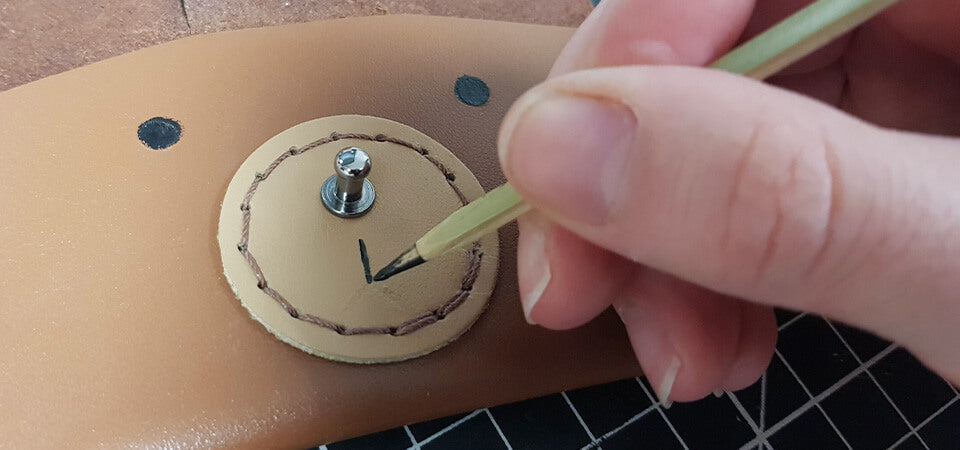
8. PAINT THE MOUTH AND EYES
Using black Angelus leather paint, draw the animals' eyes and mouths. For the eyes, we recommend using a cotton swab to make a clean circle. For the mouth, we used a toothpick for more precision.
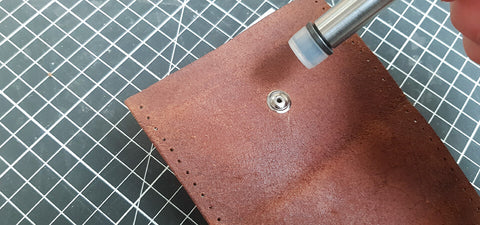
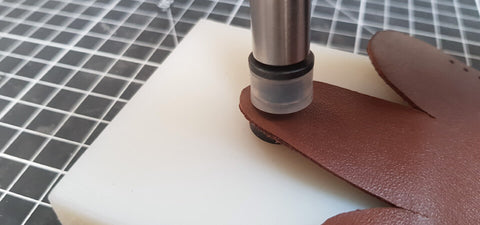
9. ATTACH THE CLASP
For the card holder closure, attach a collar button or a snap button.
 |
 |
10. SEW THE CARD HOLDER
Cut a thread 5 times longer than the length to be sewn. Then, wax the linen thread with beeswax. Thread a needle onto each end of the thread.
To begin sewing: pass the thread through the 1st hole and even out the threads. Sew by passing each needle through each hole one by one. Finish the seam with 3 double stitches (backstitches) and cut the threads flush.
To learn more about "simplified" leather sewing, consult our guide:
SEE THE GUIDE >
11. FINISH THE EDGES
Finish the edges of the card holder with an edge finish.
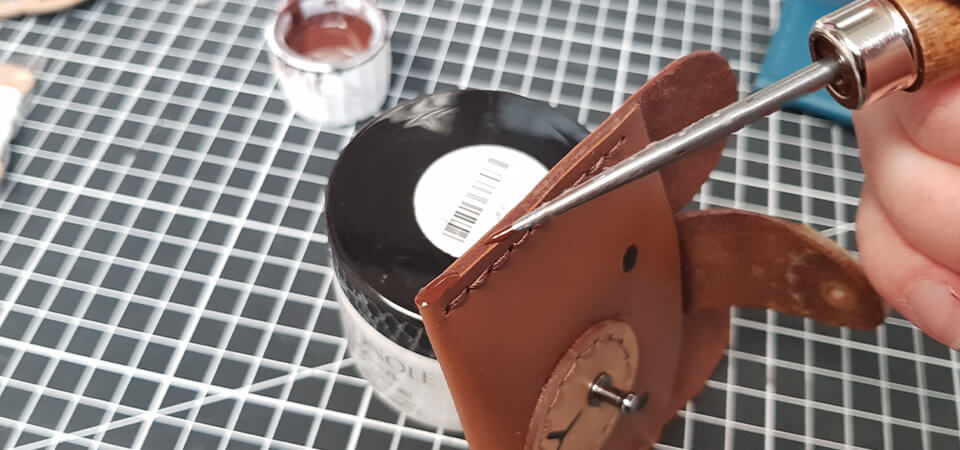
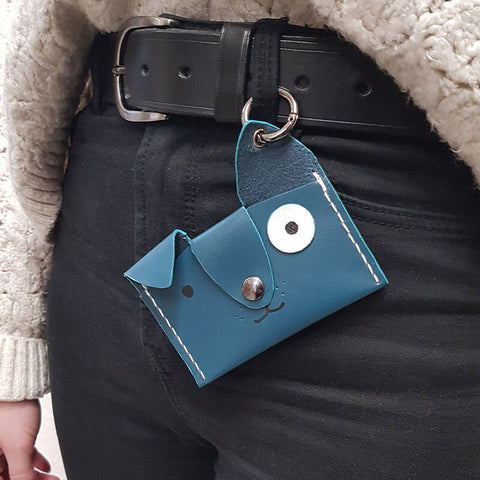
You have finished your card holder!
 |
 |
DON'T HESITATE TO PIN THE PHOTOS ON PINTEREST TO SHARE THE ARTICLE!