


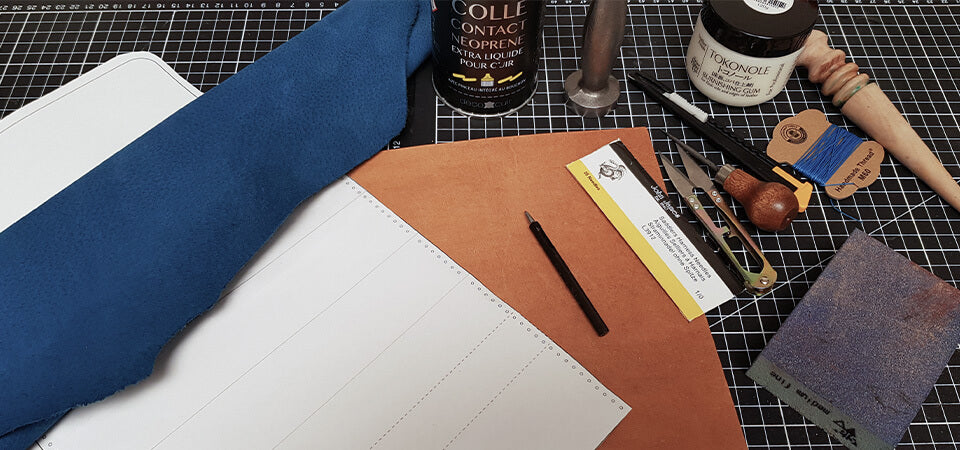
The necessary equipment
To make this handbag tutorial, you will need:
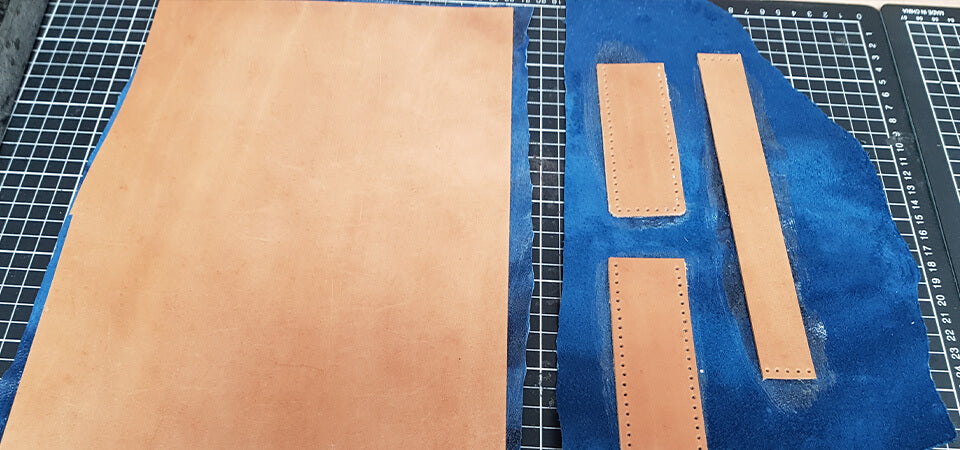
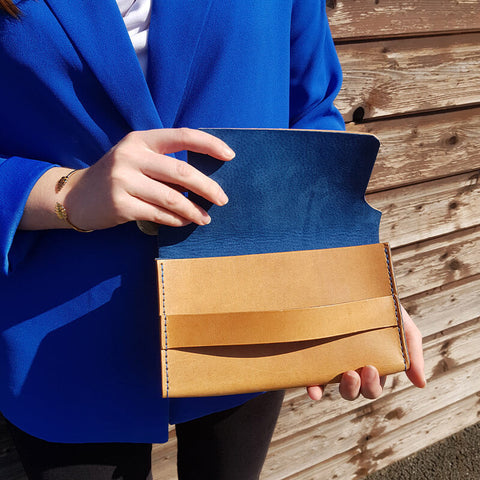
- 1 piece of CLASSIC natural vegetable tanned collar leather - Thickness 1.6mm - 30 x 40 cm
- 1 VELVET suede pigskin split leather - DUCK BLUE - 0.25 m² minimum
- 1 box of 8m of MeiSi super fine waxed linen thread M60 - 0.65 mm - BLUE - MS021
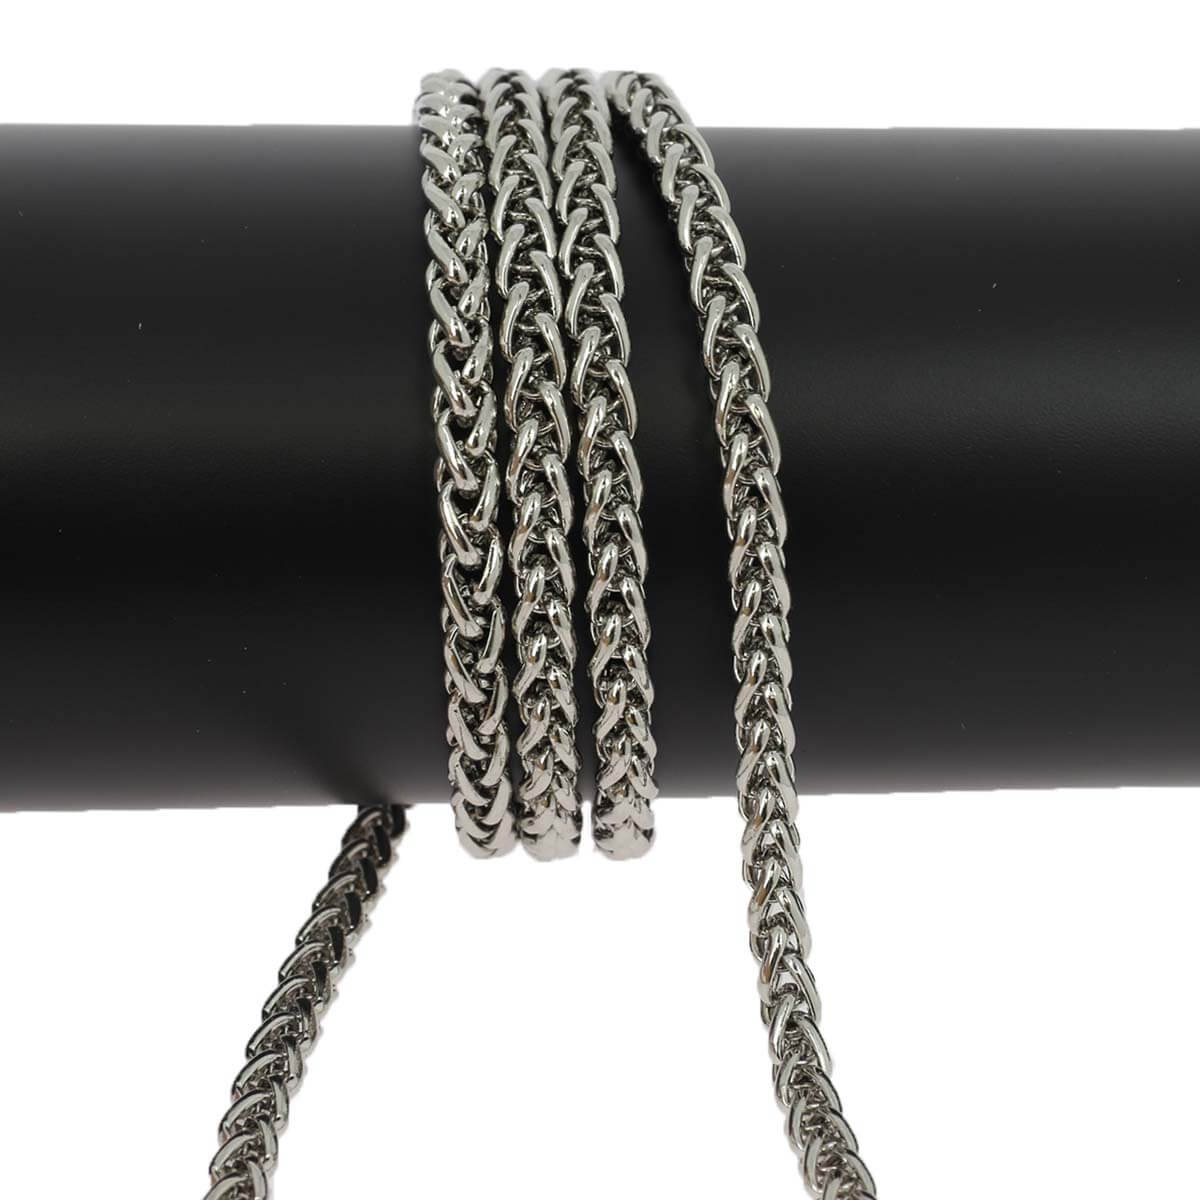
- 120 cm bag chain by the meter - Venice
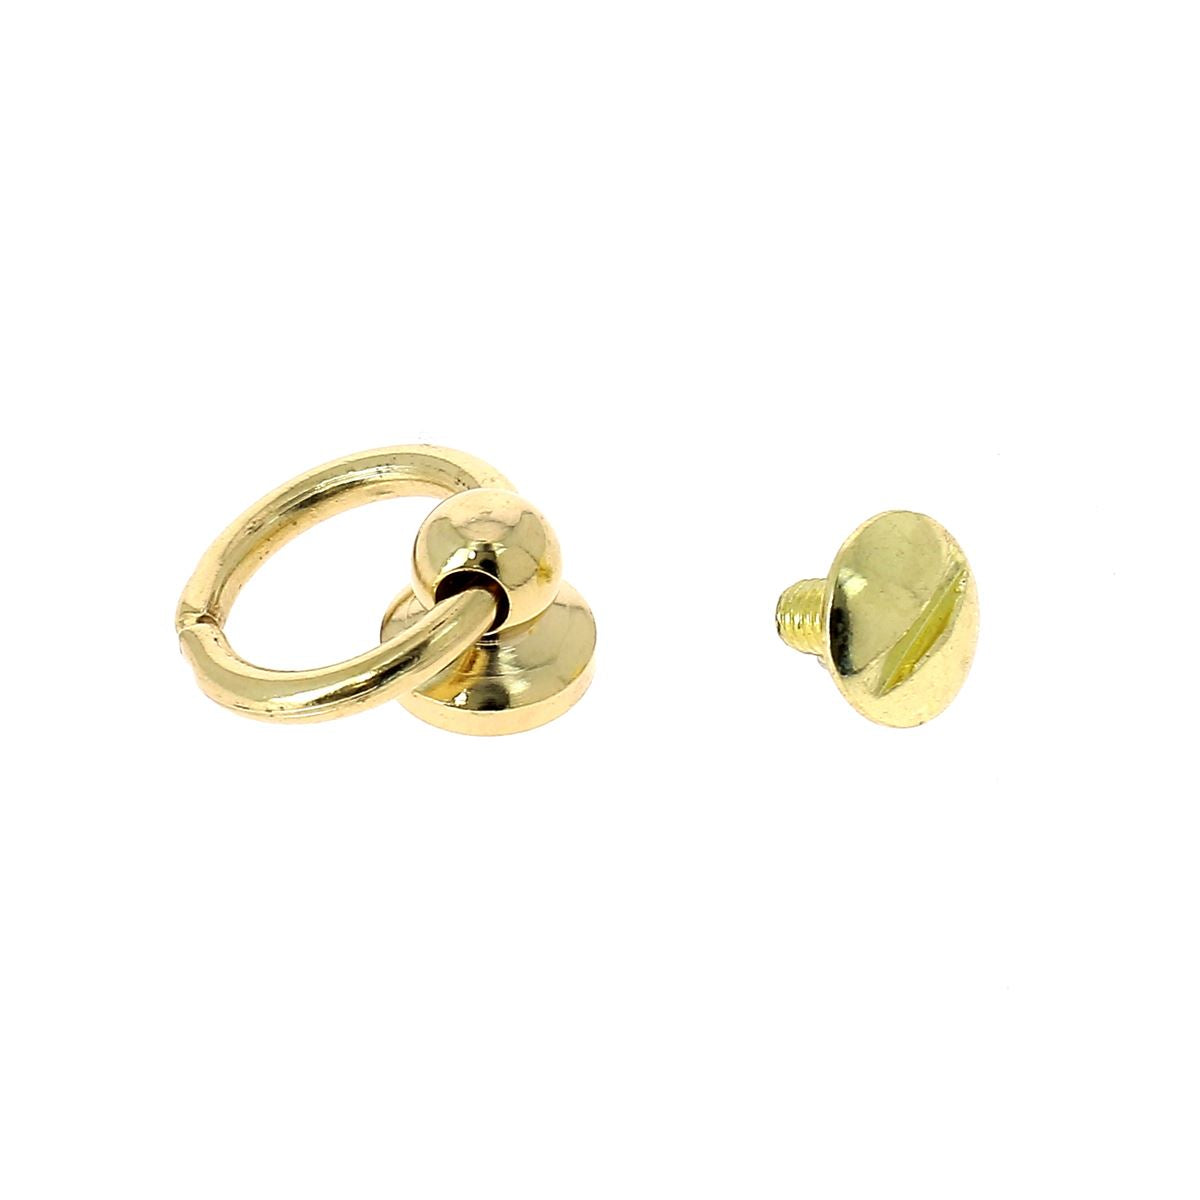
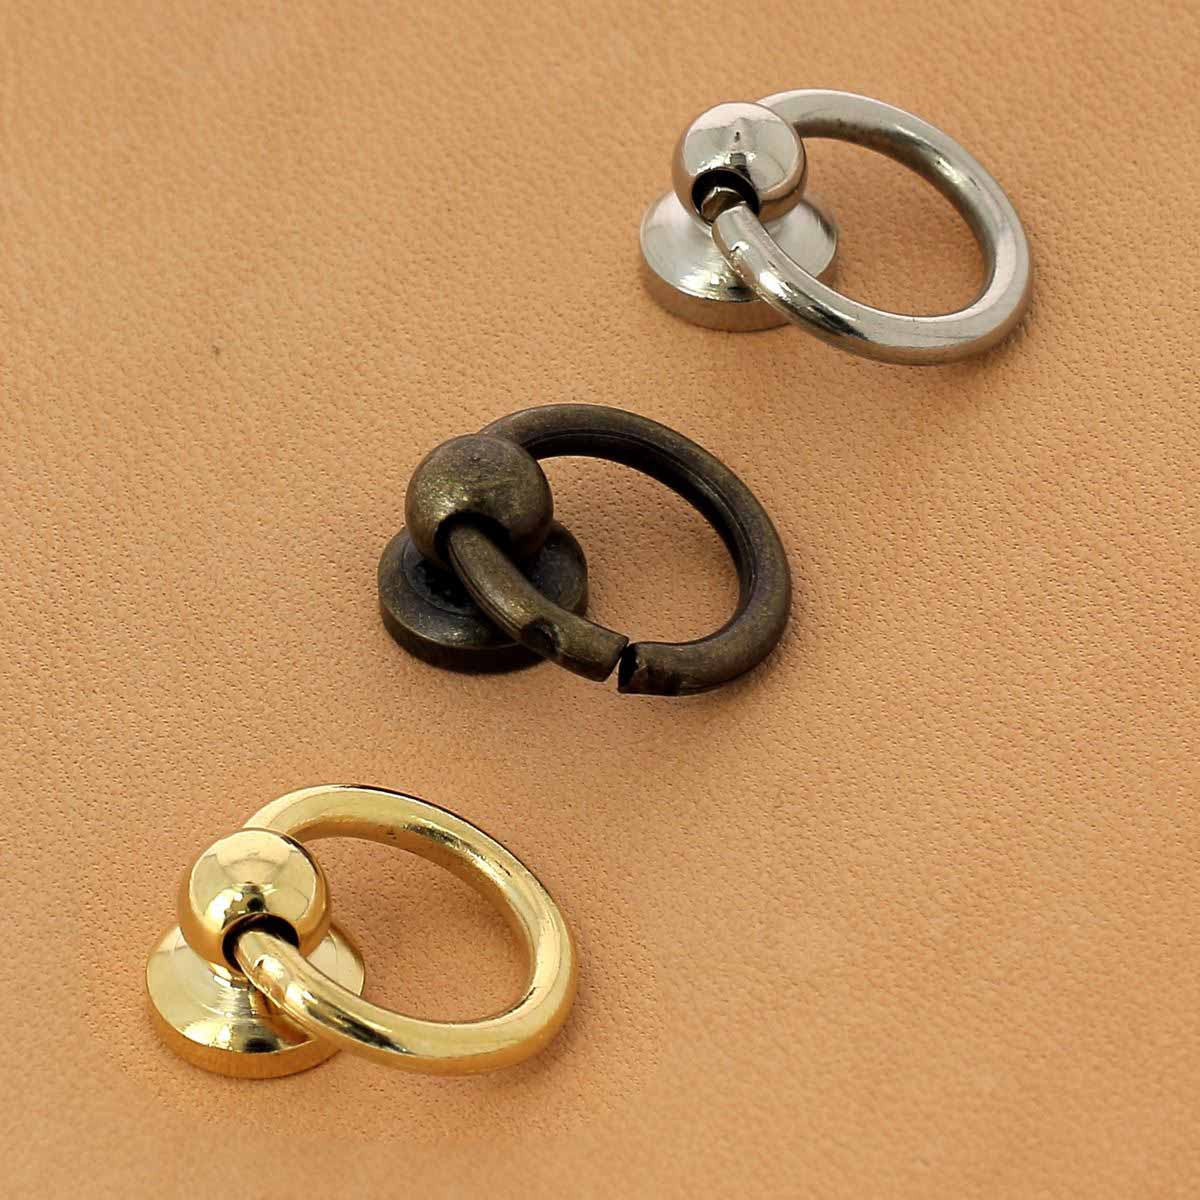
- 2 collar buttons with ring - For 8mm strap - NICKEL-PLATED
- 1 leather finishing eraser - Tokonole - 120g
- 1 jar of 250 ml of neoprene glue, LIQUID with brush integrated into the cap
- Olive oil or neatsfoot oil
And the following material:
- 1 punching cutter - Ø 1.5 mm
- 1 mallet
- 1 cutter
- 2 round-tipped needles size 1/0
- 1 abrasive sponge
1. TINTING THE LEATHER
Using a wide brush, dye the natural vegetable tanned leather with olive oil or neatsfoot oil . Apply at least 2 coats to the grain of the leather, trying to apply the same amount of oil everywhere and always going in the same direction. Let the oil soak into the leather for at least a day, if possible in front of a window. To lock in the color (prevent the leather from darkening further): apply tokonole to the grain of the leather and buff with a soft cloth. 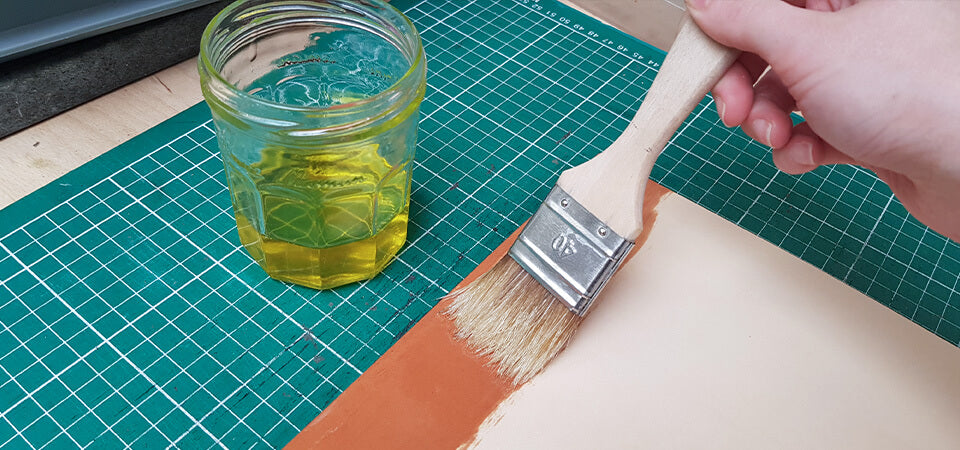
2. GLUE THE LINING
Before cutting the leather, glue the pigskin to the crust side of the vegetable-tanned leather. Apply contact cement to the back of both pieces of leather, then glue the vegetable-tanned leather and the suede pigskin together. Make sure to flatten and smooth the bond with a jointer's hammer or steel roller. 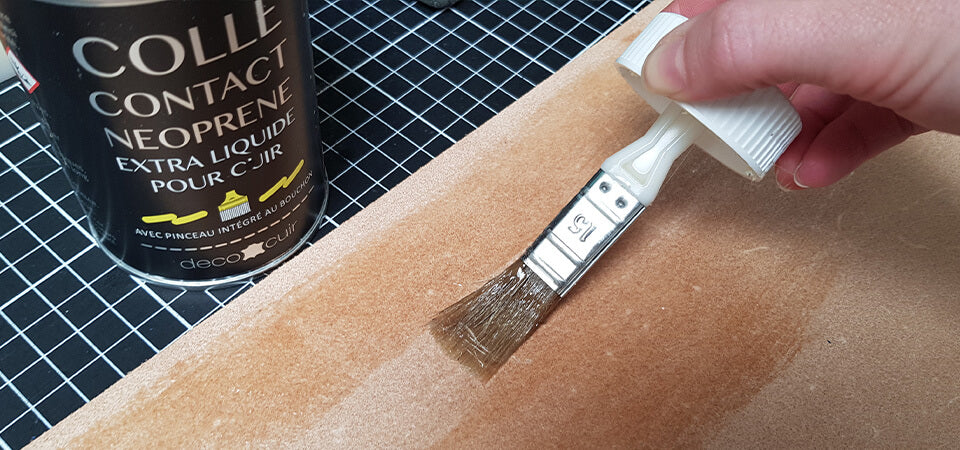
3. PRINT THE PATTERN
Download the pattern and print it in actual size. Cut out the paper pattern, leaving about 1 cm of margin around the pieces. Then, using masking tape (to avoid damaging the leather), tape the pattern to the piece of leather that has already been doubled. 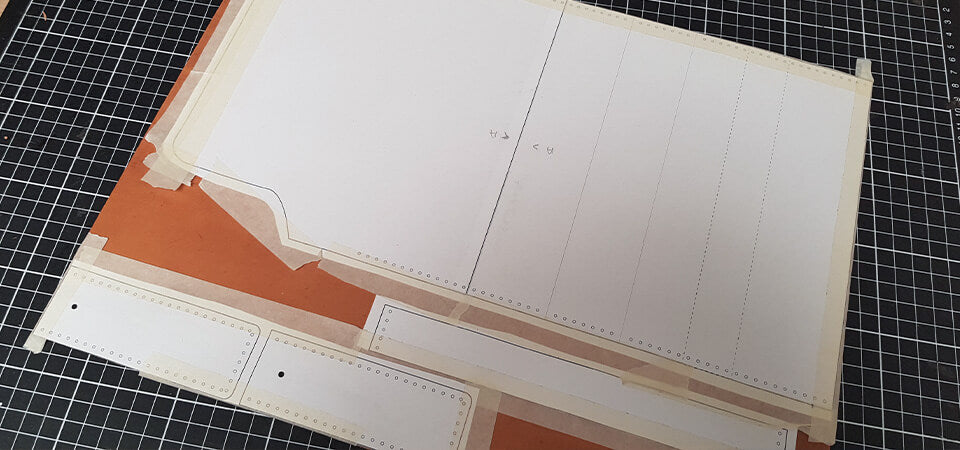
4. CUT OUT THE PATTERN
Punch the sewing holes indicated on the pattern using a 1.5 mm diameter round punch.
If saddle stitching: score the stitches after cutting out the pieces. 
Following the lines, cut out the different pieces with a cutter. 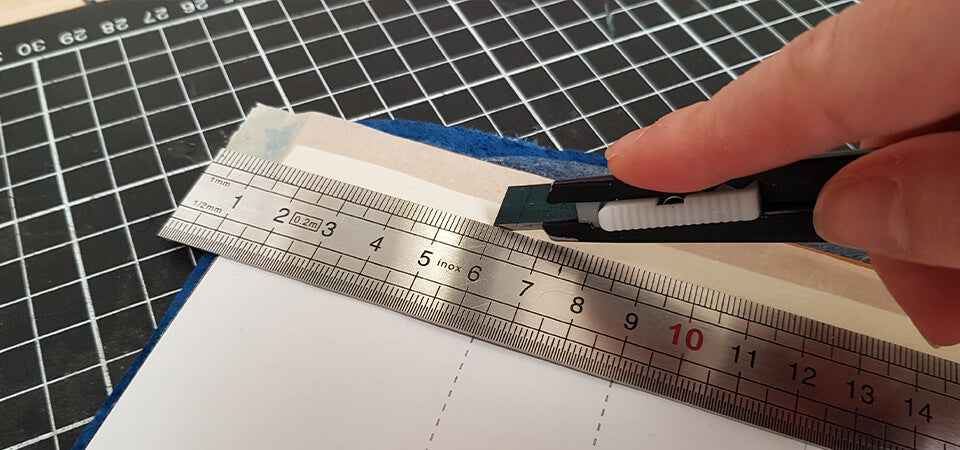
5. WORK THE SLICES
Work the slices with tragacanth or tokonole. Apply the product to the slice and let it soak in, then rub briskly with a cloth. The slice will brown and shine. 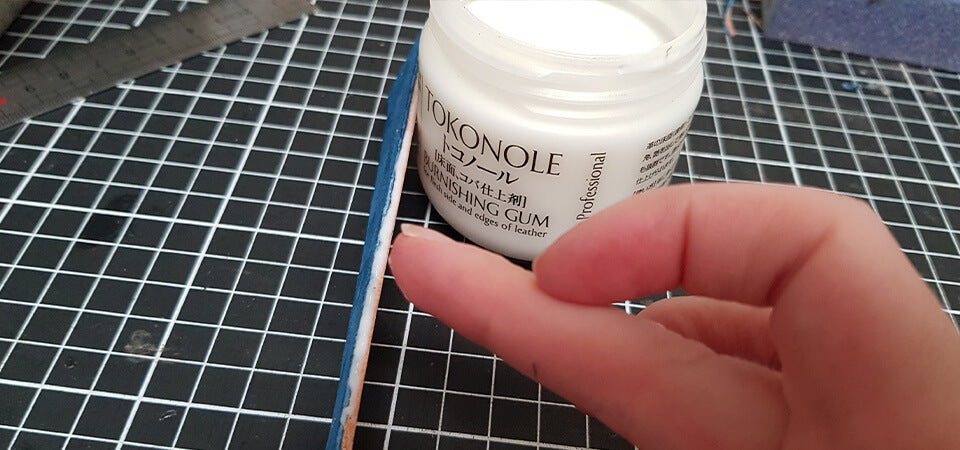
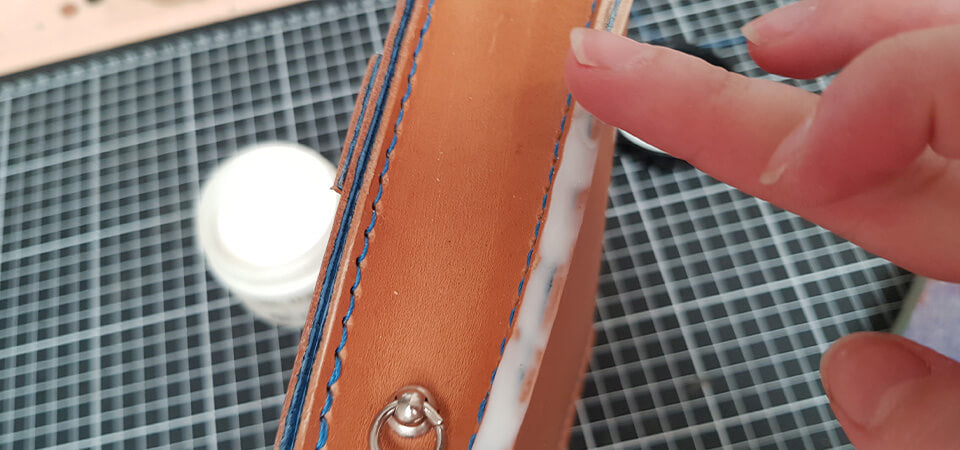
6. ATTACH THE COLLAR BUTTONS
Pierce the leather and screw the collar studs with rings onto the sides. You will have the option of attaching a bag chain to them (see step 11). 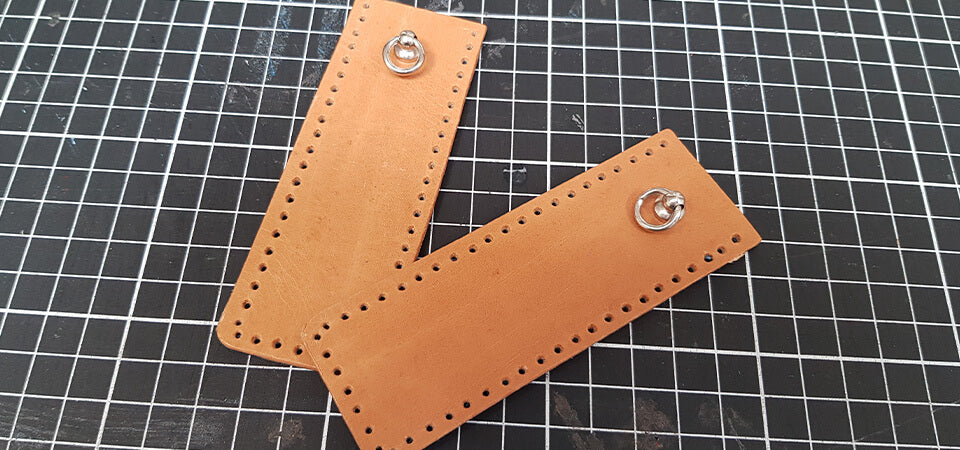
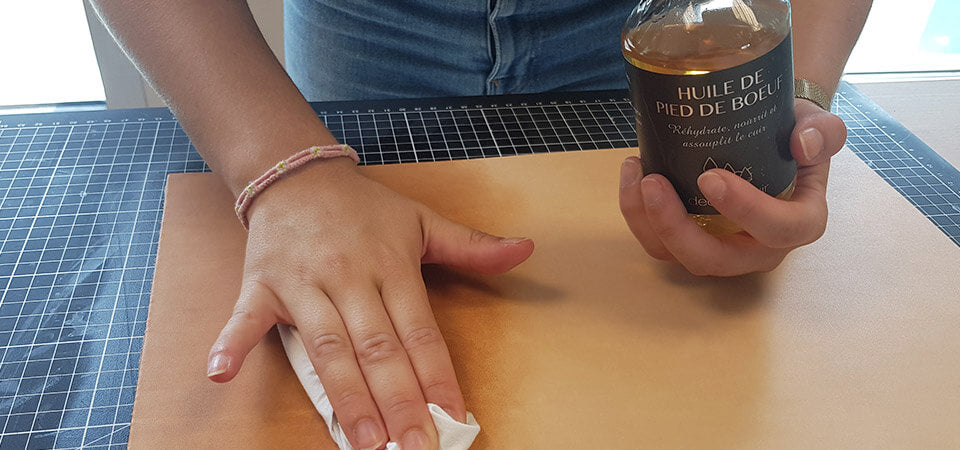
7. NOURISH THE LEATHER
Before sewing, nourish the leather with grease. 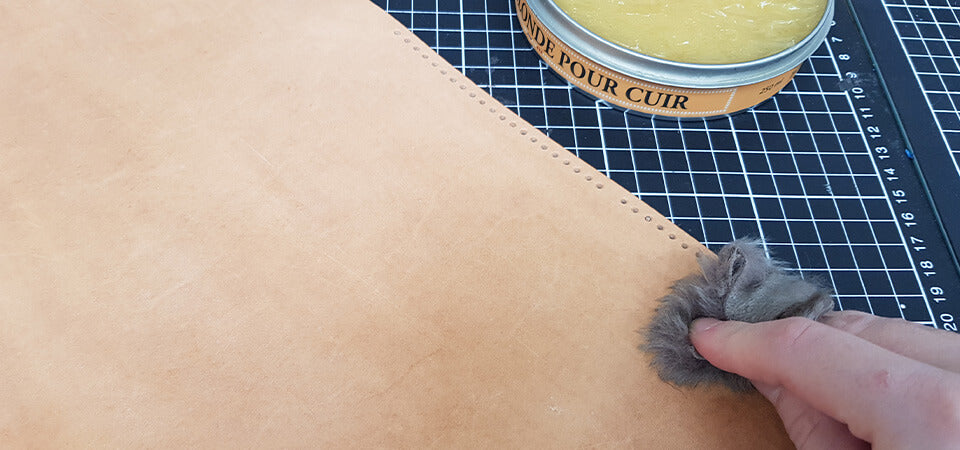
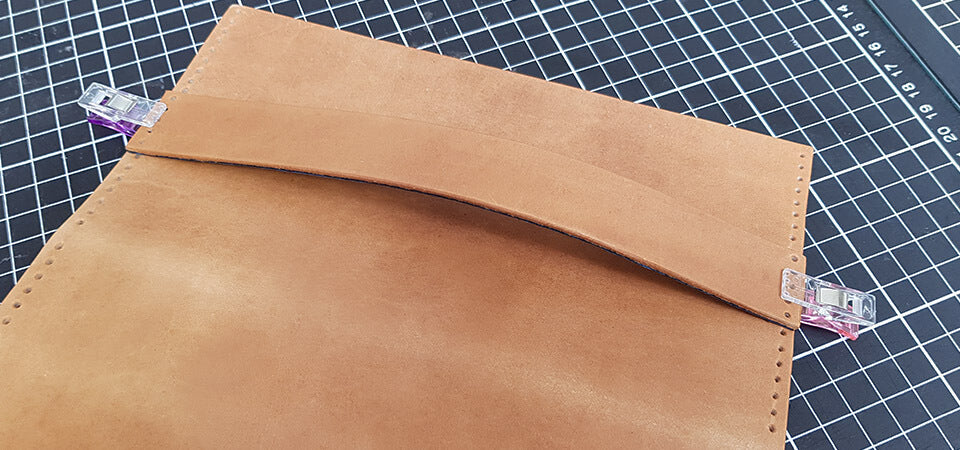
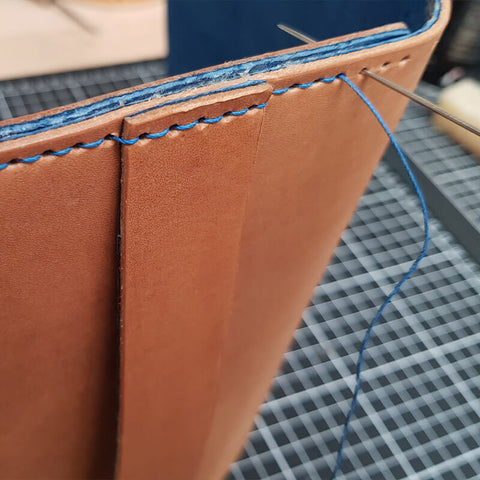
8. SEW THE POUCH
Glue the tab and sides to the main piece then start sewing.
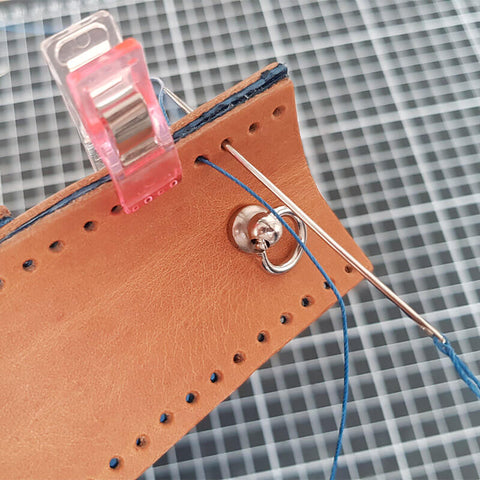
Sewing the pouch : Cut a thread 5 times longer than the length to be sewn. Then, wax the linen thread with beeswax.
Thread a needle through each end of the thread.
To begin sewing : thread the first hole and even out the threads. Sew, passing each needle through each hole one at a time. Finish sewing with 3 double stitches (lock stitches) and trim the threads flush.
To learn more about “simplified” leather sewing, check out our guide.
SEE THE GUIDE TO SIMPLIFIED SEWING >
 |
 |
To sew the sides and to obtain perfect angles, it is necessary to make a missing stitch (see the pink stitches on the pattern, the main piece P4 has an additional stitch). 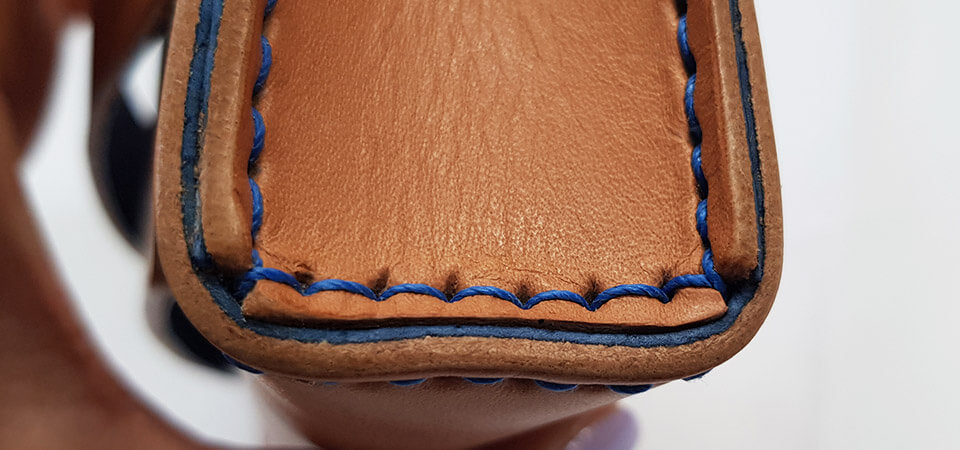
9. WORK THE SLICES
Work the sewn edges a second time by sanding with an abrasive sponge. Reapply tokonole then rub briskly with a cloth. 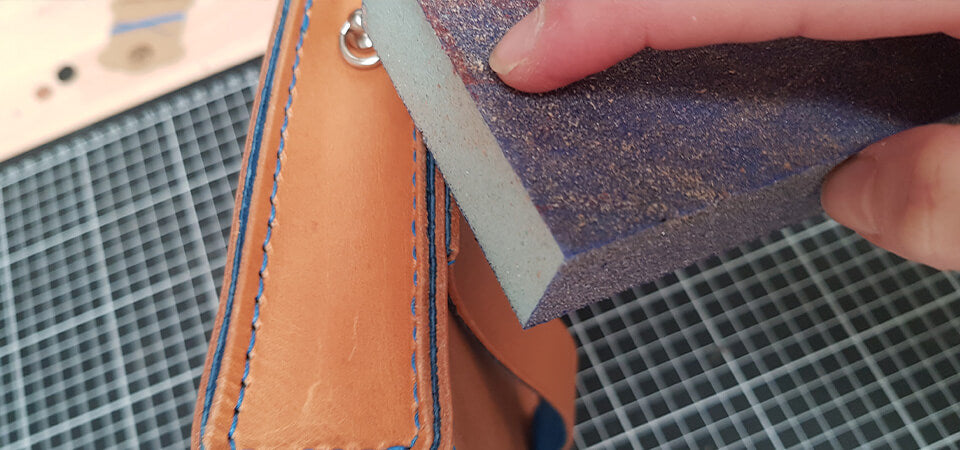
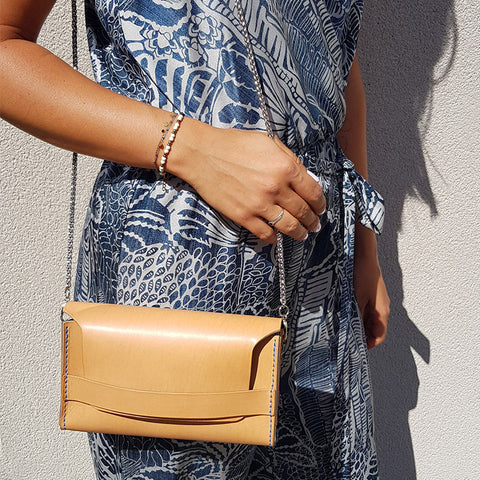
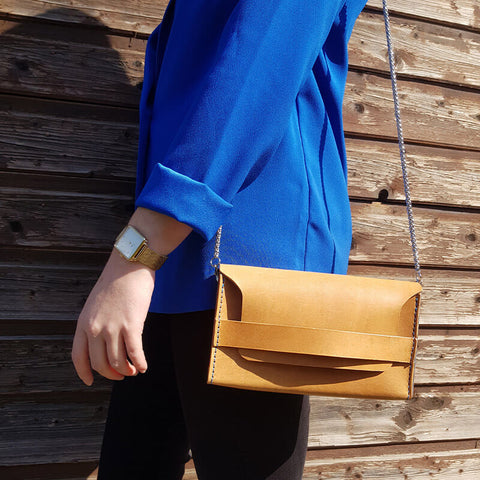
10. ATTACH THE CHAIN
Take a bag chain of about 100/120 cm and insert a carabiner at both ends of the chain using pliers. Finally, attach the bag chain to the collar button with ring. 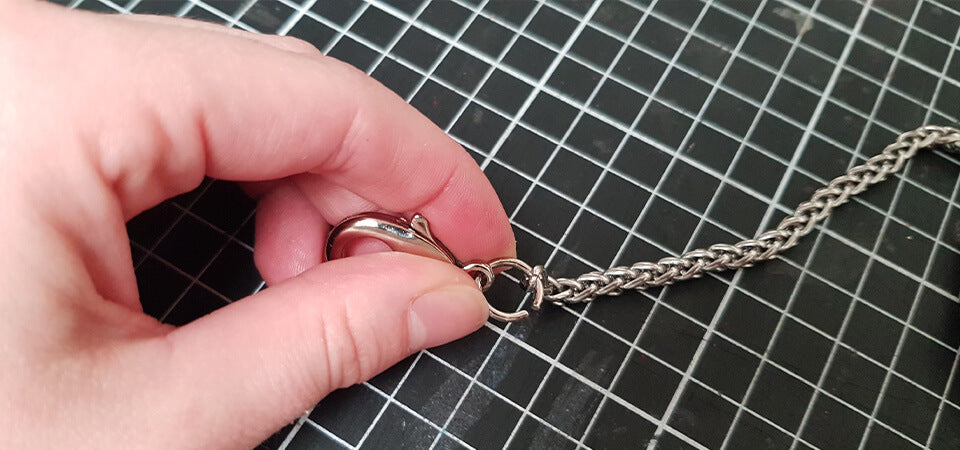
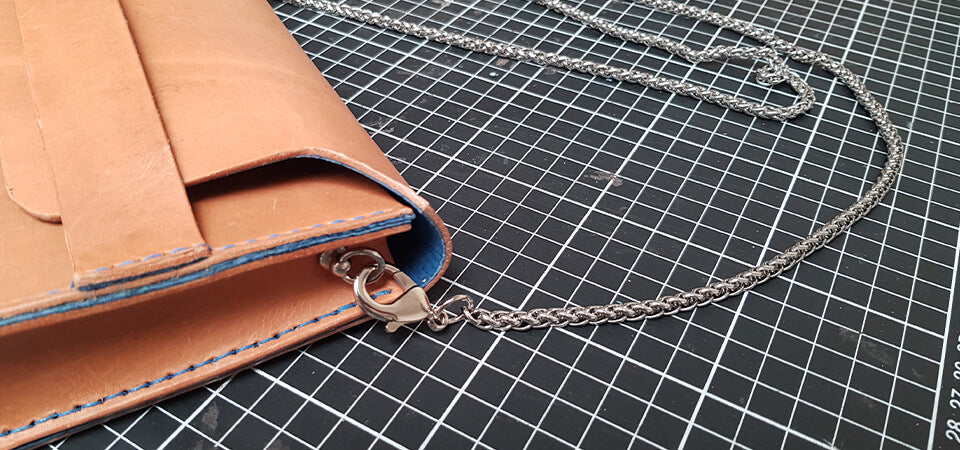
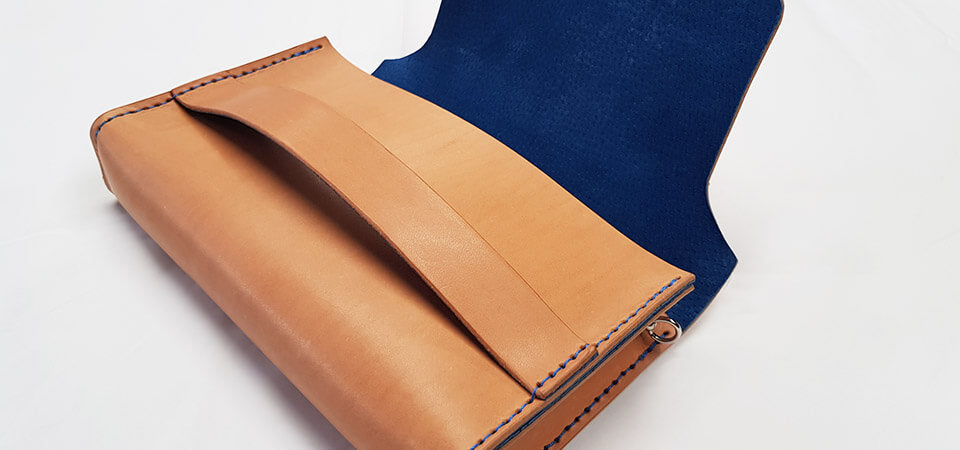
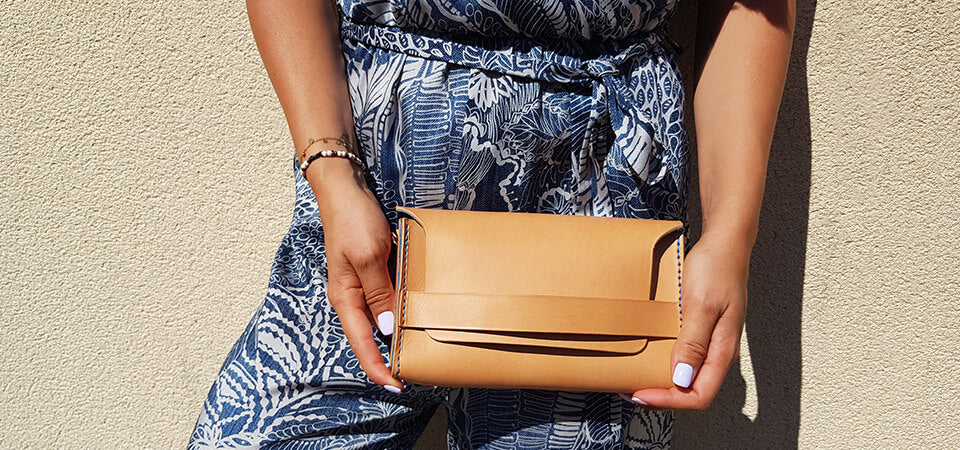
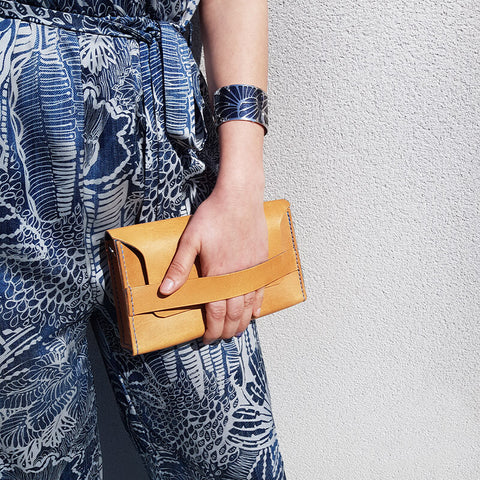
You have finished your leather handbag!
 |
 |
 |
 |
DON'T HESITATE TO PIN THE PHOTOS ON PINTEREST TO SHARE THE ARTICLE!