








MATERIALS NEEDED
To complete this tutorial, you will need:
-
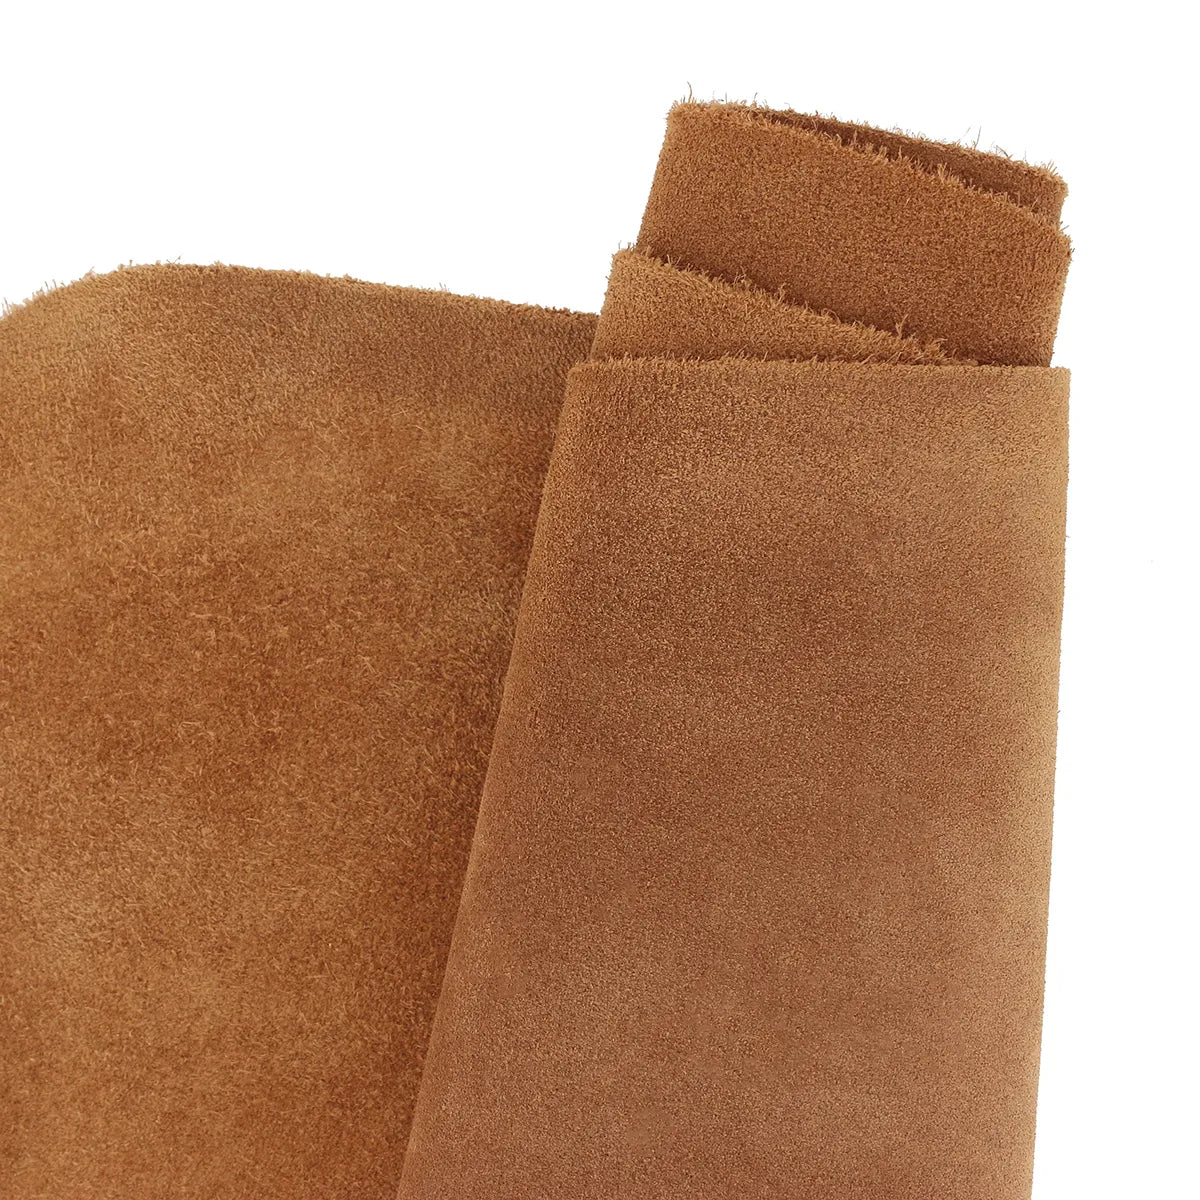
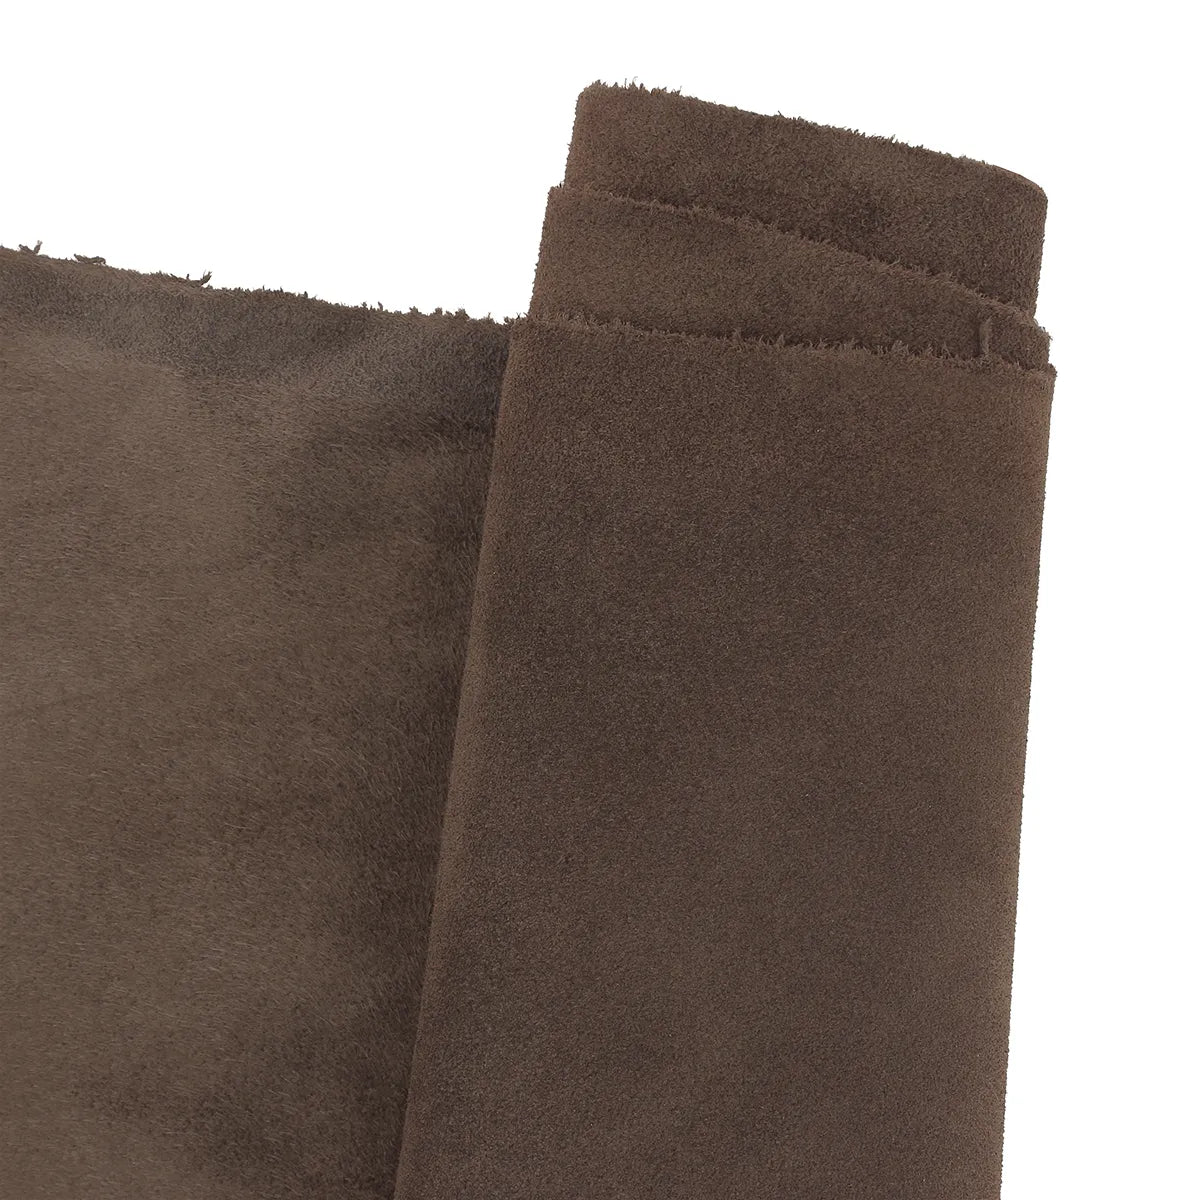
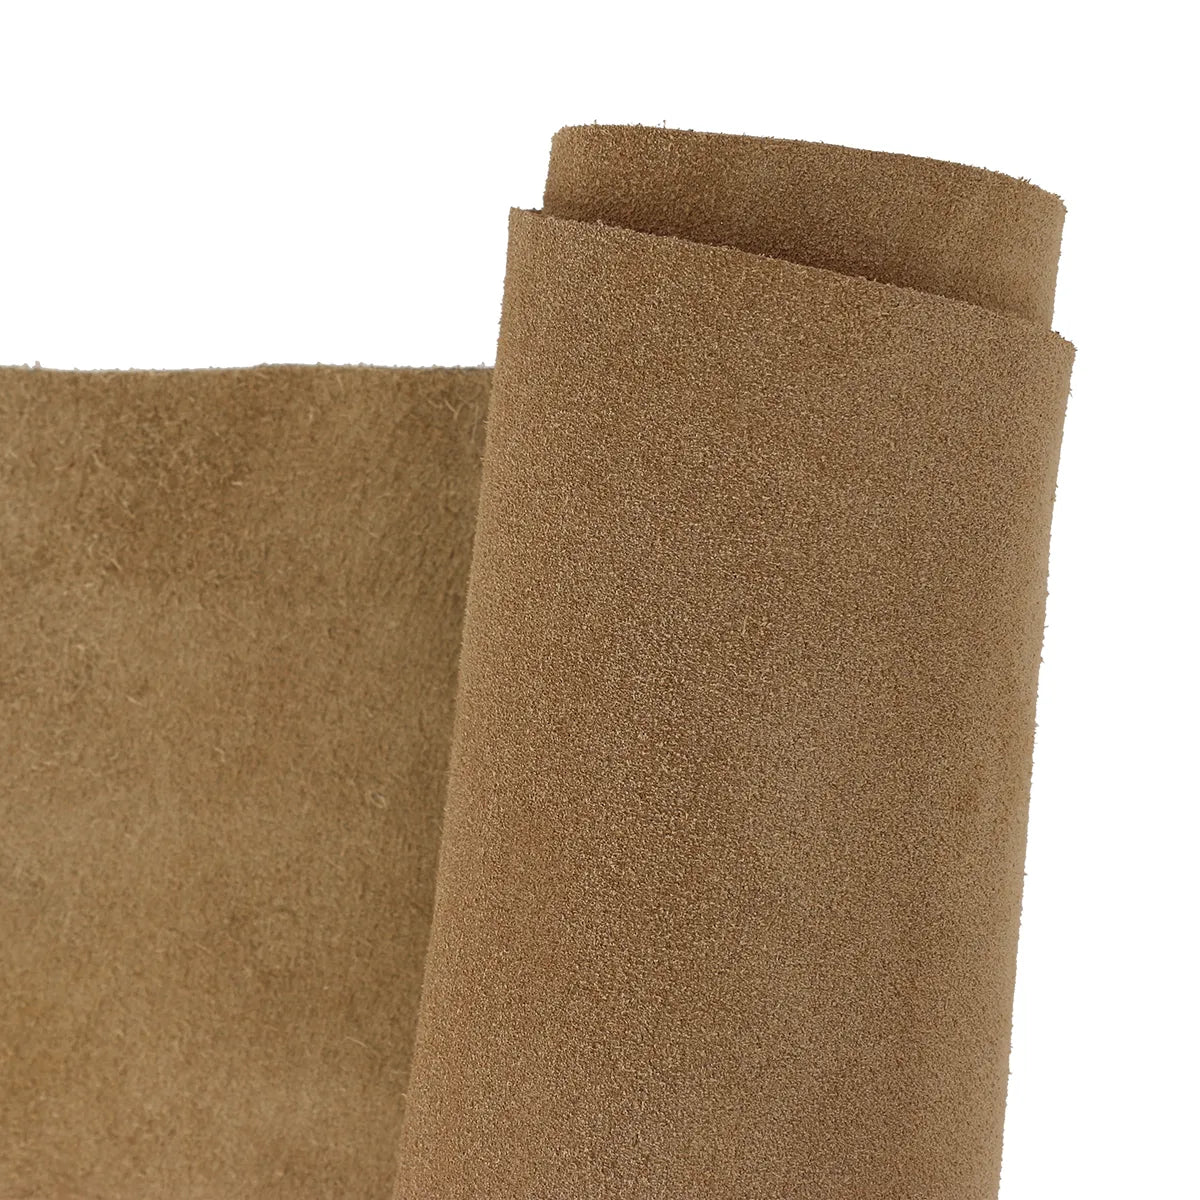
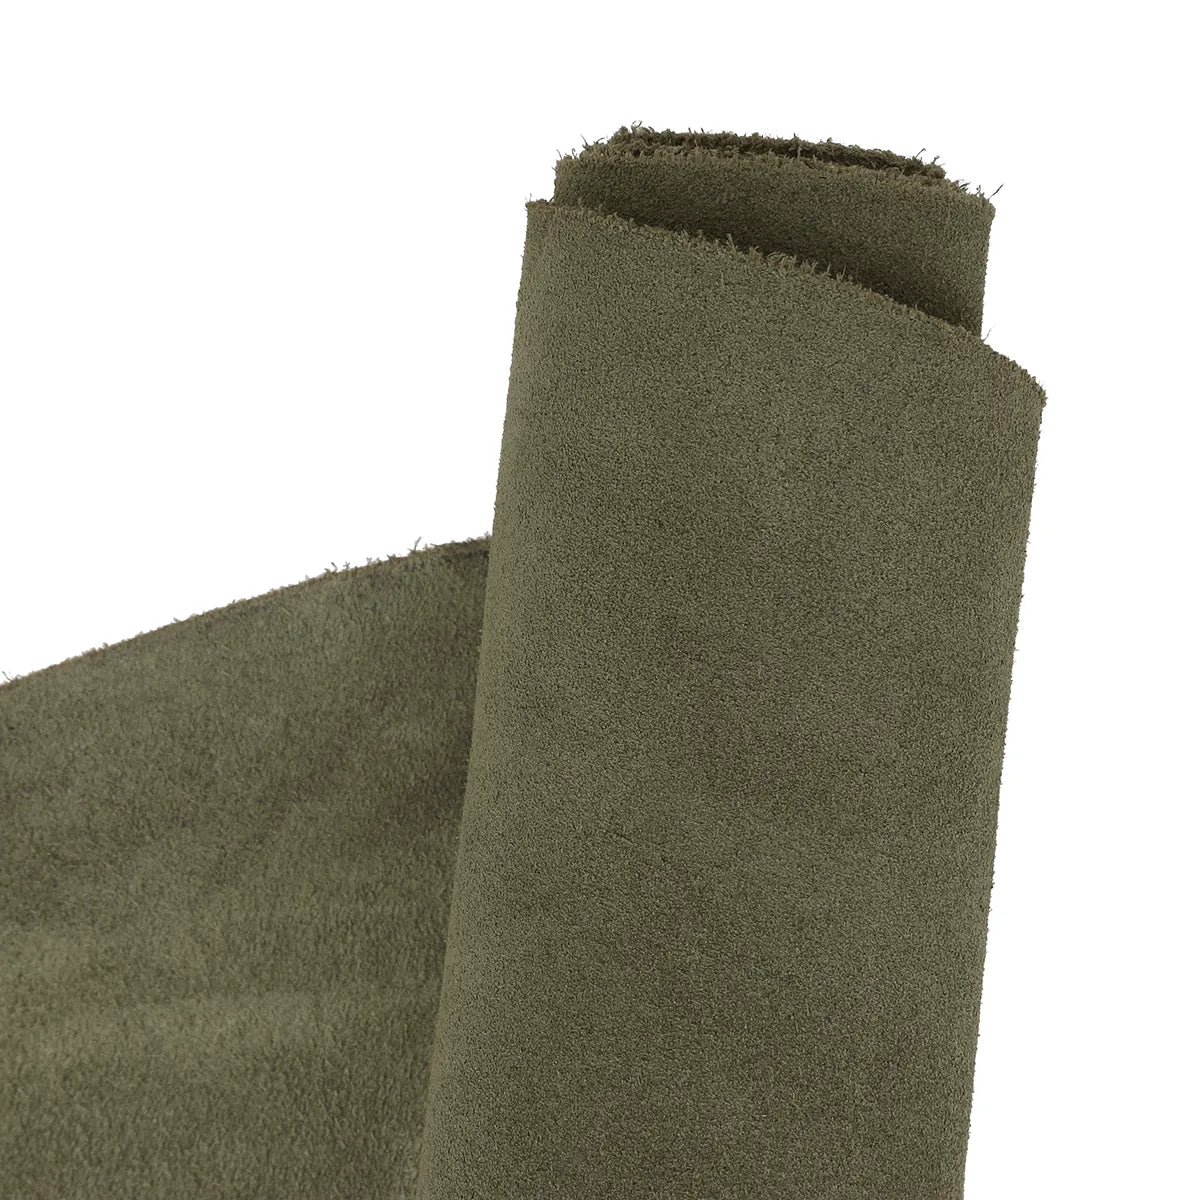
1 hide of suede split leather - Flexible - 1.2 mm thick - 1.15 m² surface area
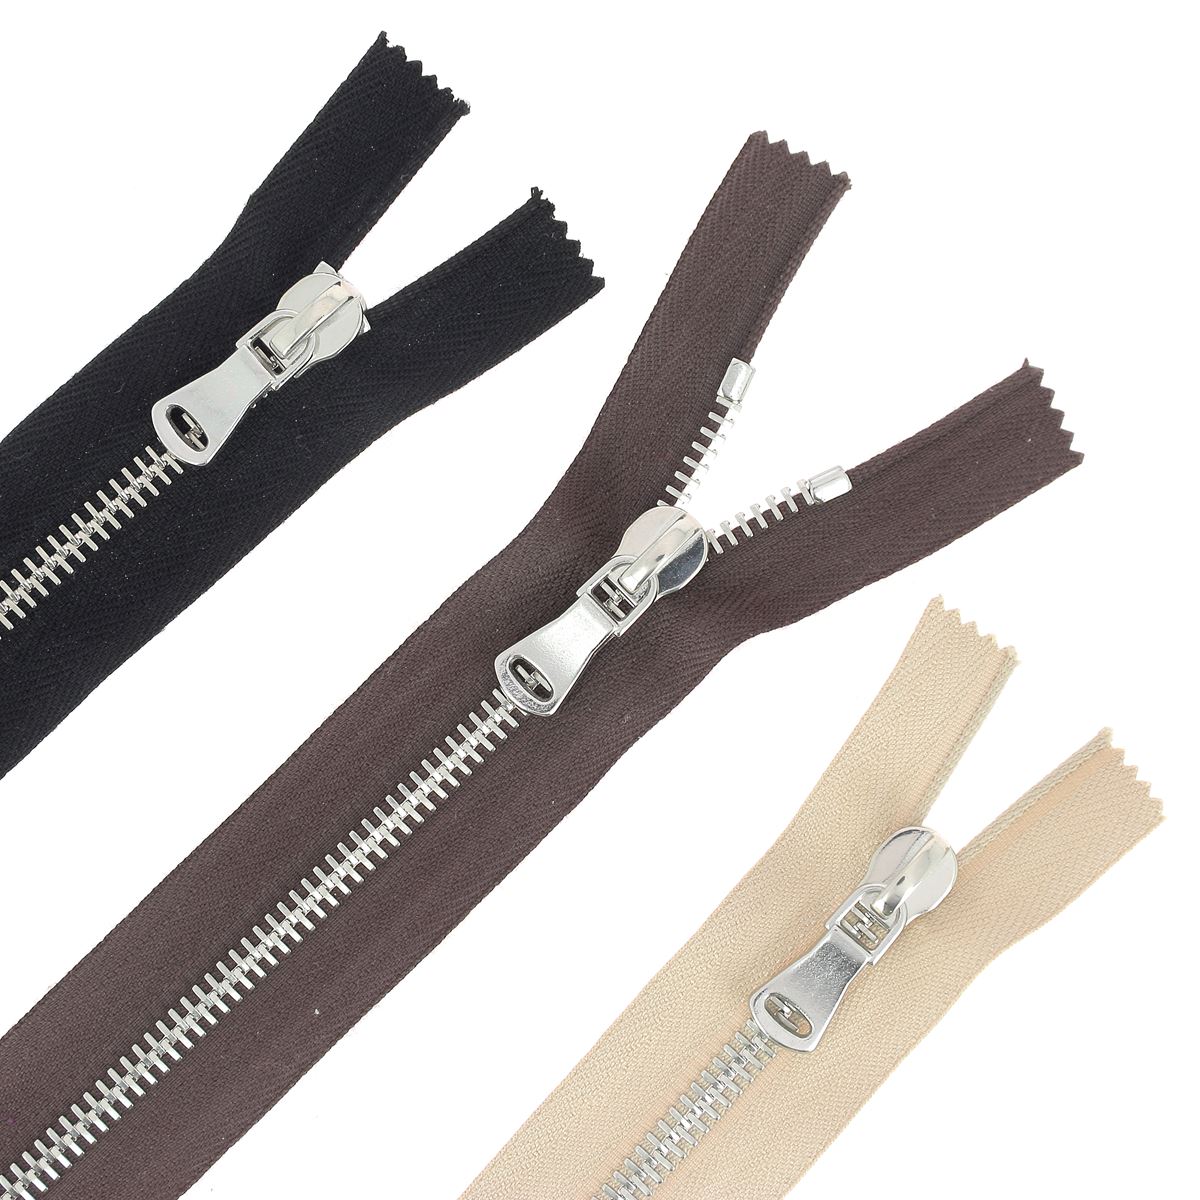
Or 2 pieces of suede split leather 30 x 40 cm with a bag chain or leather strap. - 1 metal zipper – 6 mm teeth, 20 cm length
- 2 T3 double-cap rivets.
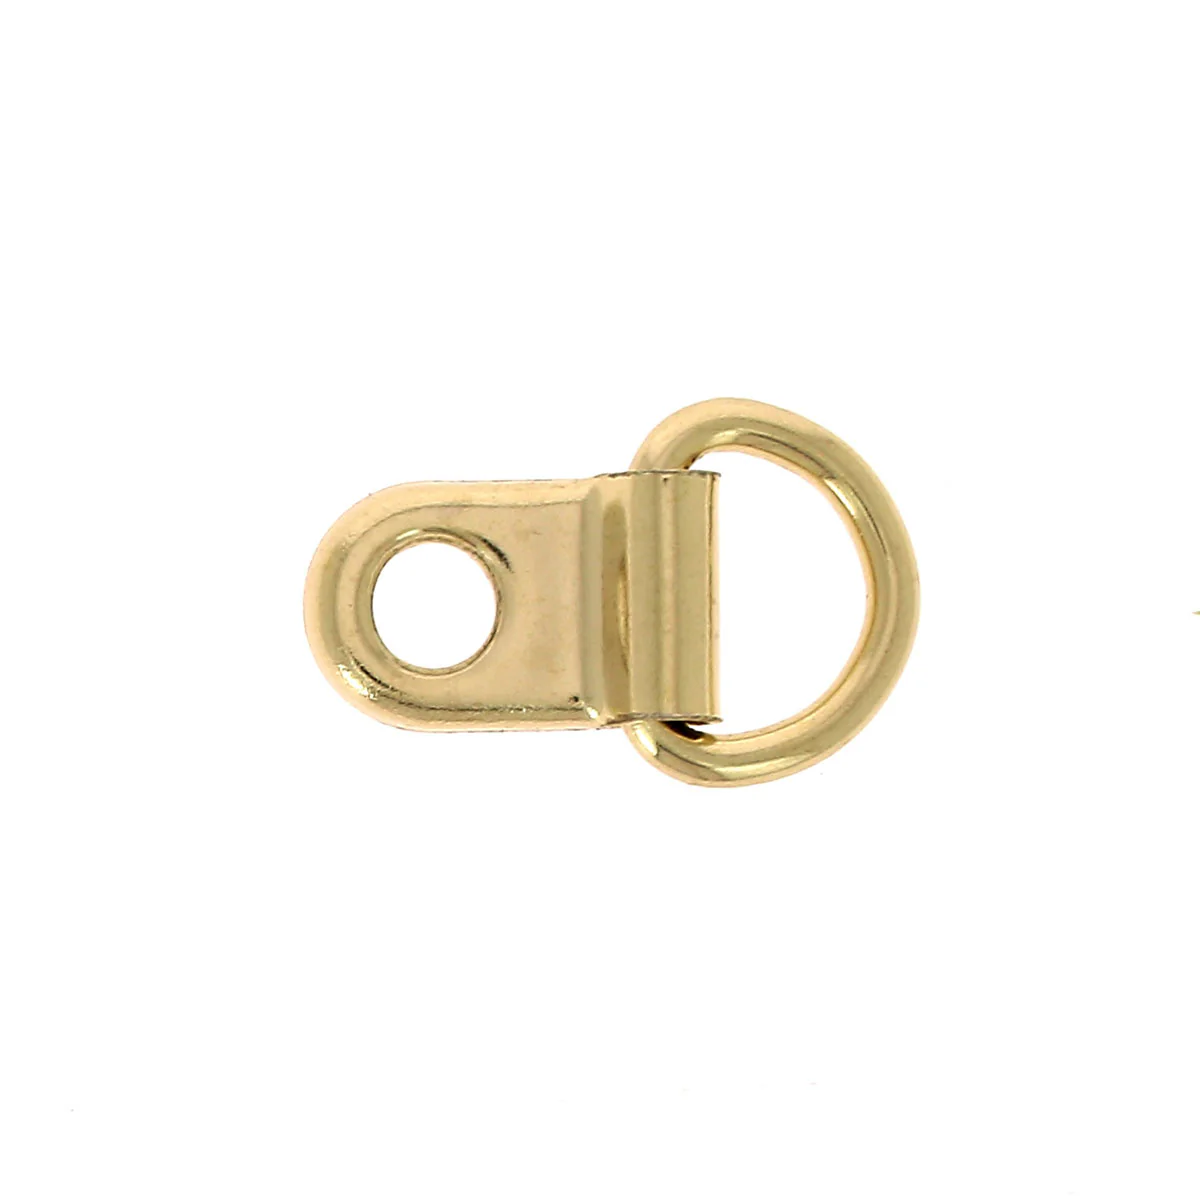
- 2 lace loops.
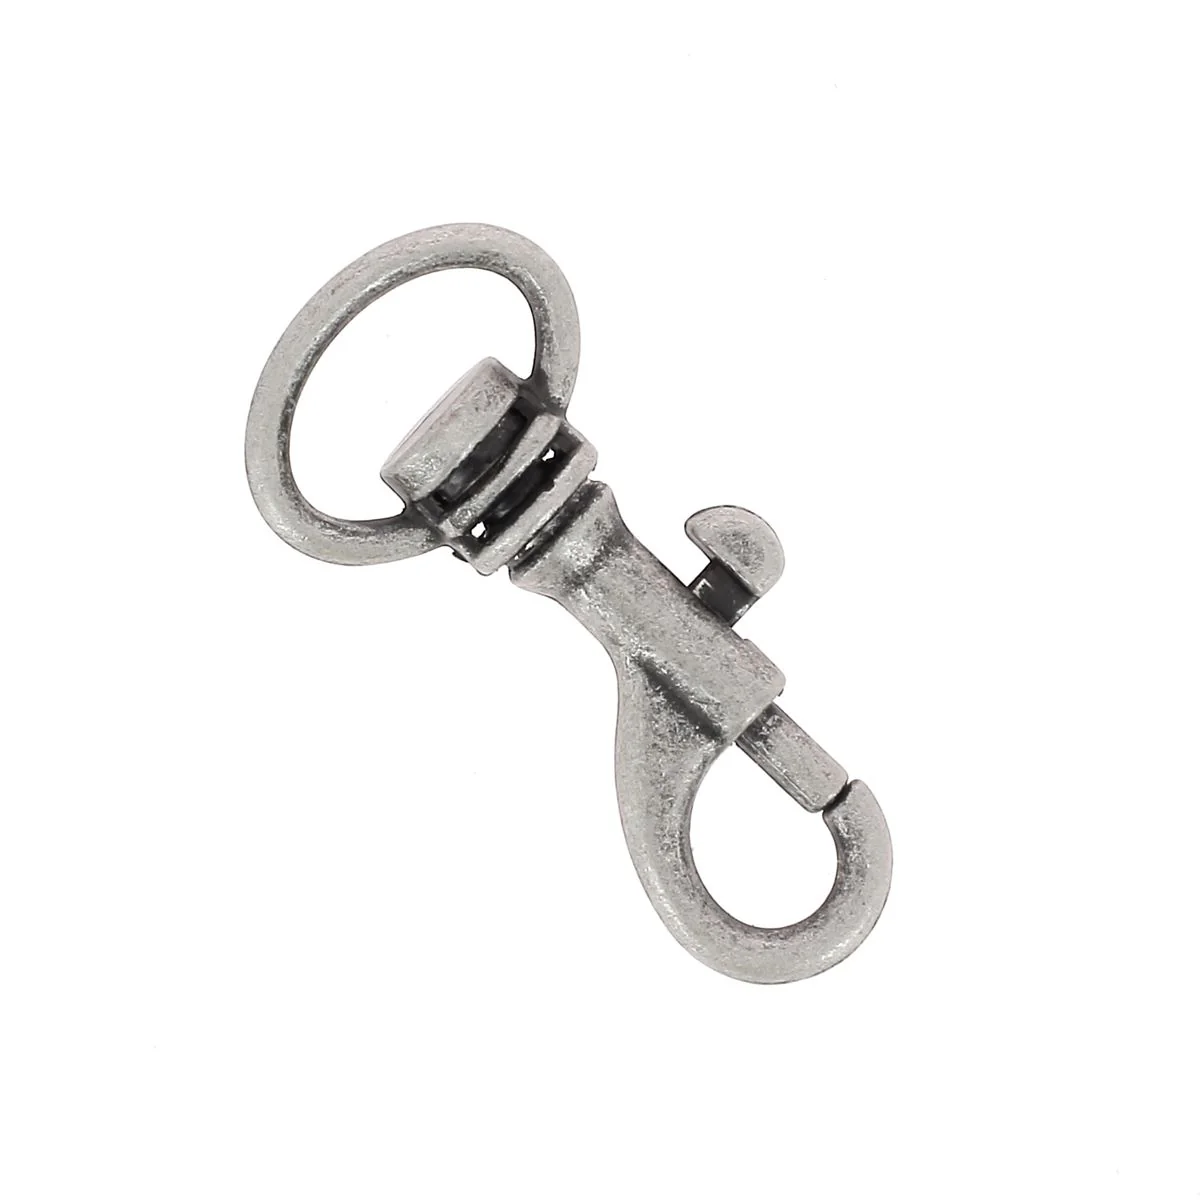
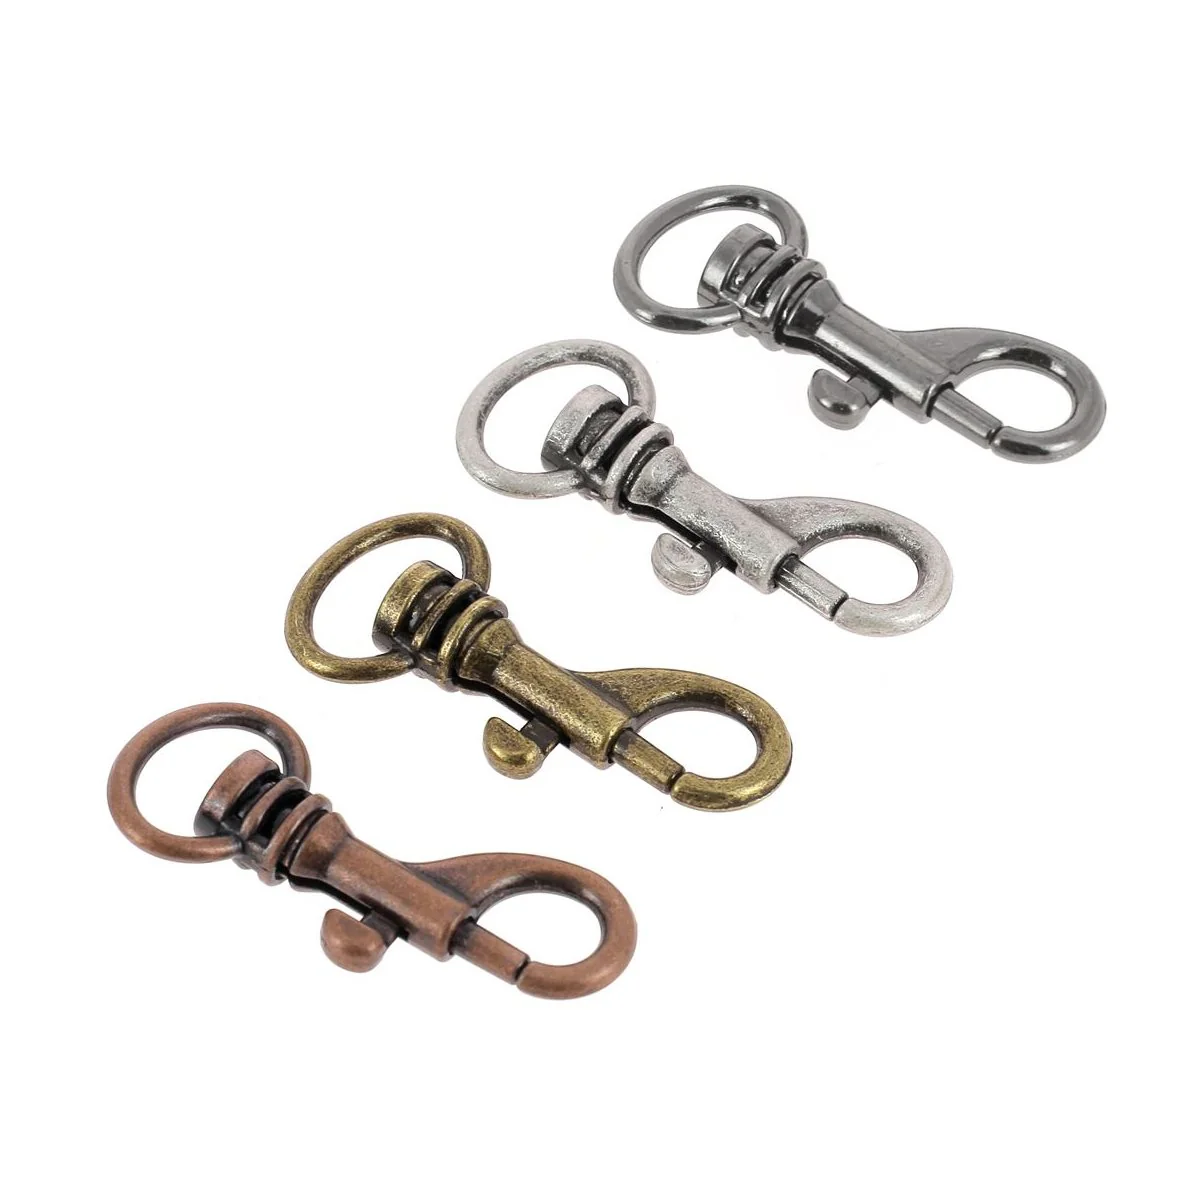
- 1 Conway buckle and 2 snap hooks for the strap.
- Lining fabric (not sold on our site) 30 cm (width) x 50 cm
- A spool of polyester thread N°40
- A round punch with a diameter of 3mm
- A setting tool and setting dies for the rivets
1. CUT THE PATTERN
The pattern can be downloaded from the dedicated tab at the top of the page. Seam allowances are included in the given dimensions.
Cut the 2 main pieces from the leather and the lining.
Cut a 40 cm strip for the sides from the leather only. The width of the strip should be equal to the width of the zipper (teeth + fabric).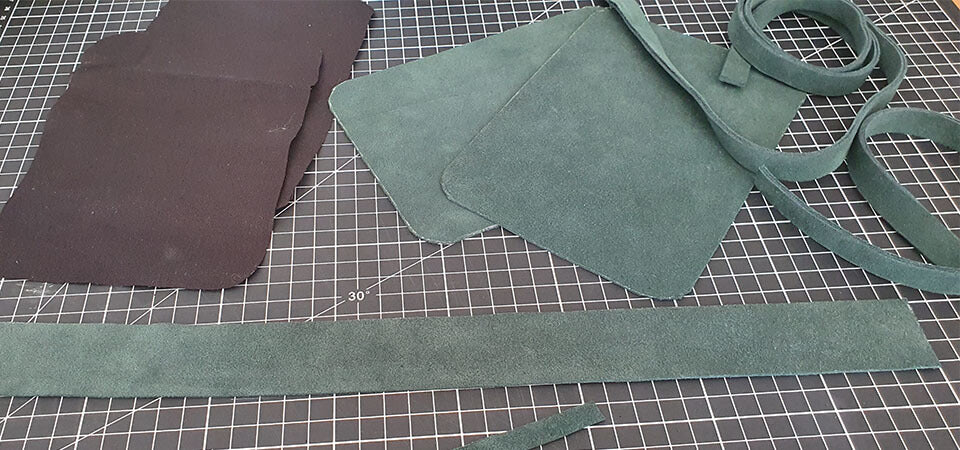
2. CUT THE LEATHER STRAP
To create an adjustable strap, trace and cut 2 strips 1.5 cm wide from the hide using a rotary cutter.
The first 100 cm long and the second 40 cm long.
If you don't have enough length in the hide to cut these dimensions, you will need to add a metal bag chain (see the last step of the tutorial).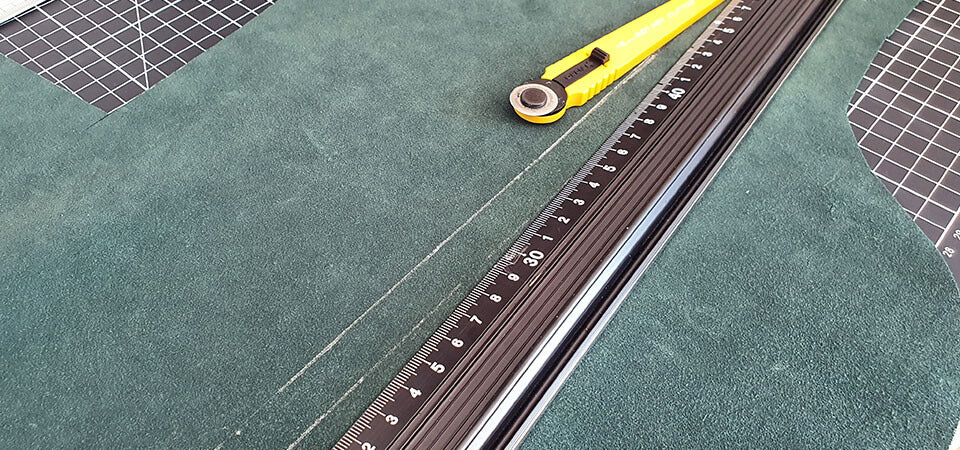
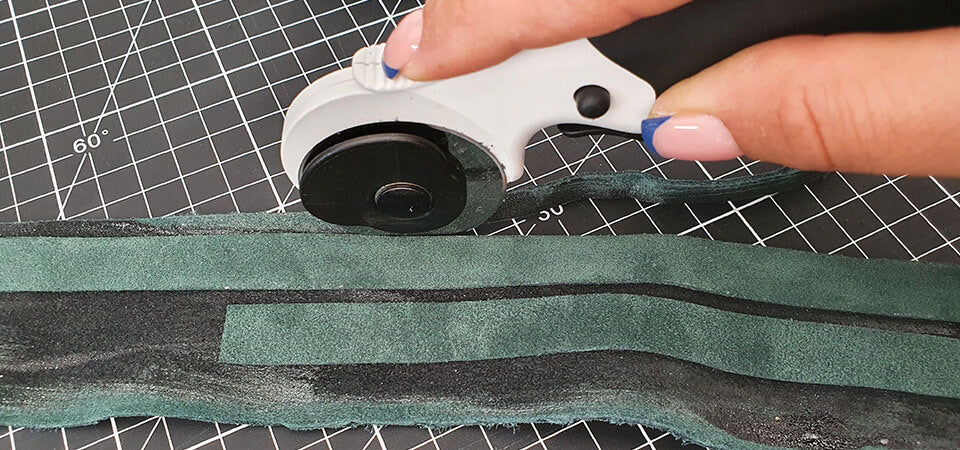
Double the straps for better durability. Using neoprene glue, glue the straps wrong sides together onto the leather hide, then trim.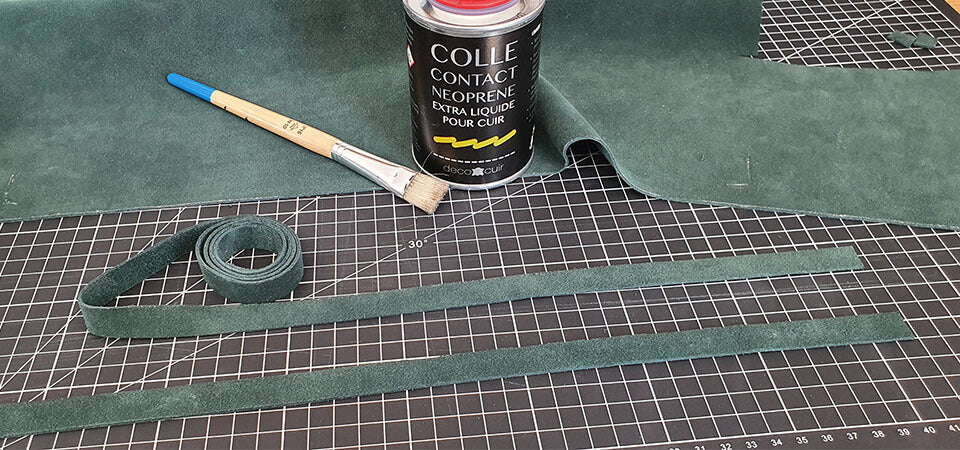
3. NOTCH THE ZIPPER
Notch both lengths of the zipper by 5 mm so that it better conforms to the curves of the pouch. Mark the middle of the zipper to position it correctly in step 5.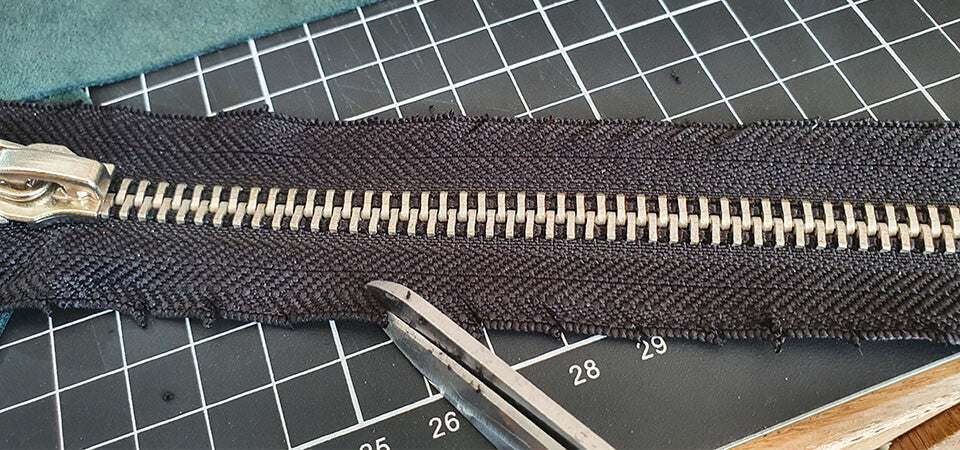
4. POSITION THE STRIP ON THE ZIPPER
Using adhesive tape, position the 40 cm strip on one end of the zipper.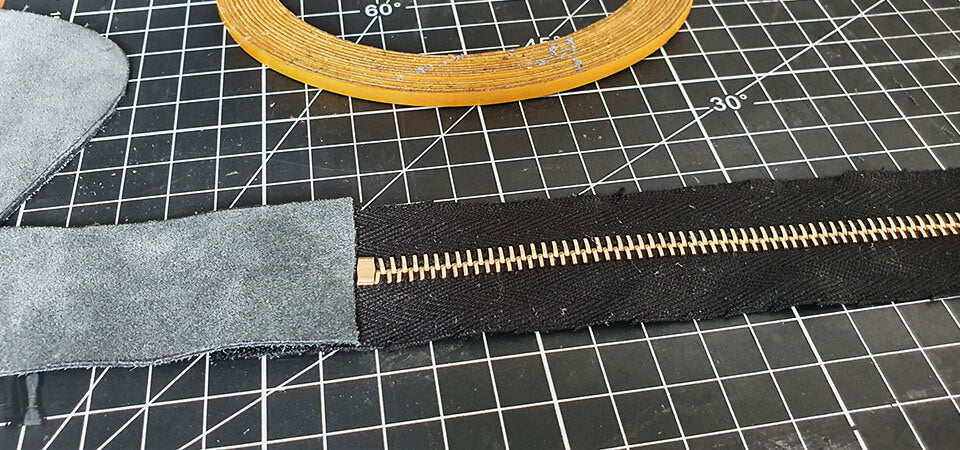
5. DETERMINE THE LENGTH OF THE STRIP
Using sewing clips, position the strip and zipper right sides together on one of the main pieces (using the centers of the pieces as a guide). Mark to determine the necessary strip length.
6. SEW THE ENDS OF THE STRIP
Referring to the previous marking, cut the excess strip and position it on the other end of the zipper with adhesive tape.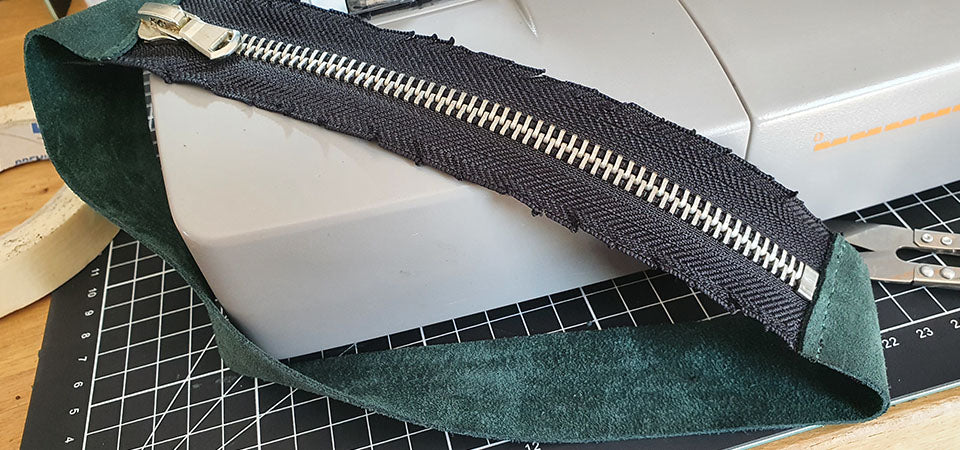
Then sew each end of the strip at 0.5 mm.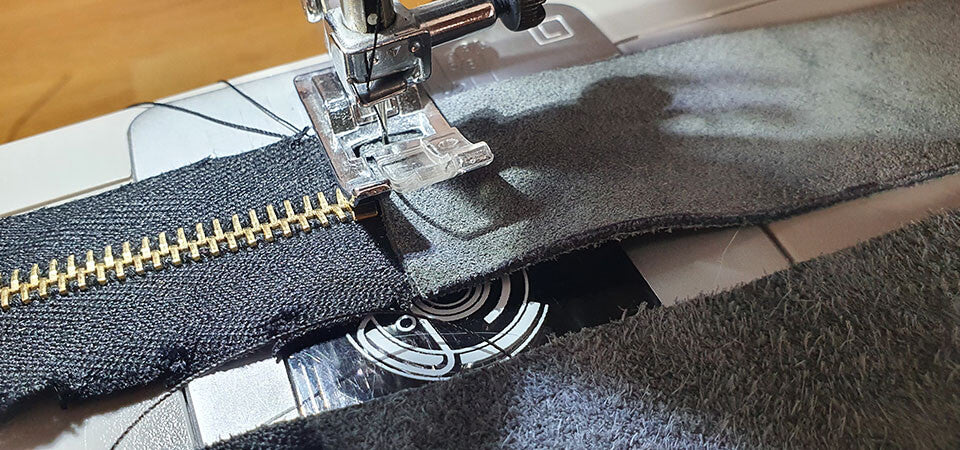
7. SEW THE STRIP RIGHT SIDES TOGETHER
Using adhesive tape, position the strip/zipper right sides together on one of the main pieces. Sew at 0.8 mm (to avoid bulk when turning inside out). 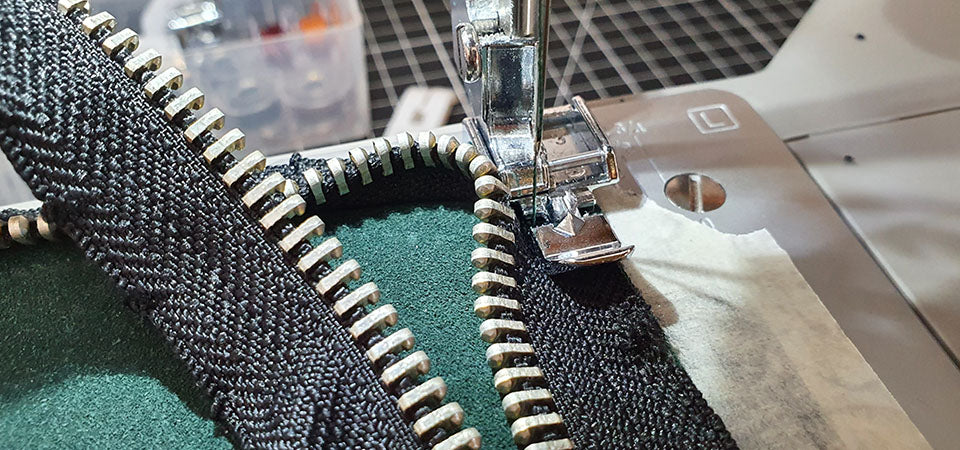
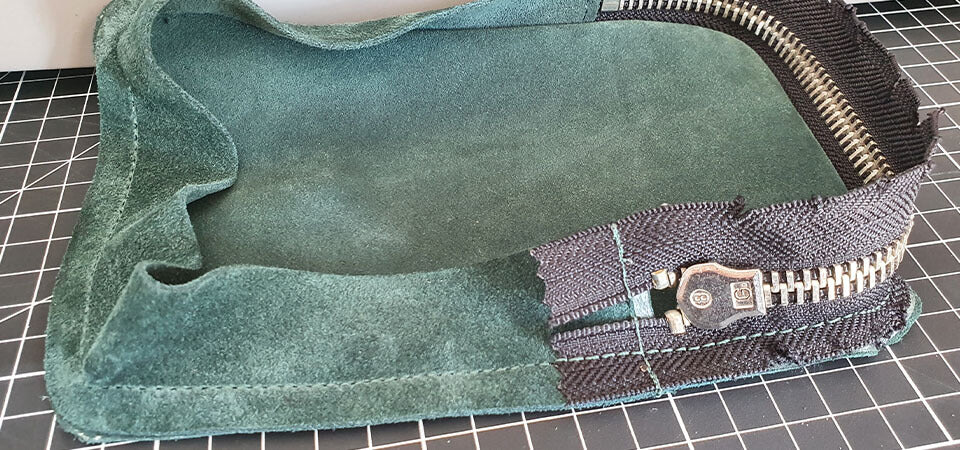
8. SEW THE LINING
Position the lining at the top of the zipper, always right sides together. Then sew at 0.8 mm from the slider using the zipper foot.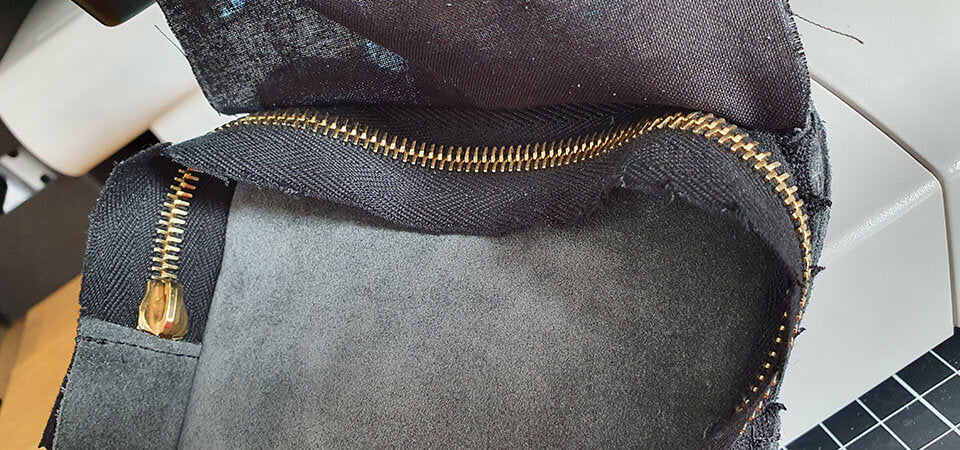
The seam should stop at the two zipper stops. To avoid interference from the zipper slider, sew one side first, then the other side.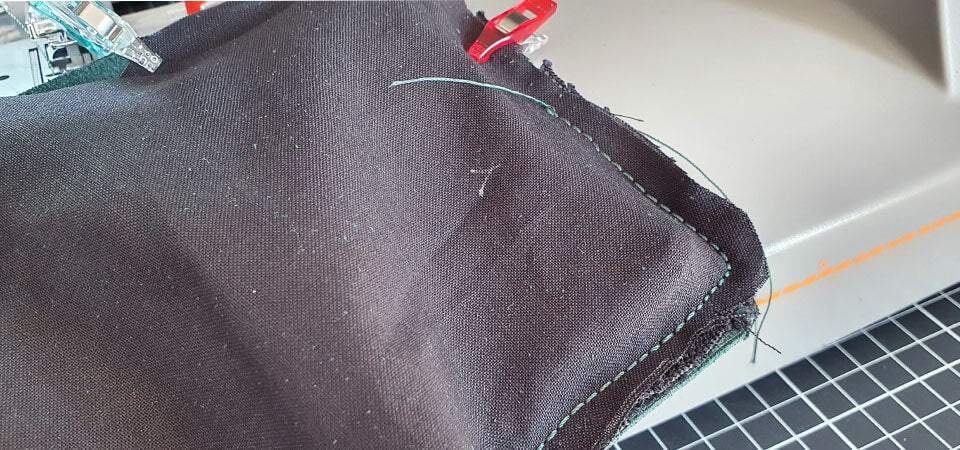
Turn the lining so that it is wrong sides together. 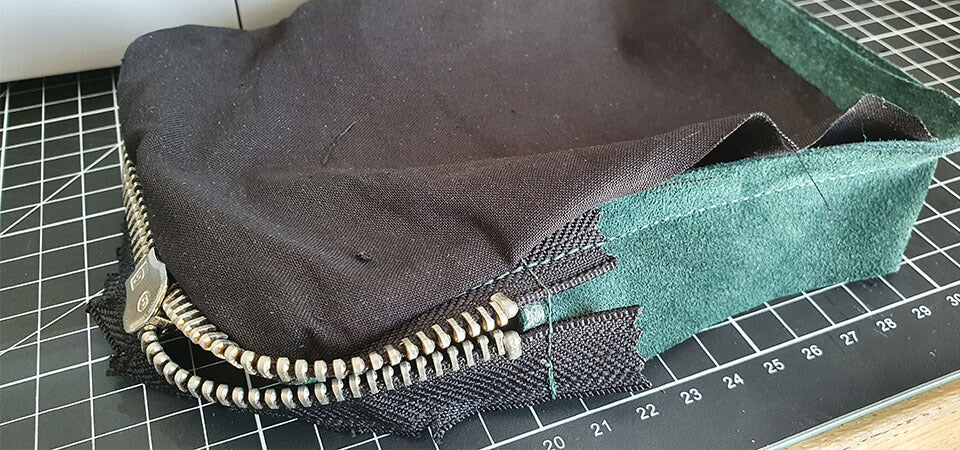
9. SEW THE OTHER SIDE
Repeat steps 7 and 8 with the other side.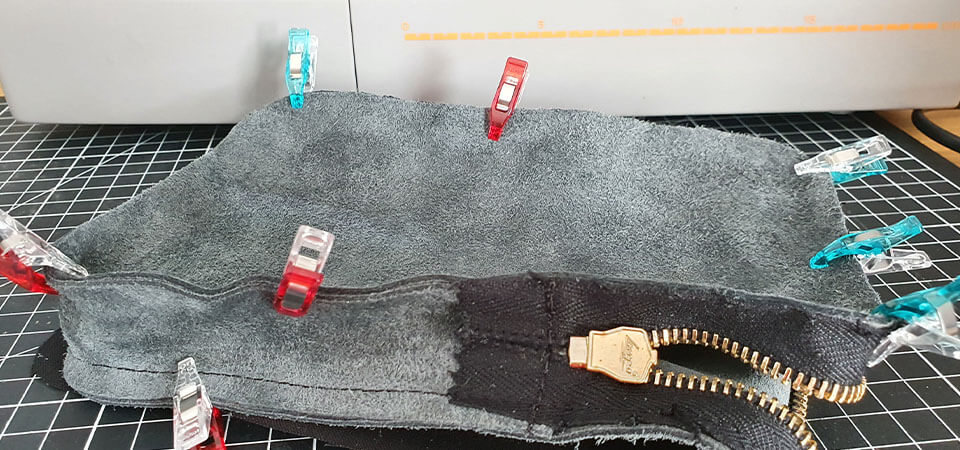
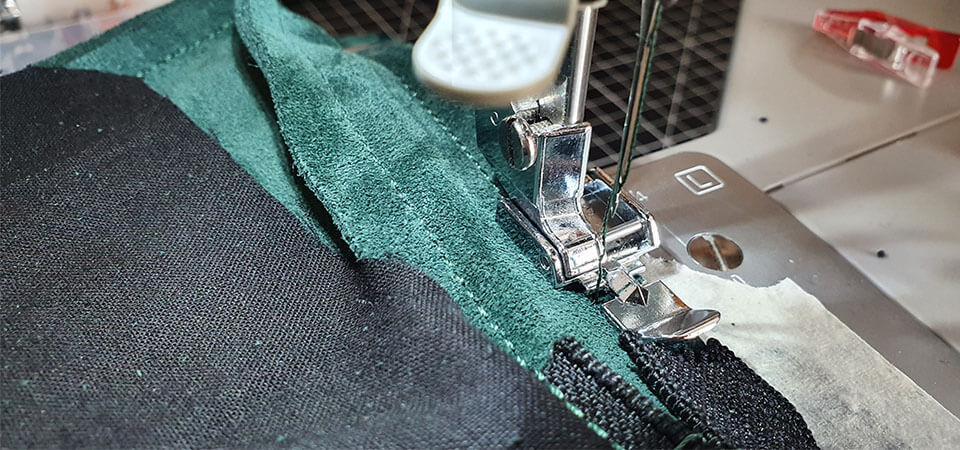
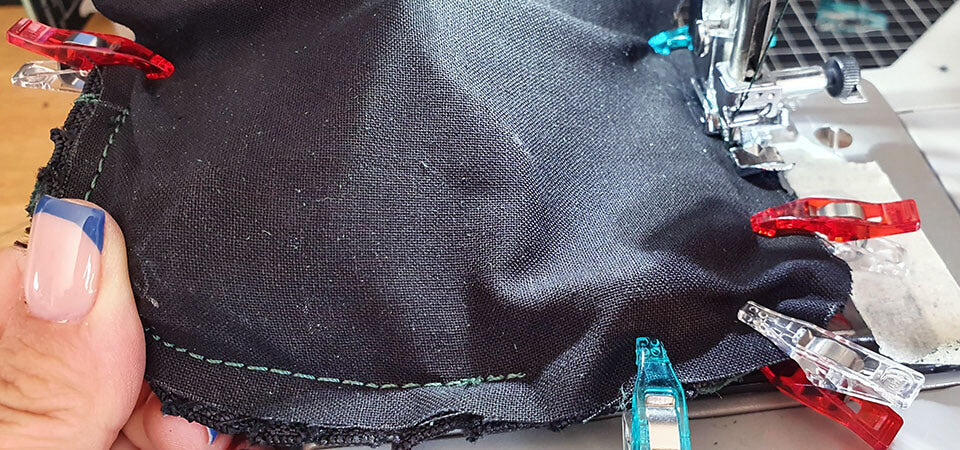
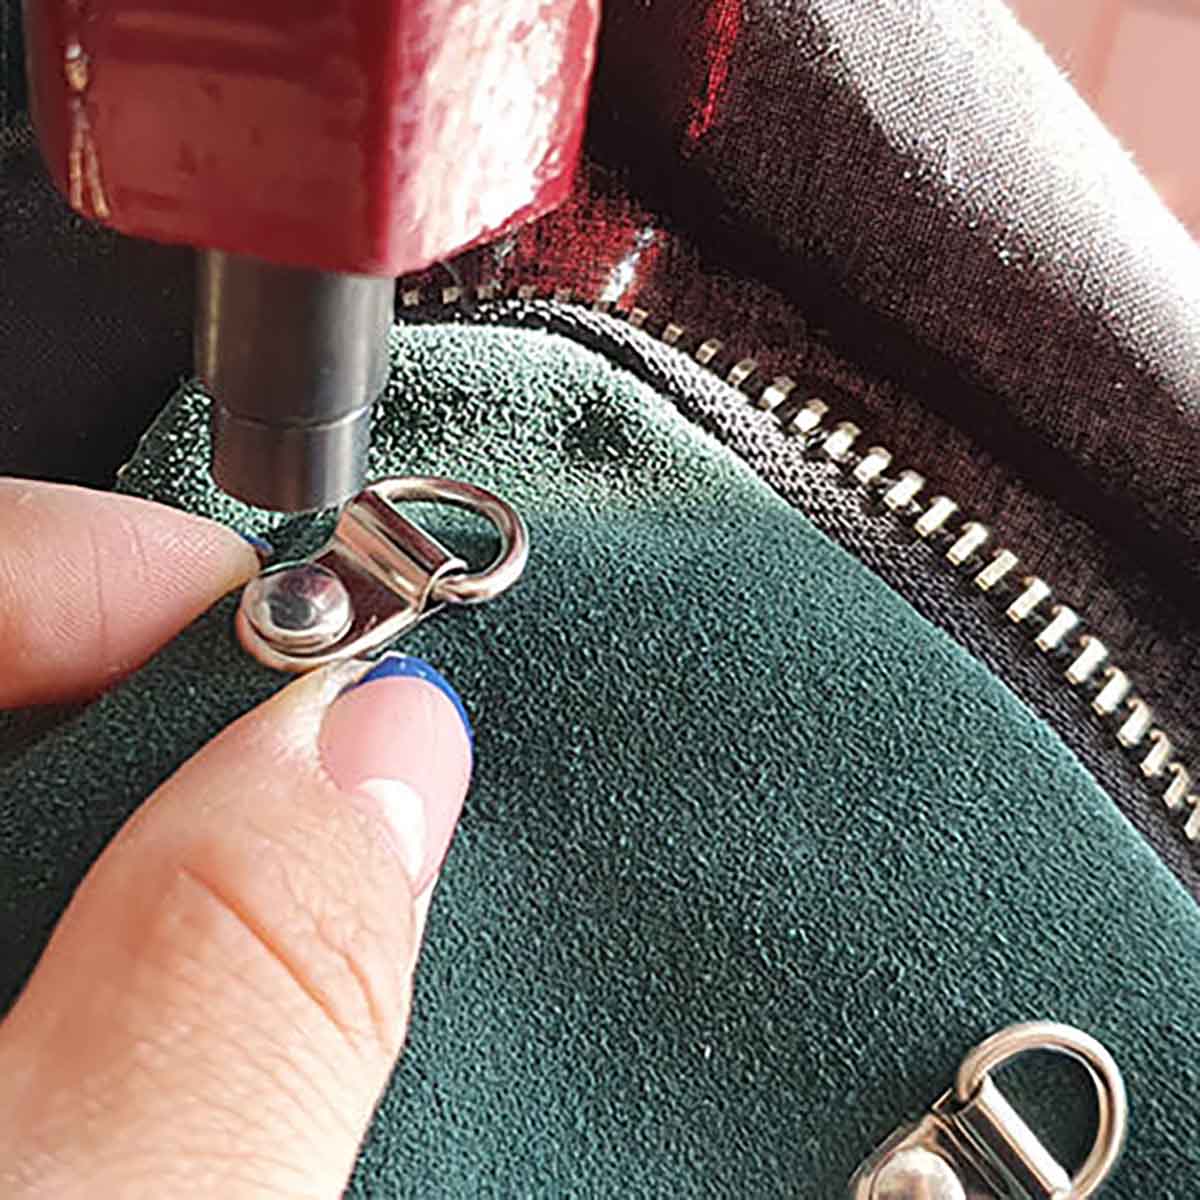
10. RIVET THE ATTACHMENTS
Before moving on to the next step and using a setting tool: rivet the lace loop attachments with T3 double-cap rivets. Position them 3.5 cm from the top of the pouch.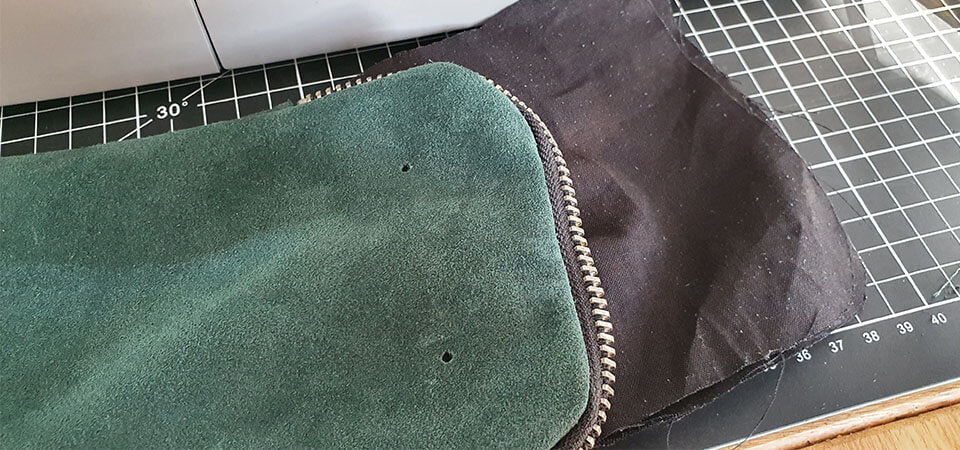
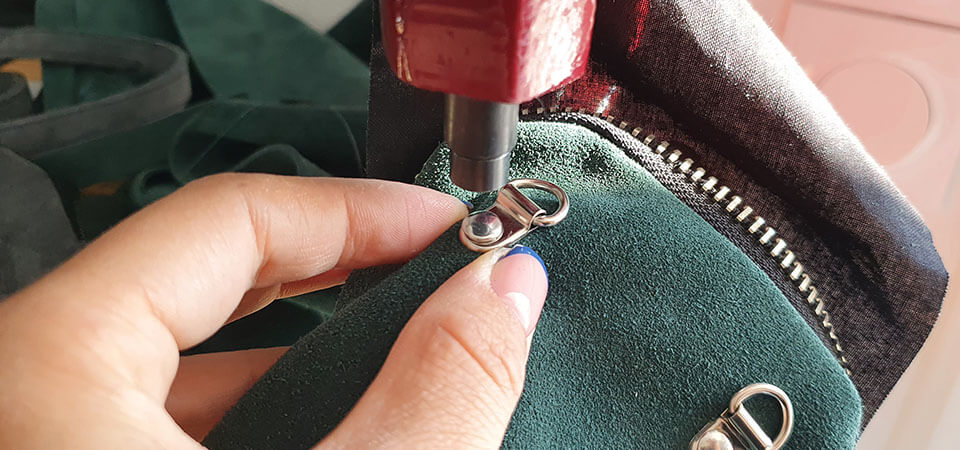
11. SEW THE LINING
Sew the lining, leaving a 10 cm opening at the bottom. Hand stitch if your machine cannot sew all the lining (at the junction with the leather).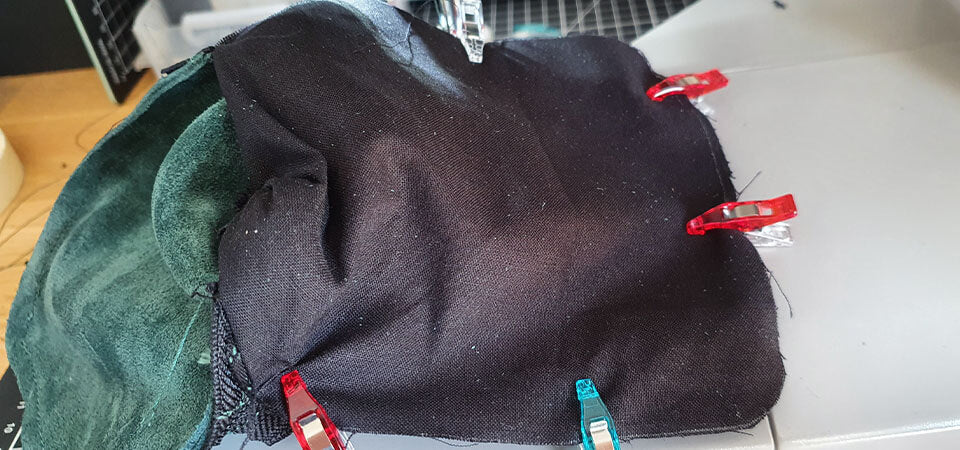
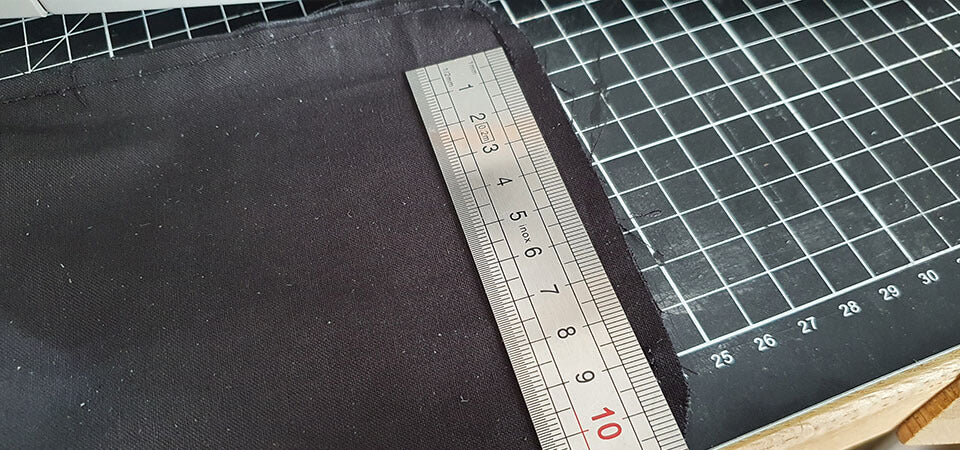
12. TURN THE POUCH RIGHT SIDE OUT
Slightly notch the rounded edges of the pouch before turning it right side out. Then turn the pouch right side out through the 10 cm opening in the lining.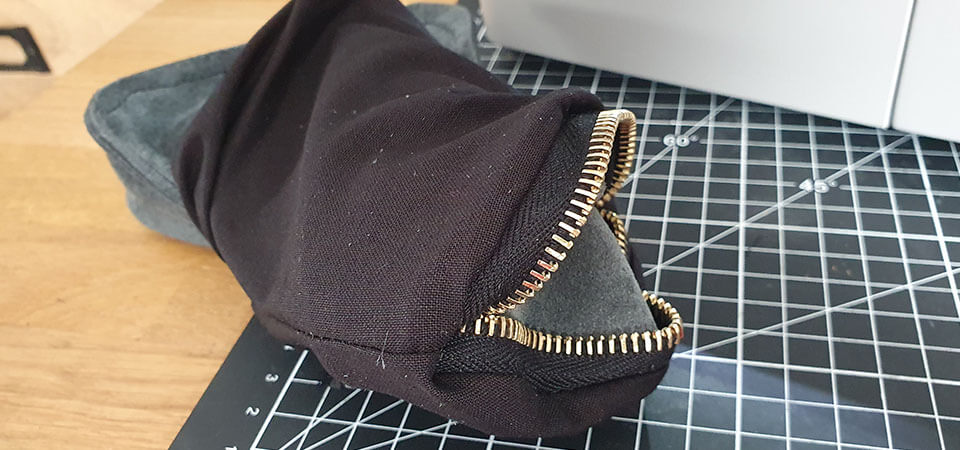
13. SEW THE LINING OPENING
Close the 10 cm opening in the lining with a seam.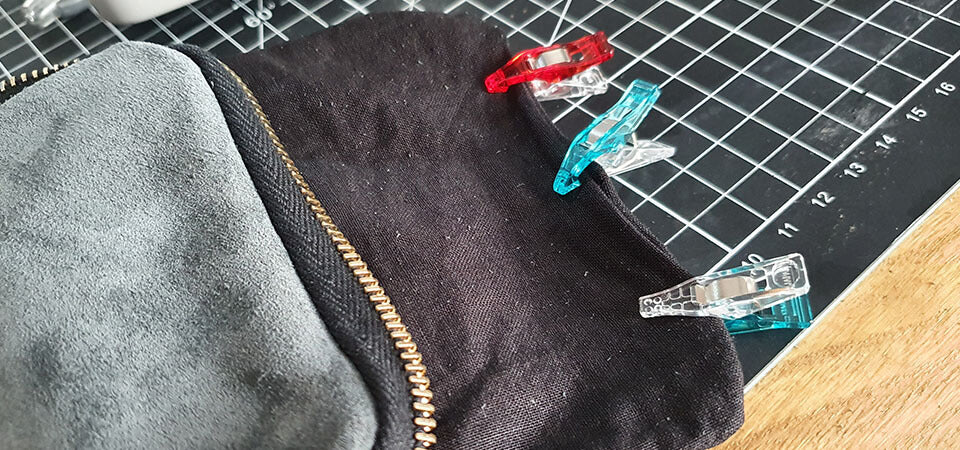
14. HAND SEW A STITCH
For a nice finish, we recommend hand-stitching each side of the zipper.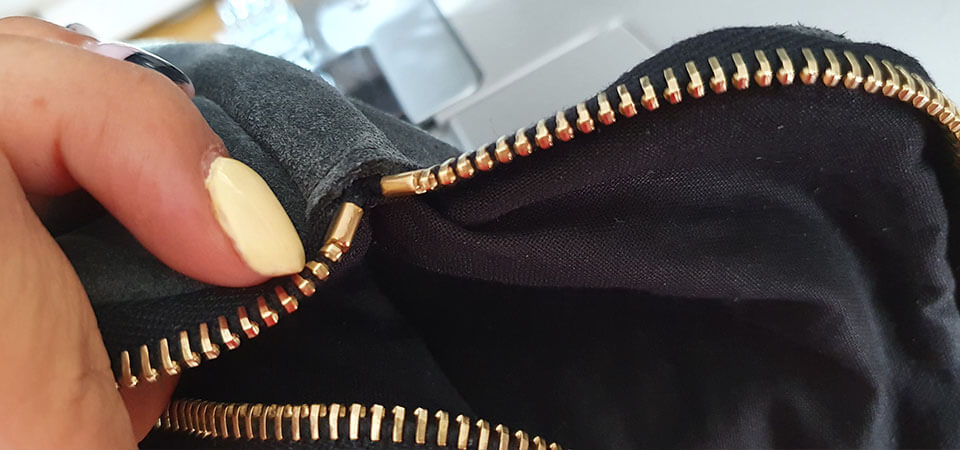
15. WORK ON THE ZIPPER PULL
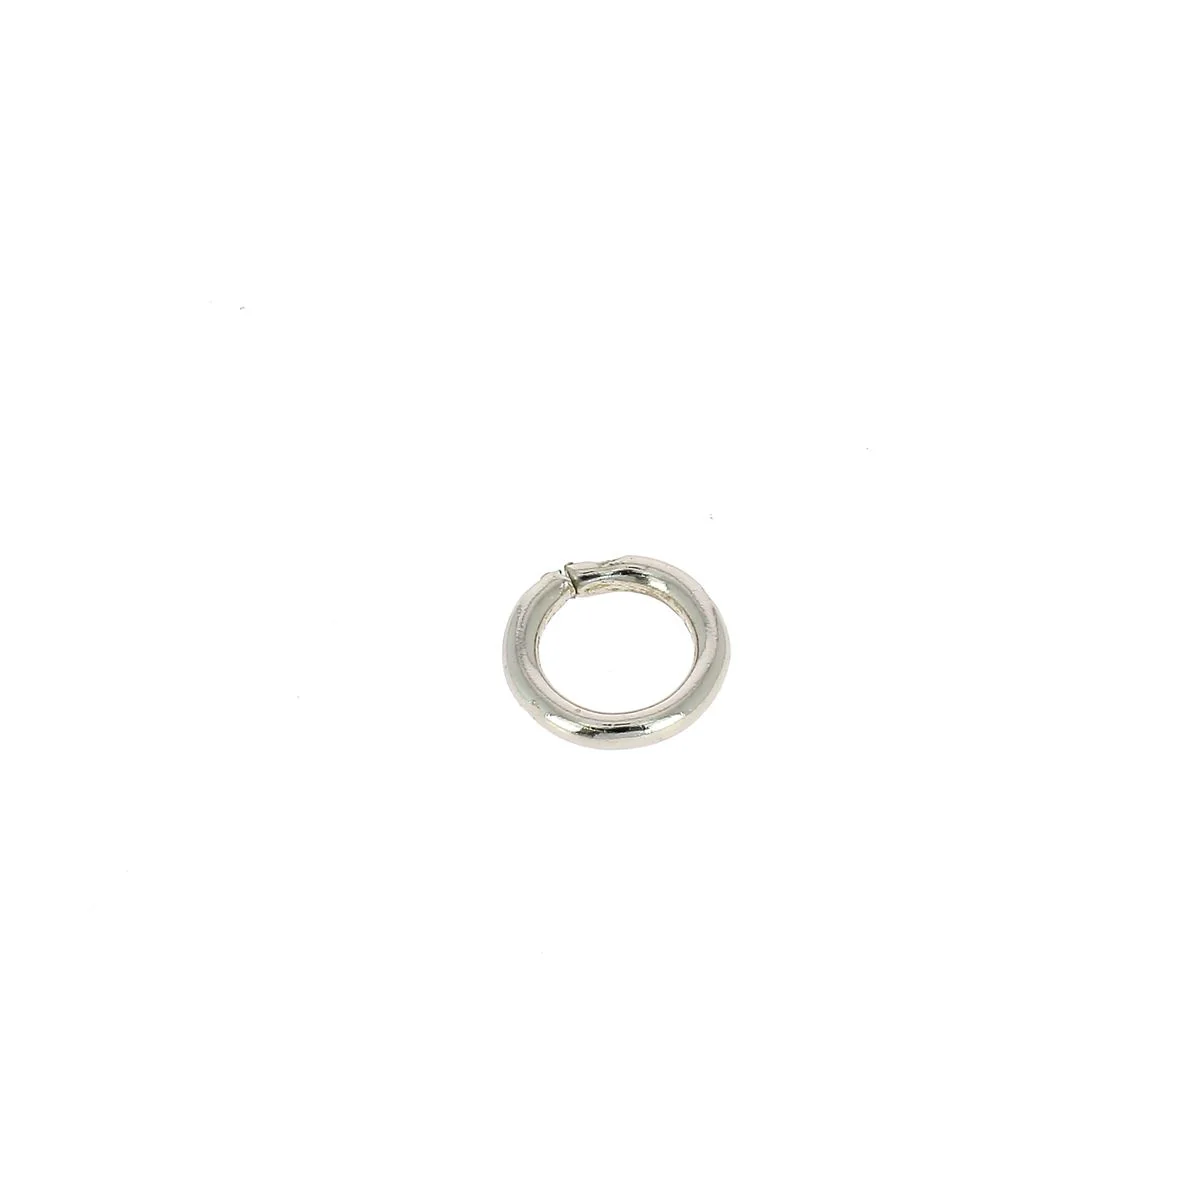
To replace/work on the zipper pull: thread a leather strip through the 10 mm diameter round ring. Then sew or rivet it. Unleash your creativity for the shape of the pull.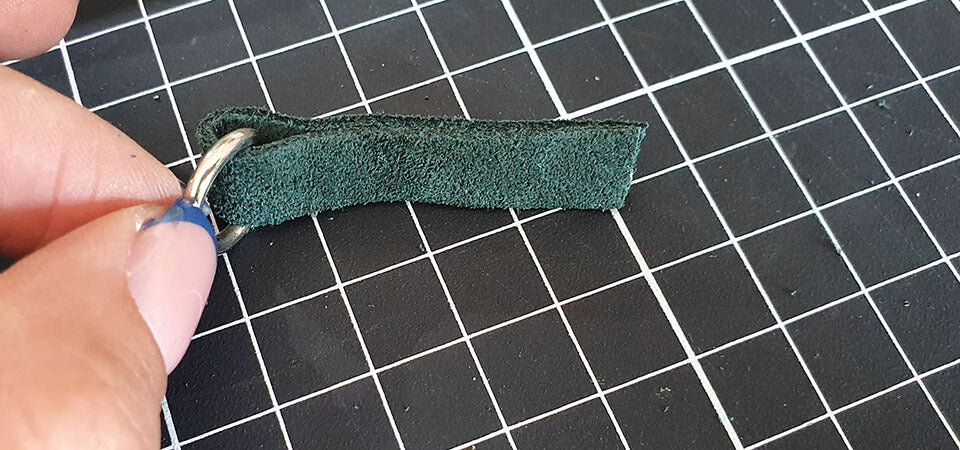
16. WORK ON THE POUCH STRAP
Sew 0.5 mm from both ends of the two 100 cm and 40 cm straps.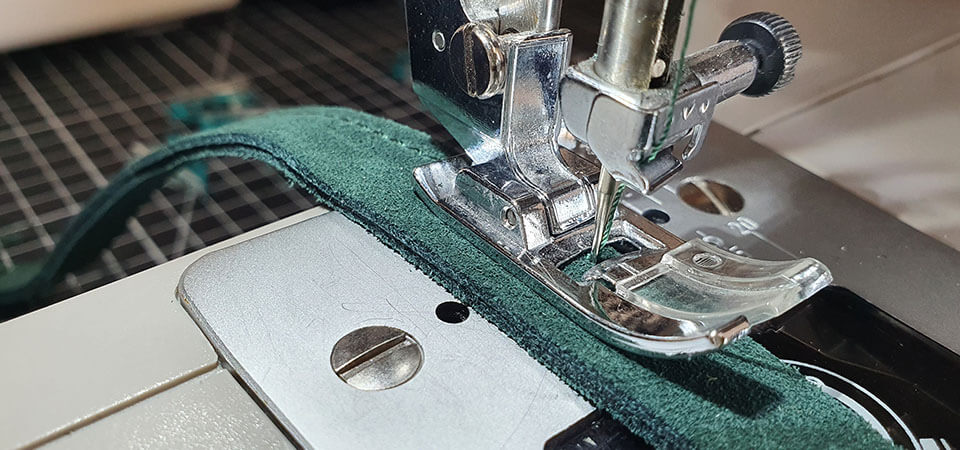
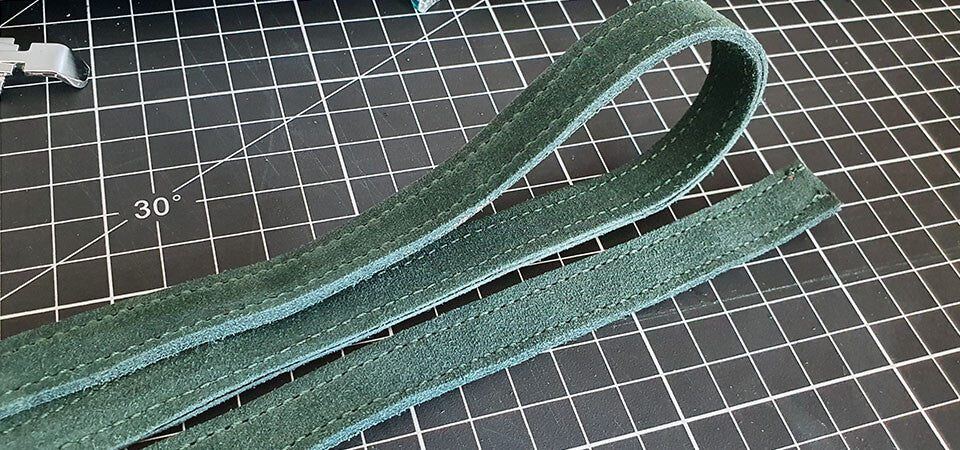
- On one end of the 100 cm strap and using a 4 mm diameter punch: make 5 holes spaced 2.5 cm apart.
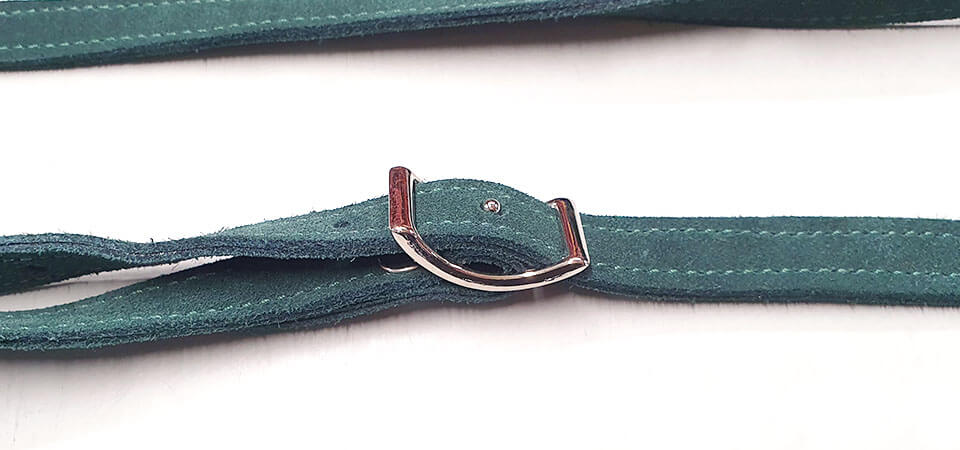
- Make 1 mark on one end of the 40 cm strap to attach the Conway buckle (for the pin). Then, make the hole and place the buckle. Then rivet the two thicknesses to secure the buckle.
- Pass the long strap through the buckle and adjust the strap to the desired size.
- Finally, using a rivet, attach a snap hook to each end of the strap.
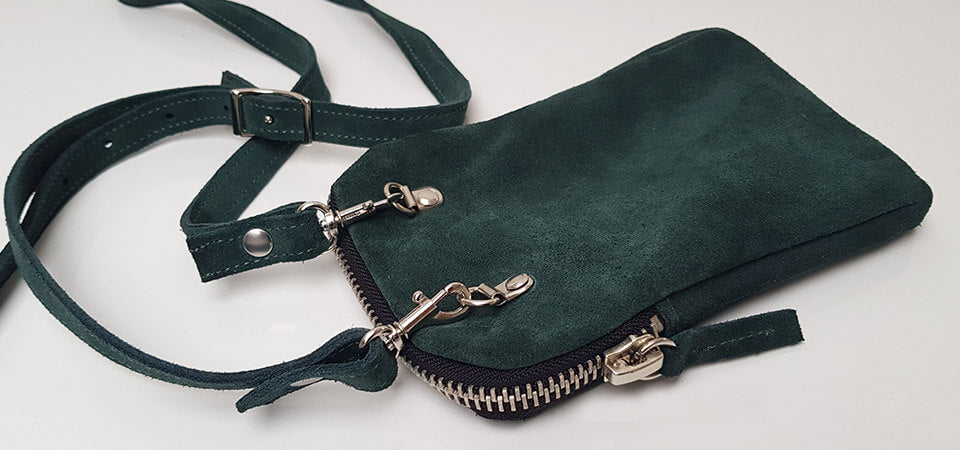
If there isn't enough length to cut a strap, add a bag chain.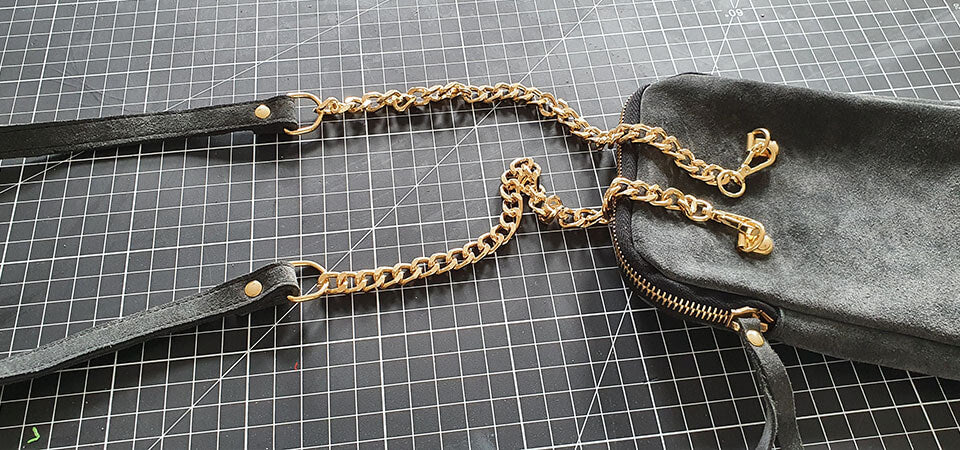
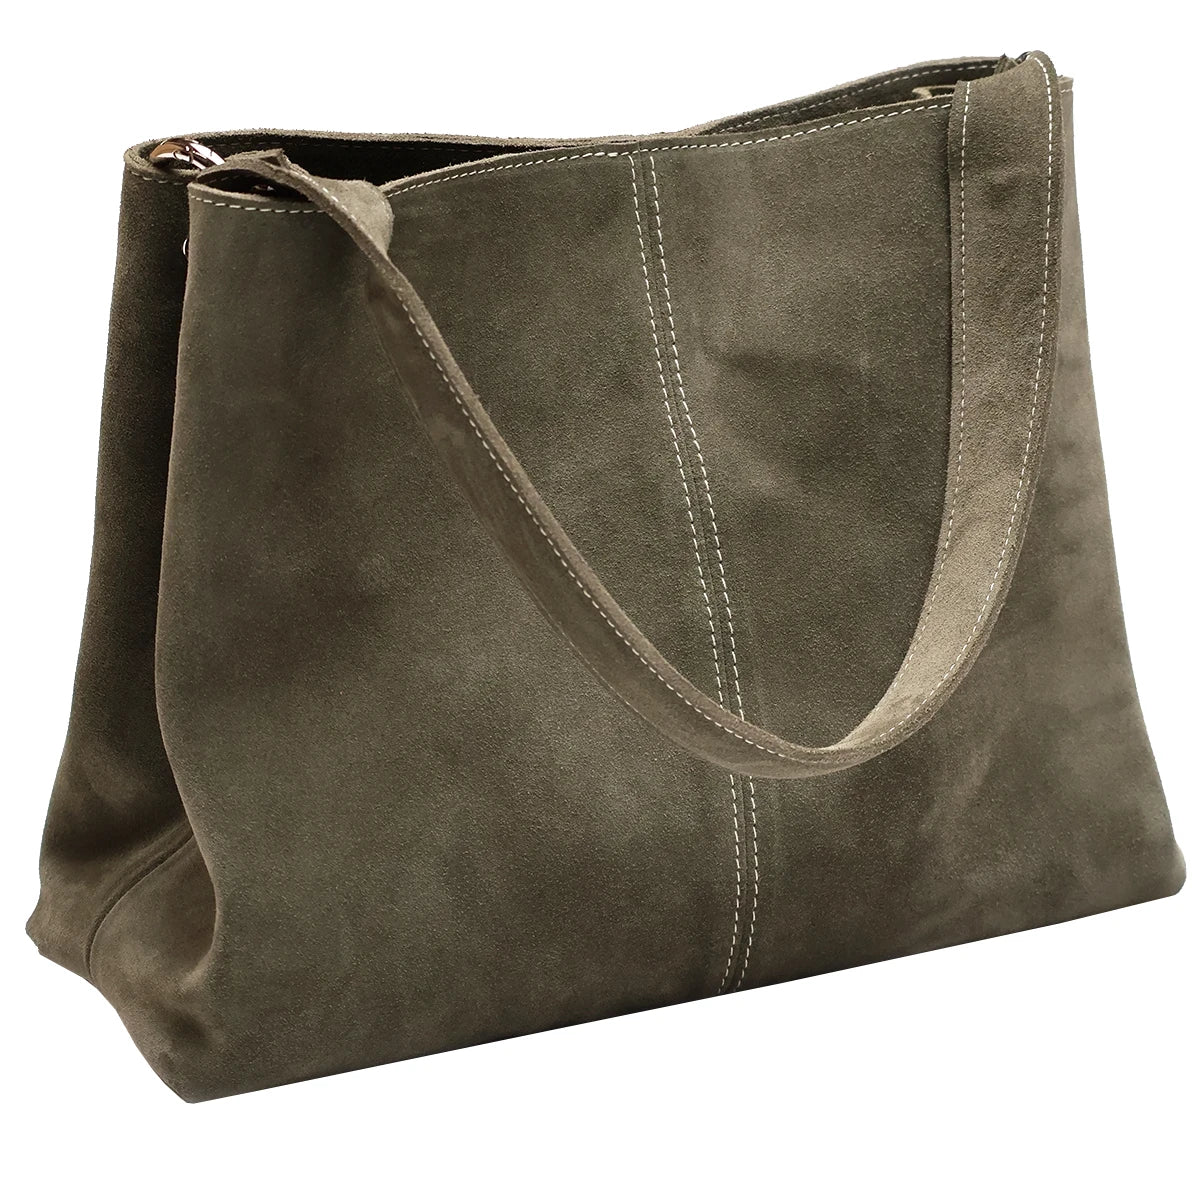
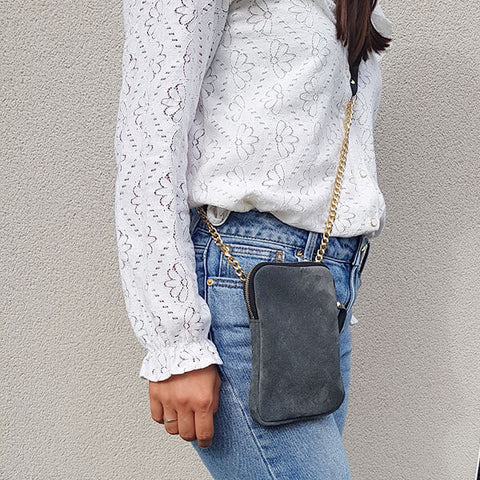
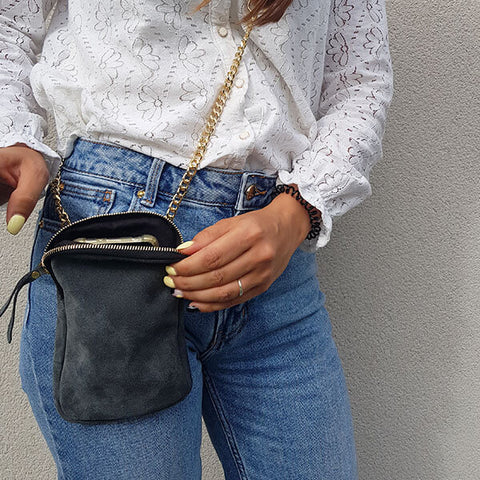
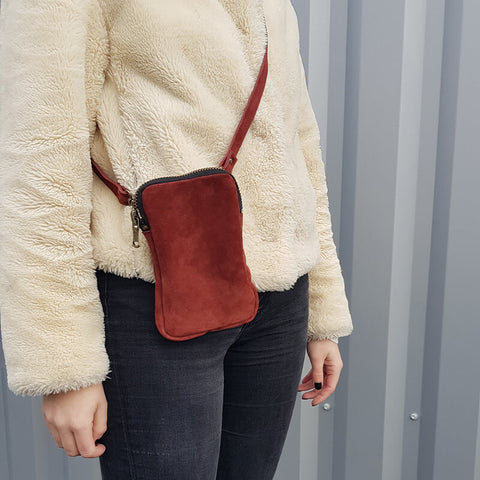
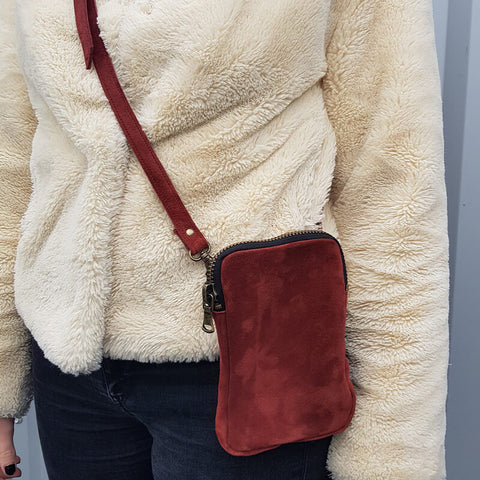
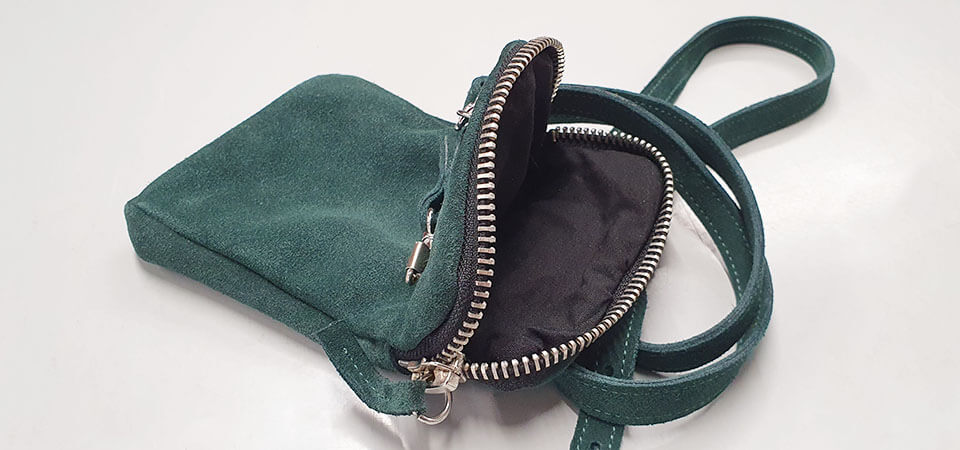
17. YOUR POUCH IS FINISHED!
 |
 |
 |
 |
DON'T HESITATE TO PIN THE PHOTO ON PINTEREST TO SHARE THE ARTICLE!


2 comments
Anonymous
Bonjour,
La machine à coudre utilisée pour le tutoriel est la TOYOTA POWER FABRIC, c’est une machine semi-professionnelle avec un double entraînement.
Bonne journée,
L’équipe Deco Cuir
Anonymous
Bonjour,
Pourriez vous me donner le modèle de machine à coudre que vous utilisez pour coudre le modèle 2 svp ? Merci par avance.