


Discover our equestrian buckles department


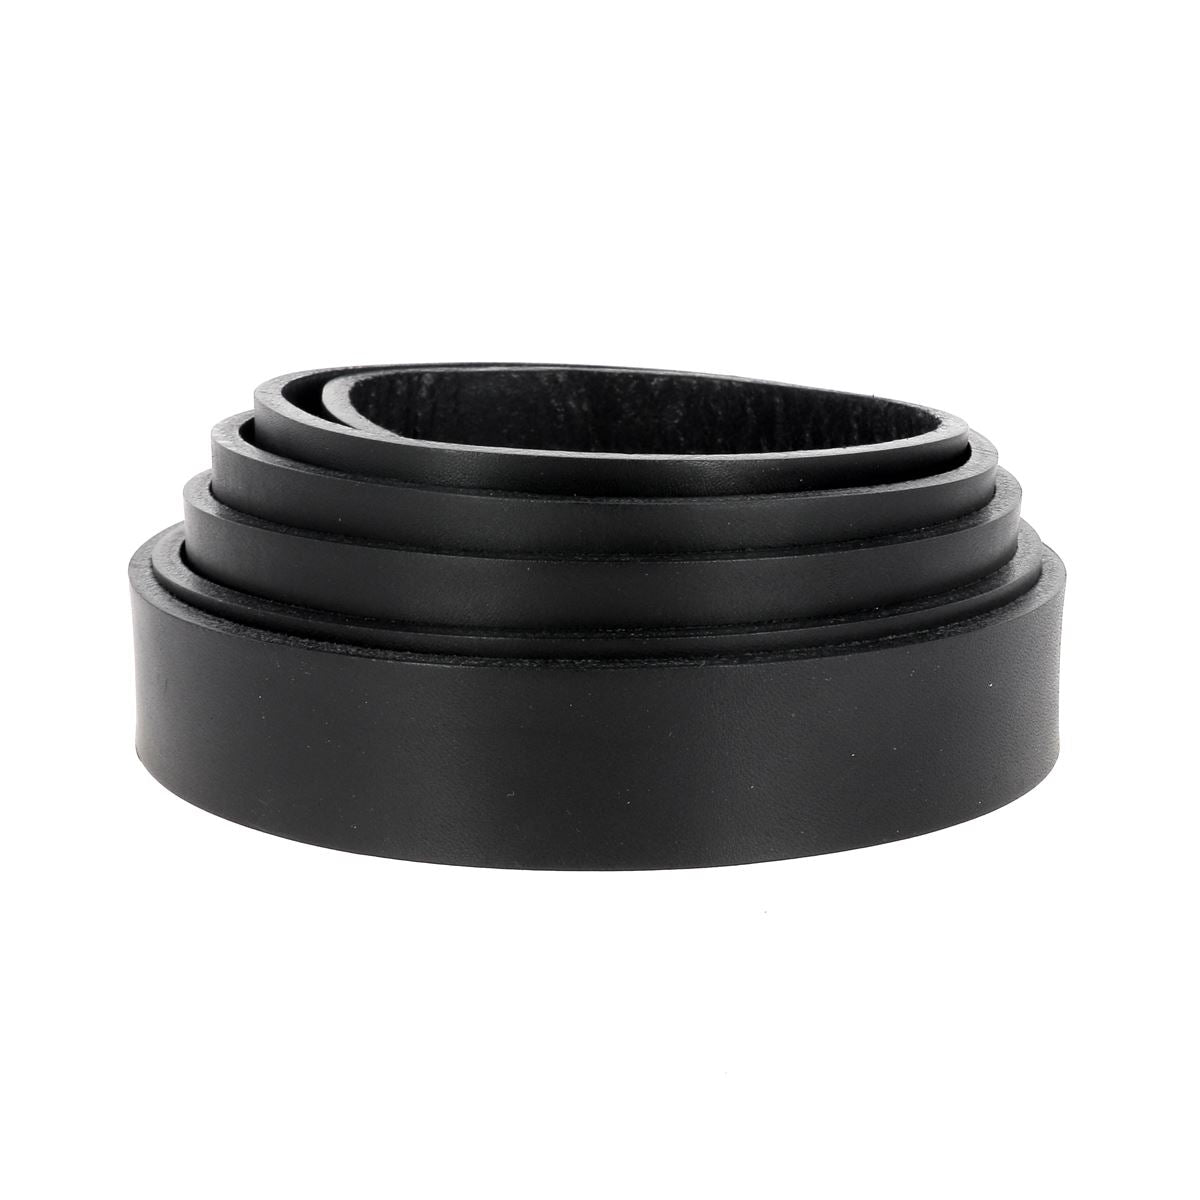
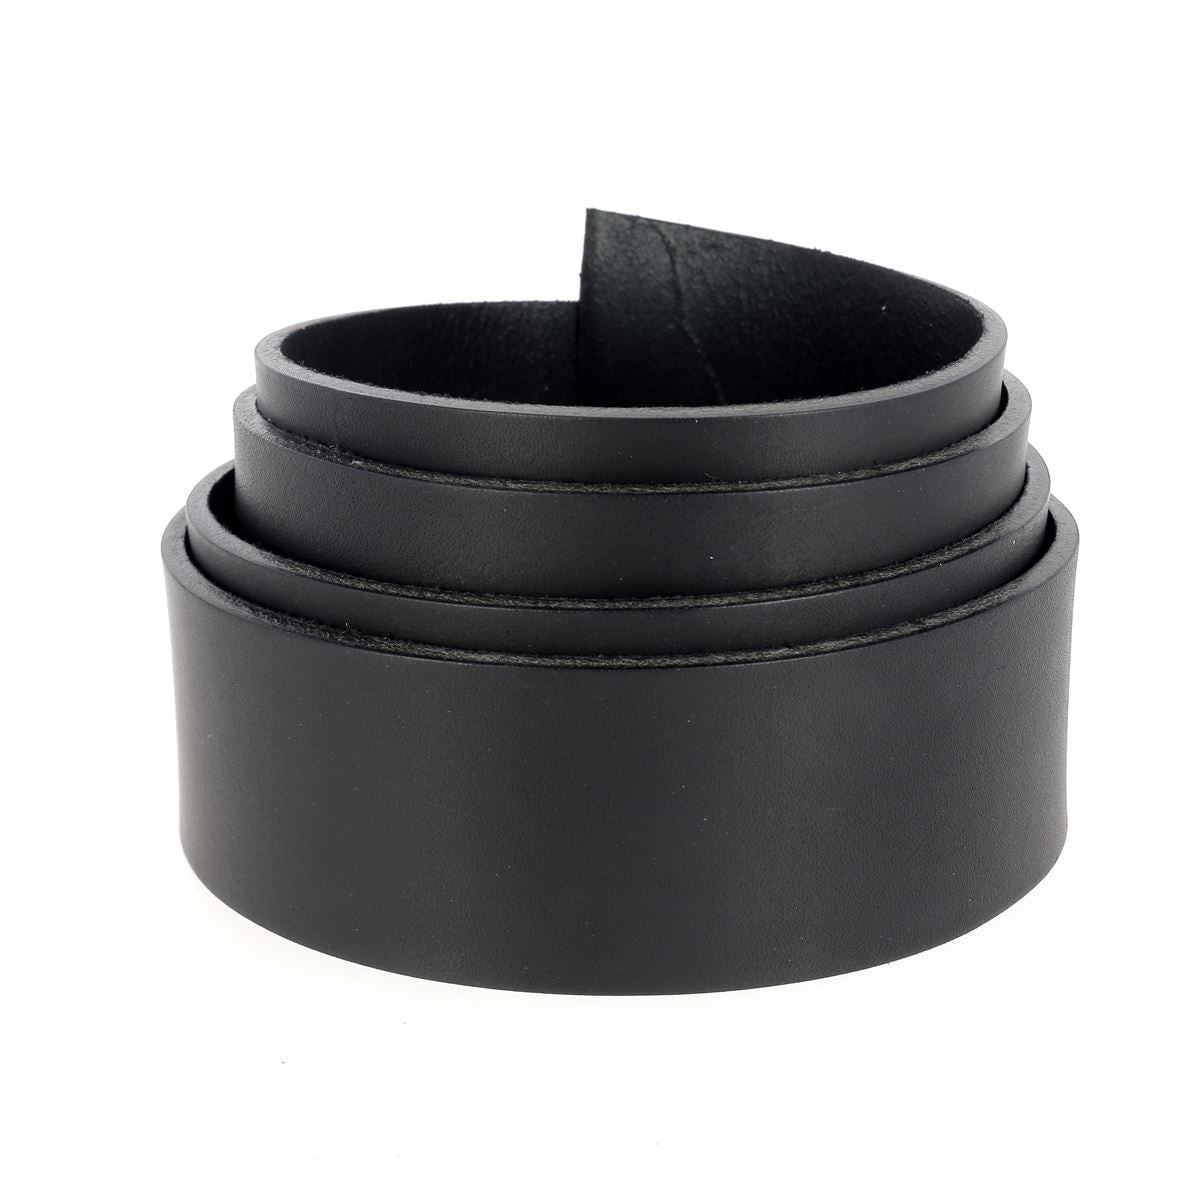
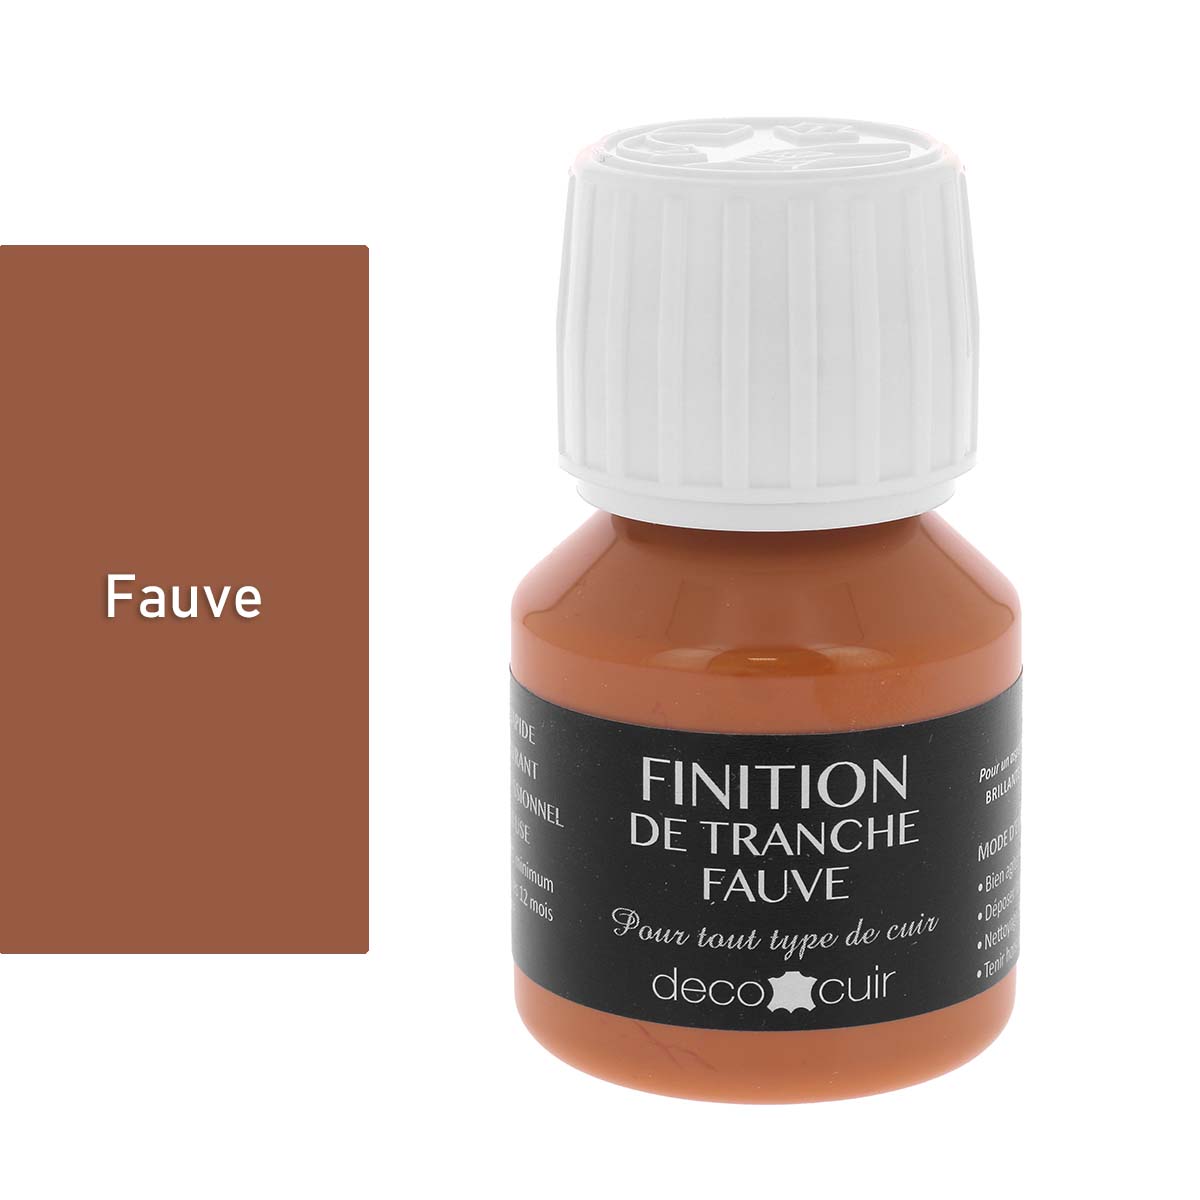
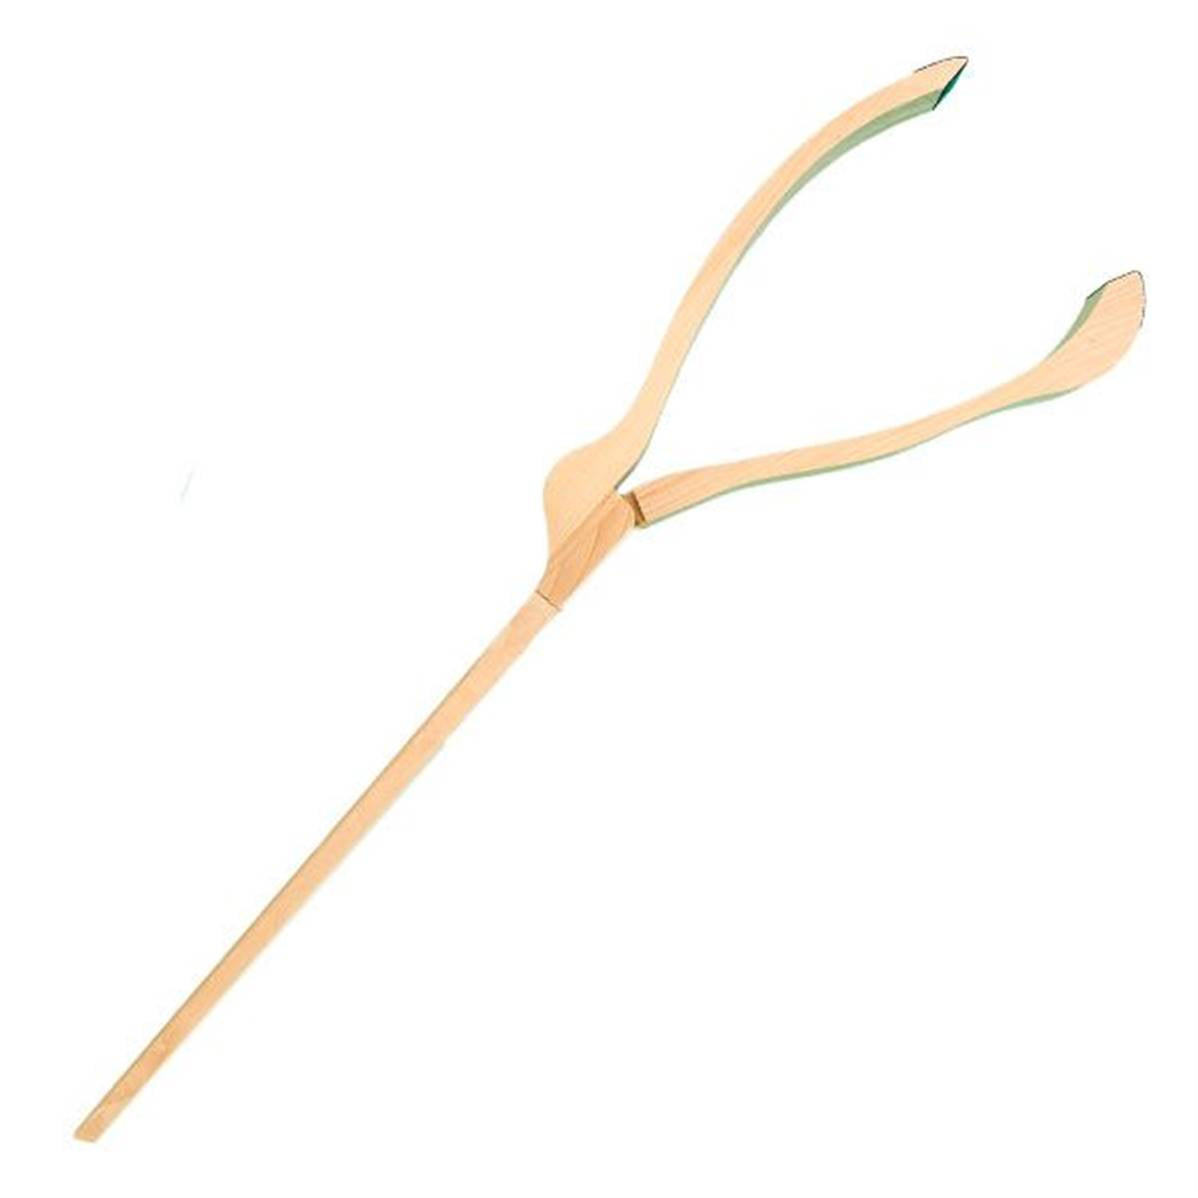
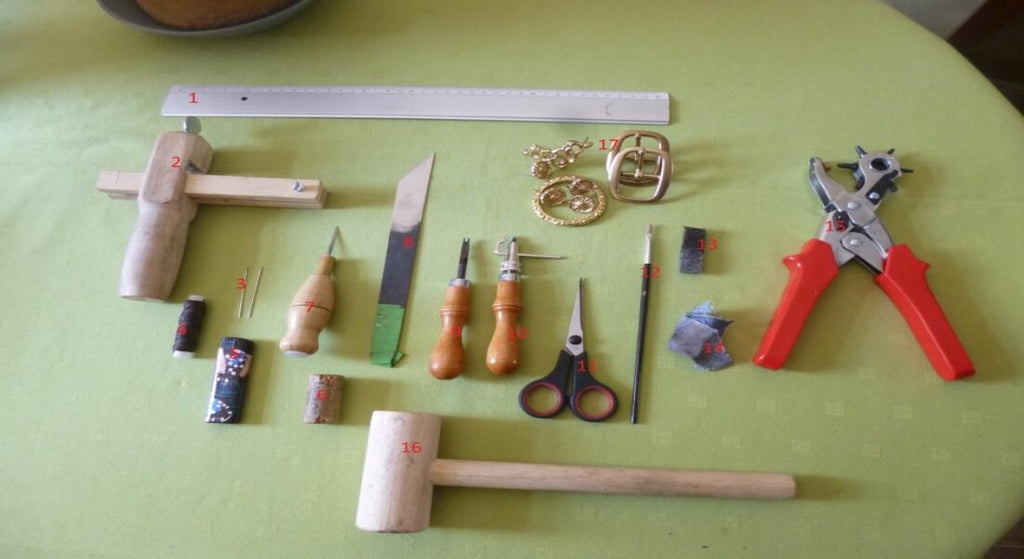
THE LIST OF MATERIALS AND TOOLS
- Lath / ruler
- Strap cutter
- Round-tipped needles
- Brown braided nylon thread
- Lighter
- Cork stopper
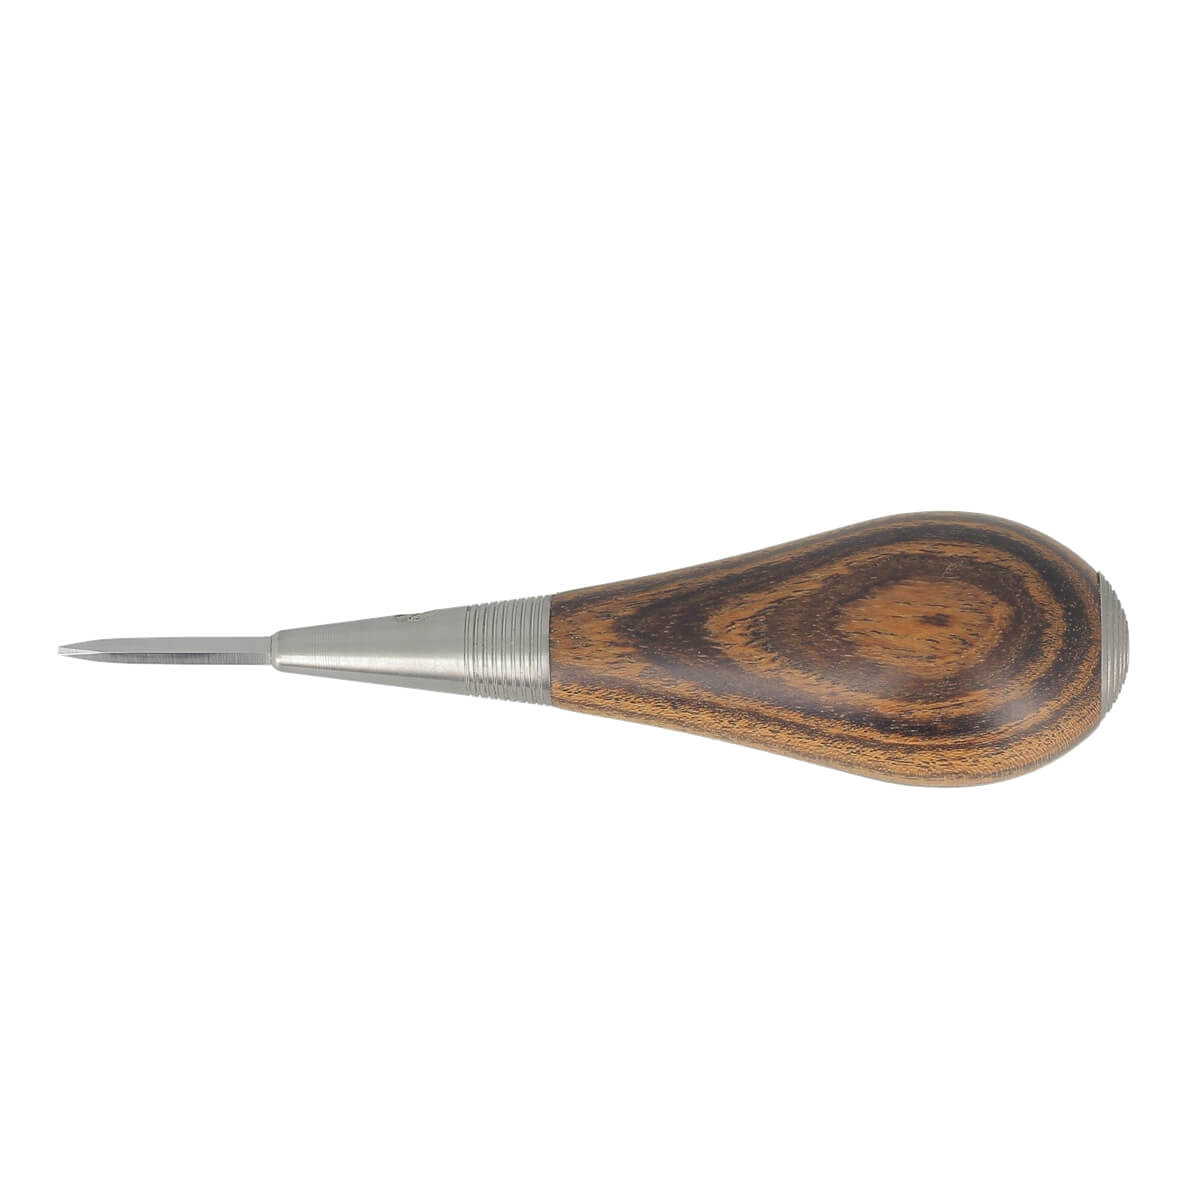
- Diamond-shaped awl / with pliers
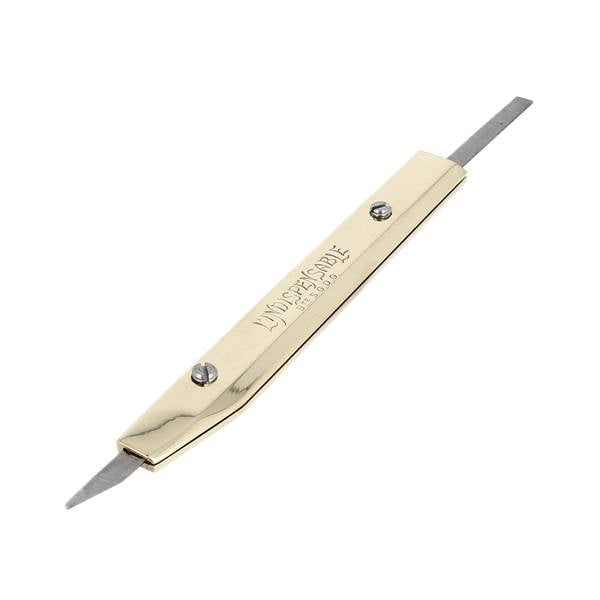
- Slicer
- Square abat-jour
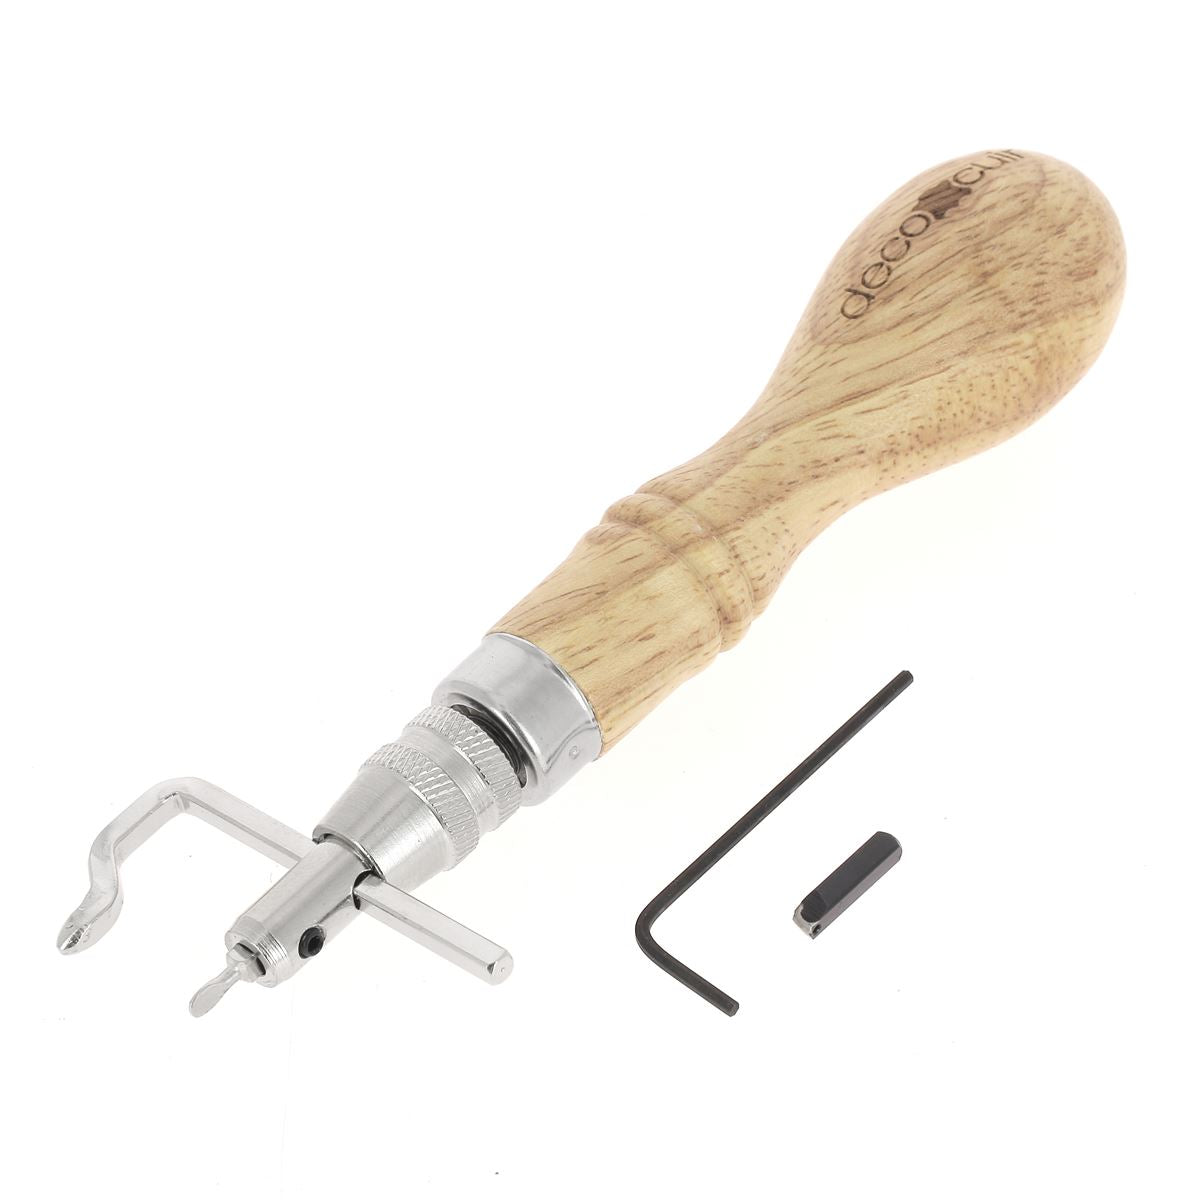
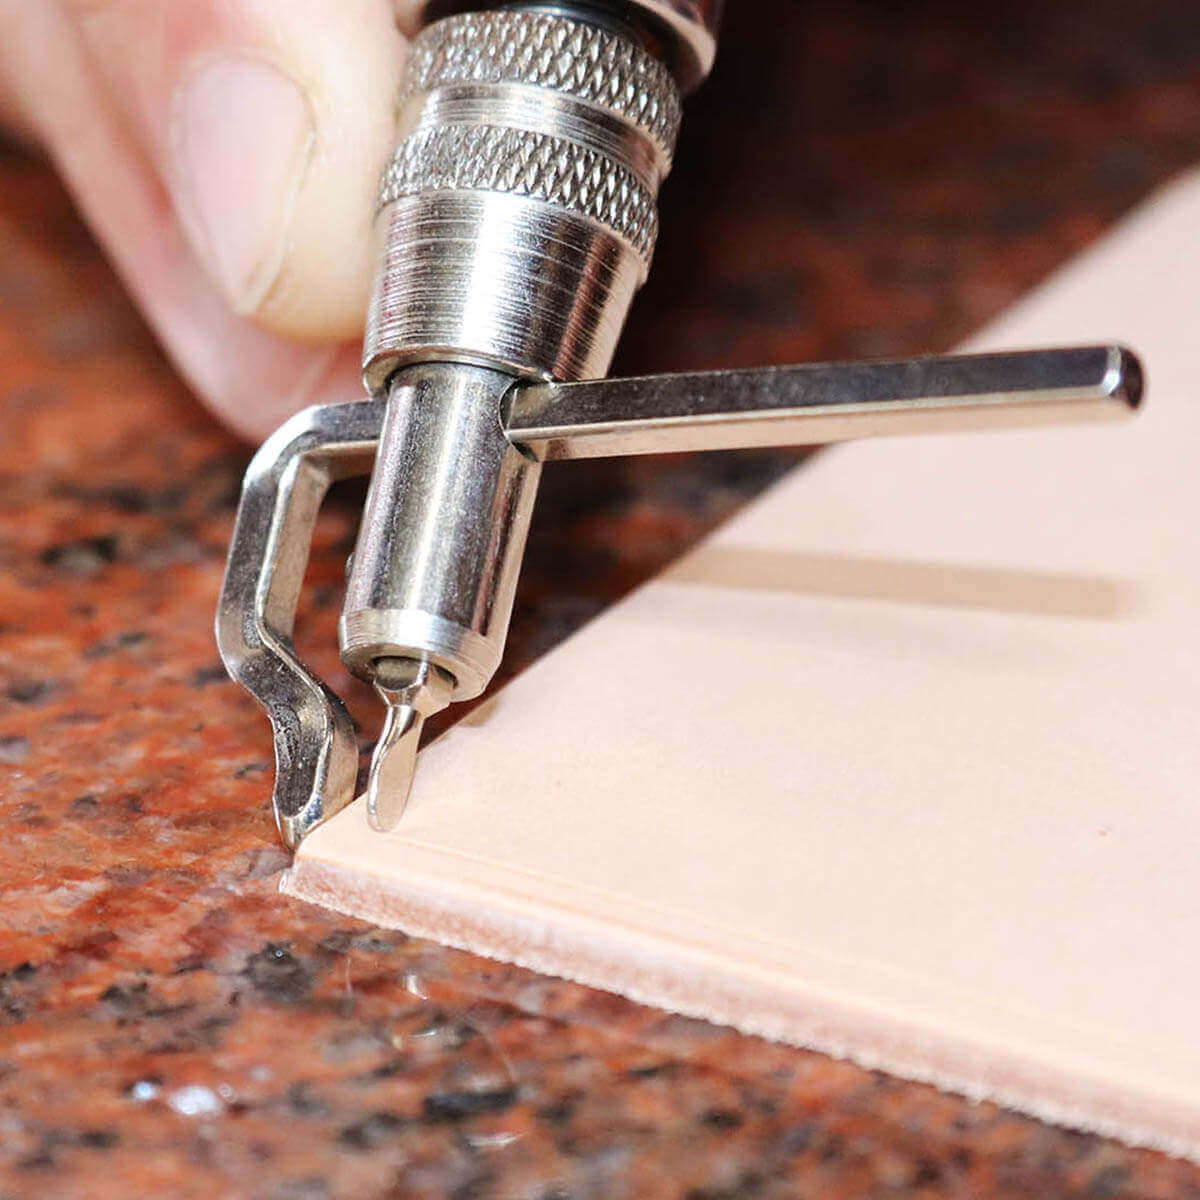
- Tree frog (or drypoint compass if you don't have one)
- Pair of scissors
- Brush for gum arabic
- Applicator for the dye (felt in this case)
- Piece of old jeans
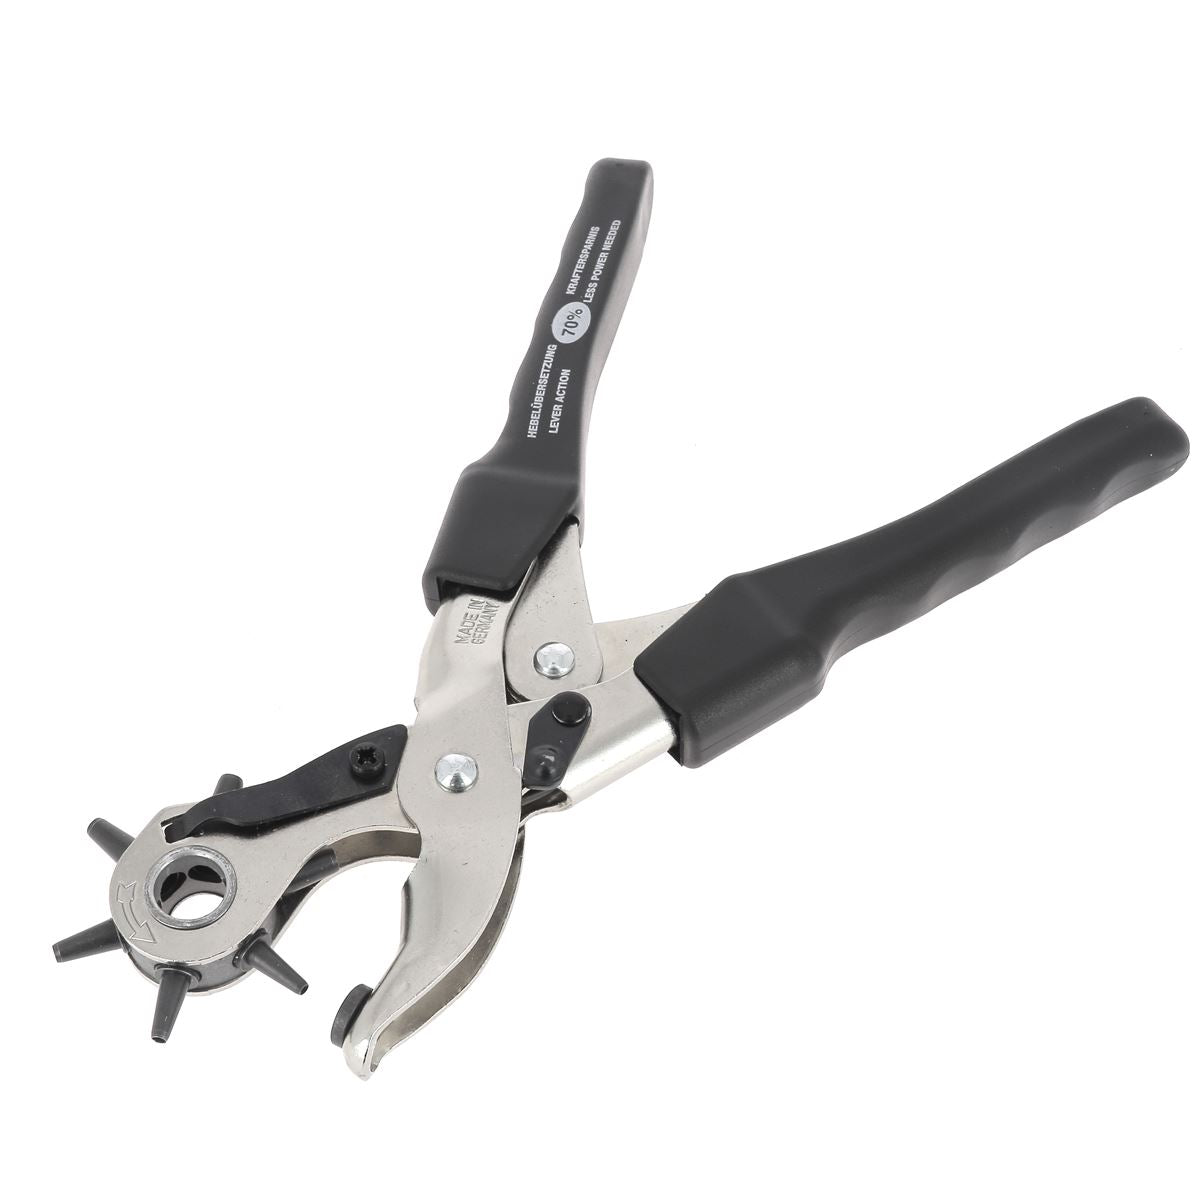
- Cookie cutter pliers
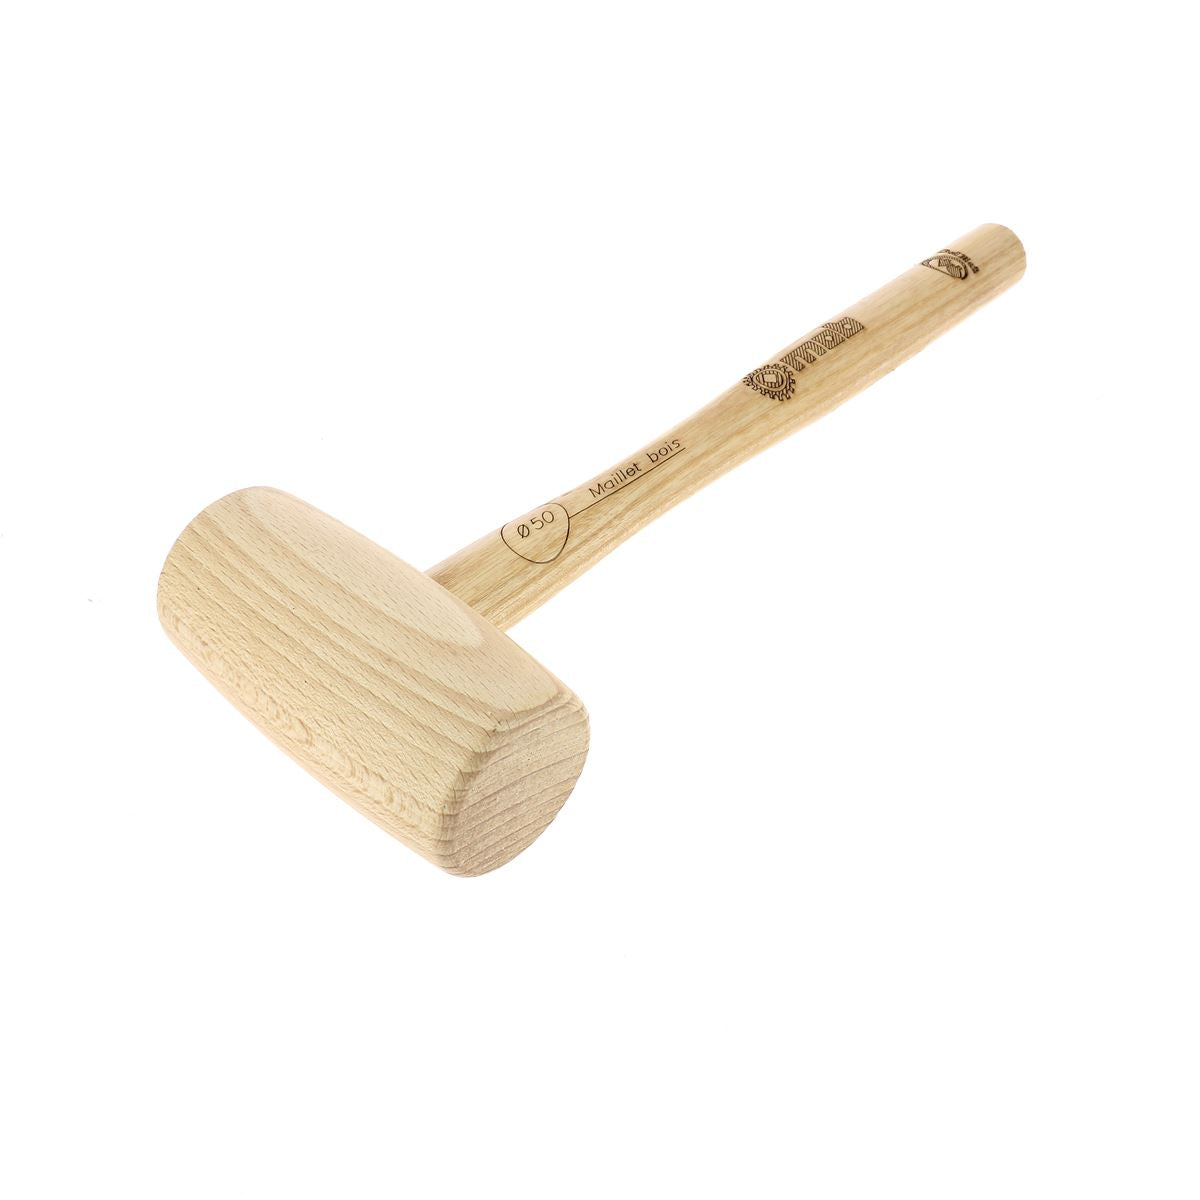
- Wooden mallet
In this tutorial, the dyed vegetable-tanned leather is 5 mm thick. You can easily make your halter from 3-3.5 mm leather. Vegetable-tanned leather is preferred.
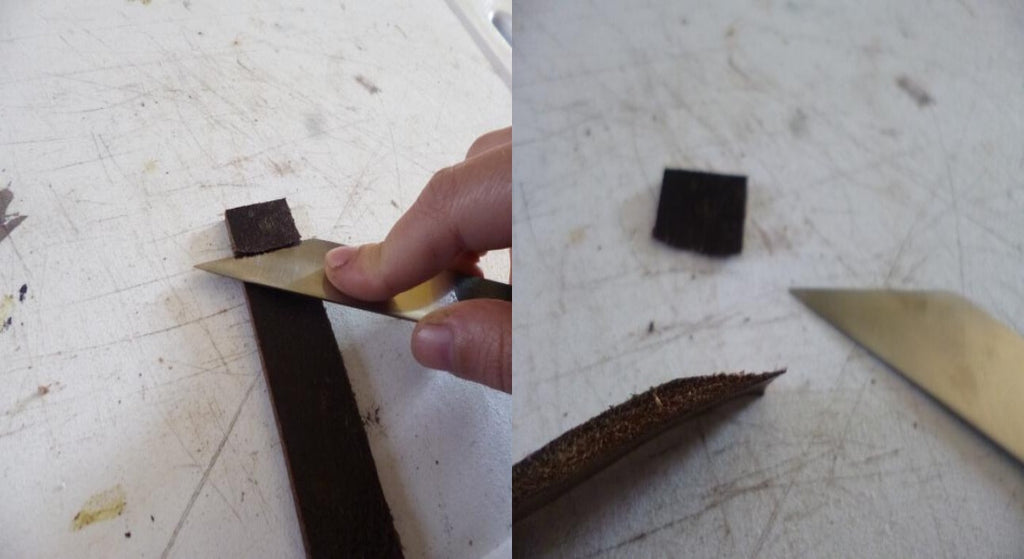
1. LEATHER TRIM - TECHNIQUE
- Trimming the leather allows you to thin the leather at each end to avoid excess thickness when several layers of leather are overlapped. Trimming has a definite aesthetic purpose, but also prevents injury, and more specifically in this case, preventing the horse from being cut by a protruding corner.
- Take a cutting knife and slide it diagonally from the inside to the outside, on the flesh side. If it's sharp, a simple cutting motion is all it takes to trim your leather.
2. FINISHING THE SLICES - TECHNIQUE
Square the grain of the leather as well as the flesh part. This allows you to break the corners so as not to damage your frame.
One exception: when the leather folds back on itself, you must not square the leather on the split side. Otherwise, there will be a gap between the two layers, and dirt will get in there. 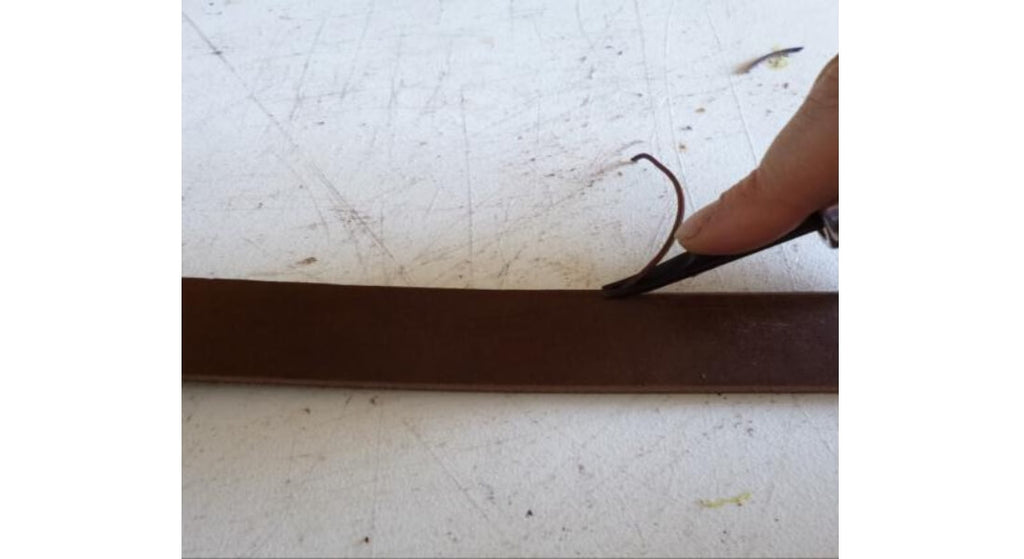
Sand the edges then apply the stain using a stain applicator (be careful to use a water-based stain and not an edge finish, otherwise the gum tragacanth will not be compatible).
Cover the slices generously, taking care not to spill onto the already dyed leather. 
Take a dye brush or applicator and cover the edges generously, being careful not to spill onto the grain of the leather. Wait a few moments, change brushes, and apply the gum arabic.
 Take a piece of old jeans or a cloth and vigorously rub the edge of your leather. Work in small increments, the goal being to heat the jeans, which in turn will heat the rubber, allowing it to soak into the leather and give you a beautiful shiny finish.
3. LEATHER SEWING - TECHNIQUE
You don't want a beautiful halter with crooked seams, do you? Practice saddle stitching!
On a piece of leather, draw a stitching line with your dry-point compass or a seam guide. The seam guide allows you to embed your seam into the leather, thus avoiding friction on it; the compass only tells you "where to sew," it does not have this functionality.
Then mark the stitching points with a marking wheel. 
Place the pieces of leather to be joined in the saddler's clamp / sewing clamp. The stitching line should be visible but as close to the clamp as possible. Your thigh presses down on the clamp, wedging everything between its jaws. 
Thread a needle on each side of your thread: Pass the end of the thread through the eye of the needle, bend the thread to the point of the needle, and insert the needle through the thread. Pull the needle through completely. Do this on both sides of the thread.
Notes : The maximum length of the thread will be the length between your two arms spread apart. Using a longer thread is an aberration. It is quite normal to end up too short with a thread for large pieces to sew. When this is the case, you must go back 2 to 3 stitches with your thread and resume sewing at the last stitch towards you with your new thread. 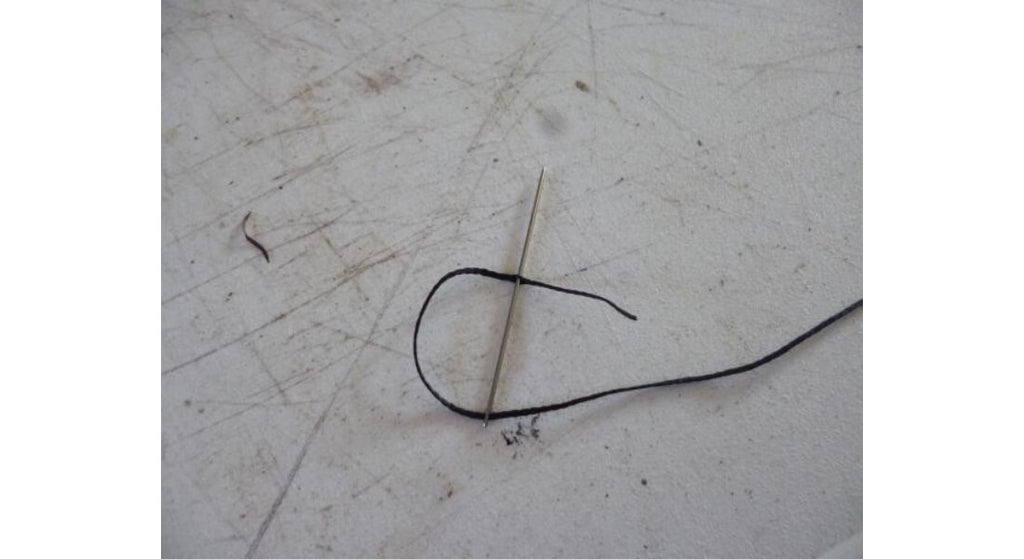
For the first stitch:
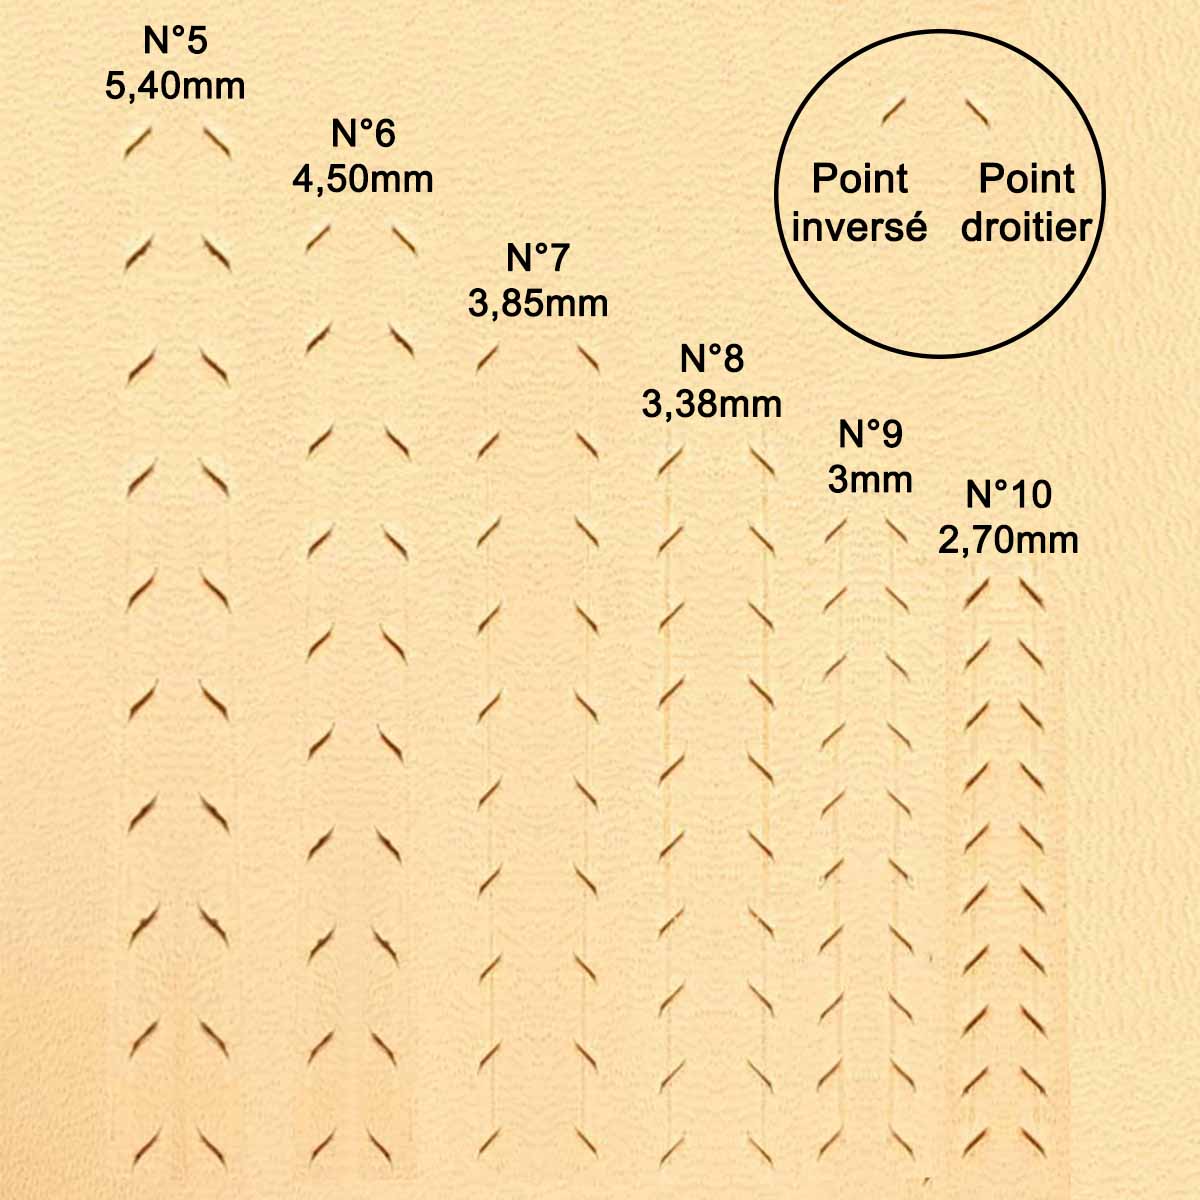
Pierce two holes using a diamond-shaped awl. Sew from your knees towards you. 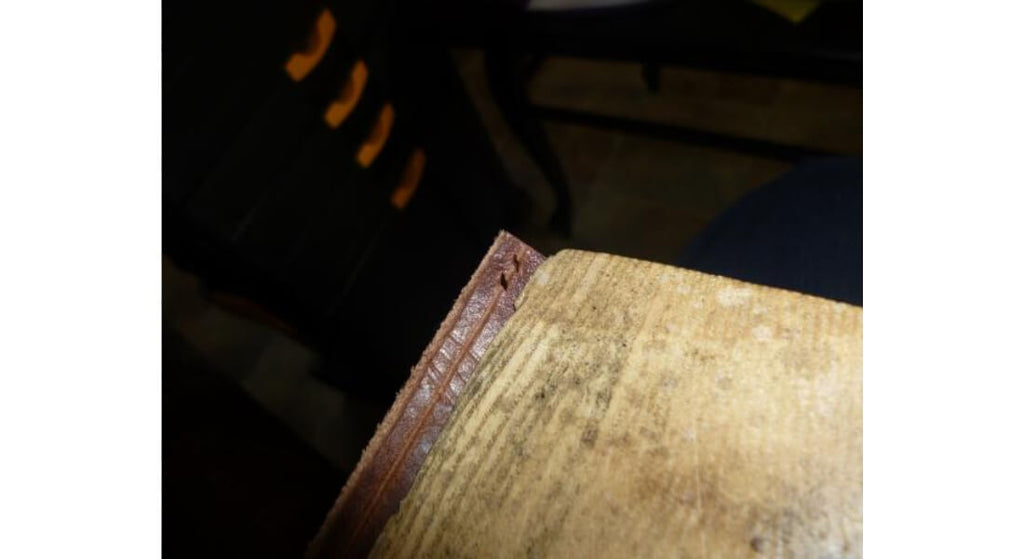
Here is a diagram of the correct angle of the awl hole and placement of the needles in a sewing hole. 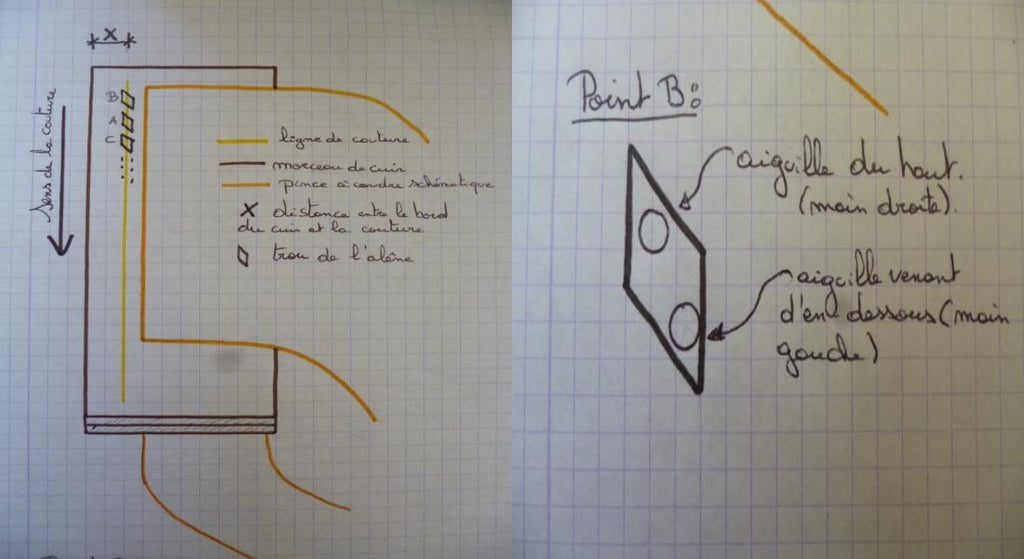
Tip : Place a cork under the leather where the awl will pierce. This will hold the leather securely and allow you to pierce straight without hurting yourself. 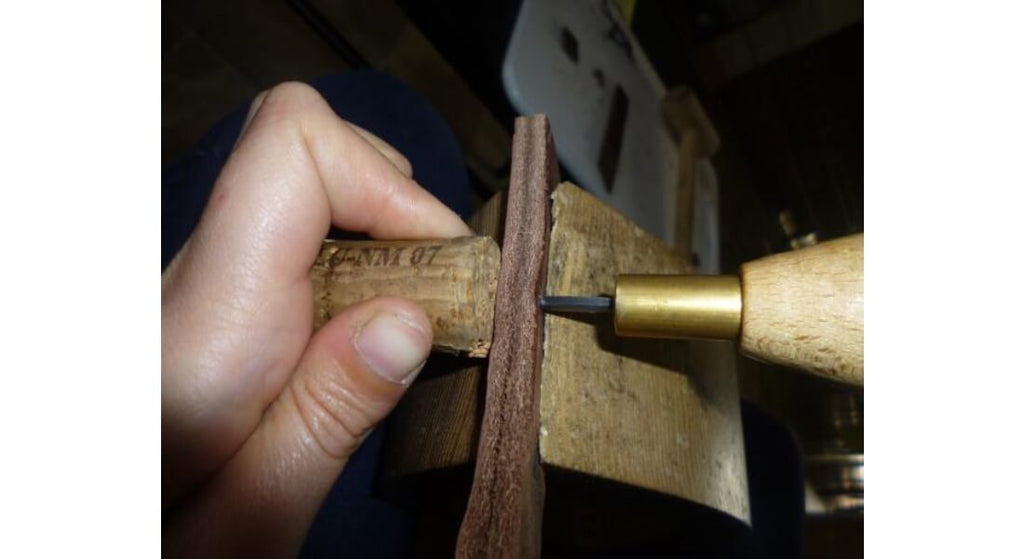
Pass the thread through hole A (see diagram) and arrange to have the same distance of thread in both hands. 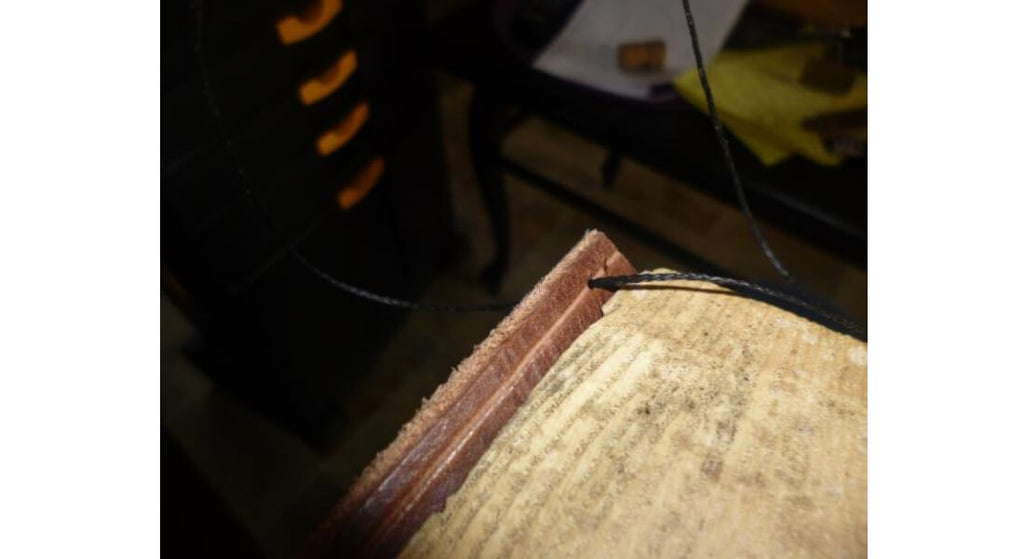
With your left hand, pass the needle through hole B (from under the leather), towards you in the hole. With your right hand, insert the needle into the same hole (B), but this time, as far away from you as possible in the hole. (See diagram)
Both needles should be inserted into the hole at the same time, before pulling the thread. 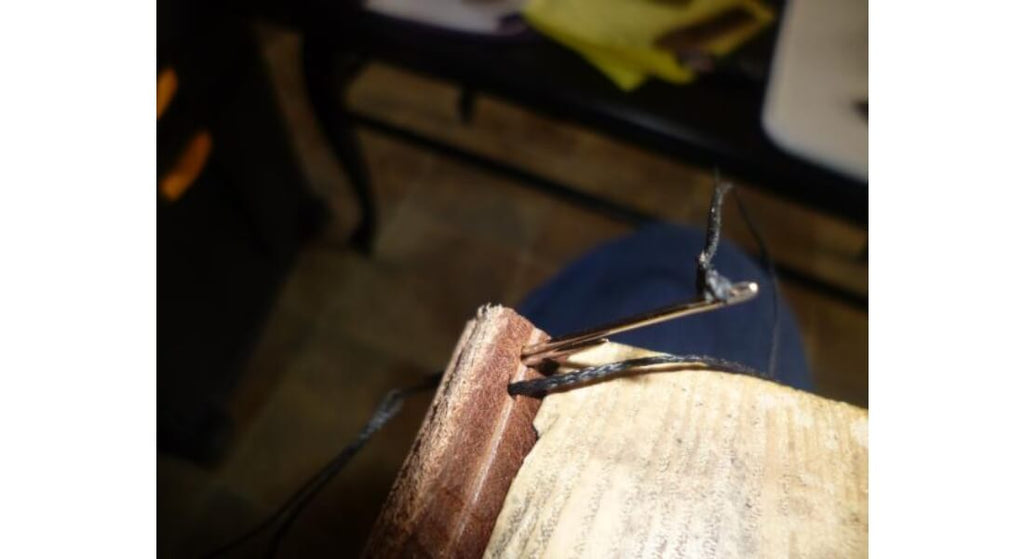
Pull the needles. Be careful to have the same thread tension in your left and right hands.
Tip: Push the thread with your thumbs to slide the needles through, not on the eye of the needles. This will help you avoid pricking yourself when the needles cross.
Go back through hole A in the same way. Needles facing the same direction. Your first stitch is complete. 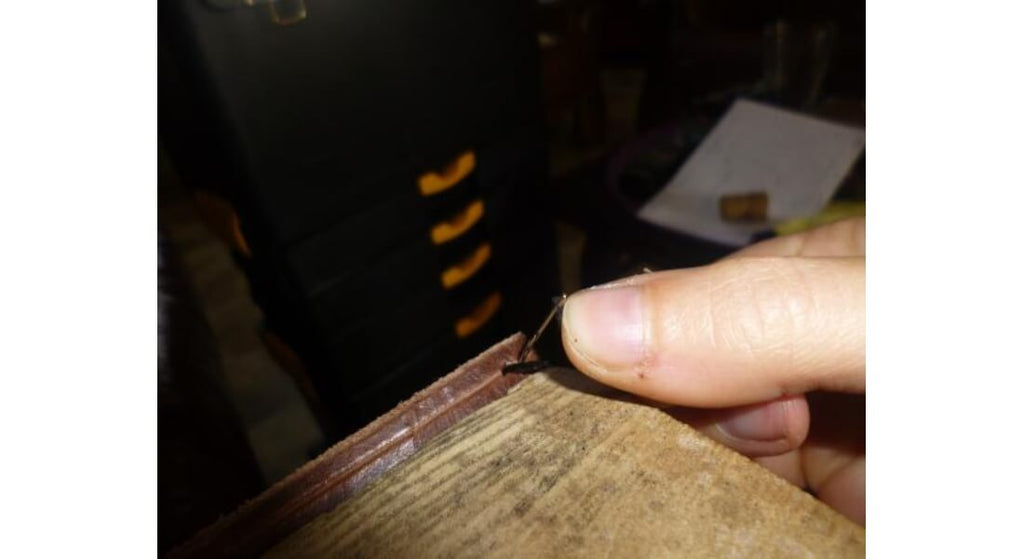
Go to point C and continue to the last point. 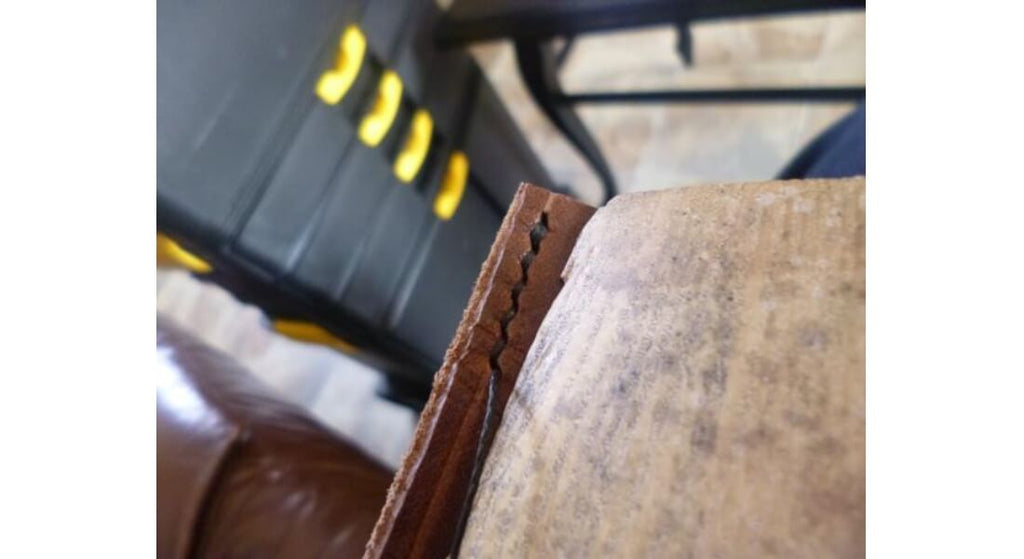
Backstitch: Pass the needles through the last stitch and back again in the same way.  Cut both wires leaving a few millimeters.
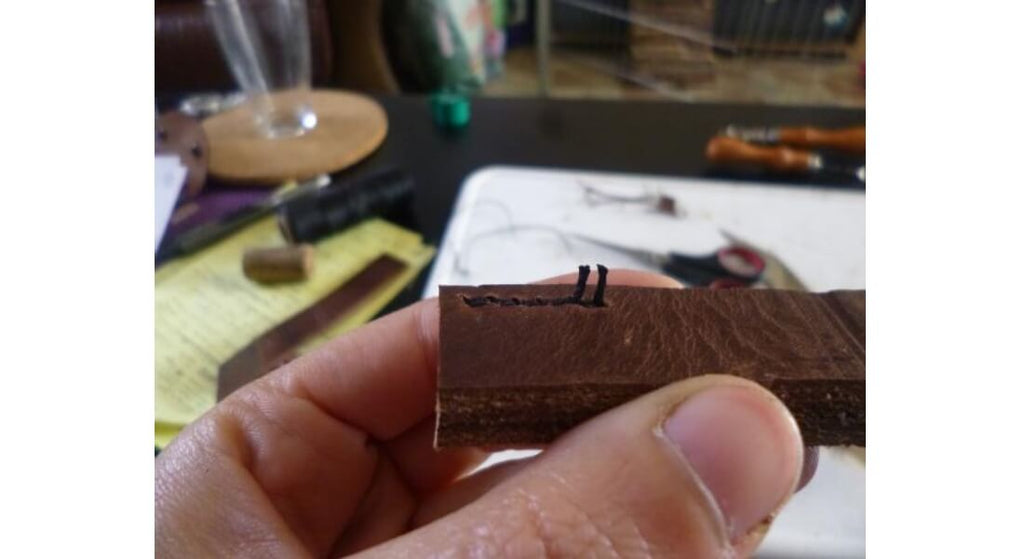
Burn the ends of the threads with a lighter, then when the nylon is melted, flatten the threads.  Here you can see that the melted and flattened thread will prevent the thread from unraveling. This is more aesthetically pleasing and takes up less space than a double knot.
  Last step: hammer the seam.
Take a riveting hammer or a joining hammer and strike your seam. Be careful to strike flat. 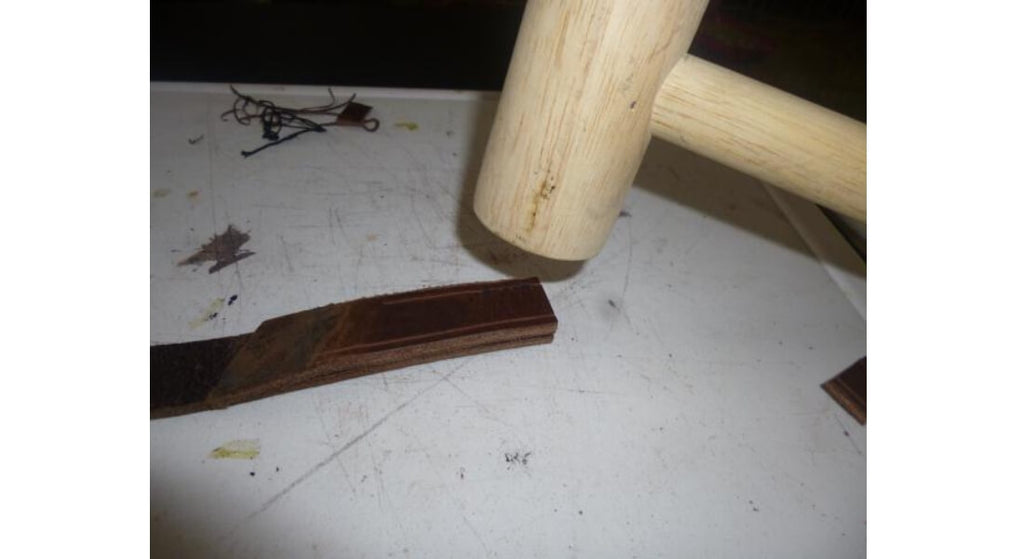
4. MAKING THE HALTER - TUTORIAL
Either prepare all of your pieces before sewing, or prepare them one at a time. Here we will cover them one at a time for better understanding.
We will use the following terms:
LF = finished length of the leather piece, in centimeters
LC = cutting length / leather length, in centimeters
The measurements used are "full size" type, however it is preferable to take your measurements on a halter at home, and adapt the measurements that will follow.
The noseband and cheekpieces will be custom-made according to the pattern you have created to your liking. In this case, they were made from vinyl scraps, which are flexible and easy to cut.
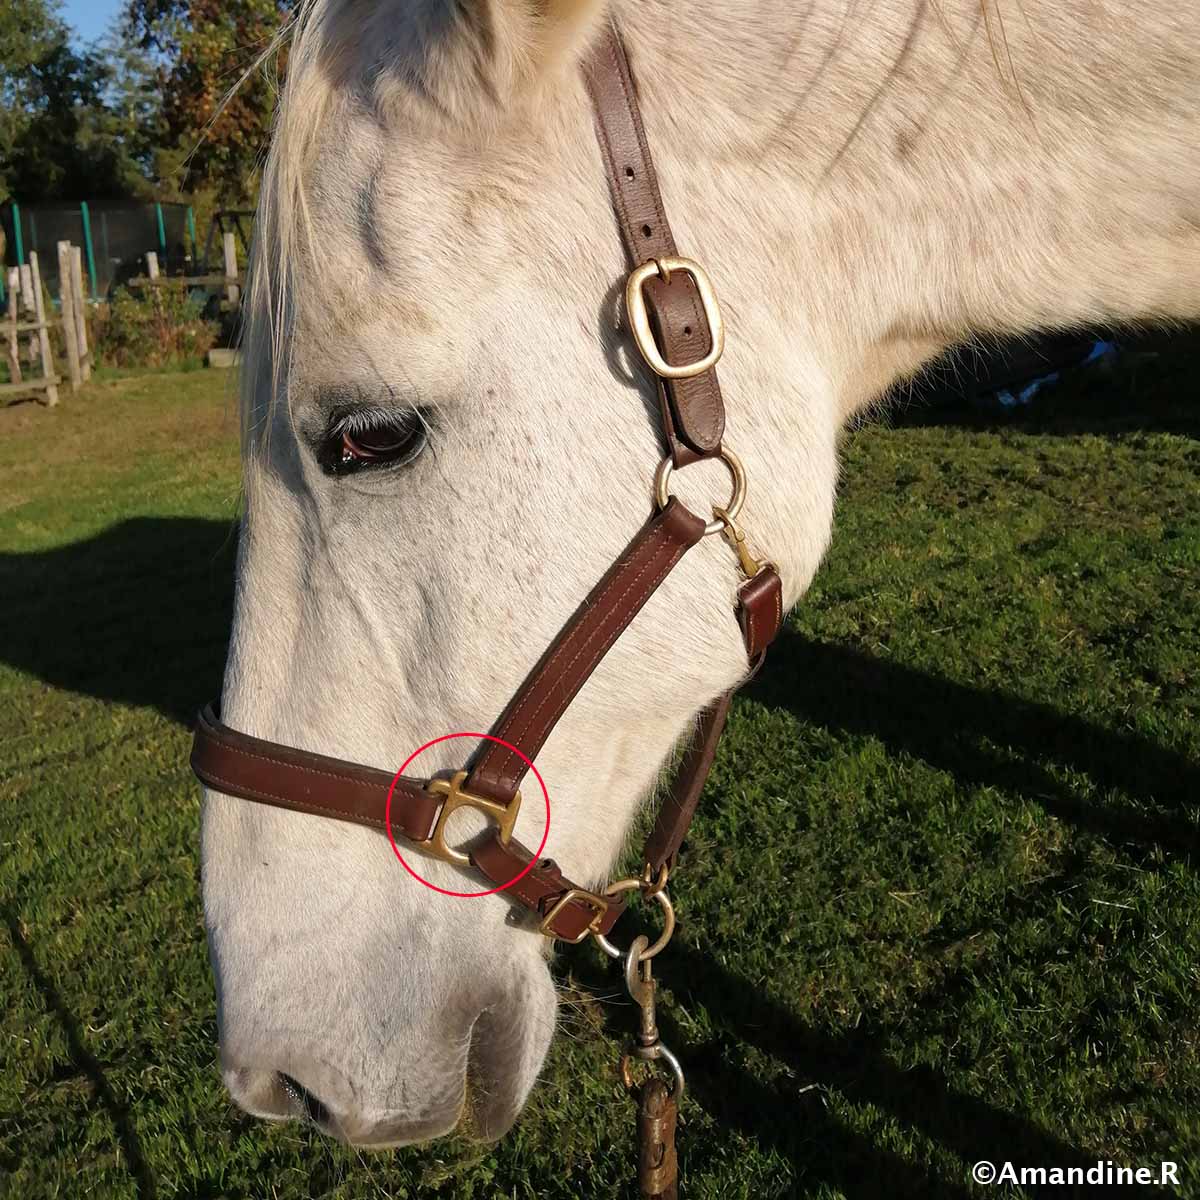
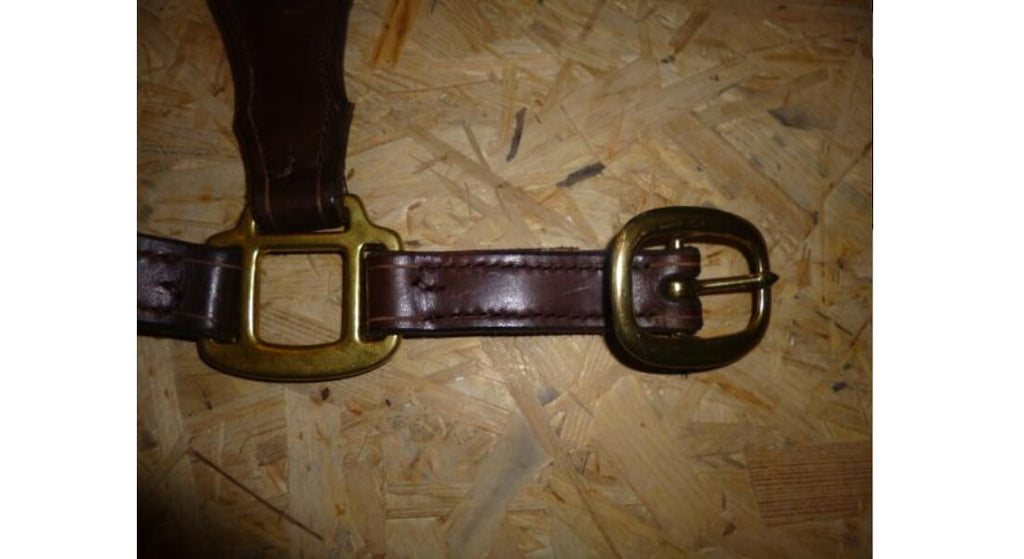
The under-beard, throat latch, wedding band, and two buckles will be 25mm wide. Therefore, you can cut a length of leather 25mm wide. Depending on the size of your hide, you may need a second length. Note that you will need approximately 315 cm of length.
The stitching lines will be made 4 or 5 mm from the edge of the leather, according to your preference. Each sewn piece can be glued in advance with your neoprene glue (or any other glue that can bond leather). But this step is never mandatory.
5. MAKE THE HEADREST
This headpiece will be doubled. Once the piece is cut, make a saddle stitch. Try to have a stitch length +/- 1/3 of the width of your piece.
LF = 60 cm
LC = 60 cm + 60 cm +1 cm for the ring covering = 121 cm leather length by 25 mm width. 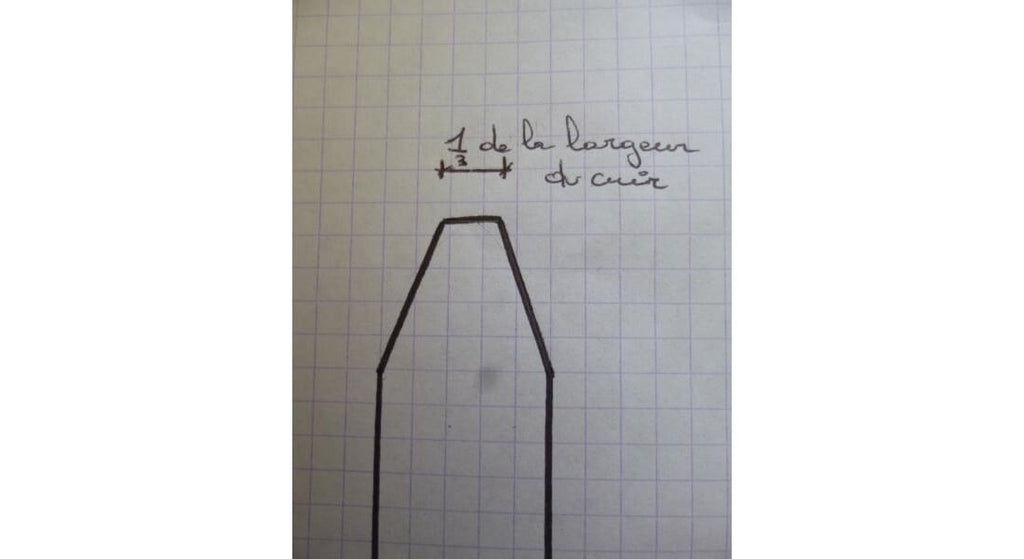
- Fold the leather in half to make the same point on the other side of the headpiece.
- Unfold
- Pass the tile on the flower side (and not the flesh side, since the piece is doubled), tint and apply the gum arabic.
- Trace the seam line all around the edge.
- Fold the leather in half again, tap the fold with a mallet and insert the ring into the fold.
If your leather is not of very good quality, remember to moisten the curve of the leather before folding it, to prevent the grain of the leather from cracking.  Sew, starting at the ring and following the stitching line.
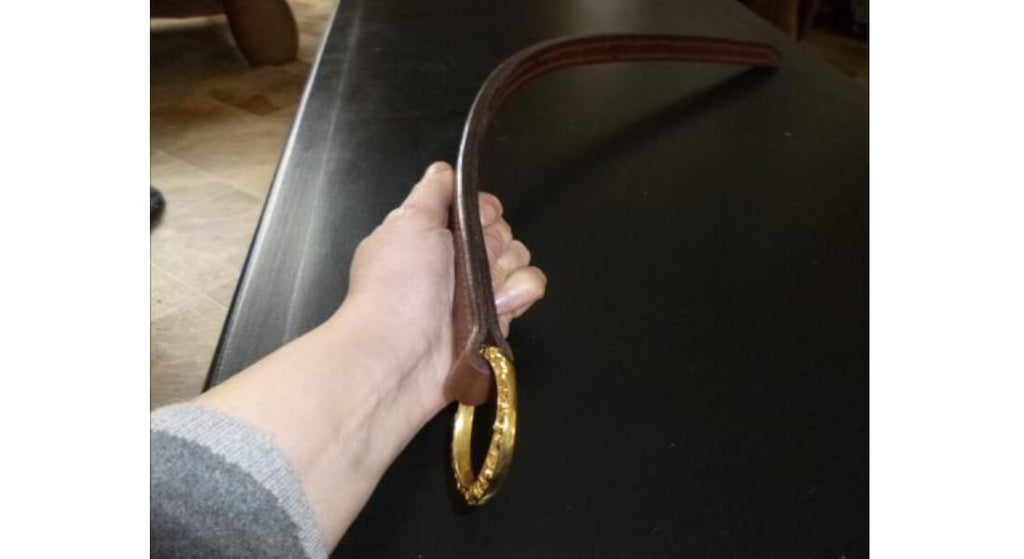
6. THE NOSEBAND AND THE 2 UPRIGHTS
Take your noseband pattern and the amounts, and transfer them onto the piece of leather using a fine steel point, or simply a round awl.
Remember that the halter is made up of two pieces, so you have to repeat it twice.
- Cut the 3 pieces along the line using your cutter. Be careful.
- Also cut out a rectangle of 26 cm x 10 cm and 2 others of 14.5 cm x 6 cm
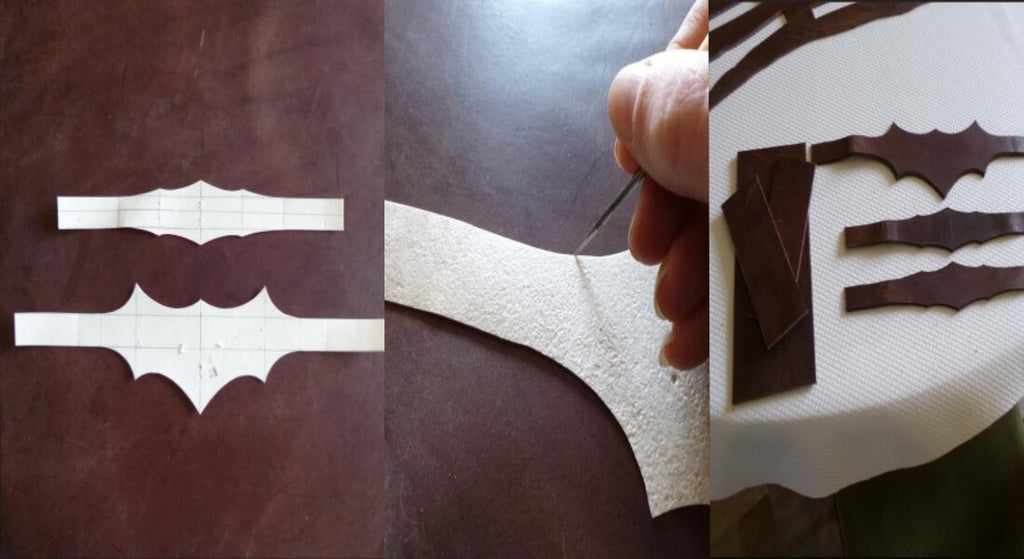
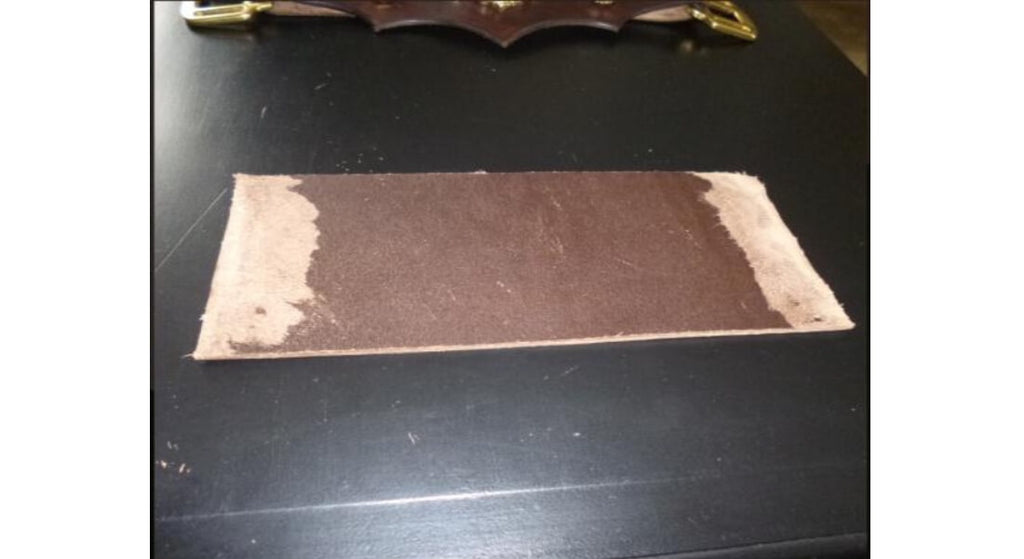
- Trim the ends of the noseband, the ends of the cheekpieces and each end of the rectangles.
- Pass the square brush on the flower side over all the pieces except the rectangular ones, stain, rub the gum arabic and make your stitching lines.
- Place the decorations on the noseband and on the cheekpieces. If they are fold-down points, as in this case, fold them towards the inside of the decoration.
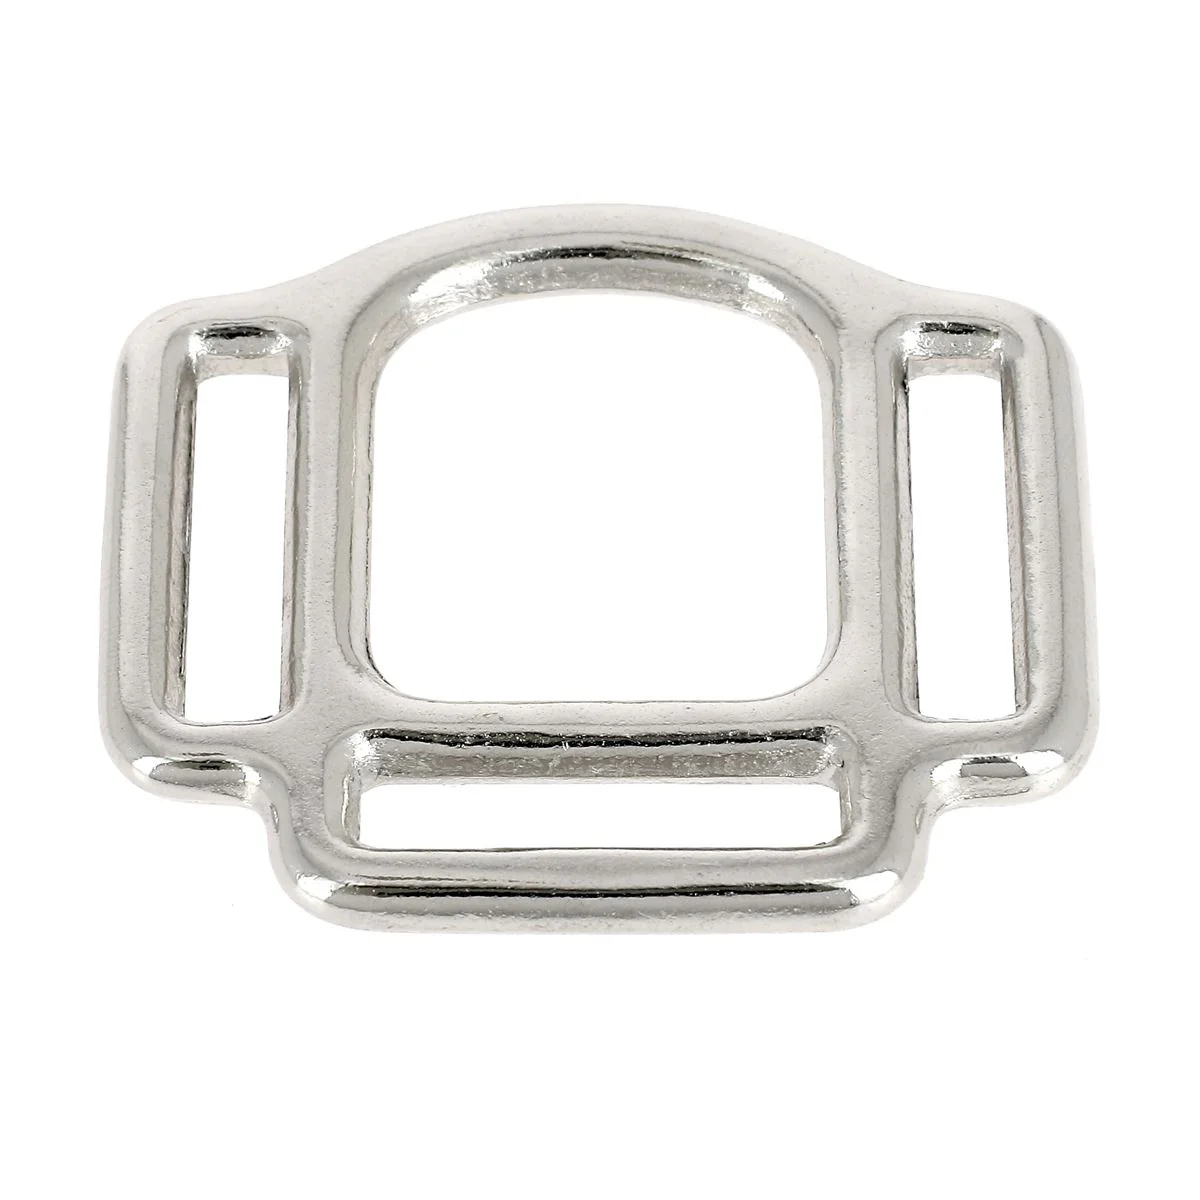
- Insert the halter squares into the noseband and fold the two ends inwards.
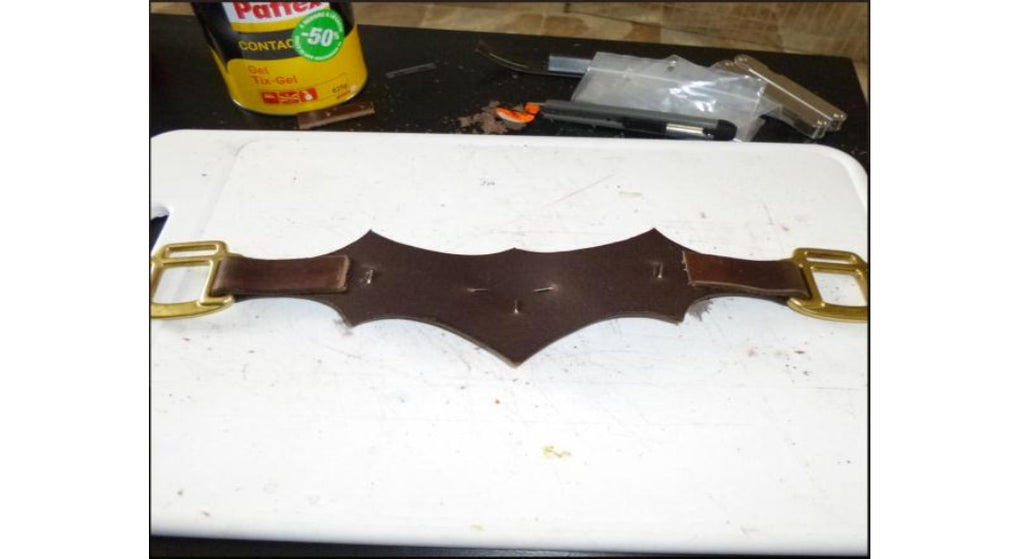
- Take the larger rectangle and place it against the noseband.
It should reach as far as possible towards the squares. Is it too short? You will have to curve the noseband to sew, the inner side is therefore smaller than the outer side (the visible side). If your rectangle is not short enough, you must shorten it without forgetting to trim the narrowed side again. This allows you to have a presentable halter, with a curved noseband and not a flat one.
We strongly recommend gluing at this stage, this will make sewing much easier. 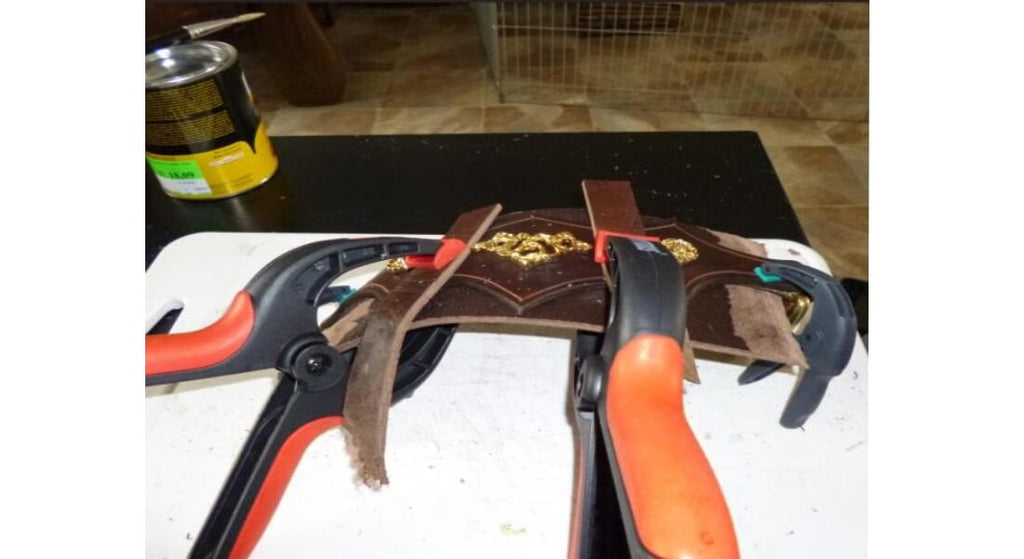
Sew from one square to the next, following your line. Be careful not to insert your decorations into your clip, as this could damage them. 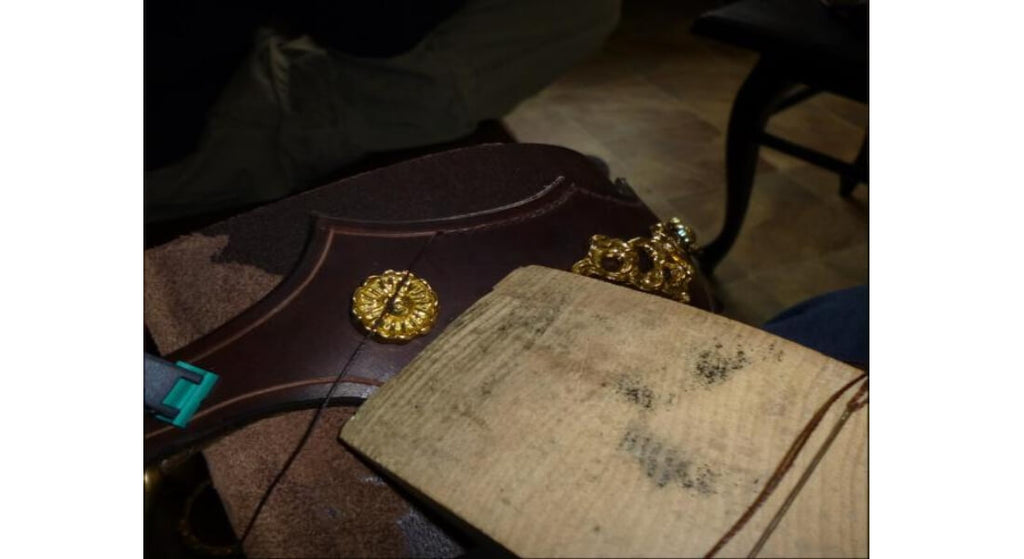
Once the bottom and top of the noseband are stitched together, cut off the excess leather with a knife.
The leather being soft enough for this, place the noseband flat for the cuts. 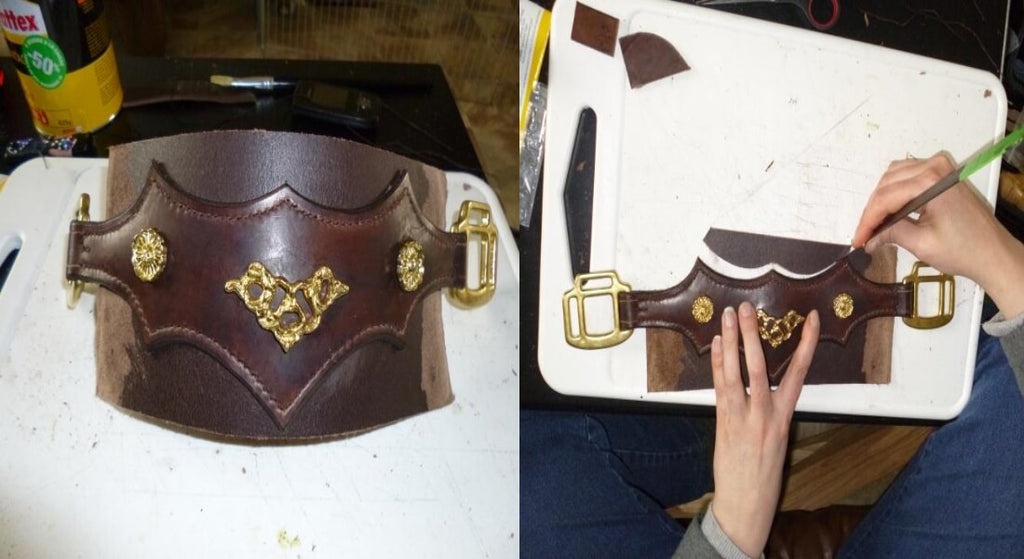
This process allows you to have your curves at the back perfectly identical to those at the front, something impossible with a preliminary cut before sewing, there are always differences to rectify. The 2nd layer of leather at the back is mandatory for strength but also to avoid the horse's skin rubbing against the nails or rivets of the decorations in place. 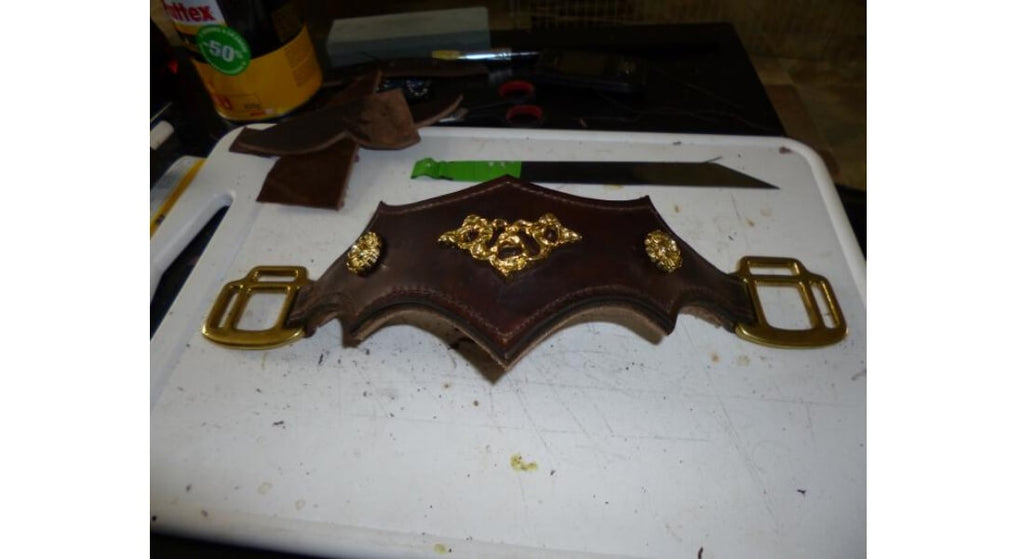
Cut the edges, sand them, stain them and then apply gum arabic.
 Follow the same steps for both uprights. Be careful, however, not to bend them, so the rectangles must be as close as possible to the halter squares!
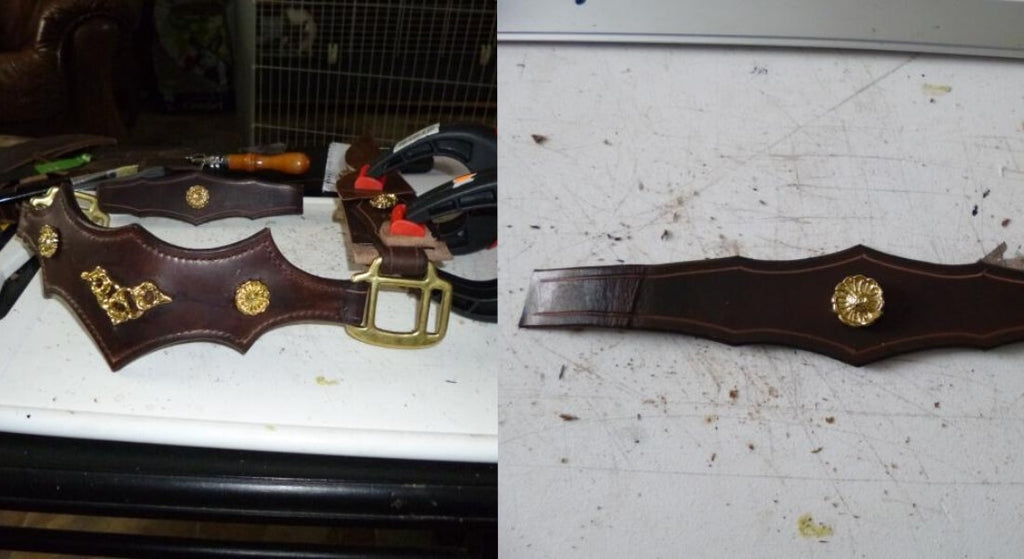
7. THE UNDER-BEARD
LF = 31
LC = 31 + 6 cm return + 1 cm to cover the square = 38 cm.
Make a saddler's point on one side, and trim the other end (flesh side).
Pass the abat-carte on both sides (except the flesh side on the 6 cm flap), tint and apply gum arabic.
Trace the seam line. 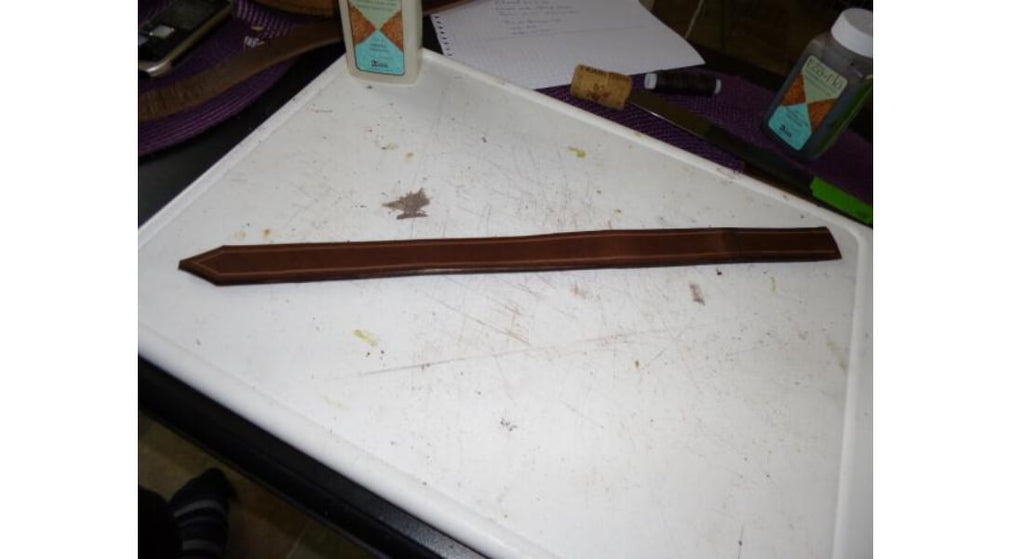
Pass the flap through the halter square and sew.
Make holes with the hole cutter pliers as well as on the headboard. 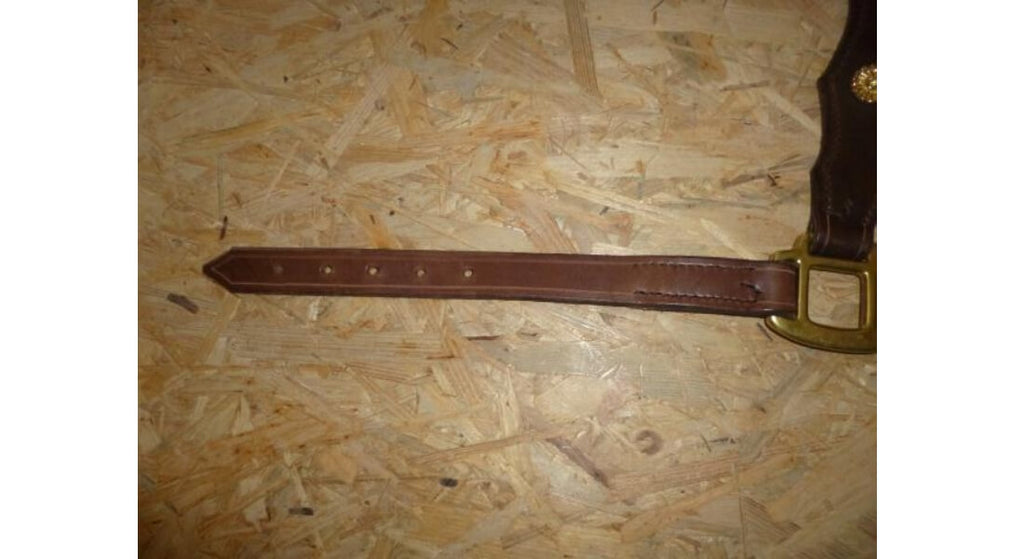
8. THE SUB-THROAT
LF = 40 cm
LC = 40 + (2 x 6 cm return) + (2 x 1 cm to cover the rings) = 54 cm
- Trim both sides, finish the slices by passing the square edge everywhere (except the flesh side of the two flaps), stain and apply gum arabic. Don't forget the seam lines.
- Pass each flap around the ring and sew.
Note: On the left side of the horse (or even on both sides) you can add a carabiner that will attach to the ring. Deduct the size of the carabiner from the LC. If you choose this option, choose a carabiner that does not rotate. Those with a rotating axis are much less solid. 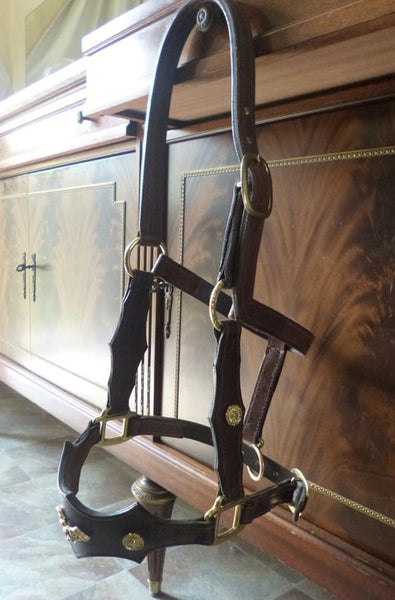
9. THE TWO RINGLETS
LF = 10 cm
LC = 30 cm
To be reproduced in duplicate.
The loop will be 6 mm wide and 2.4 cm long. (Oblong-shaped hole where the pin of your buckle is inserted). These measurements may vary depending on your buckle maker.
- Trim both ends
- Finishing the slices
- Draw the seam line
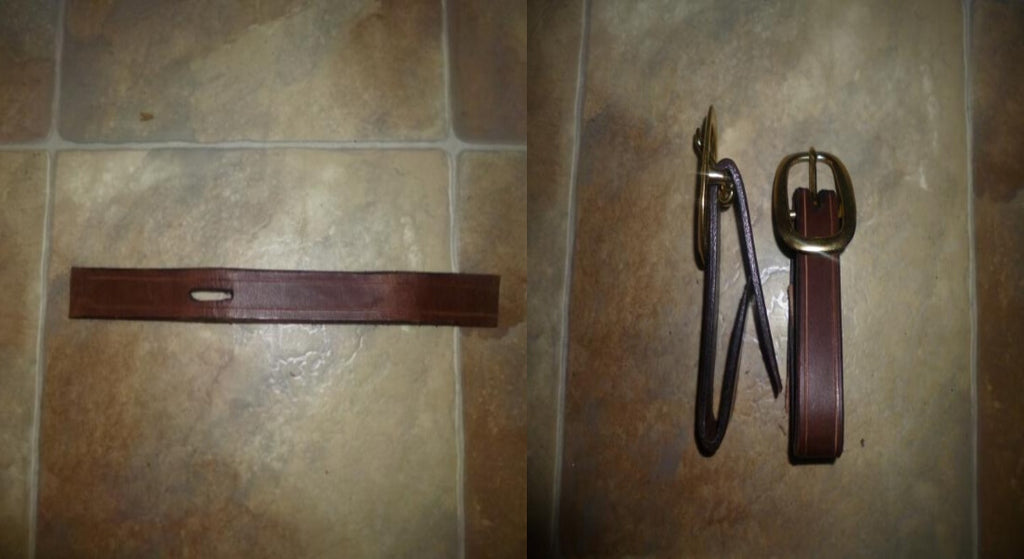
- Sew one to the ring on the left side of the horse to receive the headstall, and the other to the halter square on the left side of the horse, to receive the underband.
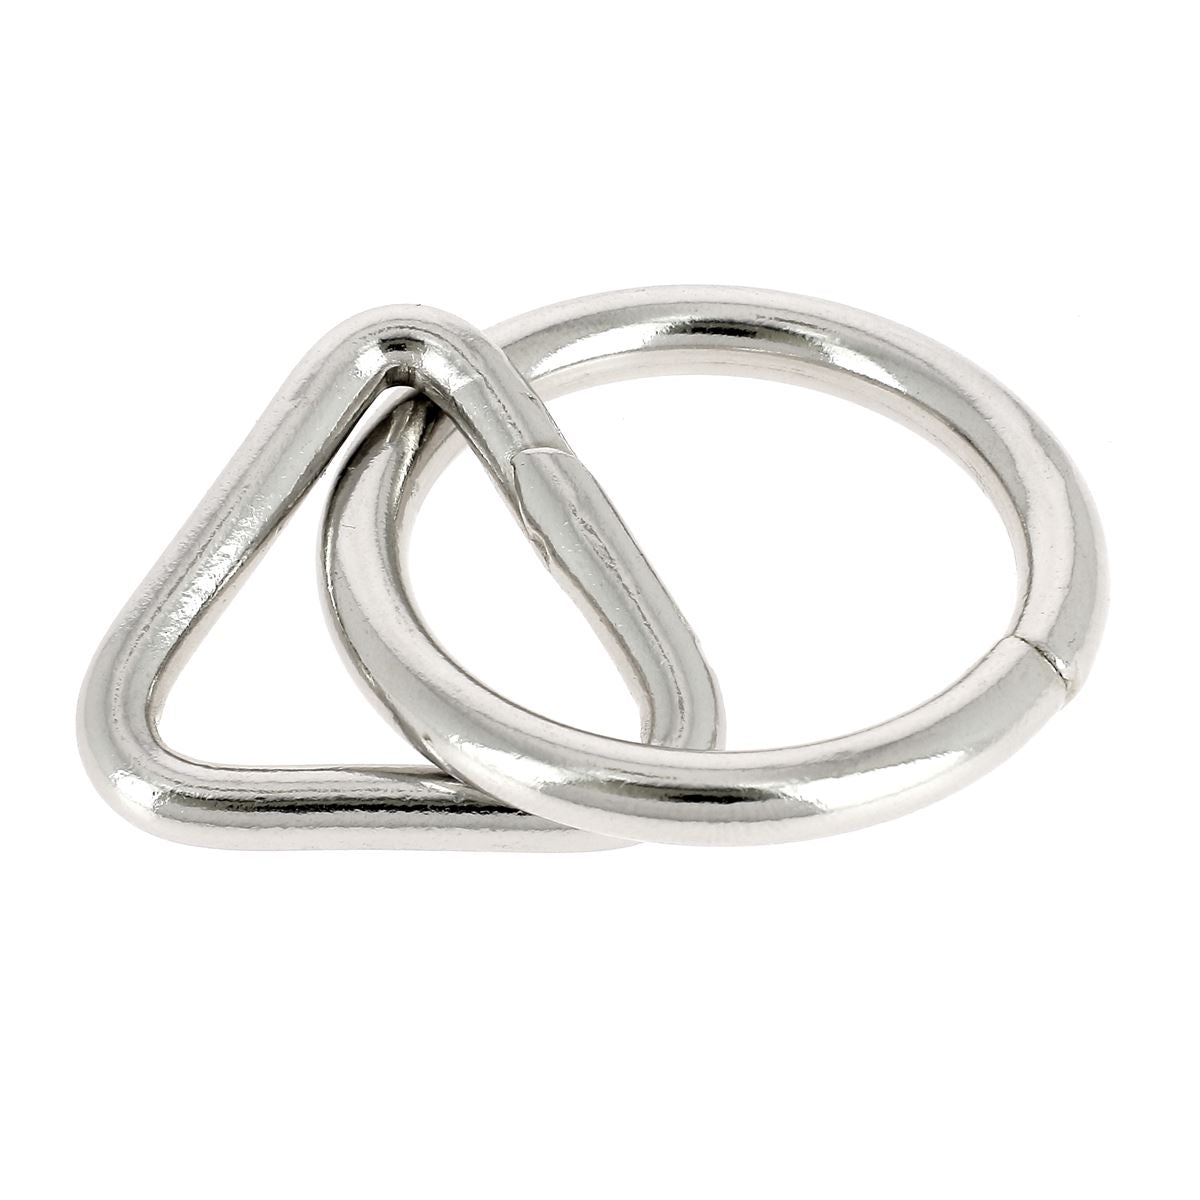
10. THE ALLIANCE
The LF of the alliance has the same finished measurement as the amounts or 1 cm less. On this halter we use a ring + triangle, so we must deduct the dimension of this one from the LF.
LF = 18 cm (including the ring)
LC = 39 cm
Trim the 2 ends on the flesh side, finish the slices, trace the seam lines, fold as shown in the photo and sew. 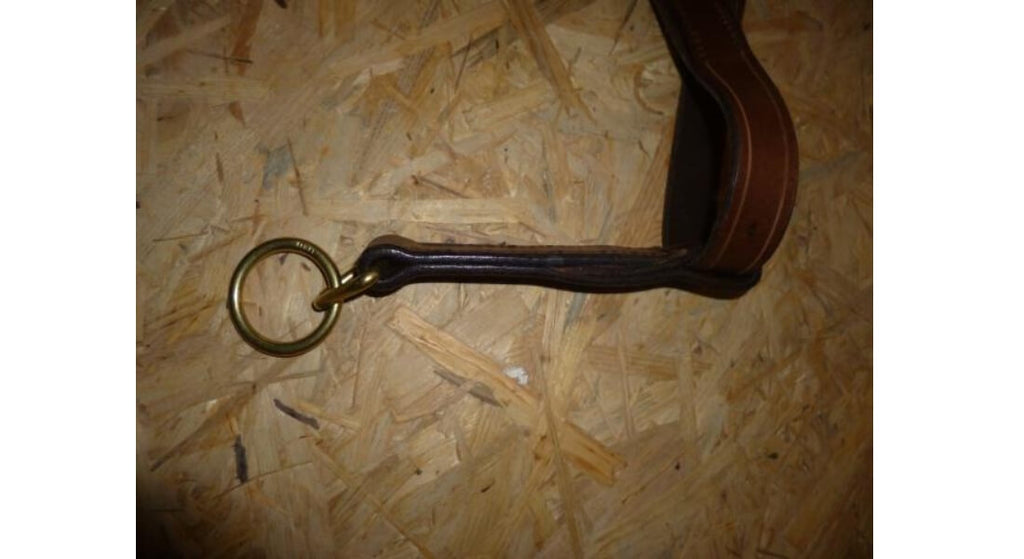
END
If you haven't done so as you progress, you can now beat your seams... 


2 comments
Anonymous
Bonjour Cylène,
Merci encore pour votre tutoriel, il est top !
L’équipe Deco Cuir
Cylène
Bonjour, je suis ravie de voir que mon tutoriel est toujours en ligne, et a été utilisé avec succès!
Belles réalisations bravo !