


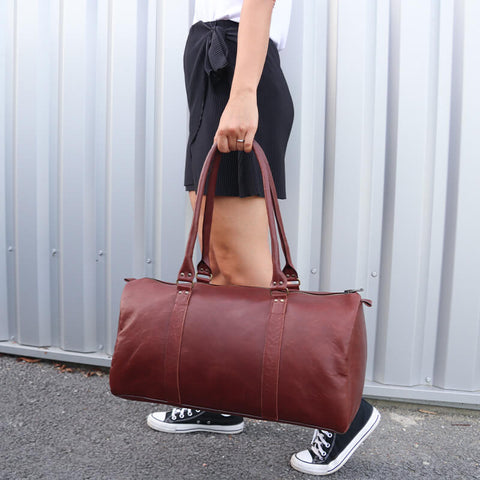
THE NECESSARY EQUIPMENT
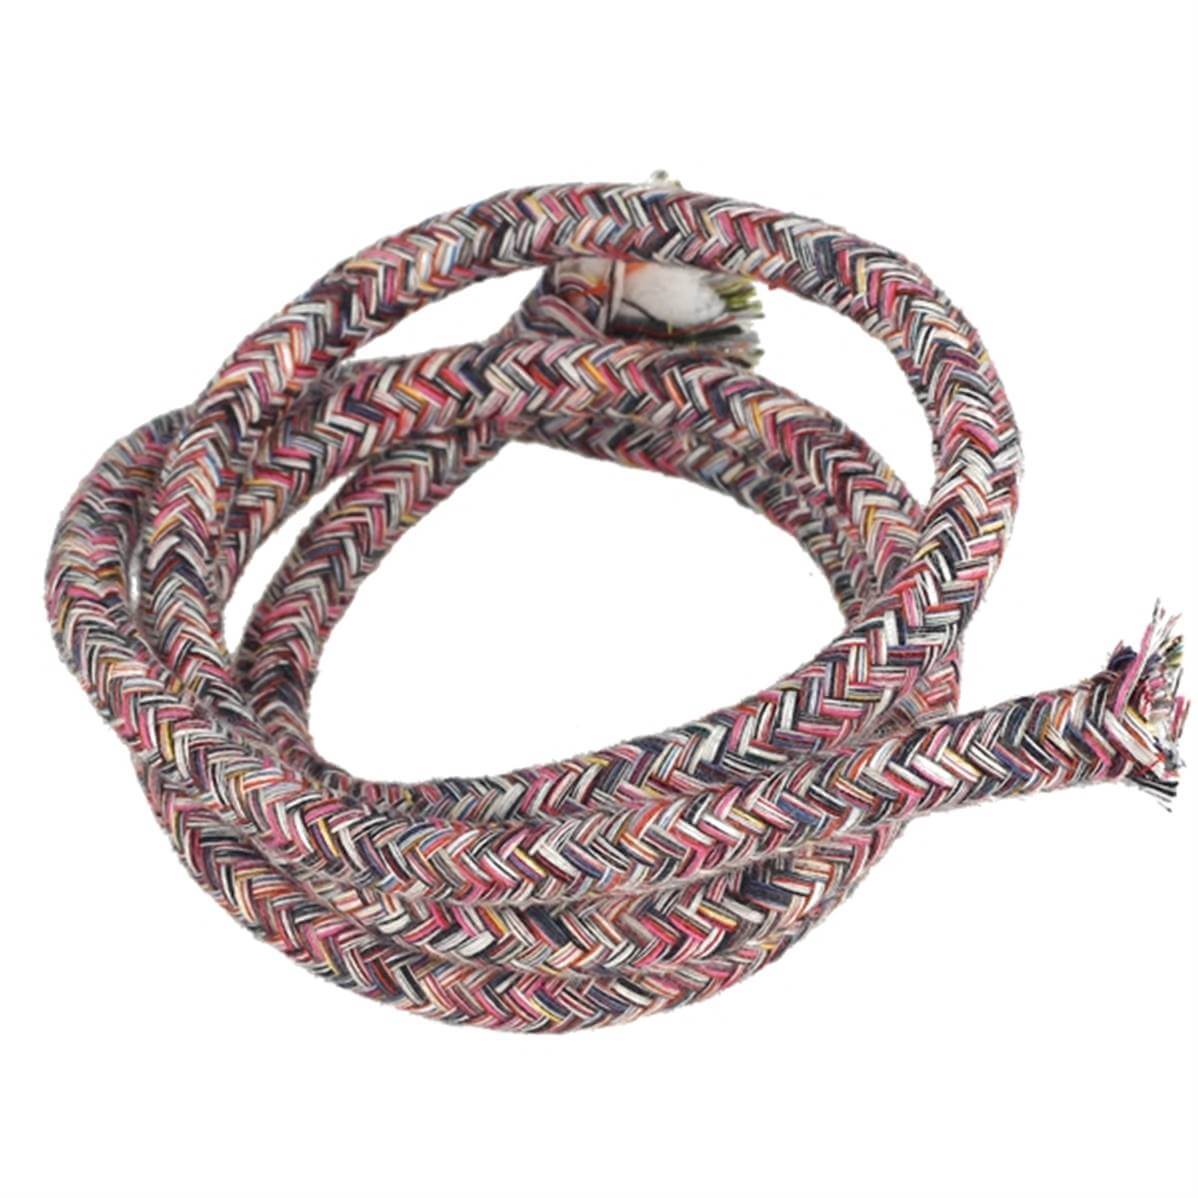
To complete this tutorial, you will need:- 1 skin of supple calfskin or sheepskin - Thickness: 1.4 mm maximum - Surface area 1.50 m² minimum (or 2 skins of 0.85 m²) .
- 1 piece of split leather measuring 20x30 cm - Thickness: 0.7 mm maximum
- 1 zipper over 55 cm (length)
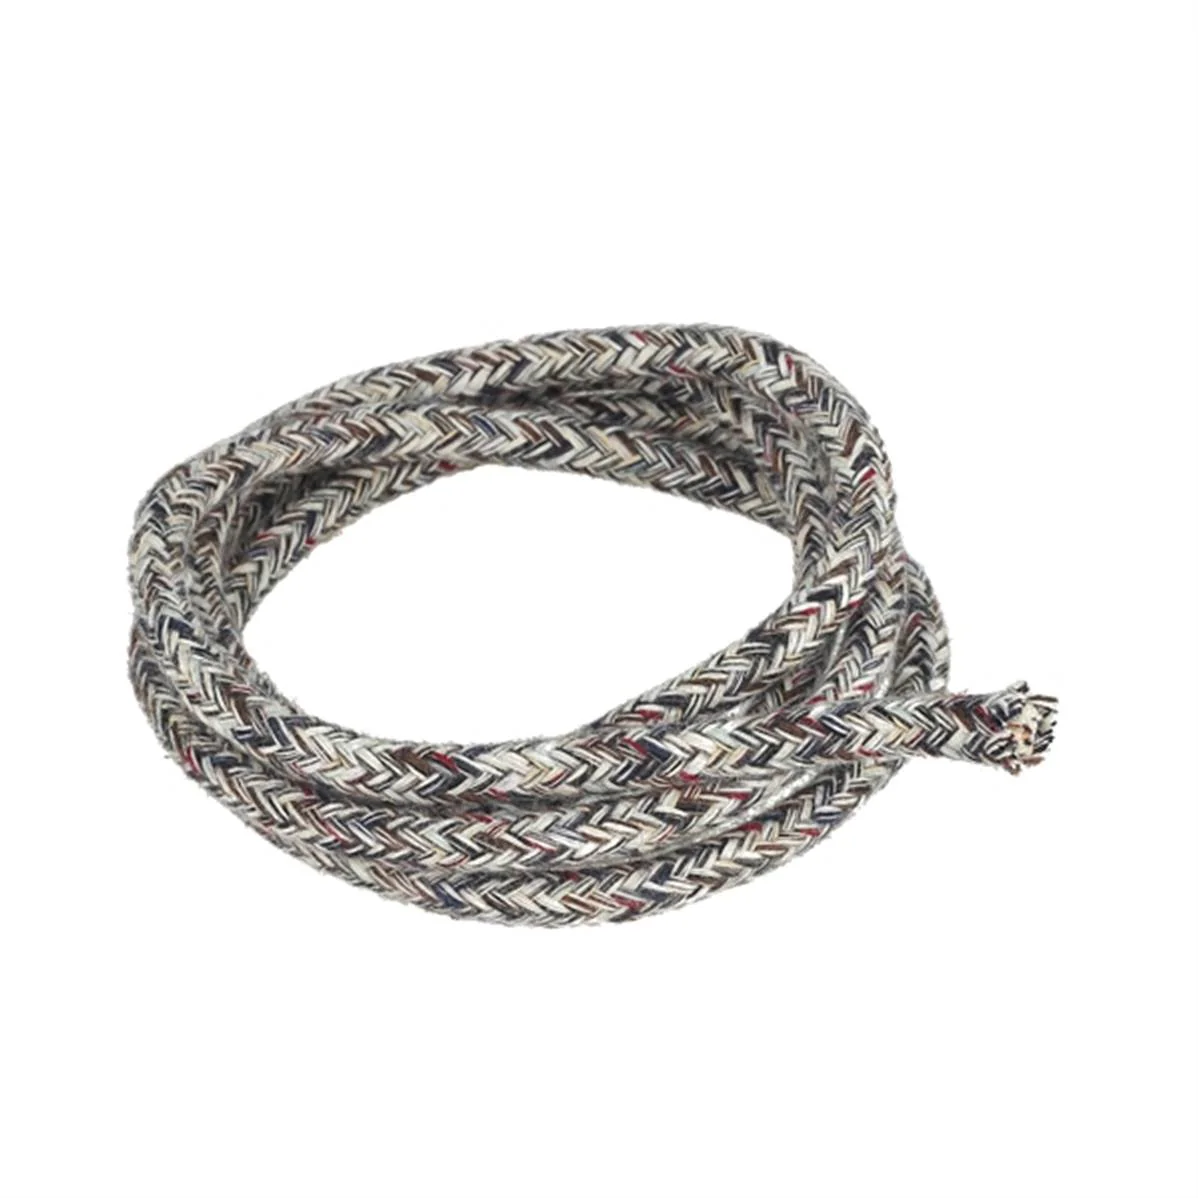
- 2 meters of strand for bag handle with diameter 8 mm
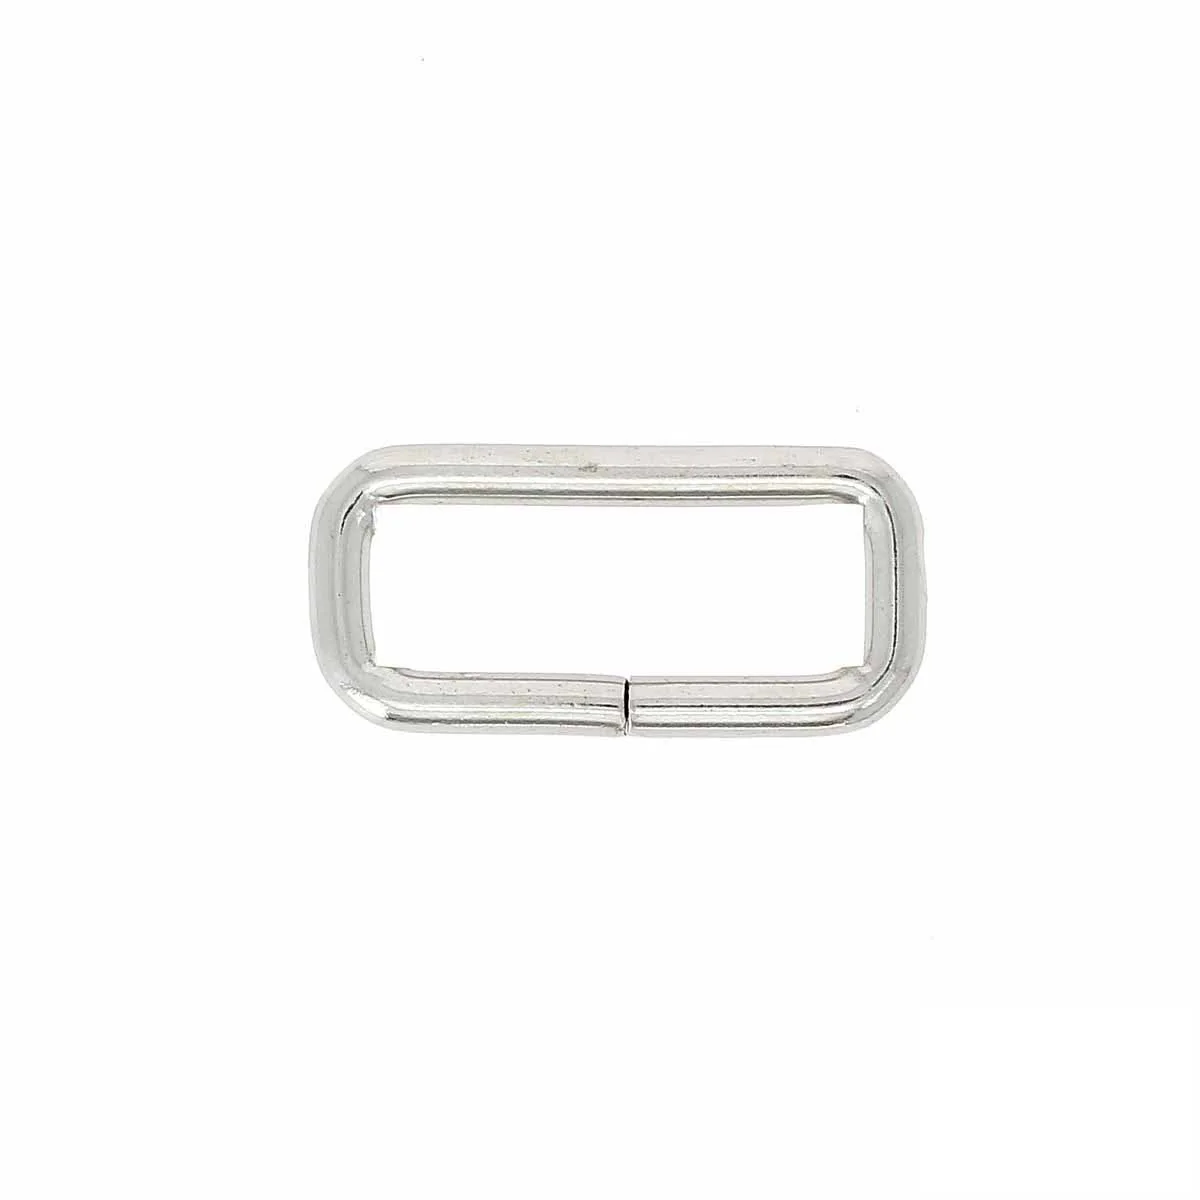
- 4 rectangular loops with rounded corners - 4 mm wire - 30 mm
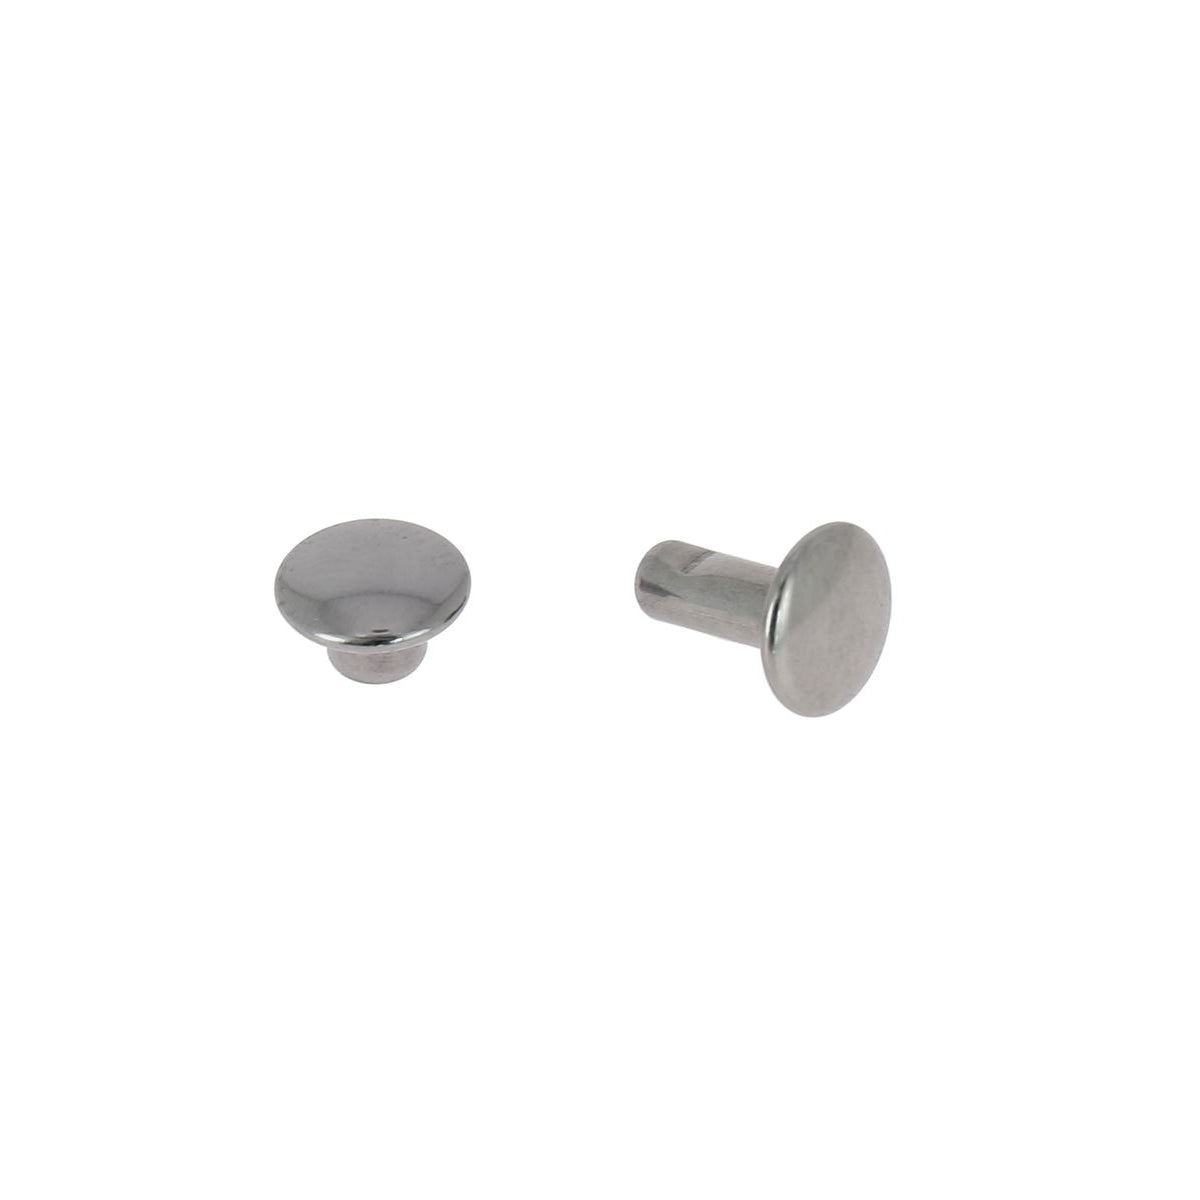
- 16 medium DOUBLE CALOTTED brass rivets (T3)
- 1 Texon reinforcement plate - 25x50 cm - Thickness: 0.8 mm
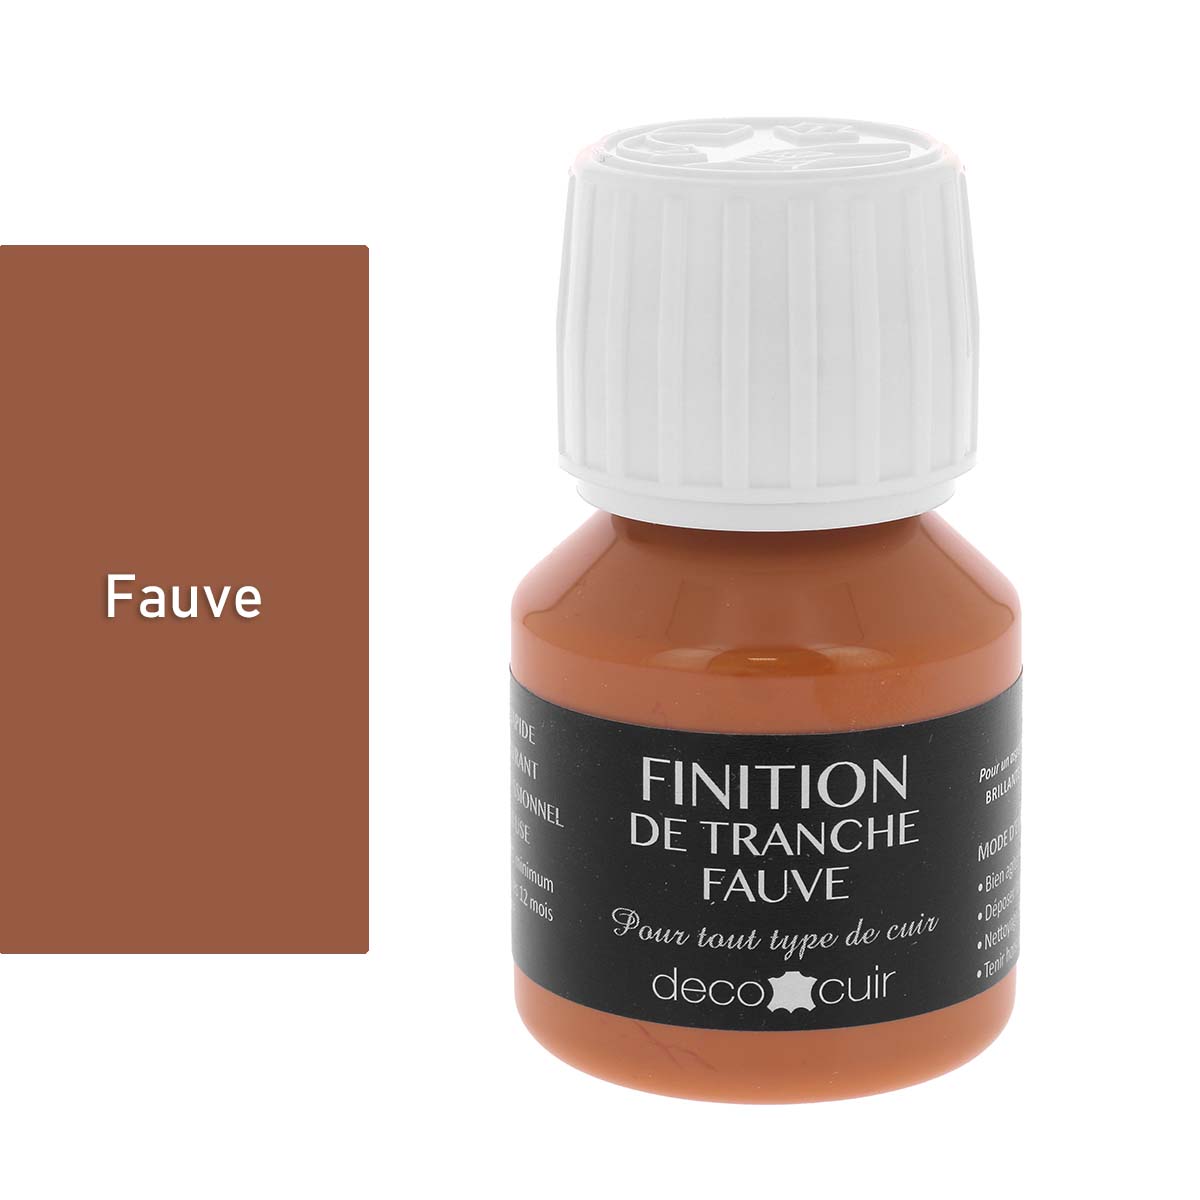
- A slice finish
- Fabric for the lining: 140 or 120 cm width x 90 cm.
- 1 cutter and a pair of scissors
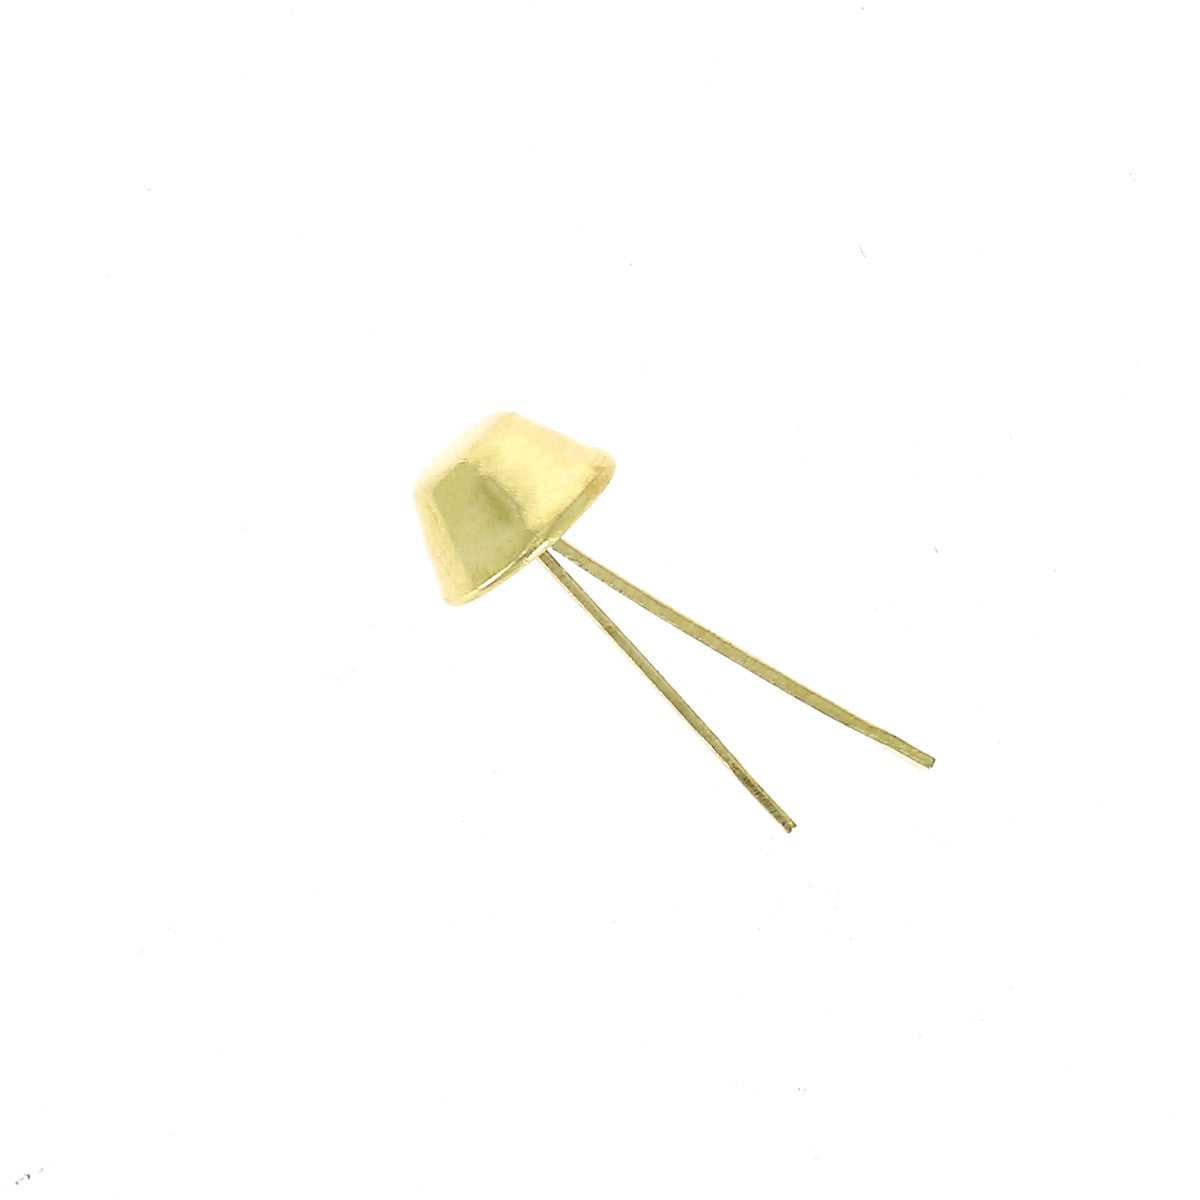
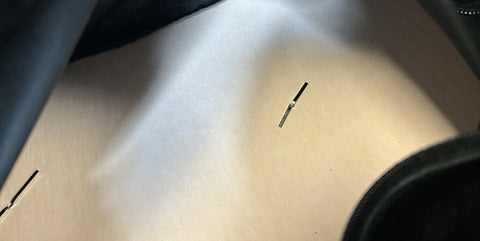
- 1 punch cookie cutter diameter 3 mm
- 1 sewing machine
- 1 spool of polyester thread No. 30 (diameter 0.41 mm)
- Leather glue
- Double-sided tape
- Tear-proof adhesive tape
Premium version: with sheepskin leather
 |
 |
TUTORIAL VIDEO
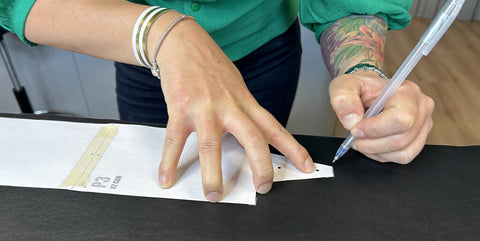
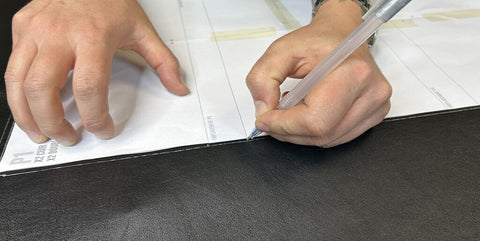
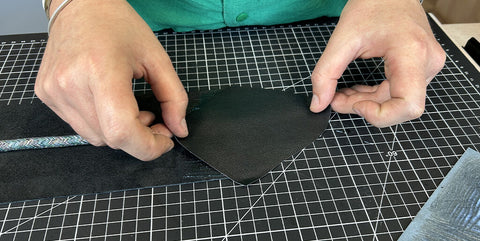
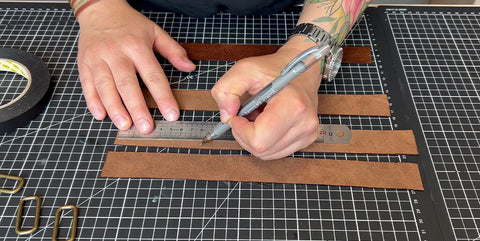
1. PRINT AND TRACE THE PATTERN
Download and print the pattern at actual size. The B1 format pattern is also for sale on our site:
Using a silver pencil, trace the pattern pieces on the grain side of the leather. Mark the centers of each piece with a silver pencil or by making a small 1 mm notch in the leather (see the pattern). Also mark the locations of the P4 straps and the holes (for the rivets and bag feet).
Also trace the pieces in the fabric lining. For P1 lining pieces, add 1.5 cm in height.
|
 |
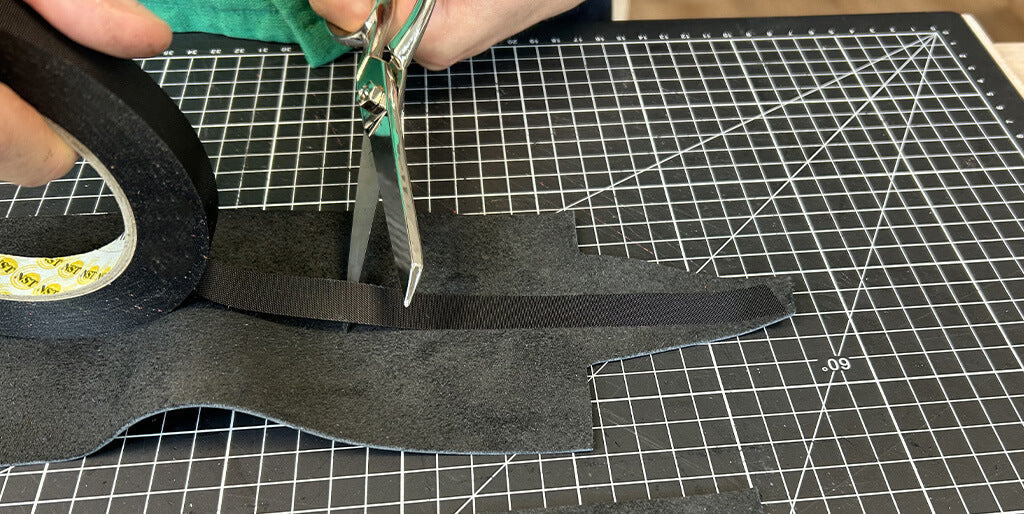
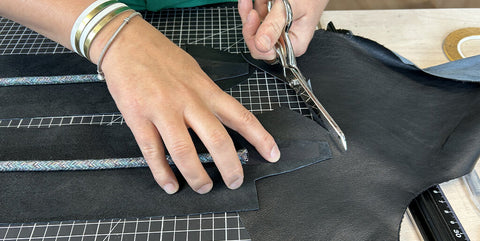
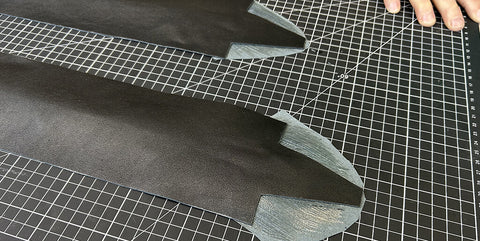
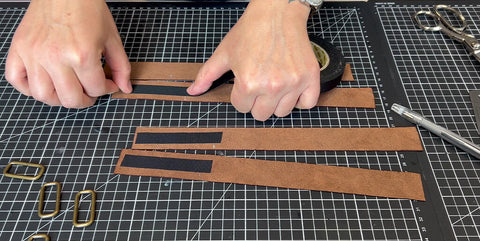
2. Cut out the different pieces
Cut out the different pieces of leather and lining with a cutter or a pair of scissors. Don't forget to add 1.5 cm in height to the two P1 lining pieces.
Cut with a cutter all the sides that will be visible at the end of assembly (free edges). The sides concerned are: the length of the top of parts P1, the lengths of P2, the strips P4, as well as the strips P6 and P7.
 |
 |
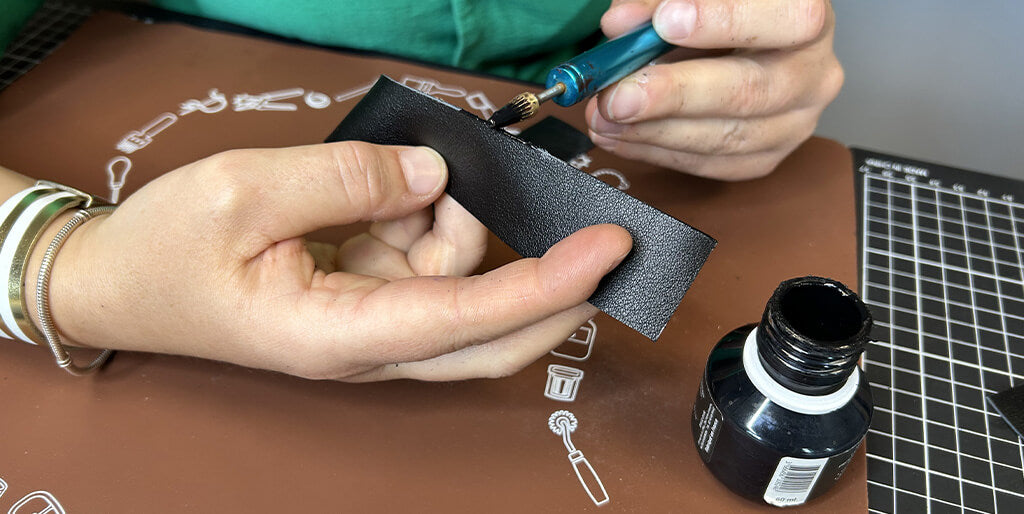
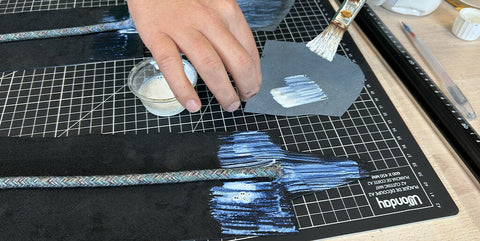
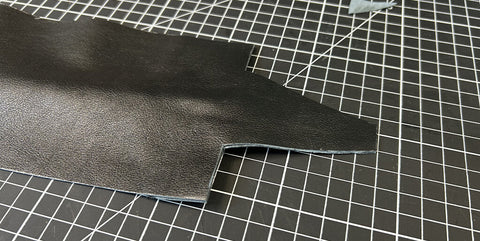
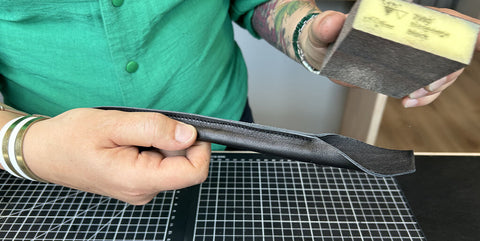
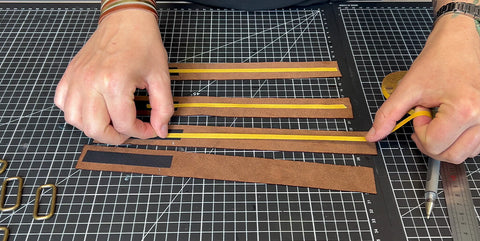
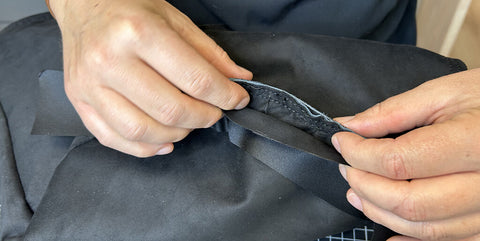
3. Work the slices
Work the edges (with edge paint) of the top of the pieces P1, the lengths P2, the 4 strips P4 and the 2 tabs P6 and P7.
TO FIND OUT ABOUT SLICE WORK >
4. Prepare the bag handles
Place 10 cm of tear-resistant tape* at each end of the P3 handles.
* The tear-resistant tape is ideal for reinforcing and consolidating places where your creation is constrained. It will prevent the leather from relaxing.
Then apply double-sided tape in the center and along the entire length (except at the two ends) of pieces P3. 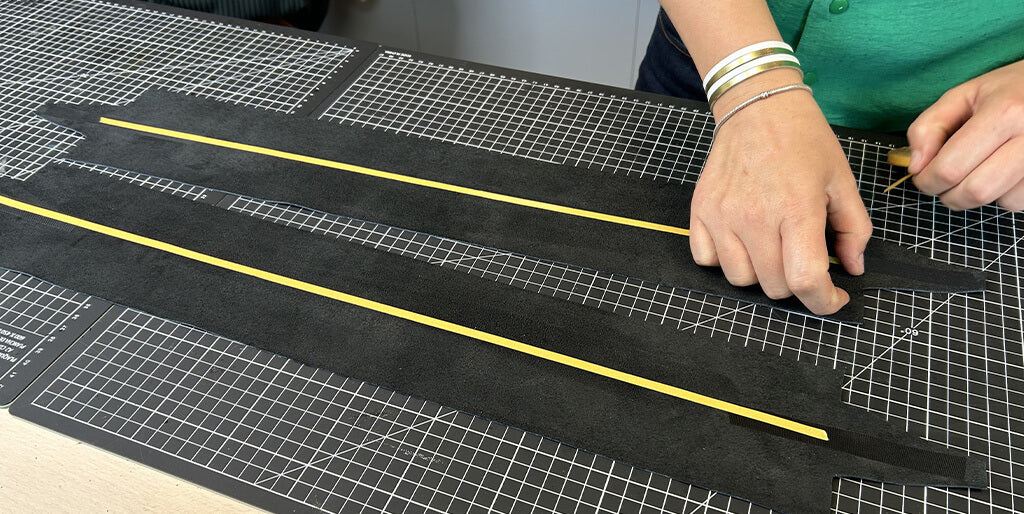
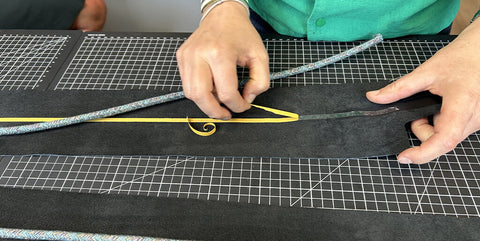
Cut approximately 58 cm of strand (x2) diameter 8 mm and glue them to the double side.
 |
 |
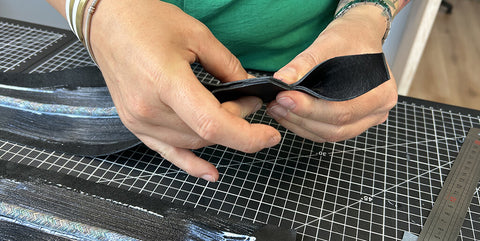
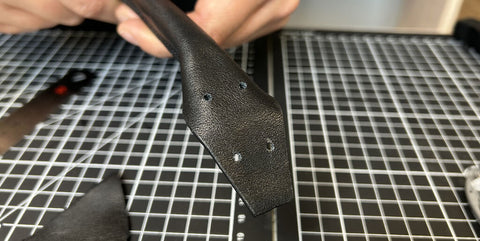
From a 20x30 cm piece of leather split to 0.7 mm thickness, cut 4 pieces of 10x13 cm to cover the ends of the P3 handles. Then glue (with leather glue) these parts on each end of the P3 handles wrong sides together.
 |
 |
 |
 |
Cut the excess leather with a cutter.
 |
 |
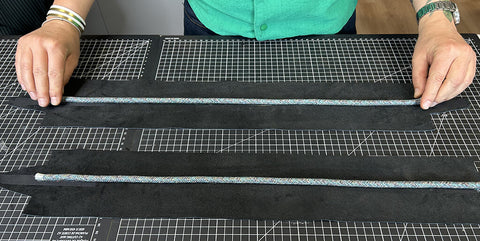
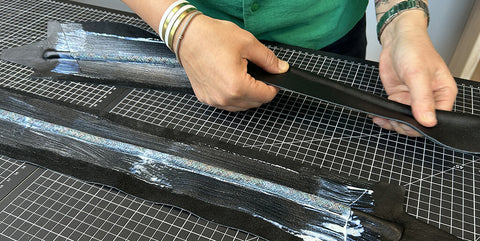
Apply contact cement over the entire length of the P3 parts (except ends). Then, glue the handle, taking care to tighten the strand tightly inside the leather.
 |
 |
 |
 |
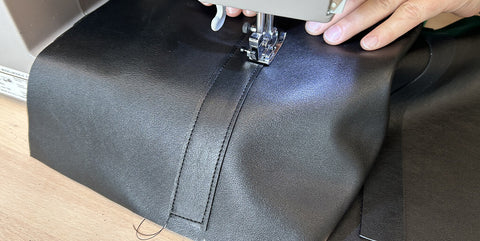
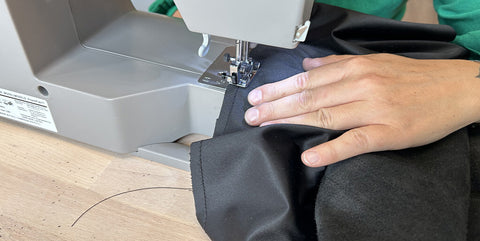
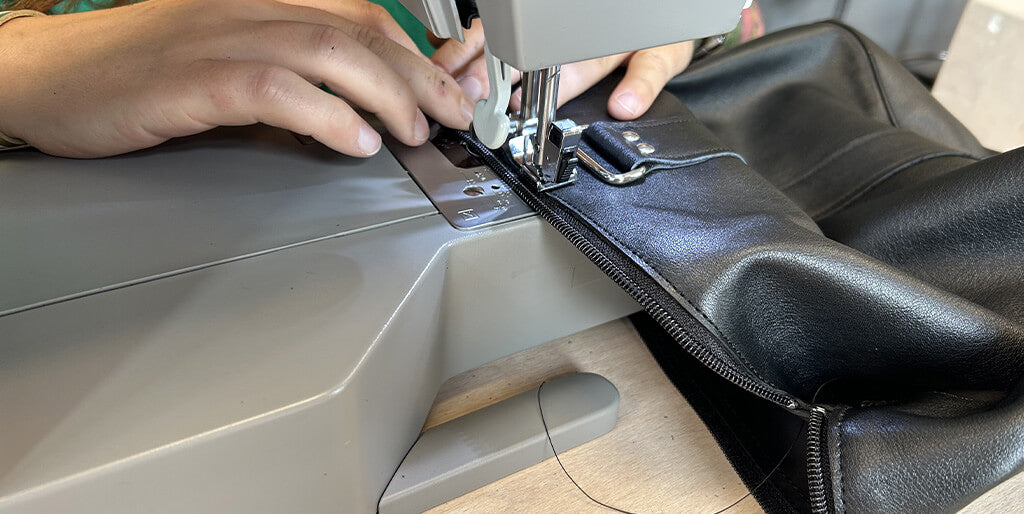
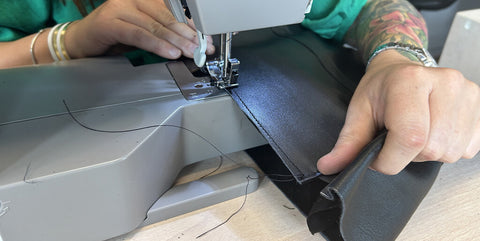
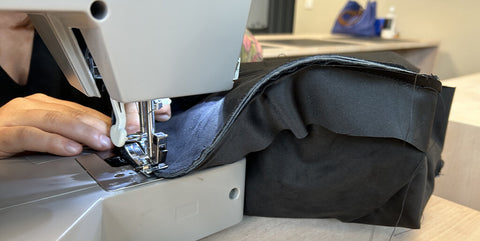
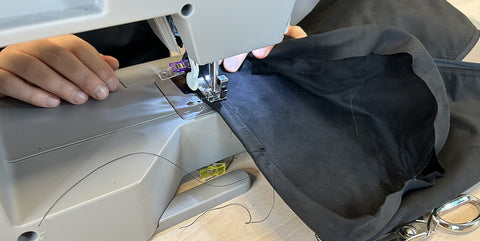
Topstitch all the way as close as possible to the strand with the zipper presser foot. 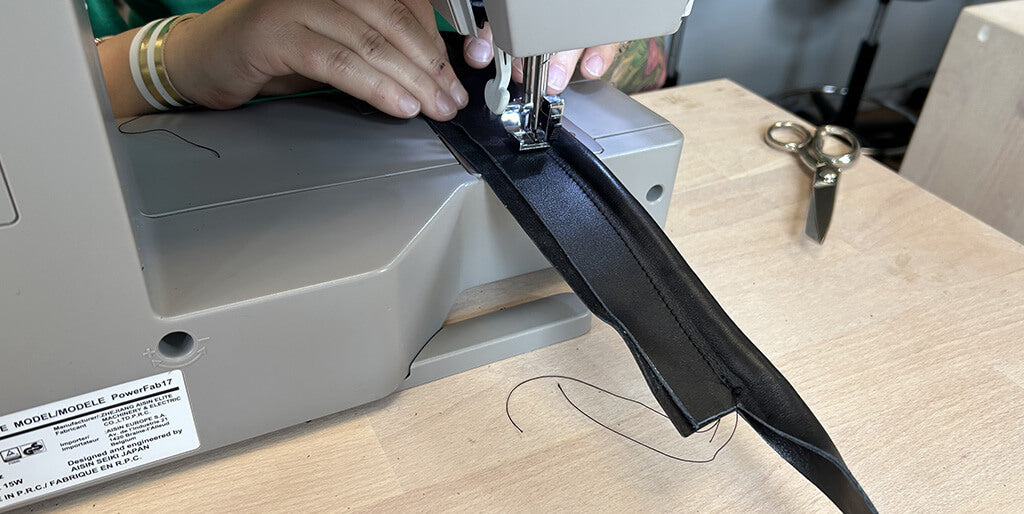
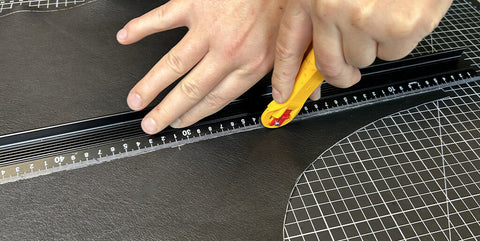
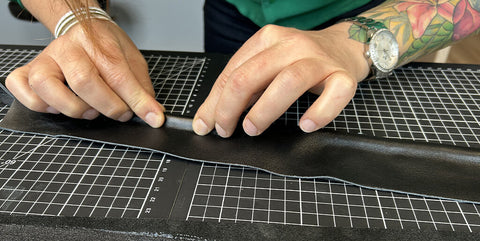
Trim the excess leather 2 mm from the seam with a long ruler and a rotary cutter. 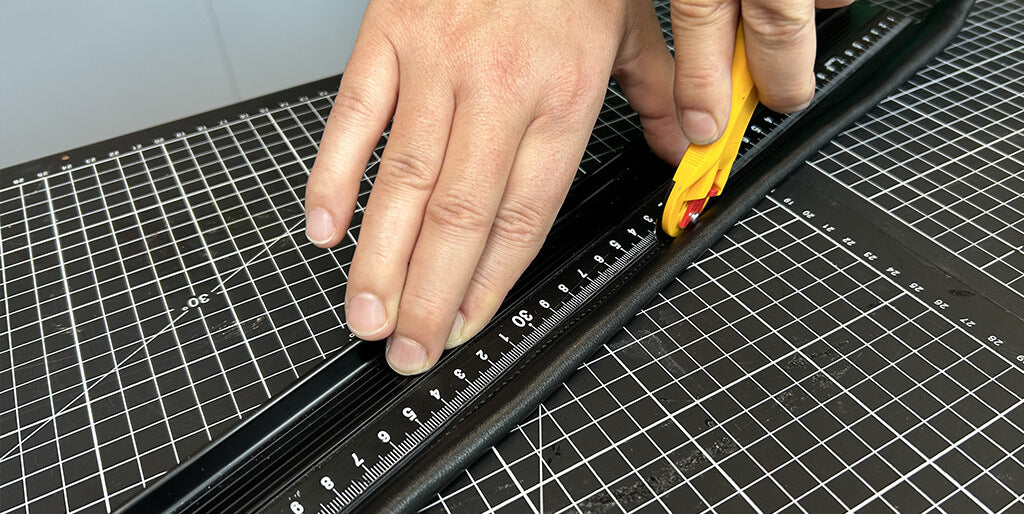
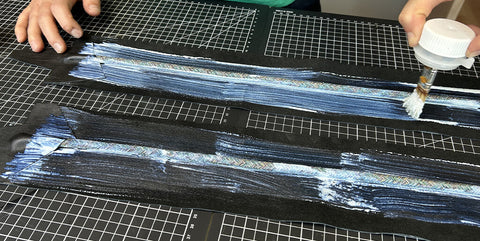
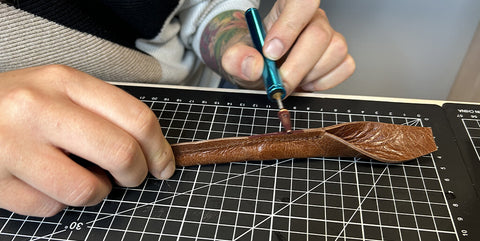
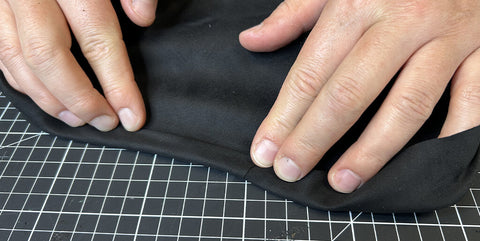
Work the edges of the handles. Sand with an abrasive sponge then apply 2 to 3 coats of edge finish (sanding between each coat).
 |
 |
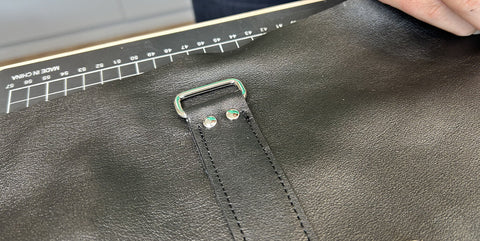
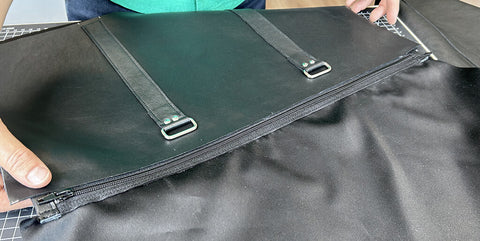
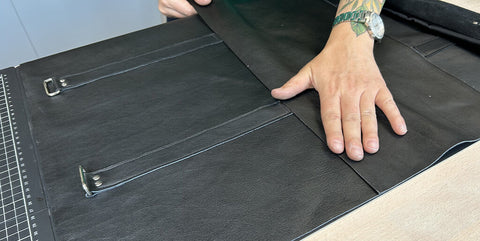
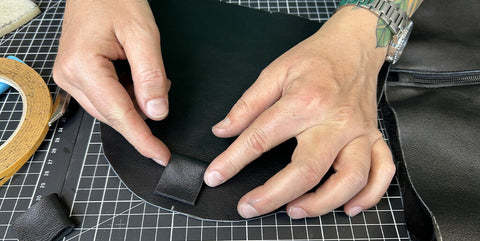
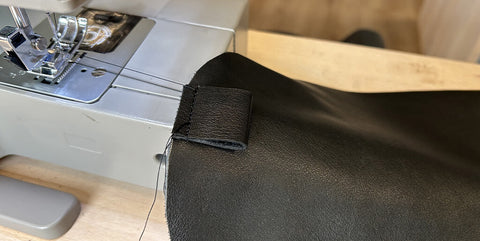
5. Place the strips P4 on the parts P1
Make a mark at 8 cm on the top of the P4 strips and stick tear-resistant tape over these 8 cm.
 |
 |
Place double-sided tape along the length of pieces P4, in the middle. Then, insert the rectangle loop and fold the end of the P4 strip up to the 8 cm marking. Stick with double sided.
 |
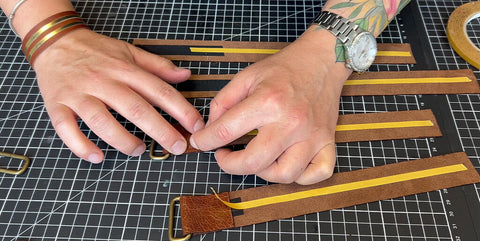 |
Still using the double-sided tape, stick the P4 strips to the locations provided on the P1 parts. (see pattern). 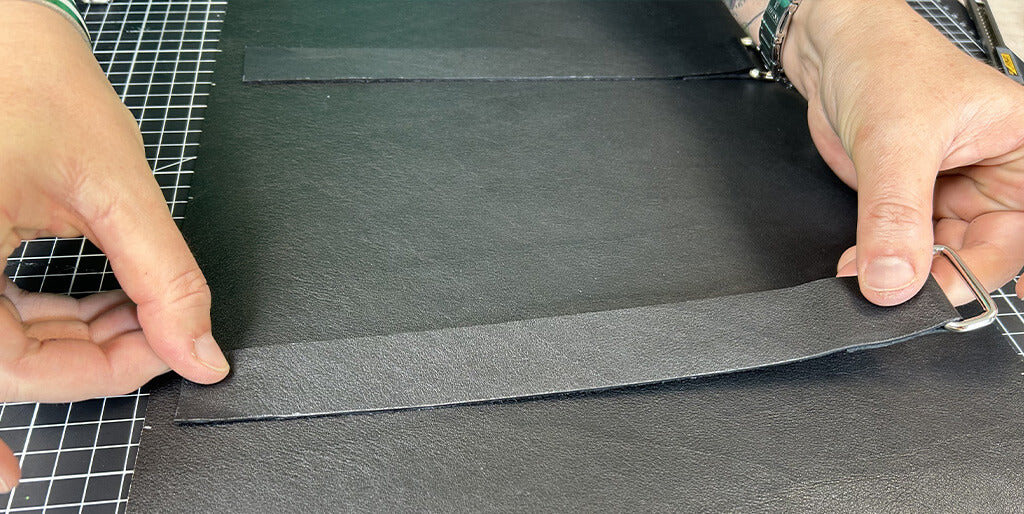
Topstitch the P4 strips on both lengths 2 mm from the edge and across the width of the bottom. Finish the stitching as close as possible to the rectangle loop.
 |
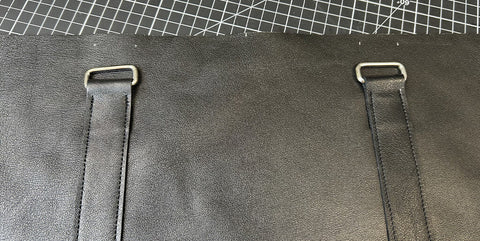 |
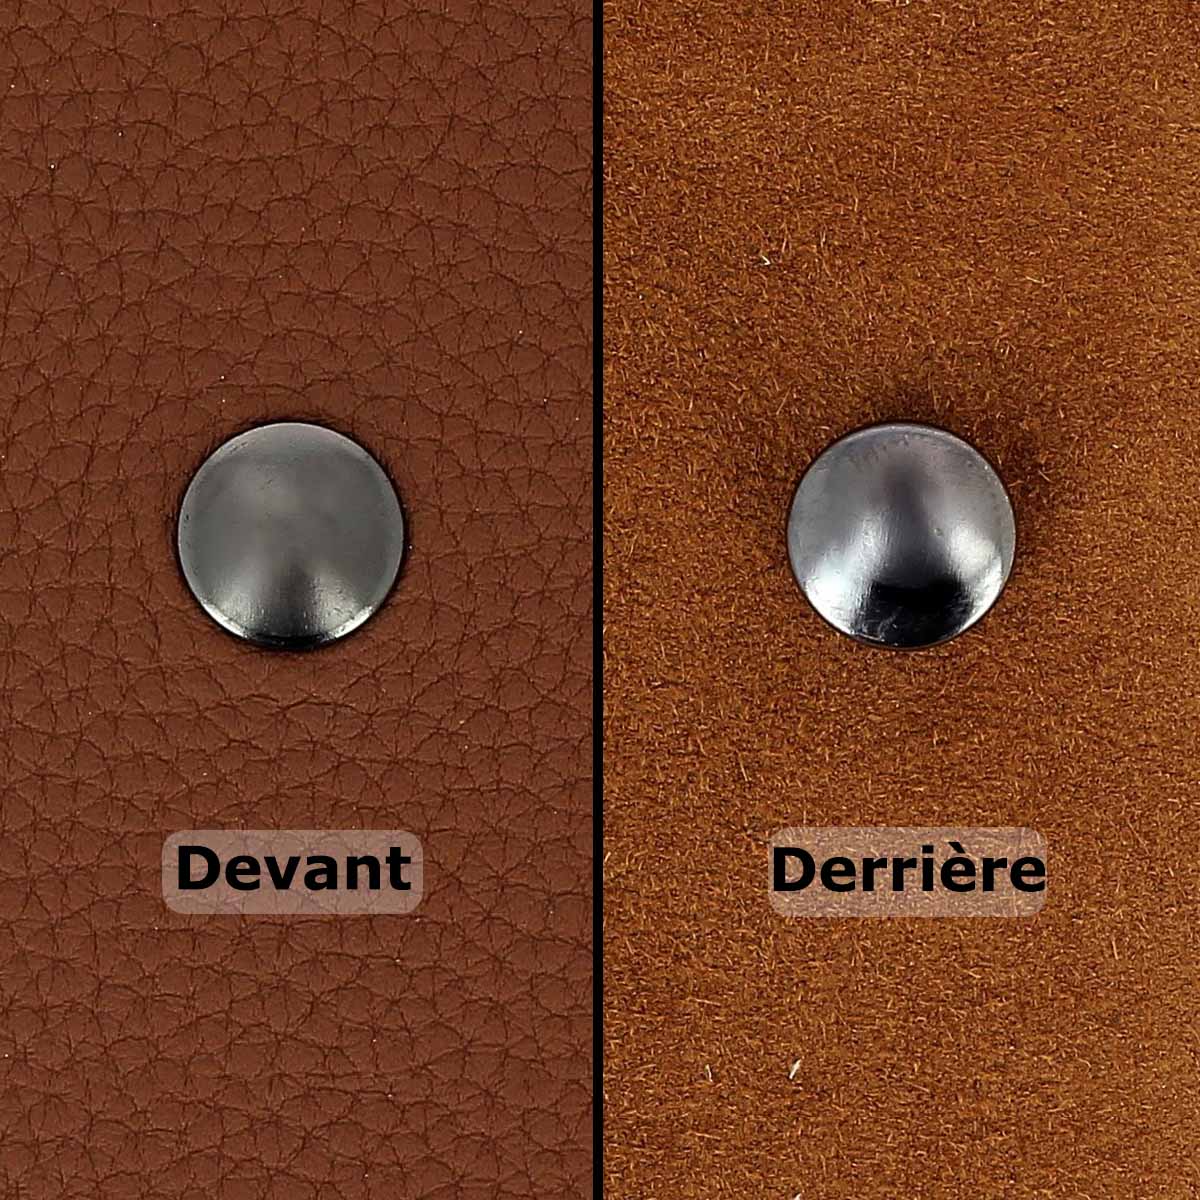
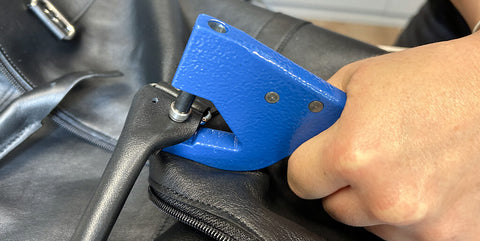
Install 2 T3 rivets (using the tool of your choice) below the rectangular loops. The holes were normally drilled when cutting the parts (step 2). 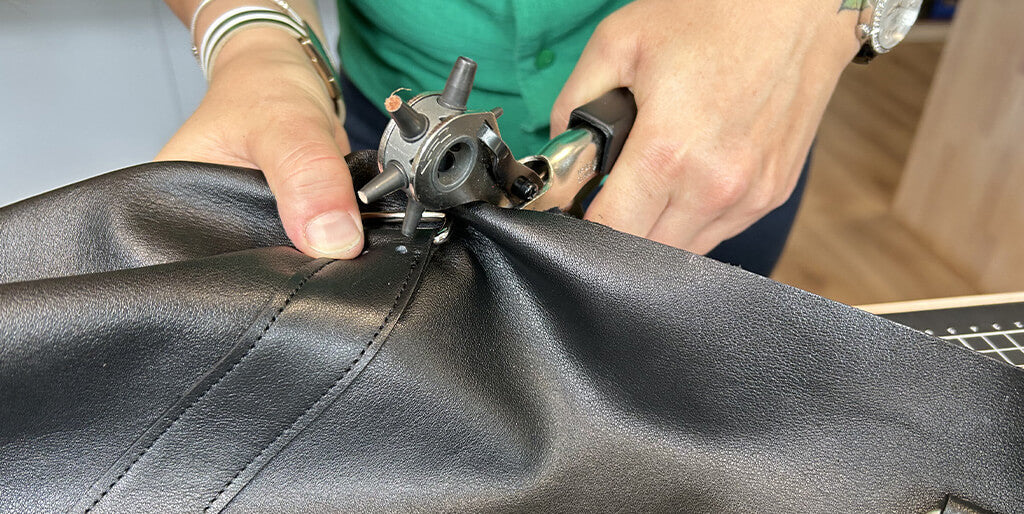
 |
 |
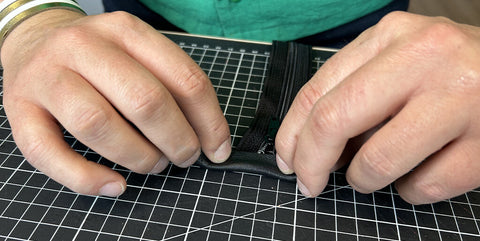
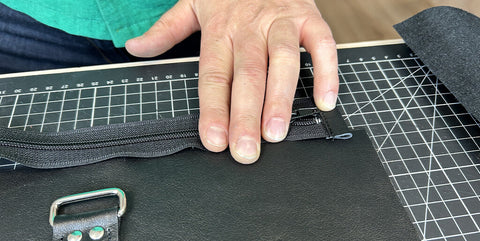
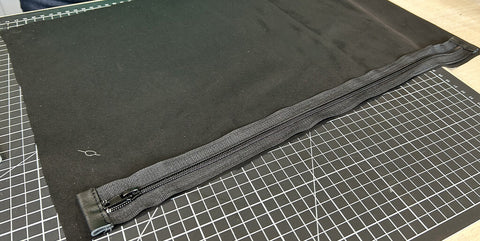
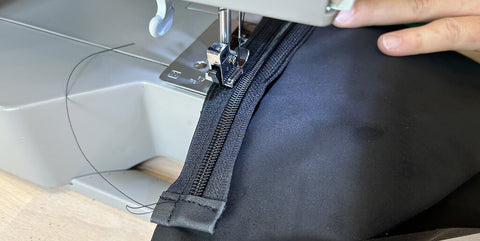
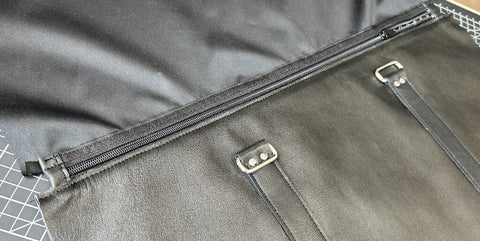
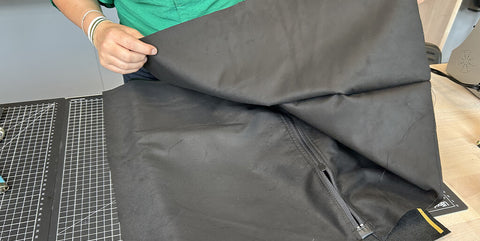
6. Install the zipper strips
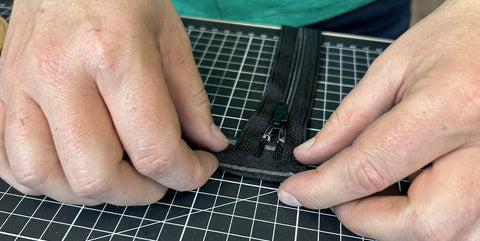
Put double sided on each length of strip P7. 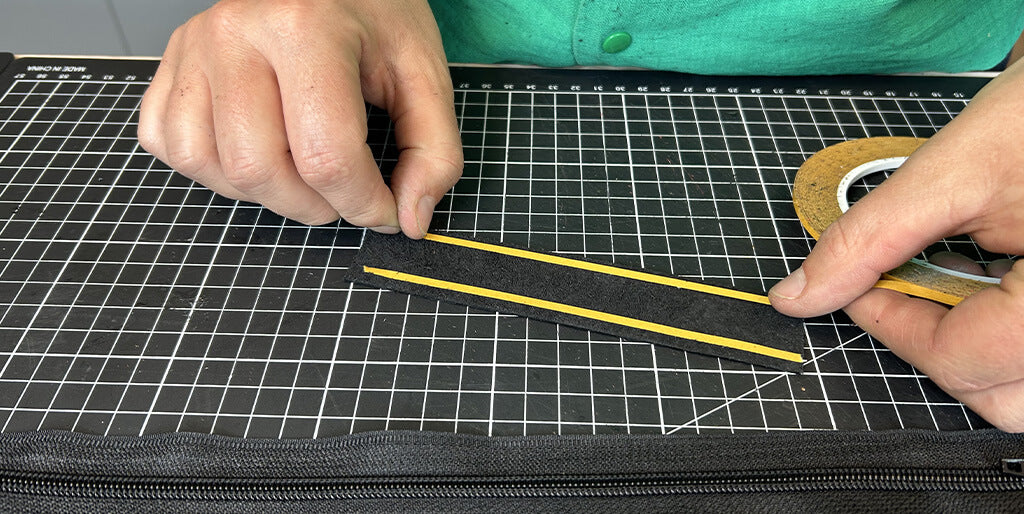
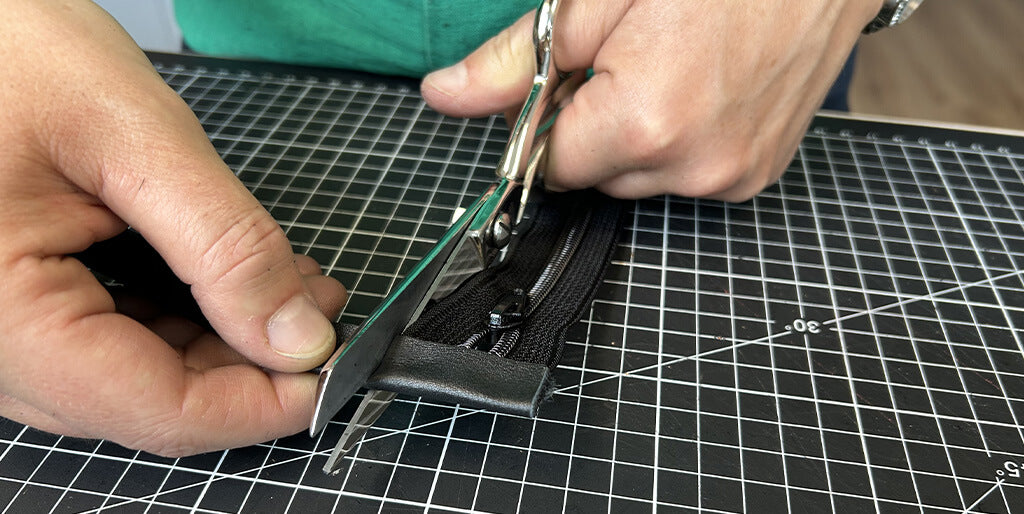
Take the zipper on the opening side and cut a few centimeters to ensure that only 1 cm remains between the start of the stitches and the end of the zipper. 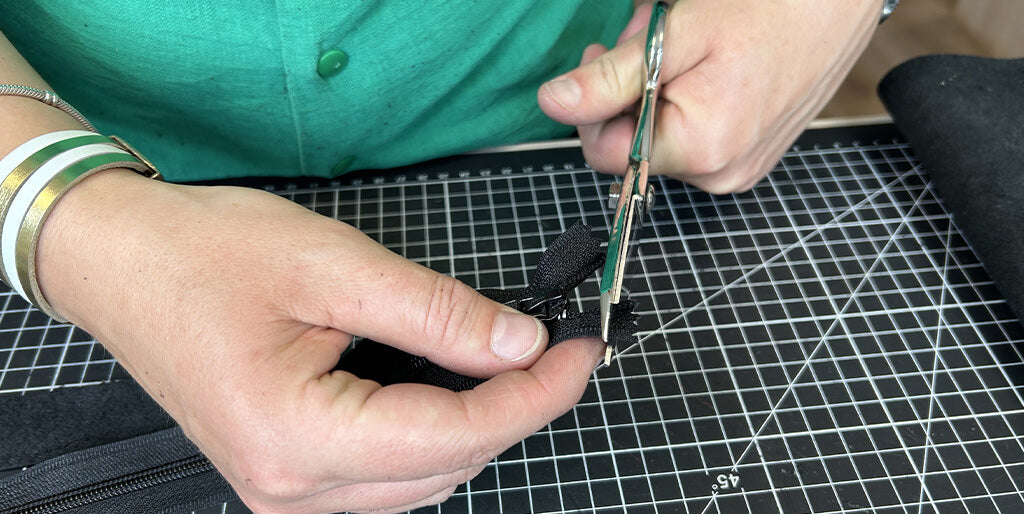
Fold the P7 strip in two (lengthwise) and stick it with the double side on the end of the closure. Do not glue it all the way because part P7 will also be used for the other end of the closure. Cut off the excess on each side.
 |
 |
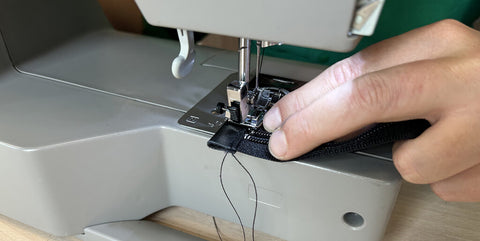
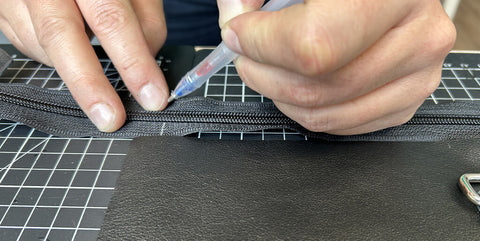
Stitch 2 mm lengthwise to maintain the cleanliness strip.
 |
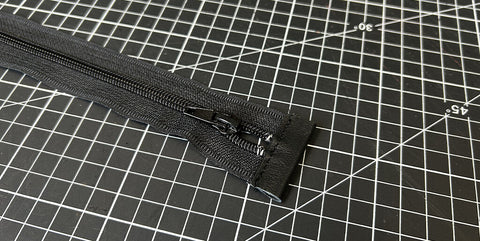 |
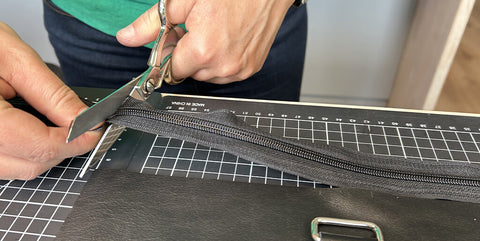
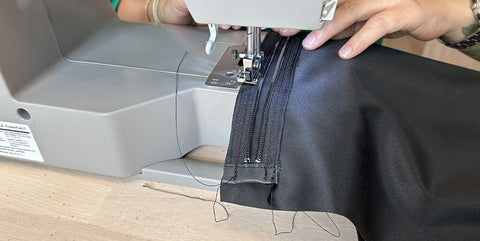
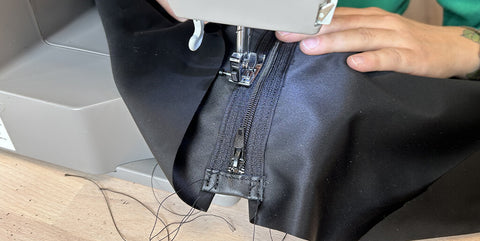
Before cutting the other end of the zipper, you need to define its size. Place the zipper on the top of piece P1, 1 cm from the edge of the width. Cut the other end of the zipper so that it comes 1 cm from the other edge of piece P1. Finally, sew the neck strip (P7) in the same way as in the previous step.
 |
 |
 |
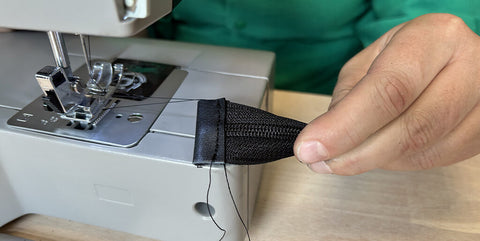 |
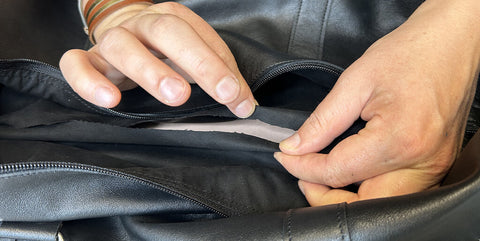
7. Sew the zipper to the lining
Assemble the back of the zipper to the right side of the lining P1. The lining should protrude 1 cm on each side. Sew as close as possible to the stitch with the zipper presser foot.
 |
 |
Turn over and flatten the lining then topstitch at the edge of the stitch. 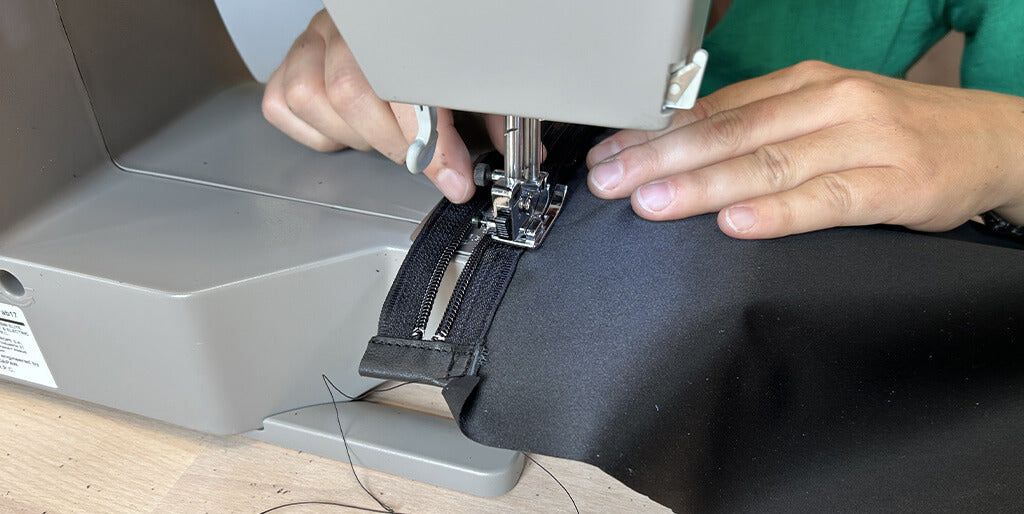
Sew the second piece P1 lining to the other side of the zipper, in the same way as the first piece P1 lining.
 |
 |
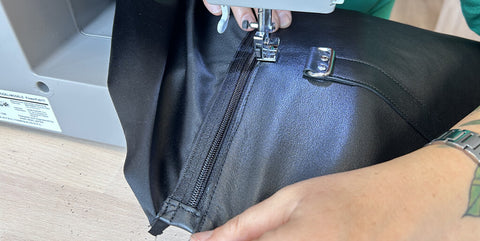
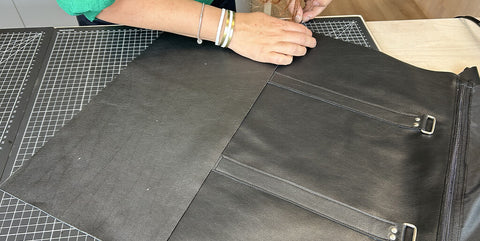
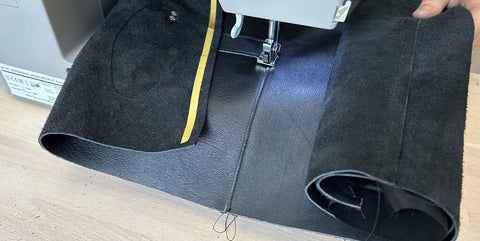
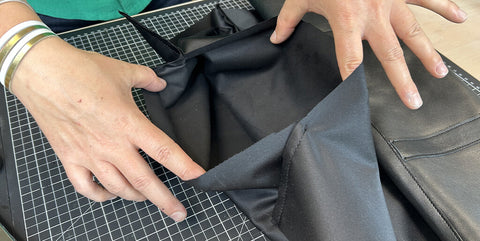
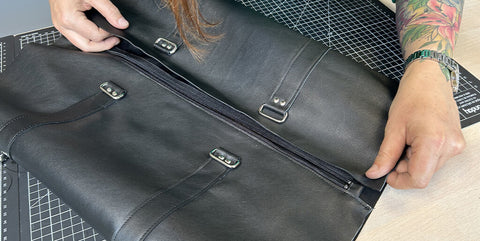
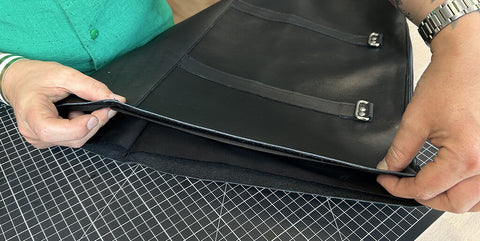
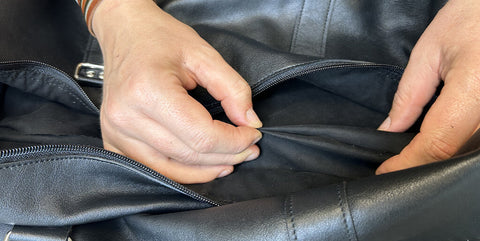
8. Begin bag assembly
Place double-sided tape on the top and crust side of one of the P1 leather pieces. Then, stick it on the right side of the zipper 2 mm from the stitches. Topstitch 2mm from the edge.
 |
 |
 |
 |
Place the two P1 linings on the same side so as not to disturb the next seams. 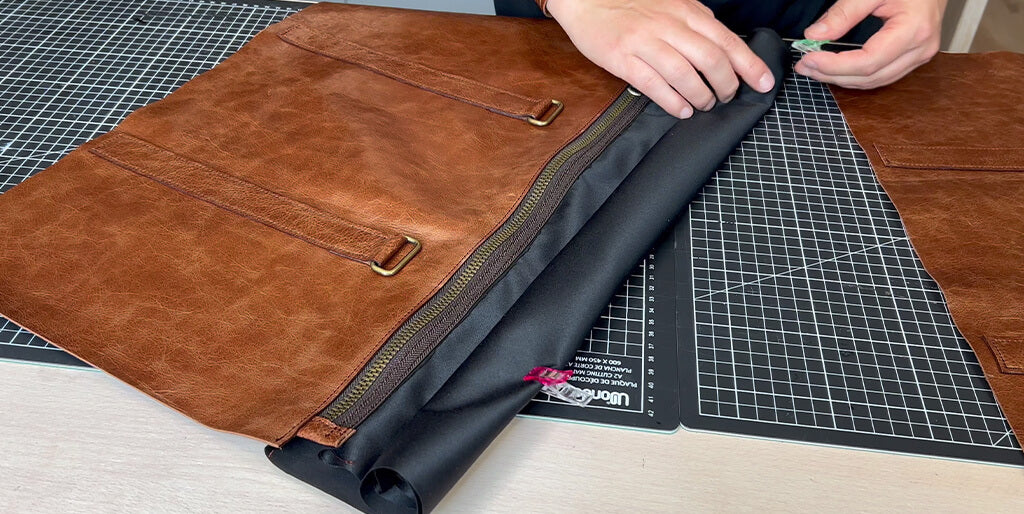
Put double sided on the two lengths of the bottom P2 (crust side of the leather) . Then, glue one of the lengths of P2 to the bottom of the already sewn piece P1 (wrong sides together). Glue for approximately 1 cm, touching the bottom of the P4 strips. Topstitch at 2 mm.
 |
 |
Glue the second length of the bottom P2 to the second piece P1 (leather). Sew at 2 mm. Roll up the other part to sew more easily.
 |
 |
Sew the bottom P2 lining, right sides together, with one of the P1 lining pieces.
 |
 |
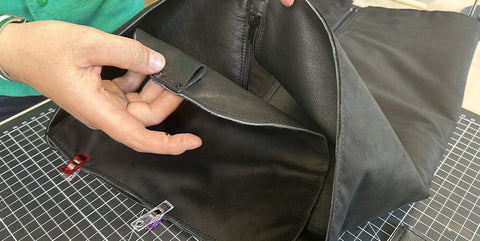
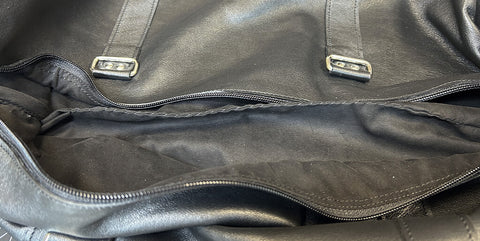
Sew the other side of the bottom to the second lining piece P1. Sew only 10 cm on each side to leave a large opening (this will allow the texon to pass through more easily at the end).
 |
 |
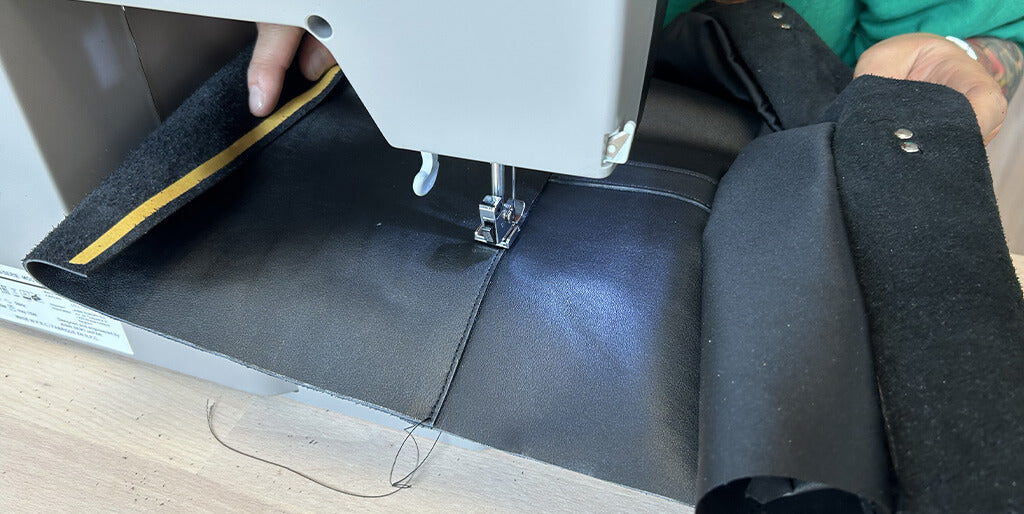
Glue the last length of piece P1 to the zipper with double-sided tape, 2 mm from the stitch. Then, stitch 2 mm from the edge. Warning: delicate step for sewing, you must open the zipper as much as possible.
 |
 |
9. Sew the sides
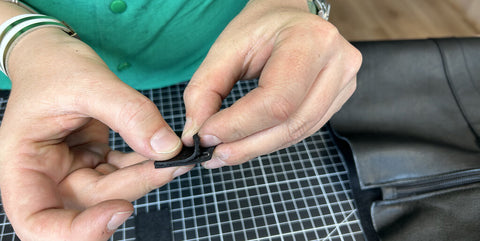
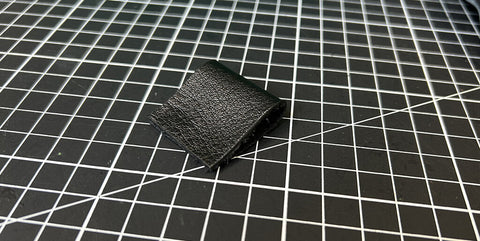
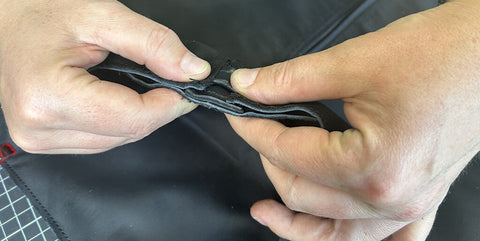
Fold the P6 tabs in half and glue them with double-sided tape.
 |
 |
Sew these tabs at the level of the notches on the rounded top of the P5 sides. Position them “downwards”.
 |
 |
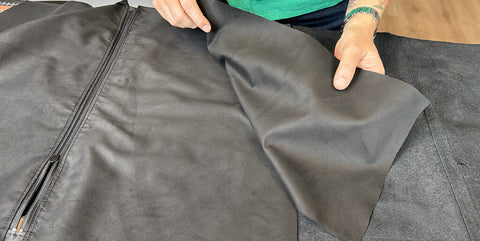
Using double-sided tape, glue the P5 linings to the P5 leather pieces, wrong sides together.
 |
 |
Make a 5 mm stitch all around part P5 (leather and lining). 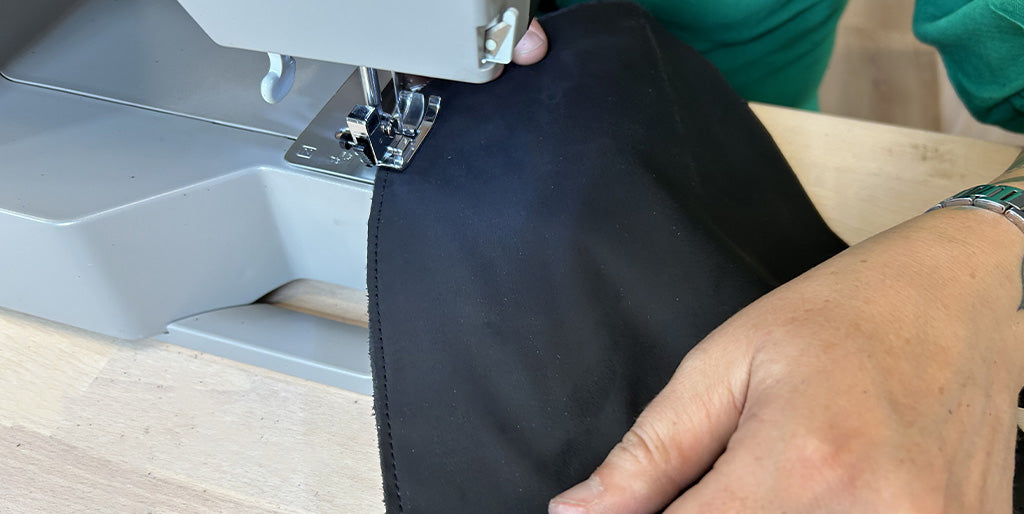
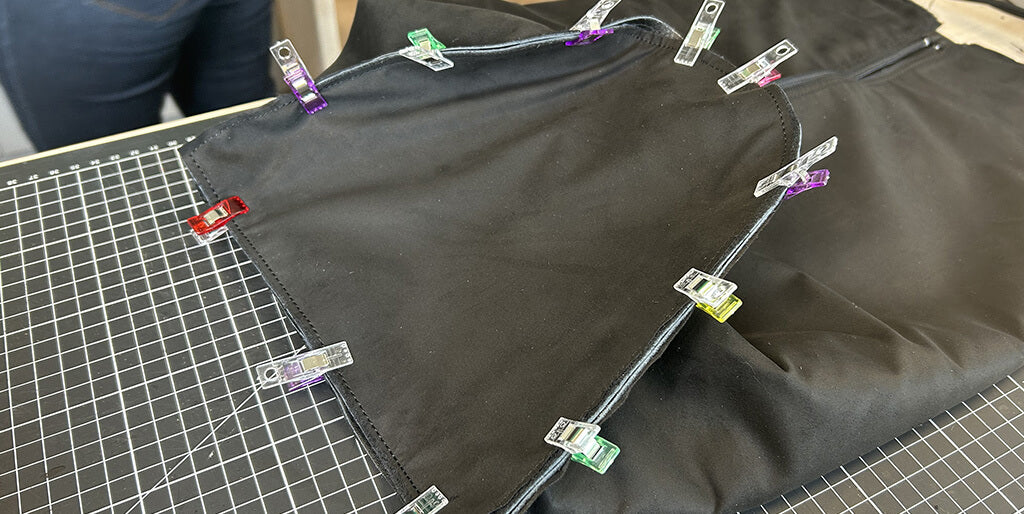
Do the same thing for the body of the bag: stitch the leather and the lining together 5 mm from the edge all the way around. Use sewing clips.
 |
 |
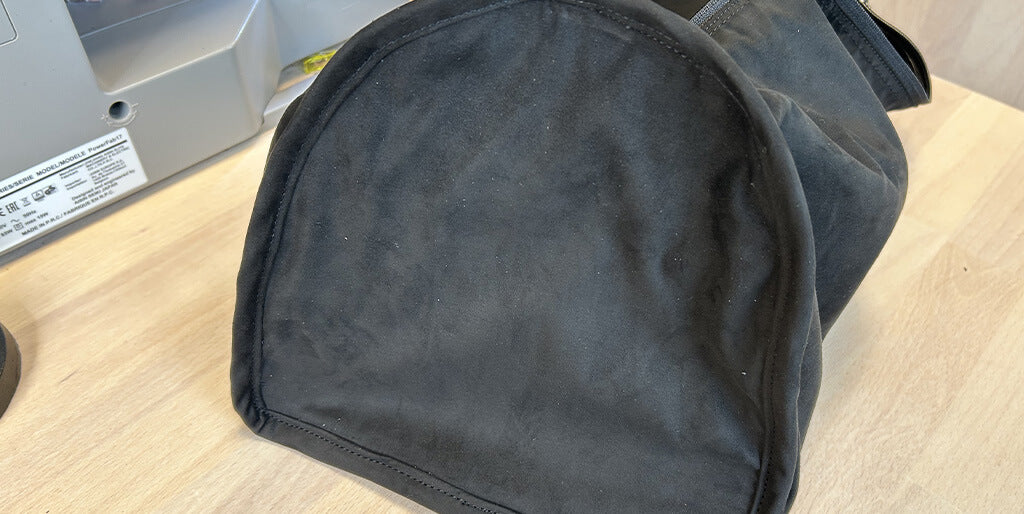
Turn the body of the bag over. 
Place the P5 sides, right sides together, on the body of the travel bag. Match the middle of the bottom of the side with the middle of the bottom P2. At the top of the bag, tab P6 must be well aligned opposite the zipper. Hold all the way around with sewing clips.
 |
 |
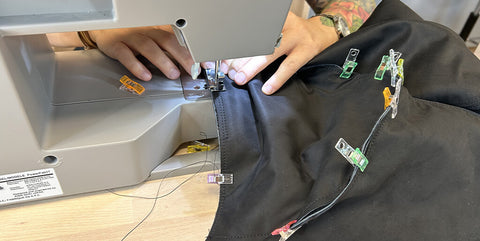
Stitch all around 1 cm from the edge. Start sewing from the middle of the bottom of piece P5 at the notch level. Be careful to stop 1 cm from the edge to be able to sew the right angle.
Before sewing the second side, remember to open the zipper so you can turn the bag over at the end.
 |
 |
Clear the corners. 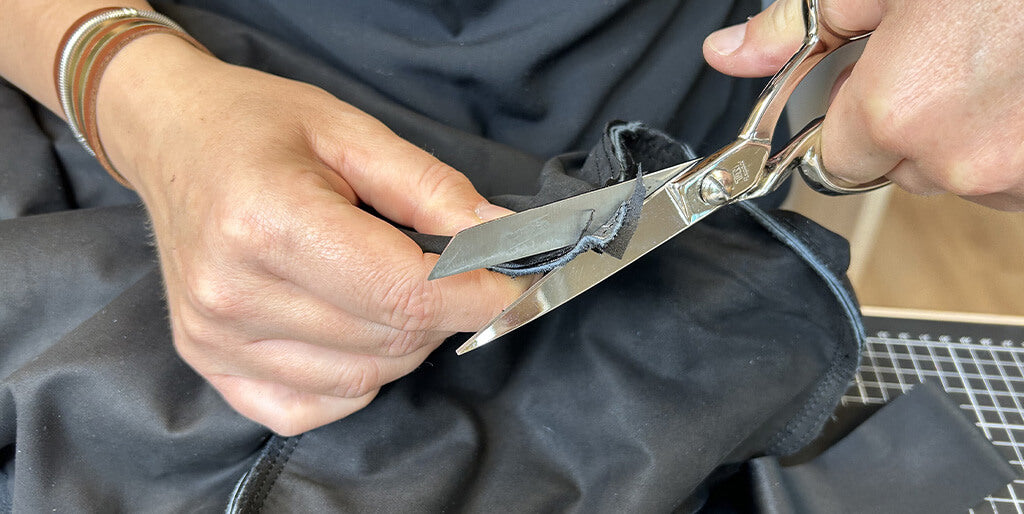
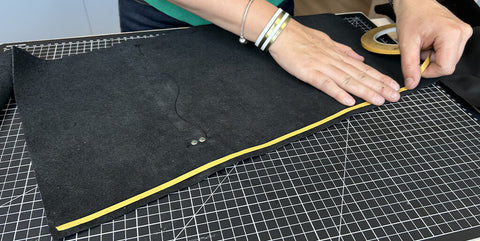
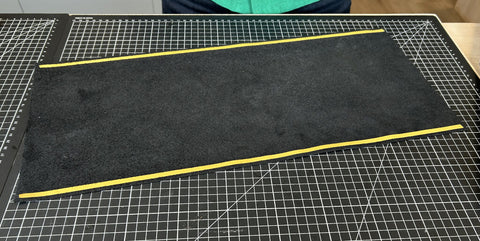
10. Make two biases
Cut 2 large strips of 5 cm wide from the fabric lining, approximately 90 cm long. 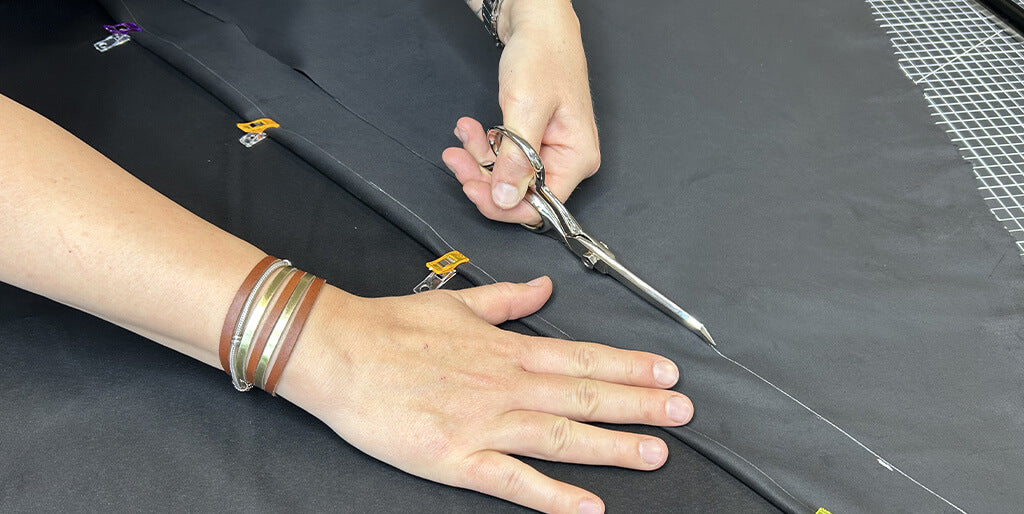
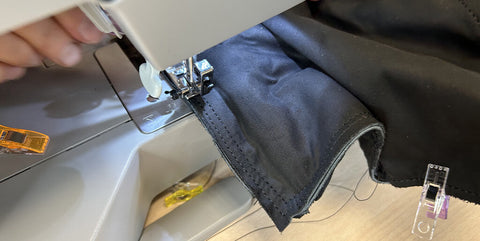
Sew the right side of the bias against the wrong side of the side seam. Sew 1 mm from the previous seam, do not go beyond it (so as not to see it when the bag is turned over at the end).
 |
 |
Take the bias and fold it twice on itself, on the second side of the side seam P5.
 |
 |
Hold with sewing clips and stitch over the previous seam.
 |
 |
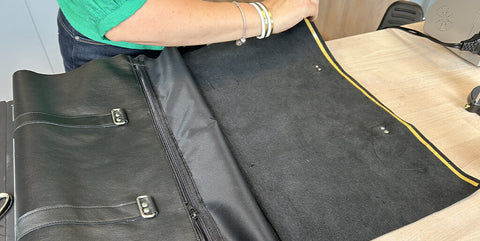
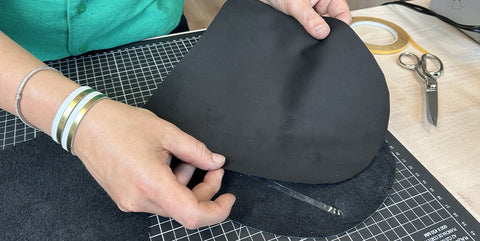
11. Prepare the bottom of the bag
Turn the bag inside out. 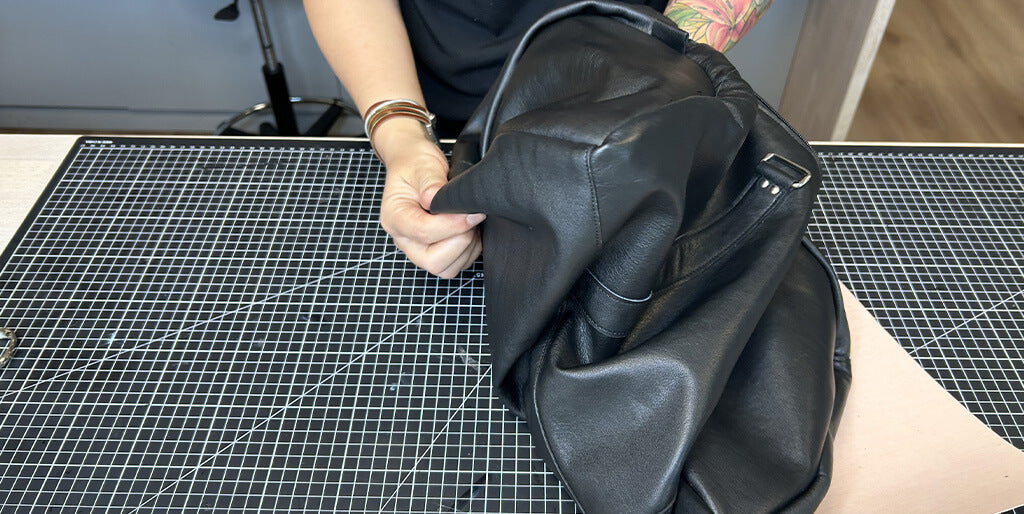
Cut a piece of texon measuring 49 x 23 cm (thickness 0.6 mm). 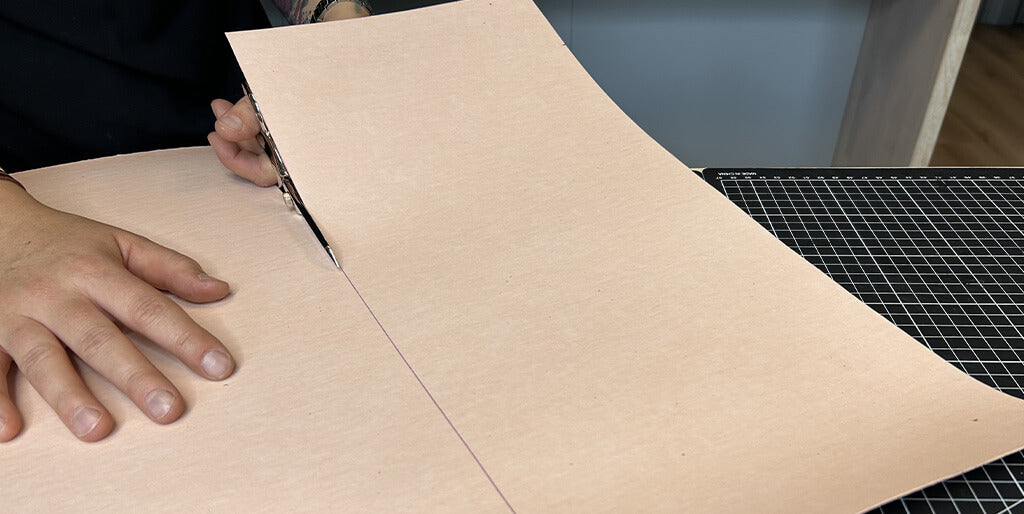
Pass the Texon plate through the large opening in the liner. Place the texon firmly in the corners of the bag.
 |
 |
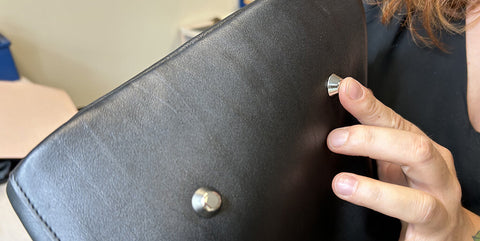
Drill the holes for the bag feet in the leather and texon using a round awl. 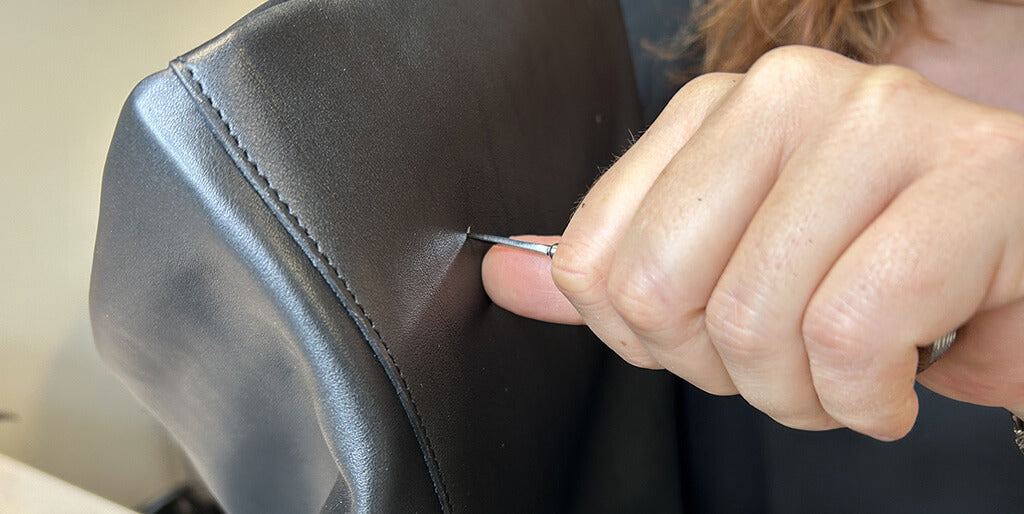
Attach the bag feet to the texon (so that they are hidden in the lining).
 |
 |
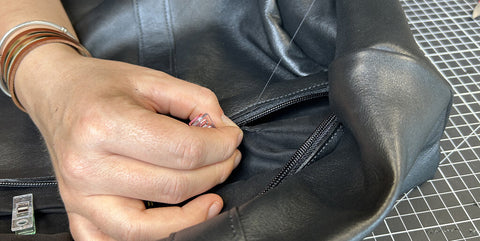
12. Close the bag
Hand sew the opening into the lining.
 |
 |
 |
 |
13. Attaching the handles
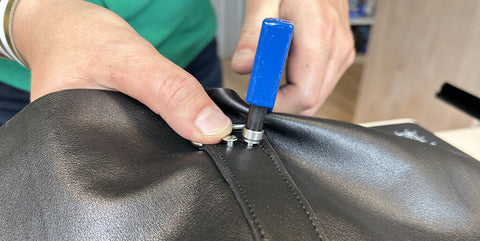
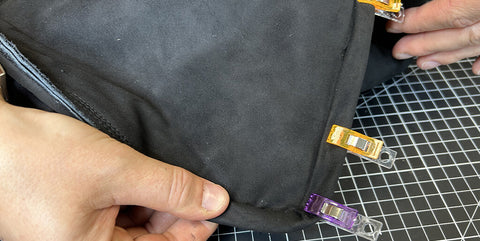
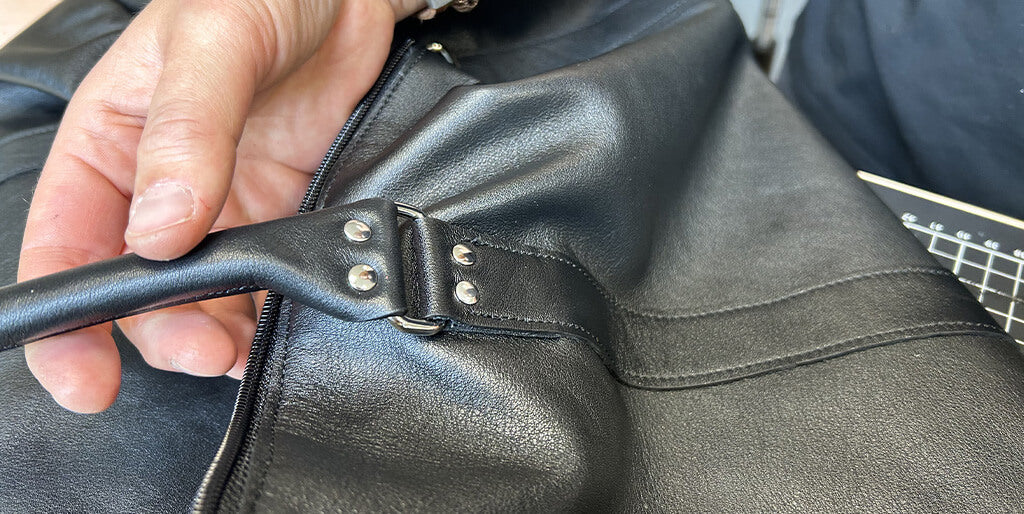
Pass the ends of the handles through the rectangular loops and fold them in 2. Mark the position of the top holes (referring to the existing holes) then drill them. Then secure the handles with 2 T3 rivets.
 |
 |
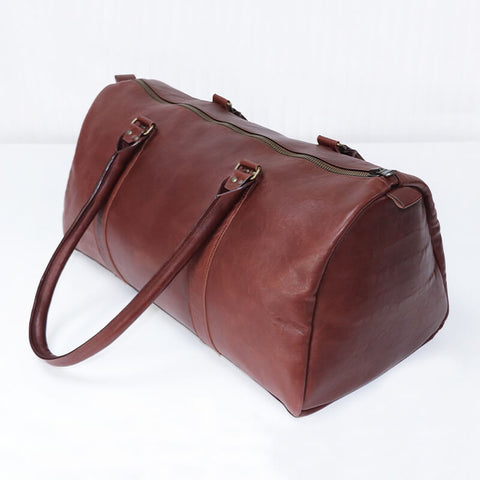
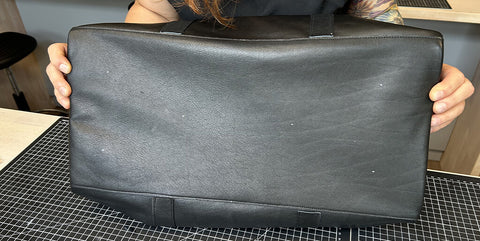
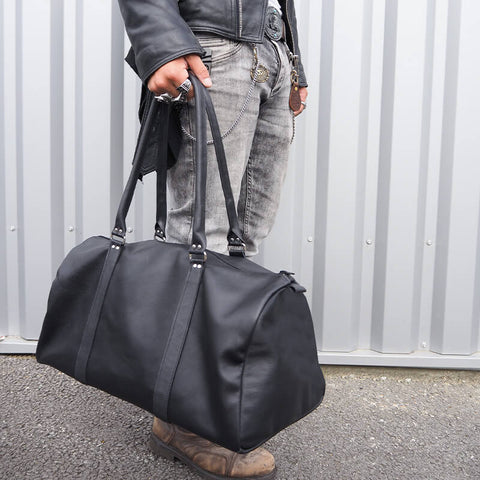
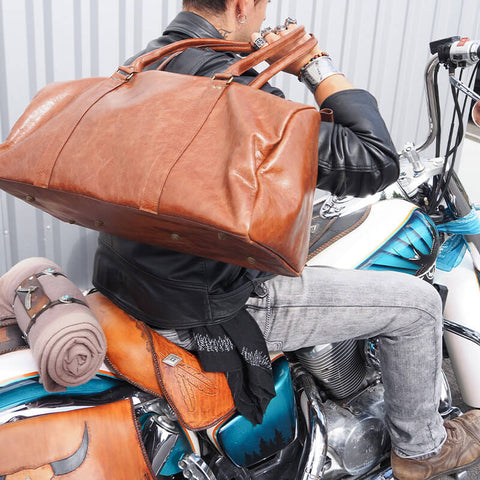
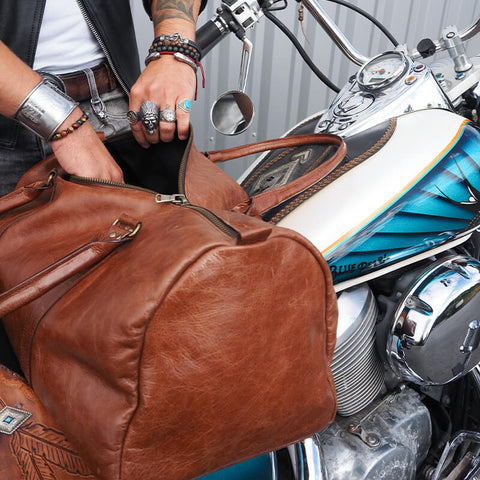
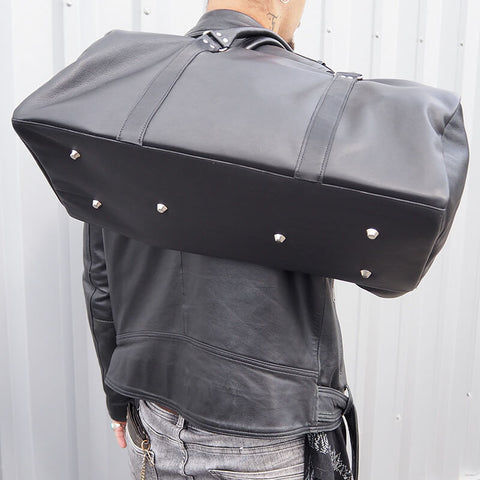
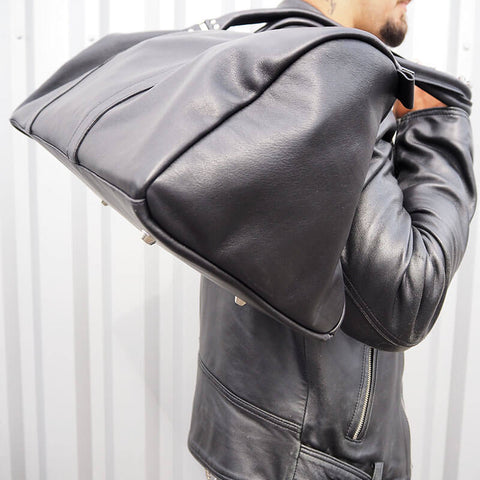
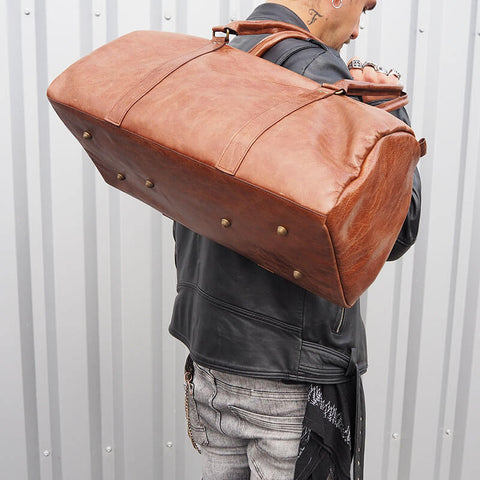
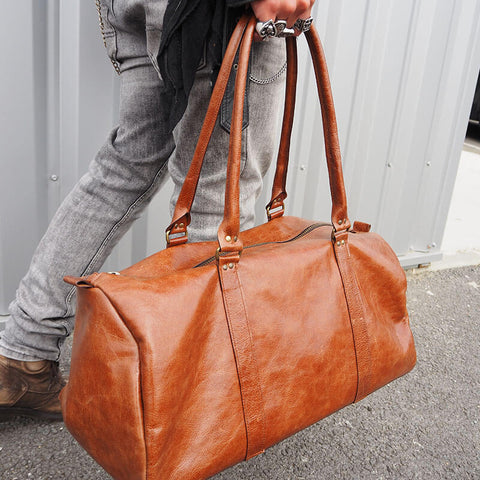
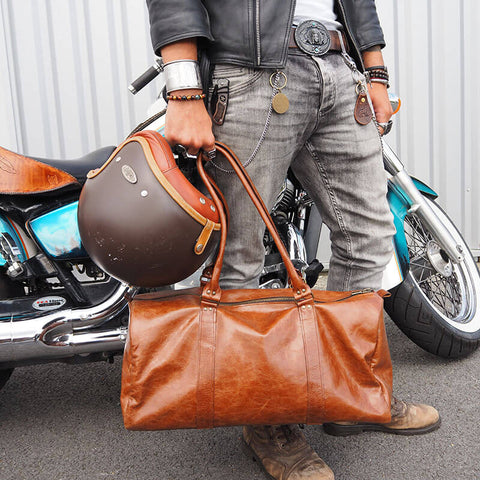
You have finished !
 |
 |
 |
 |
 |
 |
 |
 |


7 comments
DECO CUIR
Bonjour Denis,
Il faut compter environ deux jours de travail pour un débutant, en veillant à bien respecter les différents temps de séchage et avec une marge d’erreur.
bonne journée, l’équipe Deco Cuir
Denis Balland
Bonjour, pouvez vous me donner un temps approximatif du montage pour ce sac, merci
Anonymous
Bonjour Mme. RAFFIN,
Nous utilisons la Toyota power fabriq pour tous nos tutoriels mais elle n’est plus commercialisée, il faut la trouver d’occasion. Attention cependant, cela reste une machine familiale elle a ses limites en matière d’épaisseur.
Il faut une machine double ou triple entrainement, ce qui peut être compliqué à trouver dans votre budget.
On vous conseille de regarder d’occasion et de vous renseigner auprès de groupe de maroquiniers.
Très bonne journée,
L’équipe Deco Cuir
Raffin
Bonjour
Pouvez-vous me renseigner sur une machine à coudre le cuir epais.
D’un bon rapport qualité prix ( moins de 1000€, voir autour de 500€
Cordialement Martine
Anonymous
Bonjour Pascal,
Les peaux du kit font environ 1,2 mm d’épaisseur :)
Bonne journée,
L’équipe Deco Cuir
Pascal François
Bonjour,
Merci pour ce tutoriel. Pouvez vous m’indiquer avant de passer commande, dans le kit d’accessoires vendu pour le réaliser l’épaisseur du cuir fournis.
Par avance merci
Cordialement
Pascal
Mogia
super, un grand merci, je vais essayer