Version No. 1 – With flap
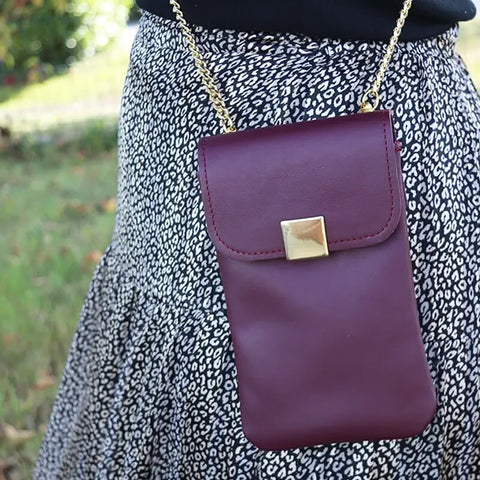
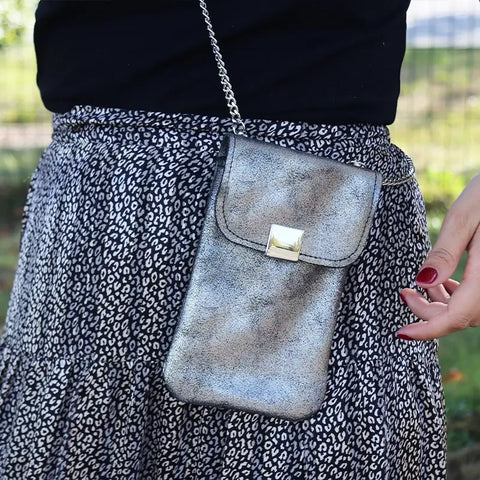
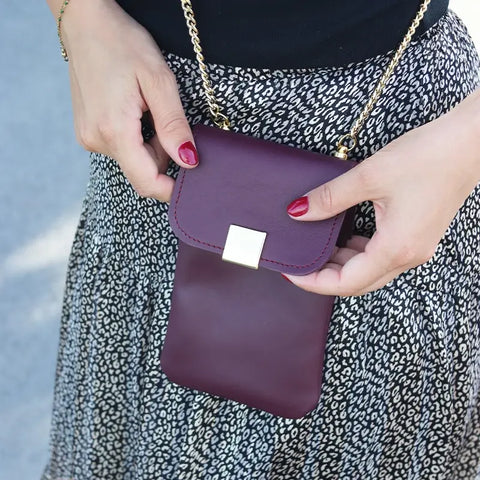
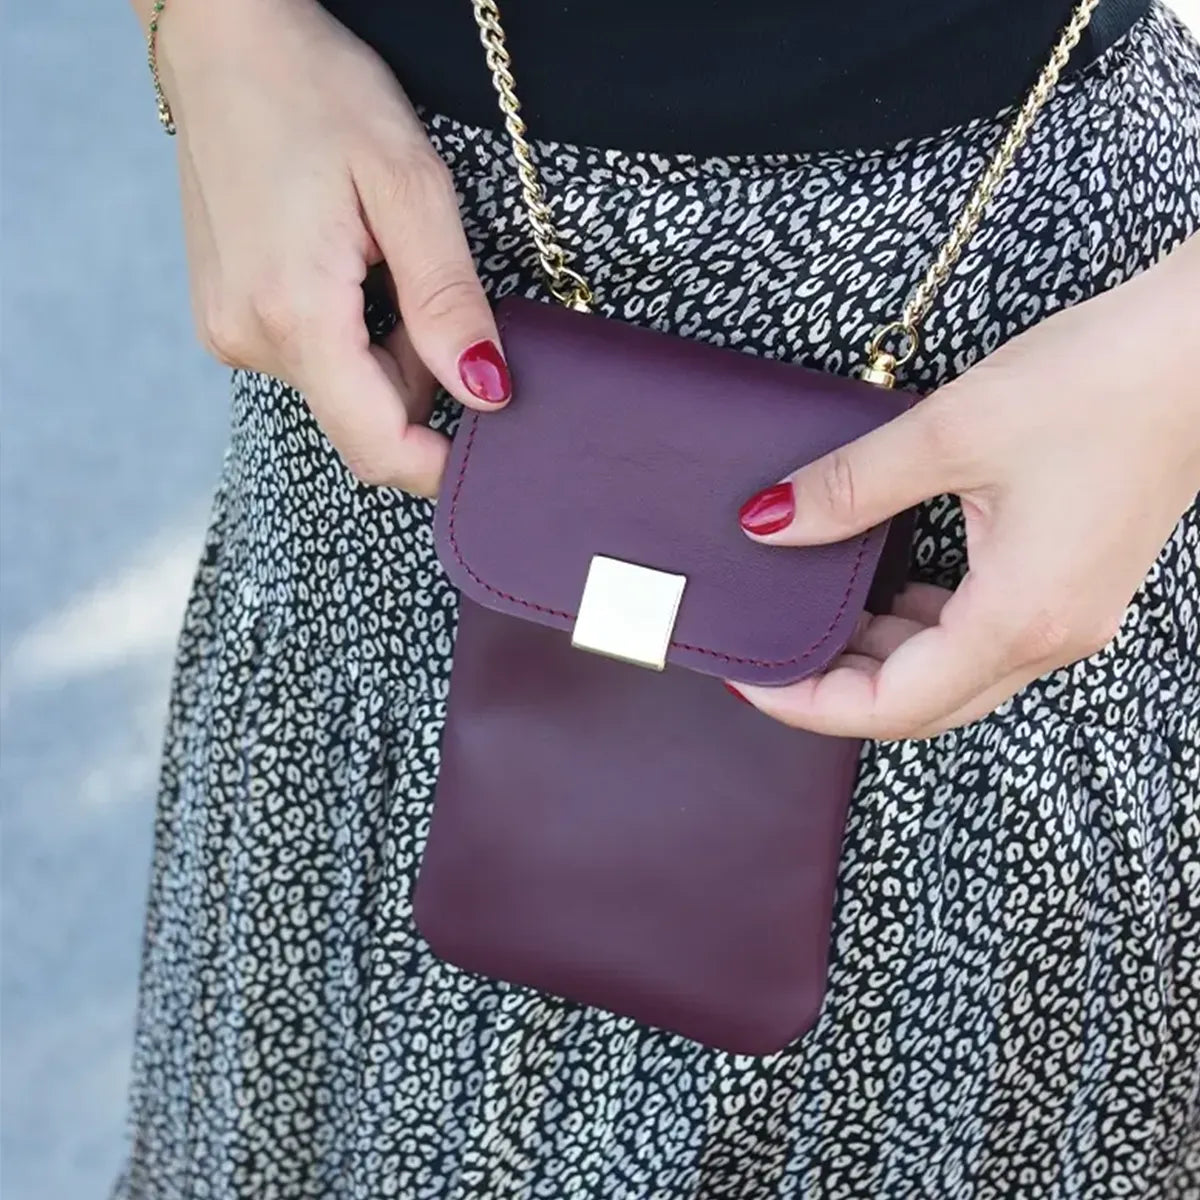
Here is the tutorial for the first version of the leather pouch. This version is narrower than the second one and features a flap the same size as the pouch. We have used a magnetic clasp.
 |
 |


REQUIRED MATERIALS:
- 1 piece of soft leather (30 x 40 cm) - Thickness 1.2 to 1.3 mm
- 1 fabric lining
- 1 bag chain (length approx. 100 - 120 cm)
- 1 magnetic clasp
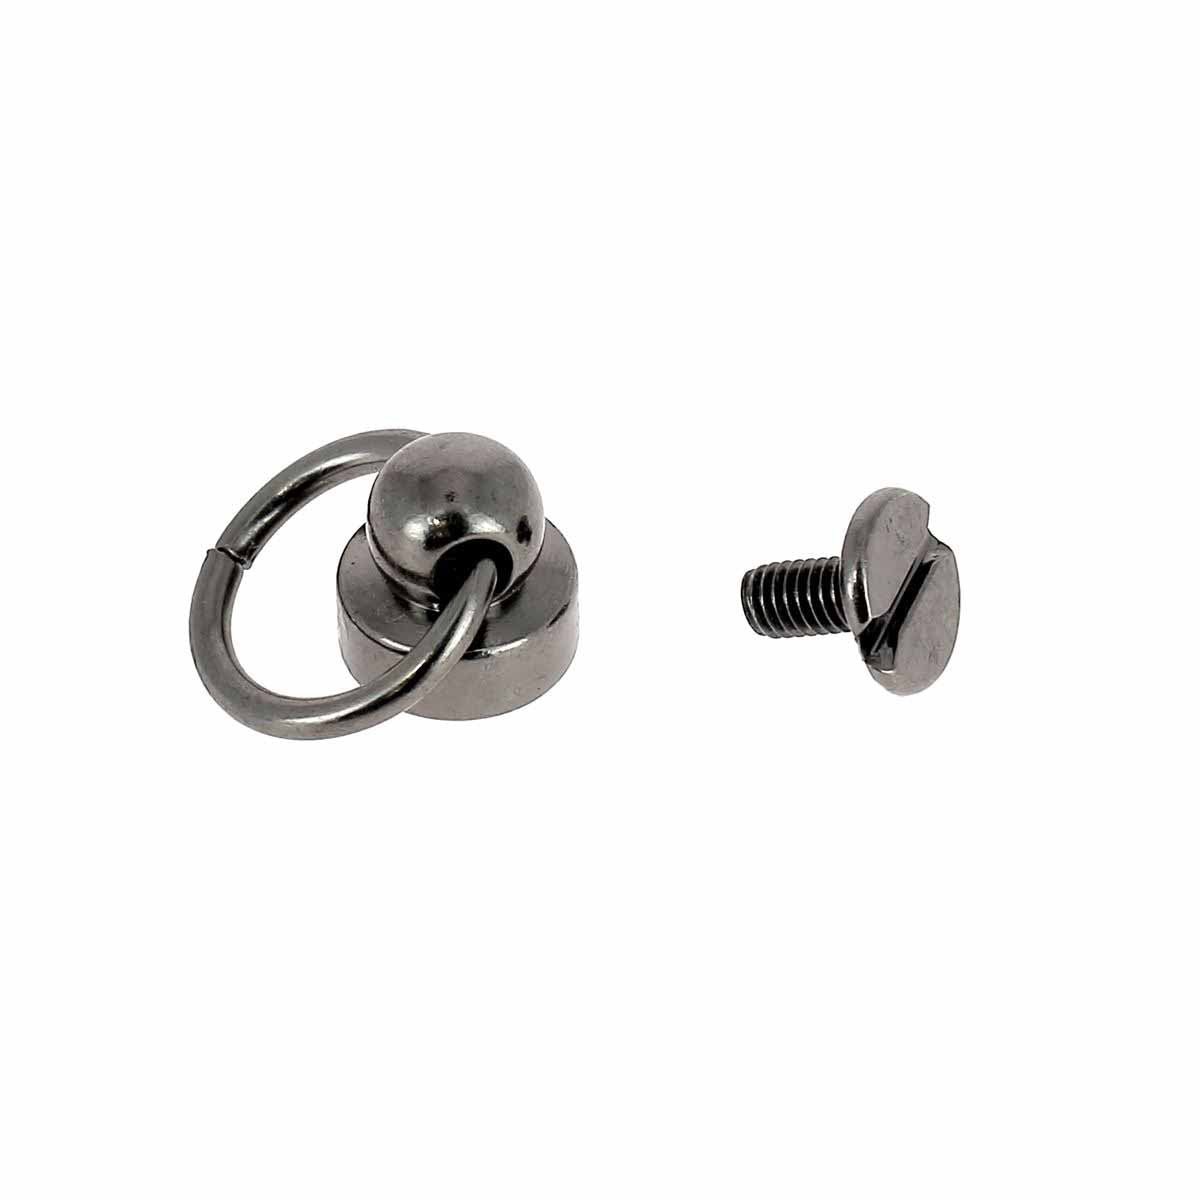
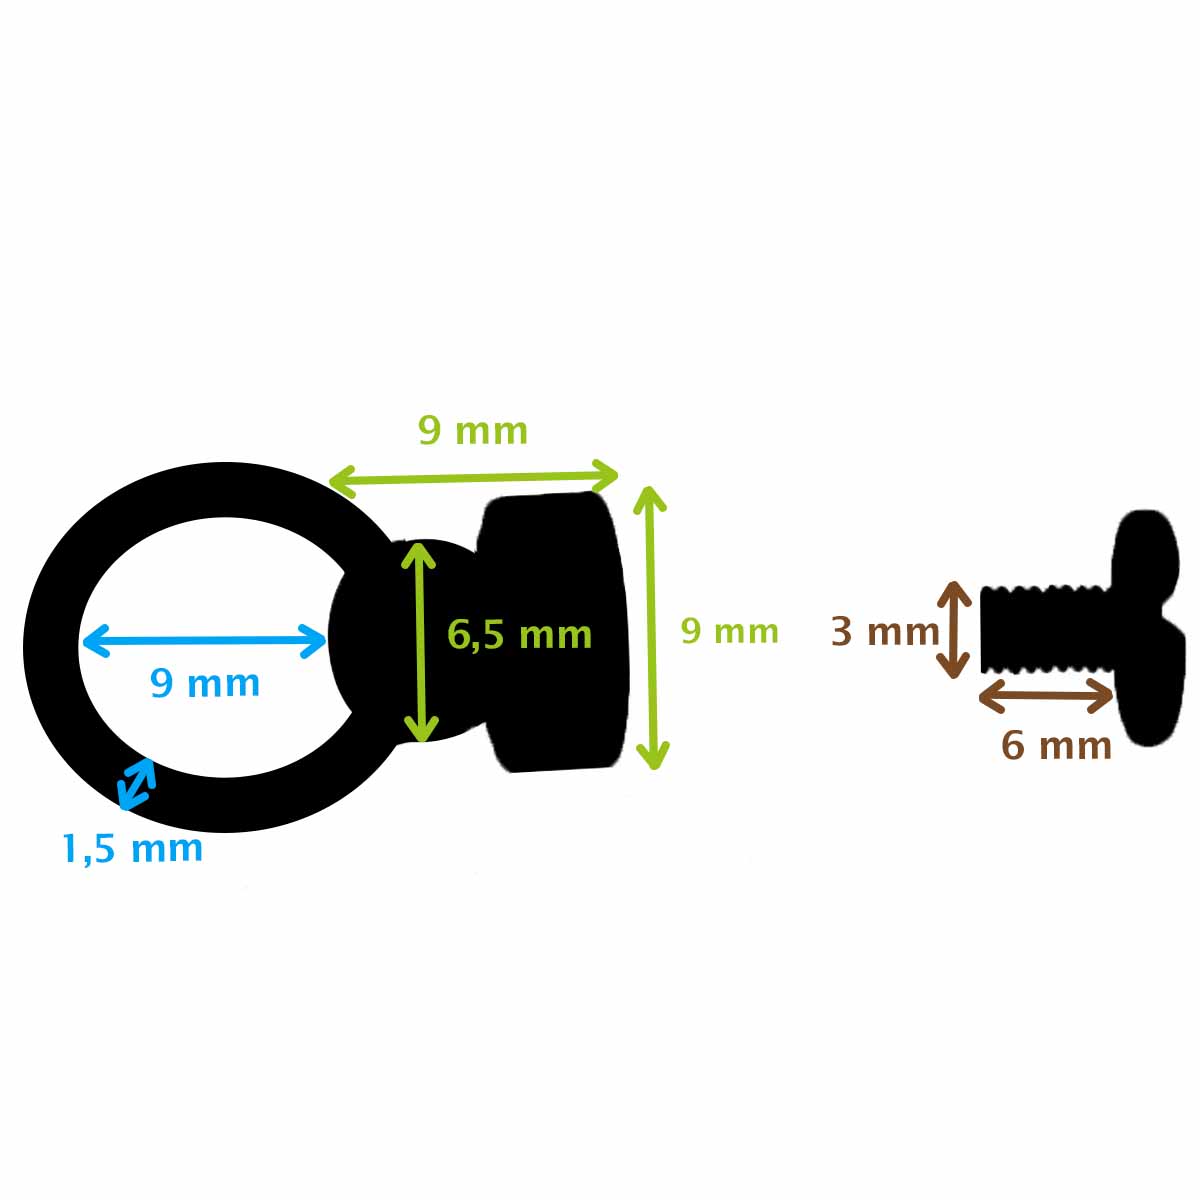
- 2 collar studs with rings (Diameter: 9 mm)
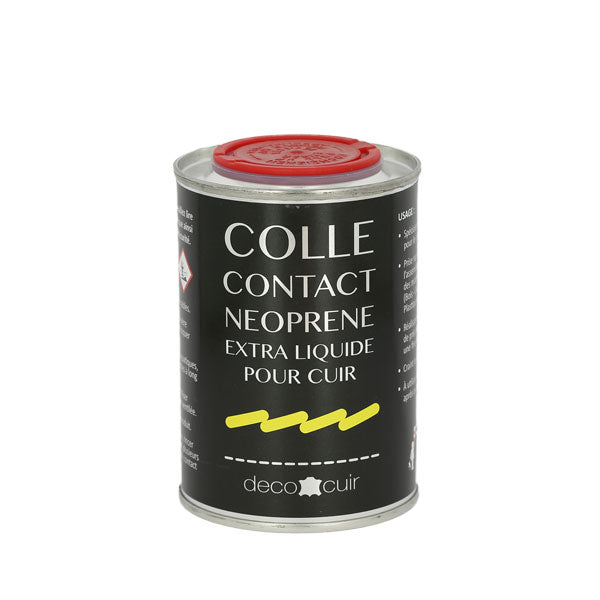
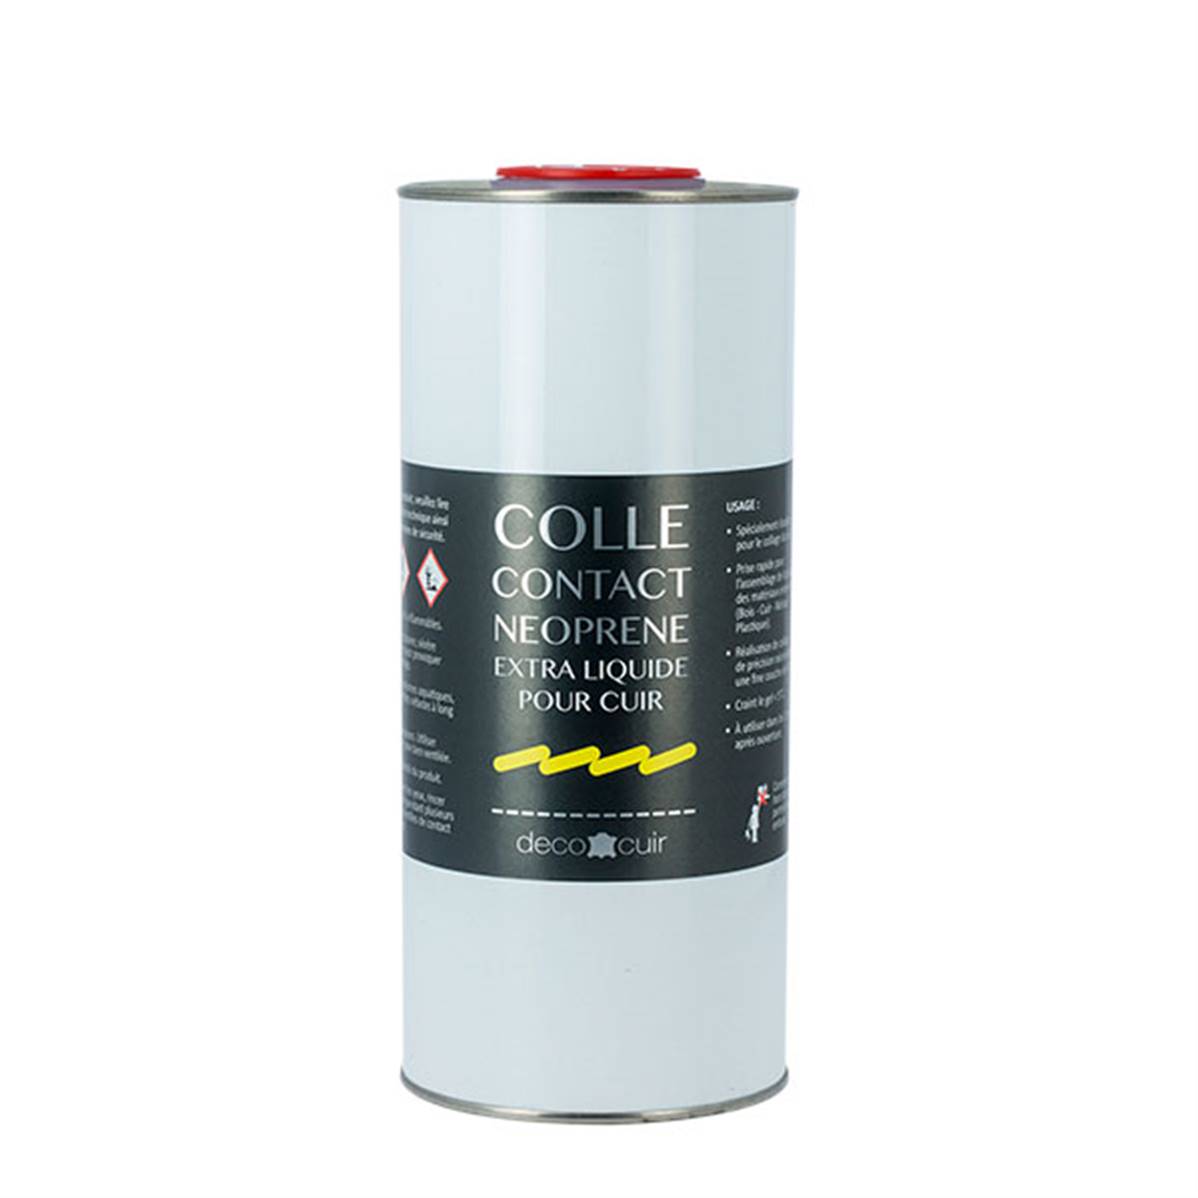
- Contact glue
Video
1. CUT OUT THE PAPER PATTERN
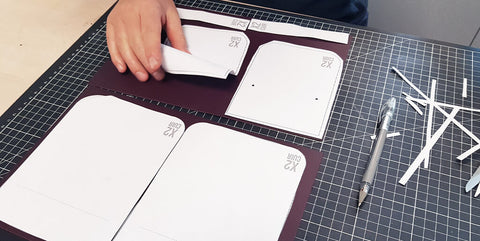
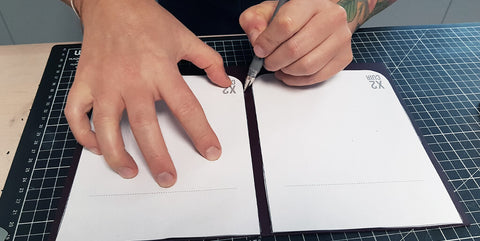
Download and print the pattern (available in the dedicated tab at the top of this page). Transfer the pattern onto the leather and fabric pieces using a silver marking pencil.
Seam allowances are included in the indicated dimensions.
 |
 |
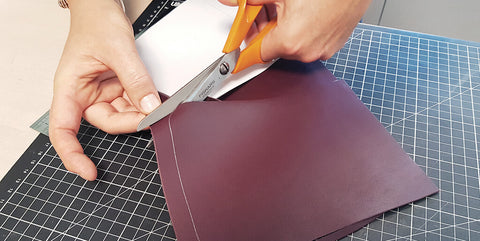
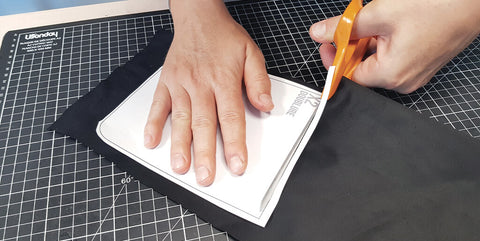
2. CUT OUT THE PATTERN PIECES
Cut two pieces of P1 and two pieces of P3 from the leather using a utility knife or scissors. The P2 pieces will be cut in the next step. Also cut two pieces of P4 from the fabric lining.
 |
 |
3. MAKE THE FLAP
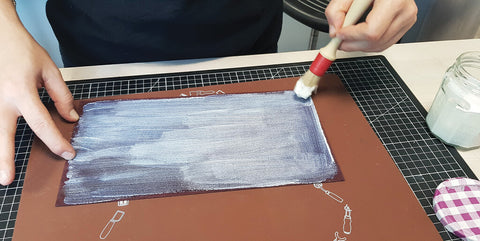
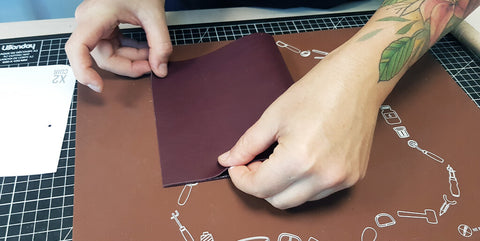
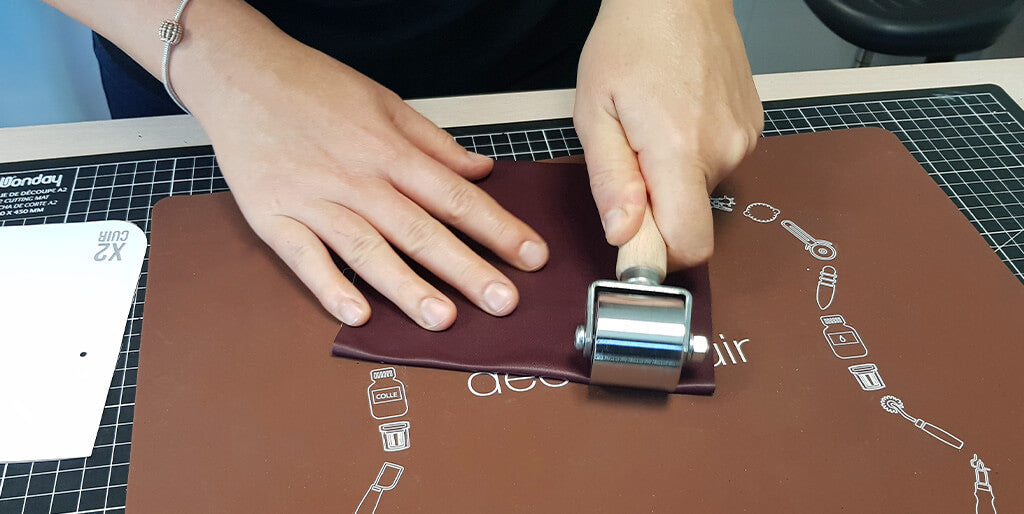
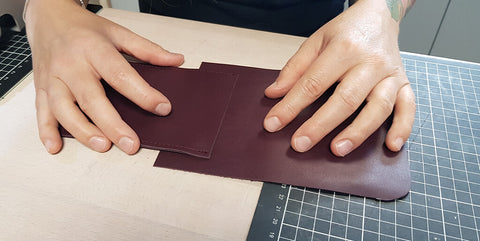
Cut the P2 pieces by following the dotted lines, as the pouch flap is lined. They will be cut to their final shape after assembly. Glue the two P2 pieces together, wrong side to wrong side, using contact glue for leather. Flatten and smooth out the bond using a steel roller.
 |
 |
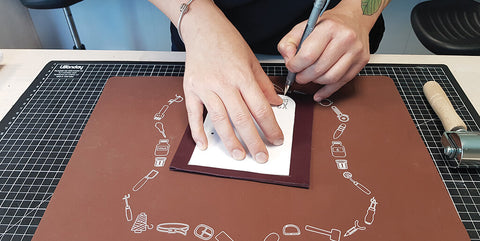
Transfer the P2 pattern onto the laminated leather piece, then cut it out using a utility knife or scissors.
 |
 |
4. SEW THE P2 PIECE
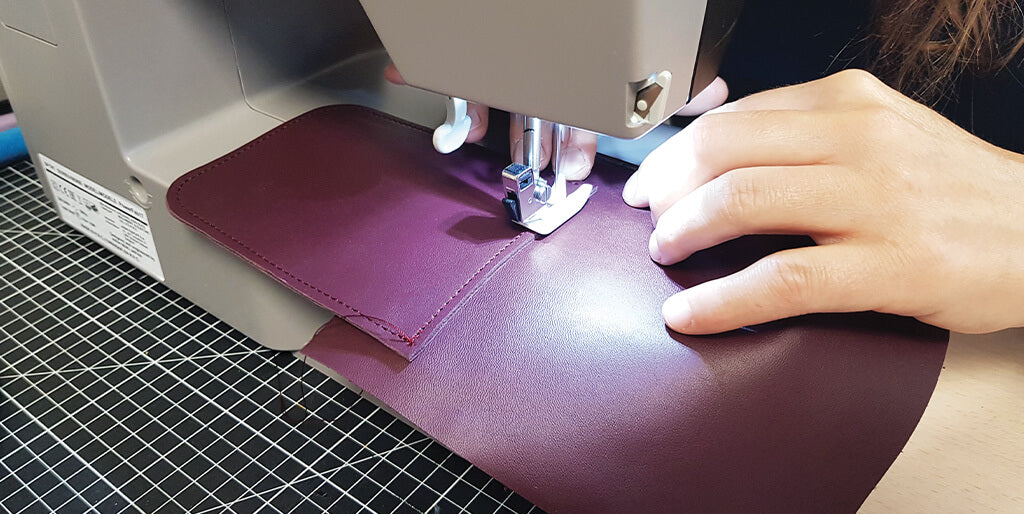
Topstitch the P2 piece, except for the straight edge.
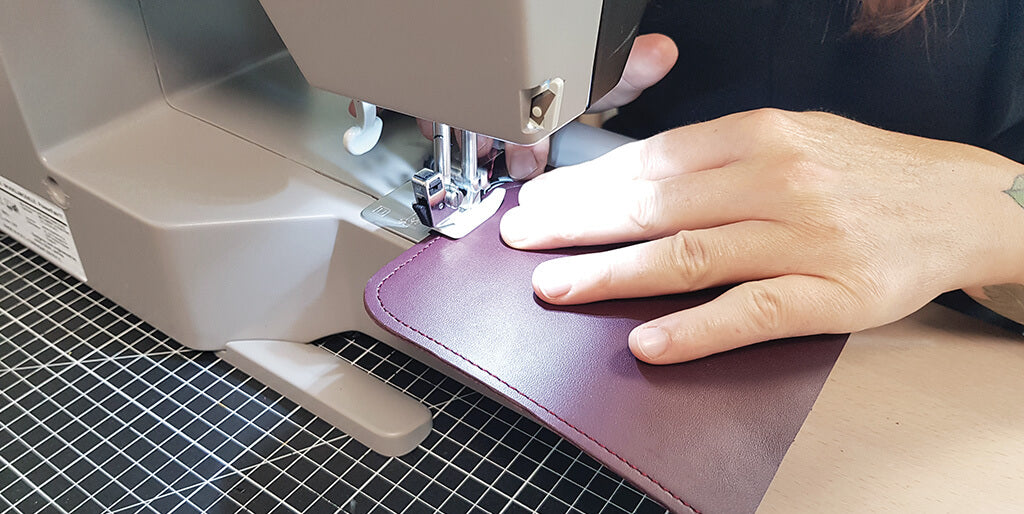
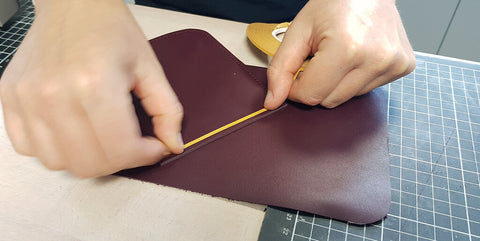
Position the straight edge of P2 at the intended location on one of the P1 pieces. Secure with double-sided tape, then stitch 3 mm from the edge.
 |
 |
5. ATTACH THE CLASP
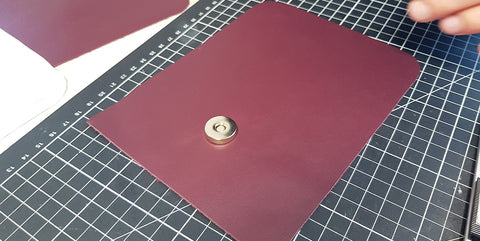
Attach the female part of the clasp to the front of the pouch, on the other P1 piece.
 |
 |
6. ASSEMBLE THE P1 PIECES
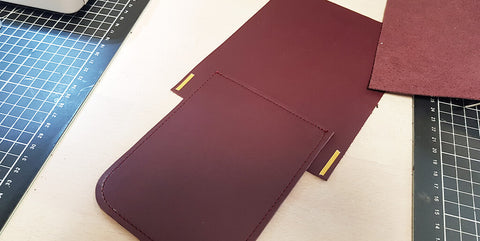
Assemble the two P1 pieces right sides together using double-sided tape.
 |
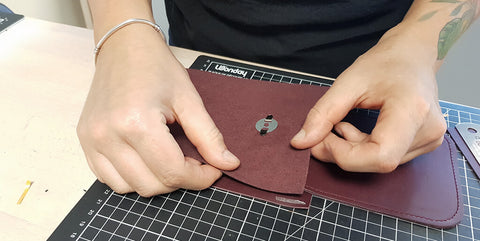 |
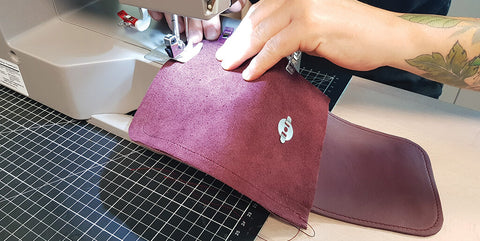
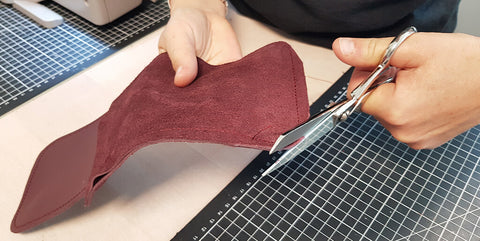
Sew 1 cm from the edge, then trim the bottom corners of the pouch.
 |
 |
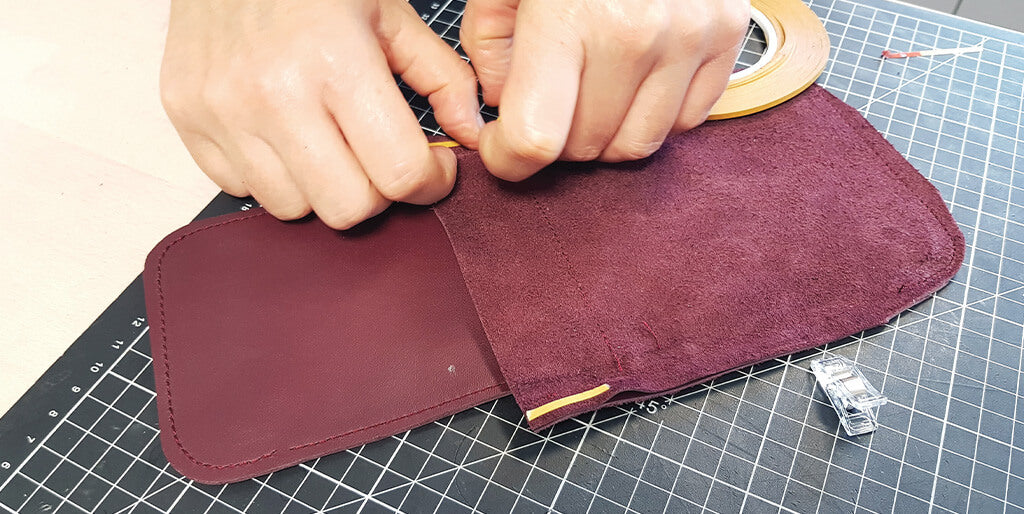
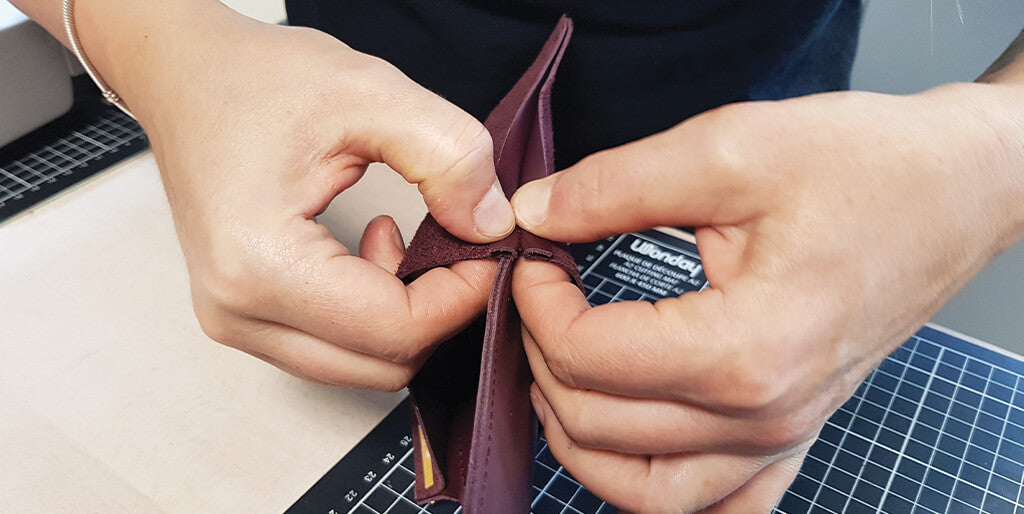
Apply double-sided tape to 3 cm on each side of the top of the pouch, both front and back, to spread the seam allowances. This step helps avoid excess thickness during the final stitching.
7. SEW THE LINING
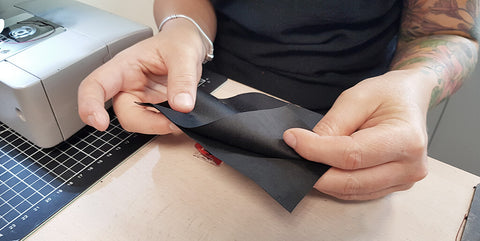
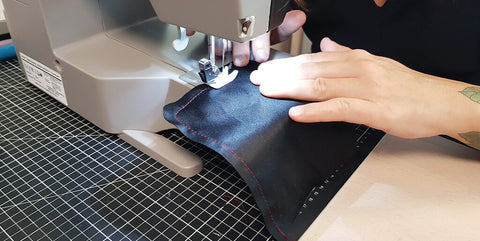
Assemble the lining pieces P4 right sides together. Sew 1 cm from the edge, except for the top straight edge. Finally, trim the corners.
 |
 |
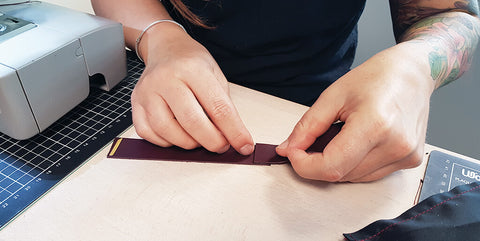
Assemble the two P3 pieces flat, right sides against wrong sides, along one of the widths using double-sided tape. Then sew this width.
 |
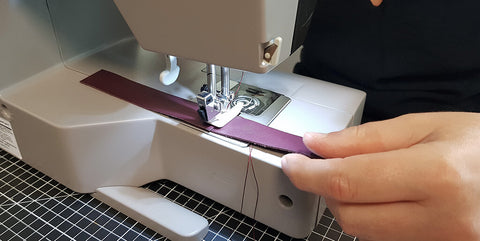 |
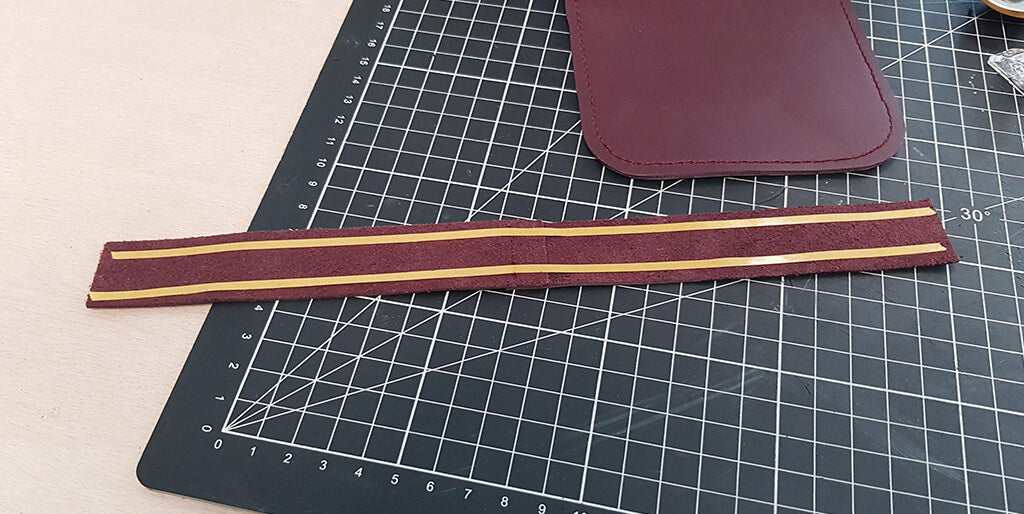
Apply double-sided tape along the entire top and bottom edges of the P3 band.
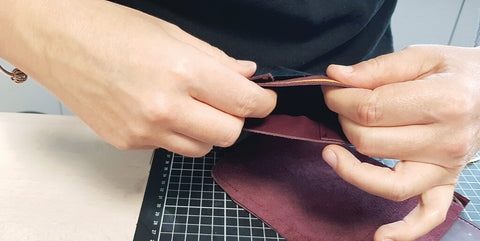
Glue the wrong side of the bottom edge of P3 onto the right side of the top edge of the lining. Then glue the other width of P3 using double-sided tape.
 |
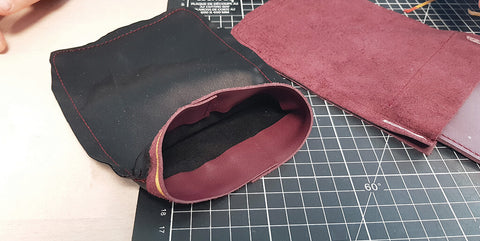 |
Sew this second width, then continue sewing all around 2 mm from the edge. 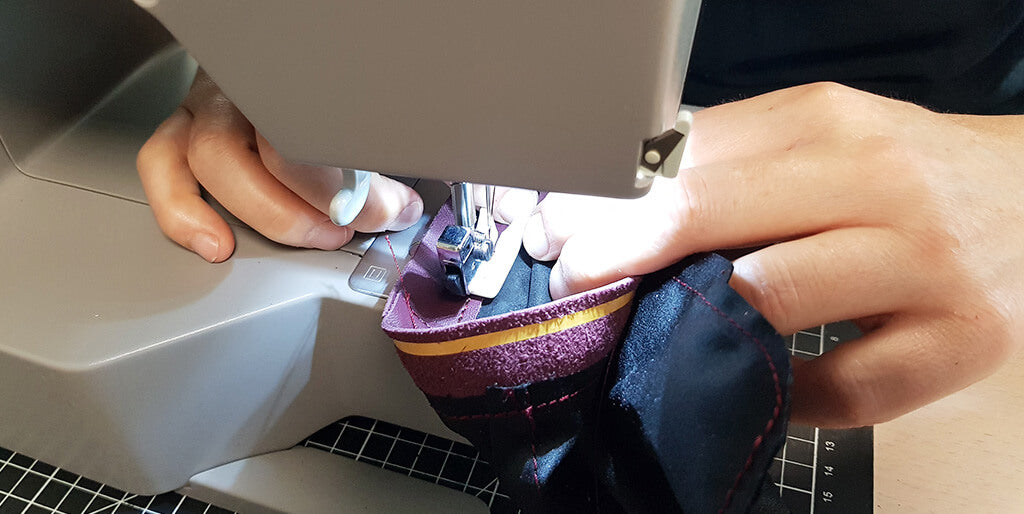
Turn the lining right side out.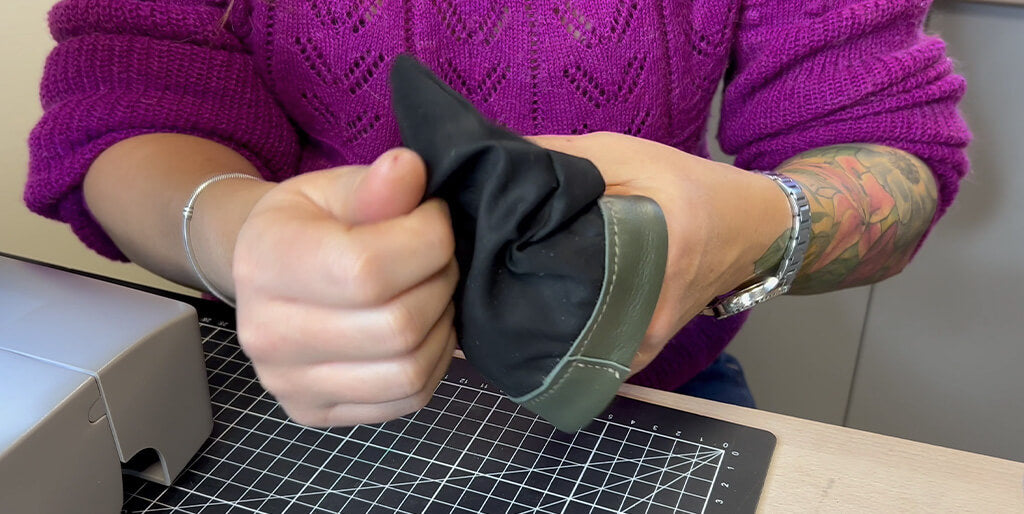
8. ASSEMBLE THE POUCH
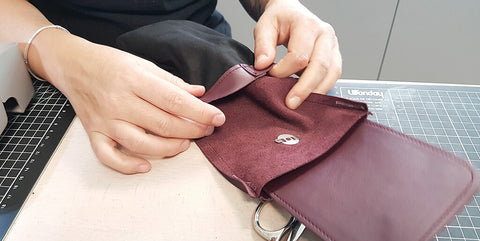
Insert the leather pouch into the lining and carefully position the P3 band all around the top of the pouch, wrong side against wrong side, using double-sided tape.
 |
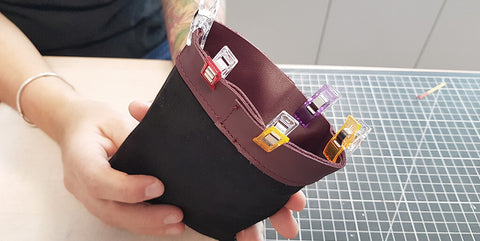 |
Tuck the flap into the pouch, then sew all around 3 mm from the edge.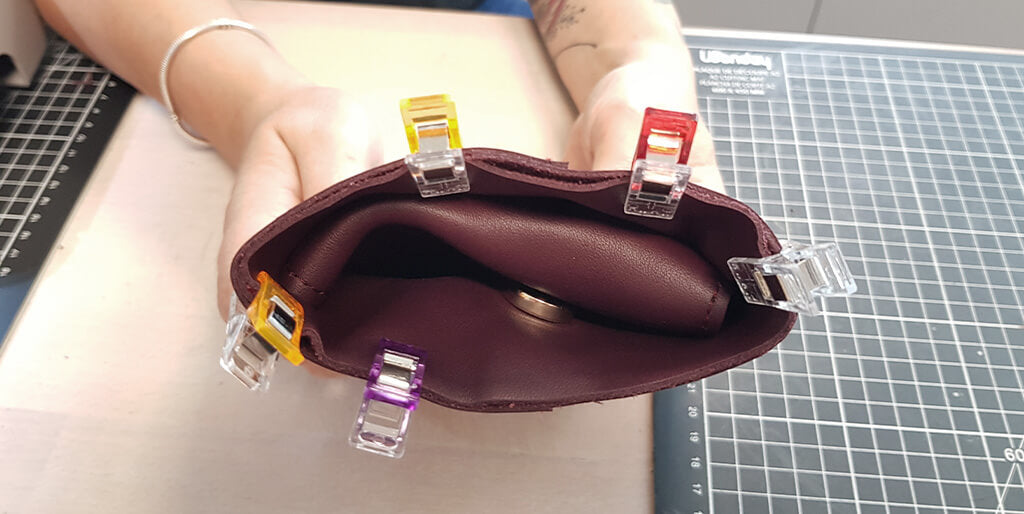
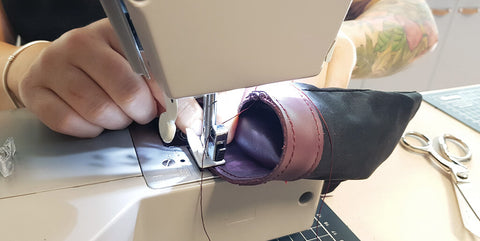 |
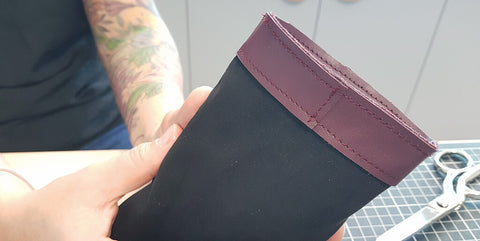 |
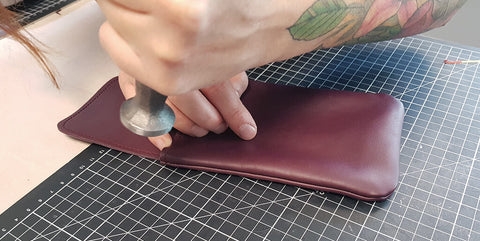
Turn the pouch right side out and gently tap the seams with a riveting hammer to give them a nice shape.
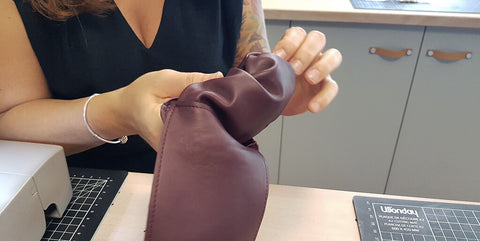 |
 |
9. ATTACH THE BAG CHAIN
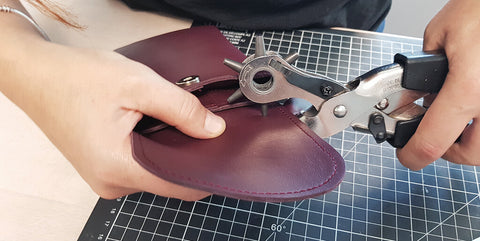
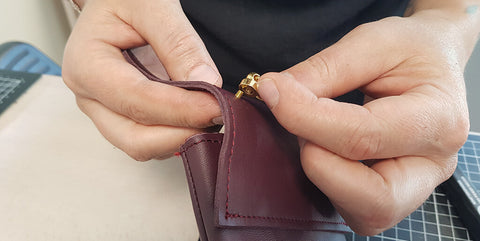
Punch the 3 mm Ø holes intended for the collar studs with rings, then screw them onto the pouch.
 |
 |
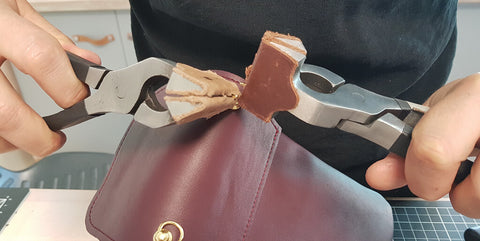
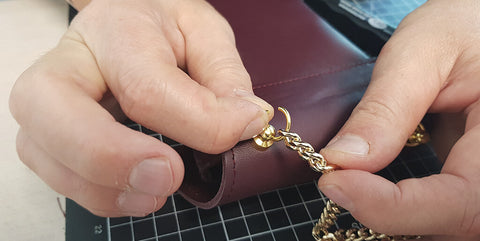
Using two flat-nose pliers, open the ring of the collar studs, slide the bag chain in, and then close the rings.
 |
 |
10. ATTACH THE CLASP
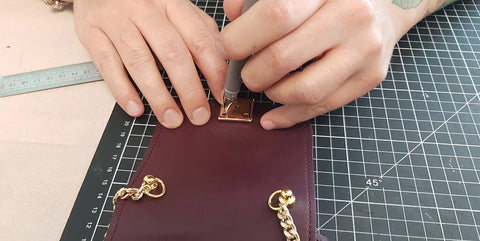
Attach the male part of the clasp to the flap. Mark the location of the three clasp holes, then punch the leather with a 2 mm Ø hole punch.
 |
 |
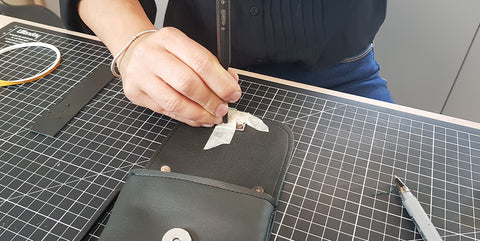
Fix the two small screws by tapping them with a hammer and a pin punch, then screw on the washer.
 |
 |
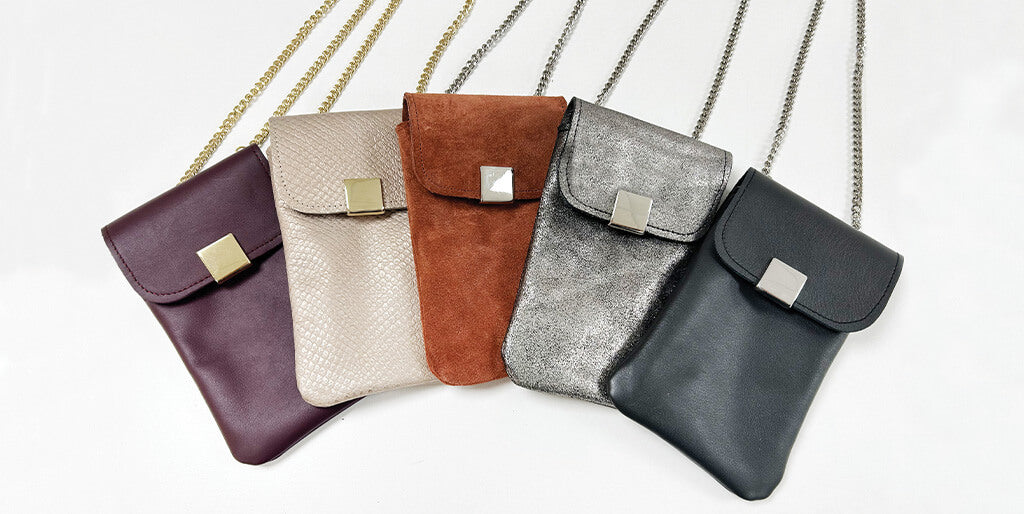
YOU ARE FINISHED!
Version No. 2 – With tab
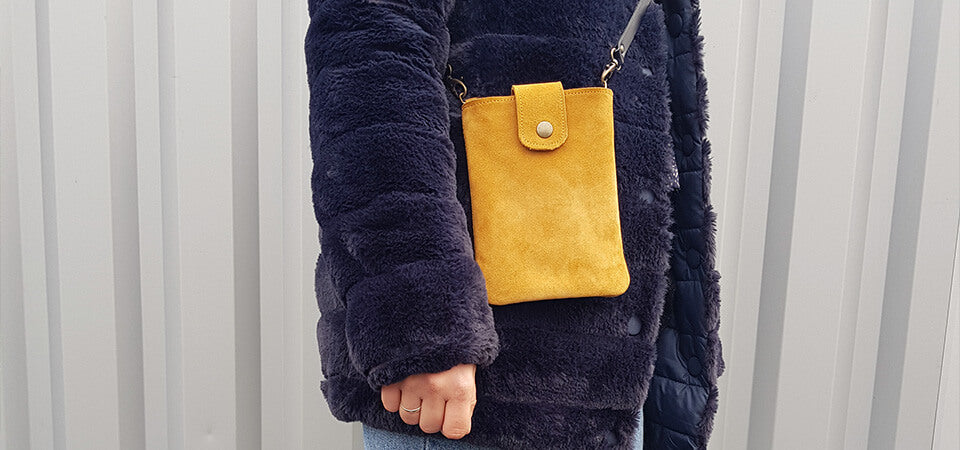
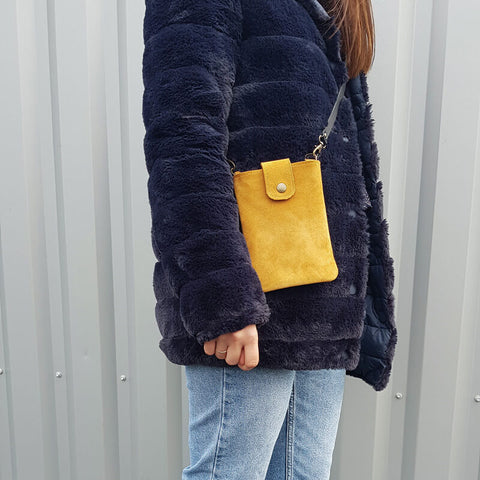
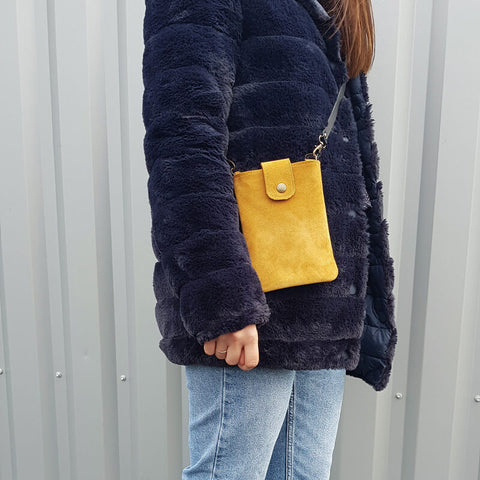
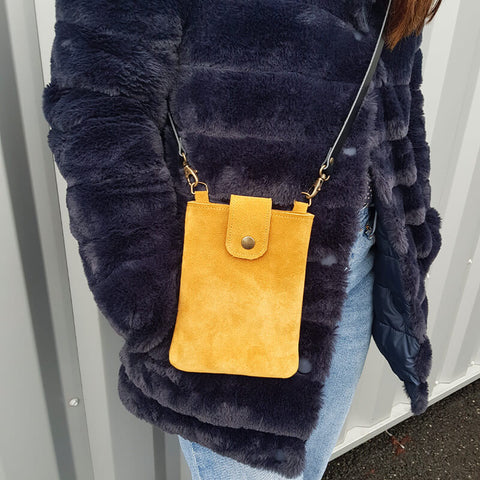
Here is the tutorial for the second version of the mobile phone pouch. This version has no flap but only a tab and a magnetic top. It is slightly wider than version No. 1.
 |
 |
REQUIRED MATERIALS:
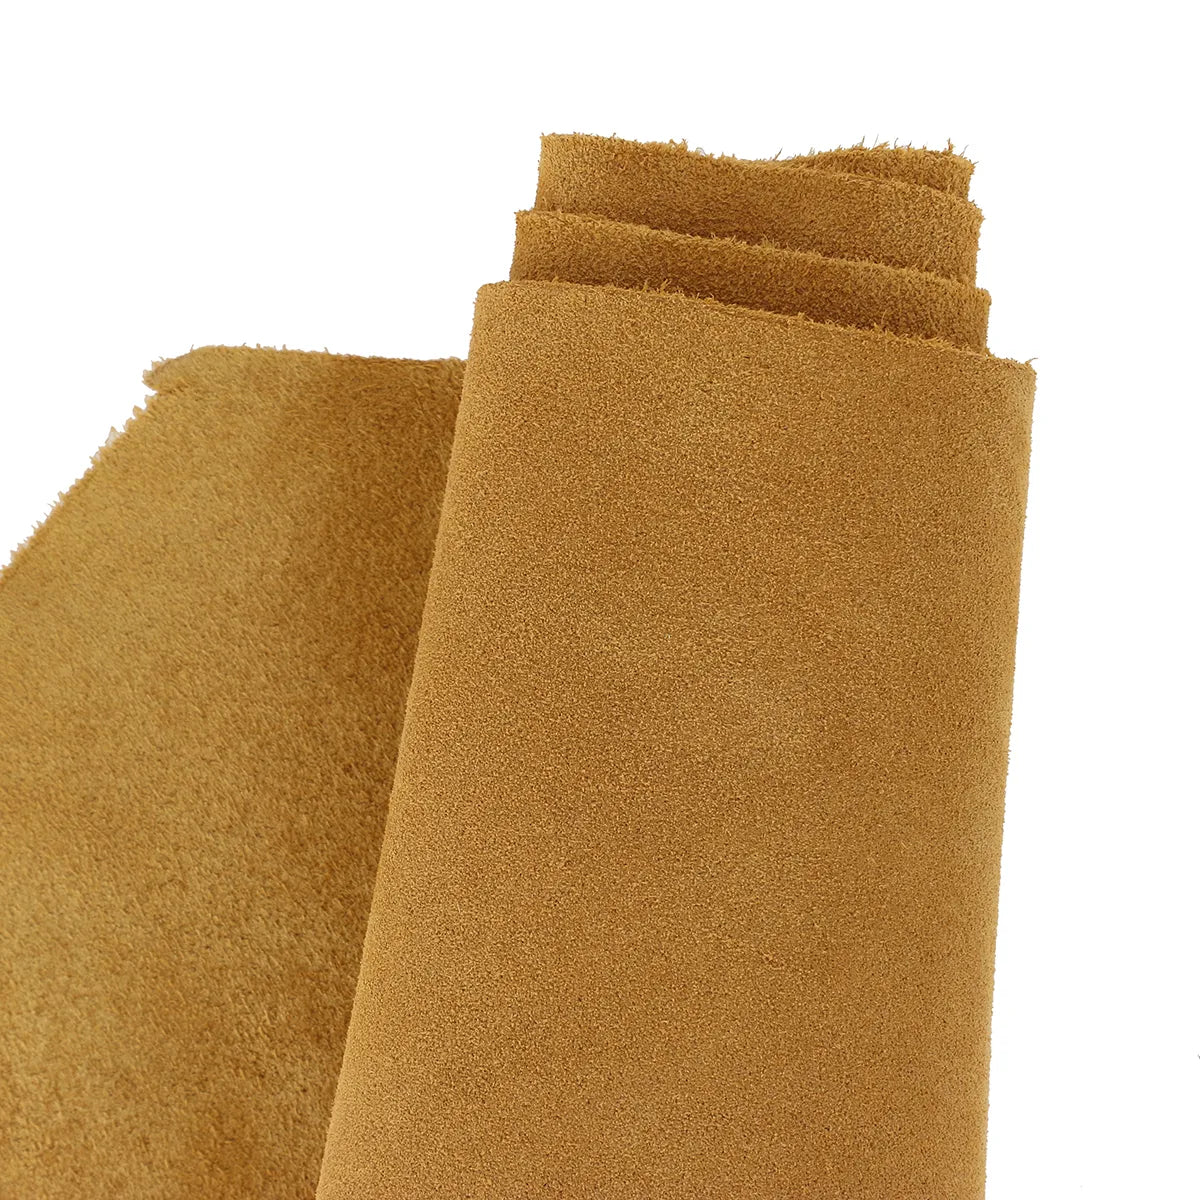
- 1 piece of suede leather (30 x 40 cm) - Thickness 1.3 mm (e.g., Dolce Deco Cuir range)
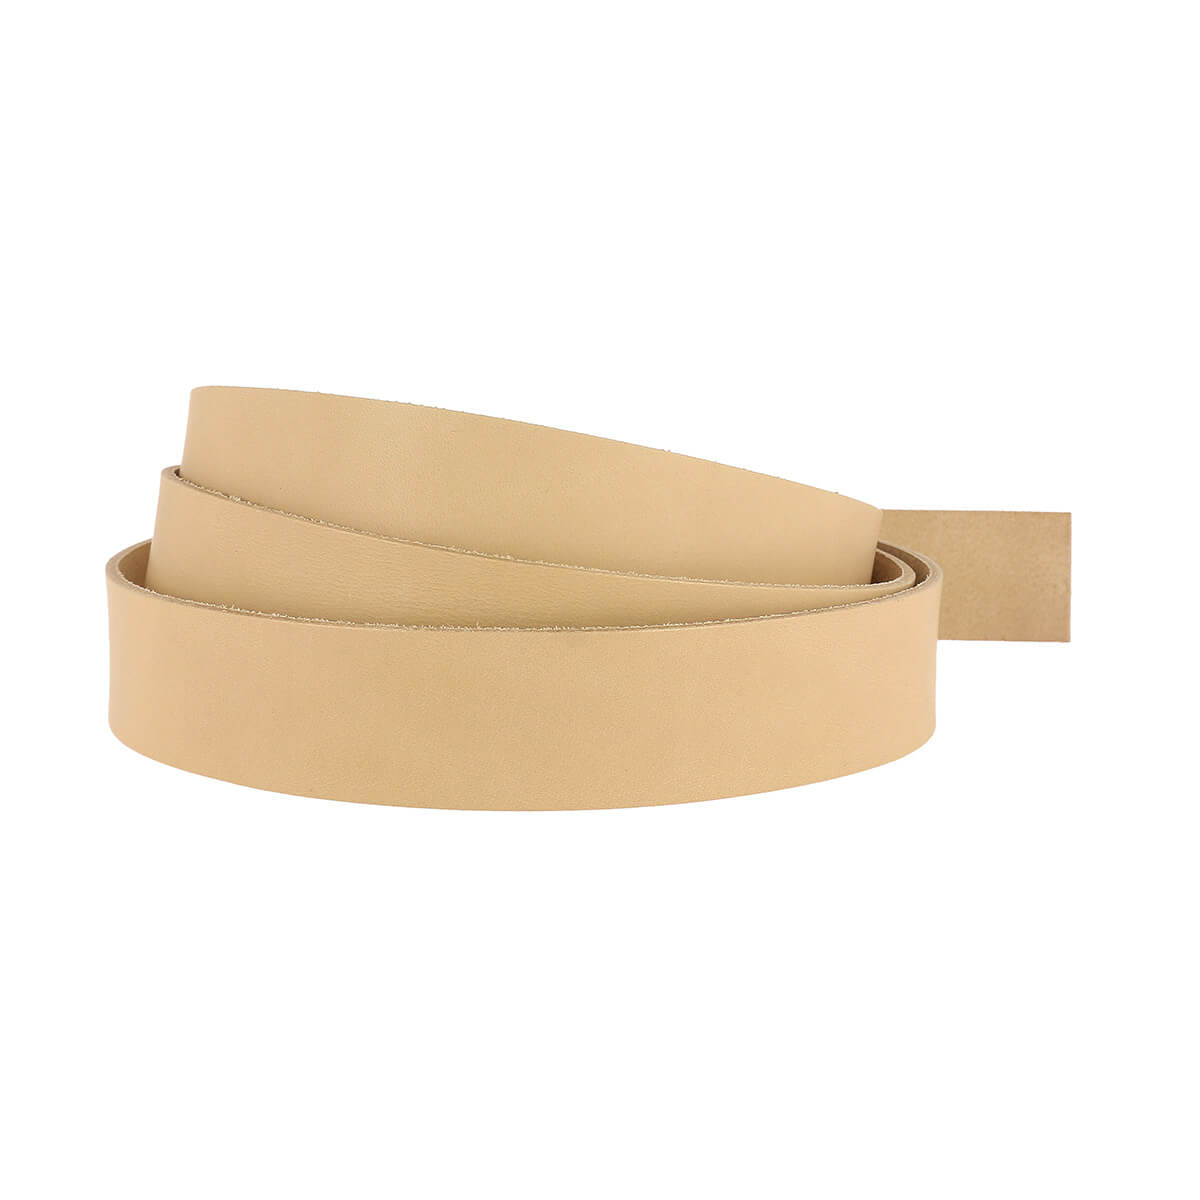
- 1 vegetable-tanned shoulder leather strap - Width 15 mm - Thickness 1.9 mm
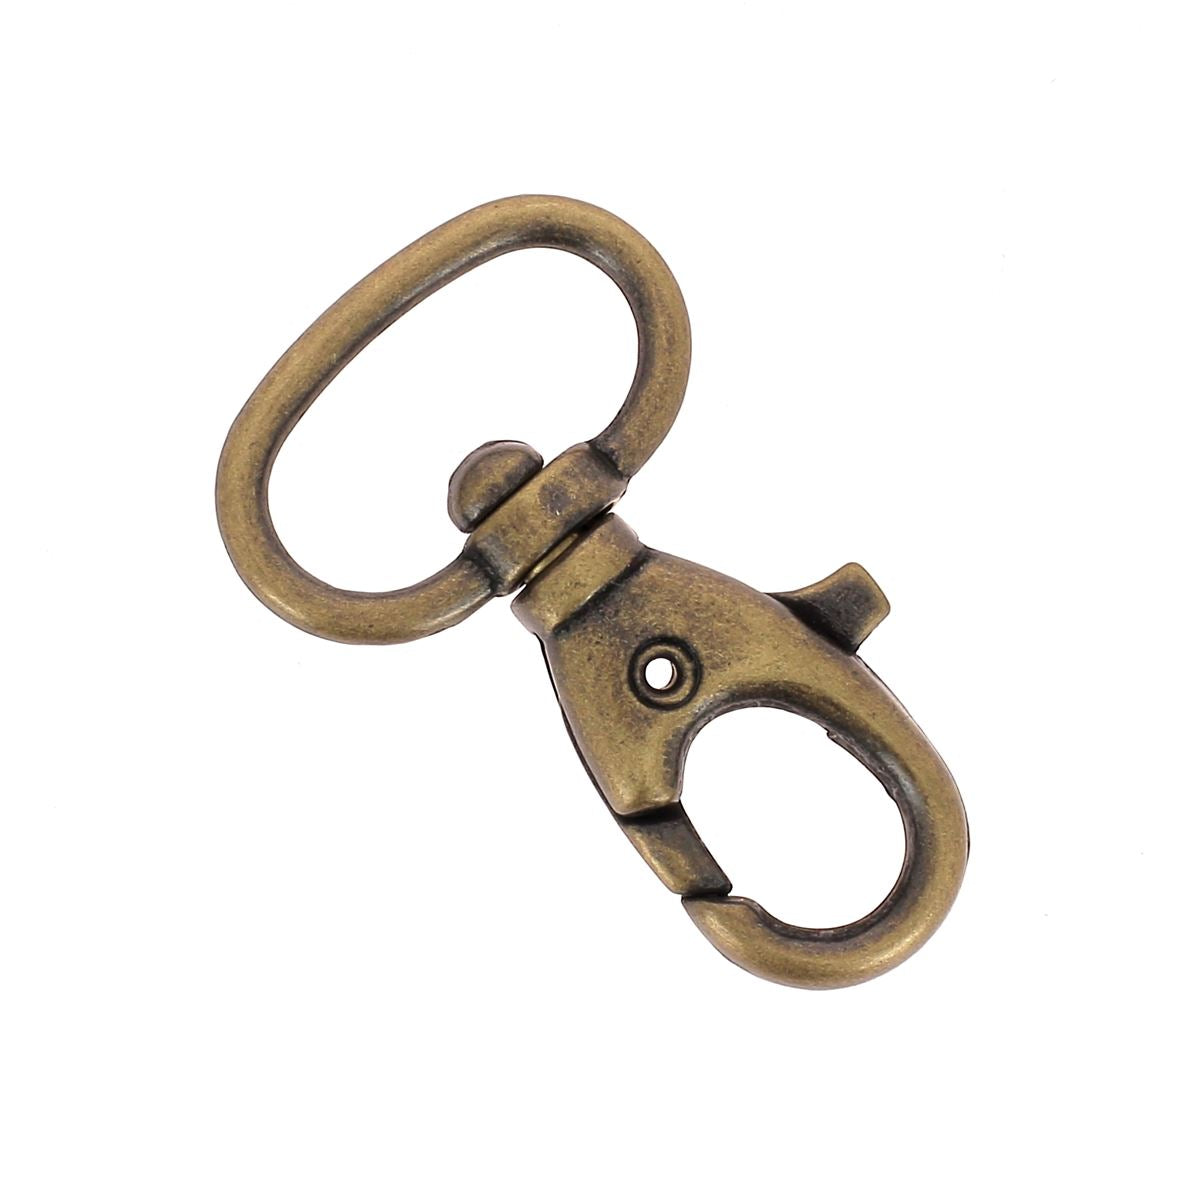
- 2 swivel hooks - Width 16 mm
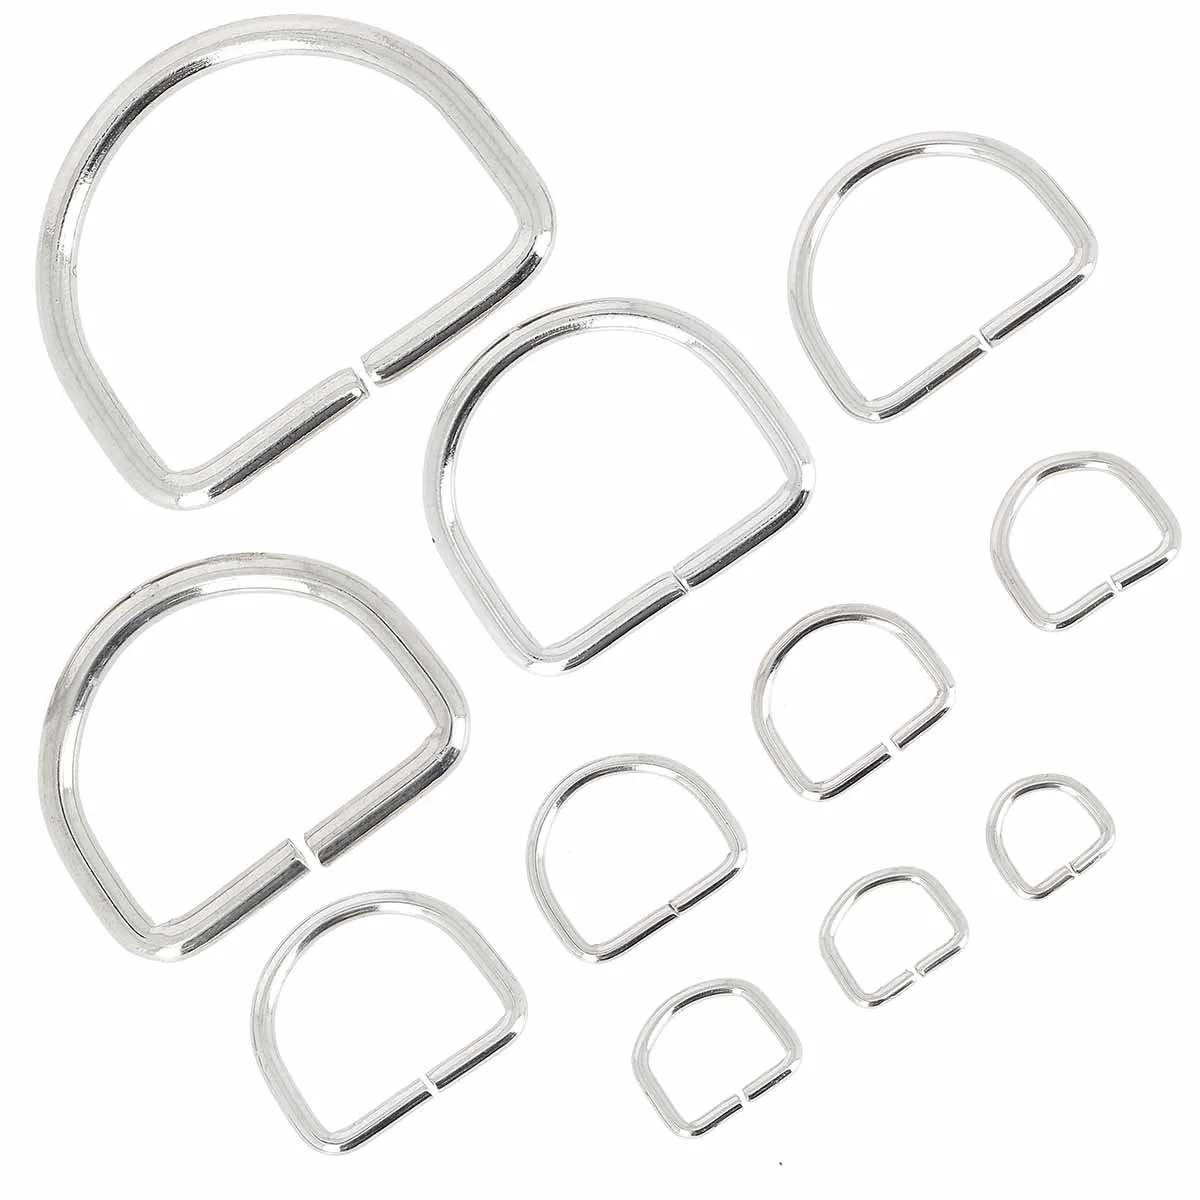
- 2 D-rings - Width 16 mm
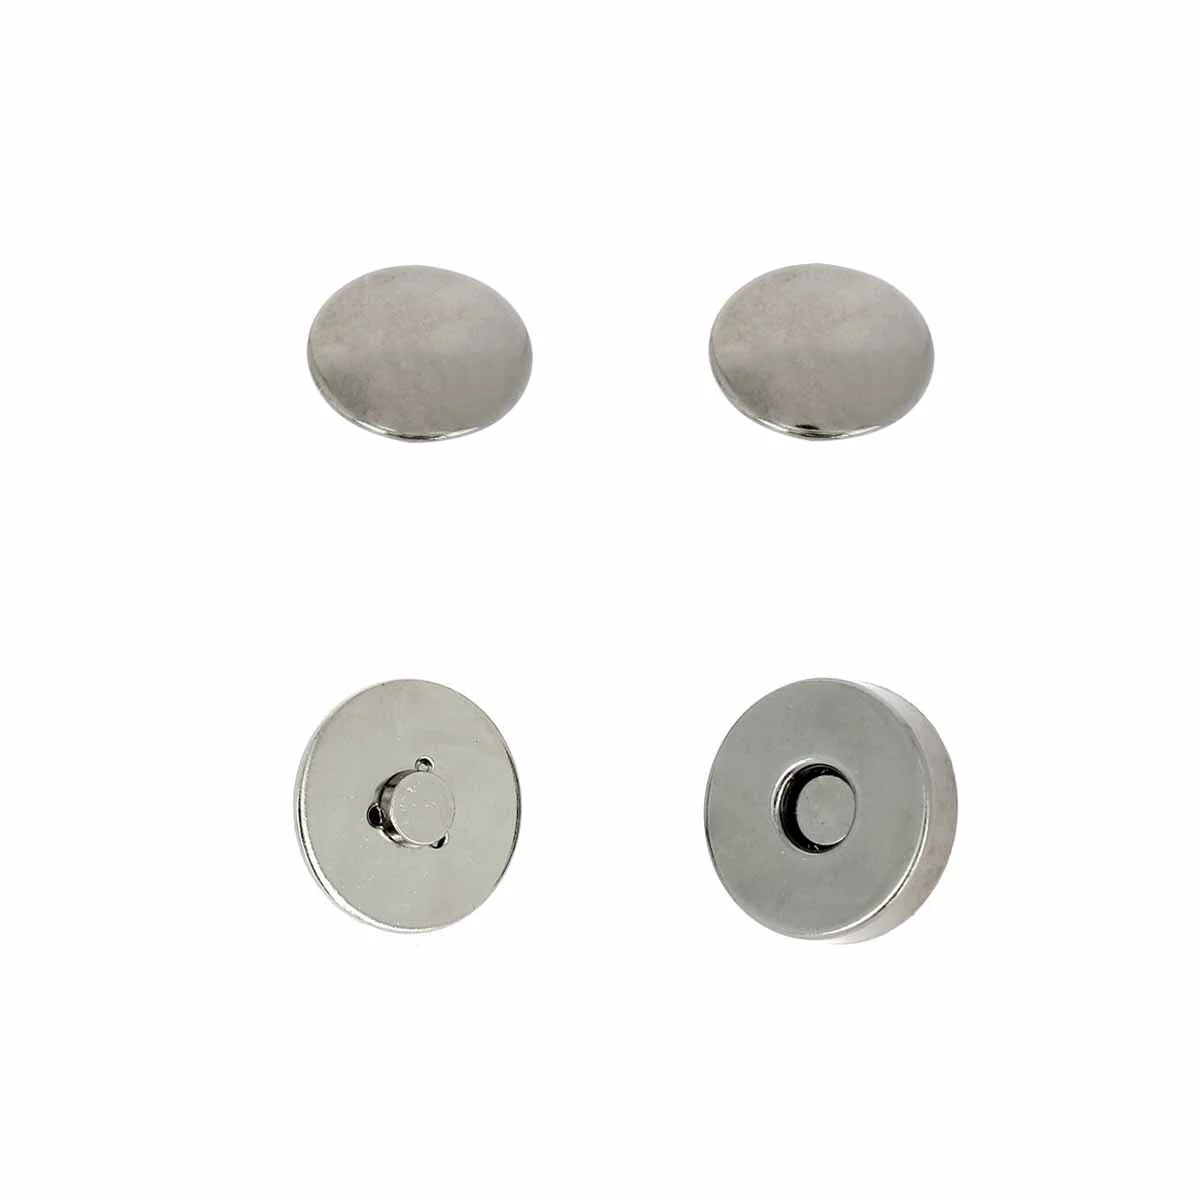
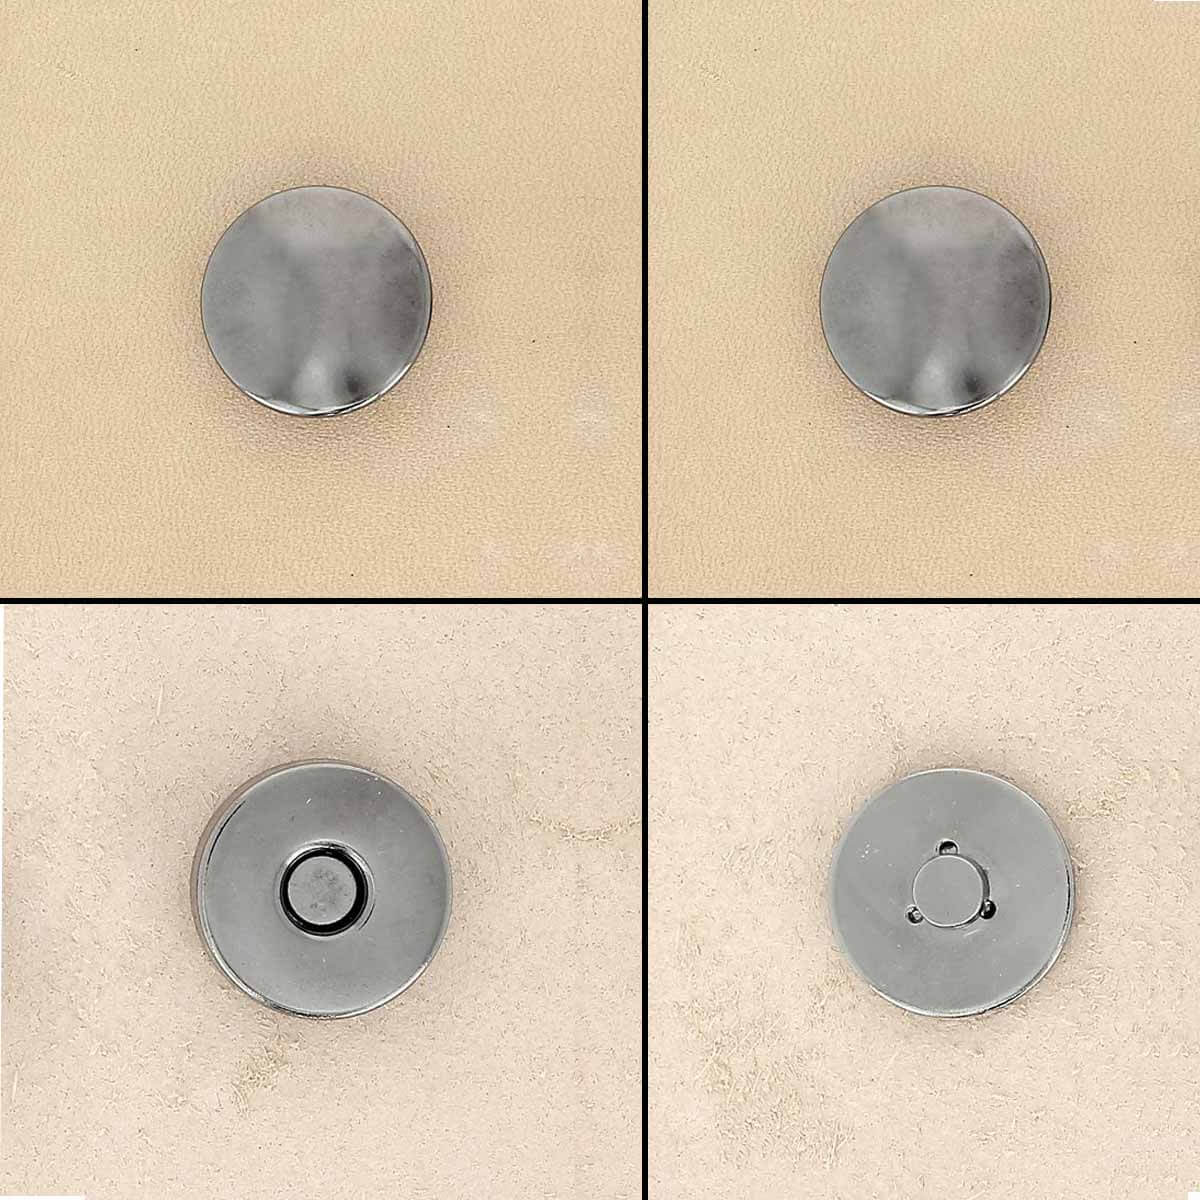
- 1 magnetic TOP rivet clasp, Ø 14 mm
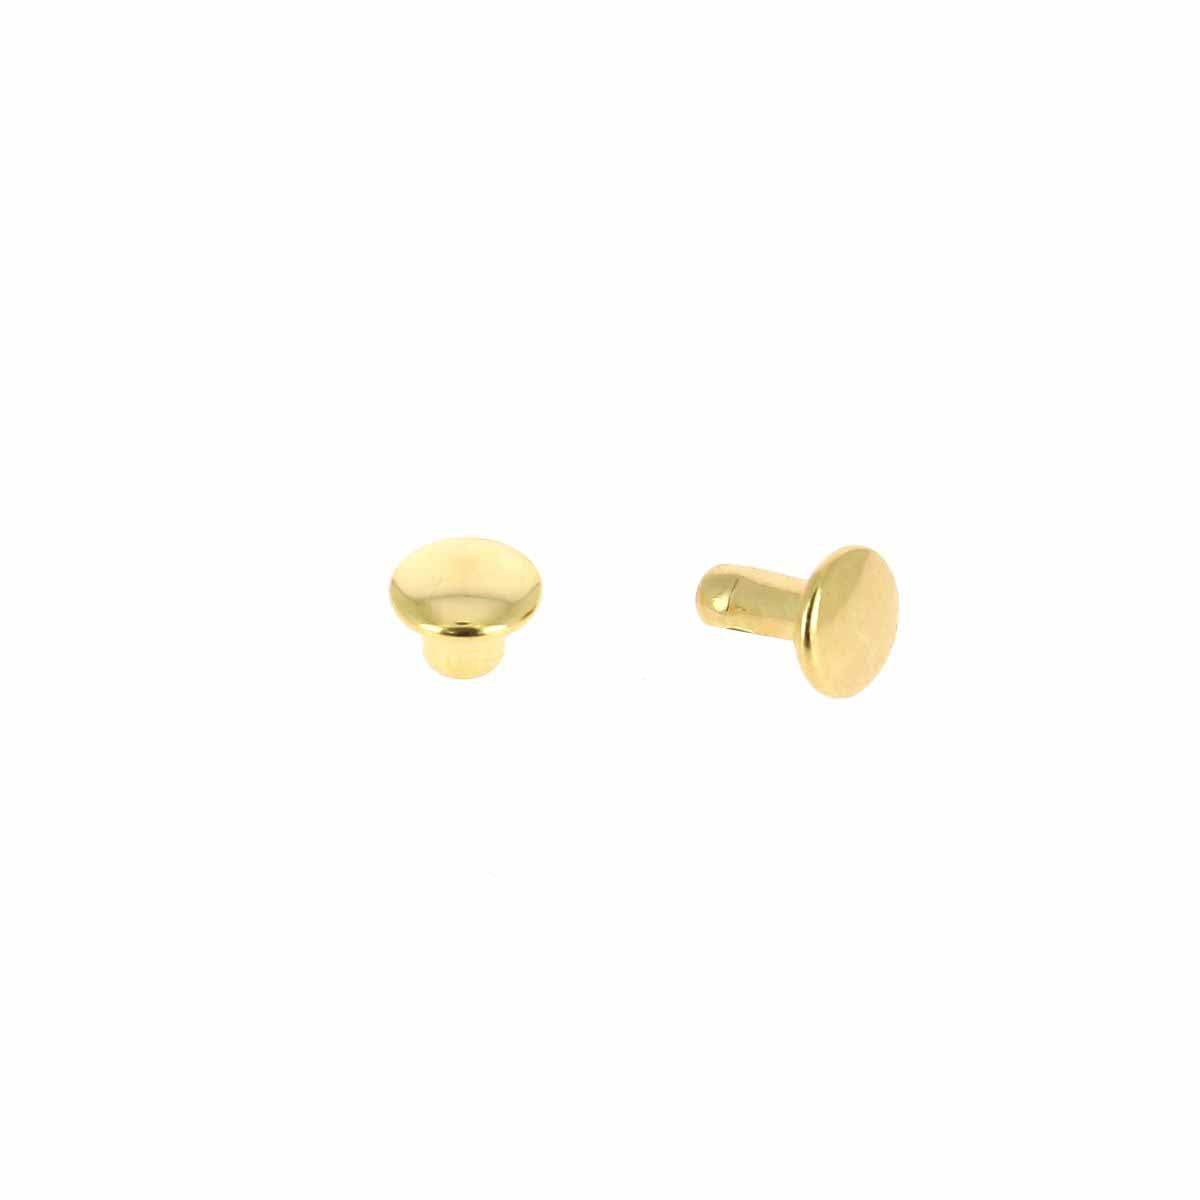
- 2 T2 single-cap rivets and a setting tool
- 1 round 3 mm Ø punch
- Fabric for the lining
- Contact glue






1. CUT OUT THE PAPER PATTERN
Download and print the pattern (available in the dedicated tab at the top of this page). Transfer the pattern onto the leather and fabric (lining) pieces with a silver marking pencil.
Seam allowances are included in the indicated dimensions.
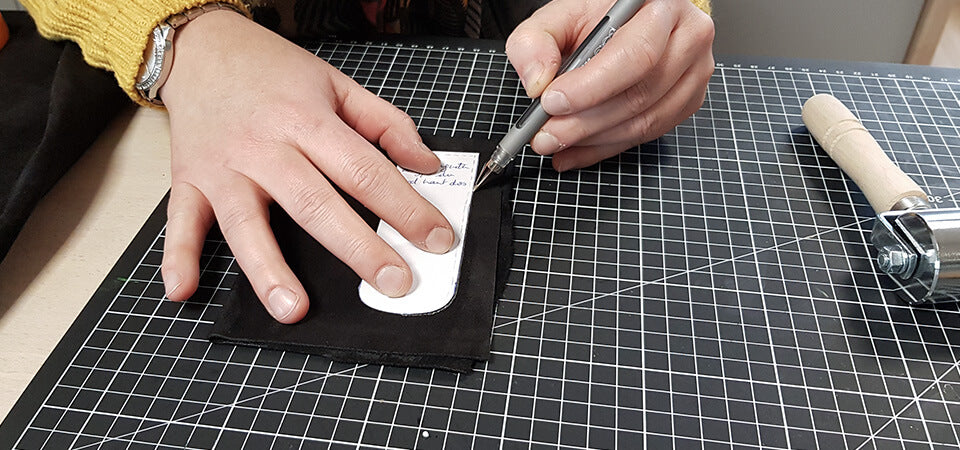
2. LINE THE P3 PIECE
Glue two pieces of leather of approximately 15 × 6 cm together, corresponding to the dotted line around the P3 piece, wrong side against wrong side (flesh side against flesh side). Then trace the P3 piece onto one side of the laminated leather.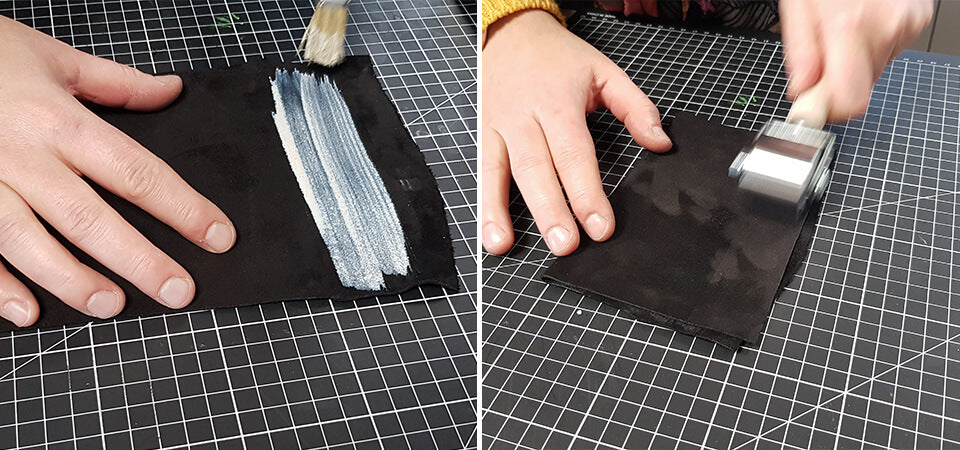
3. CUT THE PIECES
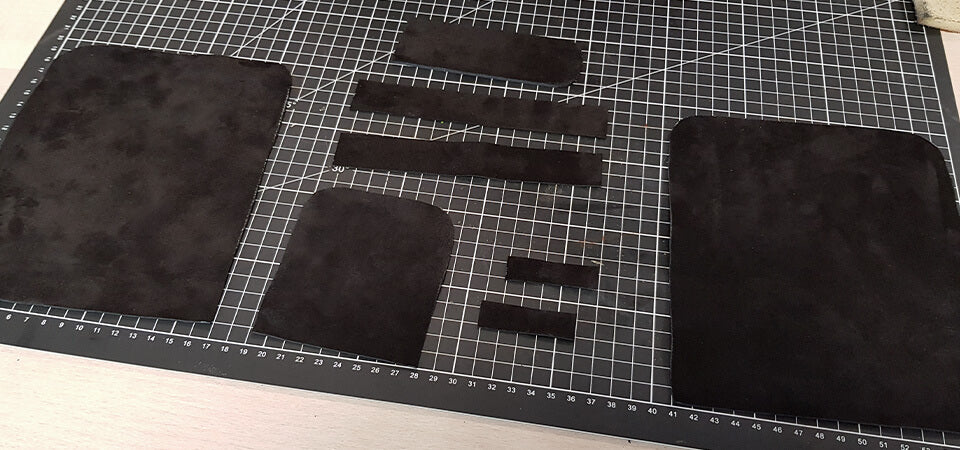
Cut out the different leather and fabric (lining) pieces using a utility knife or scissors.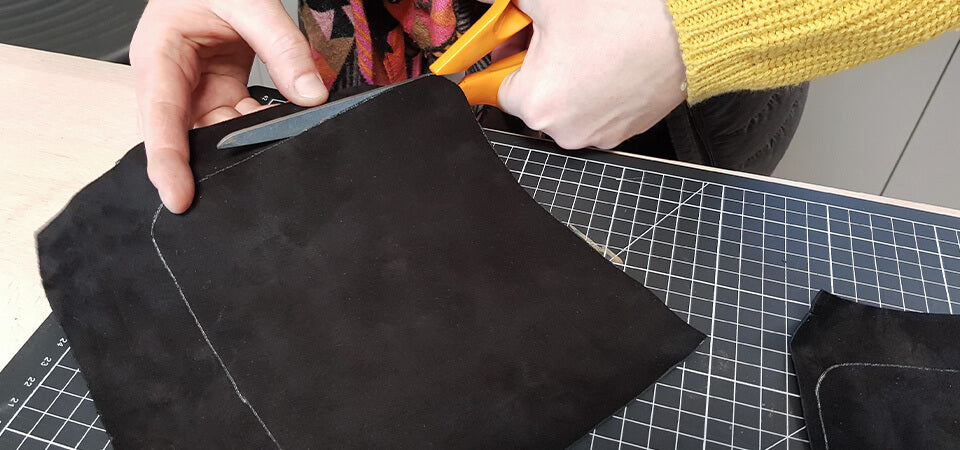
4. SEW THE SMALL POUCH
Create a decorative stitch on the top of the P6 piece. This part will not be sewn during assembly. 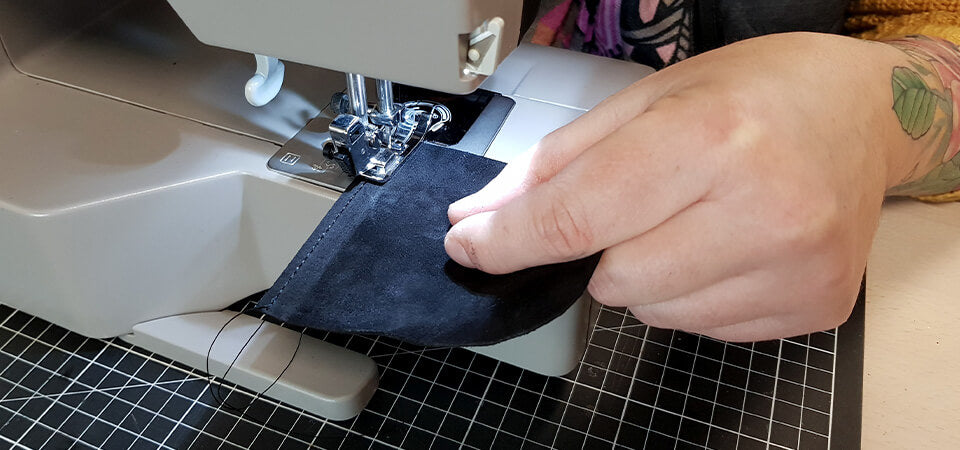
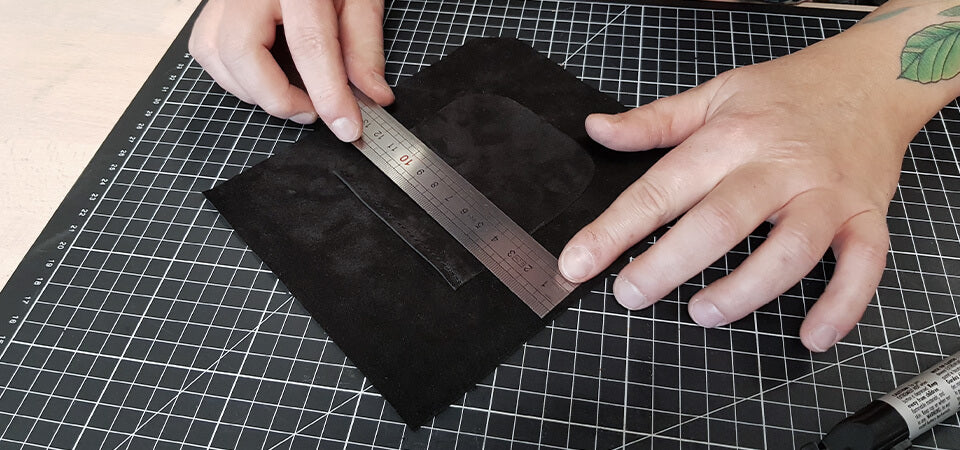
Then position the P6 piece at the intended location on the P2 piece using double-sided tape.
Sew the small pouch.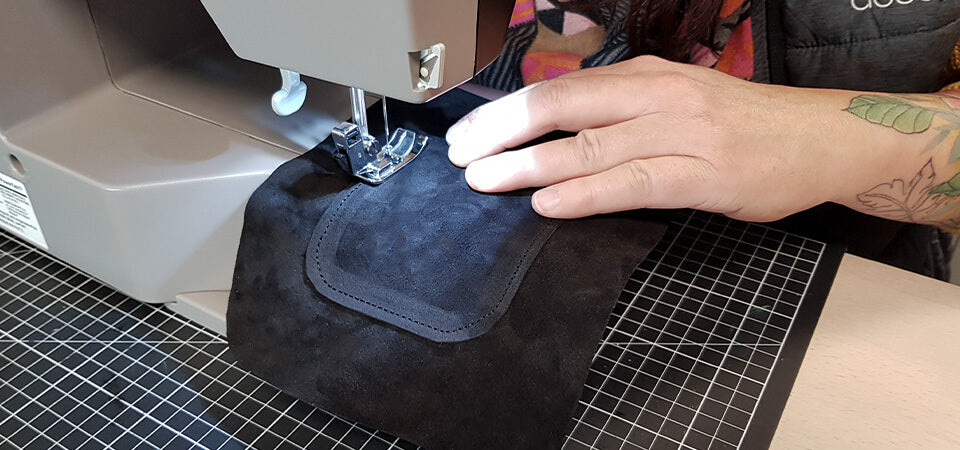
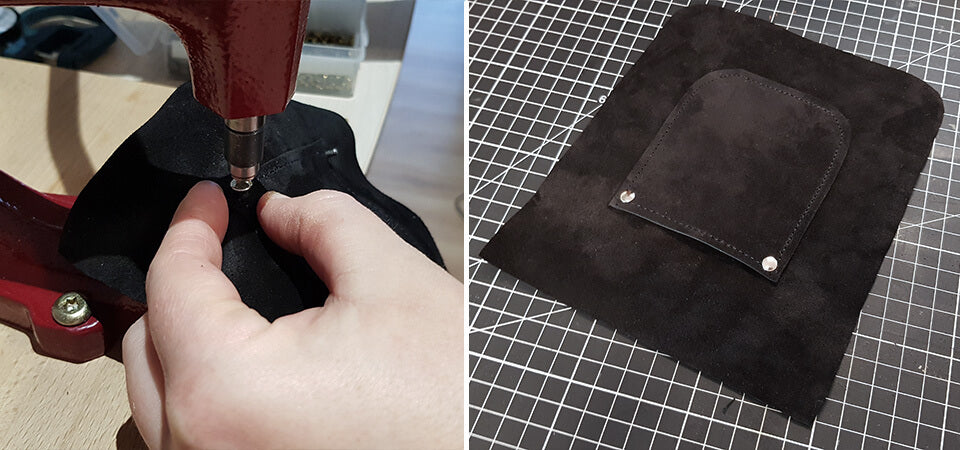
OPTION:
For a nice finish, attach two rivets (T2) at the top of the small P6 pocket, at the locations indicated on the pattern.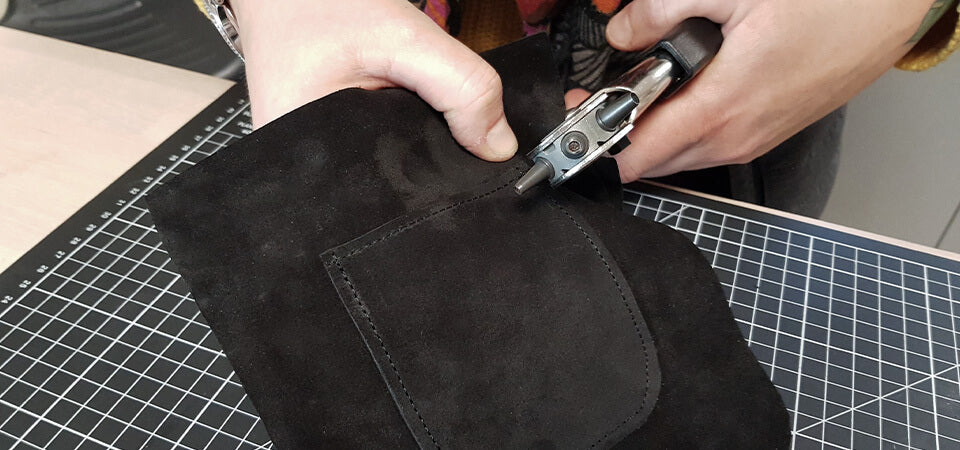
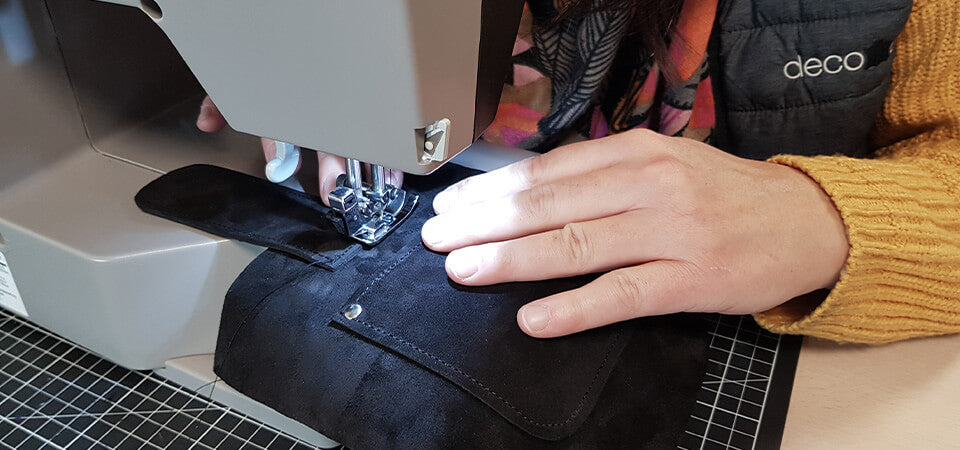
5. SEW THE TAB
Make a topstitch around the P3 piece, then sew the P3 tab at the intended location on the P2 piece.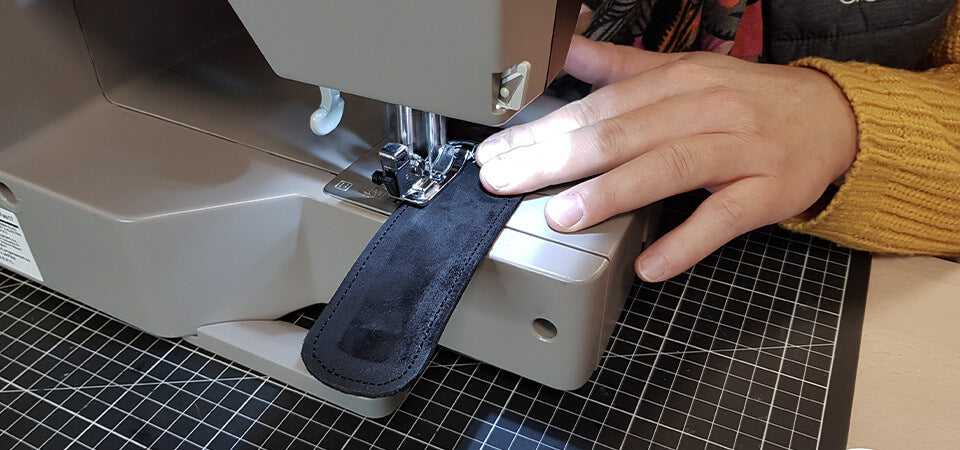
6. ATTACH THE CLASP
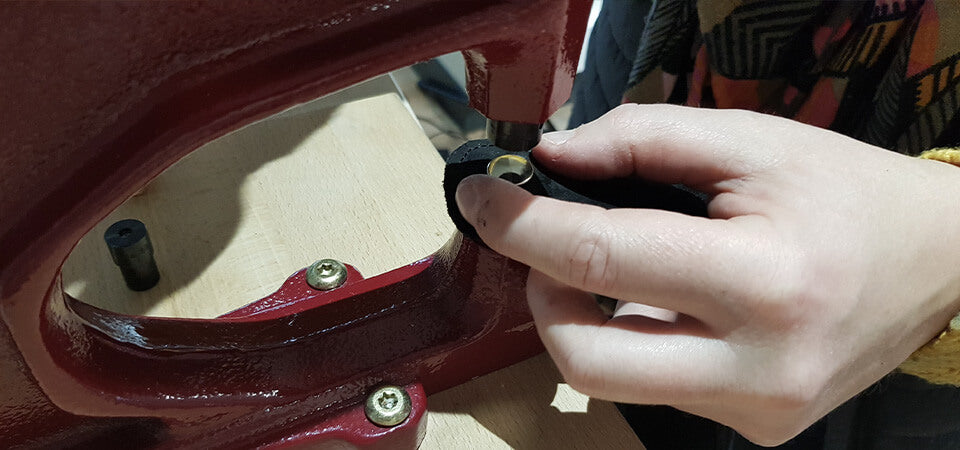
Punch the 3 mm Ø holes indicated on the pattern (P1 and P3), then attach the magnetic top rivet clasp using the appropriate setting tool.
7. SEW THE POUCH
Sew the three sides of the P1 and P2 pieces together, right sides together. Do not sew the top. 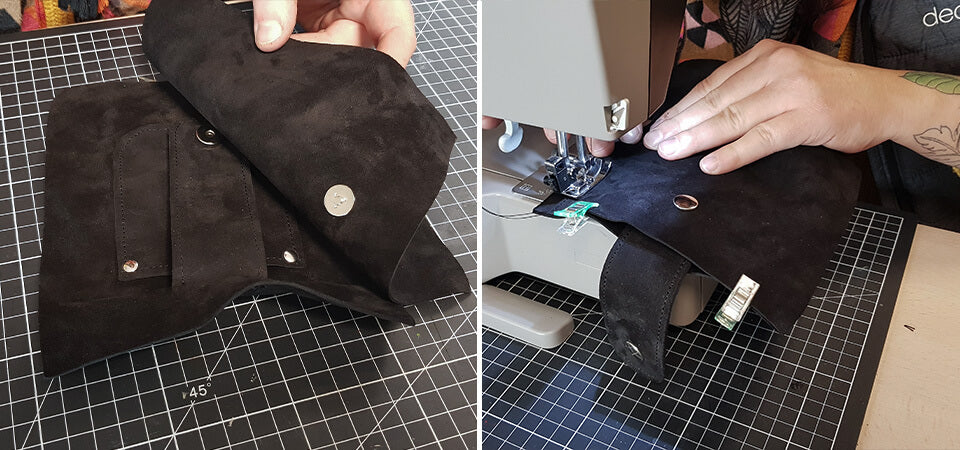
8. OPEN THE SEAMS
Apply double-sided tape on 3 cm on each side of the top of the pouch, both front and back, to spread the seam allowances. This step helps avoid excess thickness during the final stitching.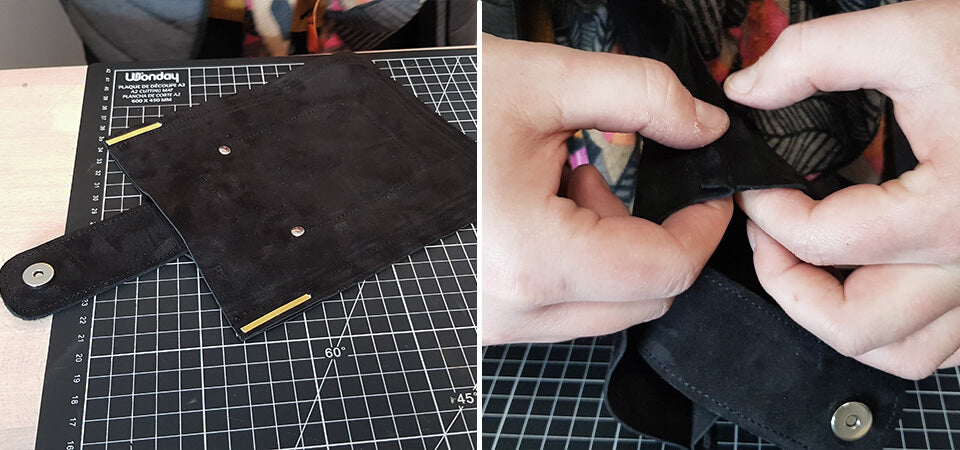

9. SEW THE LINING
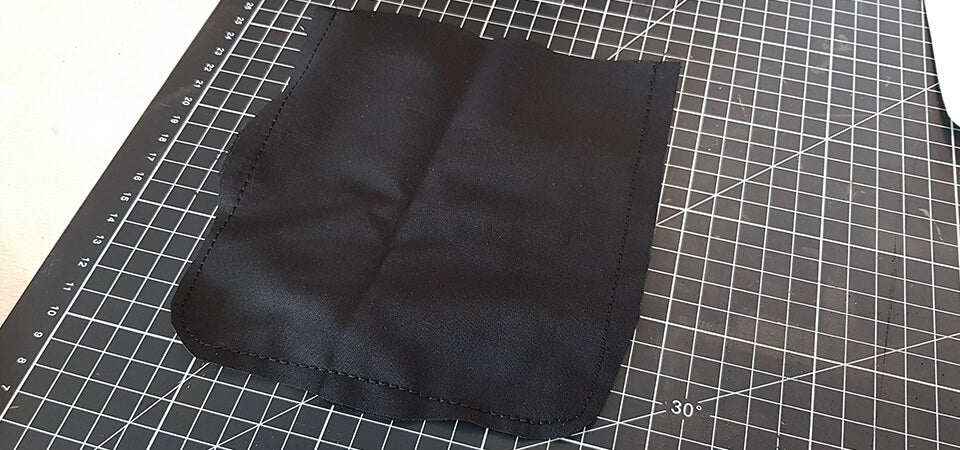
Sew the two double P7 pieces together, right sides facing. Do not sew the top edge.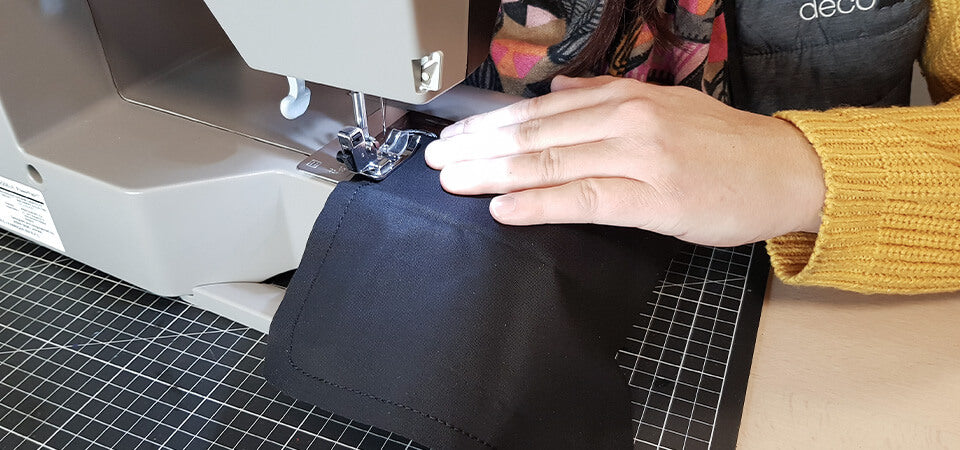
10. SEW THE FACING STRIP
Sew one of the P4 pieces to the end of the second P4 piece, wrong side to right side. 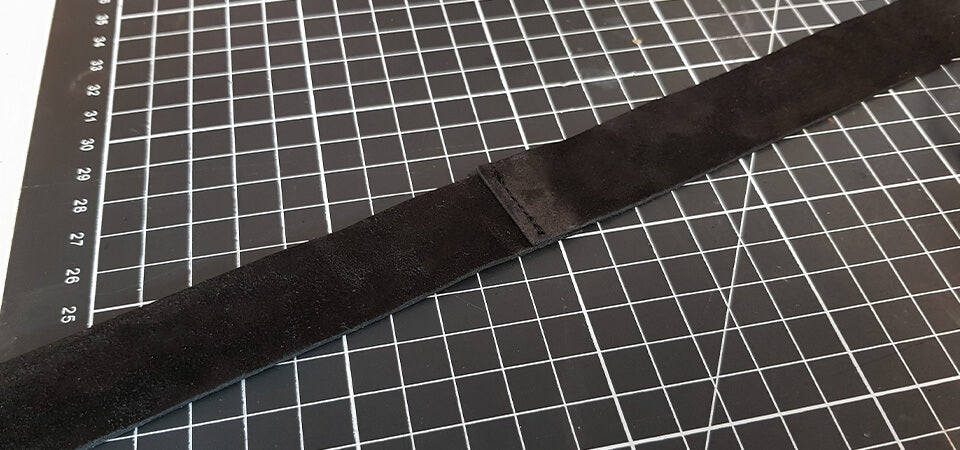
Next, apply double-sided tape to the reverse side (flesh side) of both lengths of the facing strip.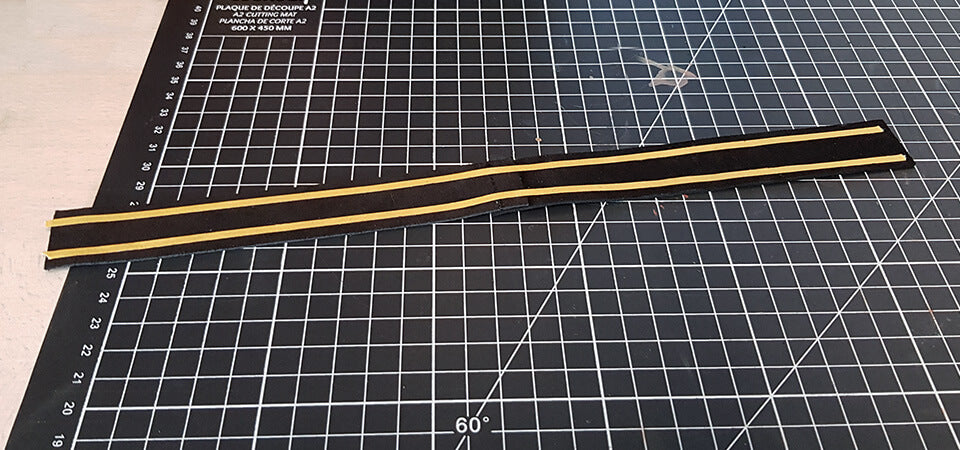
Glue one of the lengths of the facing strip onto the top of the lining, leather wrong side to lining right side.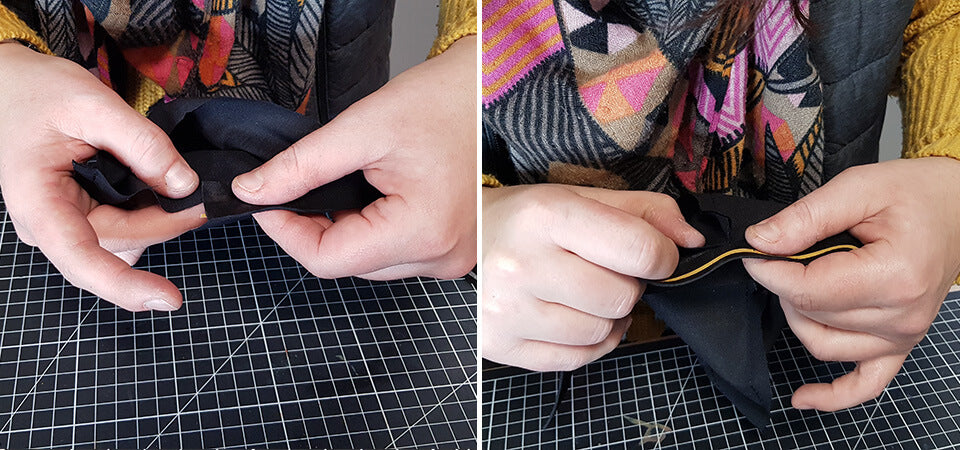
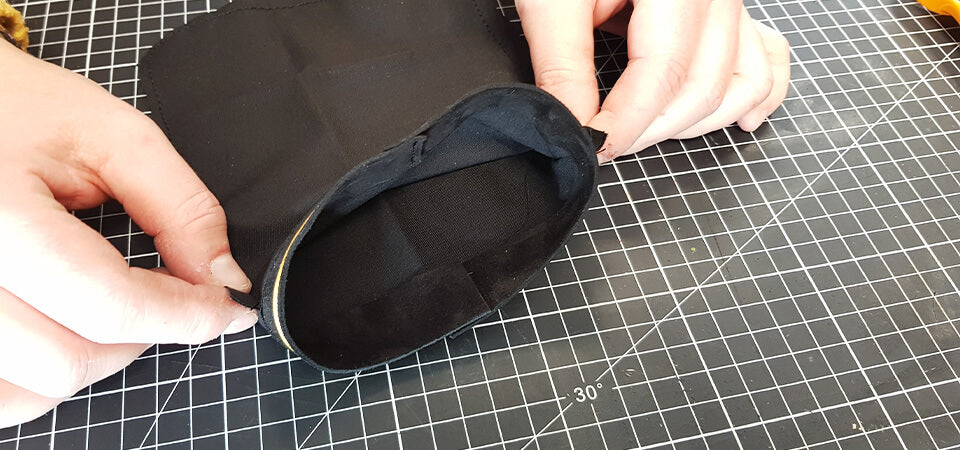
Close the P4 piece by sewing across its width.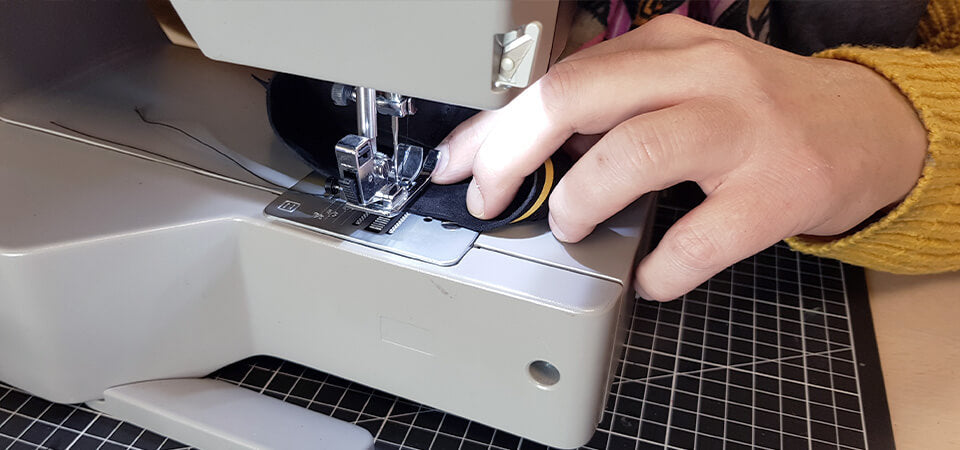
To finish, sew around the edges of the facing strip onto the lining.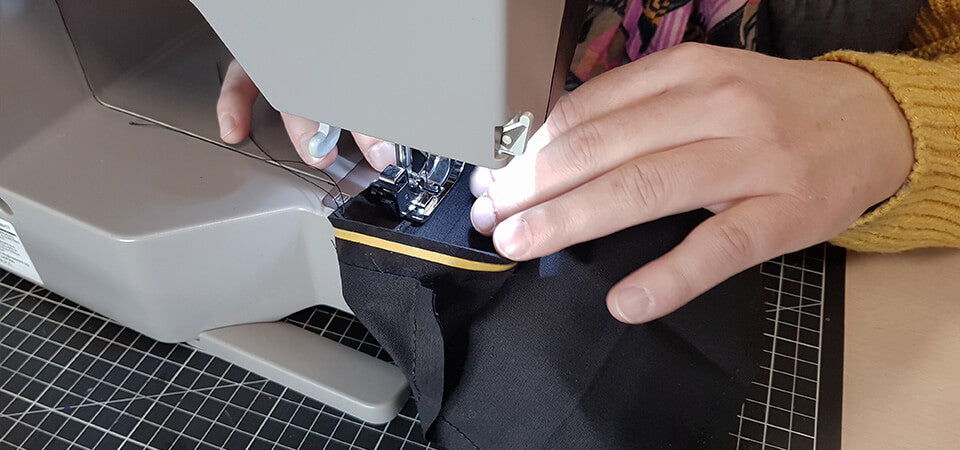
11. SEW THE LEATHER LOOPS
Insert the D-rings into the P5 pieces, then sew a stitch to hold them in place.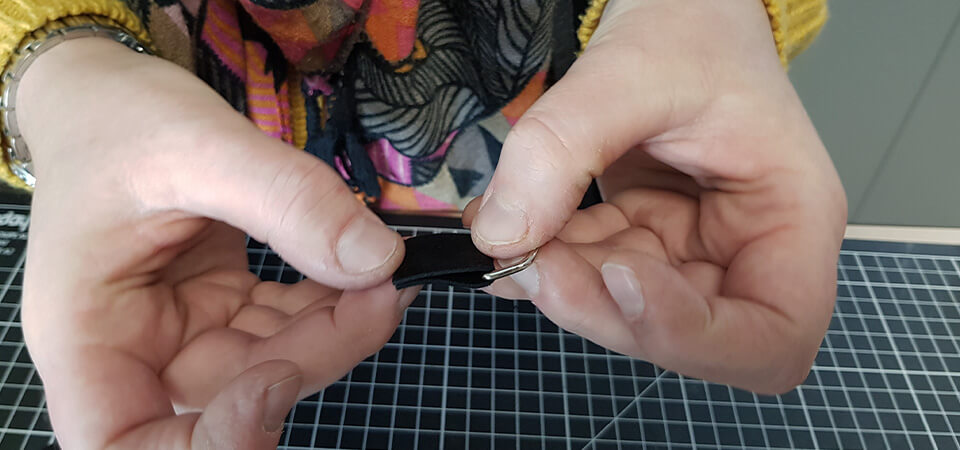
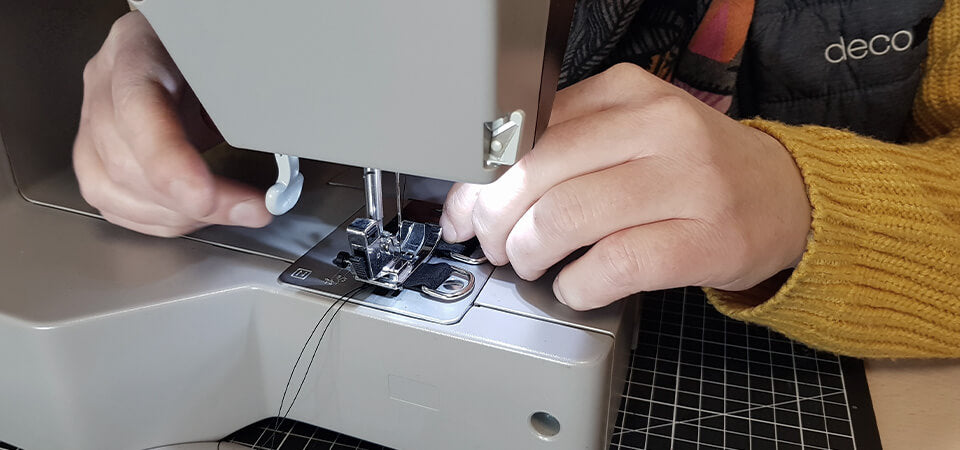
Then, using double-sided tape, glue the P5 pieces onto the back of the leather pouch.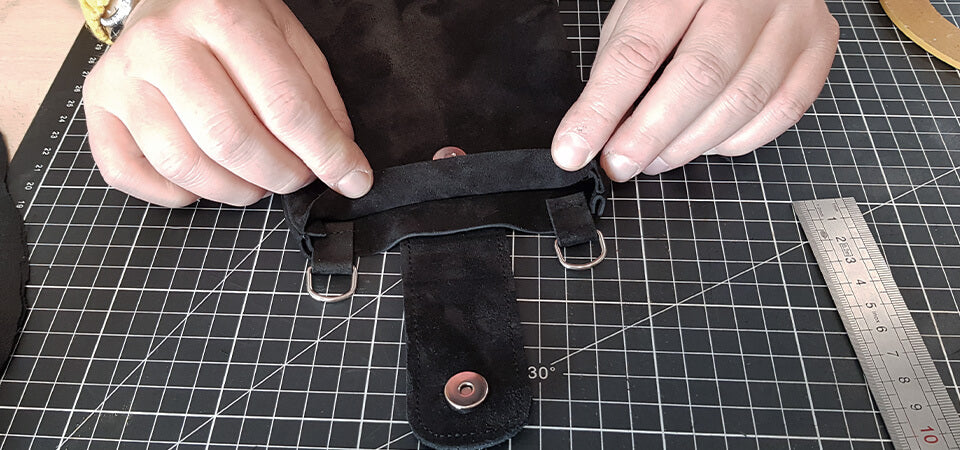
12. SEW THE LINING TO THE POUCH
Glue the second length of double-sided tape from the P4 facing strip onto the top of the leather pouch, wrong side to wrong side.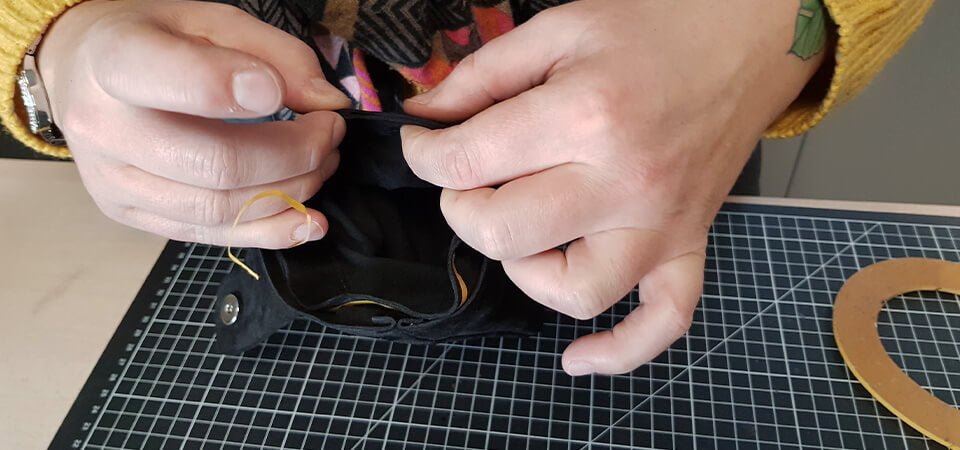
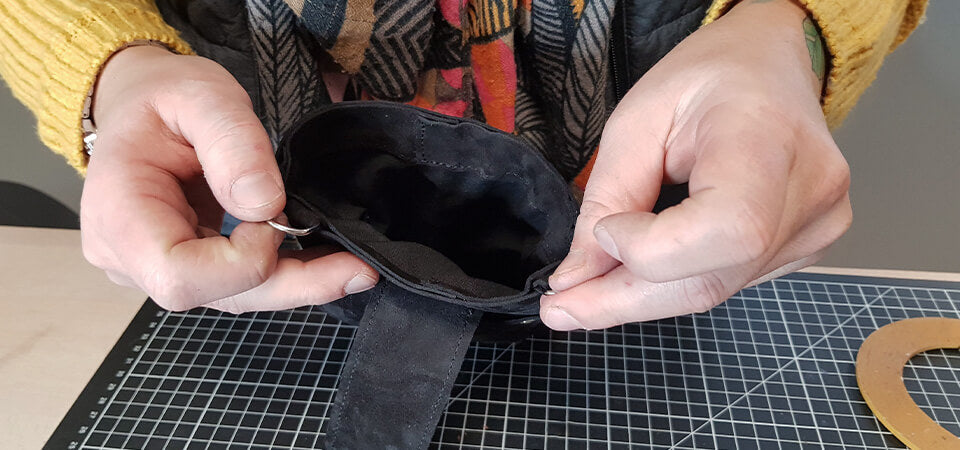
Sew the lining to the pouch. To make sewing easier, you can turn the phone pouch inside out.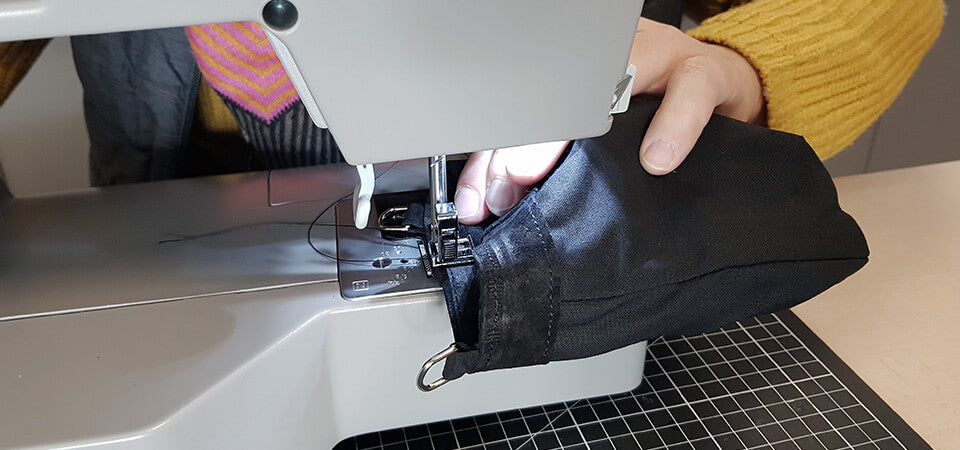
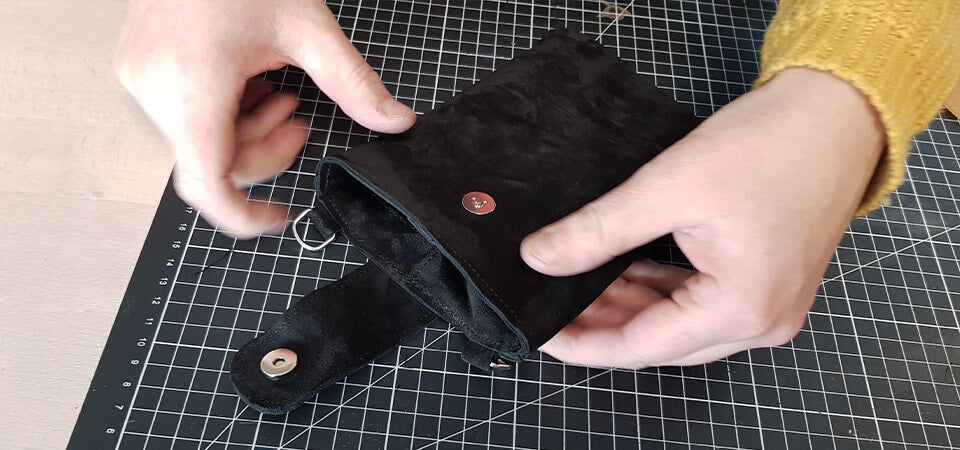
Lightly tap the seams to flatten them and shape the corners of the pouch.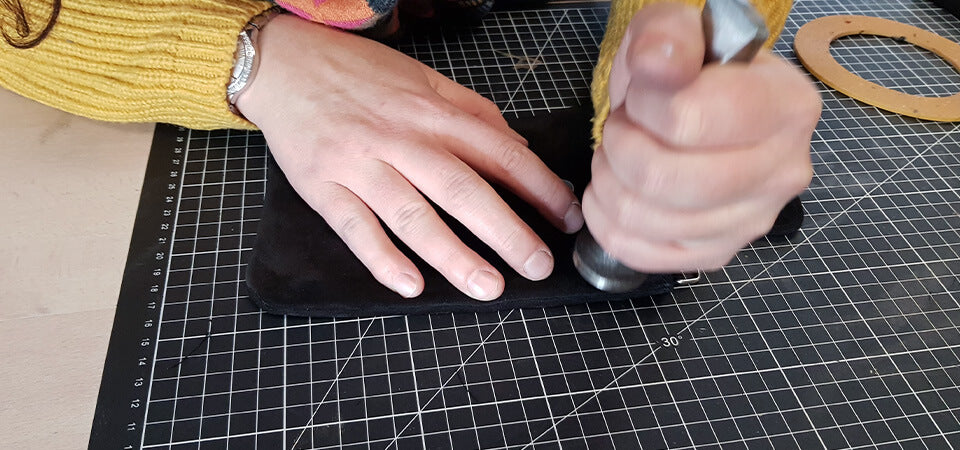
13. MAKE THE STRAP
Attach the swivel snap hooks to both ends of the leather strap using double-cap T2 rivets. Option: bevel the edges of the strap with an edger, then apply a finishing gum.


YOU ARE DONE!