
COMPLETE SADDLE STITCH SEWING GUIDE
LEARN THE "TRADITIONAL" SEWING TECHNIQUE OF LEATHER CRAFTSMEN!
Saddle stitching leather creates a beautiful slanted stitch on both sides (front and back).
VIEW GUIDE >
Simplified Leather Sewing
Simplified hand sewing for leather involves punching/marking the stitch holes using a round hole punch. This means there's no need to pierce the leather with a diamond awl (and therefore no need for a stitching clamp). This "holed" sewing with straight stitches is ideal for beginners.
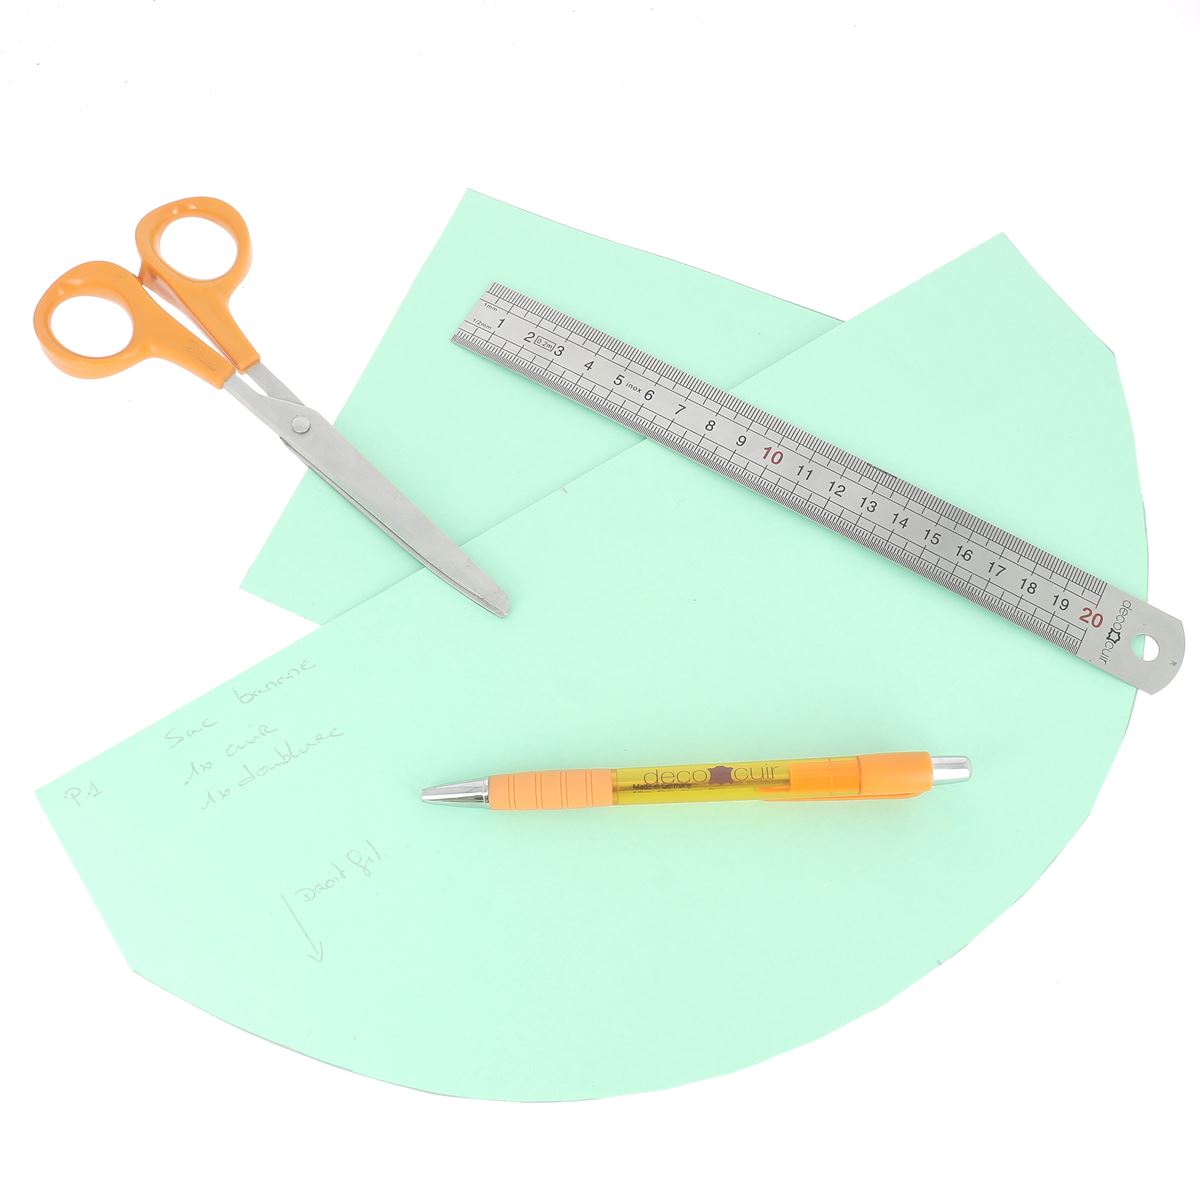
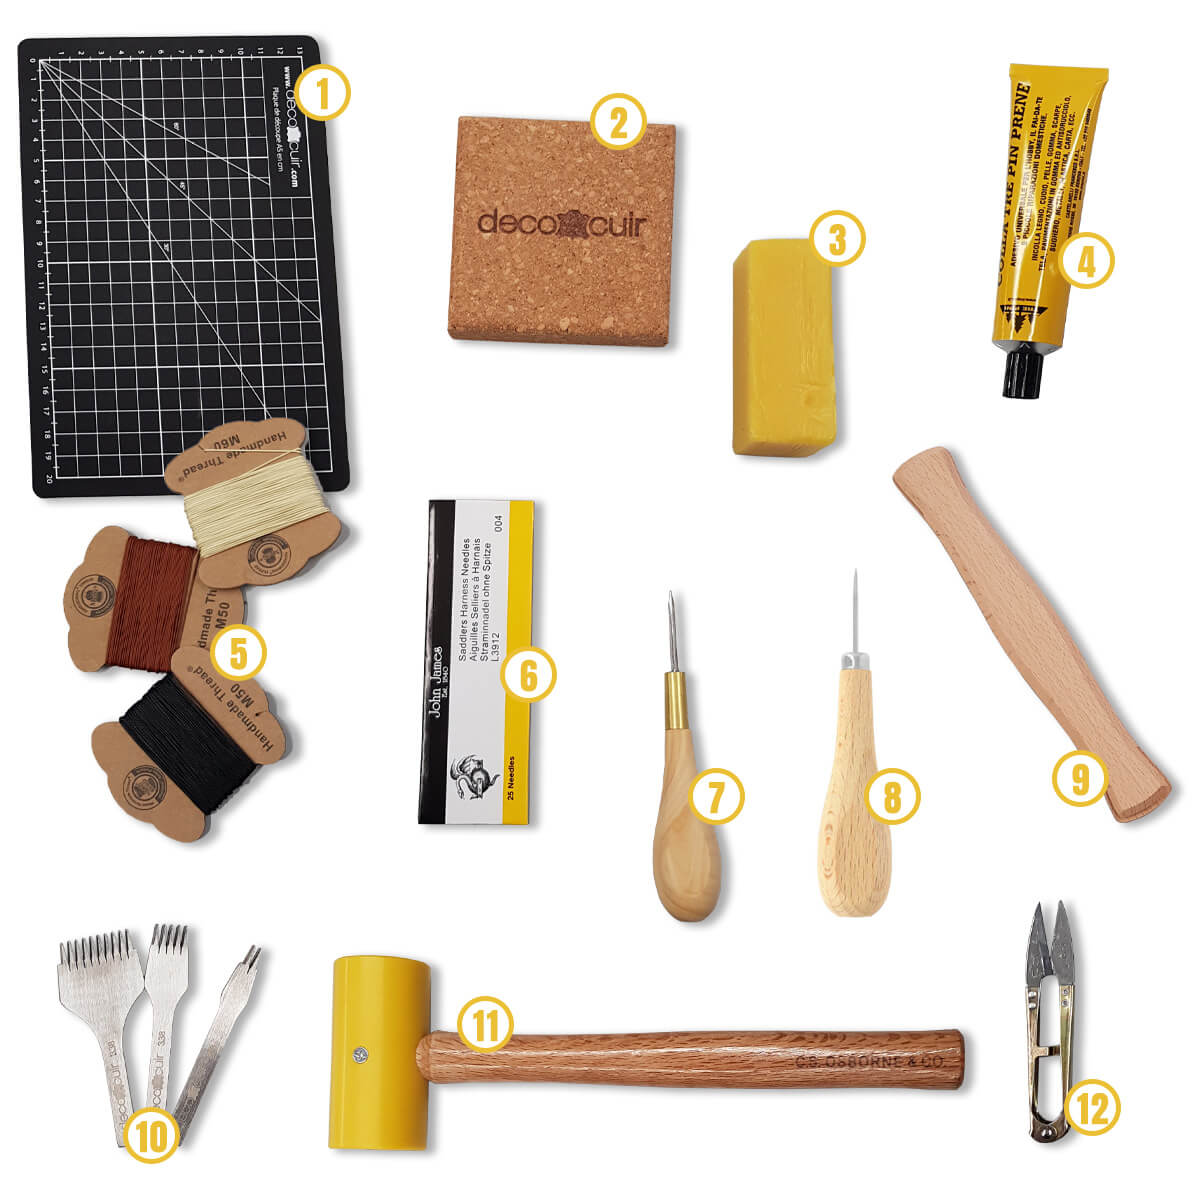
Tools Needed for Simplified Leather Sewing
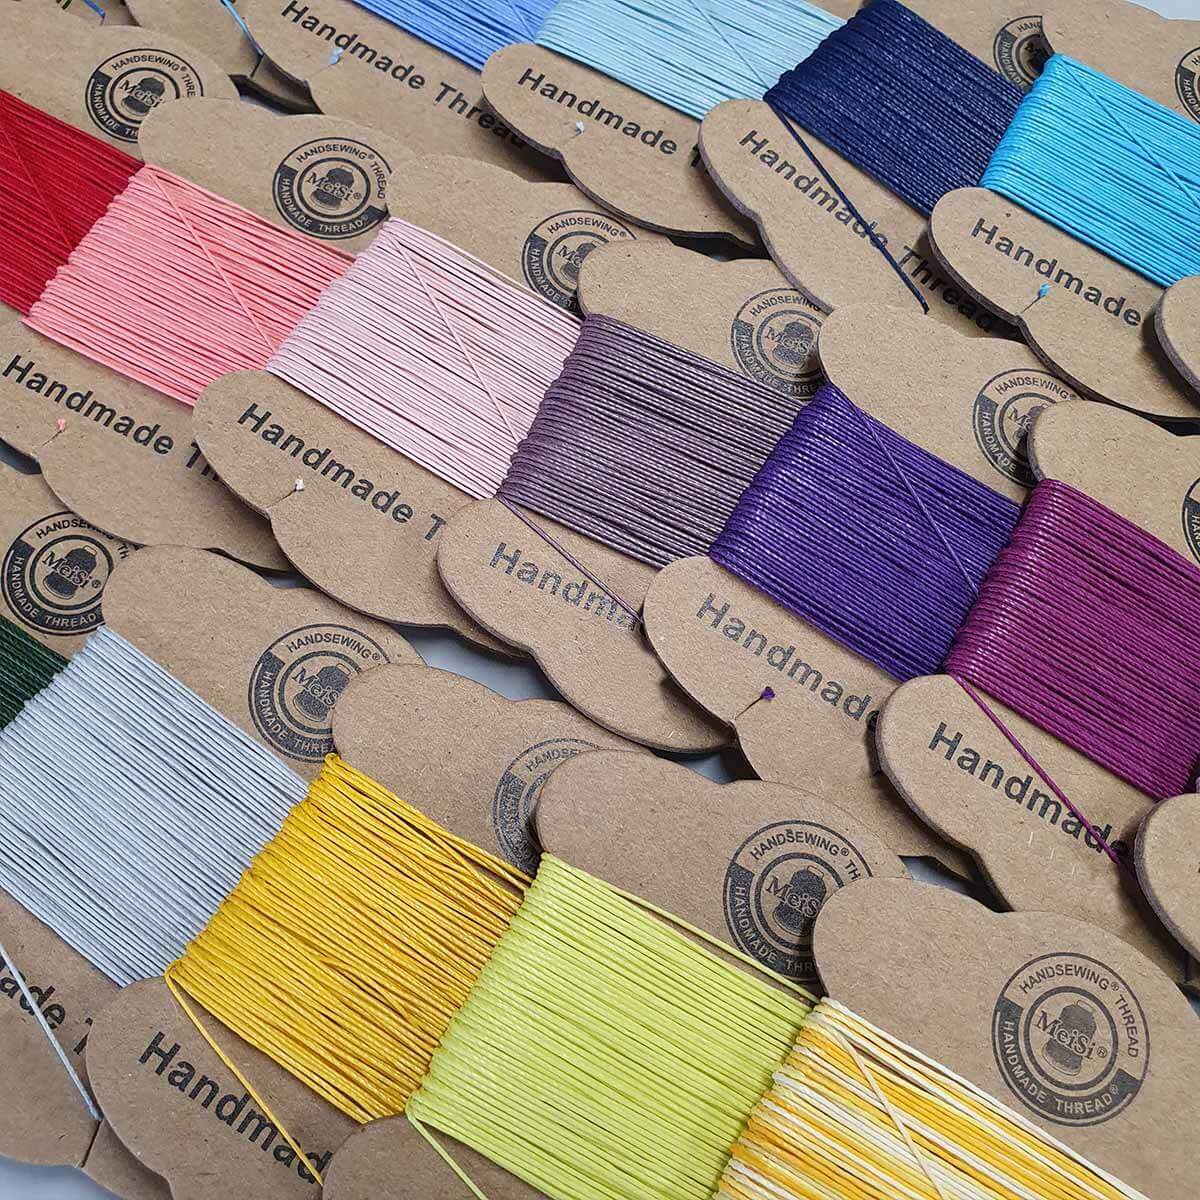
CHOOSING YOUR THREAD
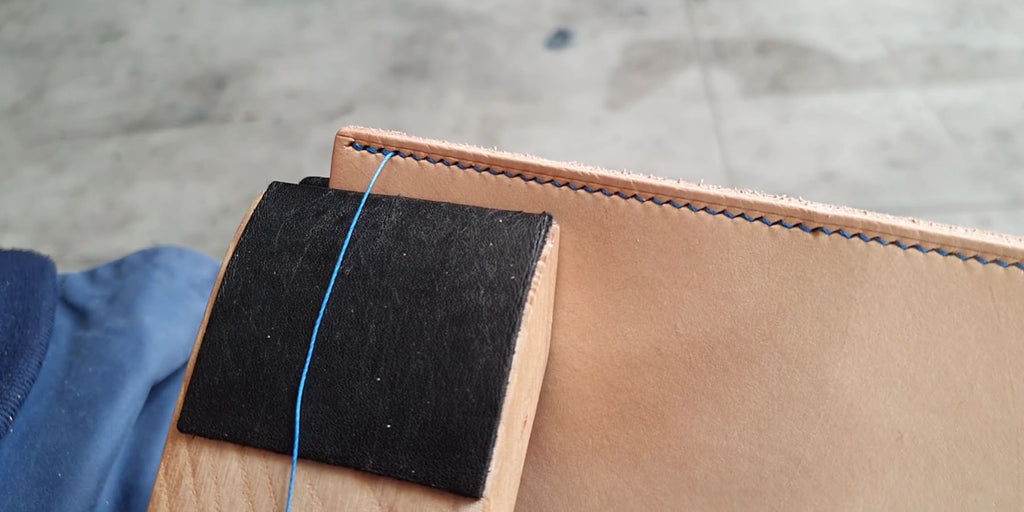
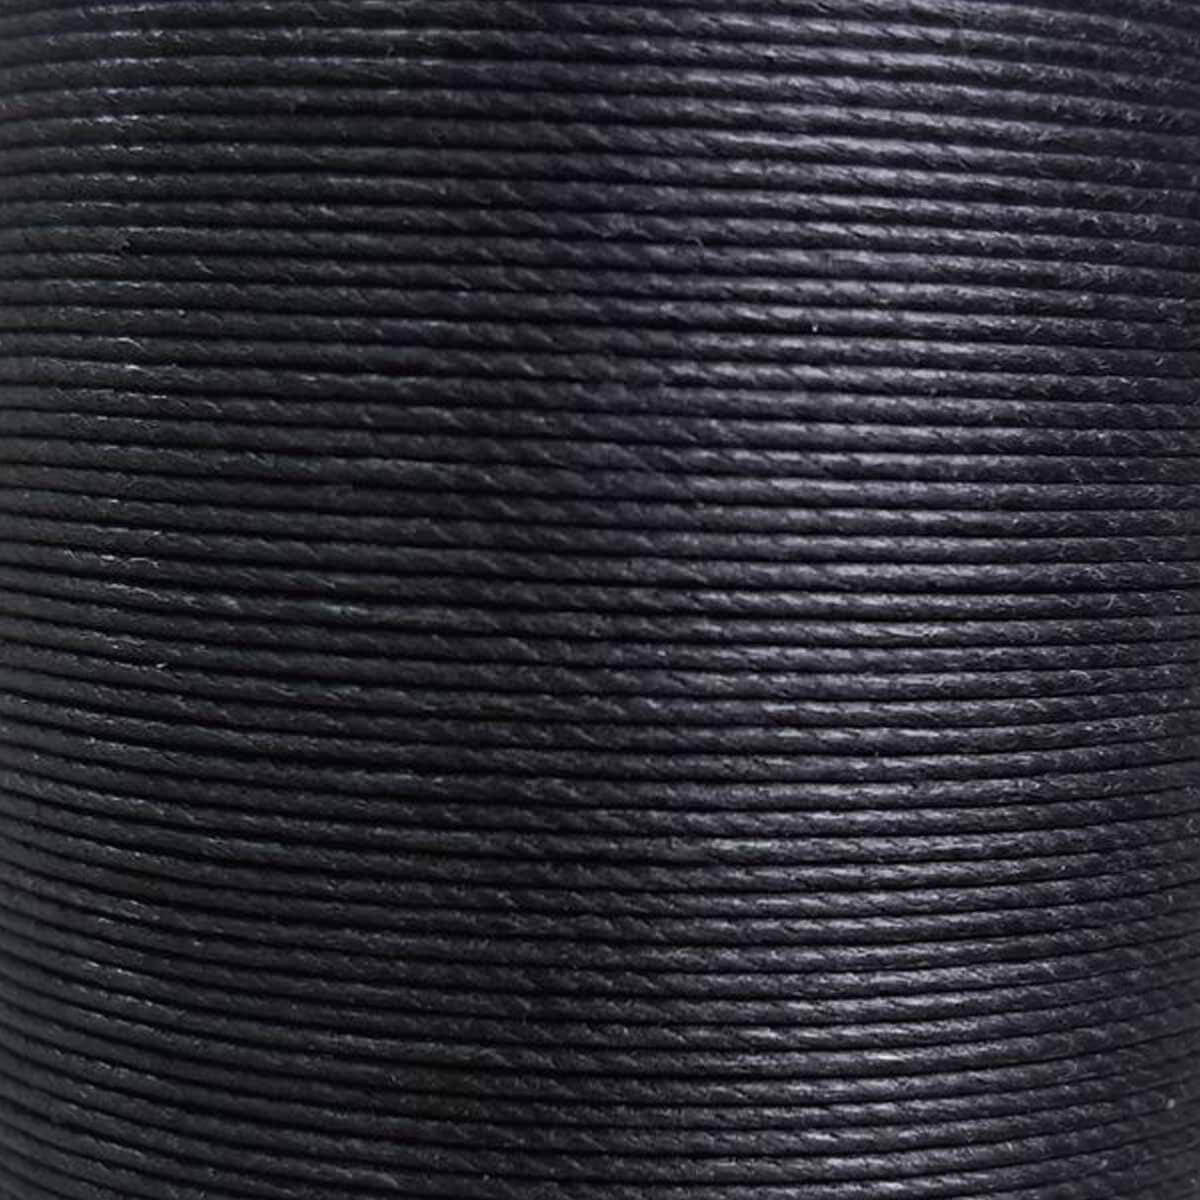
You need a thick thread to fill the holes (polyester or linen thread): approximately 0.60 mm in diameter. The thread diameter used in the photos is 0.6 mm (braided and waxed polyester thread).
We recommend testing for small leather goods creations to favor a linen thread with a smaller diameter (0.55 mm).
CHOOSING YOUR NEEDLE
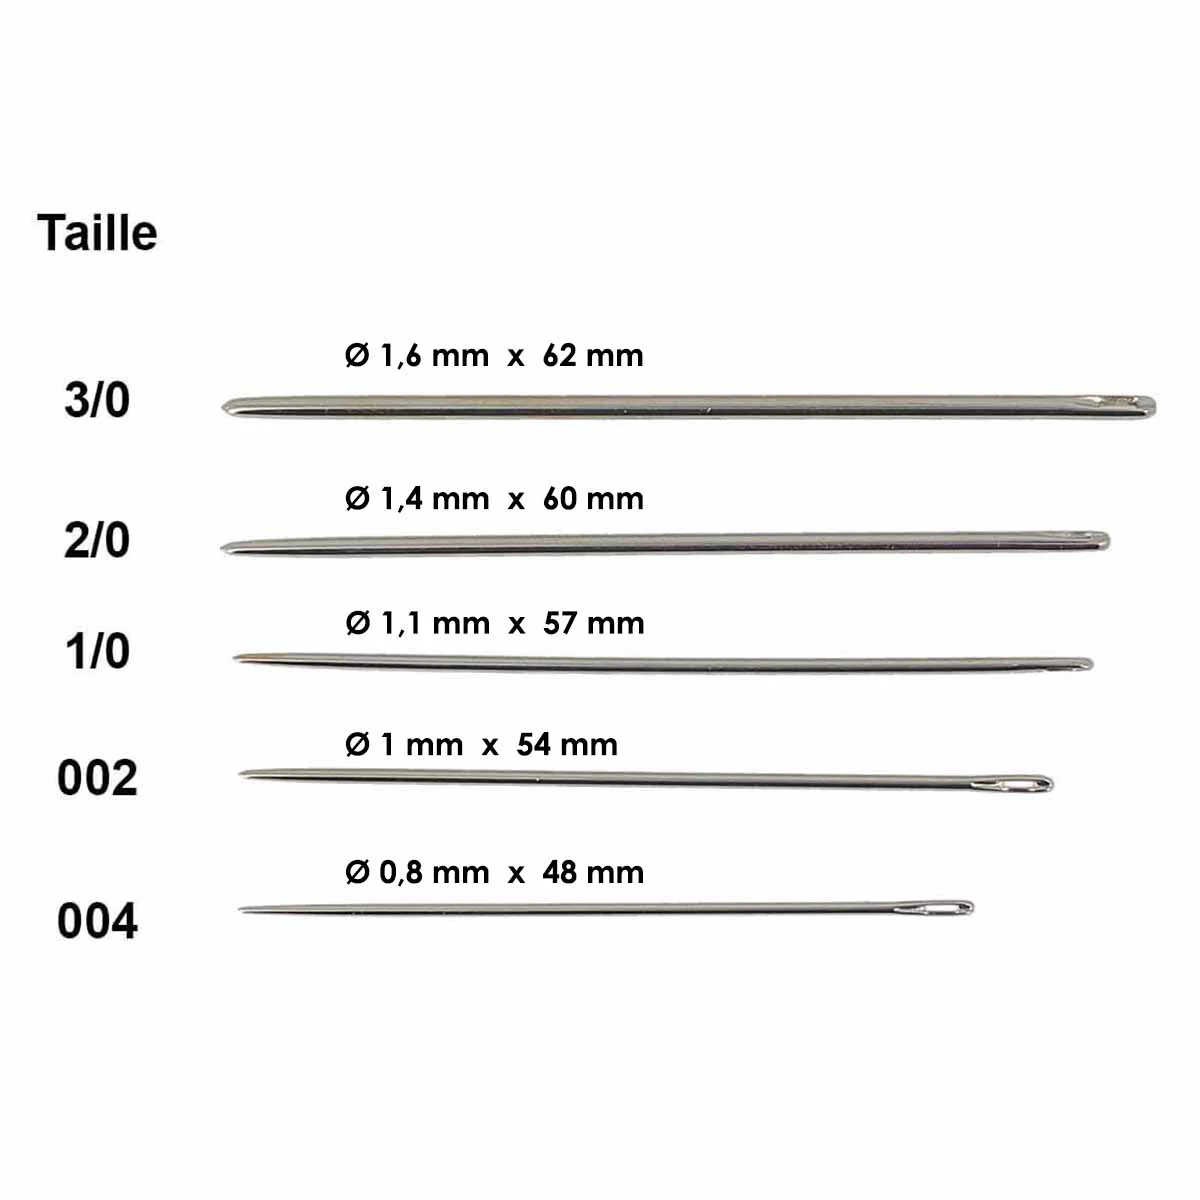
You will need to thread two round-tipped needles, Size 002 - Ø1 mm (ref. CA118_010), onto your thread.
GUIDE: WHICH NEEDLE TO CHOOSE FOR MY THREAD?
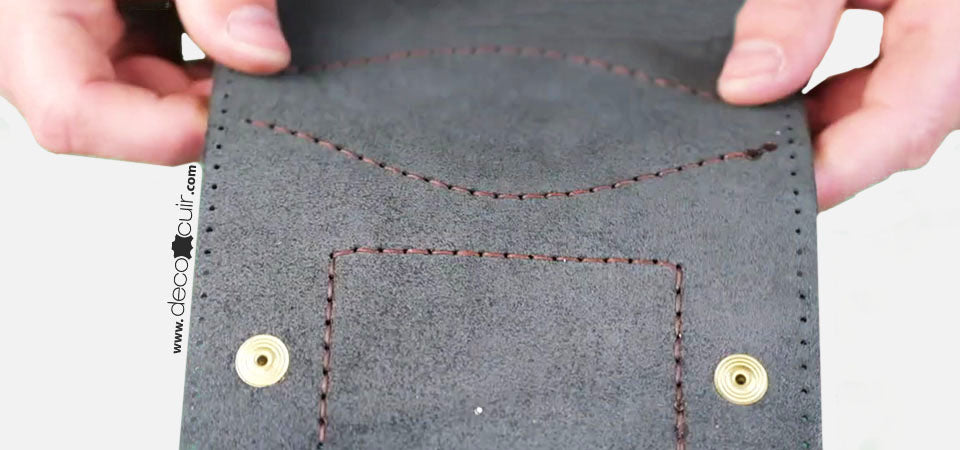
Unlike saddle stitching, there's no need to make a "comma" (passing the thread over the needle) to get a slanted stitch on both sides => simplified sewing has a straight stitch.
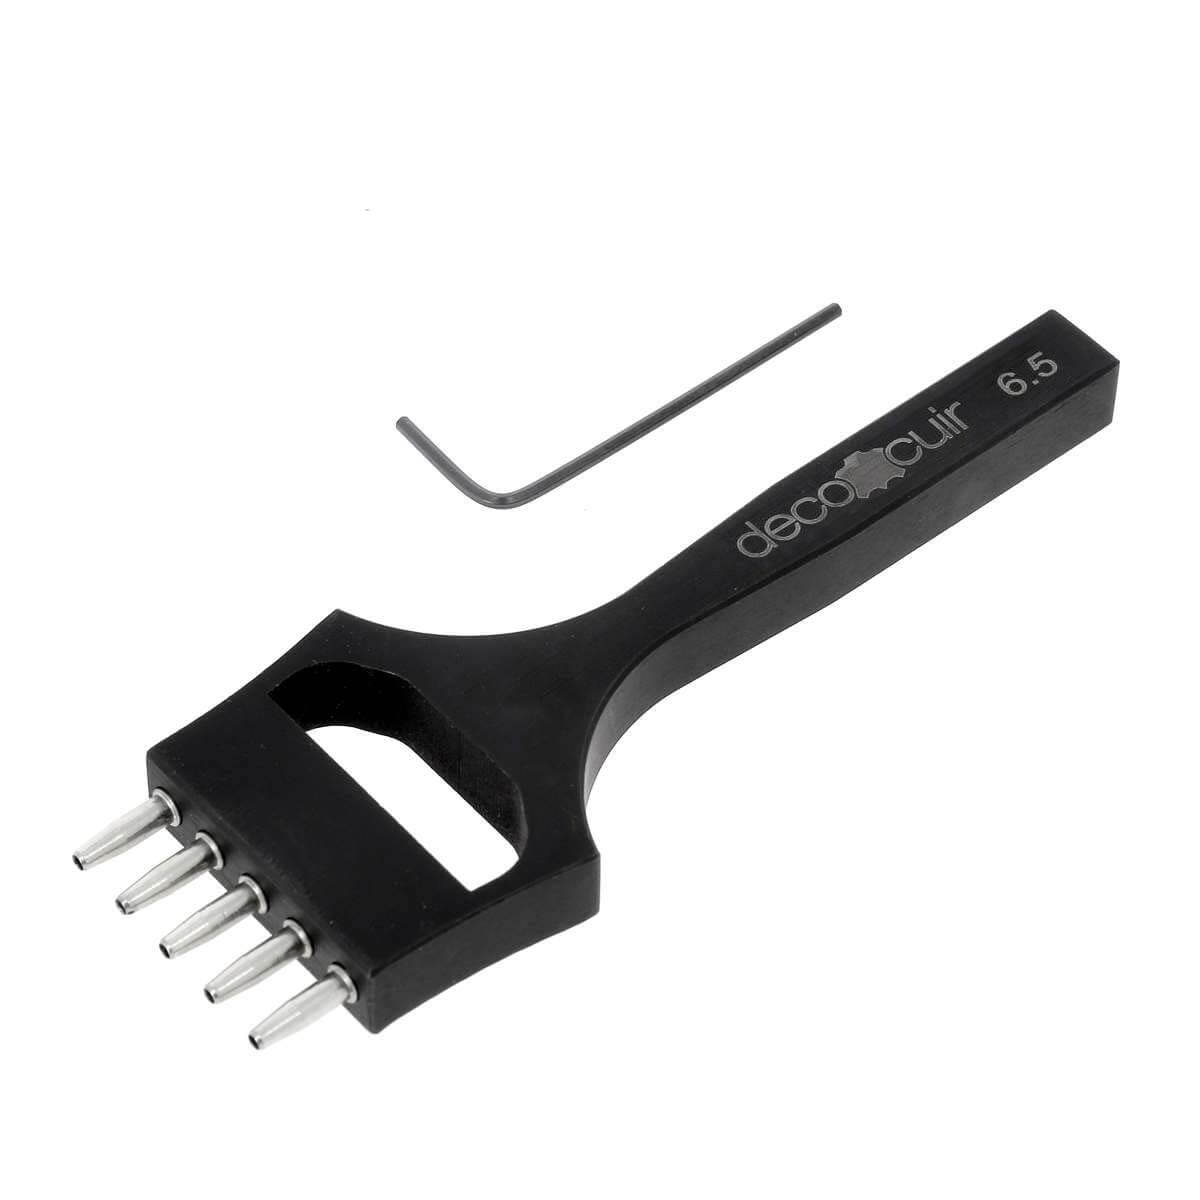
CHOOSING YOUR HOLE PUNCH
Simplified leather sewing involves making holes approximately 0.9 to 1.25 mm in diameter and spaced 6.5 mm apart (center to center) in the leather to create the stitch holes. Then, each needle needs to be passed through each hole.
Many patterns now include this type of stitching.


HOW TO MARK STITCH HOLES?
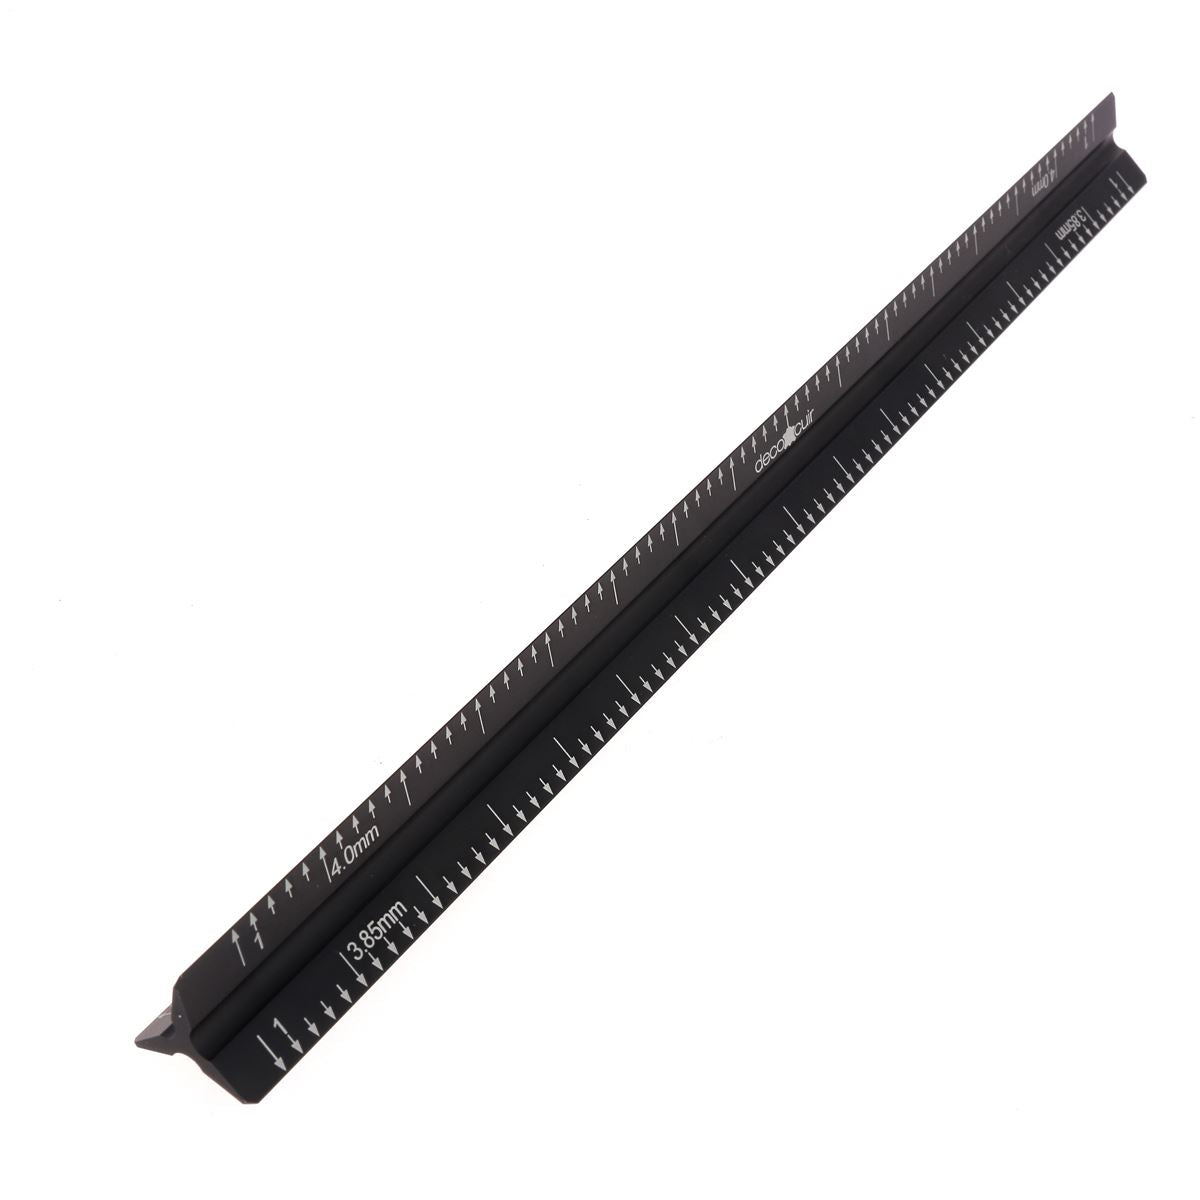
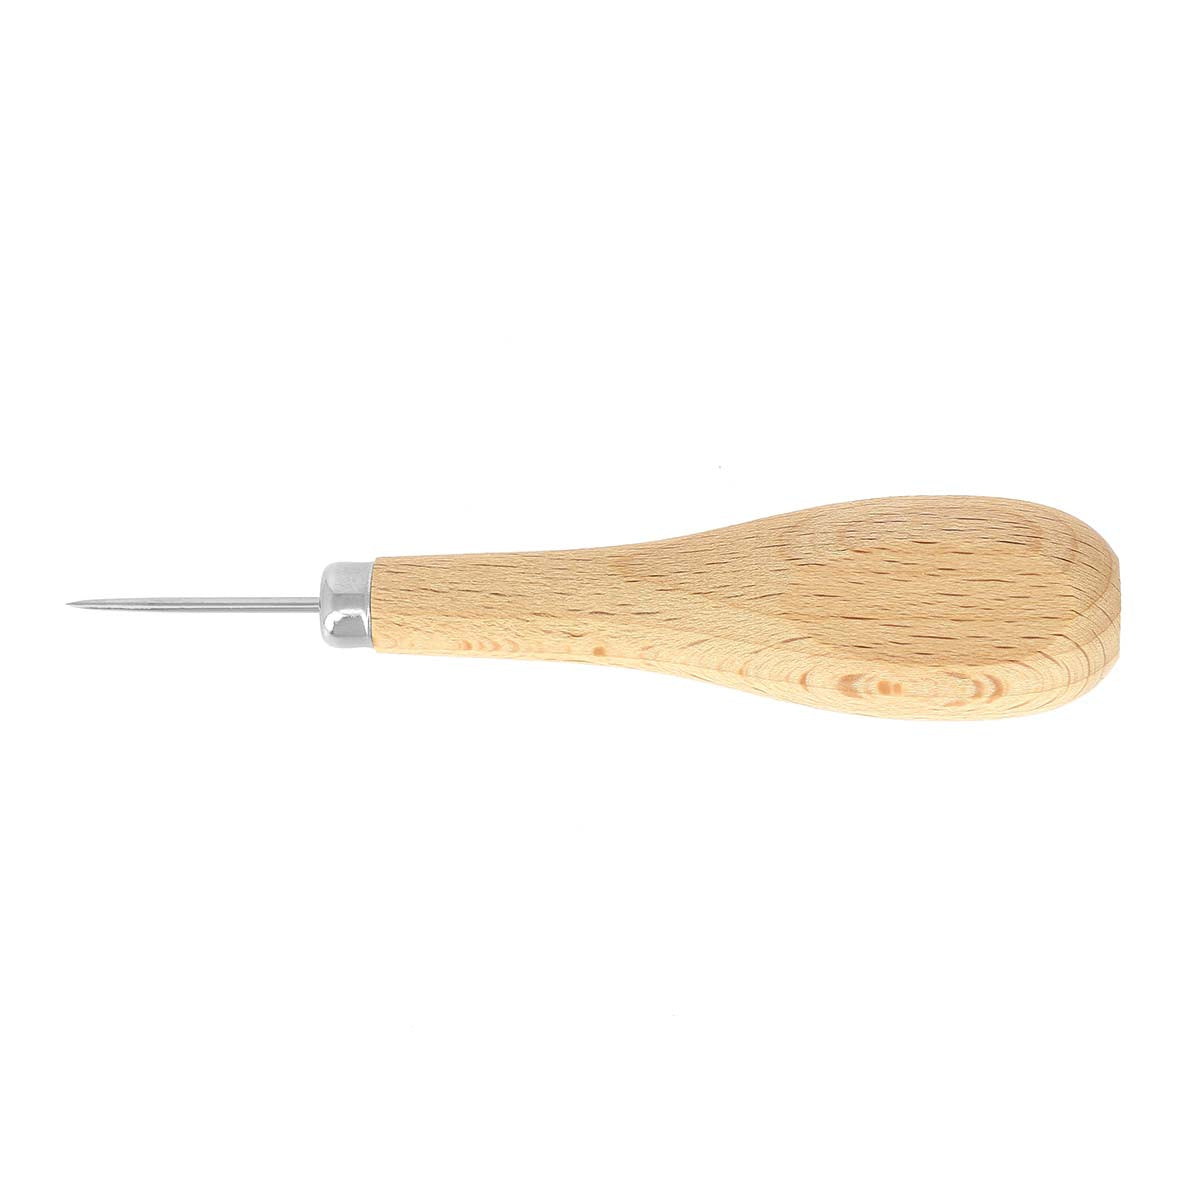
We recommend marking the stitch holes directly on your pattern. To have the same spacing between stitches (and without a computer), we recommend using our Kutsch ruler (ruler for marking stitch holes) and a round awl.
For hole-based sewing, we recommend prioritizing the largest spacing of 4.00 mm or skipping every other stitch for smaller spacings (e.g., 3.00 mm spacing = 1 stitch every 6.00 mm).
As a reminder, for simplified sewing, we generally space our stitches (center to center) every 5 to 6 mm.


SEWING STEPS
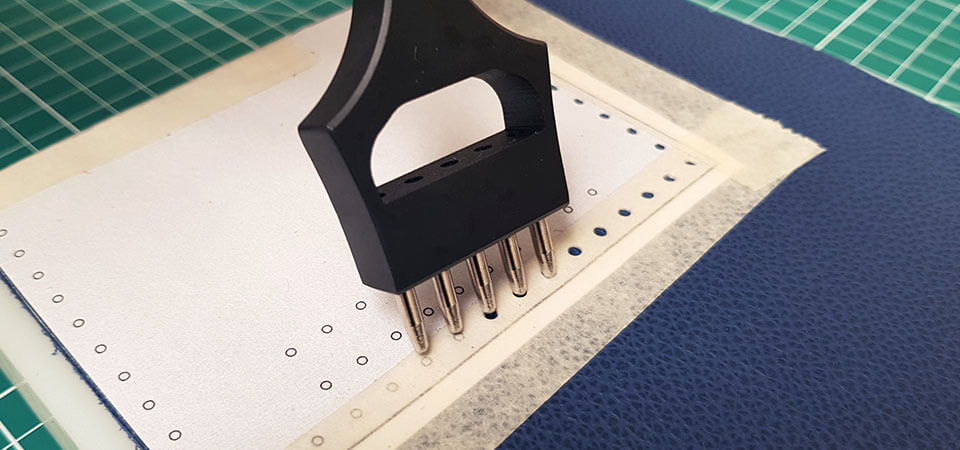
1. Place your template on the leather and secure it with masking tape (to avoid damaging the leather). Then, punch the stitch holes with a hole punch.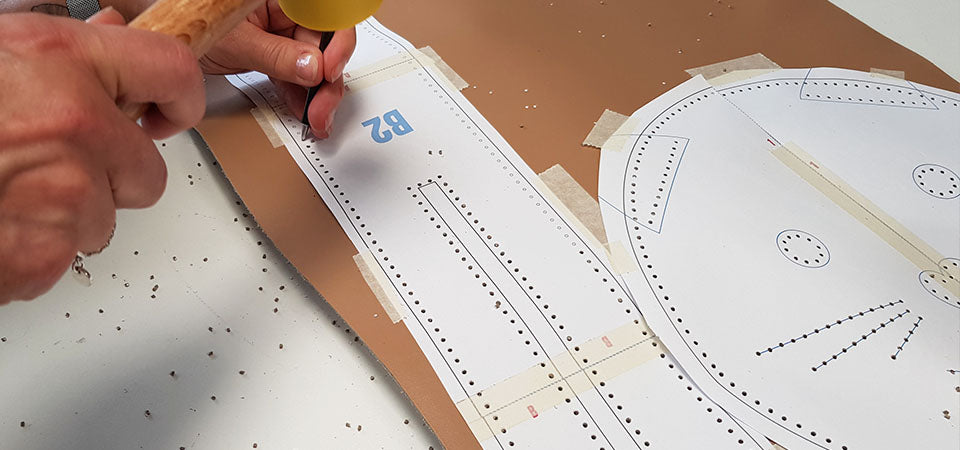
2. Cut a thread (polyester or linen): generally equivalent to 4 or 5 times the length of the seam line. If you need to make a long seam, take an arm's length = outstretched arm length to avoid having to handle meters of thread.
If using linen thread: wax the thread with beeswax. Pass it through 3 times and wipe it.
Thread a needle at each end of the thread (see GIF):
- Pierce the thread at a needle's height, then pierce it twice more.
- Flatten the end of the thread and pass it through the eye of the needle.
- Pull the thread to tie the knot.
- Do the same to thread the other end of the thread onto the second needle.
3. Start stitching
For aesthetic reasons, we recommend starting the stitching at the 4th stitch to make 3 double stitches and thus have symmetry with our ending stitch (the 3 backstitches) => only do this if the seams don't meet.
You can also simply start your stitching from the first stitch by evening out the threads or by making a saddle stitch (when you are at the edge of a piece - e.g., card holder).
- Stitch by passing each needle one by one (or simultaneously if you are comfortable) through each hole.
- Tighten the stitch firmly.
4. Make 3 backstitches
- Make 3 backstitches and cut the thread.
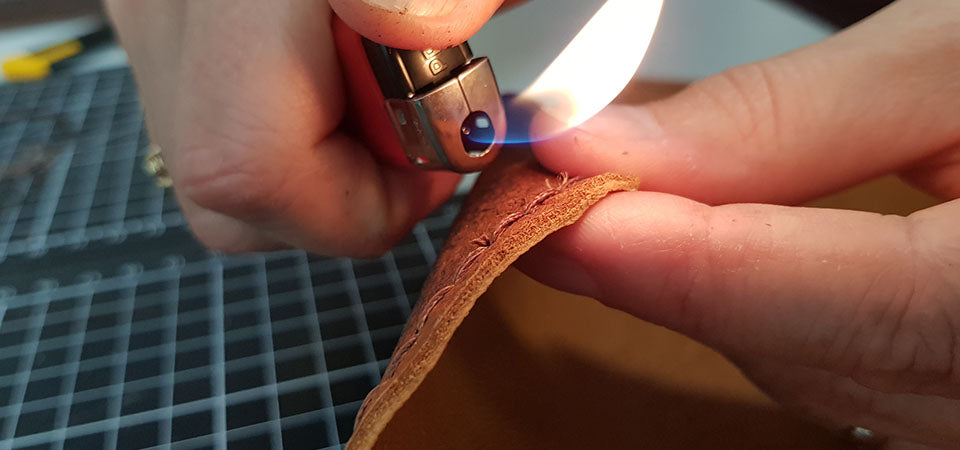
- If using polyester thread: cut the thread flush, then burn it.
- If using linen thread: cut the thread flush and apply a dab of glue with a round awl.
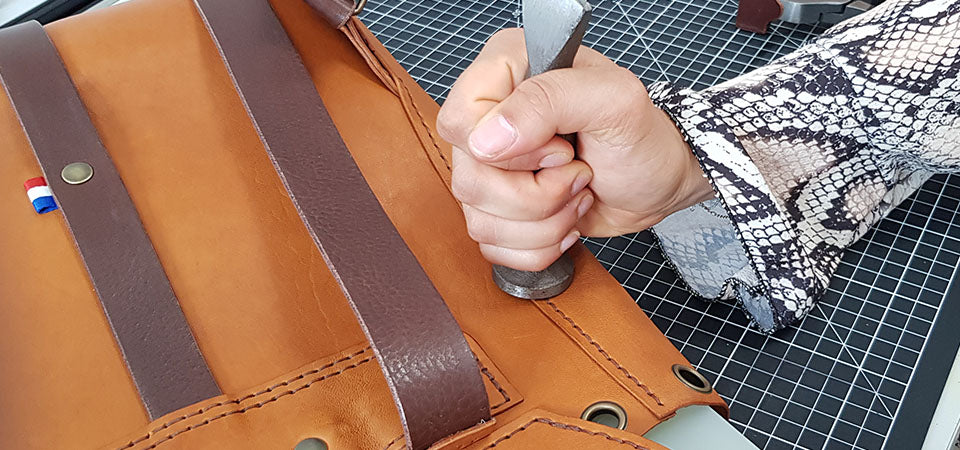
5. Hammer the stitches with a riveting hammer or a joining hammer: pay attention to the striking angle and do not hit too hard to avoid damaging/marking the leather.
All that's left is to finish the edges with an edge creaser, then an edge finish or tokonole / gum tragacanth.
USING THE EDGE CREASER >
WHICH LEATHER TO CHOOSE FOR HAND SEWING?
The ideal is to select a thick leather (at least 1.2 mm thick) and not too supple. We invite you to check out our guide on the different leather finishes.
WHICH LEATHER TO CHOOSE FOR MY CREATION >
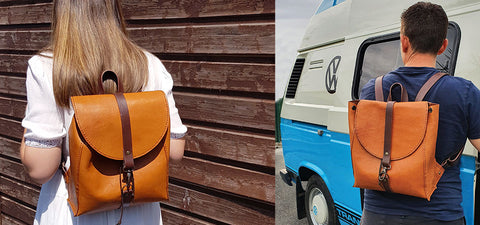
FREE TUTORIAL IDEAS TO PRACTICE WITH
 |
 |
|
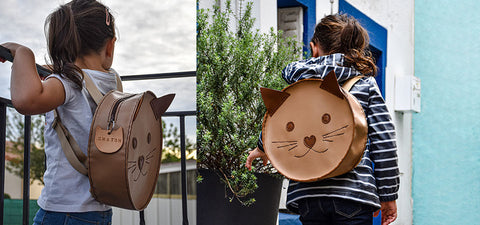
Leather Cat Backpack for Children |
Sheepskin Leather Backpack |
 |
 |
|
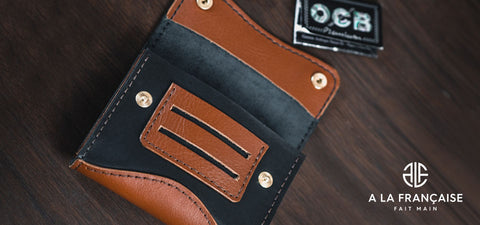
Leather Tobacco Pouch |
Minimalist Card Holder |
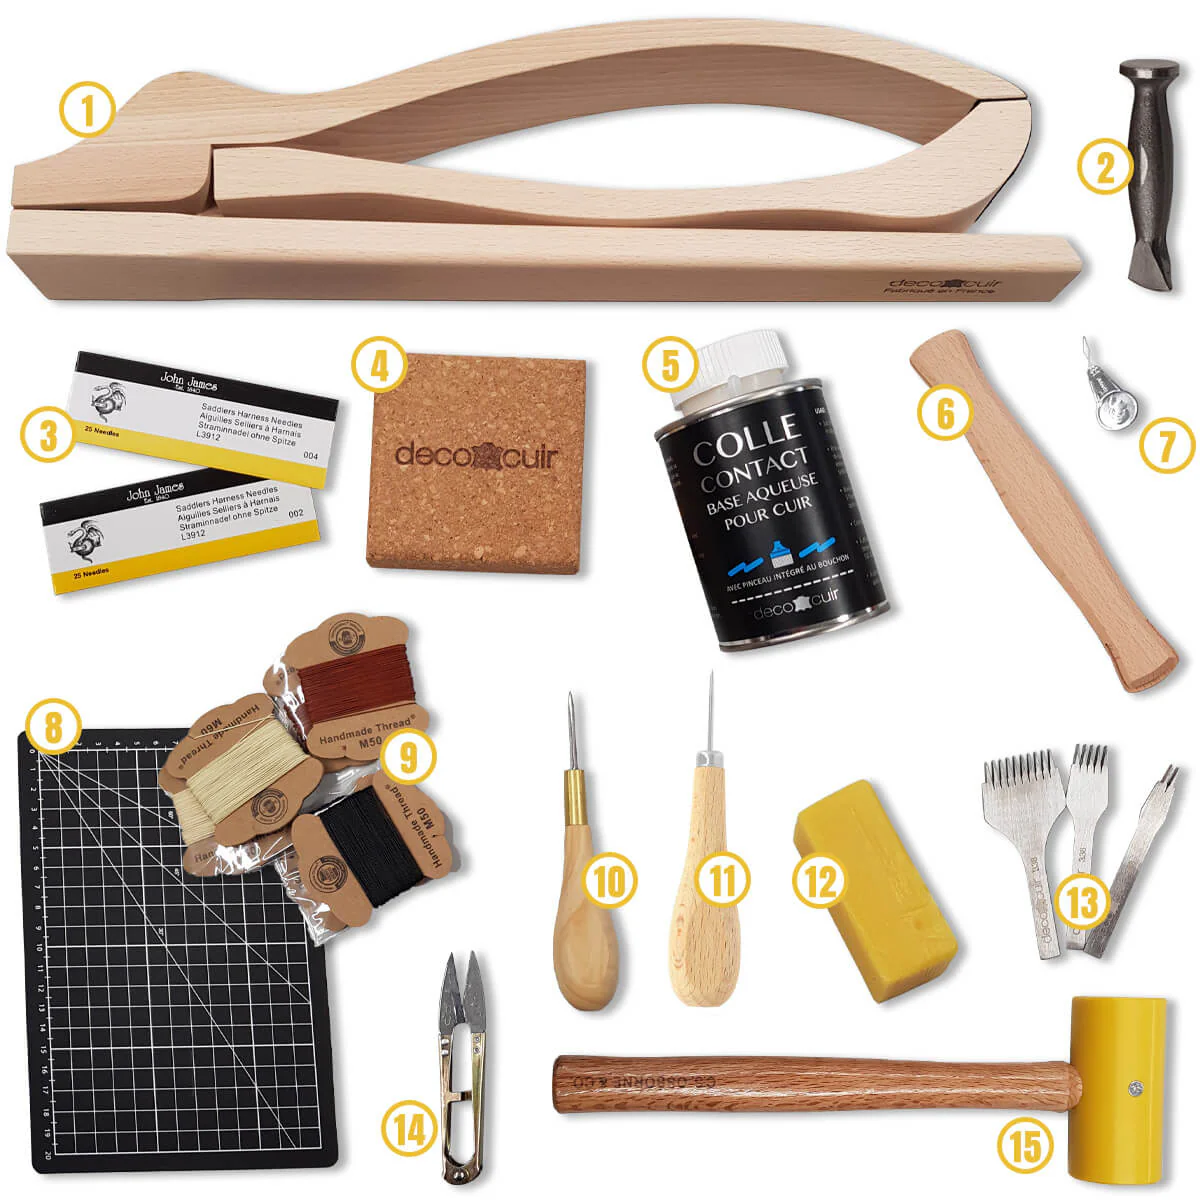
DECO CUIR TOOL KITS
We have used our experience to offer you a starter kit with the essential tools for hand sewing leather.
Other hand sewing techniques
Saddle stitch:
The saddle stitch is the most popular among leather enthusiasts because it is the strongest stitch. The specificities of this stitch: two needles are required to saddle stitch leather, and the stitch is slanted.

Backstitch:
Discover the backstitch sewing technique: a simple method accessible to everyone. Backstitch sewing is done with one thread and one needle. In upholstery, the backstitch is called "backstitch," and in embroidery, "stem stitch."


3 comments
Laura Verónica Chámarez
Soy Argentina, quiero agradecer todo lo que aportan para la persona que desea trabajar de manera honrada.
Gracias, aprendo mucho con ustedes.
Gracias a Dios existe el traductor para que podamos expresarnos.
Saludos
Taleb
Bonjour
Merci pour tout les Tutos.
Mon rêve serais de pouvoir faire une formation dans vos locaux pour faire des sacs.
Maria cristina leal
Super