
tutoriel porte-cartes en cuir Deco Cuir

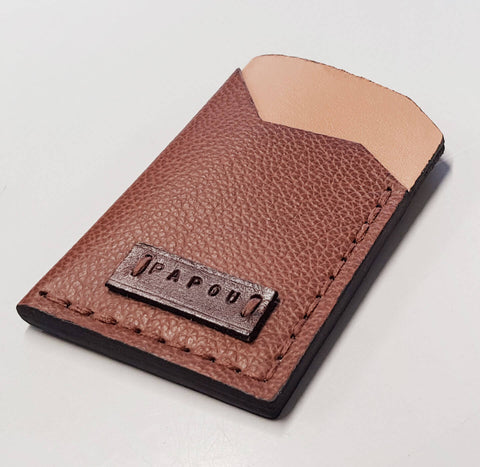
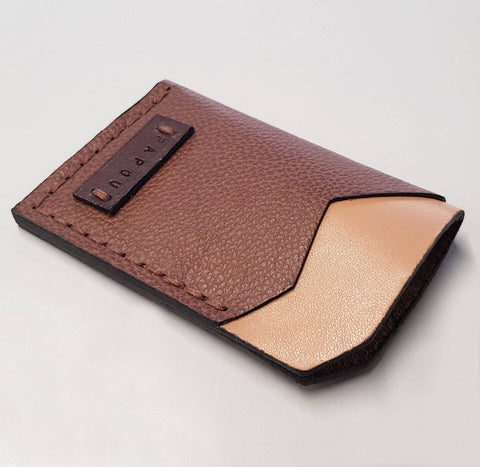
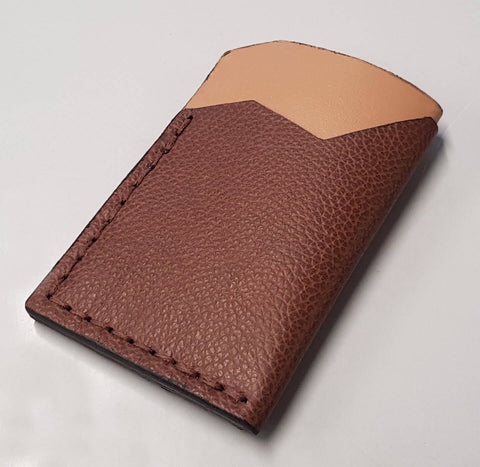
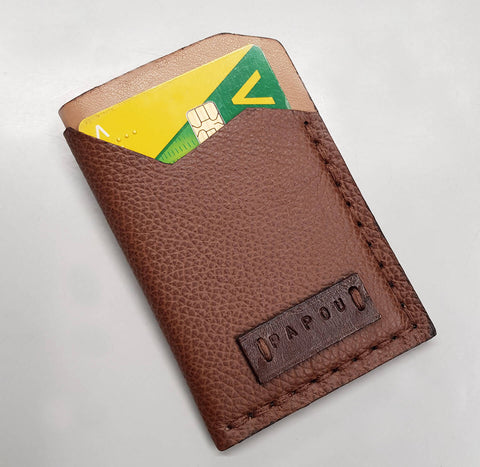
Make this minimalist leather card holder. It can hold up to 4 cards. Simple and classy, this card holder will accompany you everywhere!

Finished card holder dimensions:
Width: 6.5 cm
Height: 10 cm


HAND LEATHER STITCHING - FOR BEGINNERS

Discover, in the guide below, the essential points to know before starting to hand-stitch leather (simplified stitching for beginners).

VIEW THE GUIDE >

Download the pattern
This free pattern is for private use only. It is to be printed in real size. Download the PDF pattern
Supplies
Max cost: 8,00 €
The products needed to complete this tutorial
Gamme suivie Italie 🟢⚪🔴
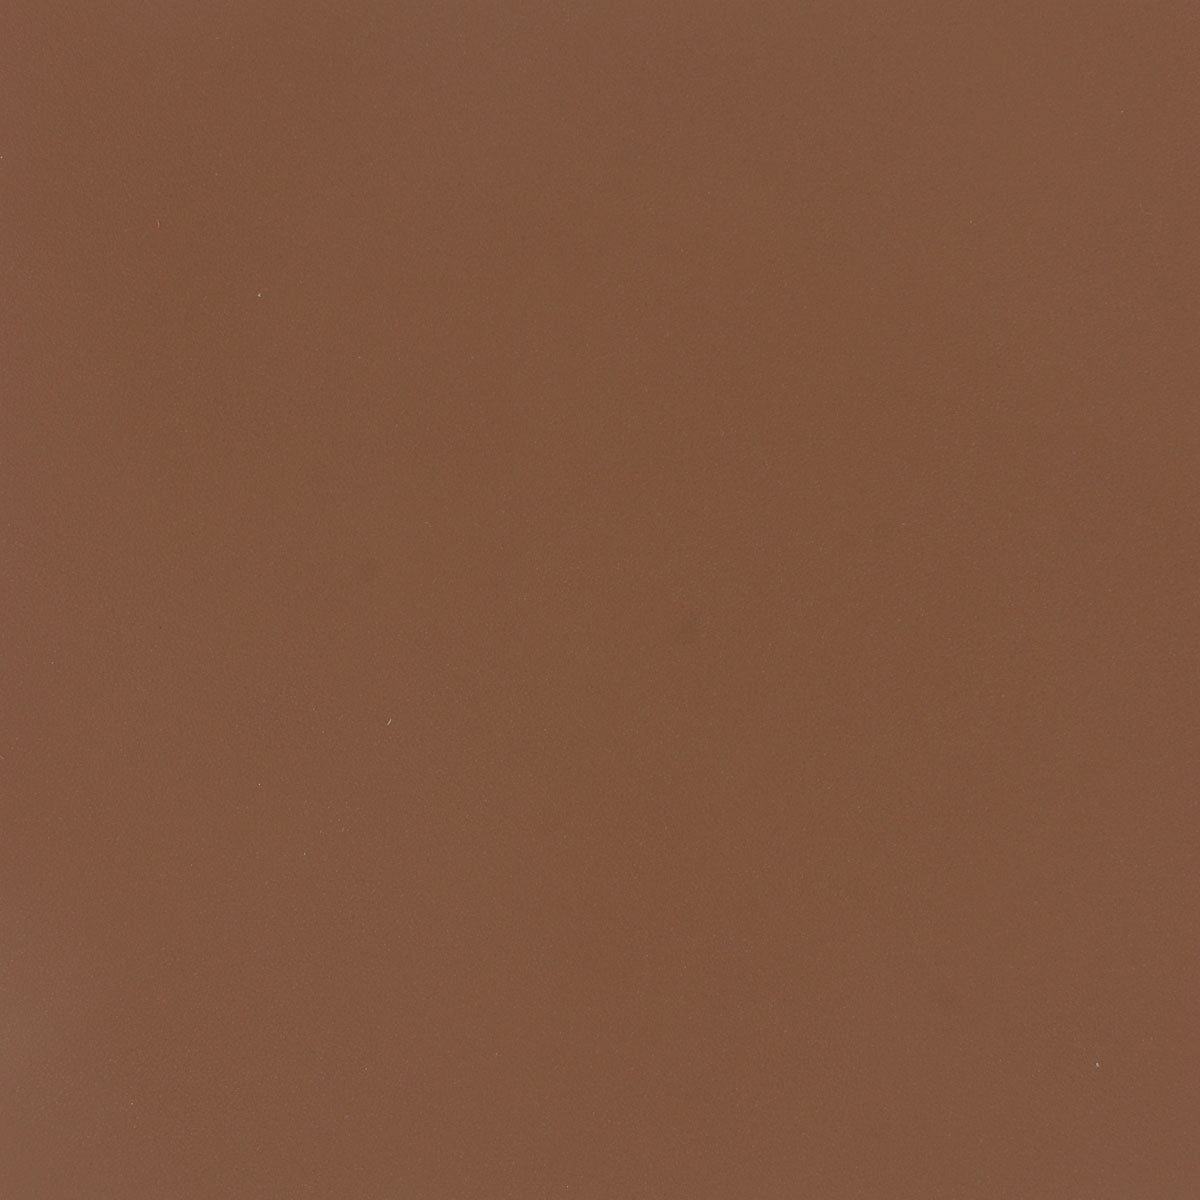
Morceau de cuir de veau SATINLYS marron, tissu souple et élégant, destiné à la maroquinerie ou à la couture artisanale.Morceau de cuir en veau SATINLYS marron, texture lisse et élégante, destiné à la maroquinerie ou couture.
From
Sale price2,72 €
  • Blue
  • SIZE: 15x20cm 20x30cm 30x40cm
  • THICKNESS: 0.8mm 1.2mm
Gamme suivie Belgique ⚫🟡🔴
Morceau de cuir de collet tanné végétal Sauvage Noisette, texture naturelle, pour artisanat et maroquinerie.Morceau de cuir de collet tannage végétal Sauvage en noisette, utilisé pour la fabrication de portefeuille ou accessoires en cuir.
From
Sale price4,60 €
  • SIZE: 15x20cm 20x30cm 30x40cm
  • THICKNESS: 1mm 1.4mm 1.9mm
M50
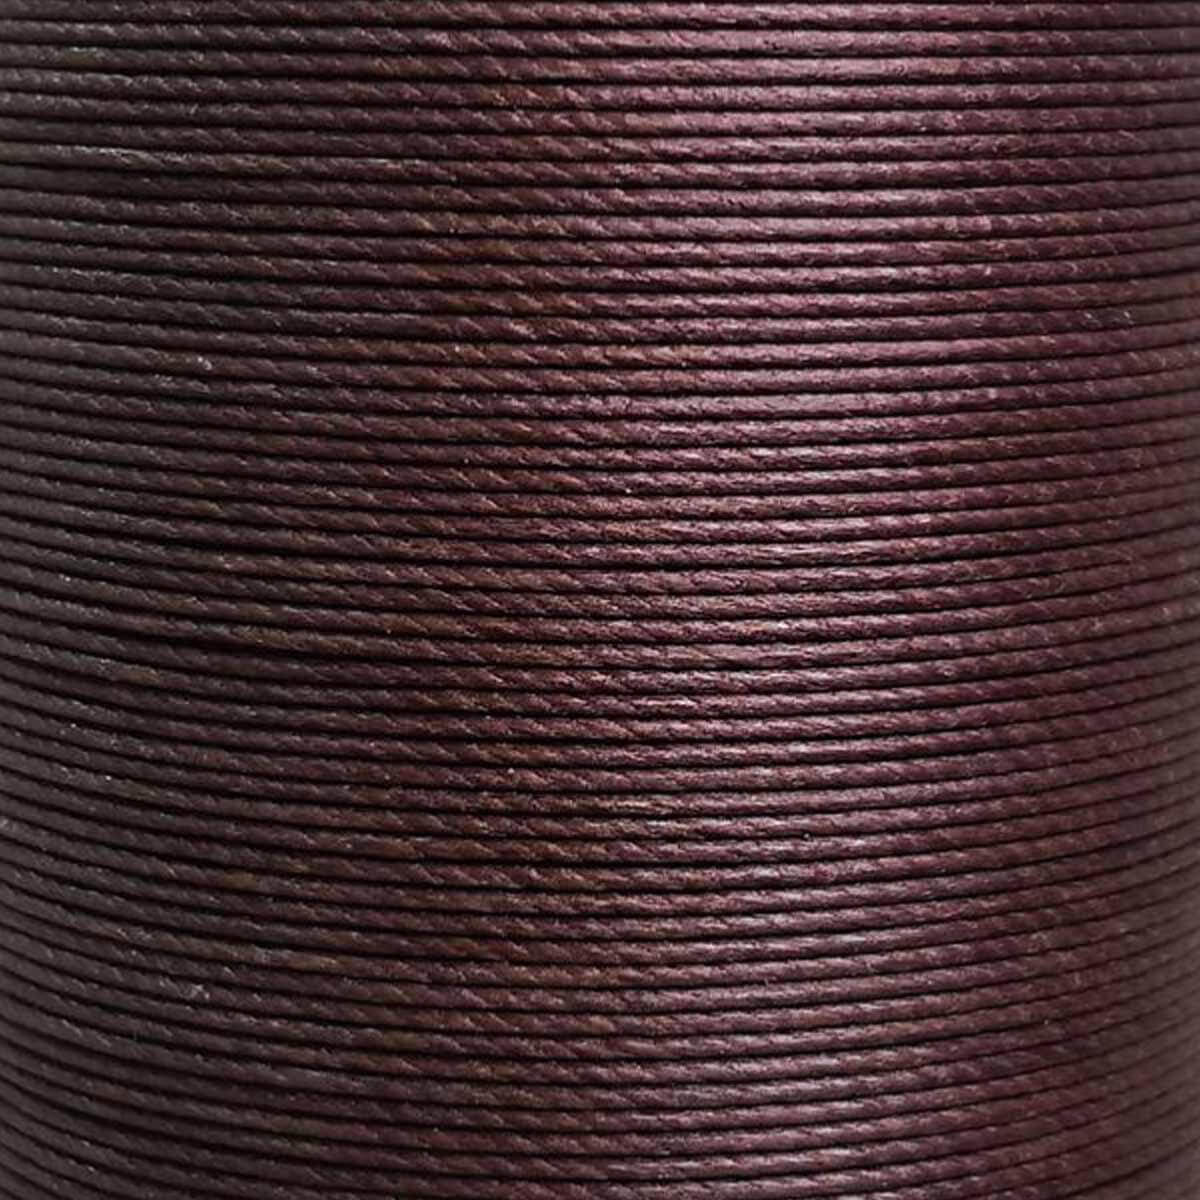
Fil de lin ciré MeiSi, 8m, super fin, couleur café, mercerie, couture, broderie, texture lisse et brillante, référence MS002Fil de lin ciré MeiSi de 8m, super fin M50, 0,55 mm, couleur café, pour mercerie et couture.
Sale price2,00 €
  • Brown
  • Beige
  • White
  • Blue
  • Gray
  • YELLOW
  • Brown
  • Multicolor
  • Black
  • +5 shades
Emporte-pièce à frapper rond de 1 mm pour cuir, outil de marque Autres, utilisé pour découper des formes précises.Outil emporte-pièce à frapper rond de 1 mm pour cuir, marque Autres, utilisé pour découper des formes précises.
Sale price2,90 €
  • DIAMETER: 1mm 1.5mm 2mm 2.5mm 3mm 3.5mm 4mm
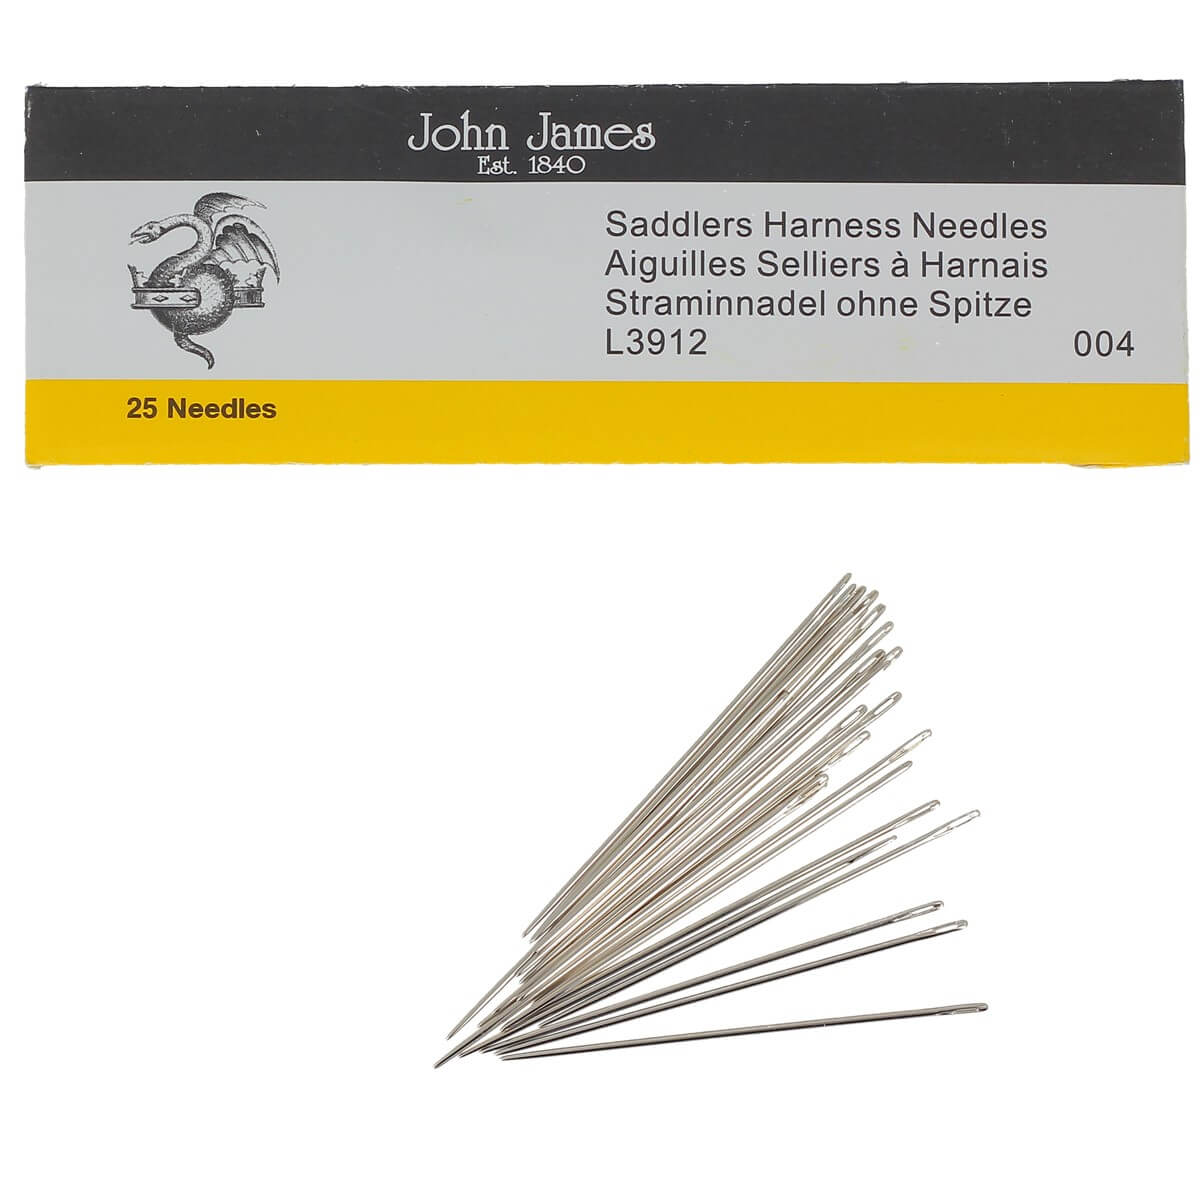
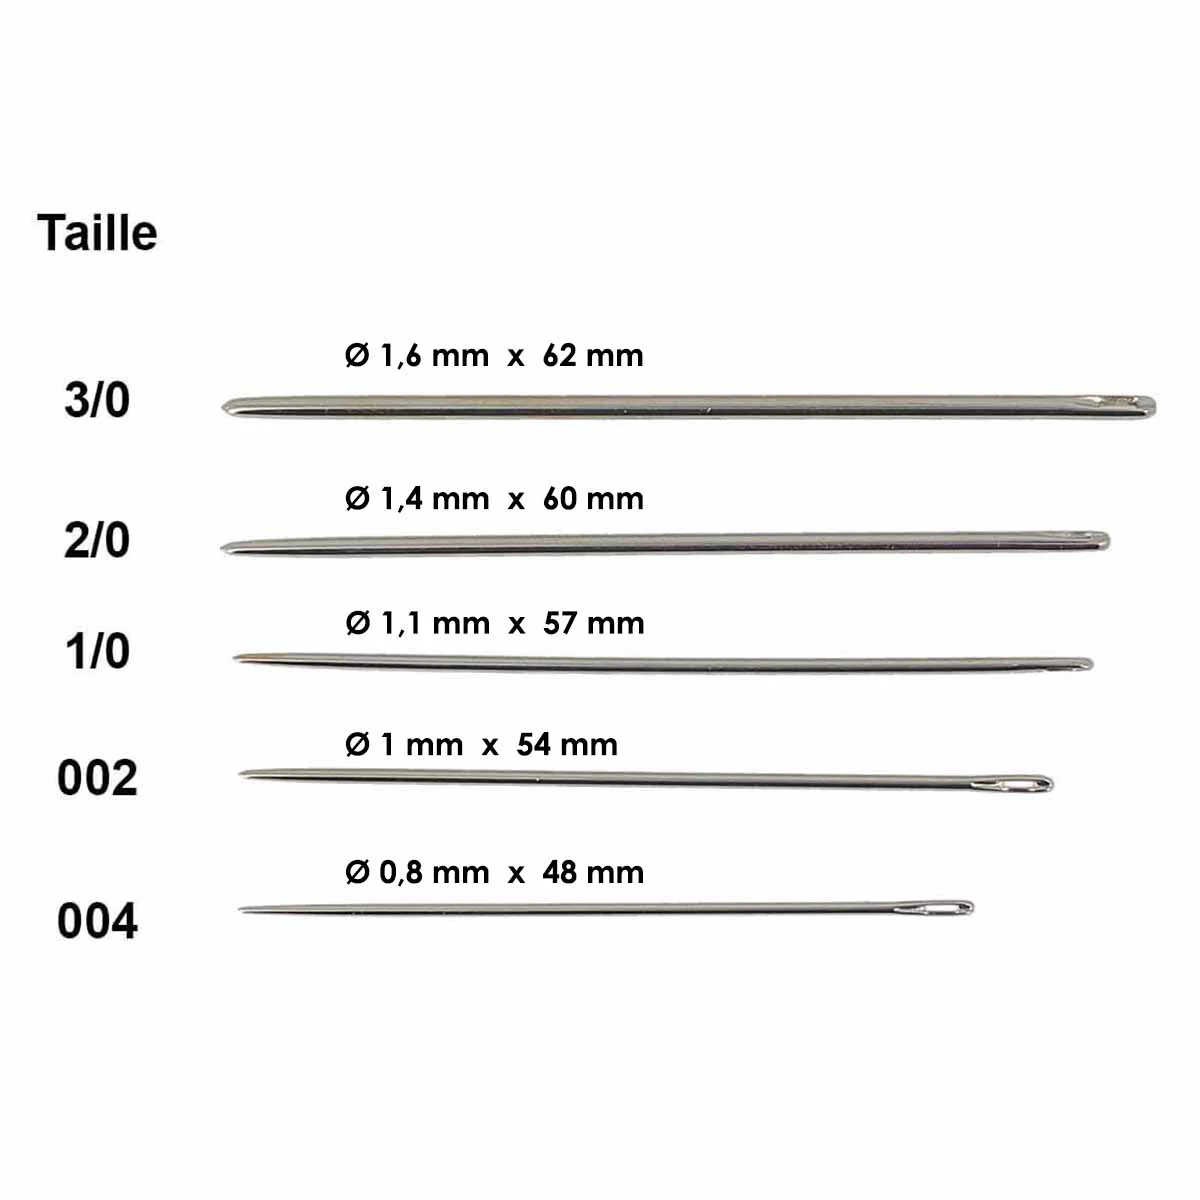
25 aiguilles sellier John James L3912 avec bout rond pour couture et maroquinerie, visibles sur l'image.Aiguilles sellier John James L3912 avec bout rond, ensemble de 25 aiguilles de mercerie pour couture et travaux de sellerie.
From
Sale price3,43 €
  • DIAMETER: 0.80mm 1mm 1.10mm 1.40mm 1.60mm
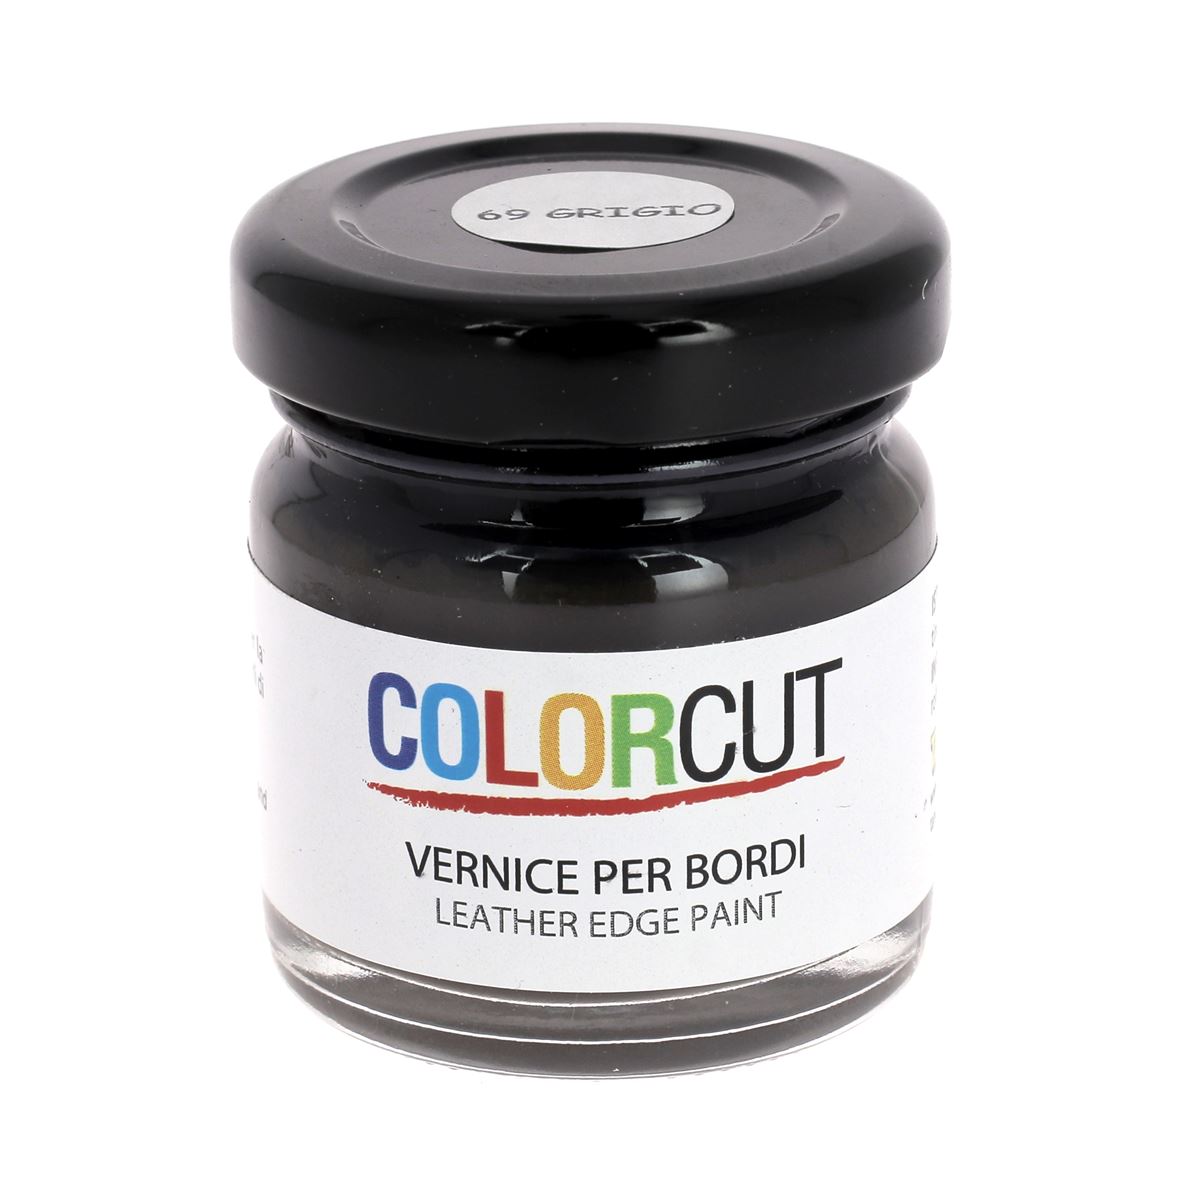
Finition de tranche Colorcut gris foncé, 30ml, en bouteille pour teintures et peintures, appliquée sur une surface.Nuancier de couleurs pour finition de tranche Colorcut en cuir, teinture bleue, zoom sur les nuances disponibles.
Sale price6,98 €

Materials needed

To complete this tutorial, you will need:

  • 1 cutter
  • 1 punch with a diameter of 1 mm (for stitching holes).
  • 1 abrasive sponge
  • OPTION: 1 set of alphabet stamps

1. PUNCH THE STITCHING HOLES

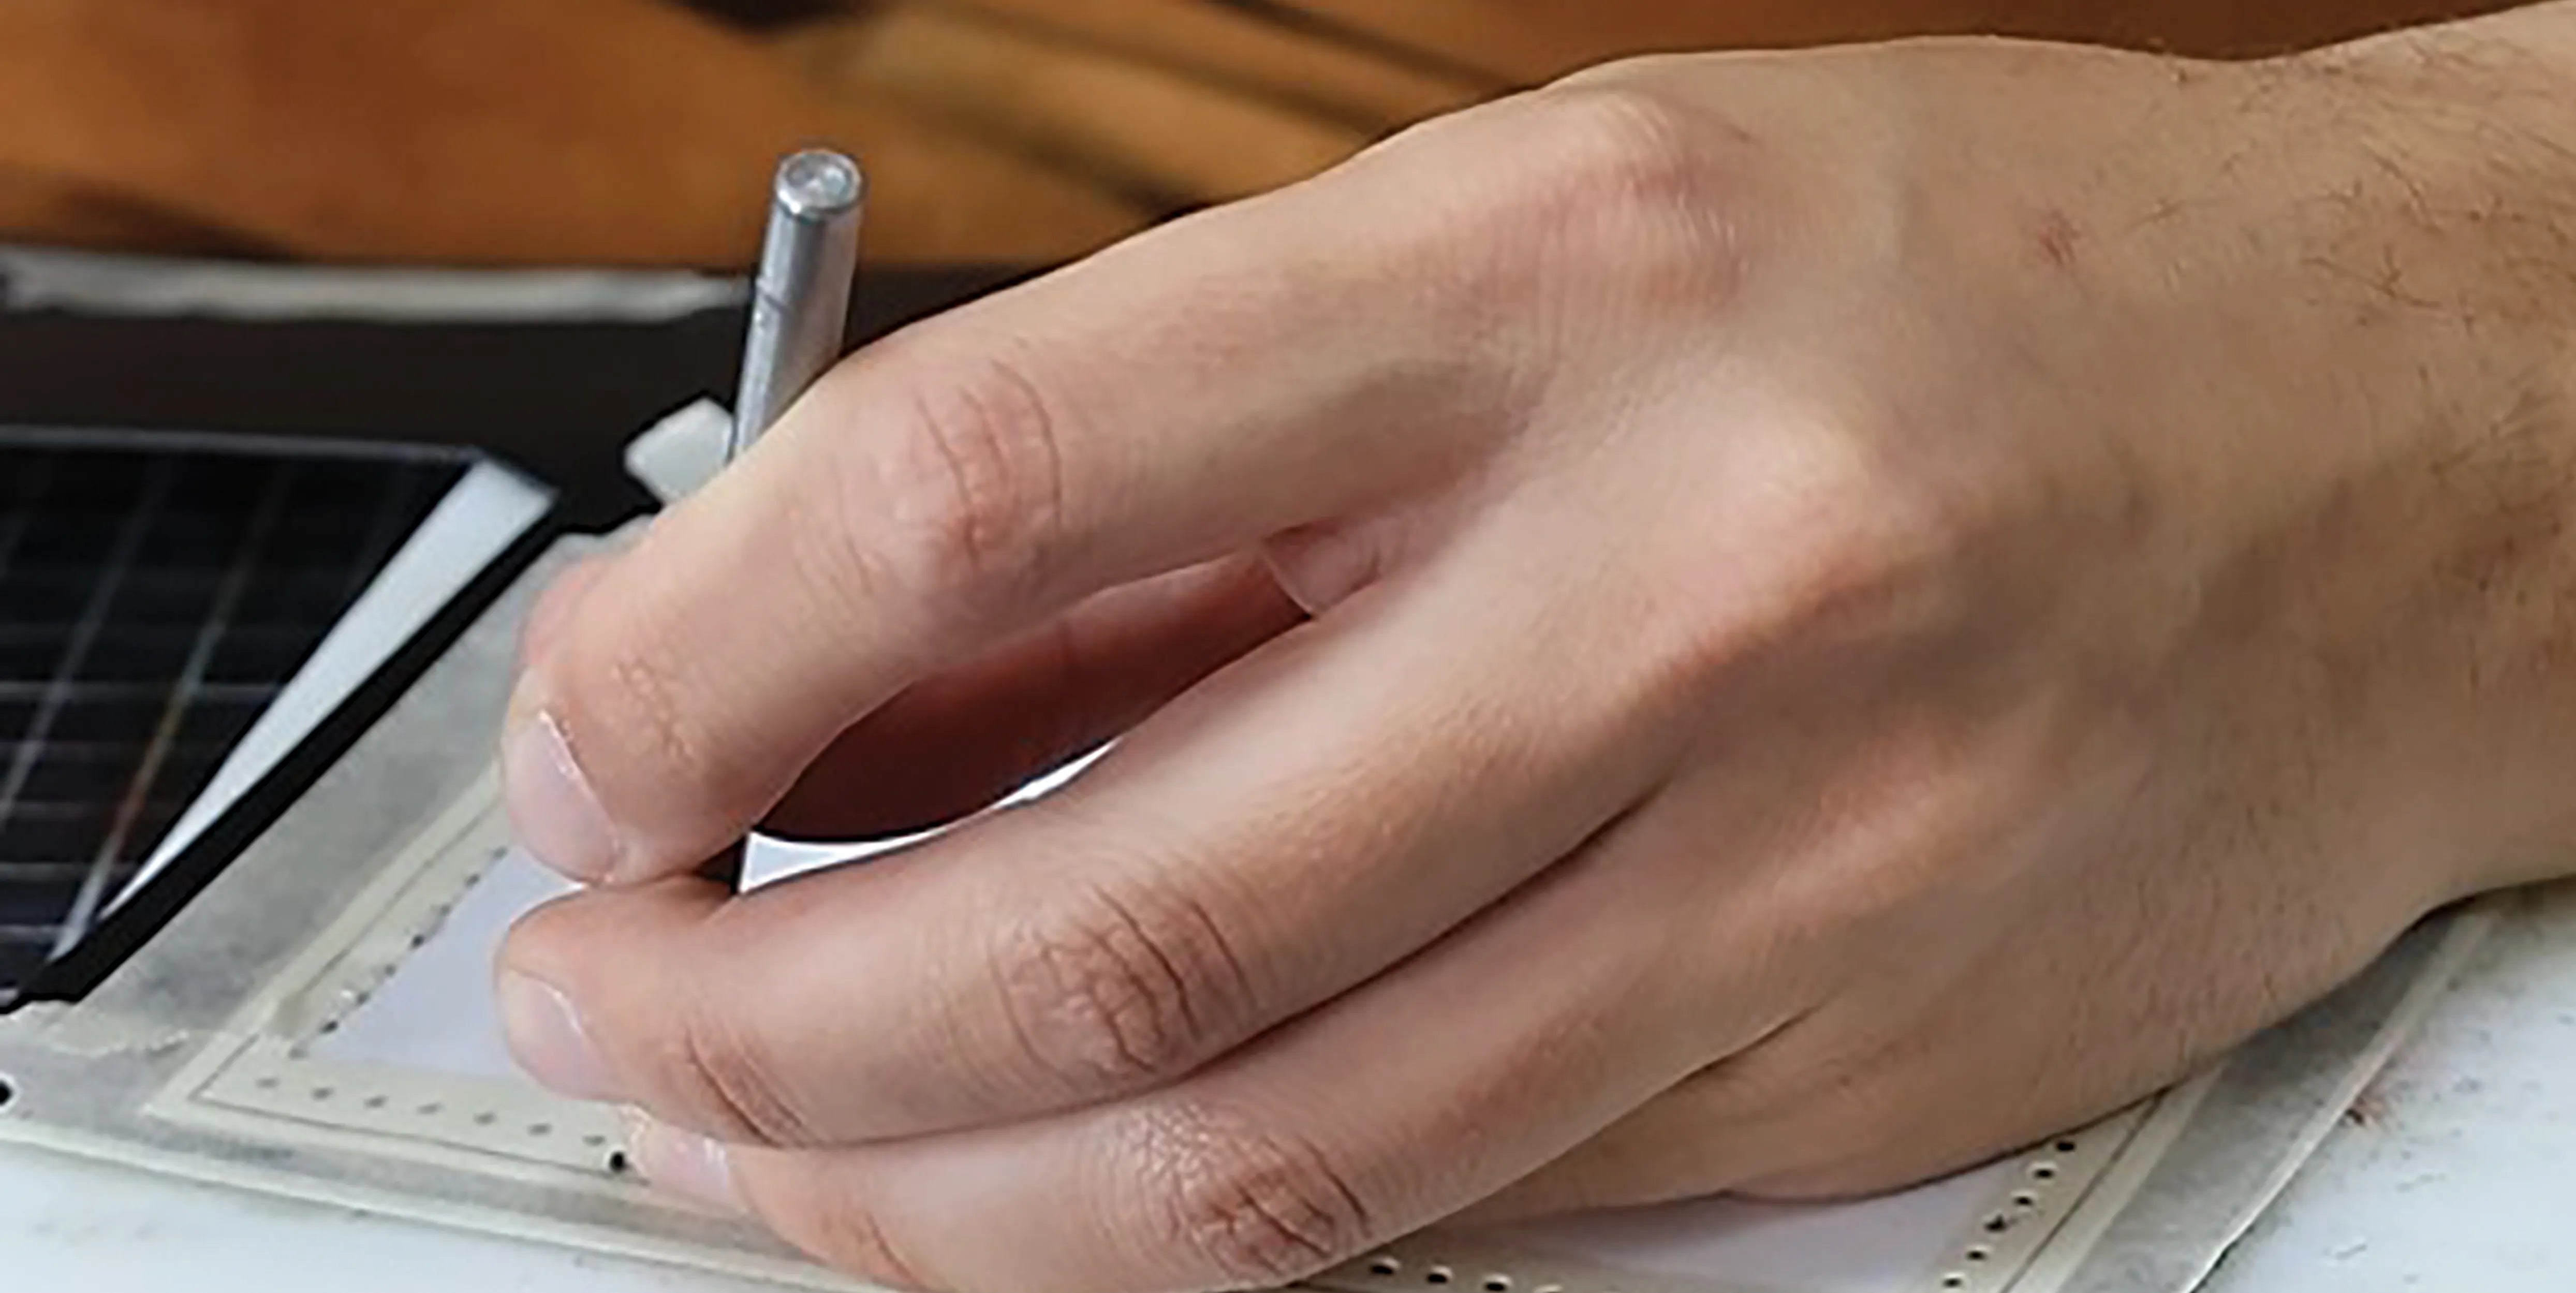
Position the pattern pieces on the leather and secure them with masking tape. Piece P1, sandwiched by piece P2, should be made from the thickest leather. Punch the 1 mm diameter stitching holes indicated on the pattern (only for simplified stitching with holes).

Punch the stitching holes

2. CUT THE LEATHER

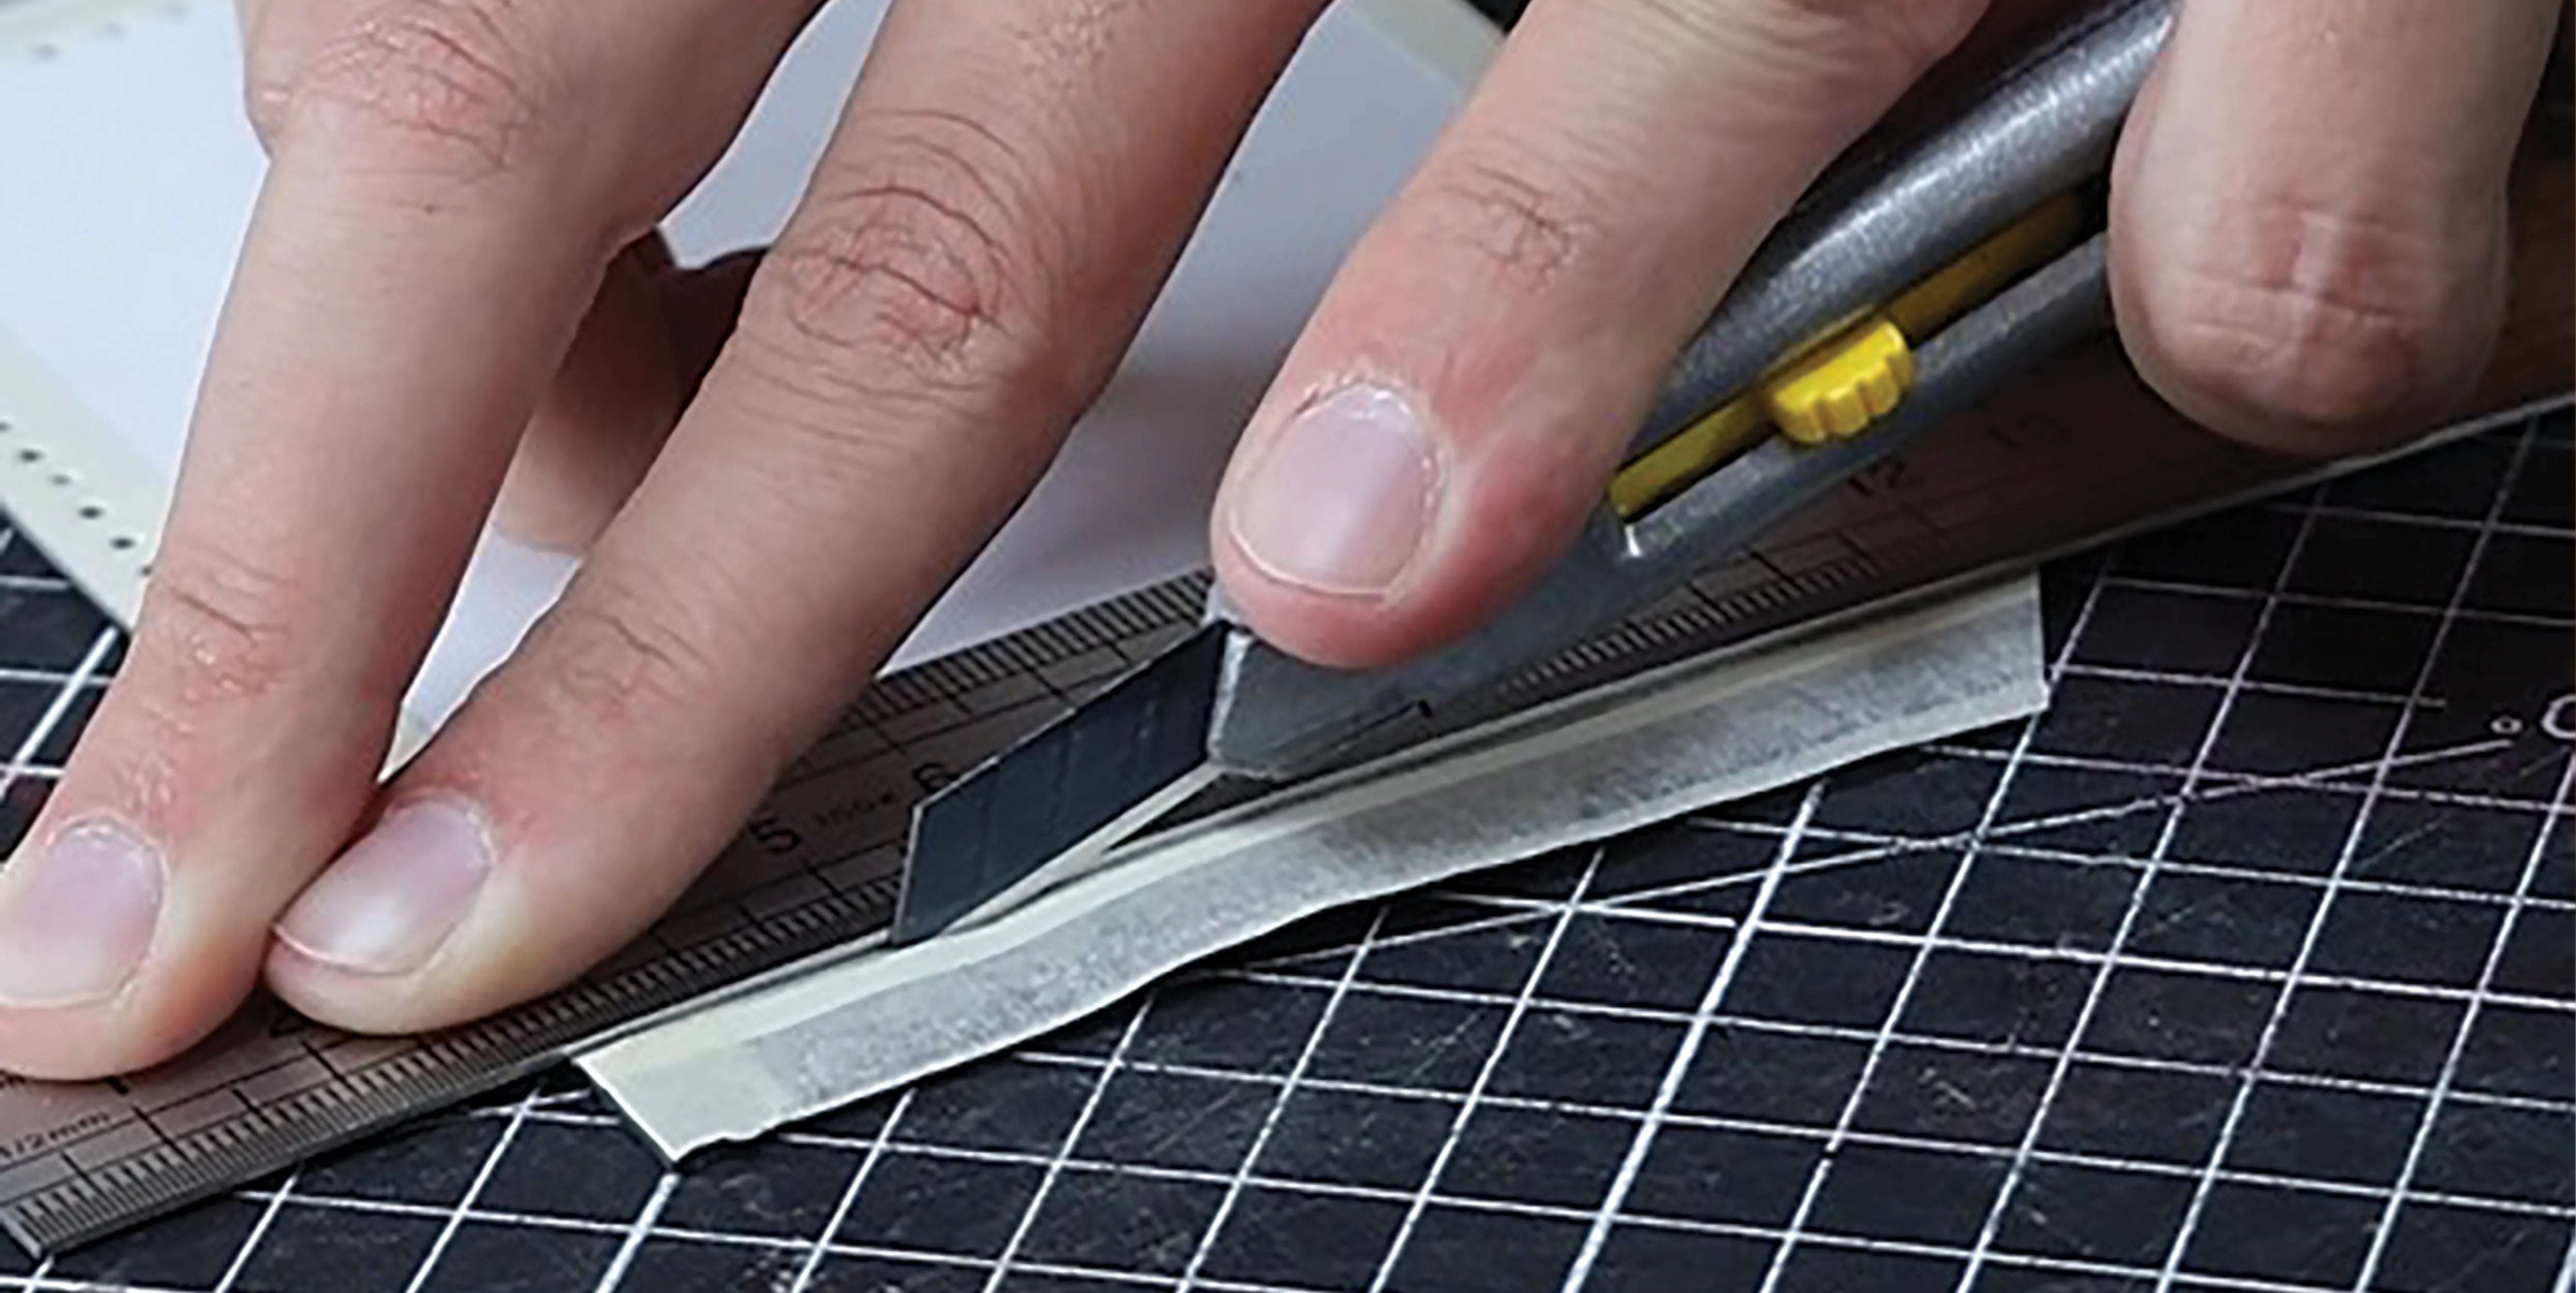
Cut out the different pieces with a cutter, following the pattern lines.

Cutting the leather

3. OPTIONAL

If desired, personalize the small tab P3 with hot or cold stamping. Finish the edges, then sew the tab onto piece P2 at the location indicated on the pattern.
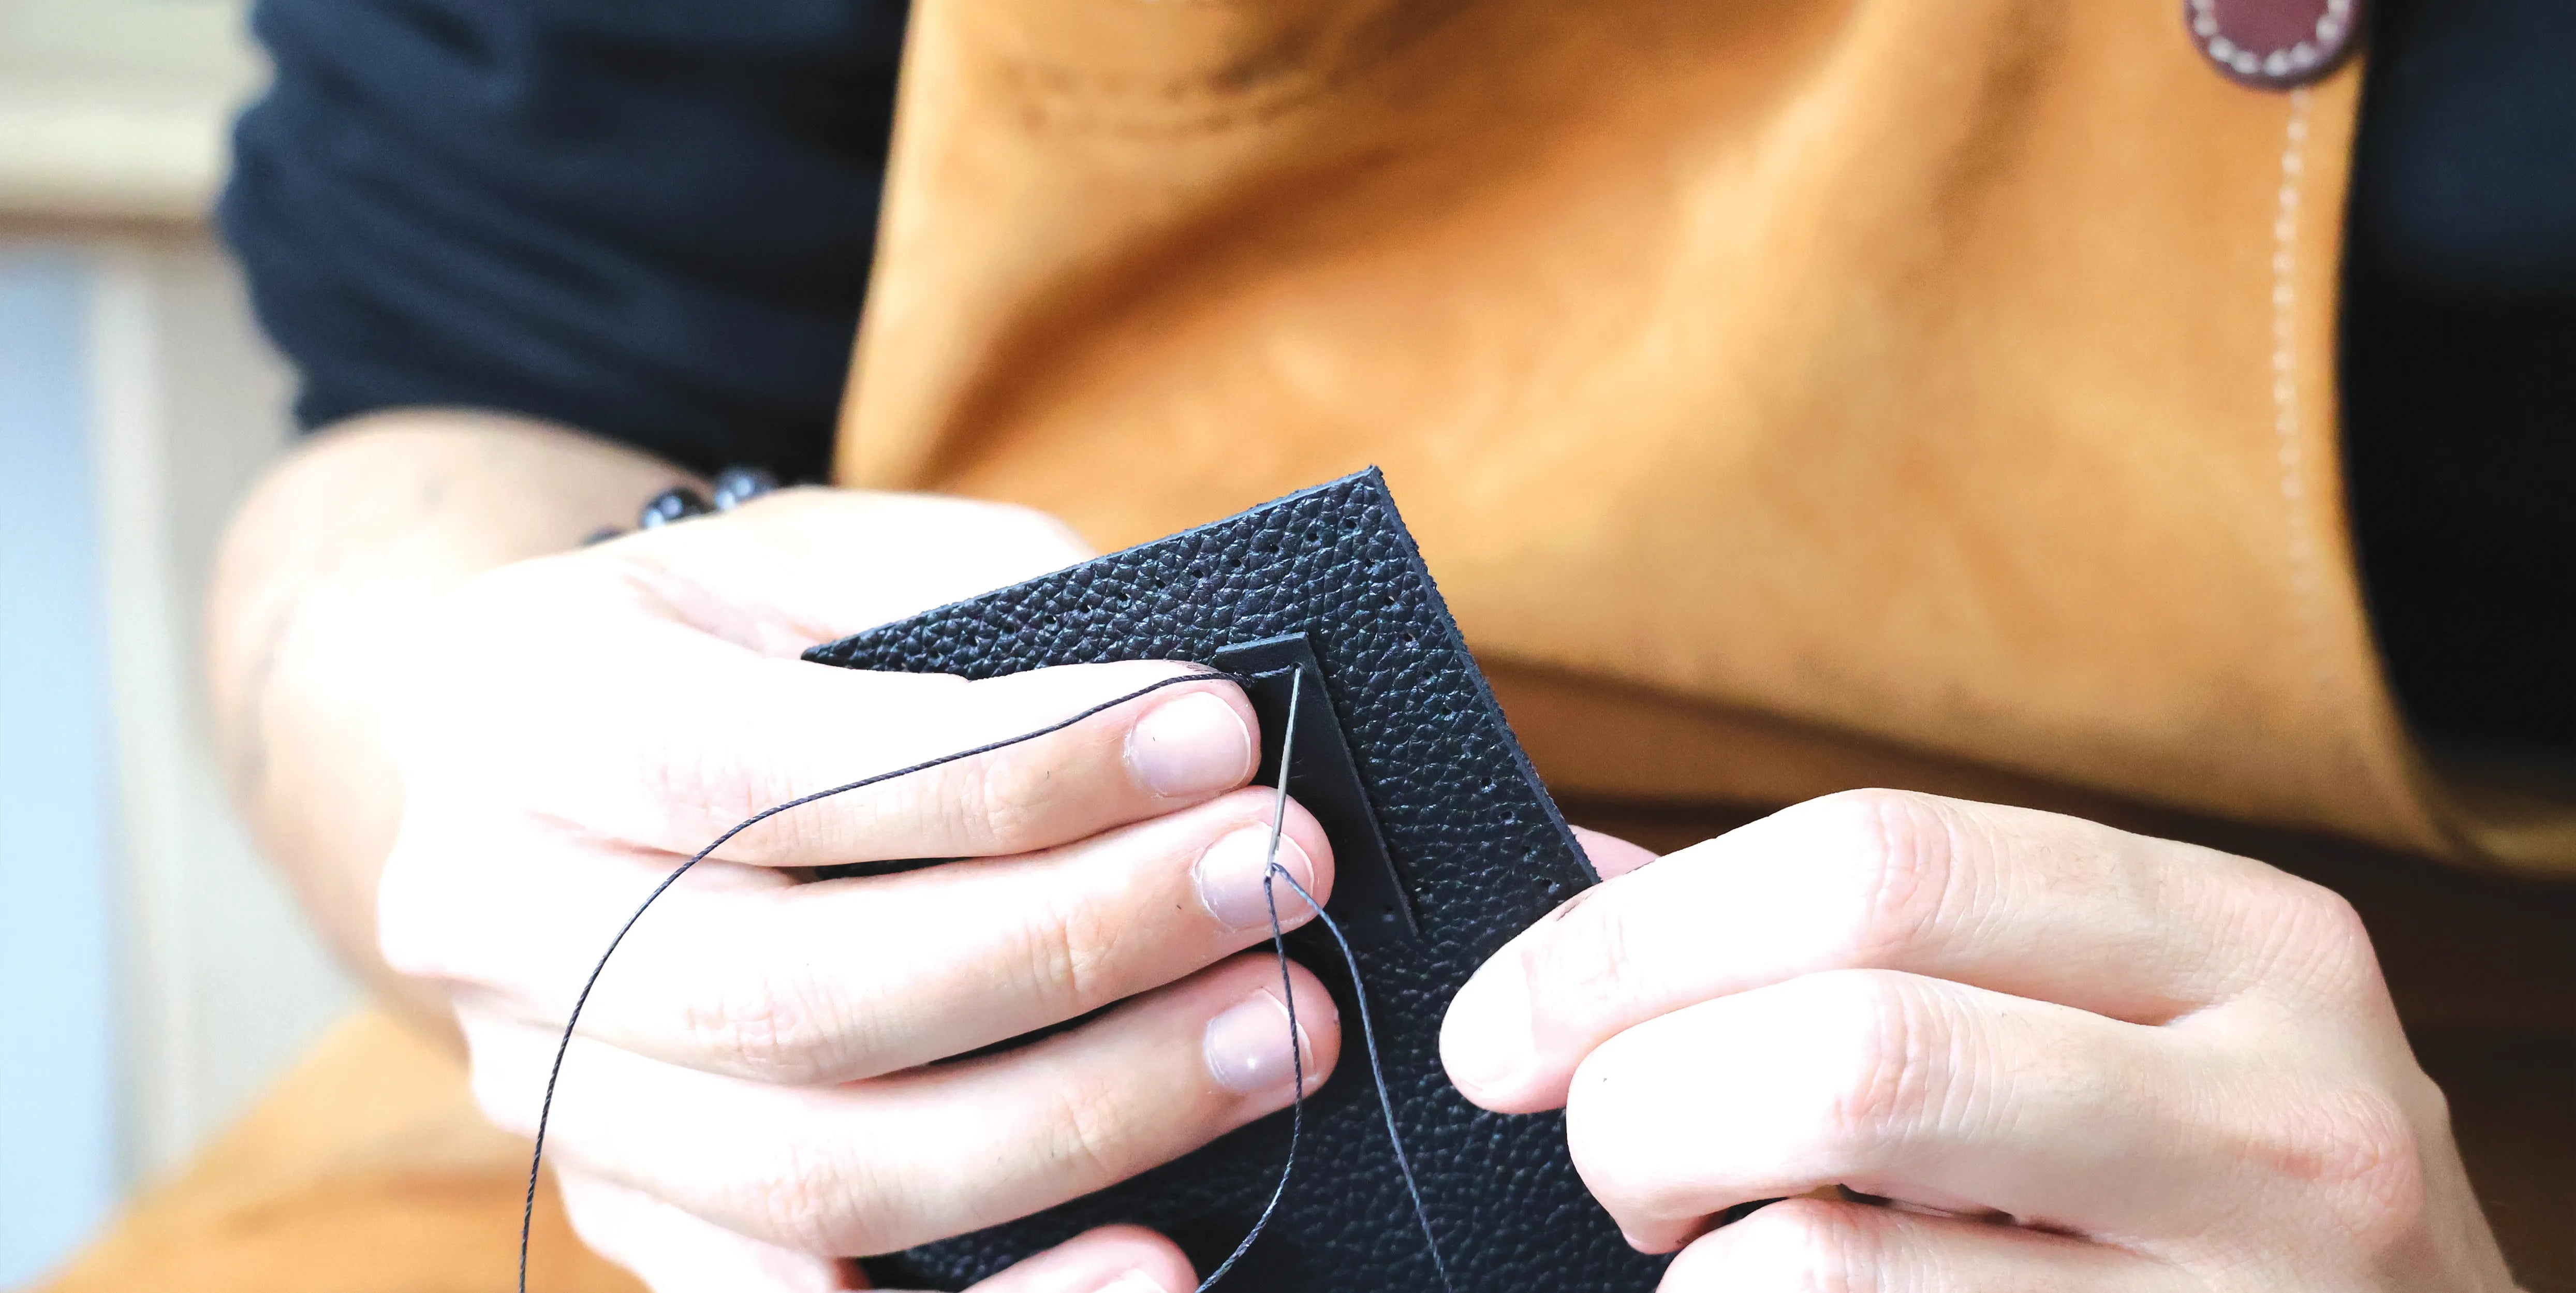
Sewing the label

4. GLUE THE EDGES

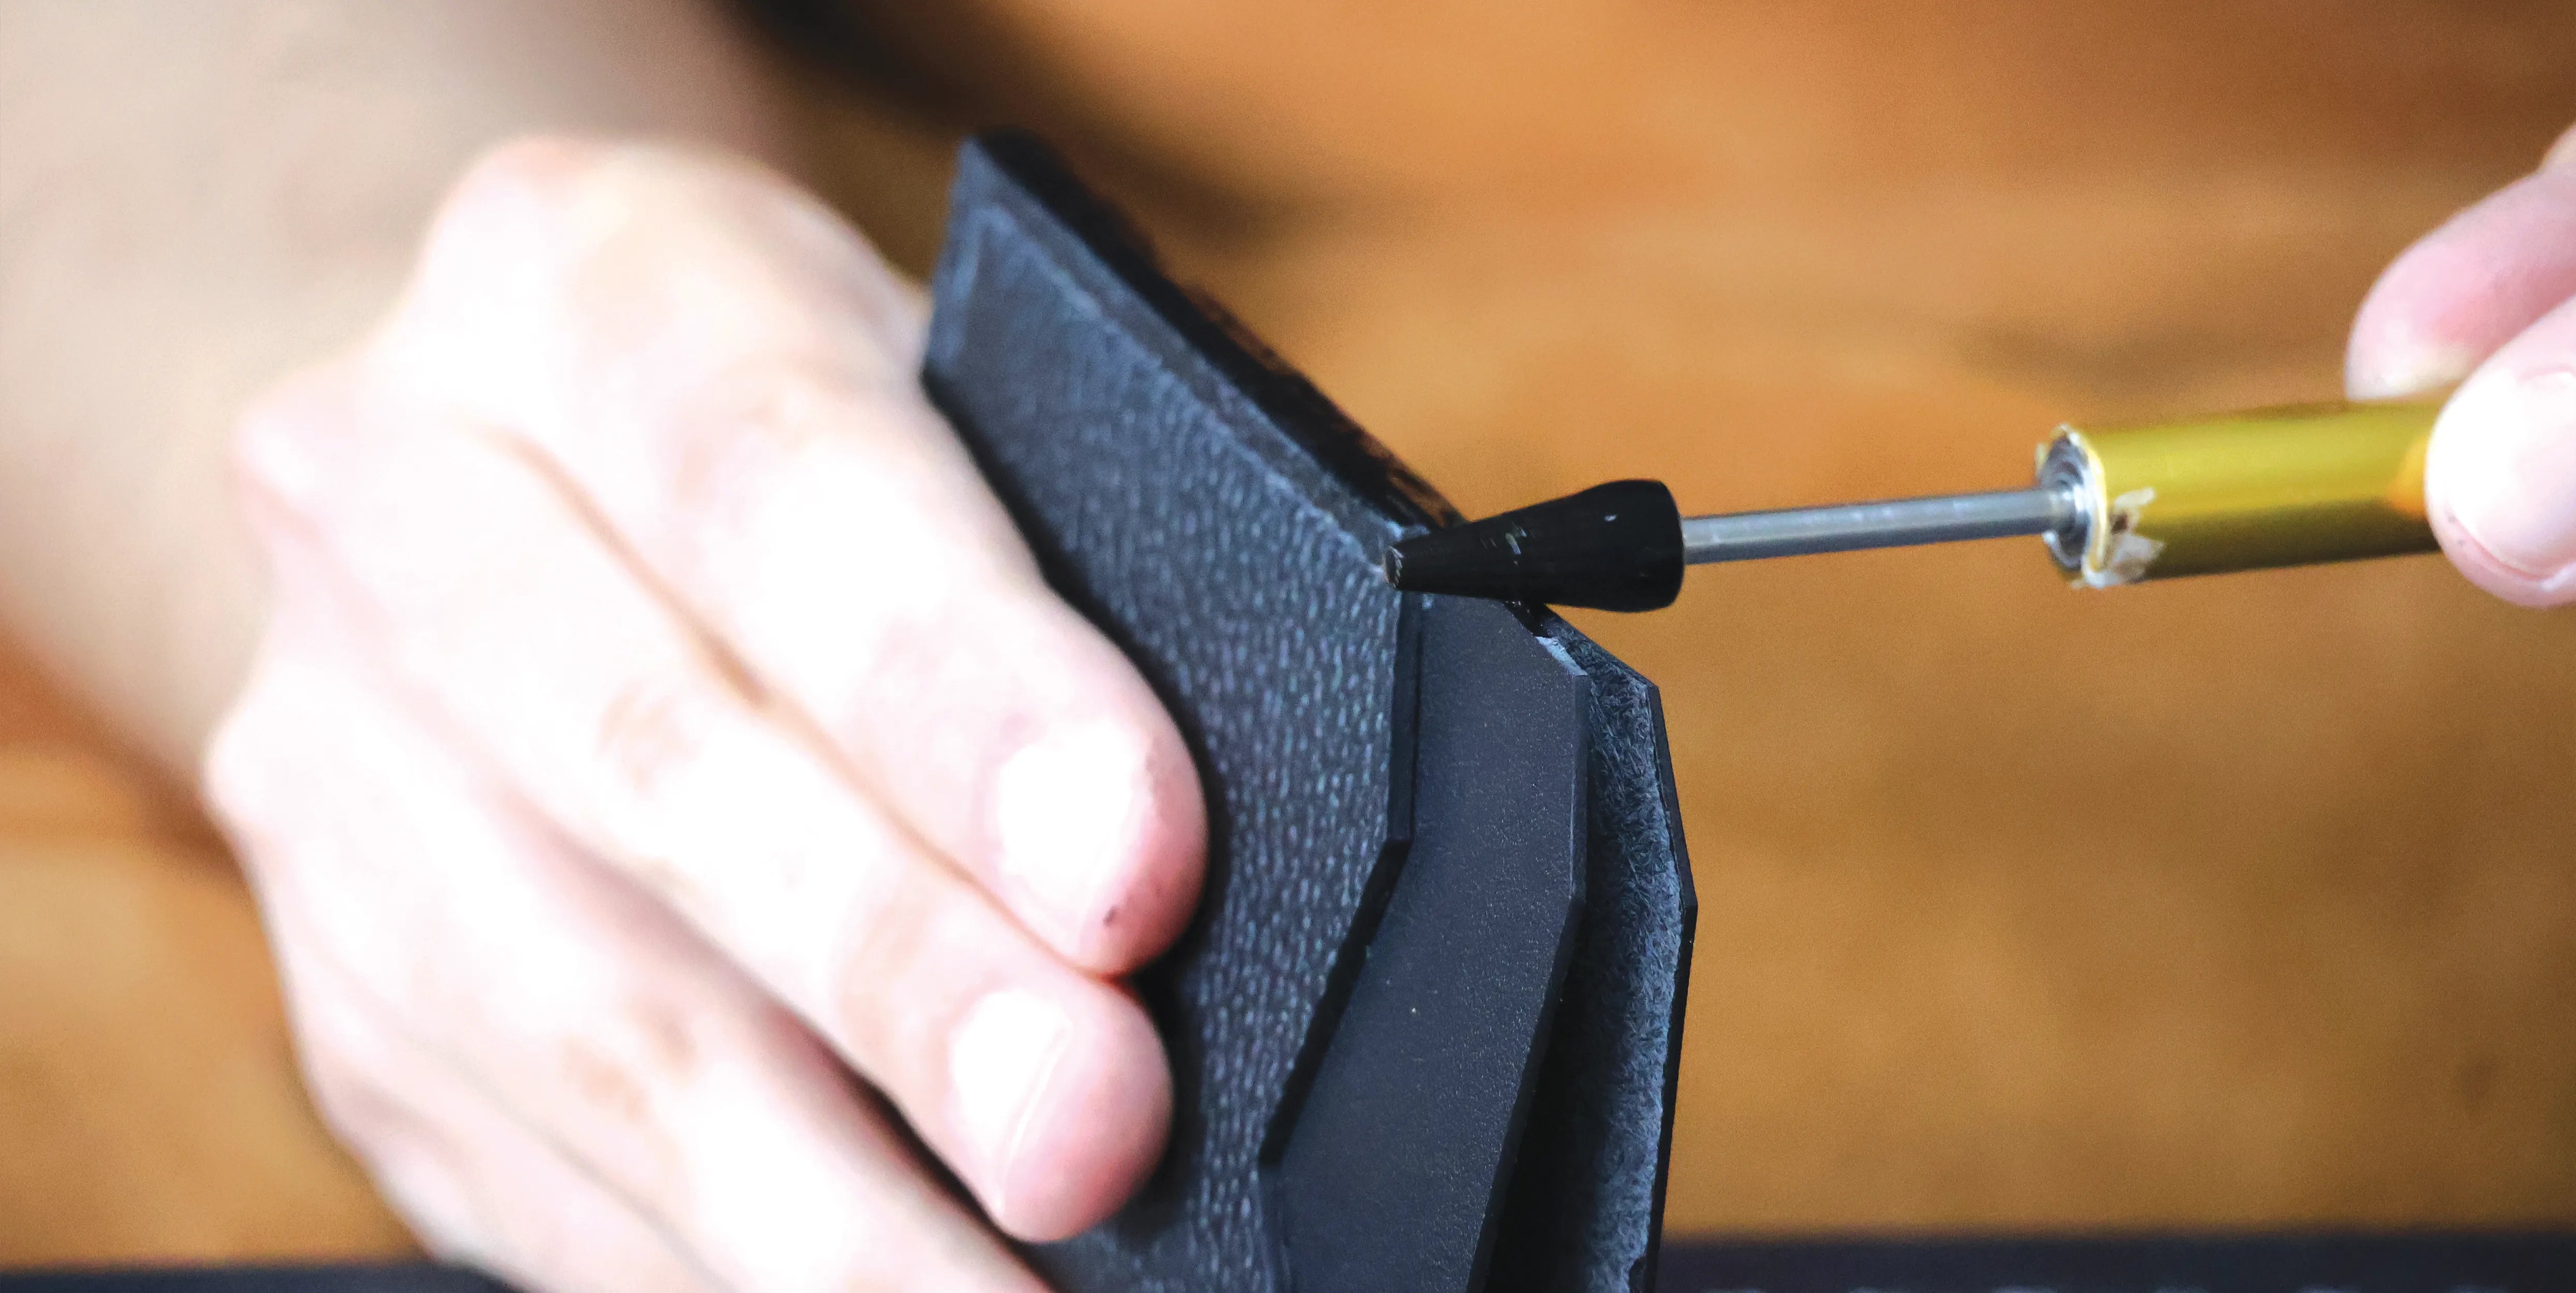
Apply contact cement to the flesh side of the stitching edges of piece P1. Let it dry, then assemble the glued parts.

Glue the seams

Glue the pieces

5. APPLY GLUE

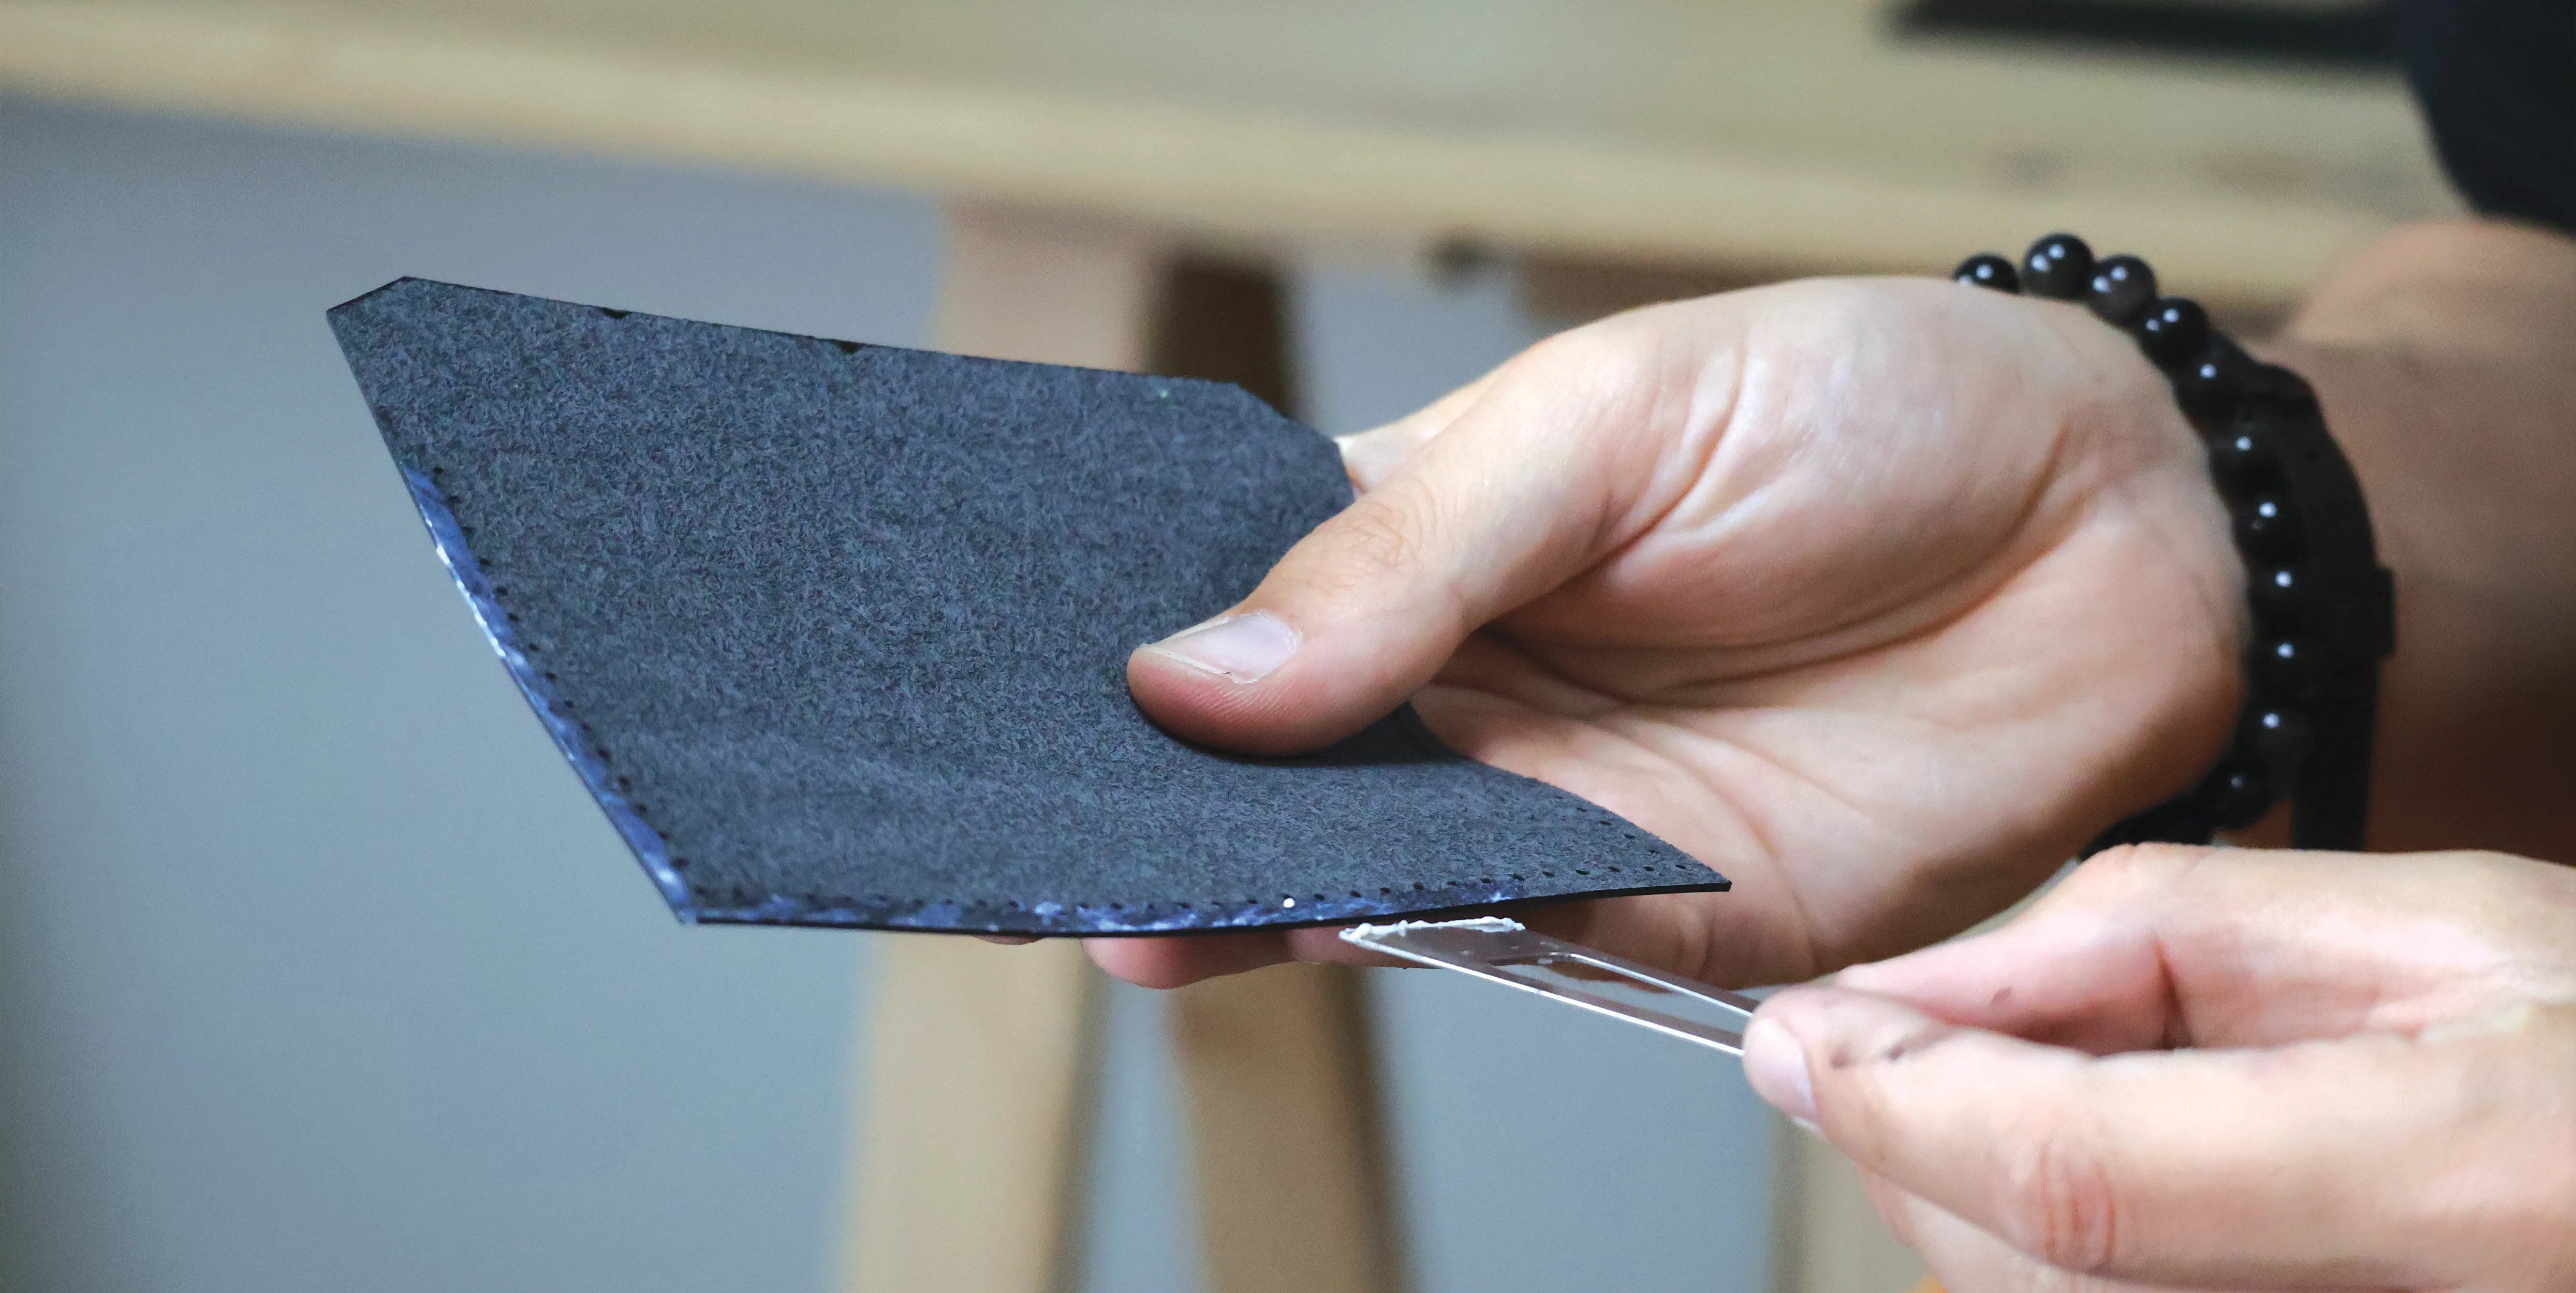
Then apply contact cement to the grain side of the stitching edges of piece P1, as well as to the flesh side of the stitching edges of piece P2.

Glue the right side


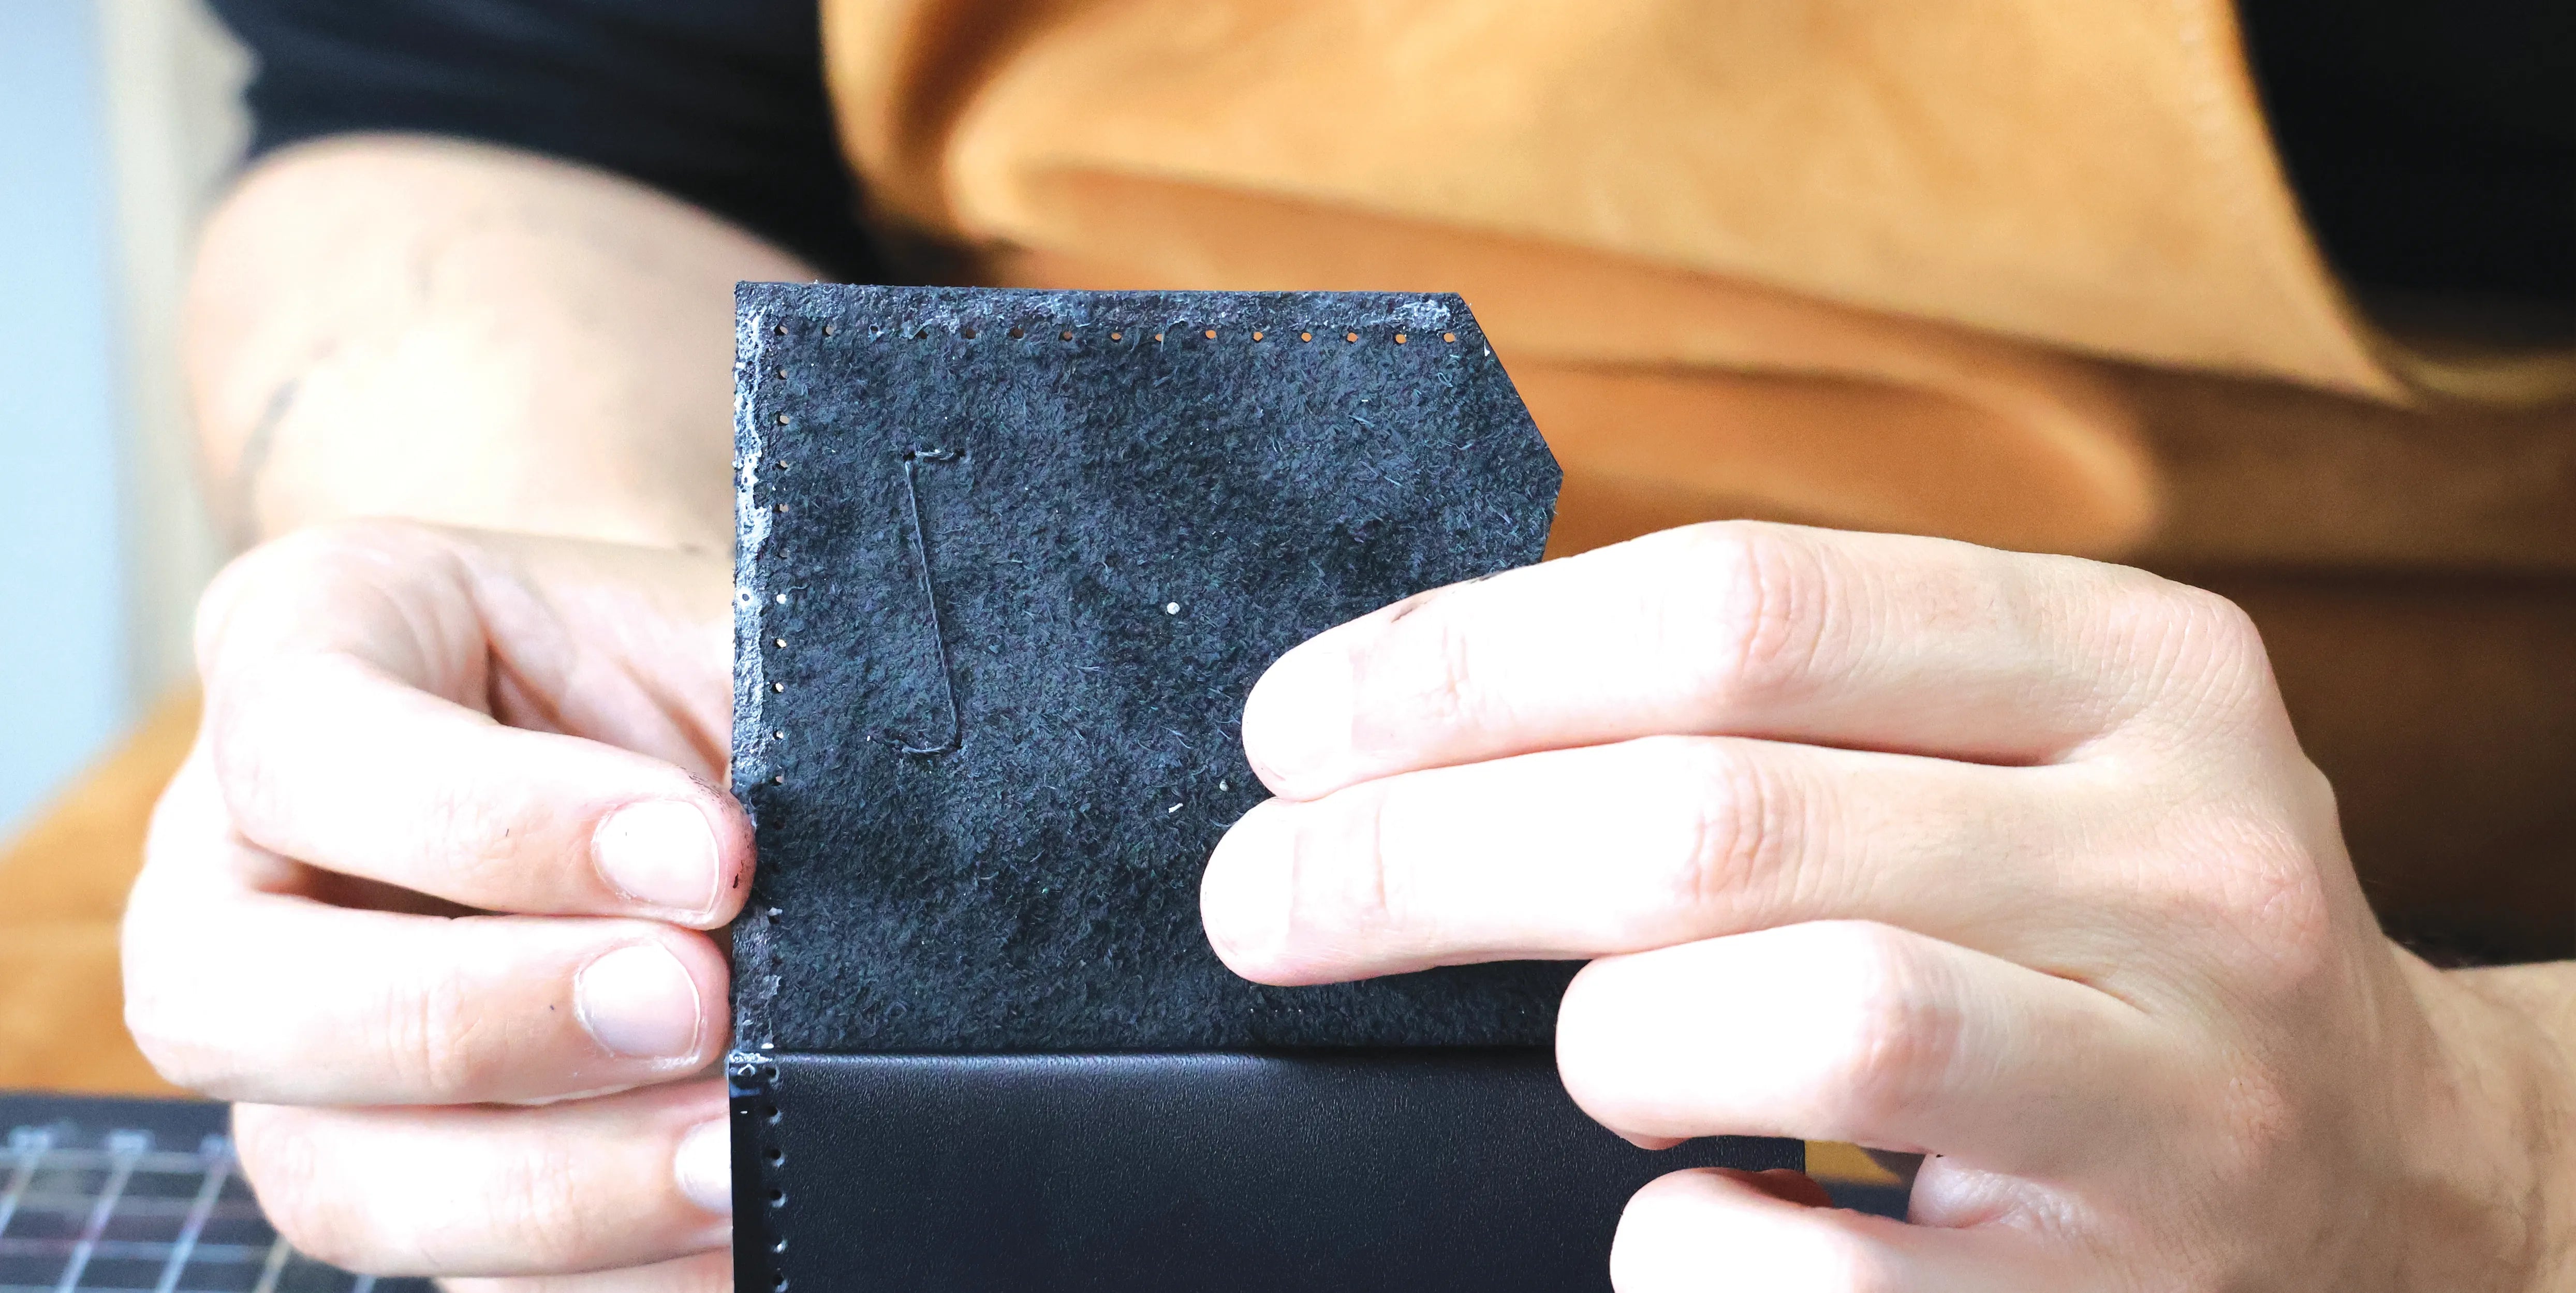
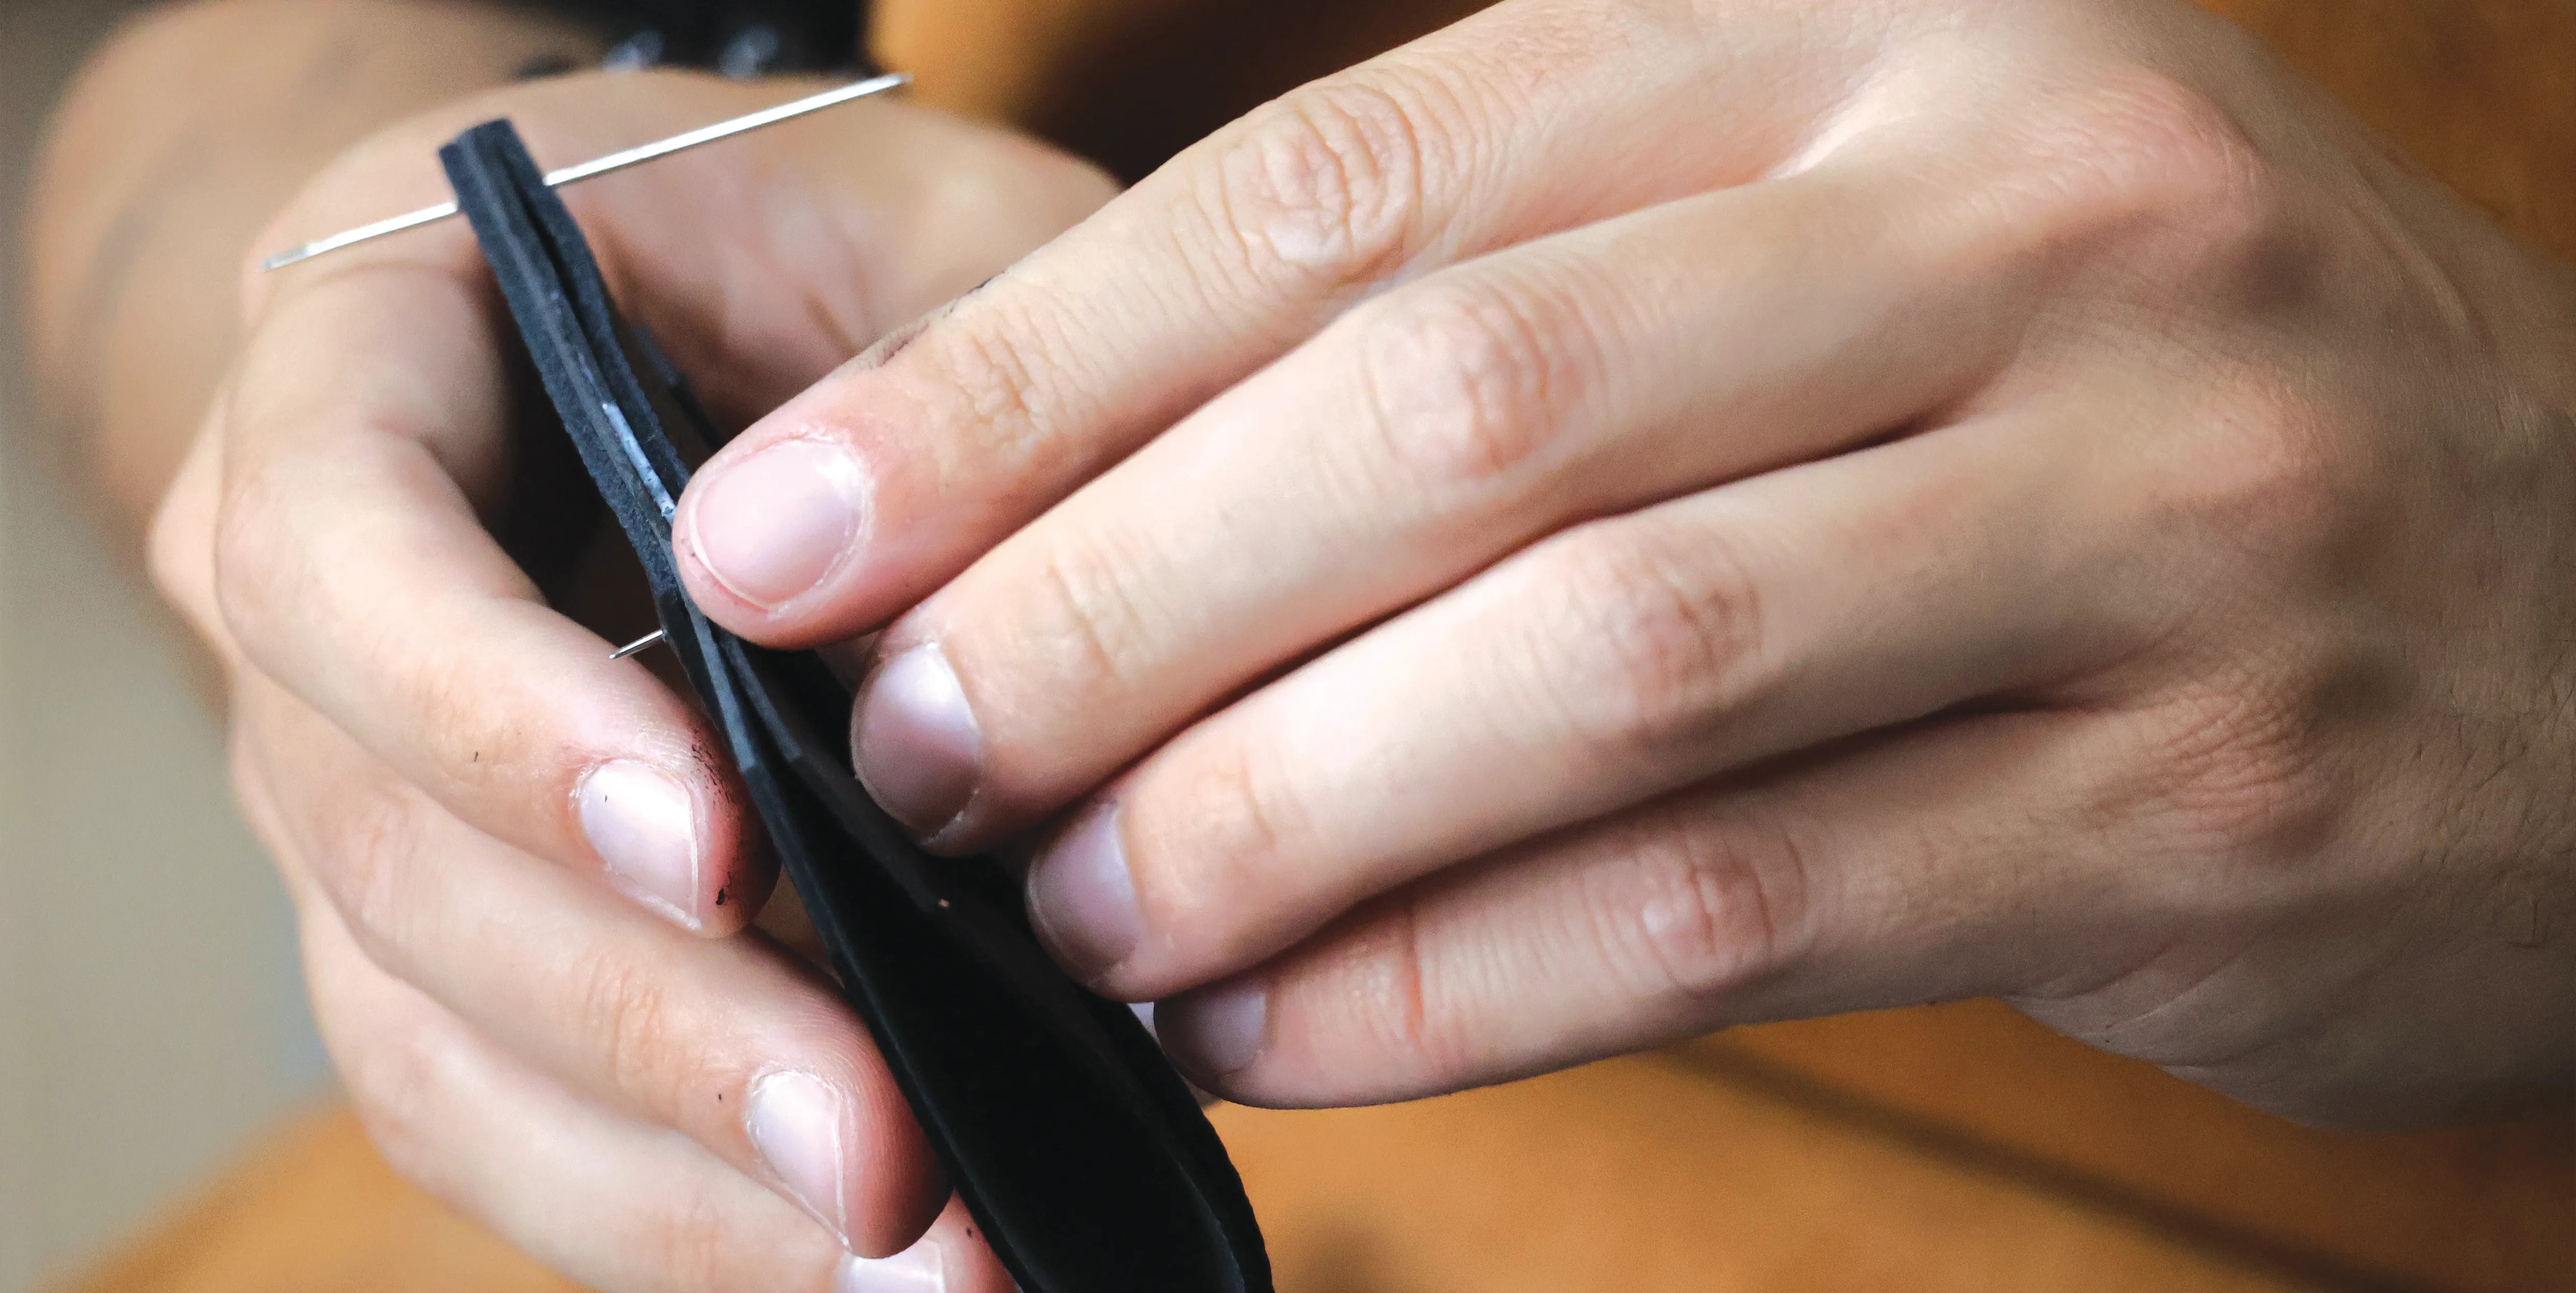
6. GLUE THE 2 PIECES TOGETHER

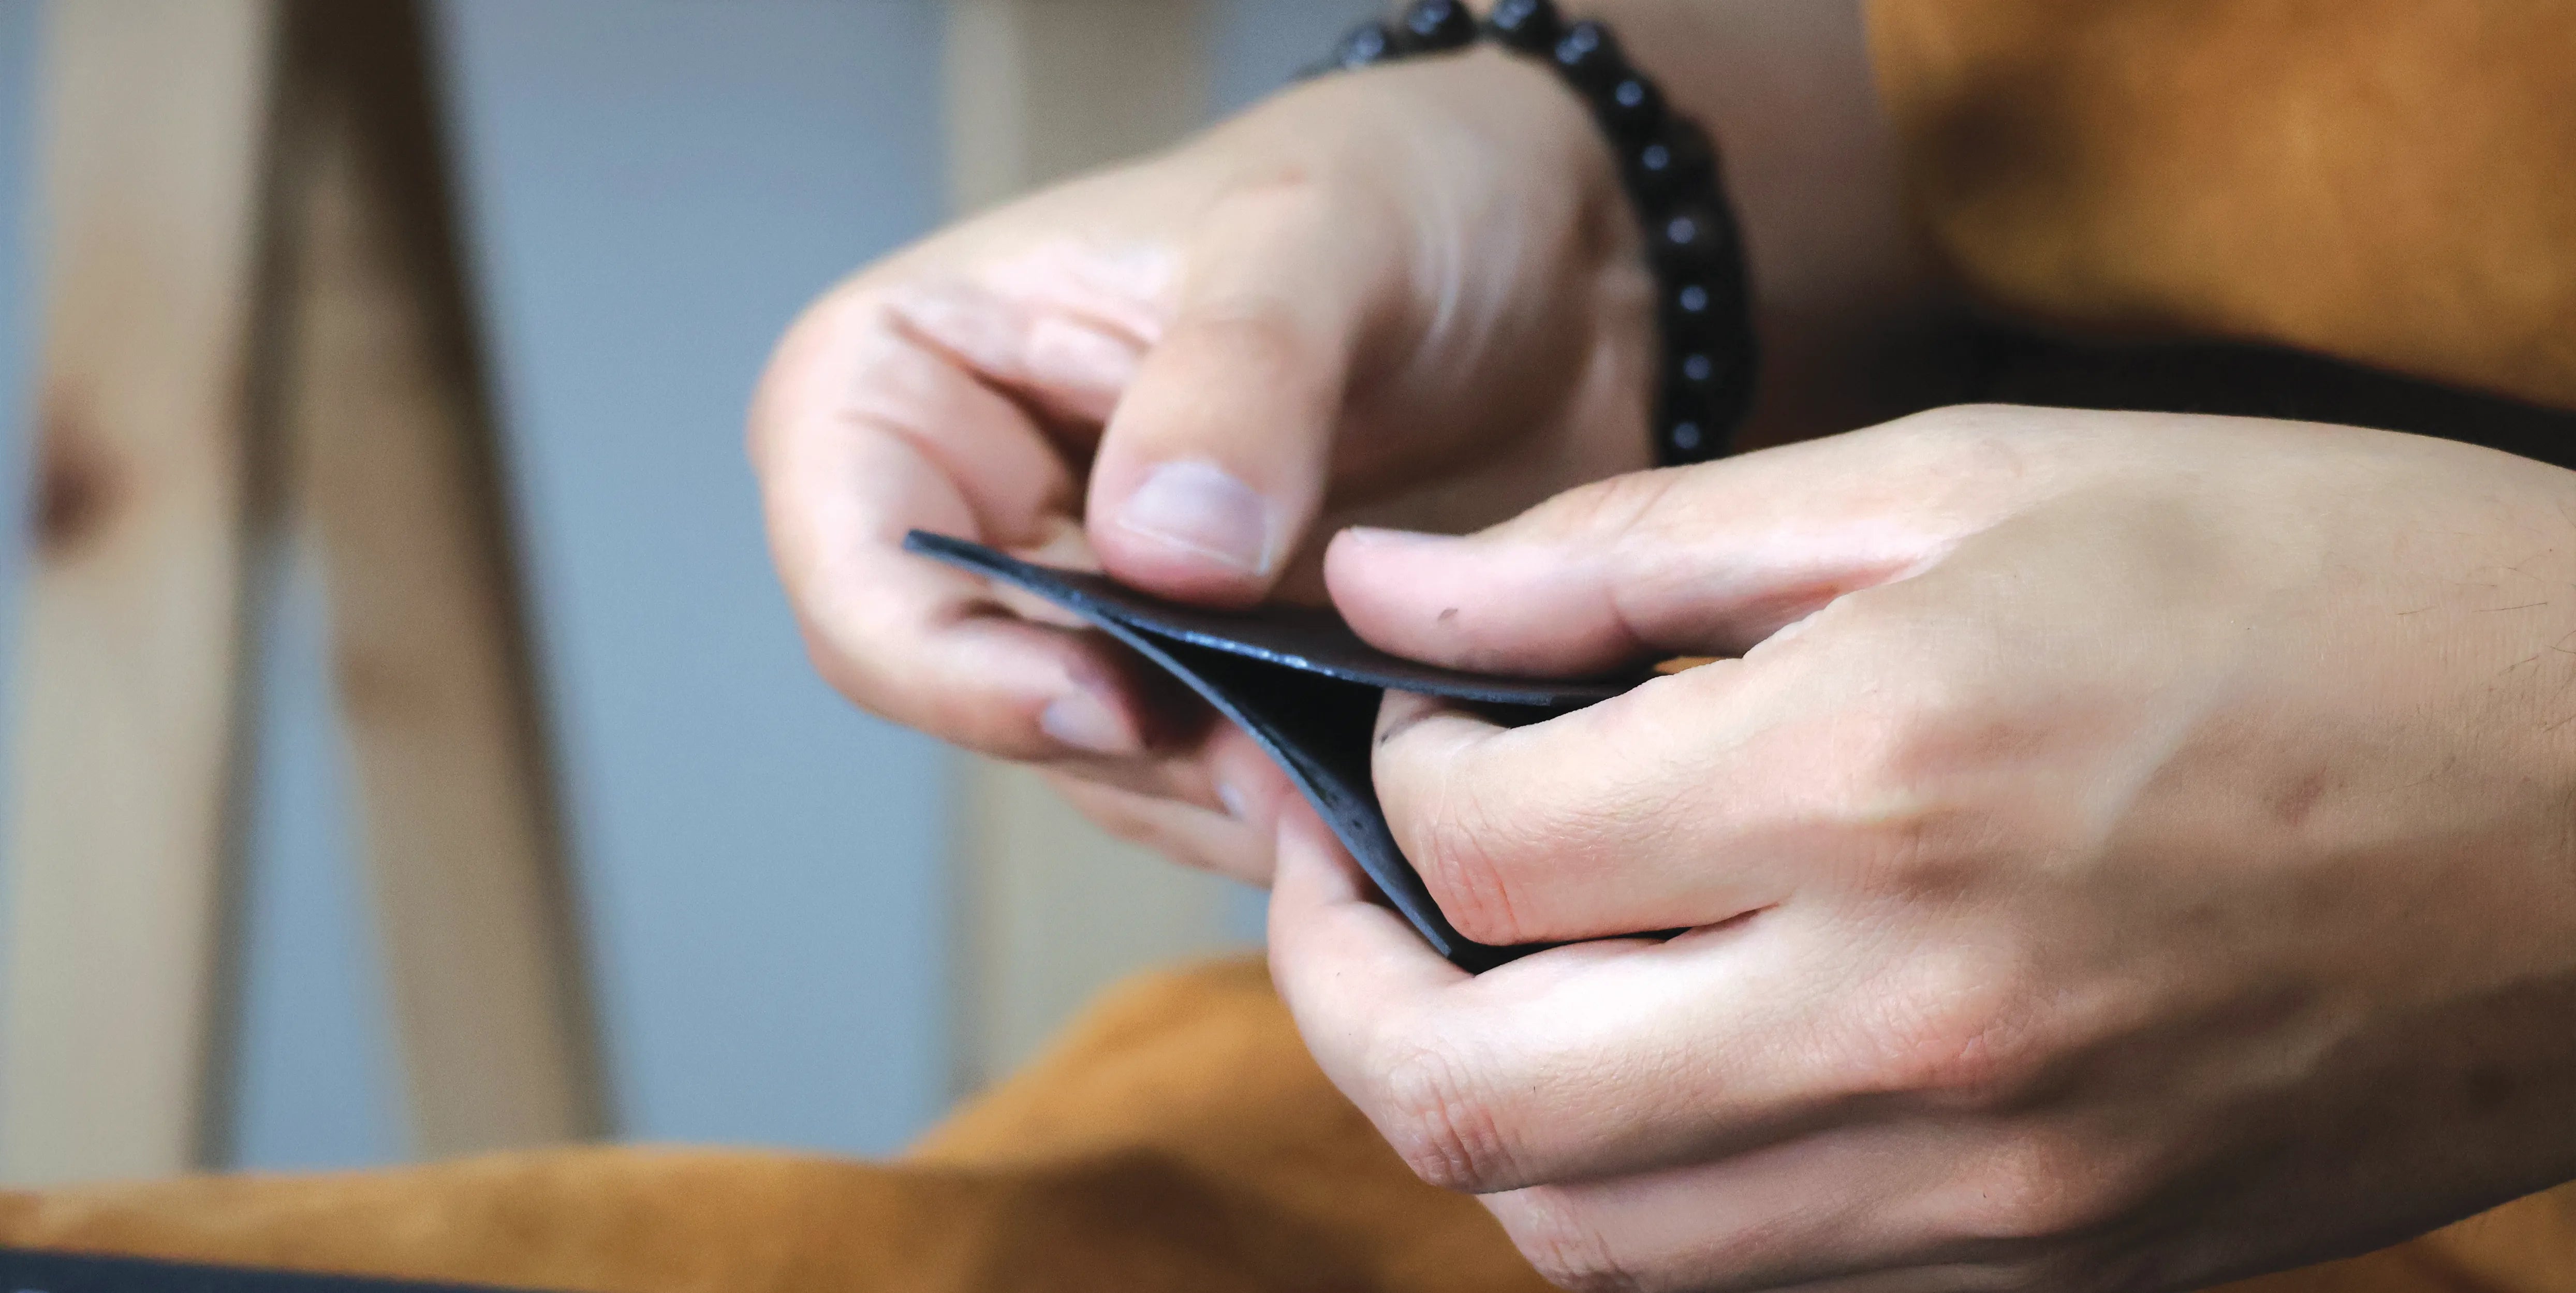
Sandwich piece P1 with piece P2, carefully aligning the stitching holes. Use needles to ensure that the holes of both pieces perfectly coincide.

Glue the back of the leather

Align the stitching points

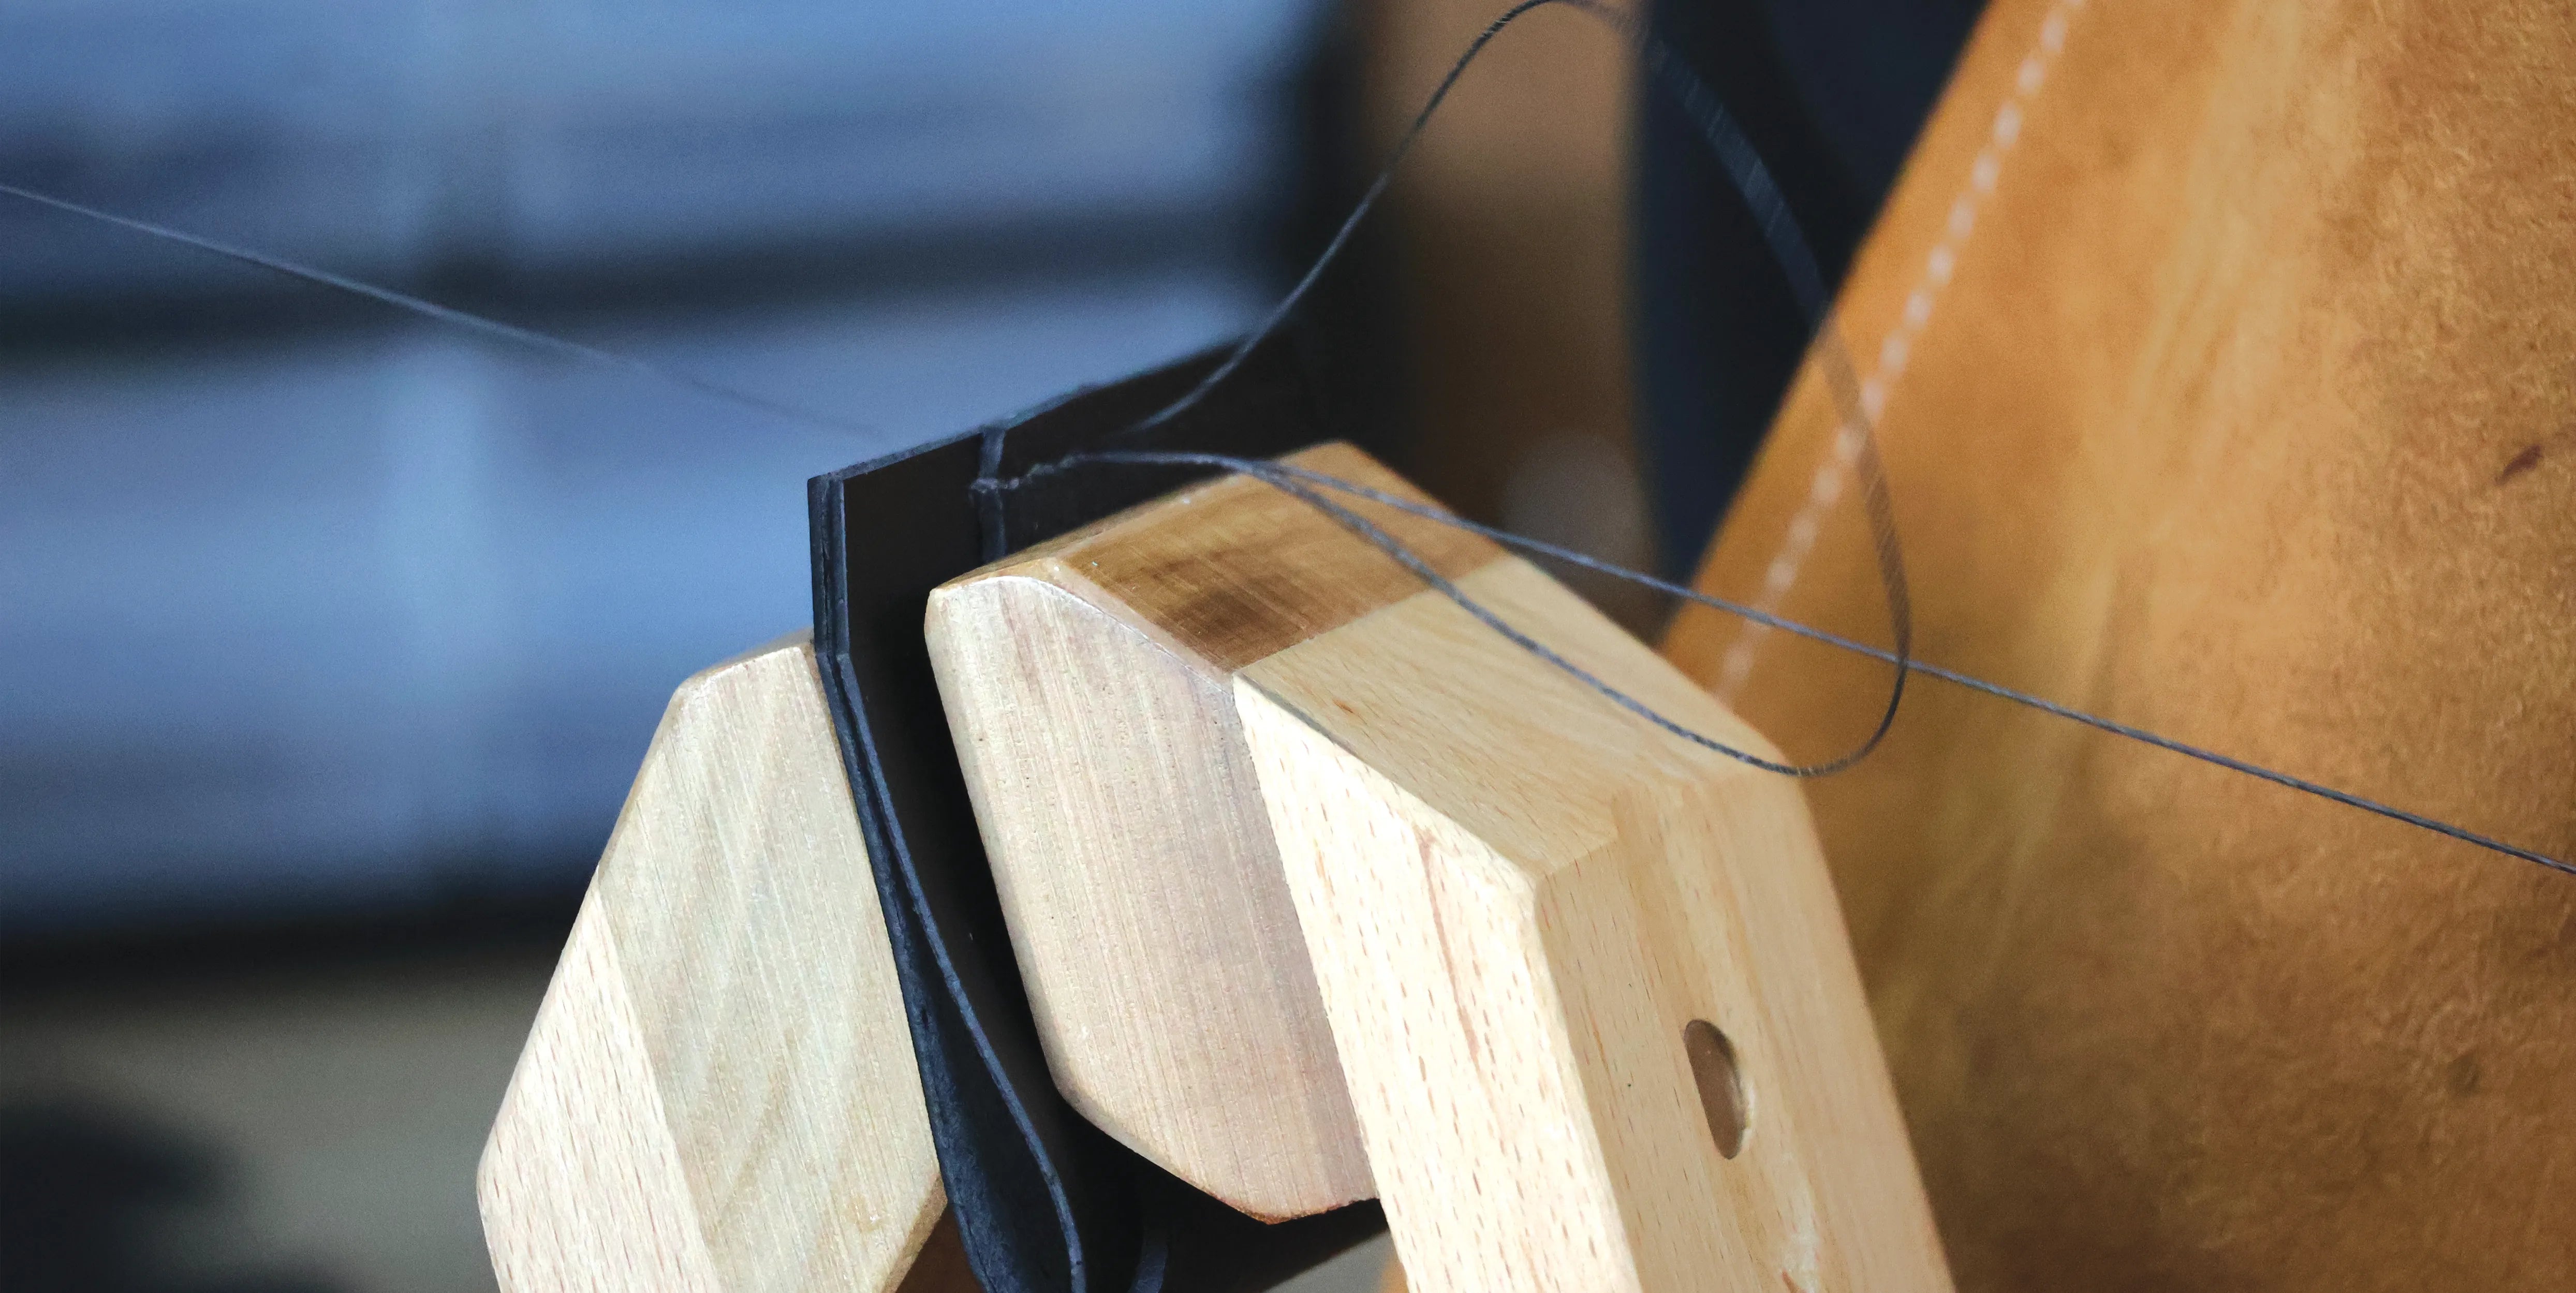
7. SEW THE CARD HOLDER

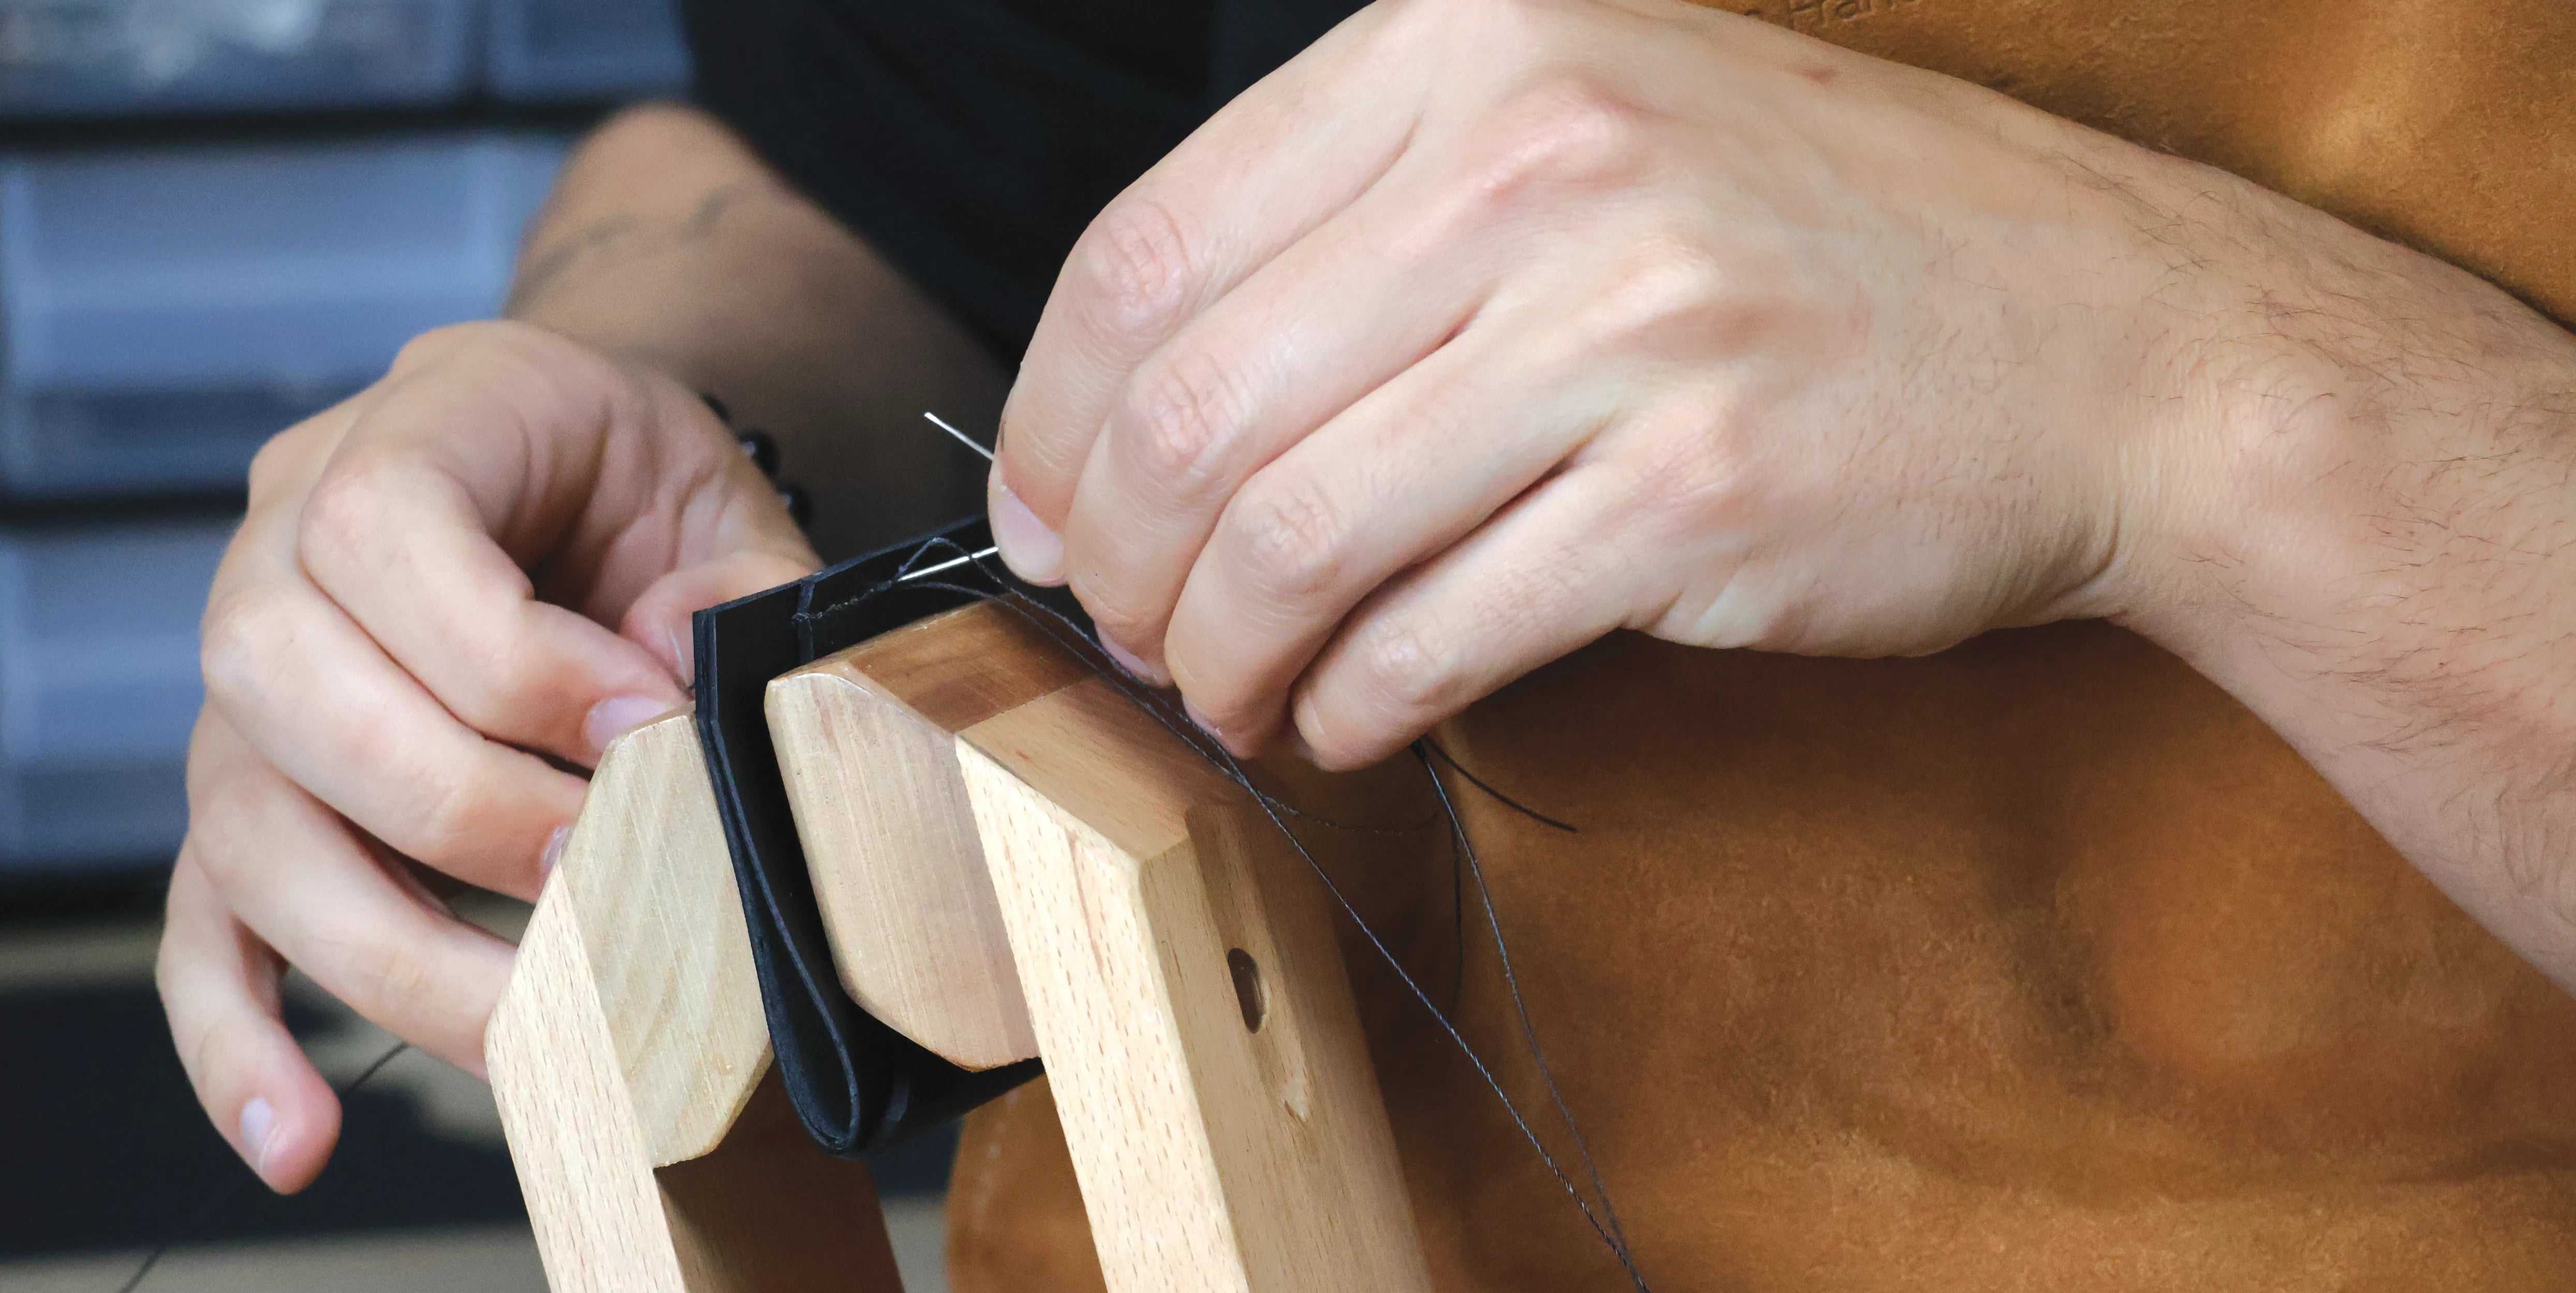
Sew the two pieces together by passing each needle through each hole.

SEE THE BEGINNER'S STITCHING GUIDE >

Simplified stitching

Hand stitching the leather

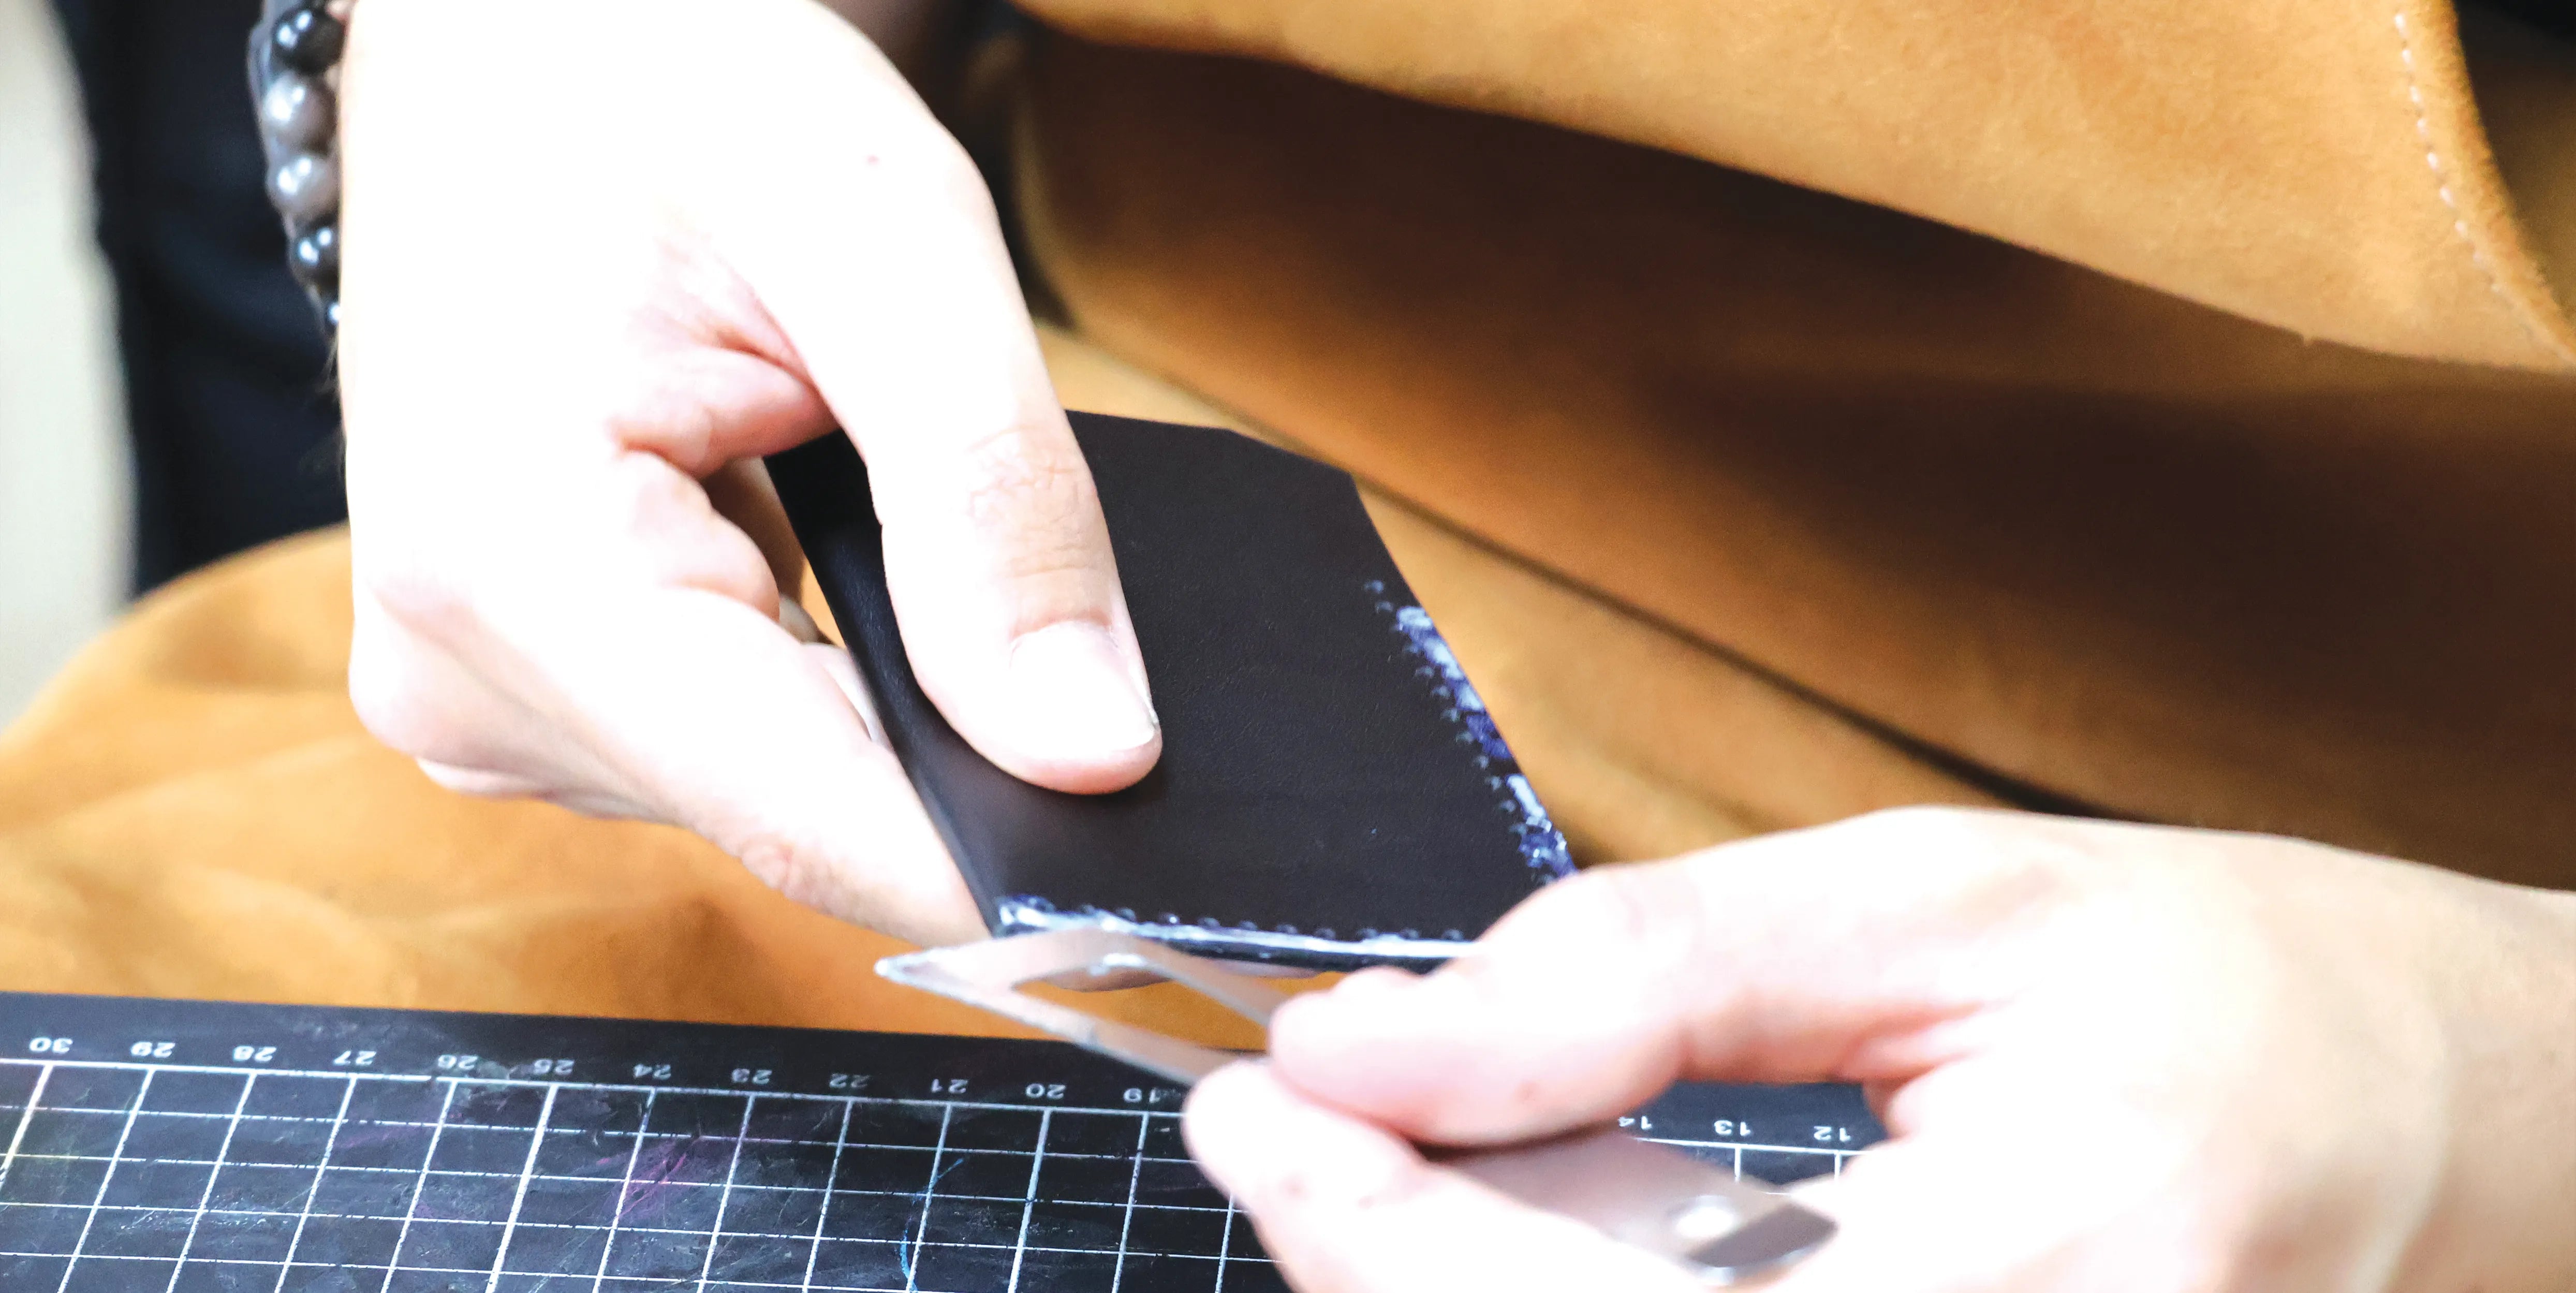
8. FINISH THE EDGES

Sand the edges of the card holder with sandpaper, then apply the finish of your choice.
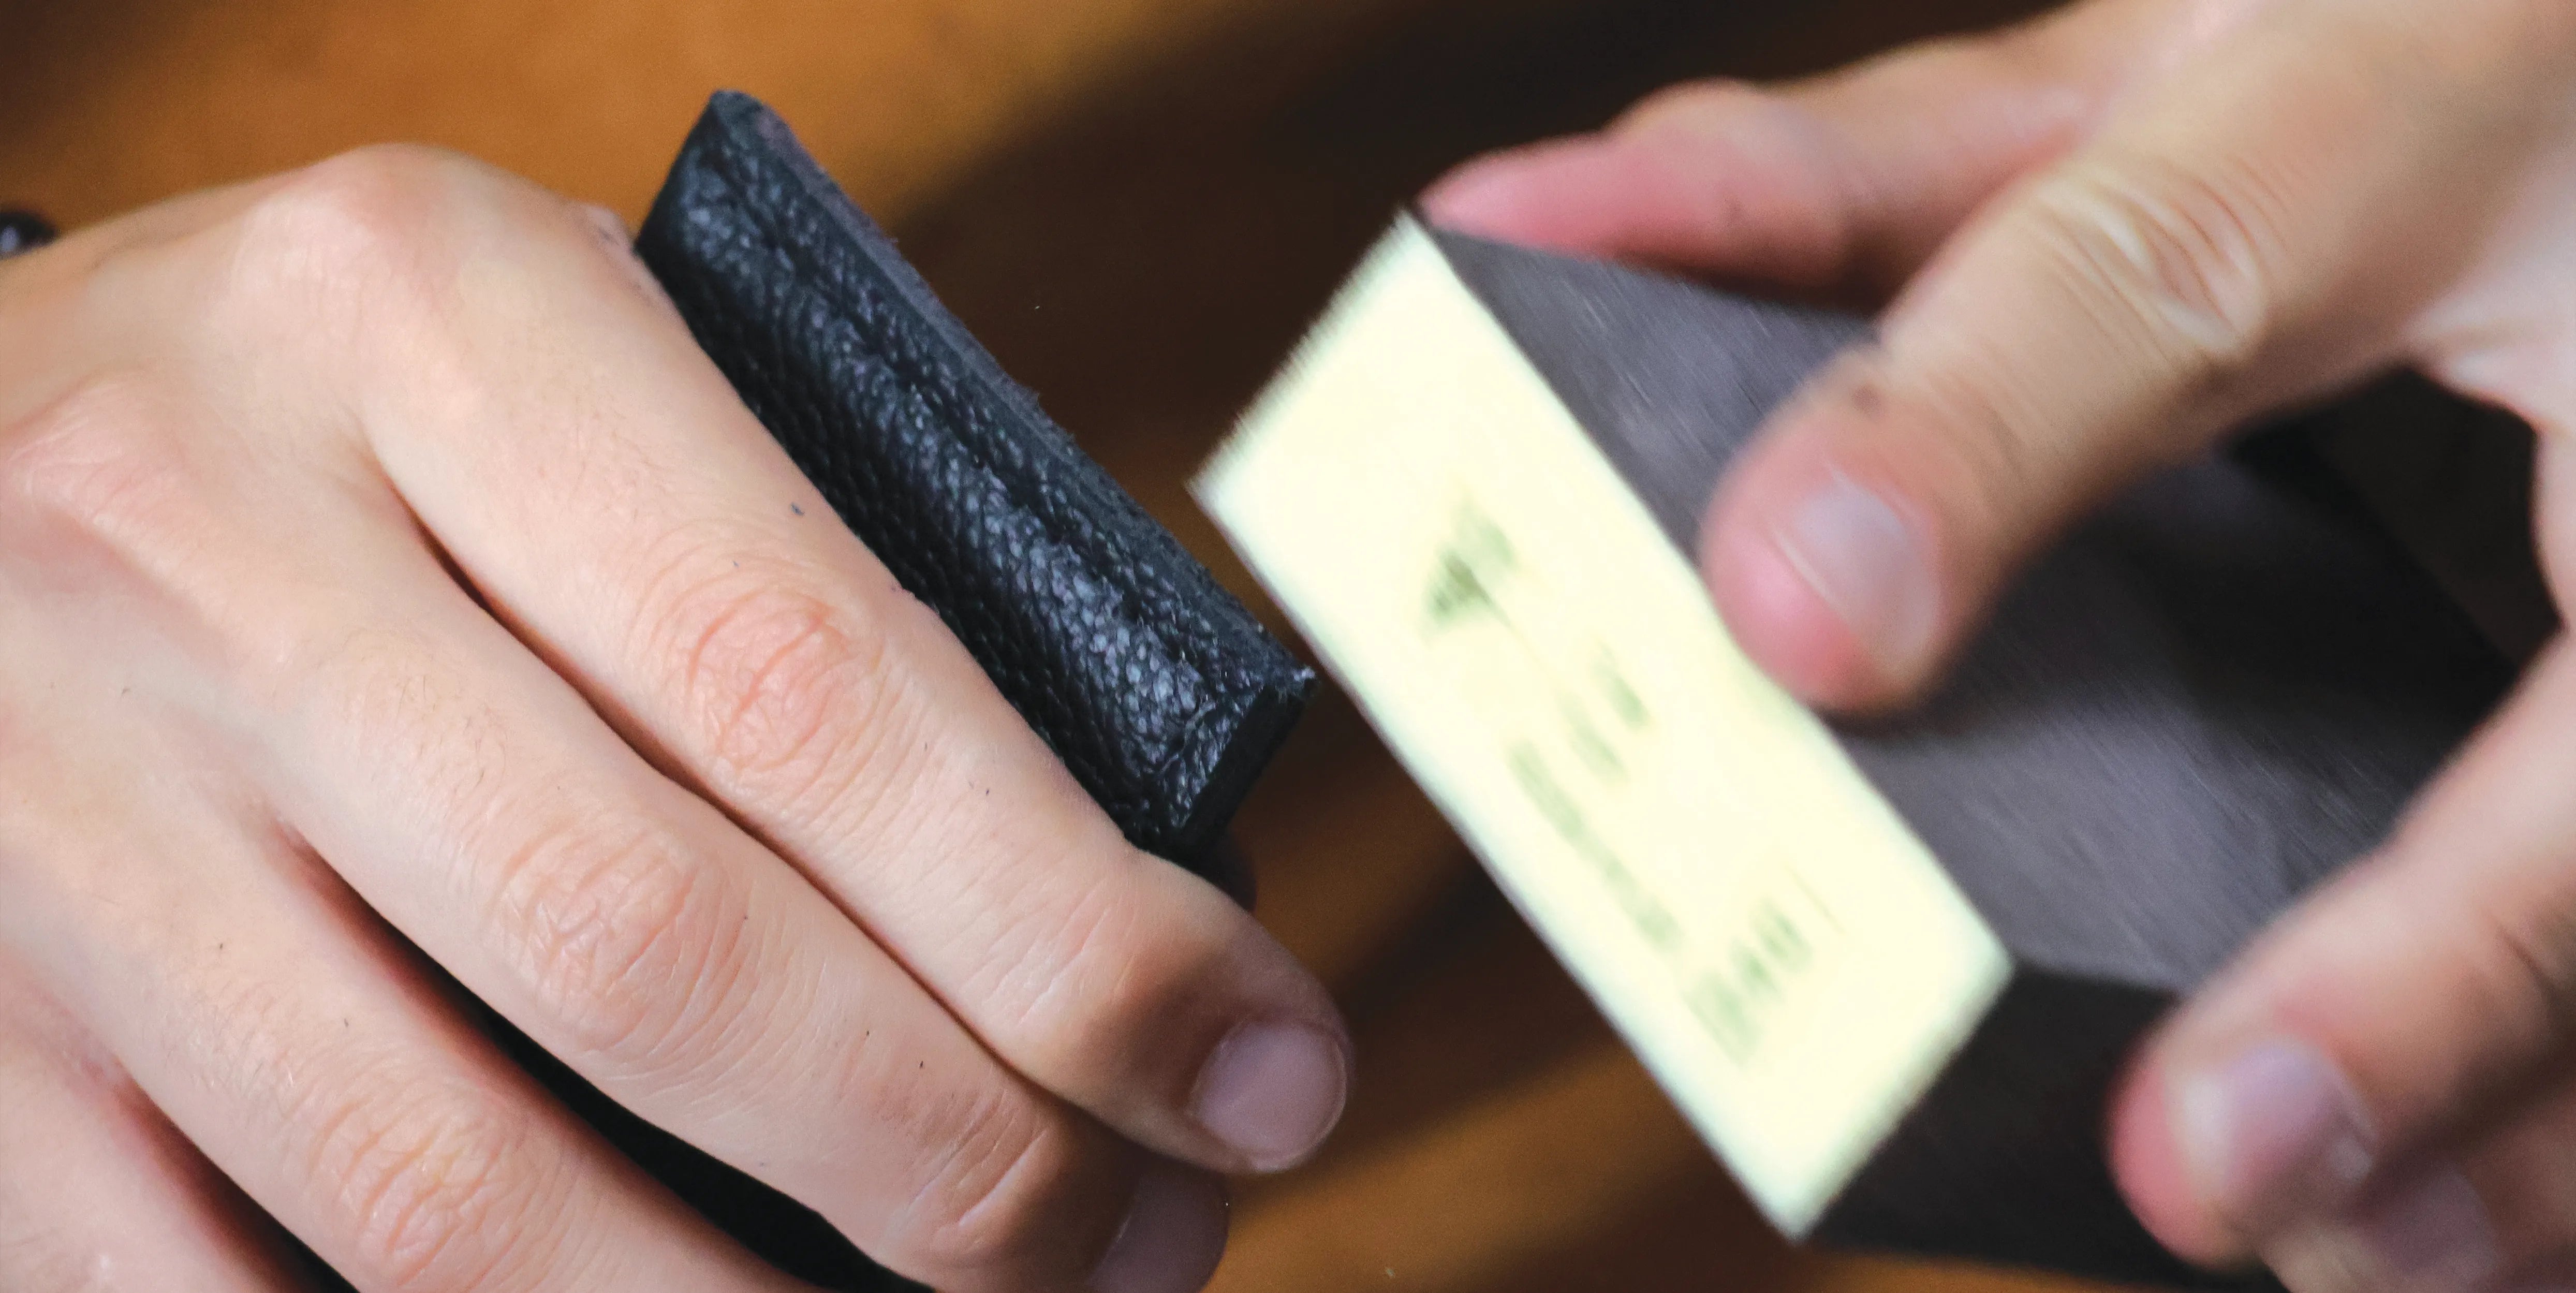
Sand the edges

Edge finishing

Congratulations, you're finished!

All that's left is to slip in your cards.

DIY Card Holder
DIY Card Holder
DIY Card Holder
DIY Card Holder

Marbling paint technique:

We have revisited our minimalist card holder tutorial for you using the marbling paint technique. The examples below were made with natural vegetable-tanned leather.
SEE THE MARBLING PAINT GUIDE >
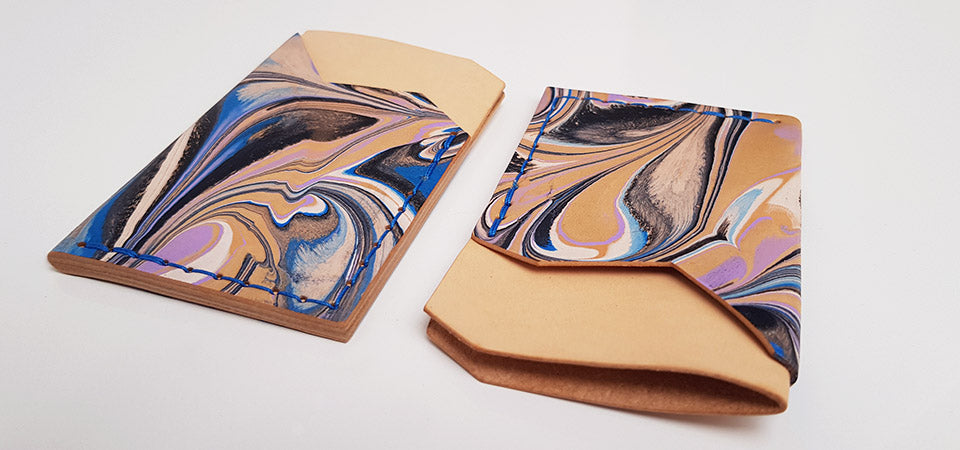
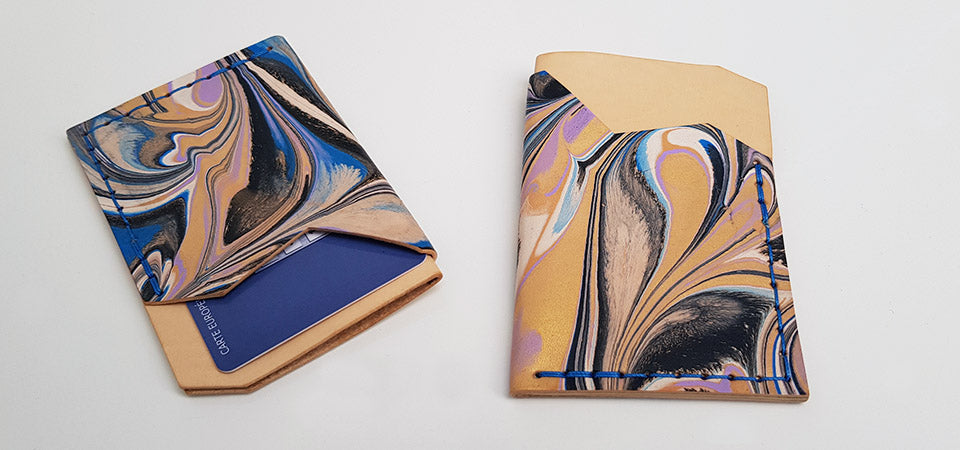
Marbling card holder

Another version of the card holder

Aurélien (©Cylis.Crea) presents his version of the minimalist card holder.
SEE HIS VERSION >
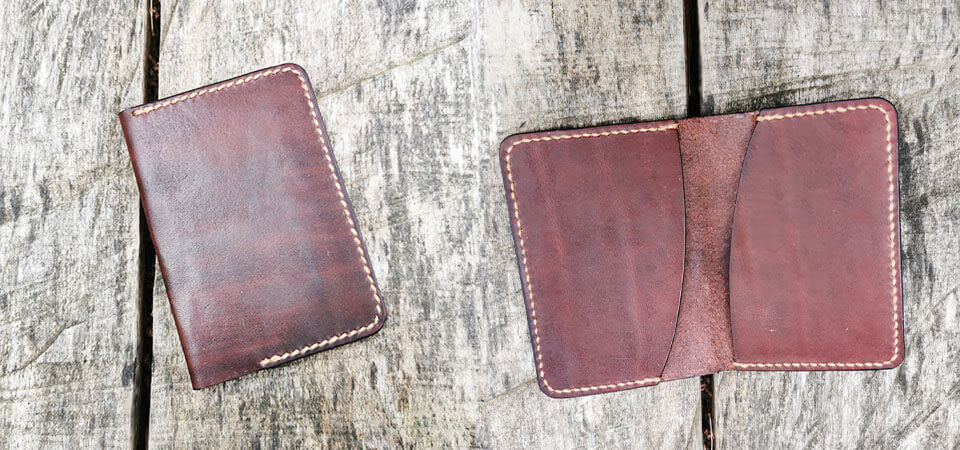
DIY card holder

Your achievements
Do not hesitate to send us photos
©Sylvie.N

©Sylvie.N

©Chloé.C

©Chloé.C

©Deco Cuir

©Deco Cuir

©Deco Cuir

©Deco Cuir

Leave a comment

All comments are moderated before being published