


REQUIRED MATERIALS
- 1 piece of soft leather - between 0.8 and 1 mm thick - dimensions according to project
- 1 piece of Texon reinforcement - 2 mm thick - dimensions according to project OR Salpa between 1.5 and 2 mm
- An edge slicker
- A ball-end modeling tool
- Water-based or neoprene contact cement
- A utility knife
FULL TUTORIAL VIDEO:
CHOOSING THE LEATHER
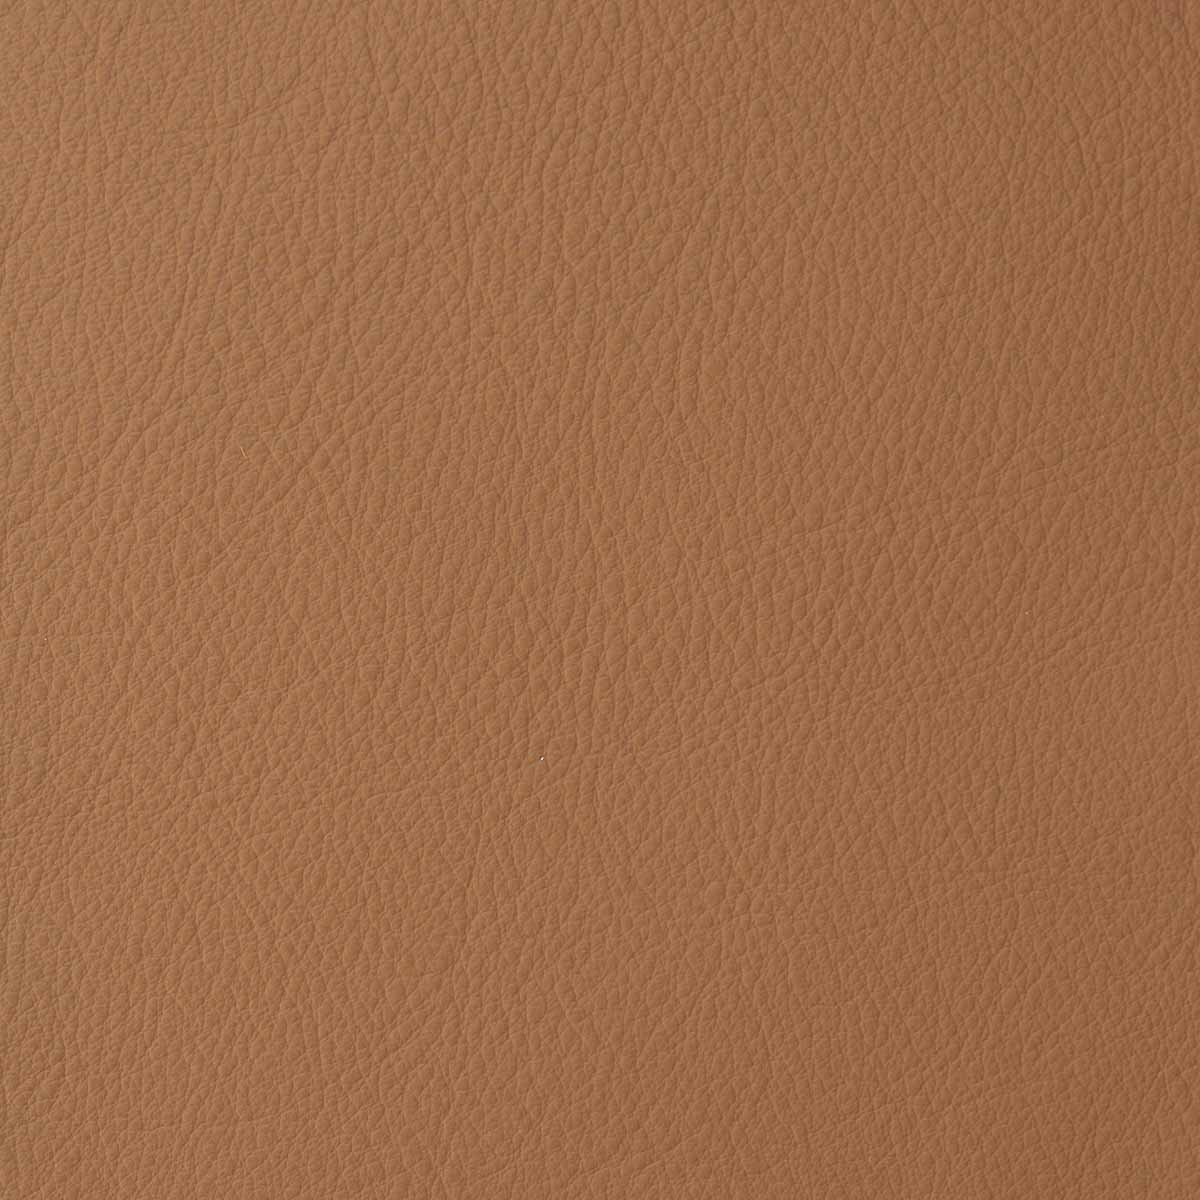
For easy and precise embossing, soft and thin leathers (0.5 to 1 mm thick) are preferable. Here are our recommendations:
- Sweet 2 calf leather range: ideal for this type of project, very easy to work with.
- Lambskins: ideal for this type of project, very easy to work with.
- Club range: works, but requires more patience due to its thickness (1.1 mm).
- Vegetable-tanned leather (0.5 mm thick): Works, but requires more patience due to the leather's firmness.
VIEW VEGETABLE-TANNED LEATHERS >
1. Prepare the pattern
Create your pattern by downloading images or typing letters in a Word file. Choose the desired font and size. Then print the file at actual size. Your pattern is ready!

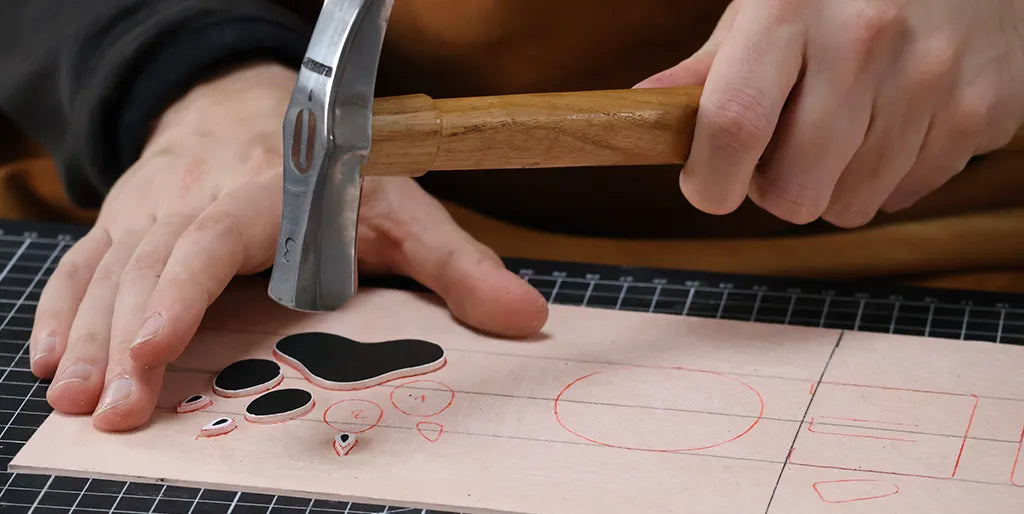
2. Cut out the pattern
Glue the pattern onto a 2 mm thick Texon piece using contact cement.
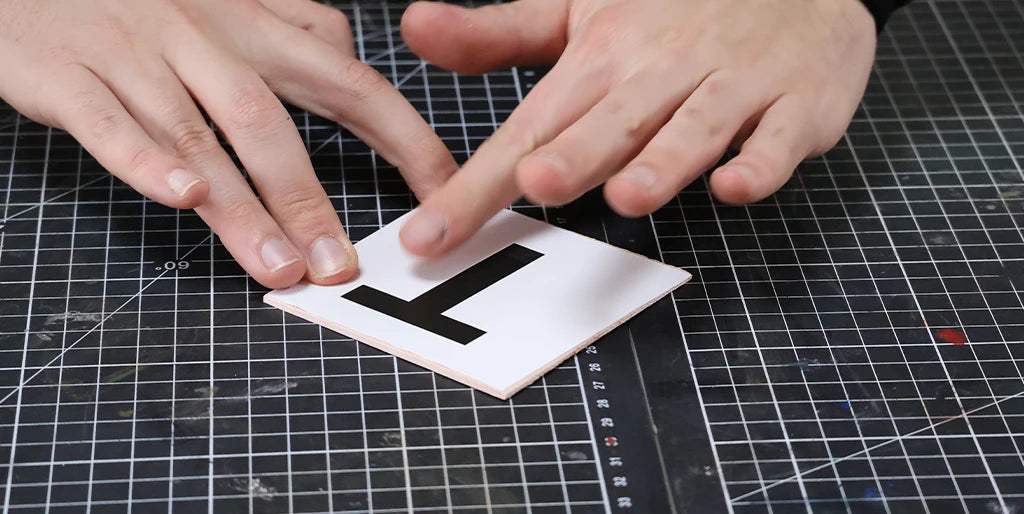
Then cut out the letter or design using a utility knife.
 |
 |
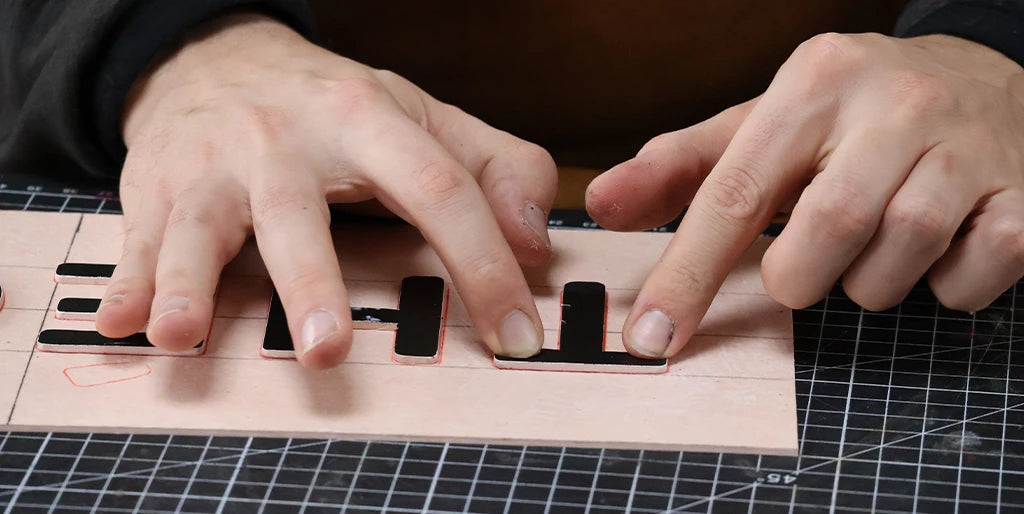
3. Mark the center
Cut a rectangle from 2 mm Texon according to the length of the word or design. Then mark the center of the width and length to place the pattern precisely in the center of the rectangle.

Place the elements in the correct position, then trace their outline (location) with a pen.

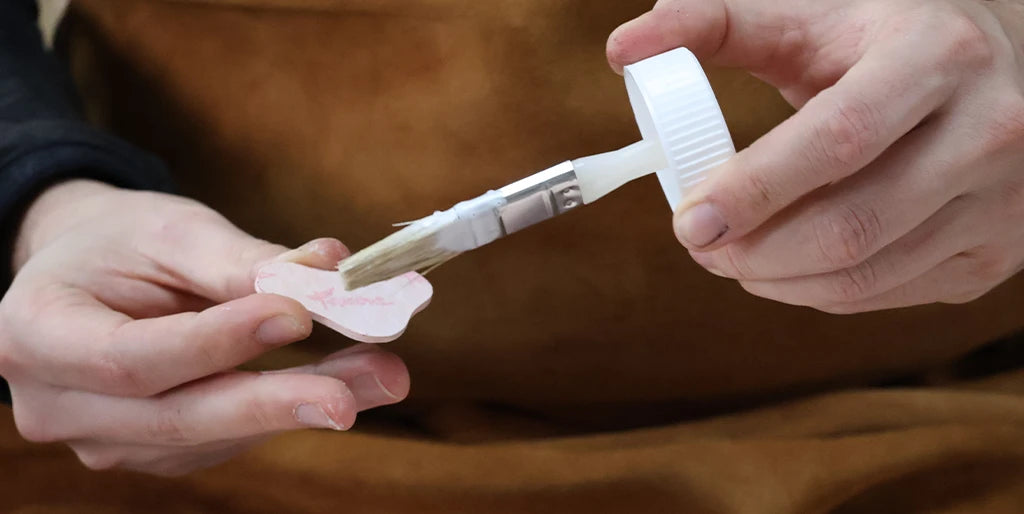
4. Glue the pattern
Apply water-based or neoprene glue to the back of the elements as well as to the Texon surface where they will be placed.
 |
 |
Once the glue is dry, adhere the elements to their designated locations.
 |
 |
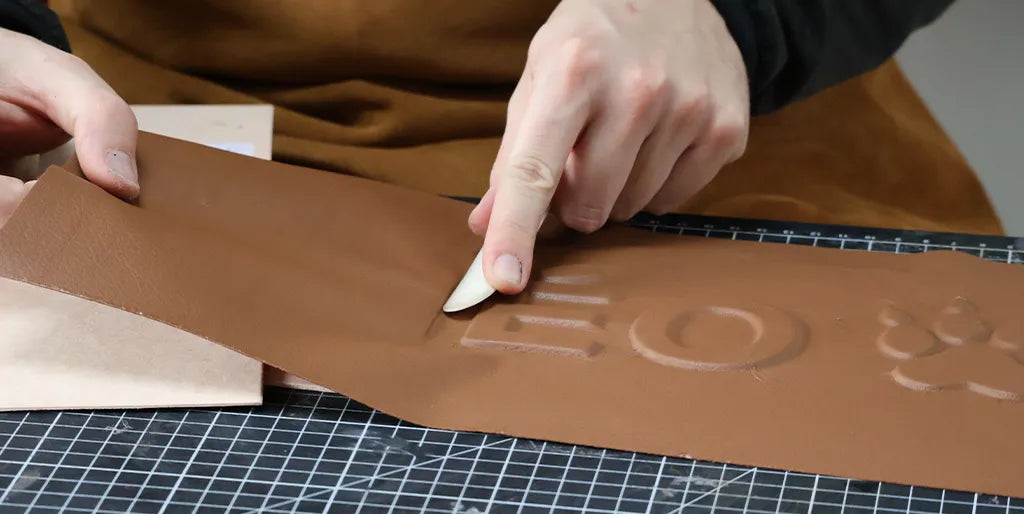
5. Glue the leather to the surface
Apply glue over the entire Texon surface, applying generously in the corners of the letters and the design. Then apply glue to the back of the leather piece.
 |
 |
Gradually glue the leather onto the Texon. Shape the contours of the design with an edge slicker and a ball-end modeling tool so that the leather conforms well to the shape of the elements.
 |
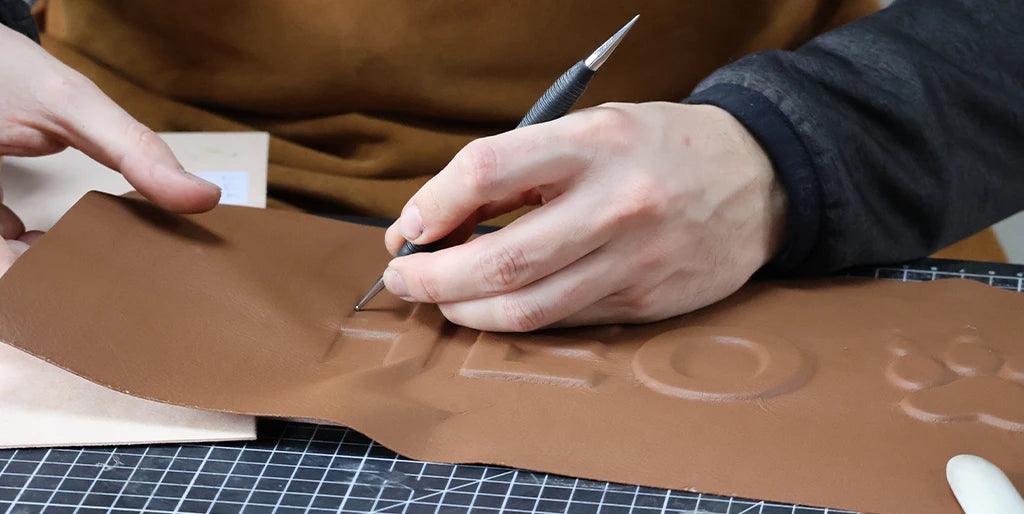 |
Once all the leather is glued, go over each shape again, pressing firmly on the contours.
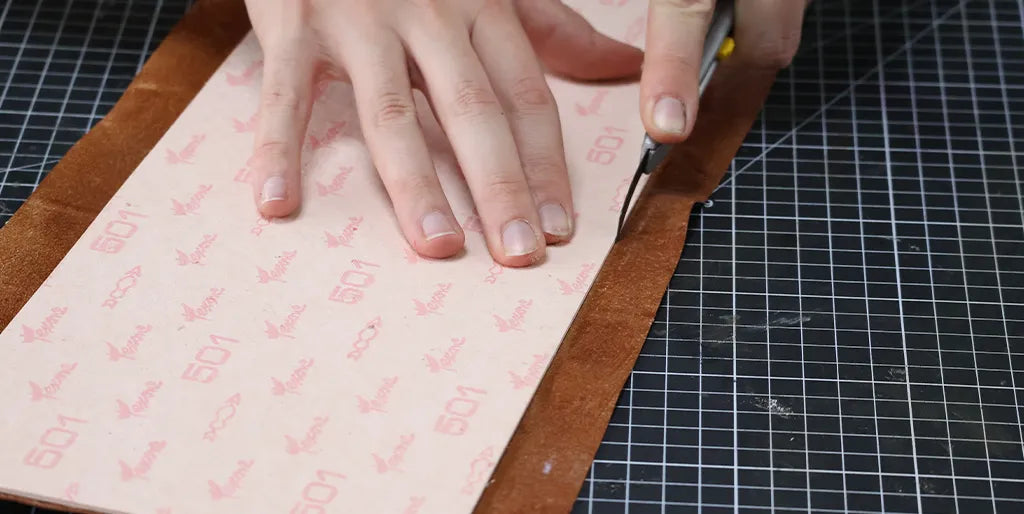
6. Trim the excess leather
Trim the excess leather.
7. Sew around the sign
Optionally, machine sew around the edge of the sign. Then work the edges for a cleaner, finished result.

Other variations
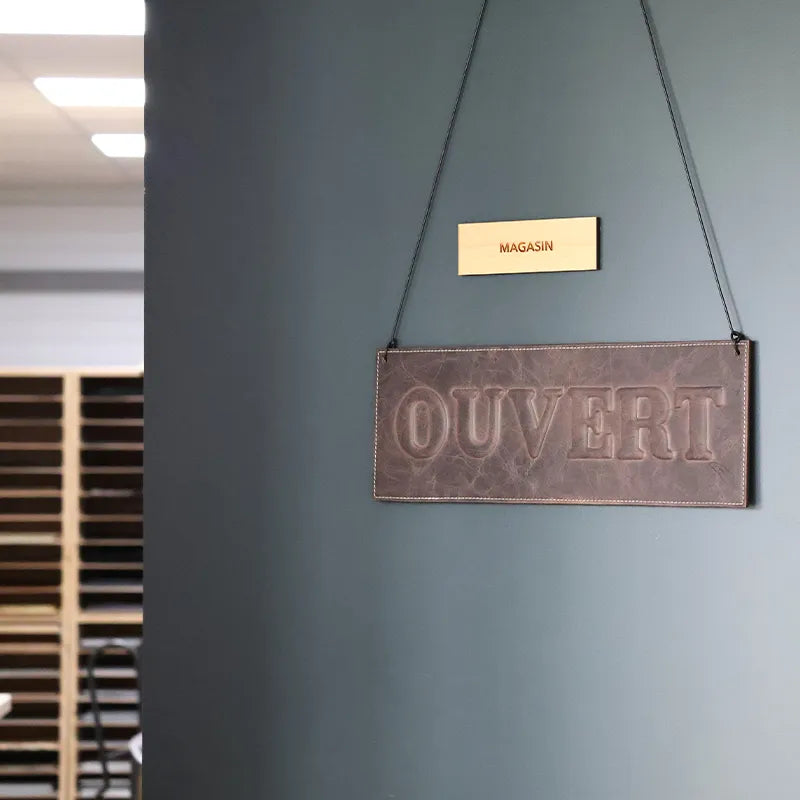
Create a double-sided sign by gluing letters and leather to each side of the Texon.
 |
 |
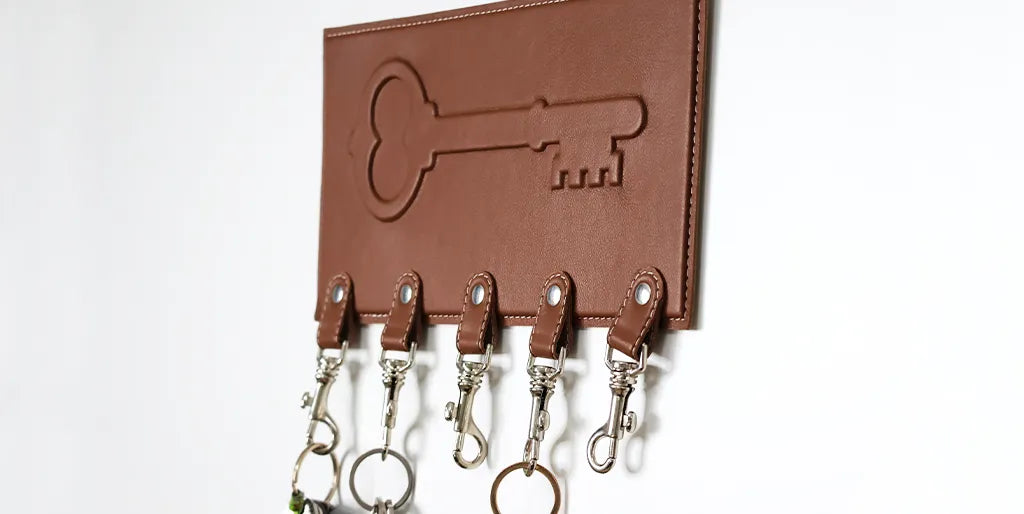
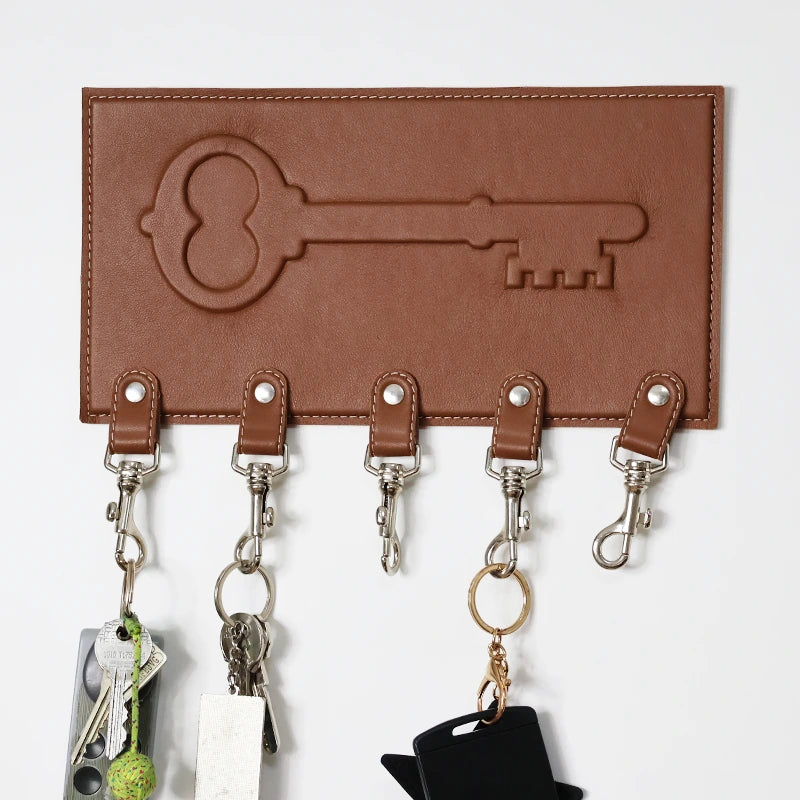
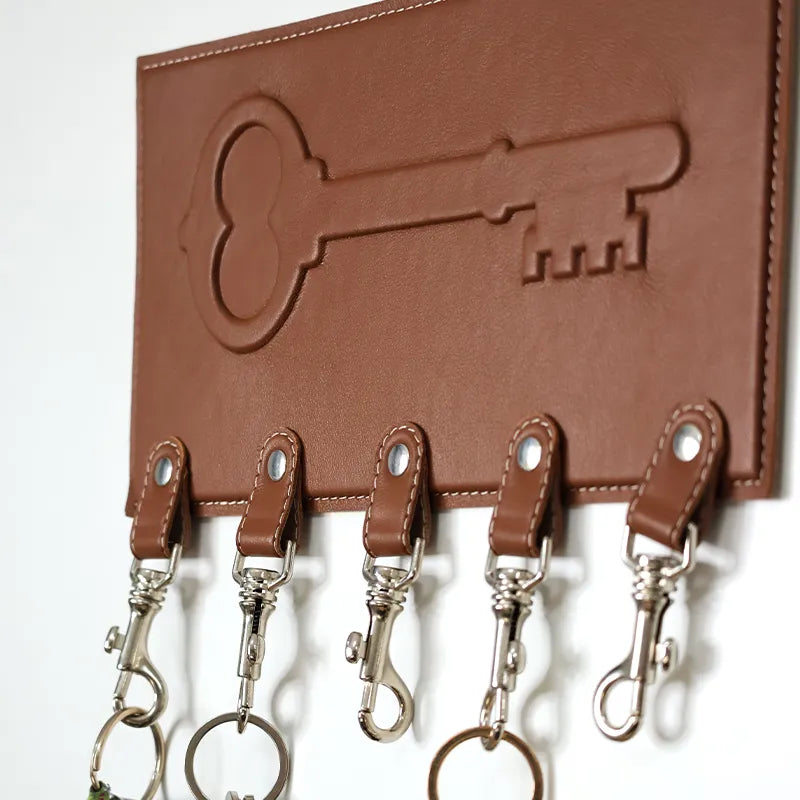
Adapt this technique to other projects and unleash your creativity. Here, a leather key holder:
You're done!
 |
 |
 |
 |
 |
 |

