


REQUIRED MATERIALS
Square version:
- 1 sheepskin with wool
Rectangle version:
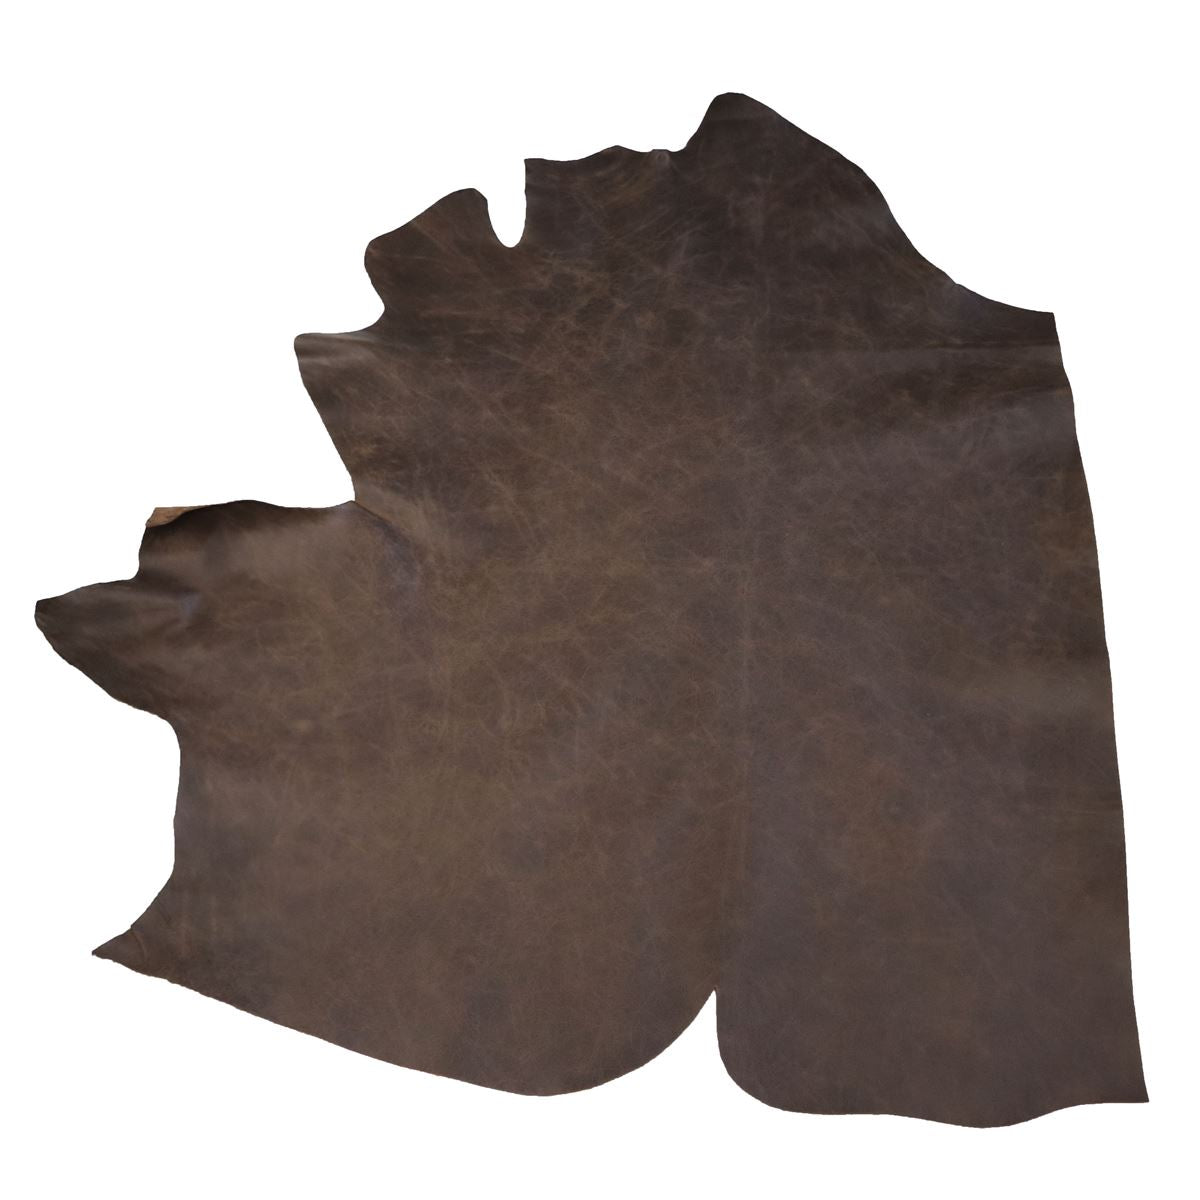
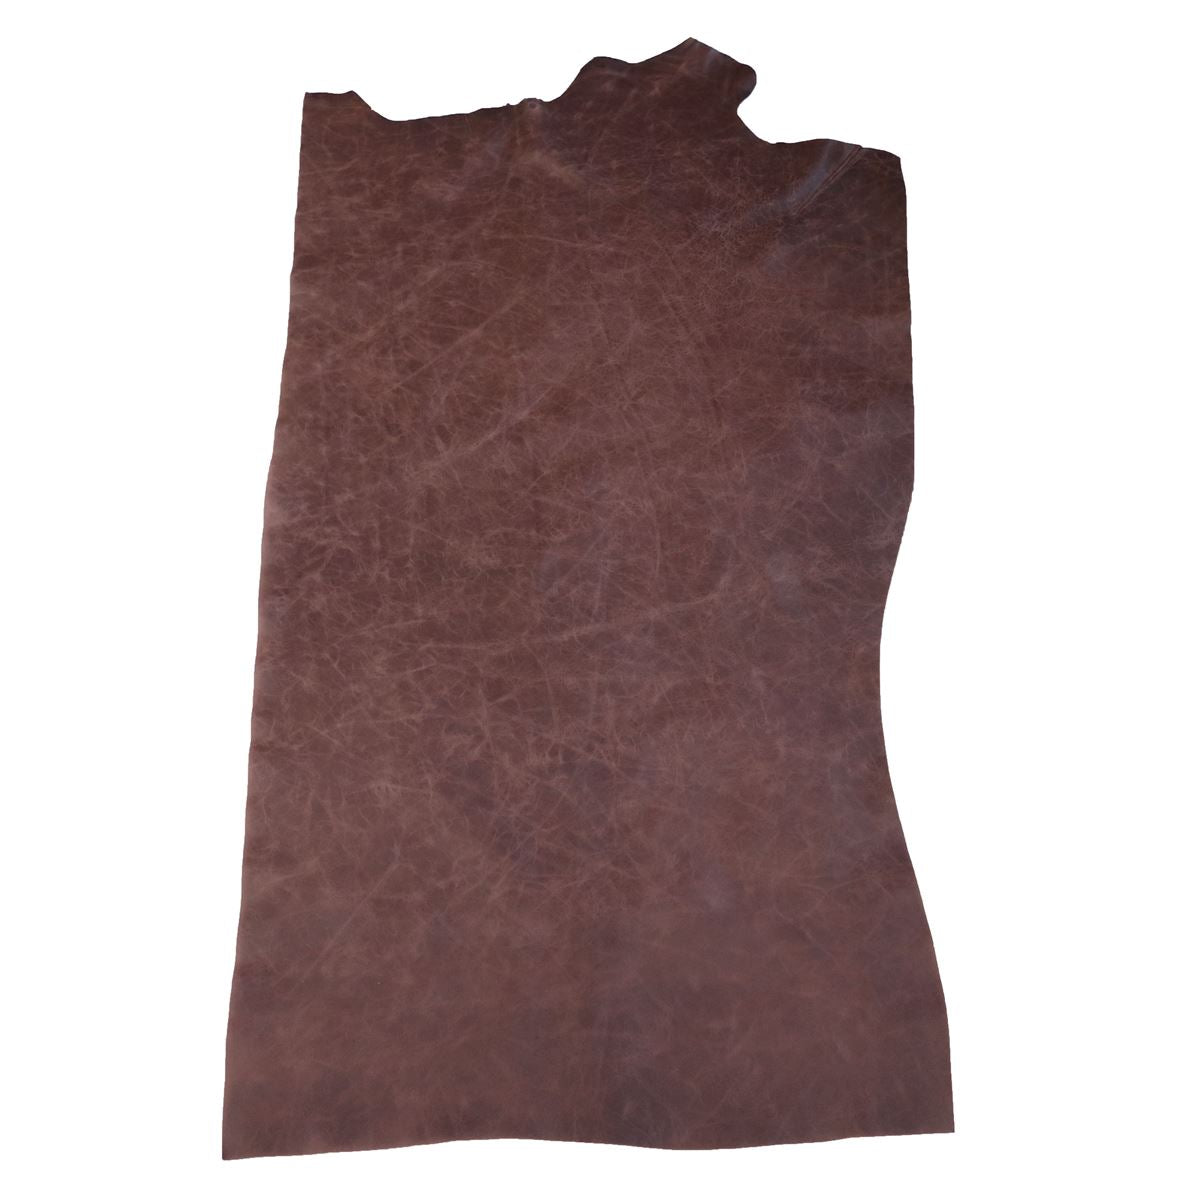
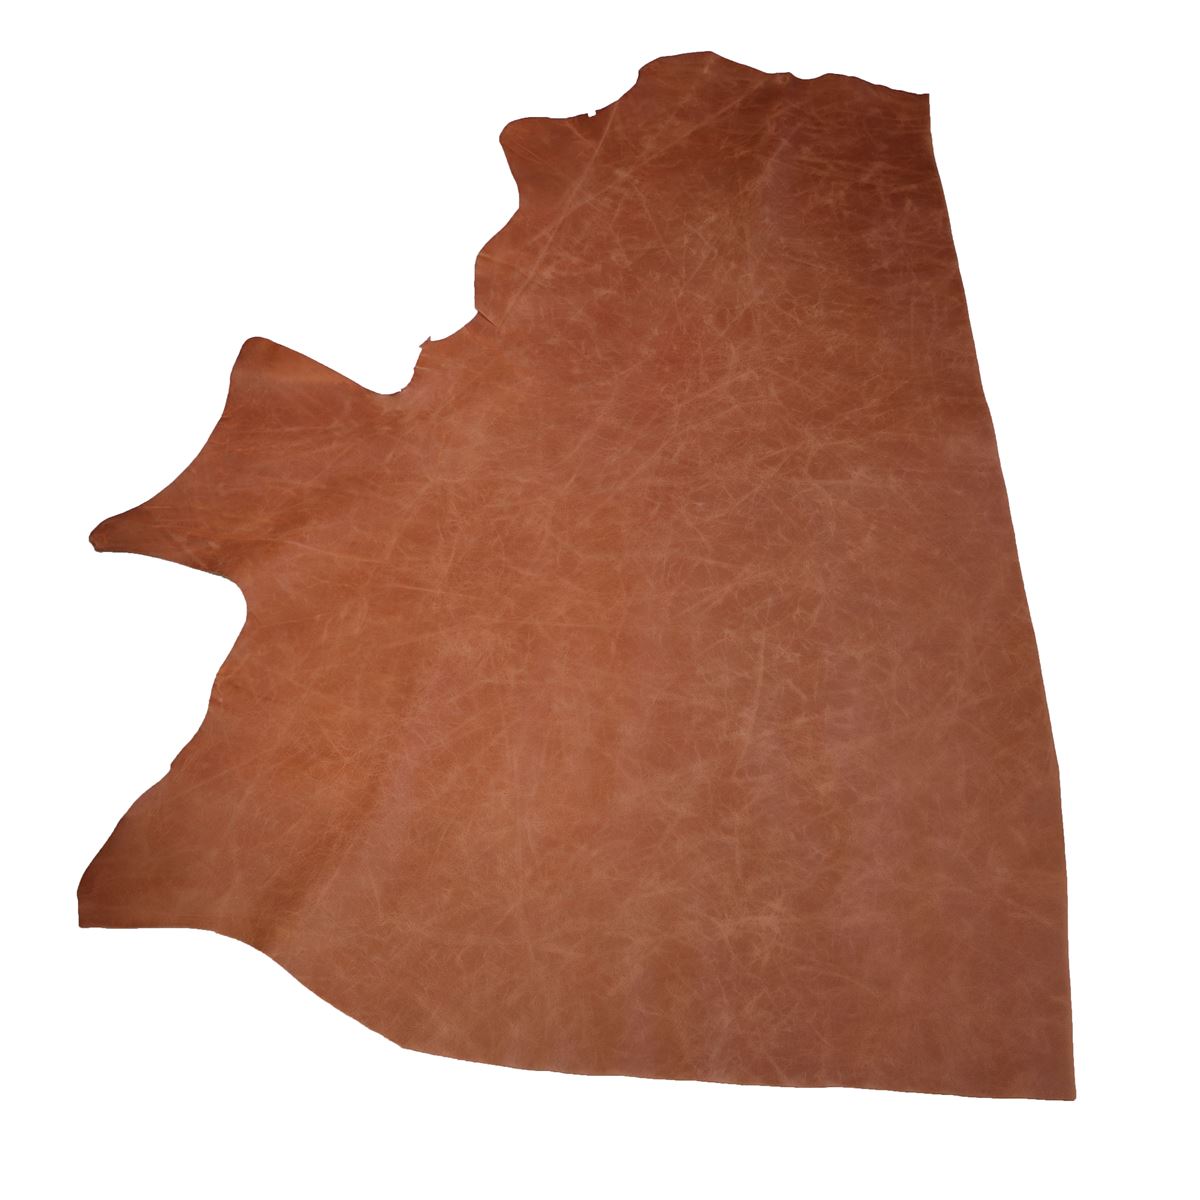
- 1 piece of supple cowhide leather – thickness between 1 and 1.2 mm
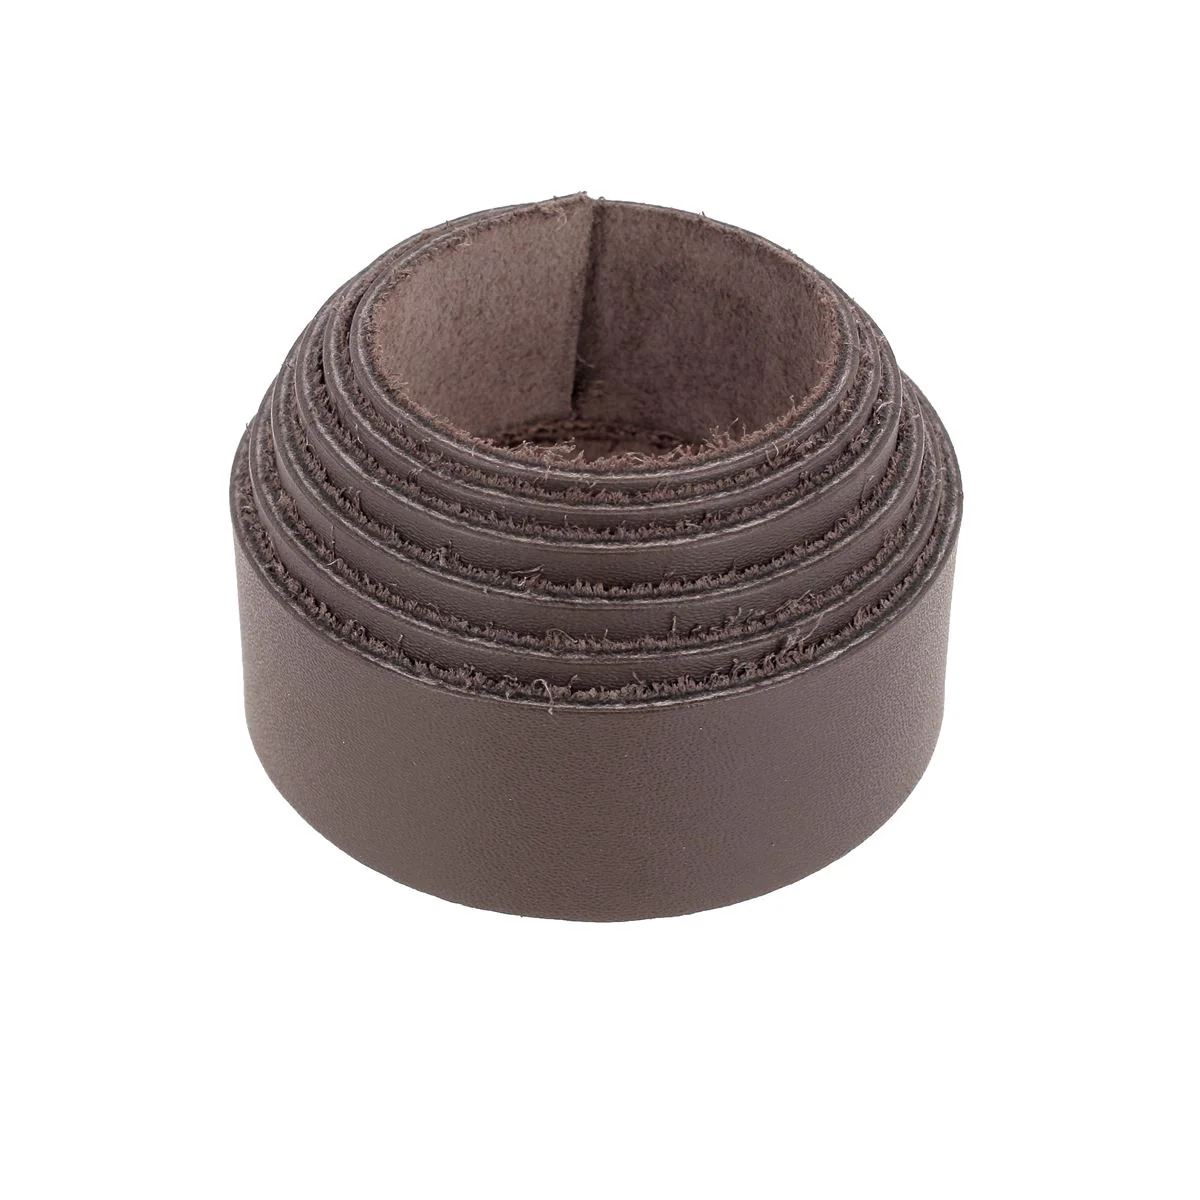
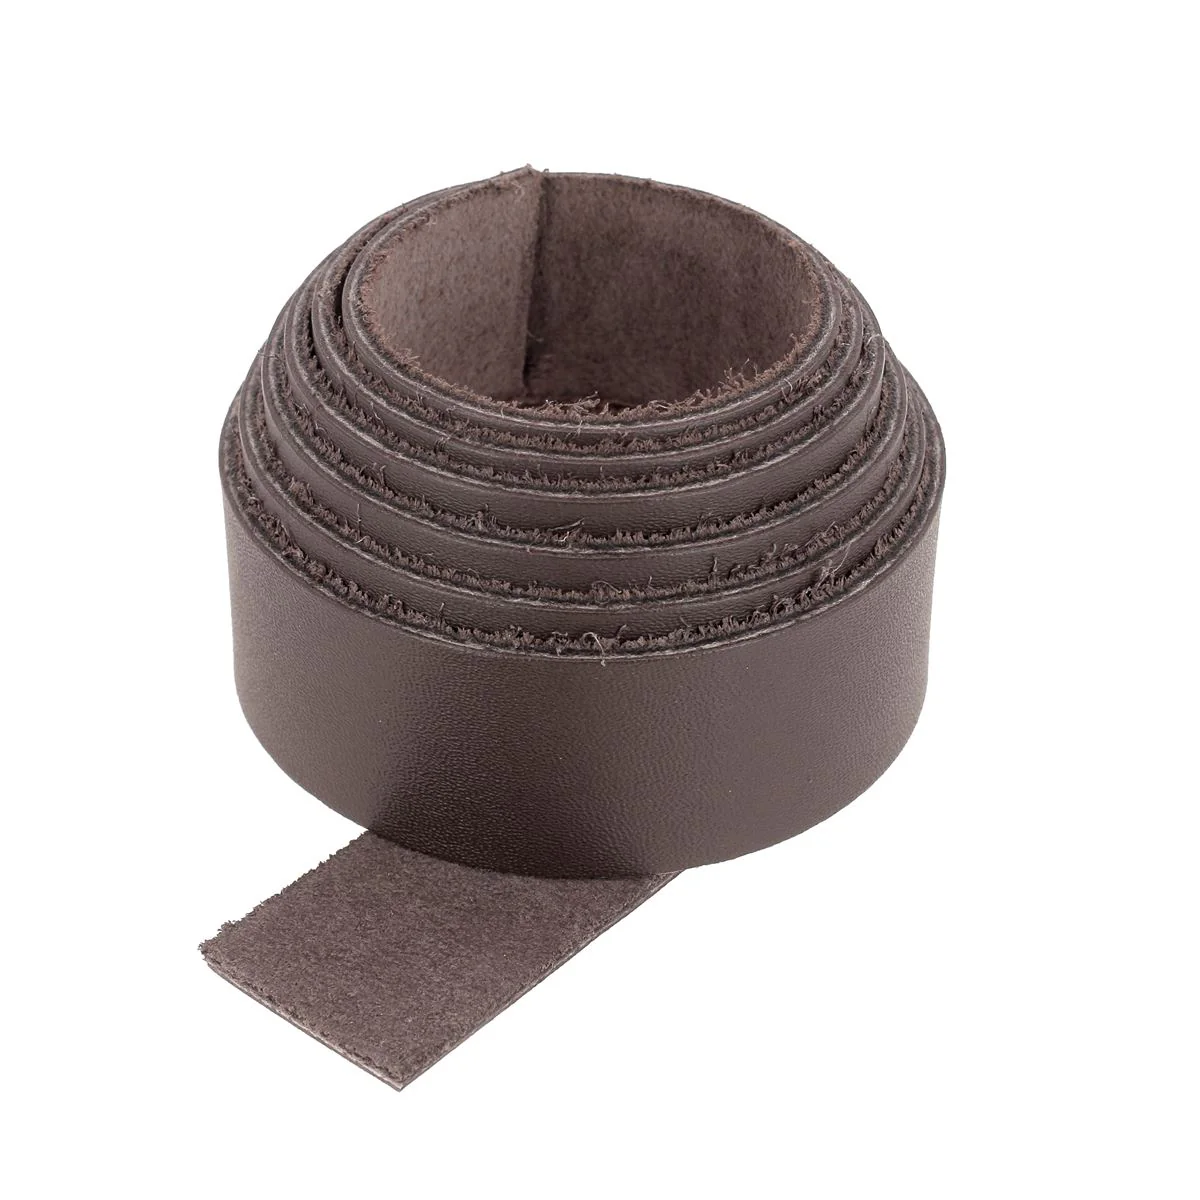
- 1 leather strap – 24 mm width – thickness between 1.2 and 1.4 mm
For both versions:
- Linen-look fabric
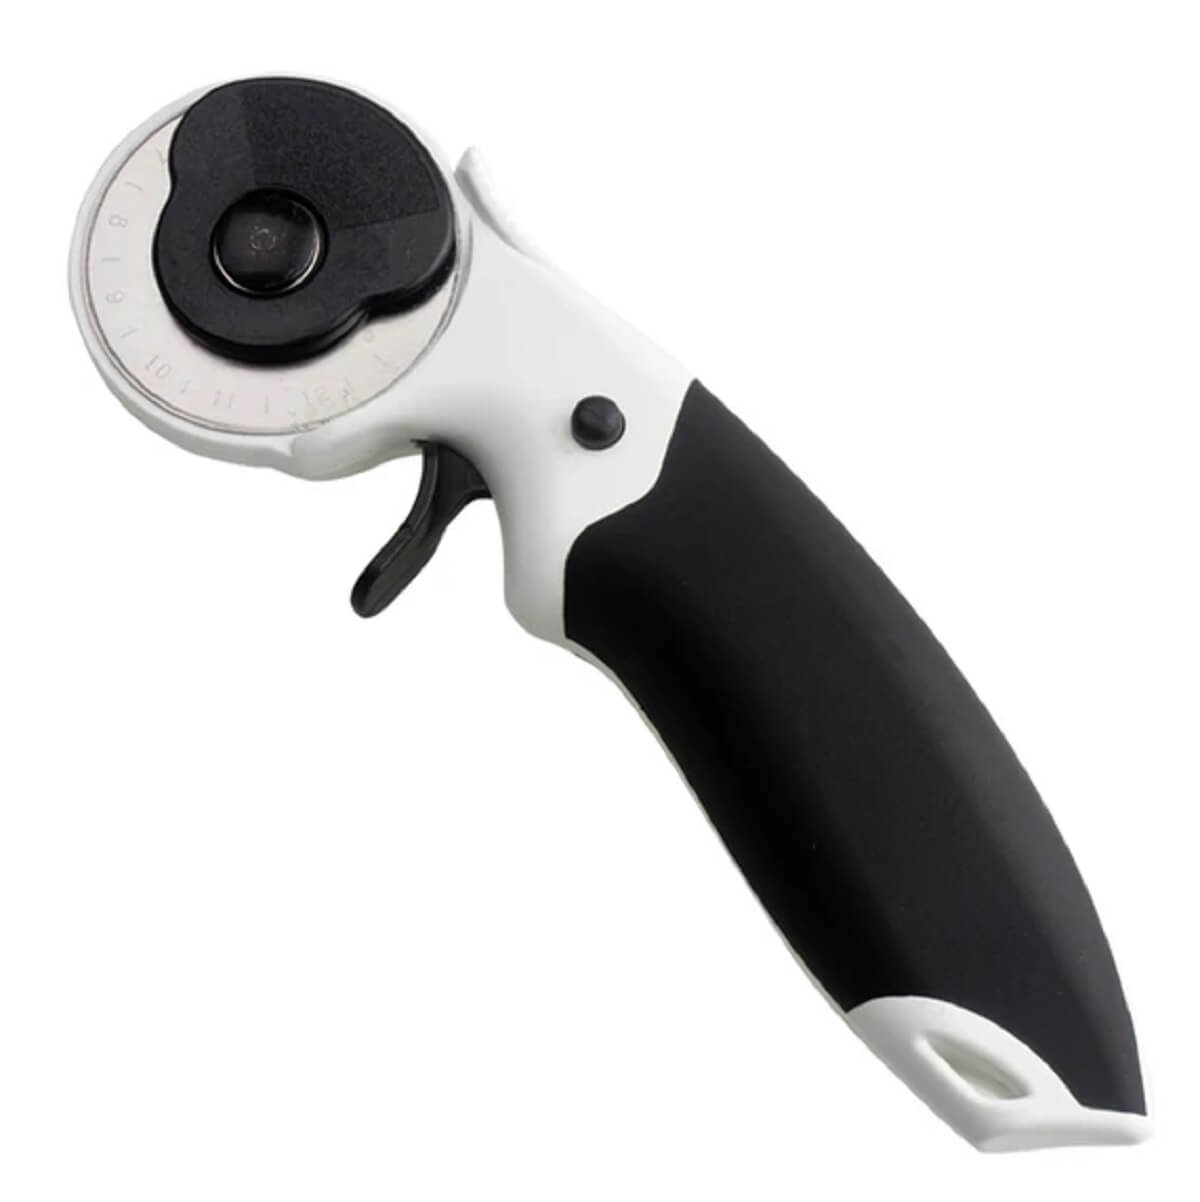
- A pair of scissors and a utility knife
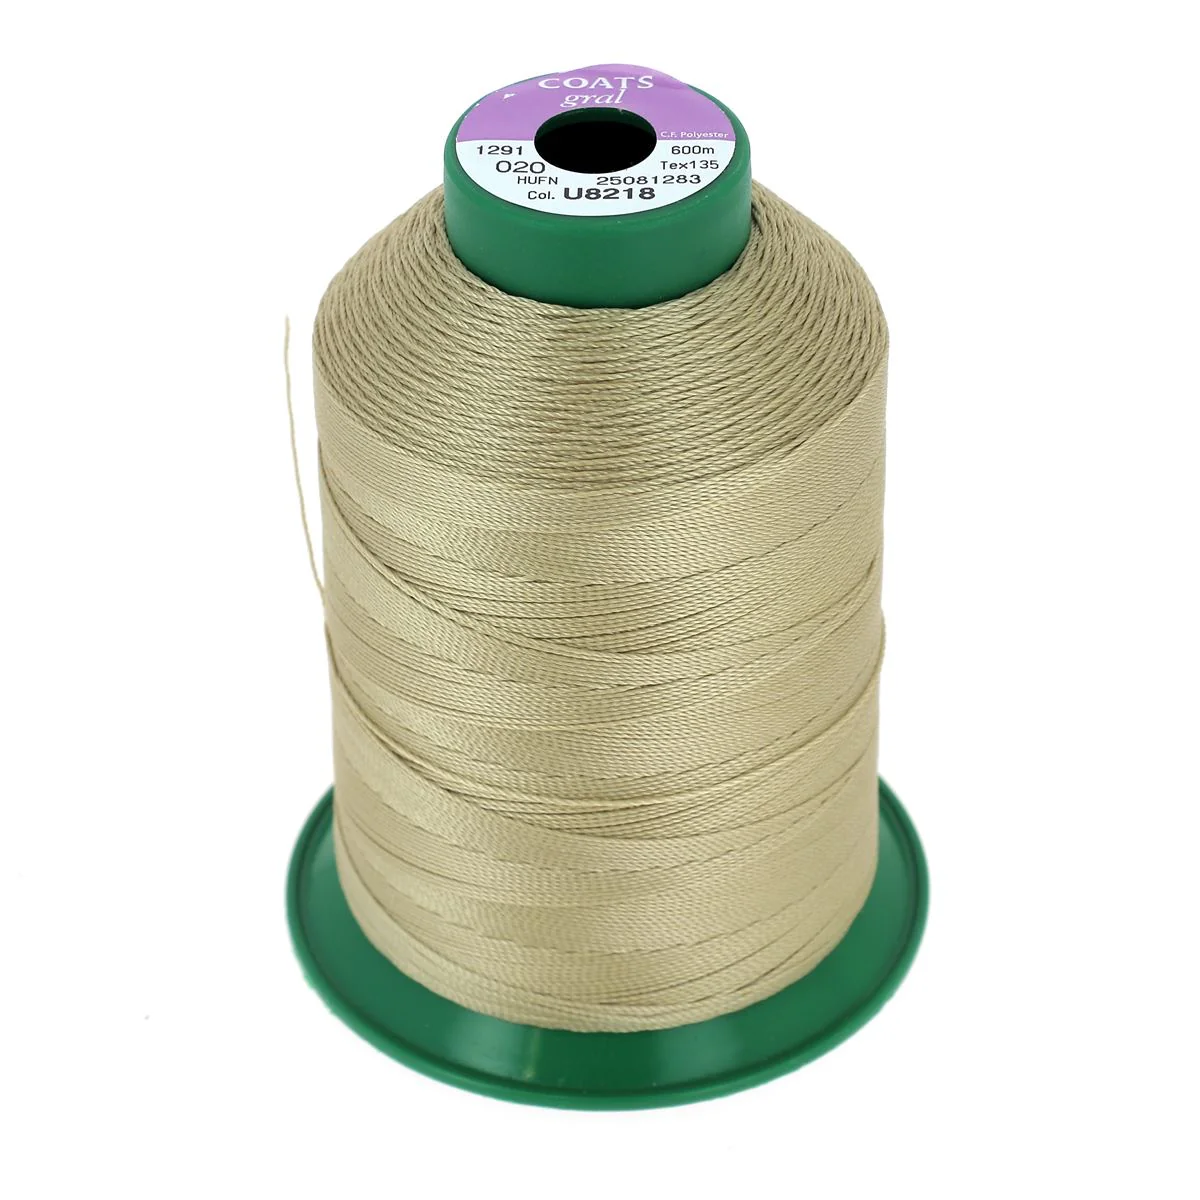
- Polyester thread
- Leather needles
VIDEO
1. TRACE THE PATTERN
Download the pattern and create the cushion cover template on cardboard or thick paper. Using a silver pen, trace the pattern onto the leather and the fabric.


2. CUT THE LEATHER AND FABRIC
Using a pair of scissors or a utility knife, carefully cut out the leather and fabric pieces, following the traced outlines. Take your time to ensure clean and precise edges, which will make assembling the cover easier.
 |
 |
 |
 |
3. OVERCAST THE SIDES
Overcast the edges of the fabric indicated in pink on the pattern, by hand or with a zigzag stitch on a machine. This step prevents the fabric from fraying and ensures a clean and durable finish for the cover.

4. ASSEMBLE THE FRONT
For the rectangular version only: prepare the front of the two-material cushion. Using double-sided tape, adhere the leather piece along 1 cm of the fabric's length. Then, stitch at 3 mm.
 |
 |
Using double-sided tape, adhere the leather strap (vertically) about 15 cm from one end, then stitch at 3 mm.
 |
 |
5. CREATE A HEM
For both versions, fold the fabric twice by 1 cm on the unovercasted side to form a hem. Hold the fold, then stitch 8 mm from the edge for a clean and neat finish.
 |
 |
6. ASSEMBLE THE BACK
Overlap the two back fabric pieces, wrong sides together. Ensure that the two sides with the hemmed edge meet in the center of the square or rectangle.
For the square version: overlap by about 8 cm to form a 42 x 42 cm square (depending on the cushion size). Secure with sewing clips.

For the rectangular version: overlap by about 18 cm to form a 52 x 32 cm rectangle (depending on your cushion size). Place the wrong side of the larger rectangle onto the right side of the smaller one. Secure with sewing clips.

7. ASSEMBLE THE 2 SIDES
Place the front and back pieces right sides together, aligning the edges carefully. Hold the pieces together with sewing clips to prevent them from shifting during sewing.


8. SEW ALL AROUND
Join the two sides by sewing all around the cover, 1 cm from the edge.
Take your time to maintain a regular seam, especially in the corners, to ensure a clean finish.


9. TURN THE COVER RIGHT SIDE OUT
Gently turn the cover right side out. Remember to neatly fold or push the corners inward to avoid bulk and achieve a clean shape.


10. INSERT THE CUSHION
Slide the cushion inside the cover. Admire the result: an elegant and trendy homemade creation, ready to beautify your interior!


YOU'RE DONE!
 |
 |

