


NECESSARY MATERIALS
To complete this tutorial, you will need:
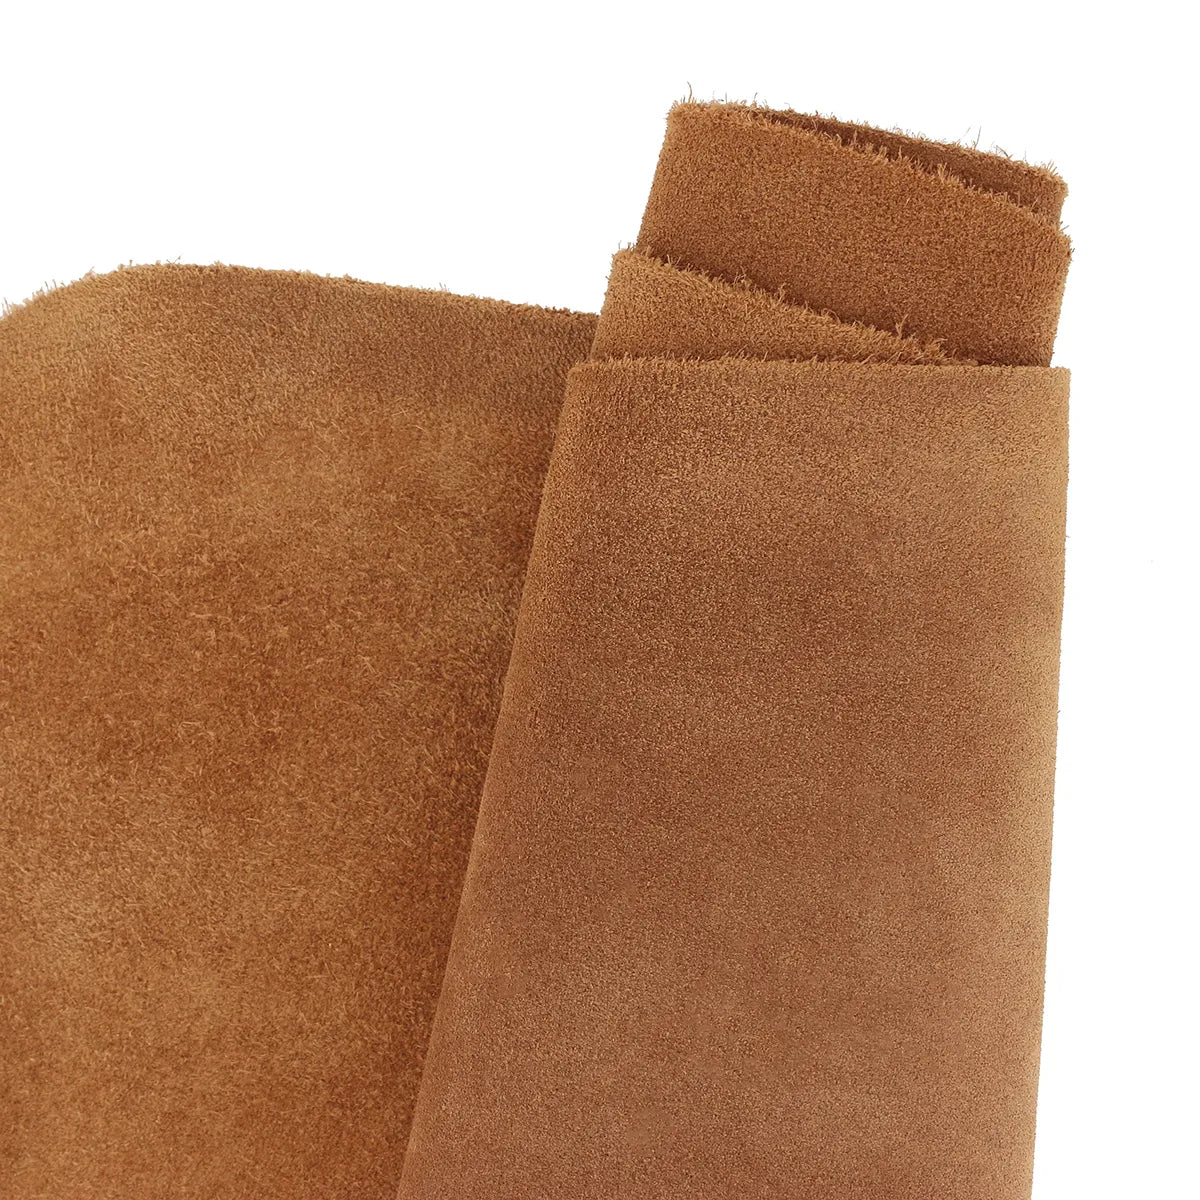
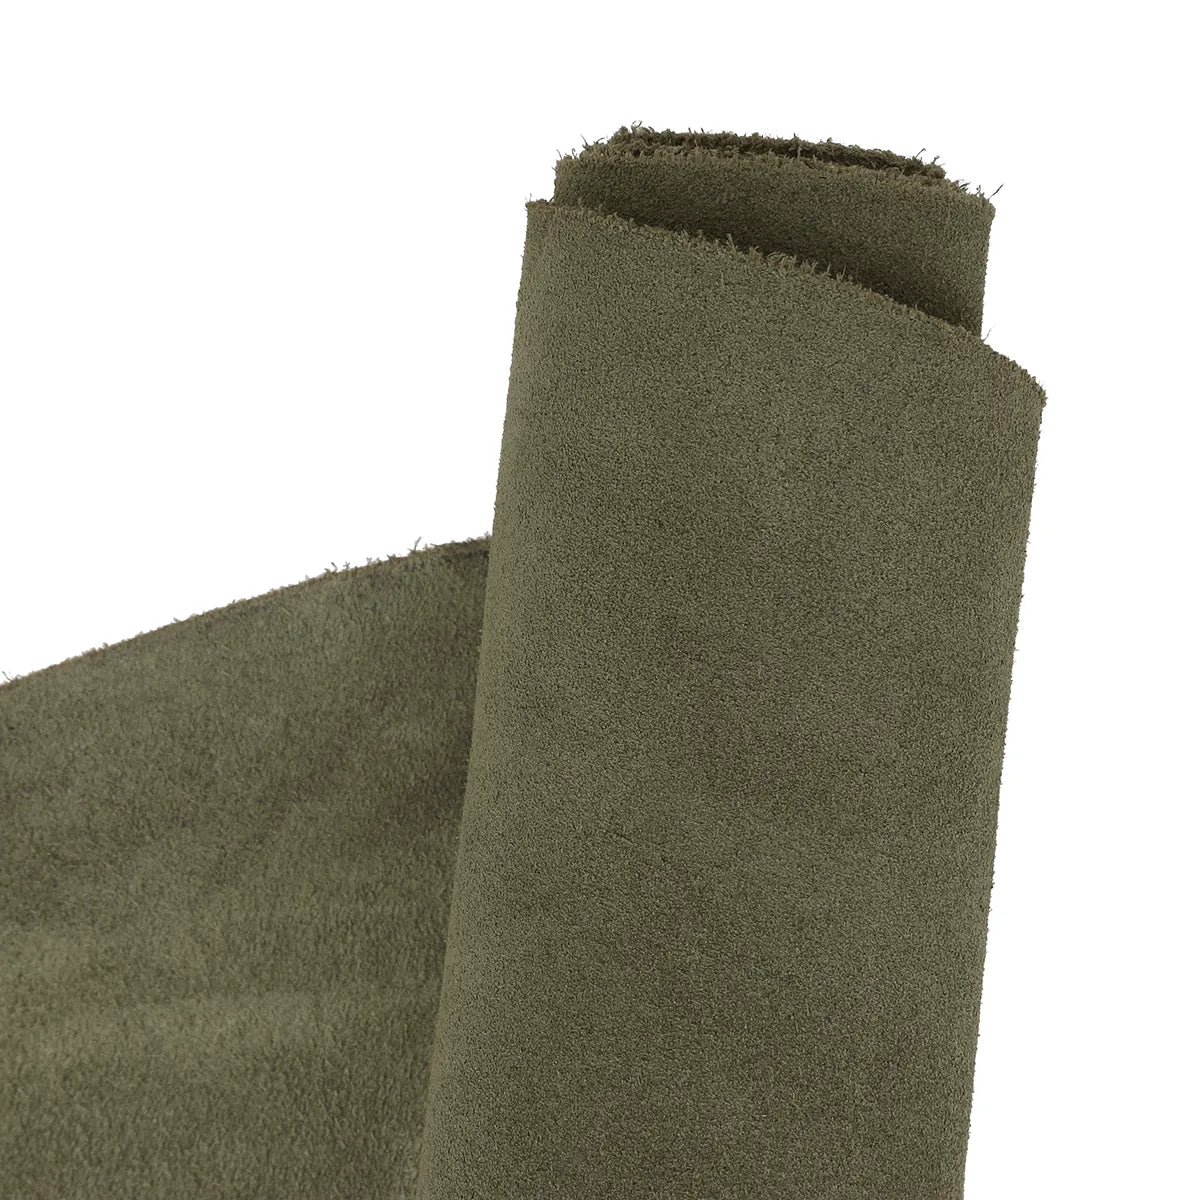
- 1 leather hide - 0.65 to 0.75 sq m minimum surface area - approximately 1.3 mm thick.
DOLCE suede leather crusts or sheepskin leather.
The trickiest part is positioning piece P5 in the hide => it's the largest piece (92 cm strap). It's possible to adjust the length of the straps, for example, 82 cm for one and 32 cm for the other, to fit the piece into the hide. - 1 slider buckle - Fine wire - Width: 2.5 cm
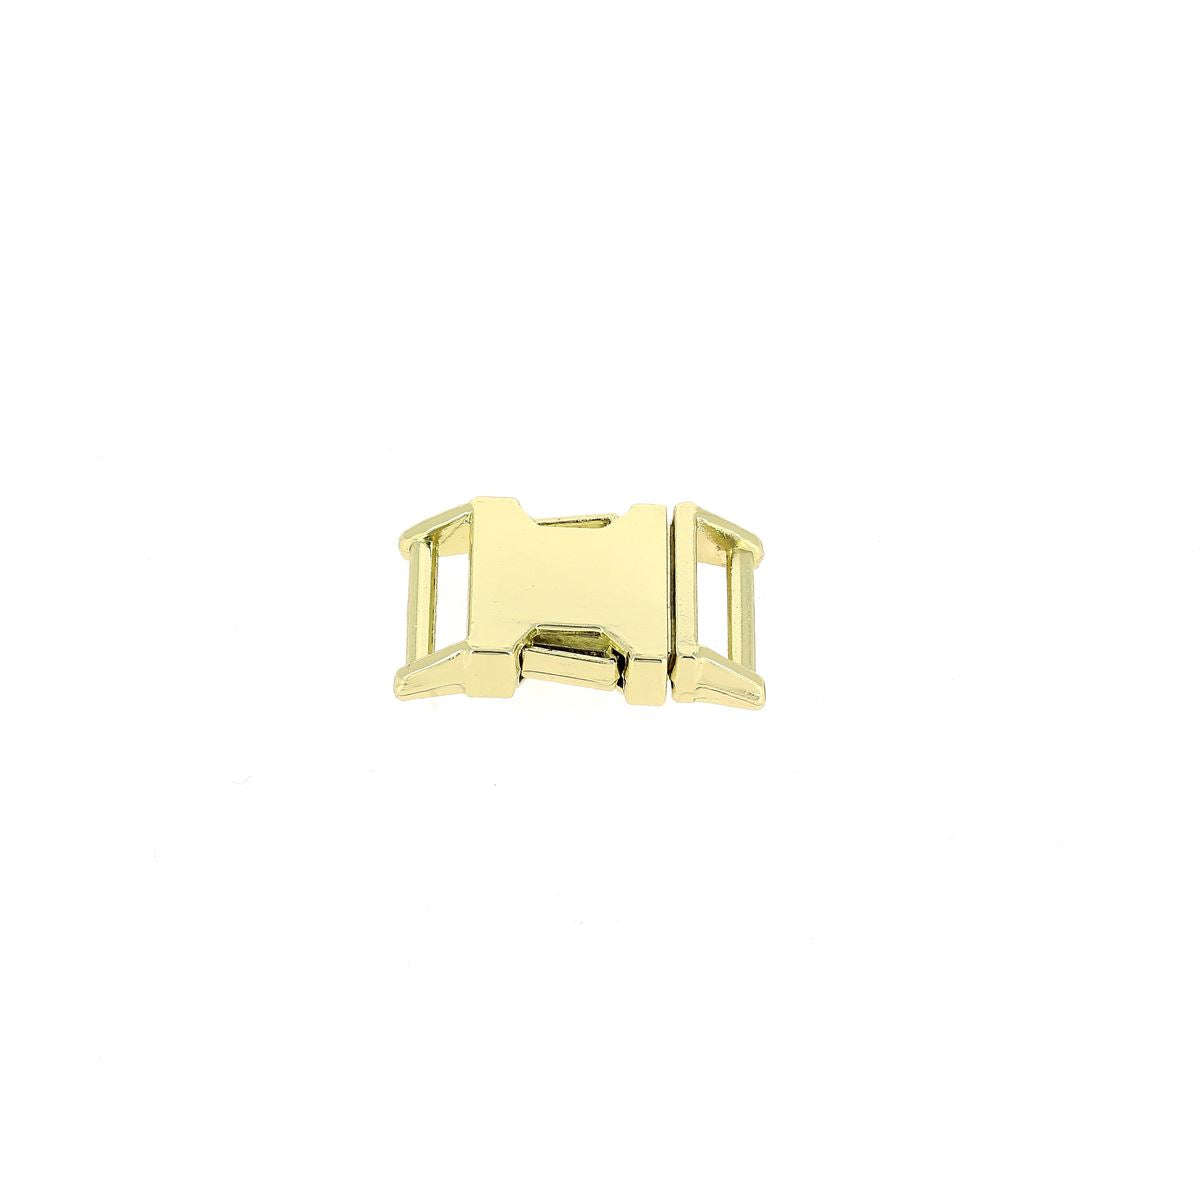
- 1 clip buckle - Width: 2.5 cm
- 2 T4 double cap rivets
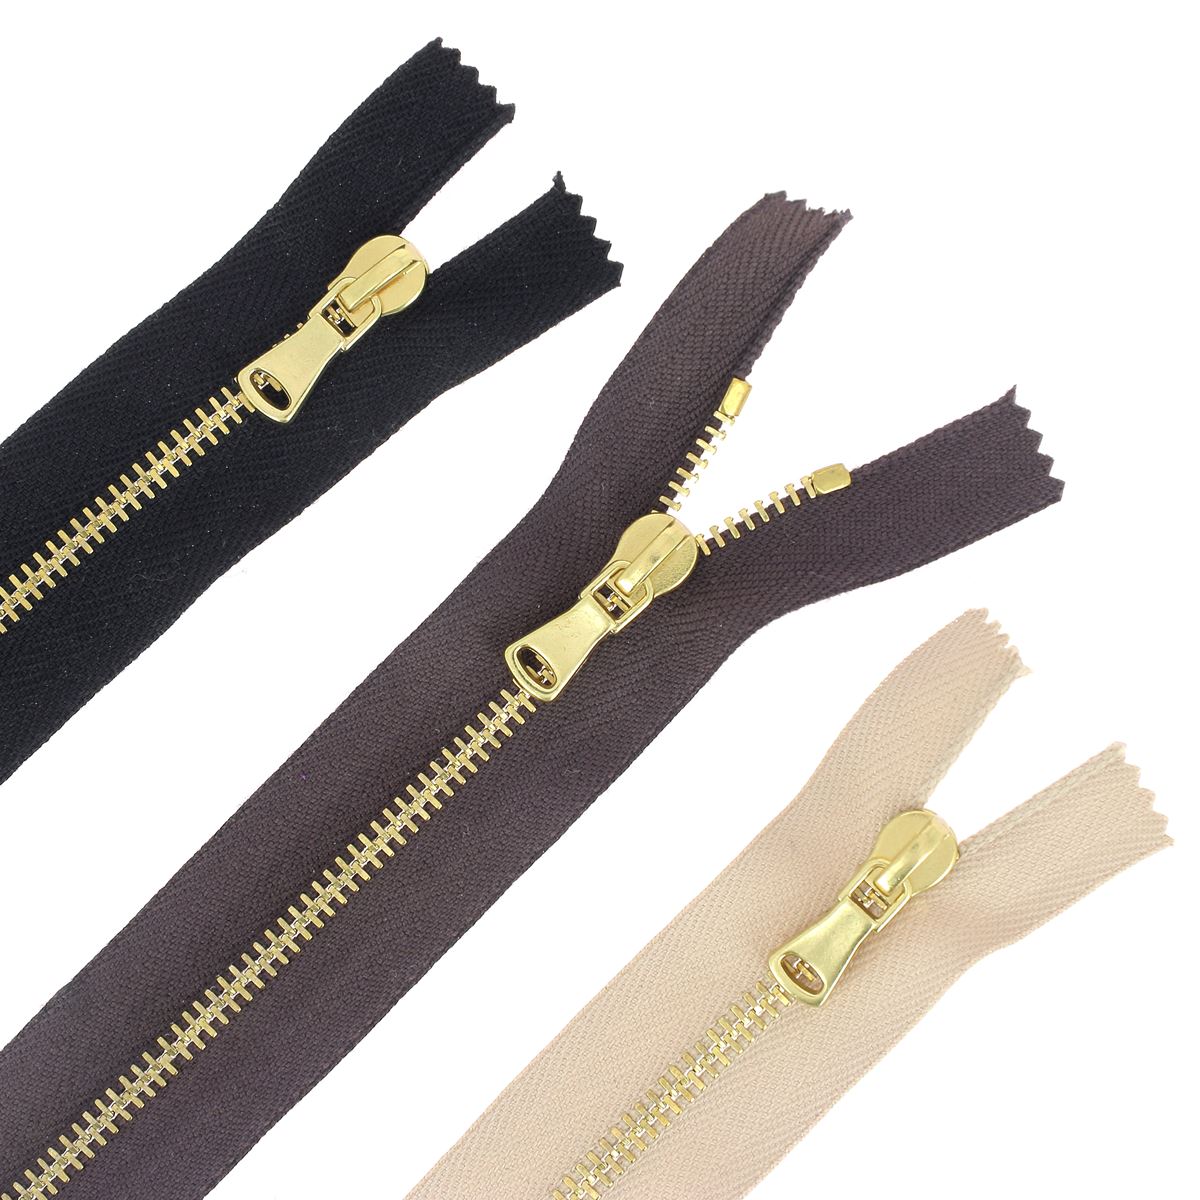
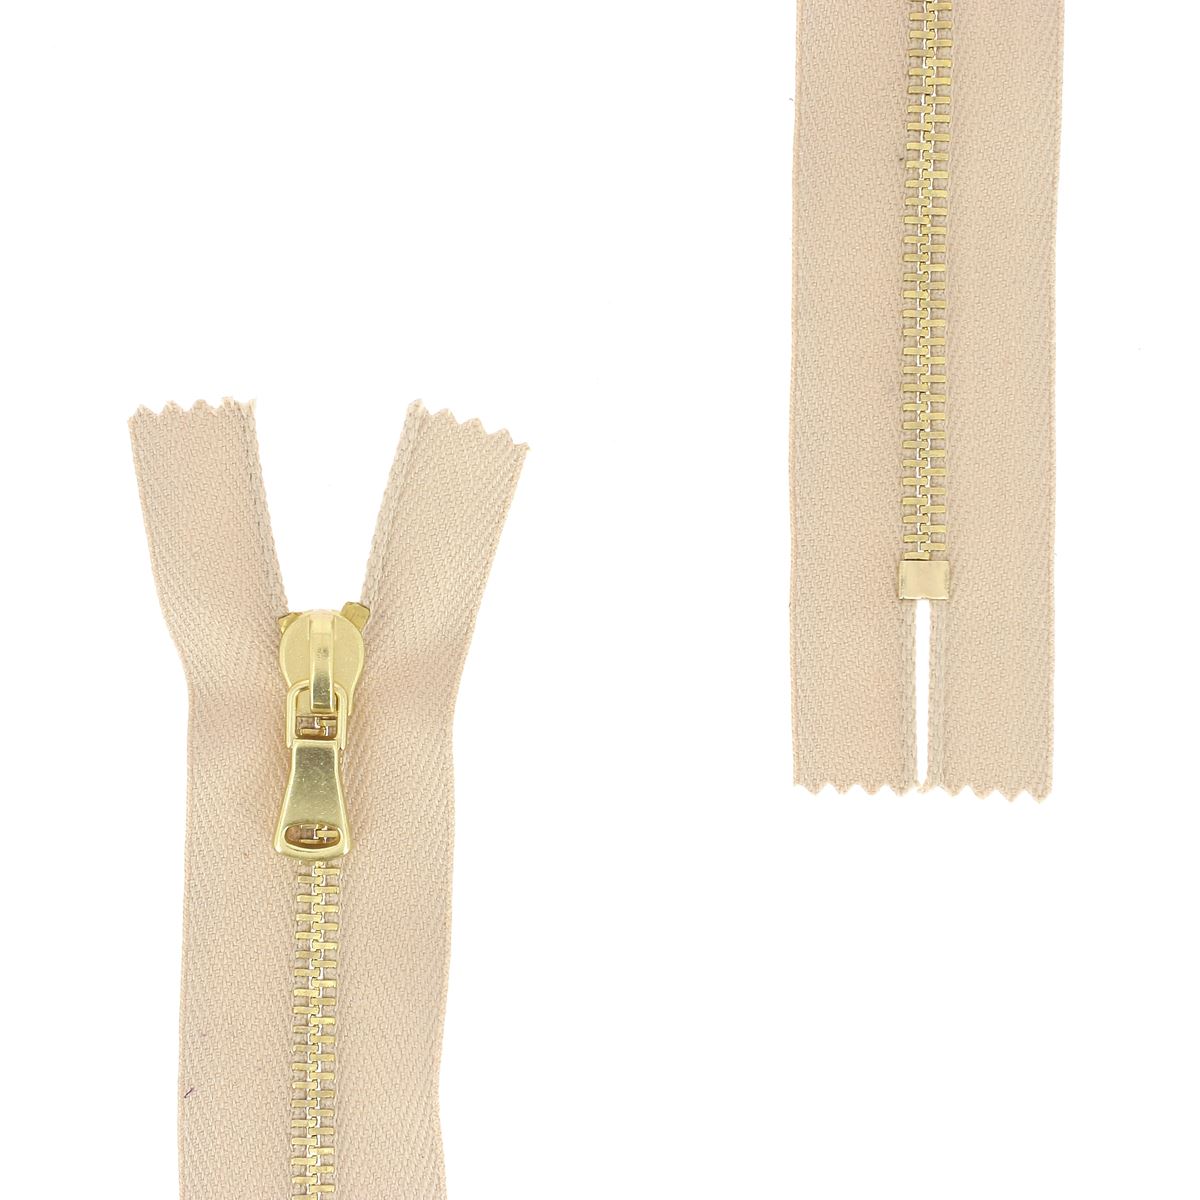
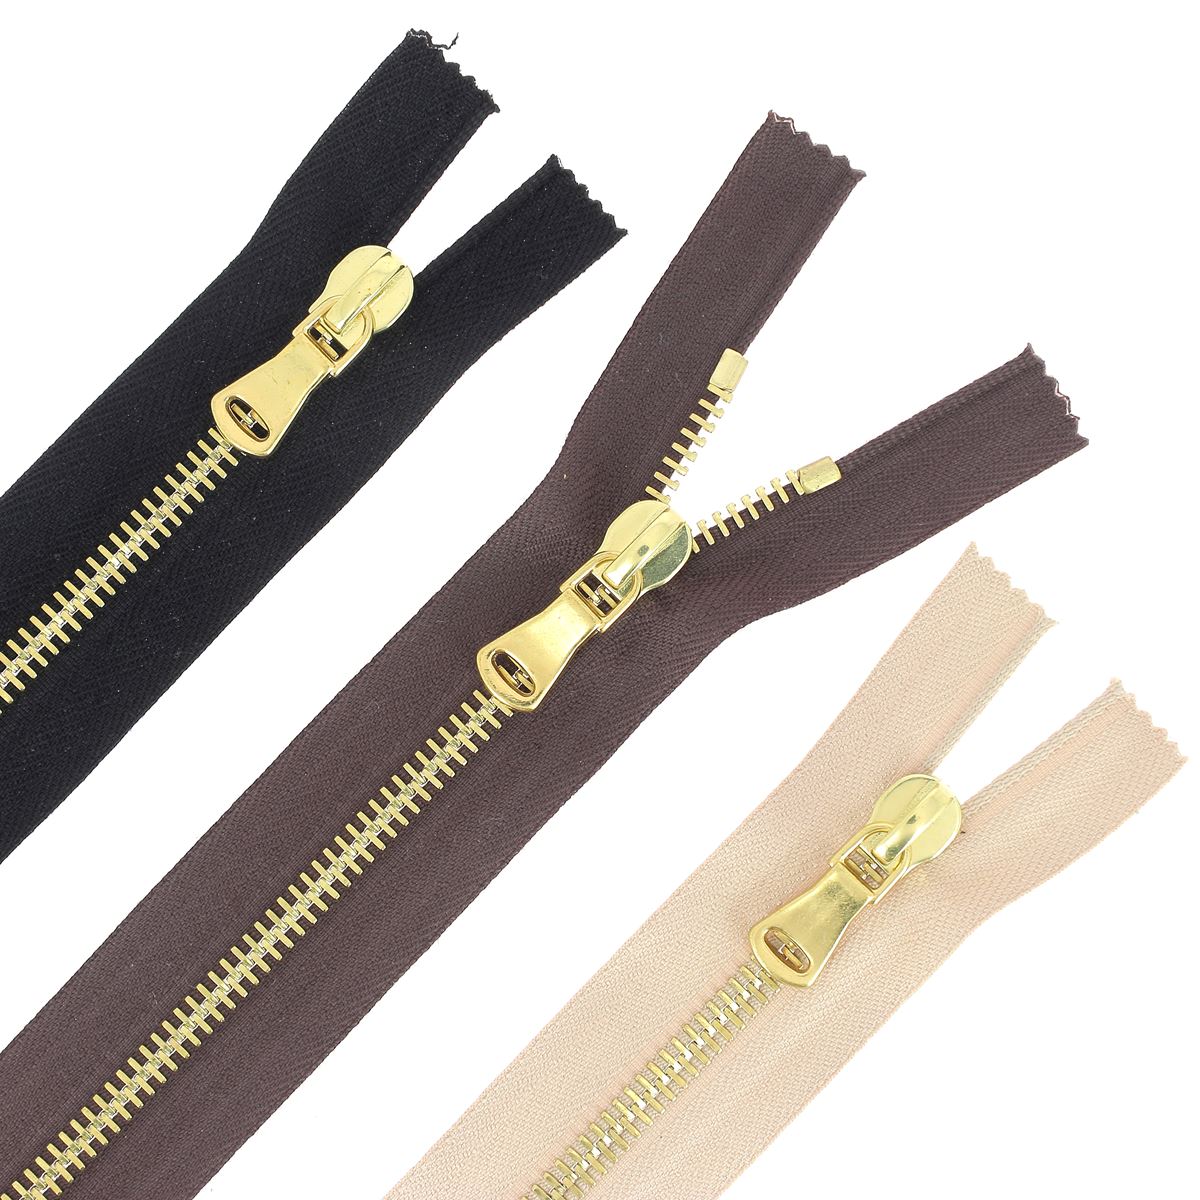
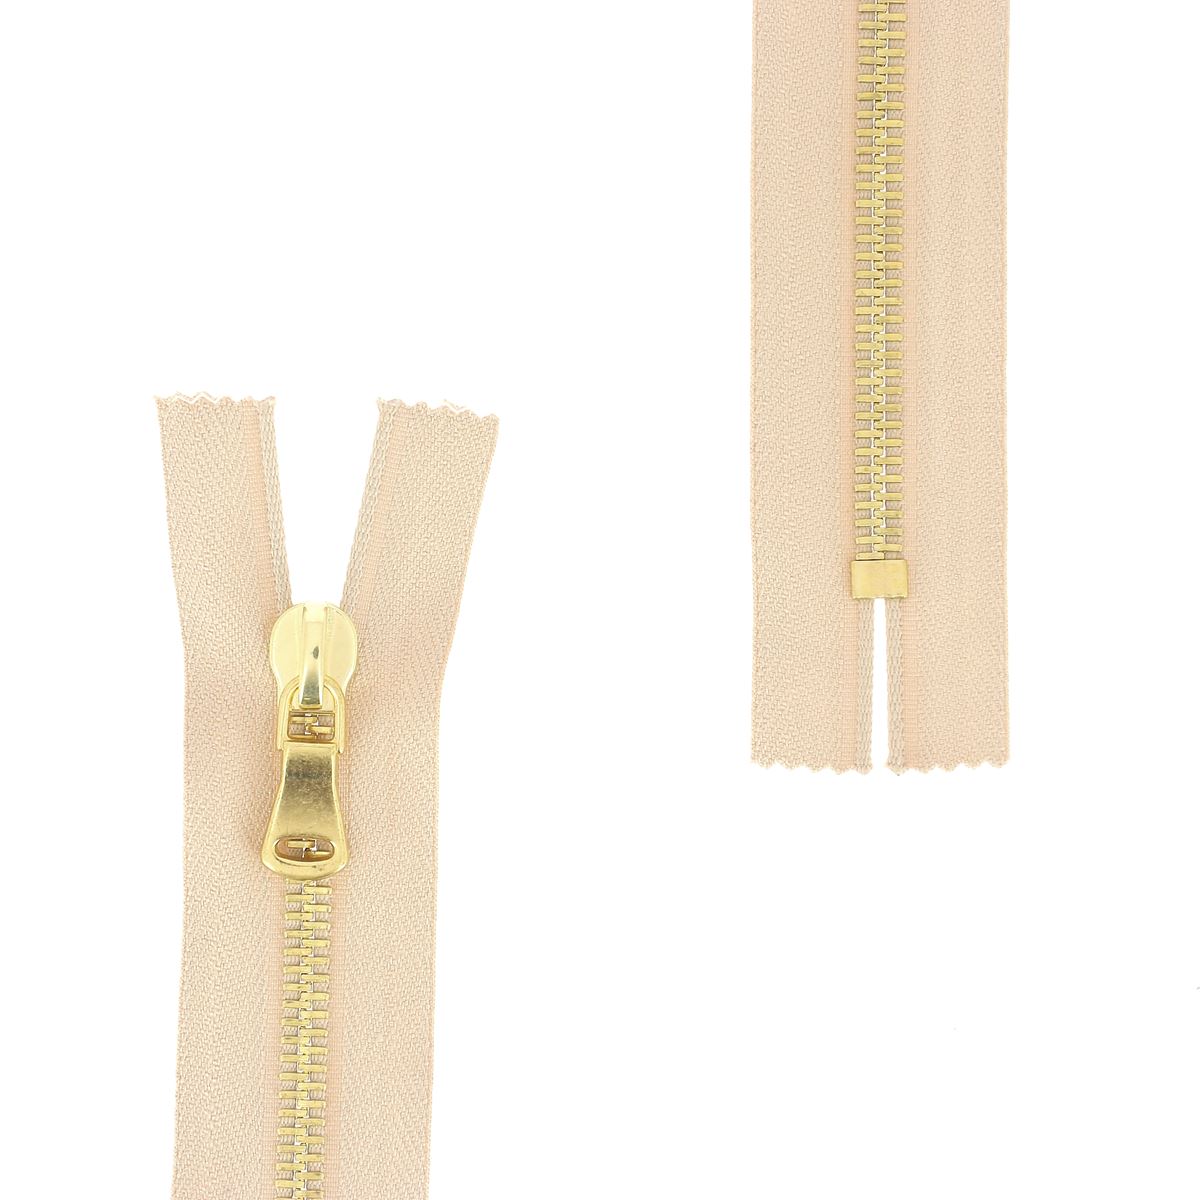
- 1 metal zipper - 4 mm teeth - 15 cm length
- 1 metal zipper - 6 mm teeth - 30 cm length
- Double-sided tape 5 mm width
-
Tear-resistant tape 15 mm width
- Contact adhesive for leather
- Lining fabric: 140 or 120 cm width x 40 cm.
And the following equipment:
- 1 cutter or scissors
- 1 sewing machine
- 1 spool of polyester thread #30 (0.41 mm diameter)
- 1 round punch Ø 3 mm
- 1 skiving knife or blade
FULL TUTORIAL VIDEO
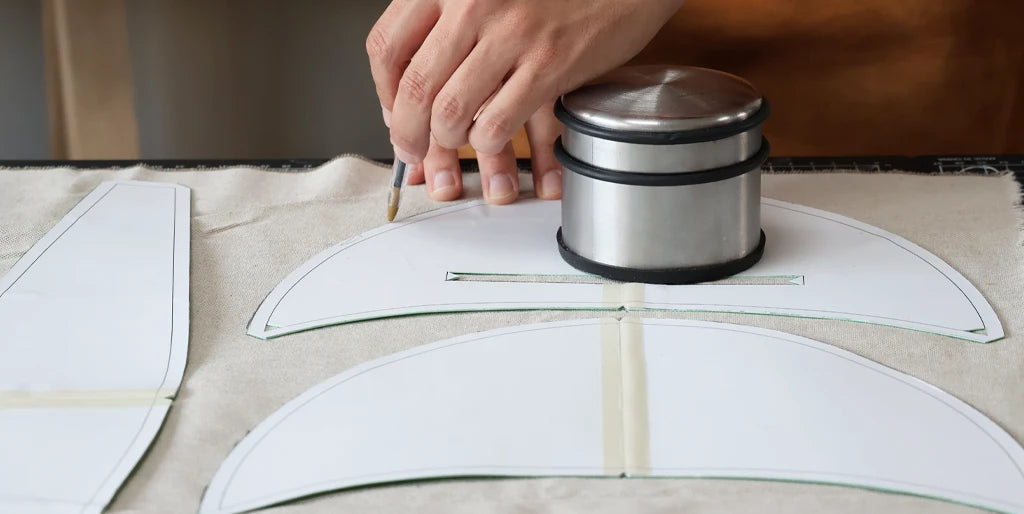
1. PRINT AND CUT THE PATTERN
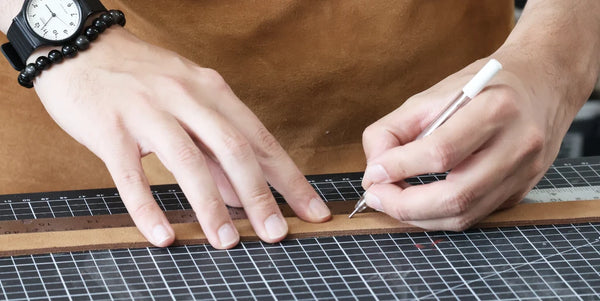
Purchase the paper or PDF pattern (print at actual size).
Seam allowances are included.
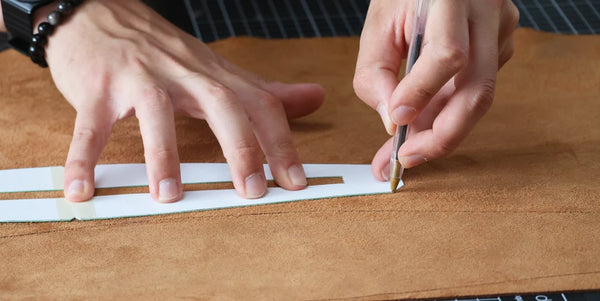
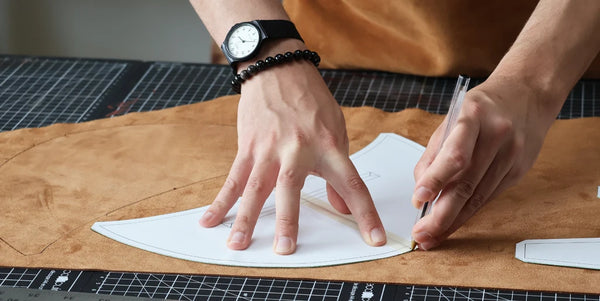
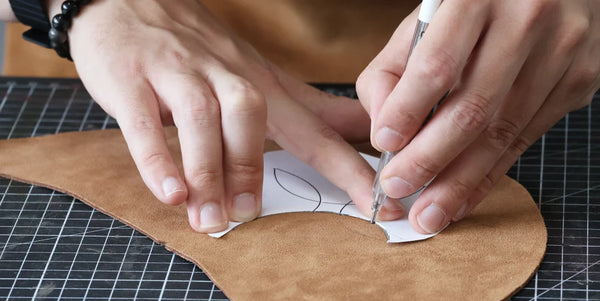
Cut out and then trace the pattern pieces onto the leather using a silver pencil. Mark the centers of each piece with a pencil or make a small 1 mm notch (see pattern).
 |
 |
LUNA BAG PATTERN DESIGN
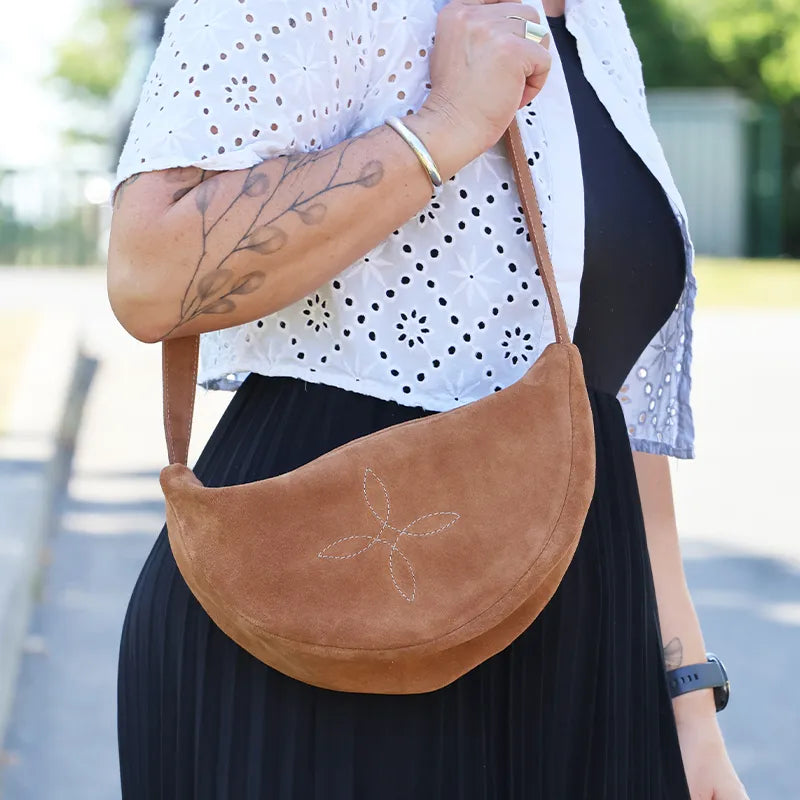
Option: personalization of piece P1. Download and print it, then transfer it to a P1 leather piece with an erasable pencil.
DOWNLOAD THE DESIGN PATTERN
Also trace the pieces onto the lining fabric and mark the centers.
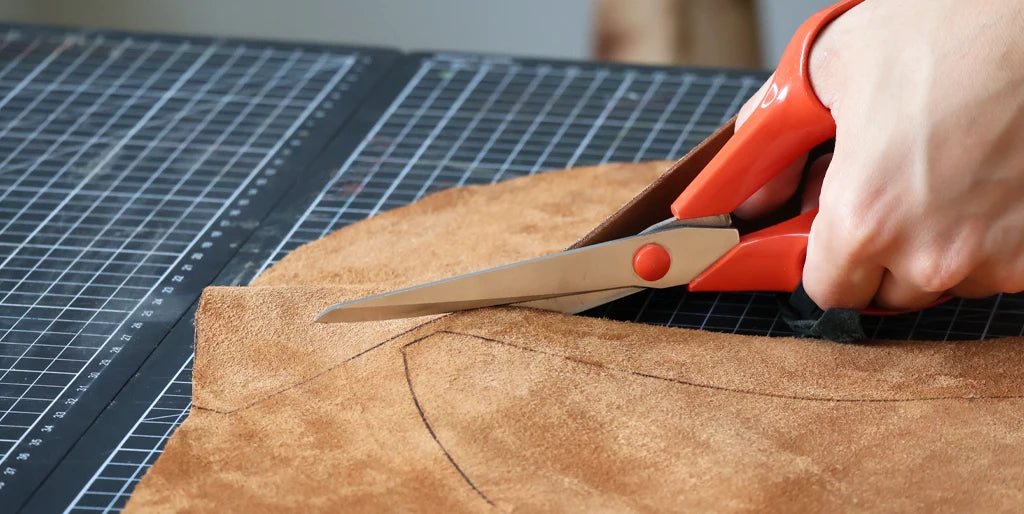
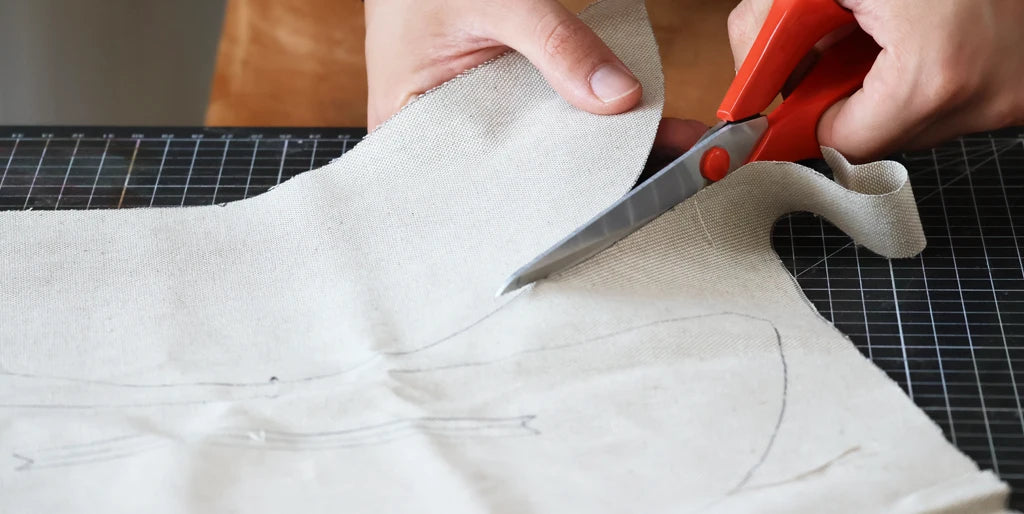
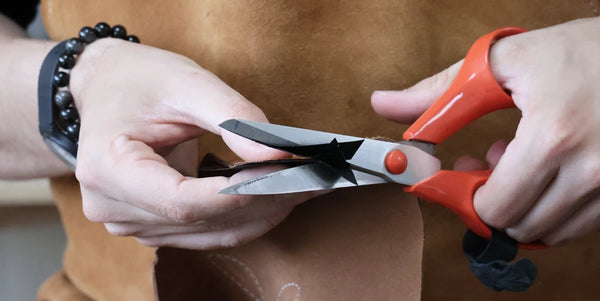
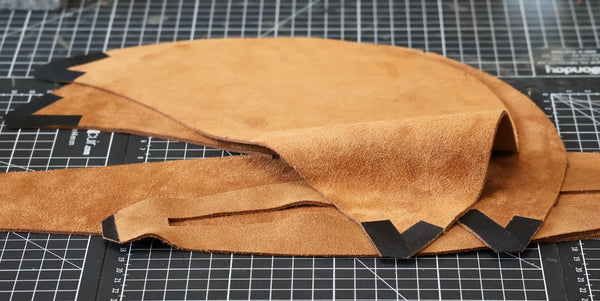
2. CUT OUT THE PIECES
Cut out the different leather and lining pieces using a cutter or a pair of scissors.
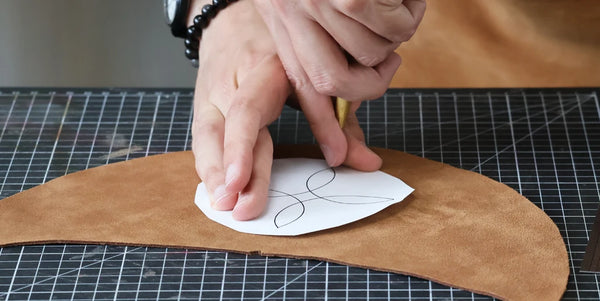
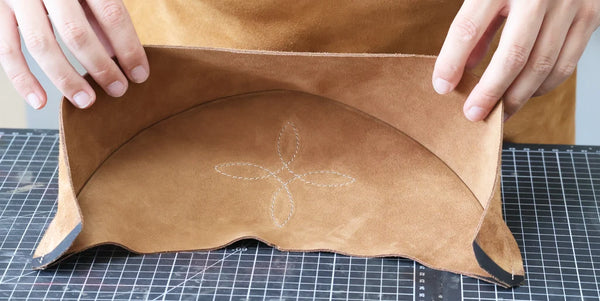
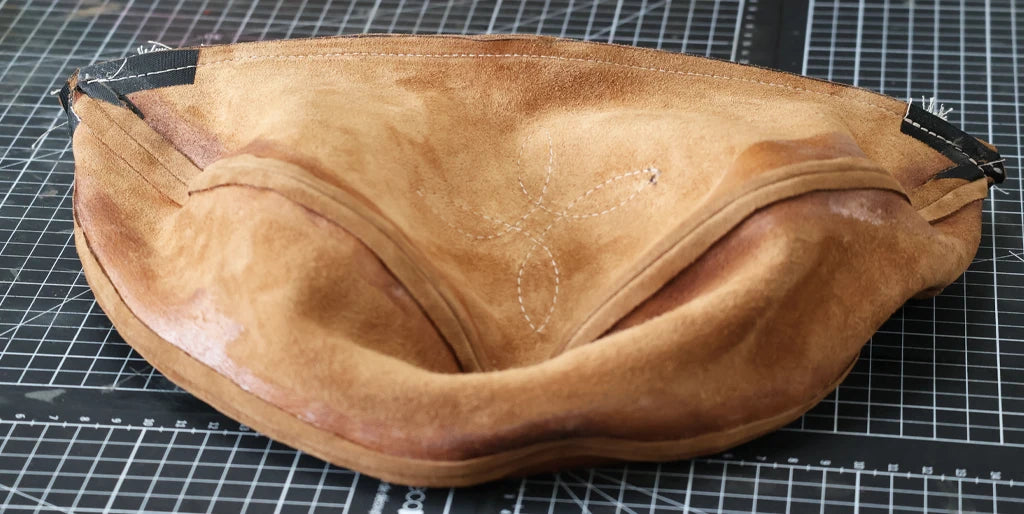
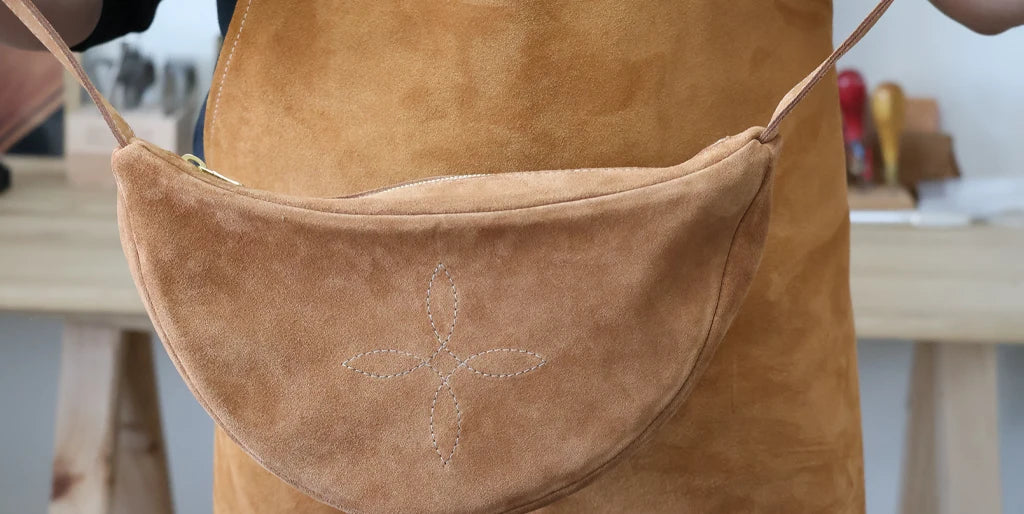
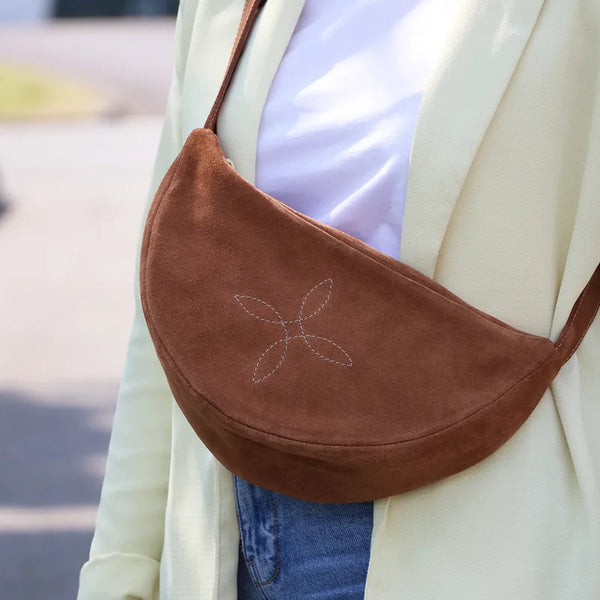
3. OPTION: Fanny pack personalization
OPTION: personalize one of the P1 leather pieces.
Several techniques are possible: create a topstitch pattern, sew on a label, add an overlay or a pocket.
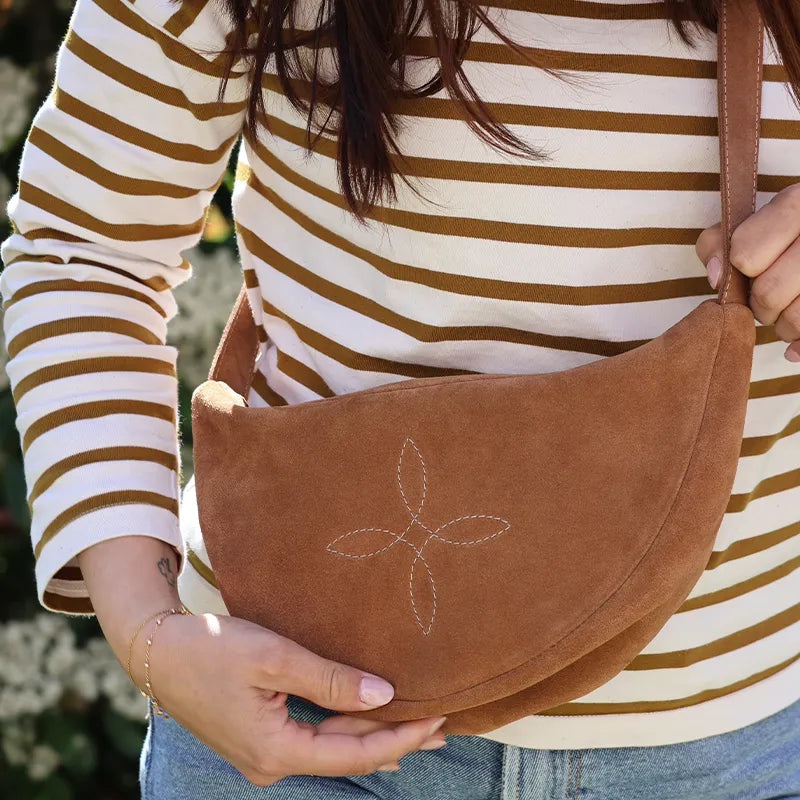
Here, we made a topstitch pattern. Download the pattern, print it, and transfer it to a P1 leather piece using an erasable pencil.
 |
 |
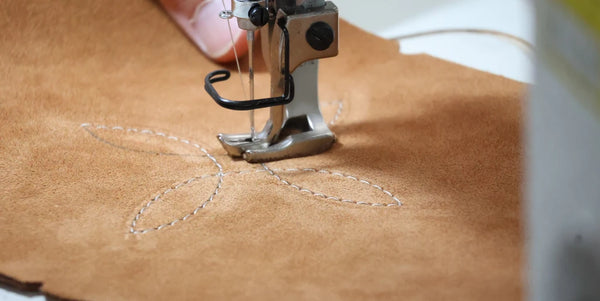
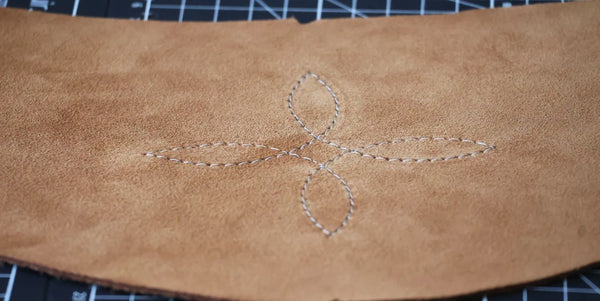
Topstitch with the machine following the lines, then erase for a clean finish.
 |
 |
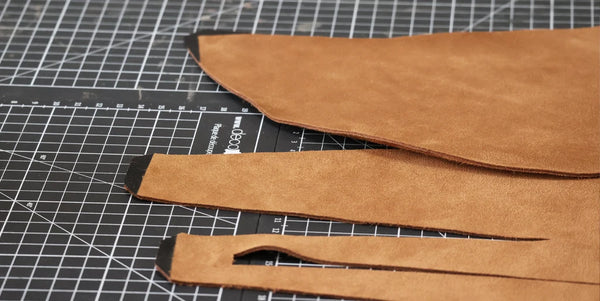
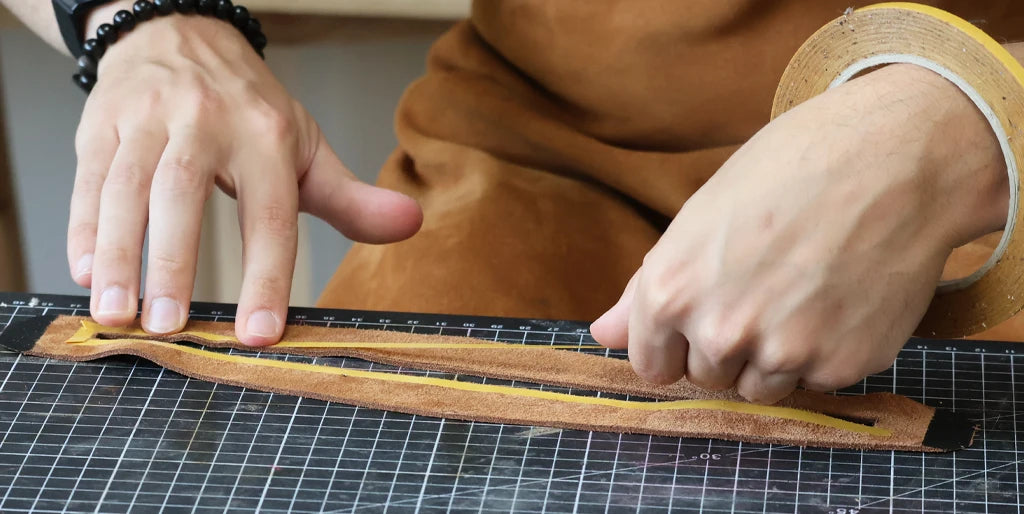
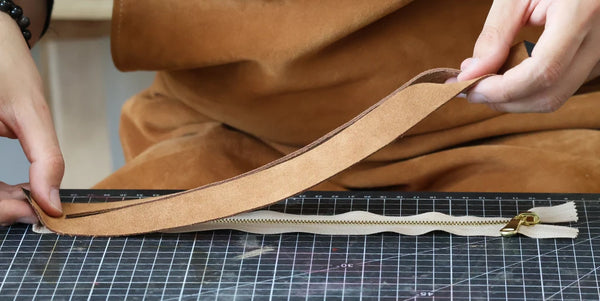
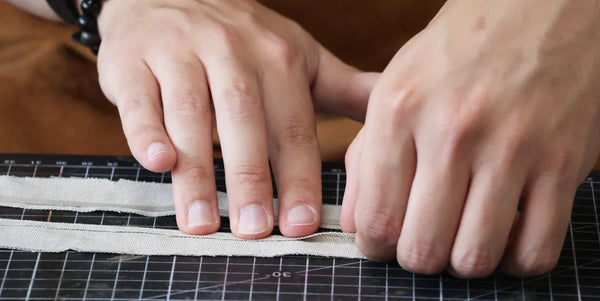
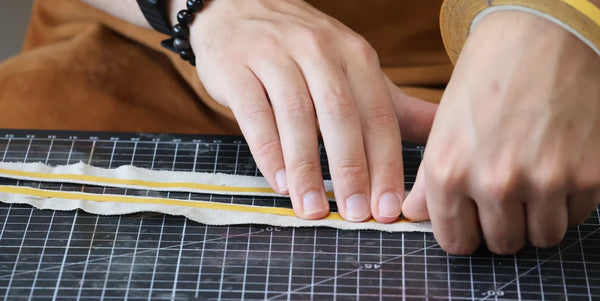
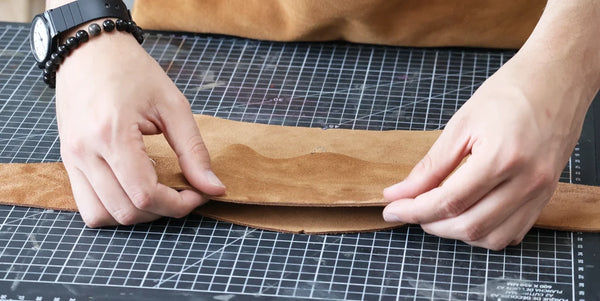
4. Glue the P5 strips
Apply contact adhesive to the back of both P5 strips.
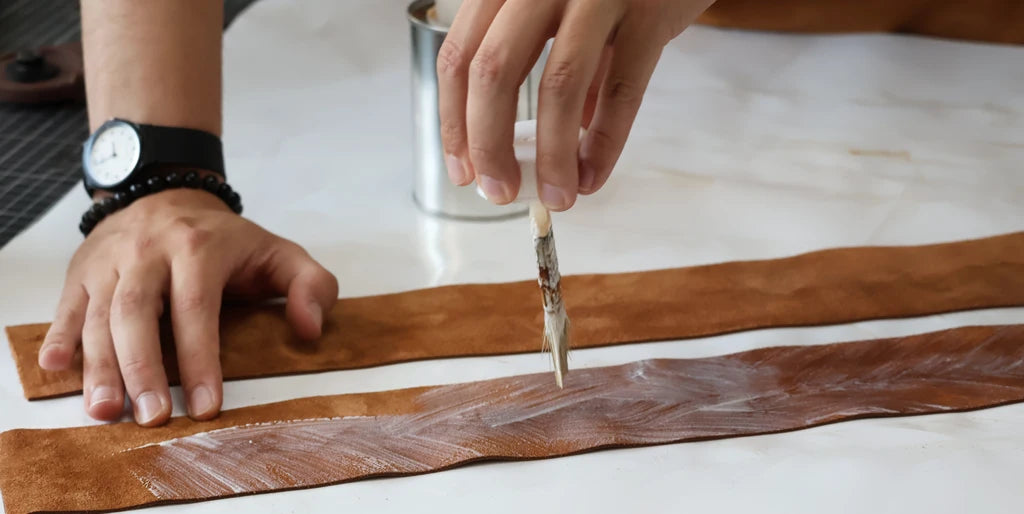
Glue back to back, then press with a roller.
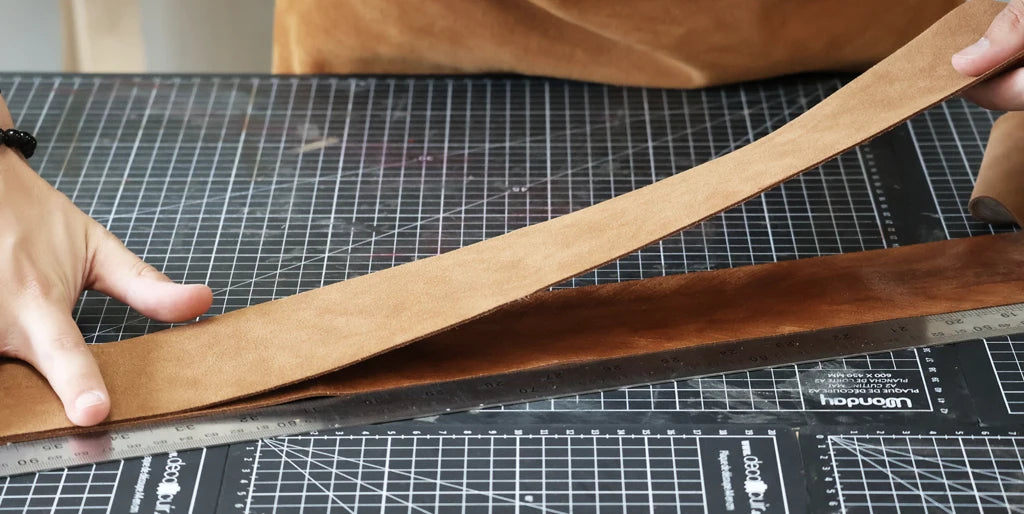
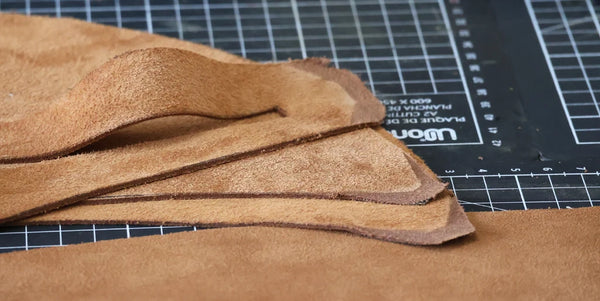
From this strip, cut 2 straps: a first one measuring 2.5 x 25 cm and a second one measuring 2.5 x 95 cm.
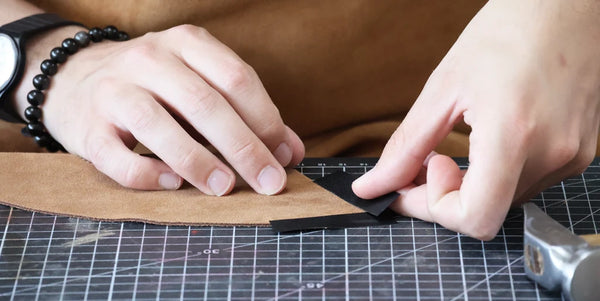
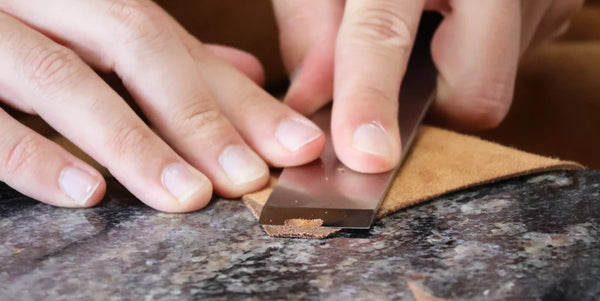
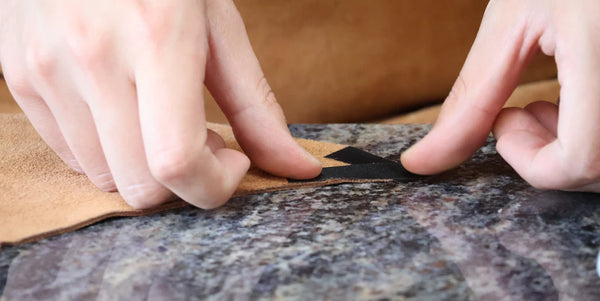
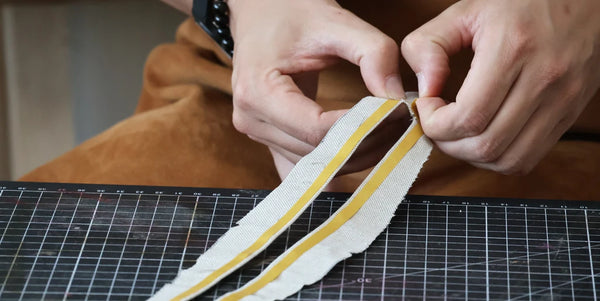
5. Skive the ends
For assembling the P5 straps with the rest of the fanny pack, thin the ends of certain pieces to reduce bulk and facilitate sewing. To prevent the leather from tearing during this operation, apply tear-resistant tape to the indicated areas of the pattern, on the right side of pieces P1, P3, and P4. Be careful not to exceed these areas, as the tape might become visible once the bag is finished.
 |
 |
 |
 |
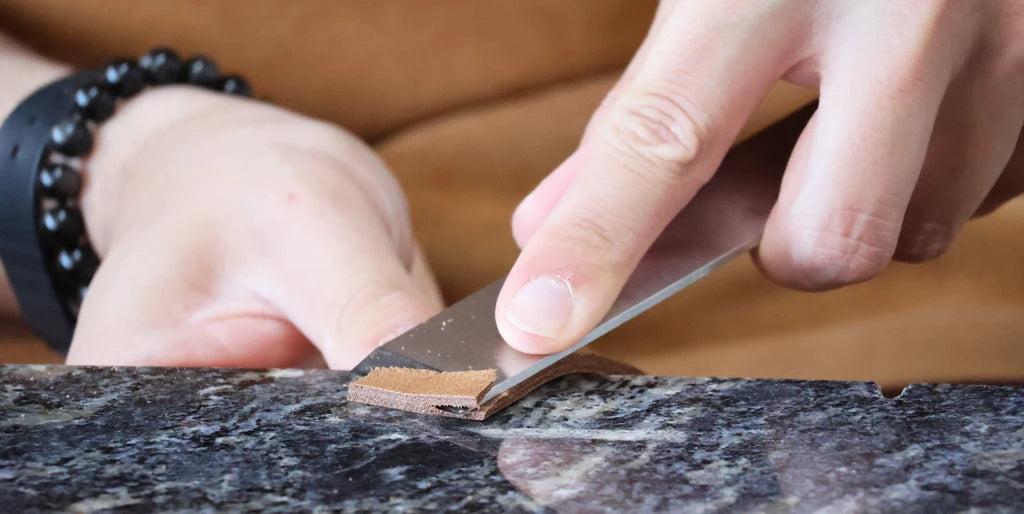
Using a sharp skiving knife, thin the back of the areas reinforced with tear-resistant tape. Don't hesitate to practice on scraps.
 |
 |
Glue tear-resistant tape onto the skived parts (on the back) to strengthen the leather.
 |
 |
Also skive one end of each P5 strap by 7 mm. Do not add tear-resistant tape to this piece given its thickness.
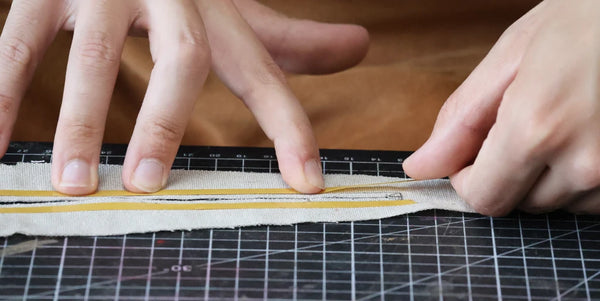
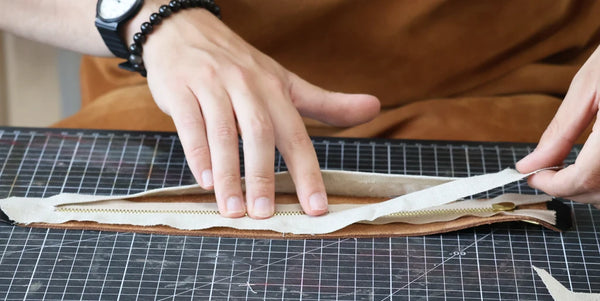
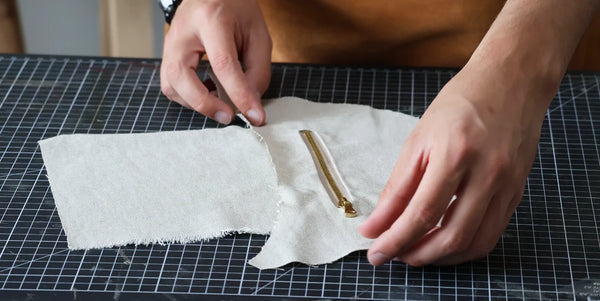
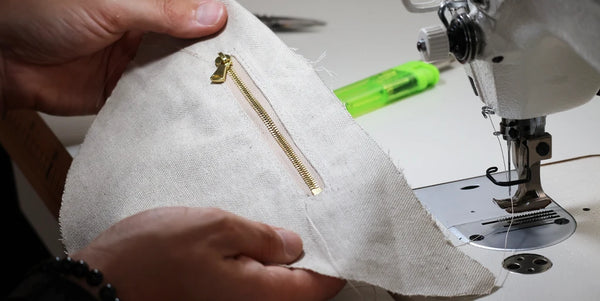
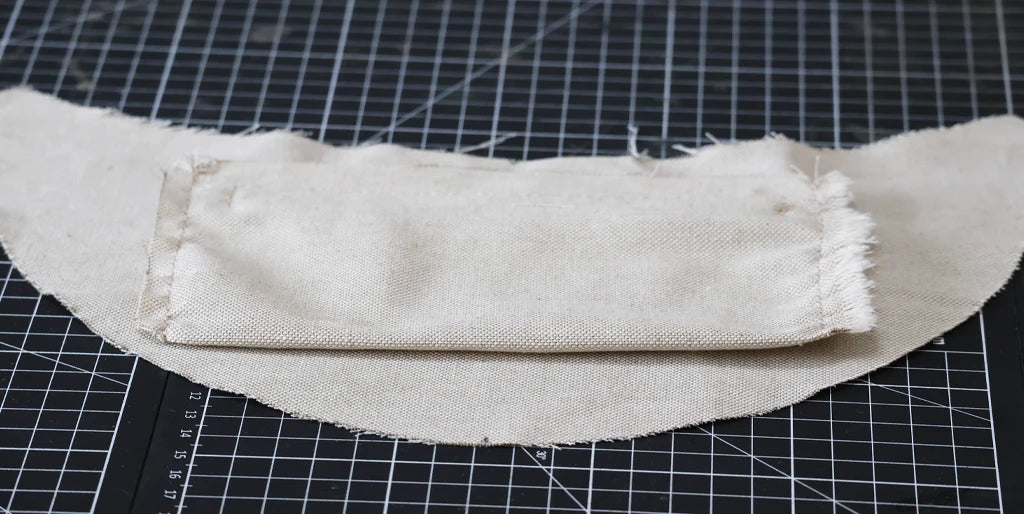
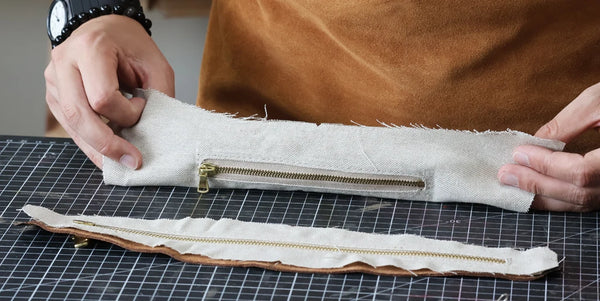
6. Glue the zipper
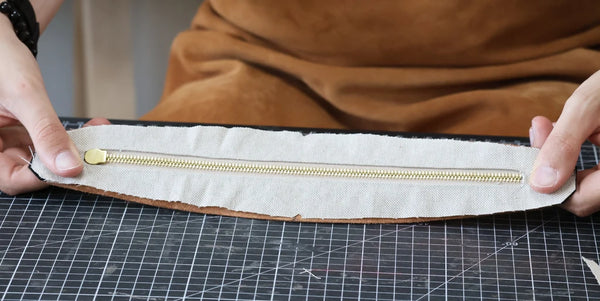
Apply double-sided tape to the back of the P4 leather piece, all around the zipper opening.
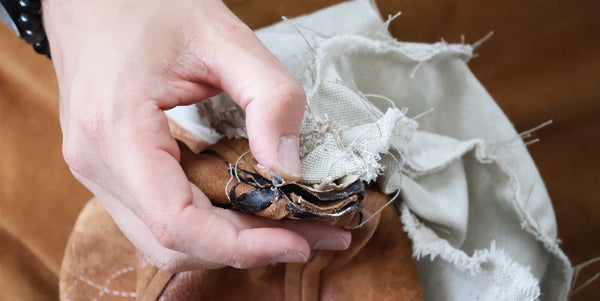
Take the 30 cm zipper and remove 2 cm of teeth using wire cutters, then burn the ends. Next, glue the P4 leather piece onto the zipper.
 |
 |
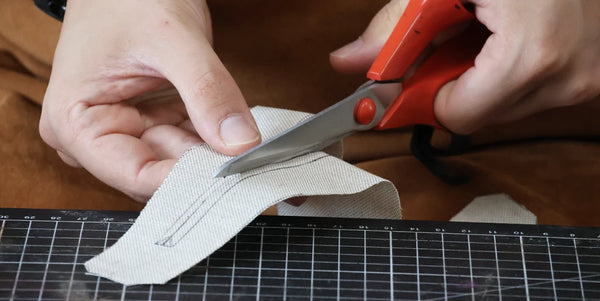
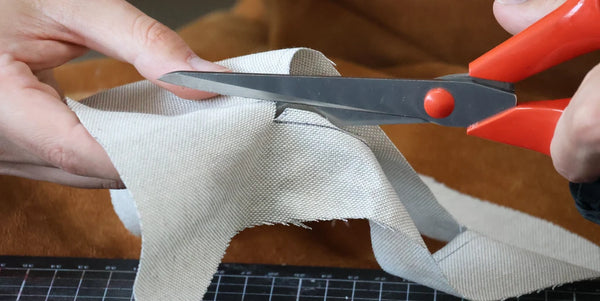
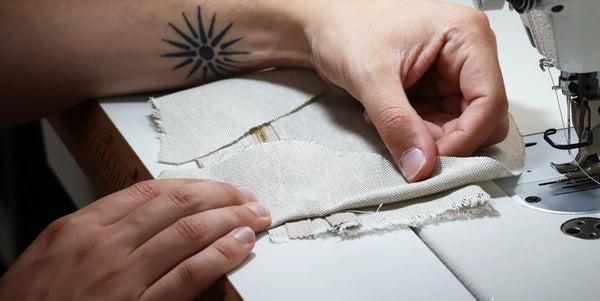
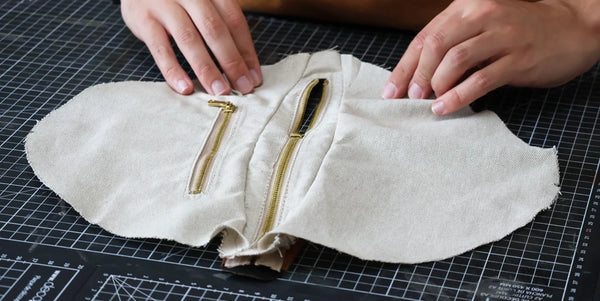
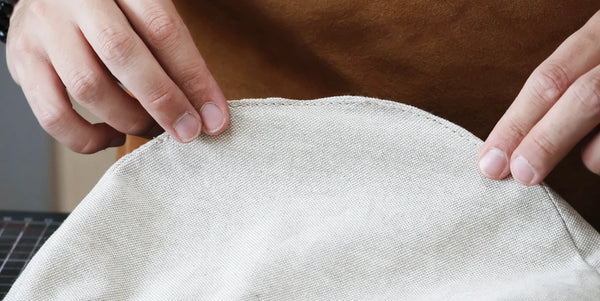
7. Open the zipper windows
Cut out the zipper windows of P2 and P4 lining pieces following the blue dashed lines.
 |
 |
Apply double-sided tape to the back of the fabric, all around the zipper window frame (brown line on the pattern). Then fold the fabric over the adhesive tape.
 |
 |
Once the adhesive is well flattened, reapply double-sided tape to the folded fabric, all around the opening.
 |
 |
Then position the back of the lining onto the back of the zipper.
 |
 |
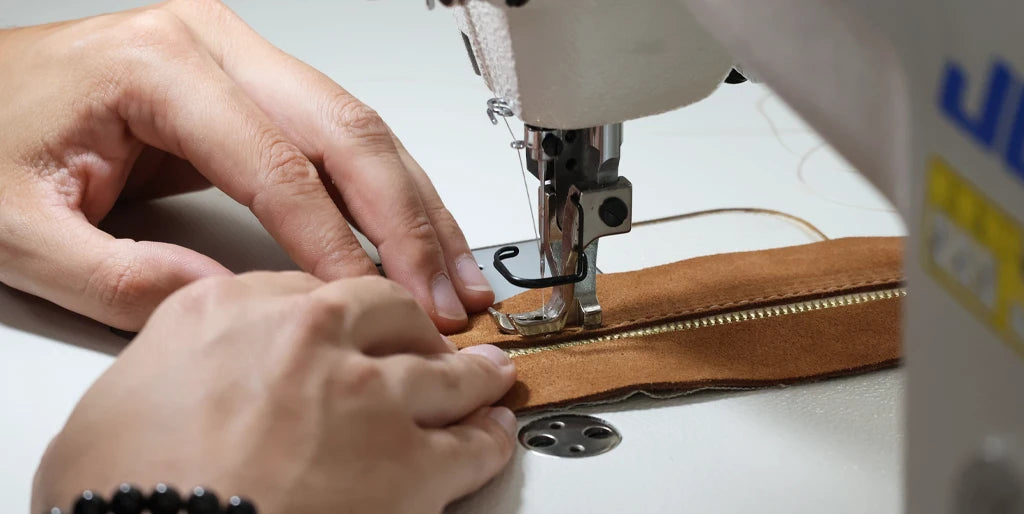
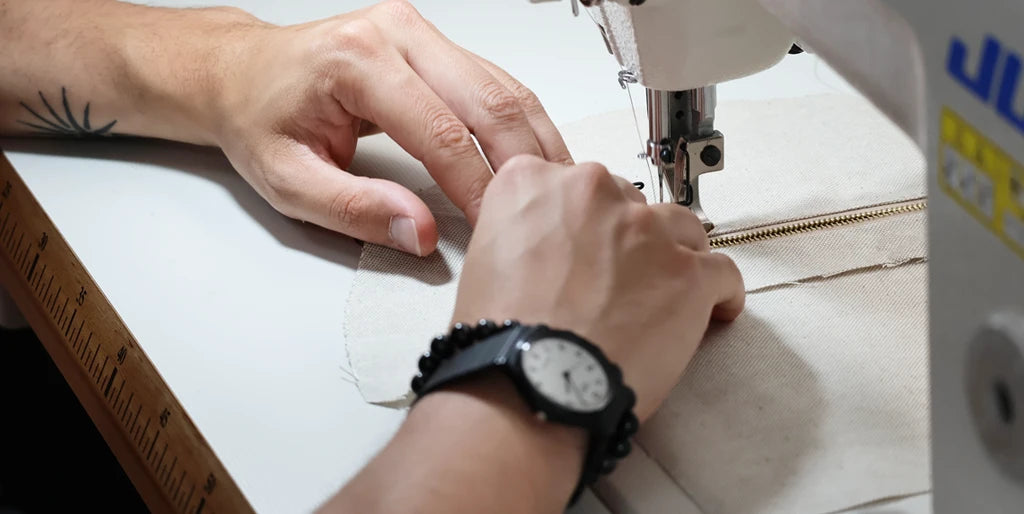
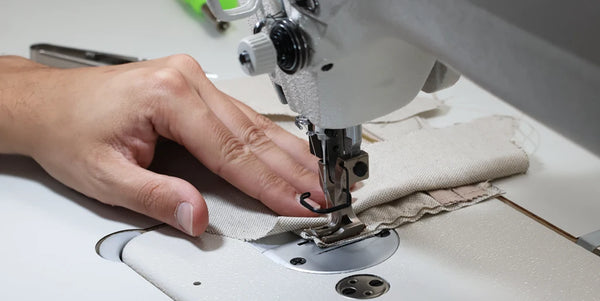
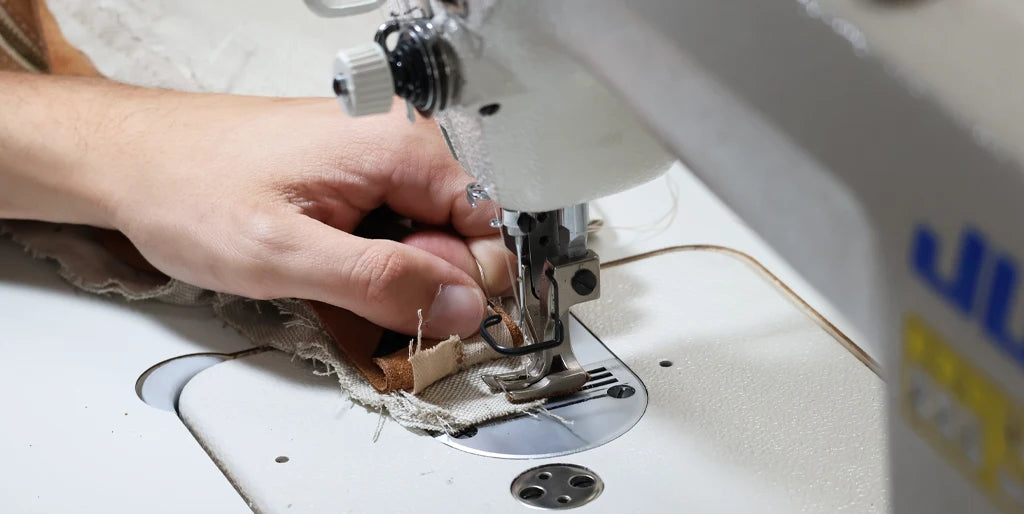
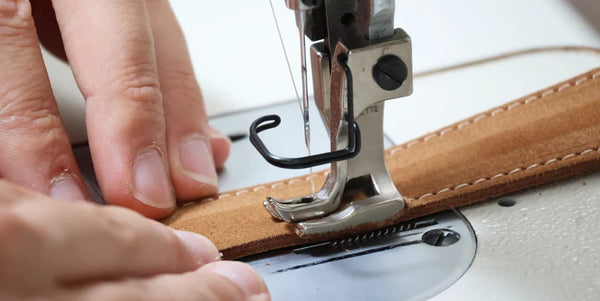
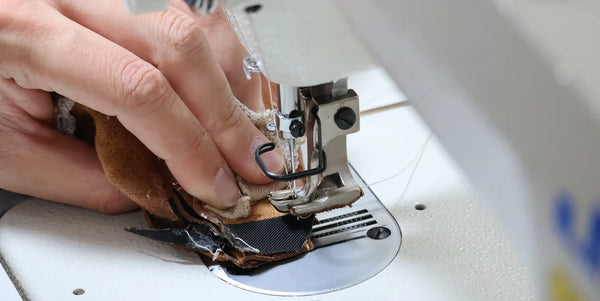
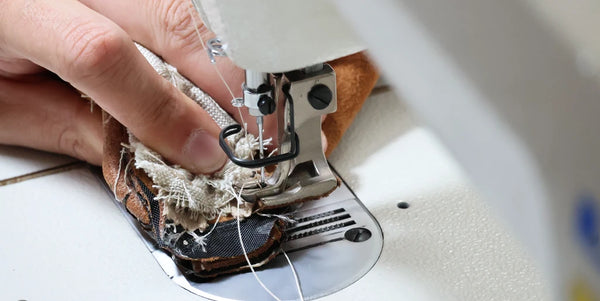
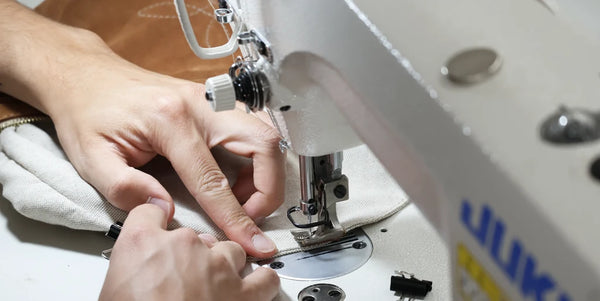
Sew all around the zipper with the zipper foot.
8. Sew the pocket
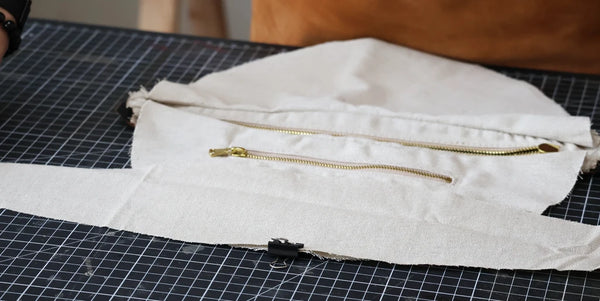
Position and then glue the 15 cm zipper onto the P2 lining piece using double-sided tape. Proceed in the same way as in the previous step.
Apply double-sided tape to the bottom of the zipper, on the back of piece P2.
Glue the bottom width of piece P6 to the zipper, right side of the fabric against the wrong side of the zipper. Piece P6 should be glued so that the rectangle extends upwards from piece P2.
 |
 |
Sew P2 and P6 to the bottom of the zipper. Pull the threads to the back of the seam, tie a knot, and burn.
Next, apply double-sided tape along the top length of the zipper. Then glue the second width of piece P6, fabric right side against the wrong side of the zipper. Glue it so that piece P6 is folded in half to form a pocket.
 |
 |
Sew the remaining three sides of the zipper. Pull the threads to the back of the seam, tie a knot, and burn the ends.
 |
 |
Then, sew the two sides of pocket P6 to close it. Be careful not to catch P2 lining.
 |
 |
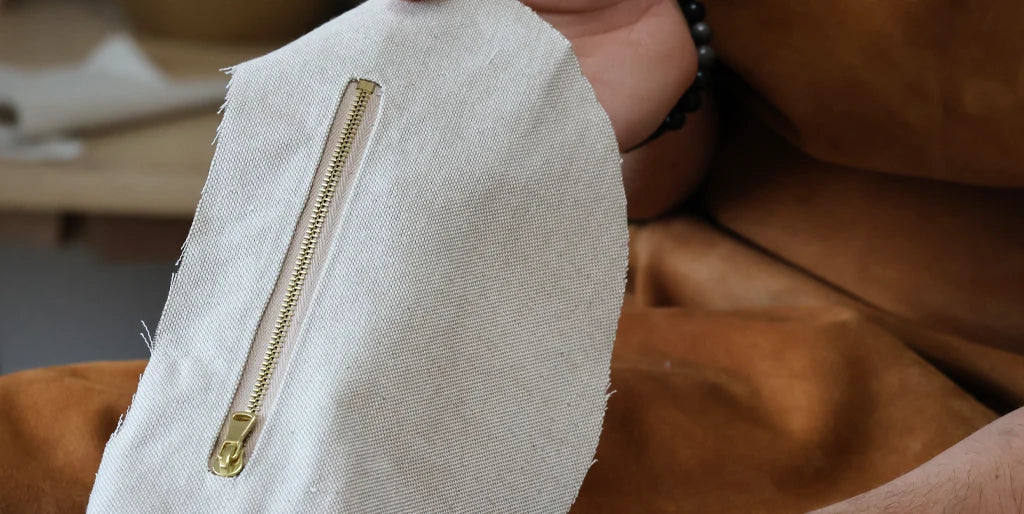
And there you have it, the interior pocket is ready.
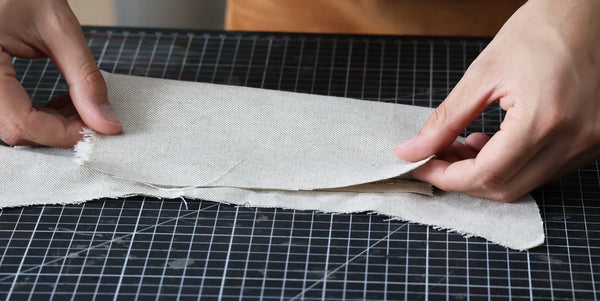
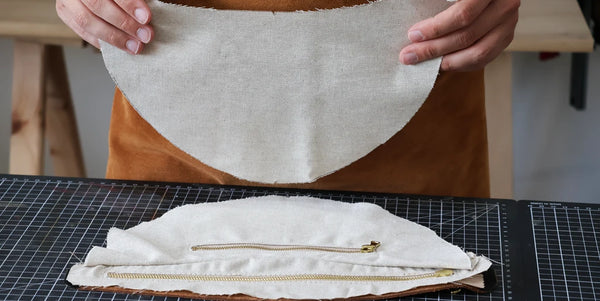
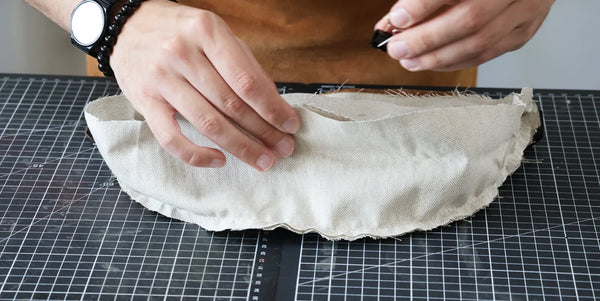
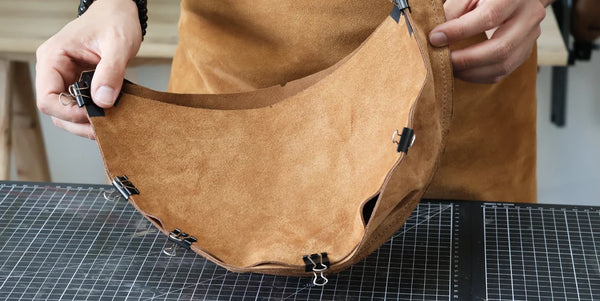
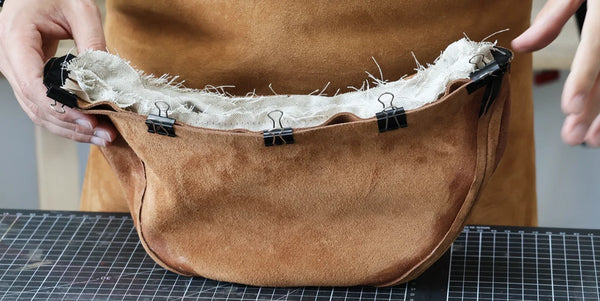
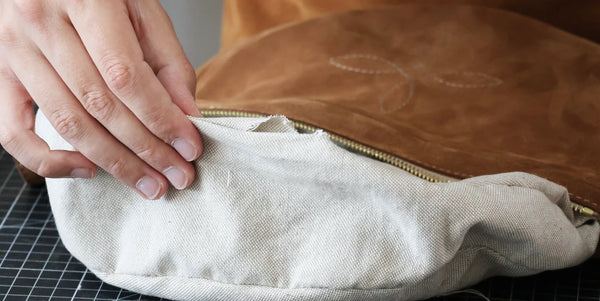
9. Assemble the lining
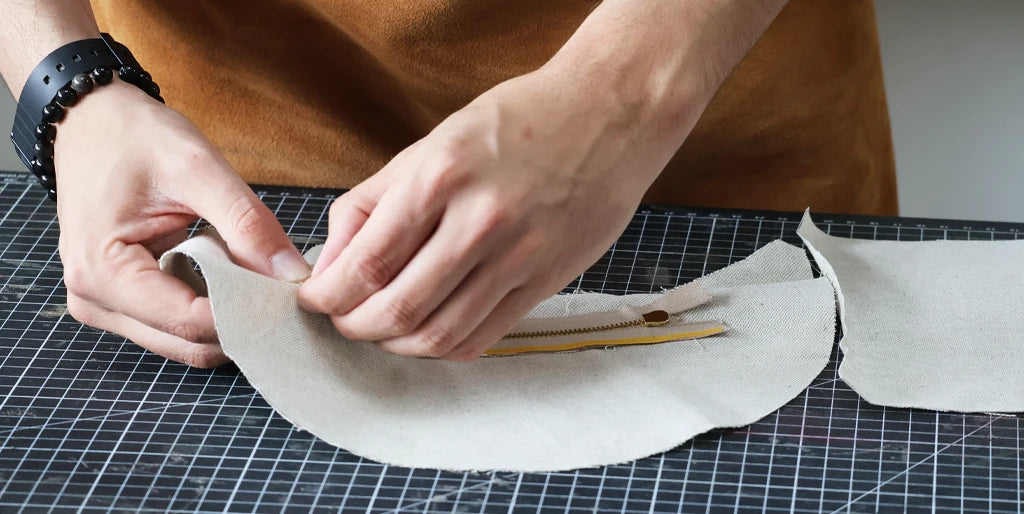
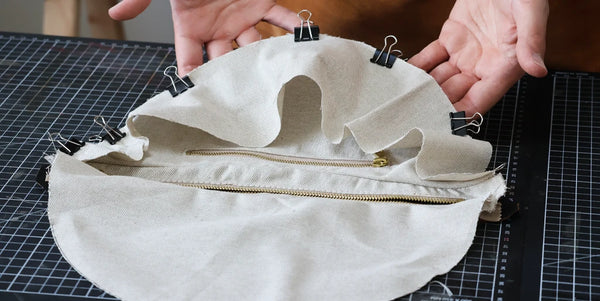
Assemble the top of P2 lining to P4 lining, right sides together. Match the centers.
 |
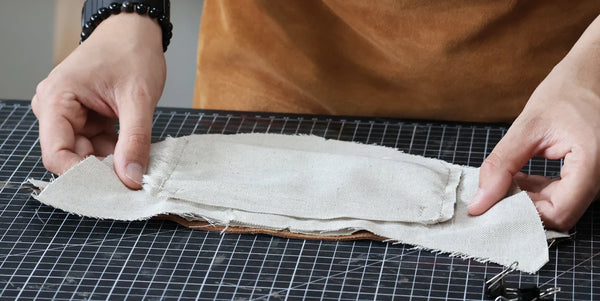 |
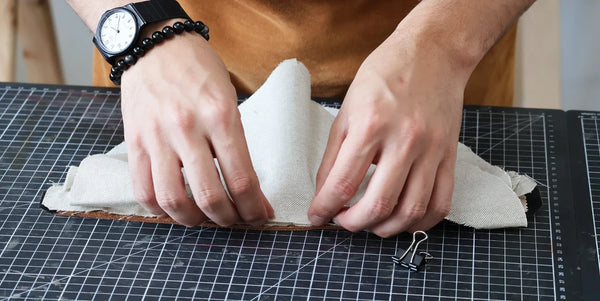
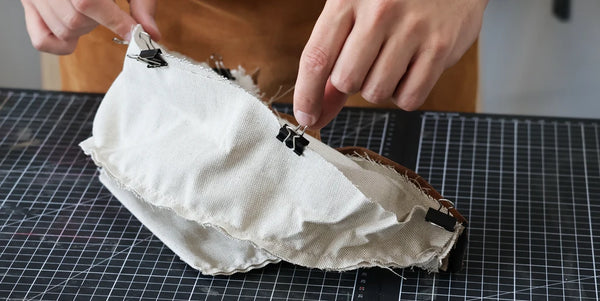
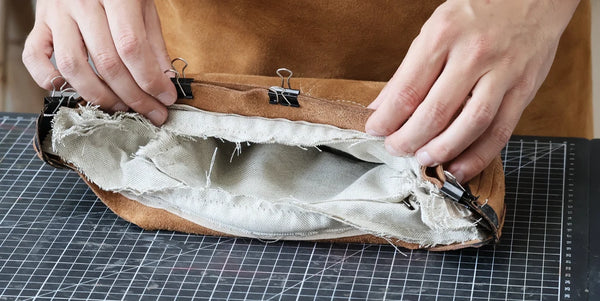
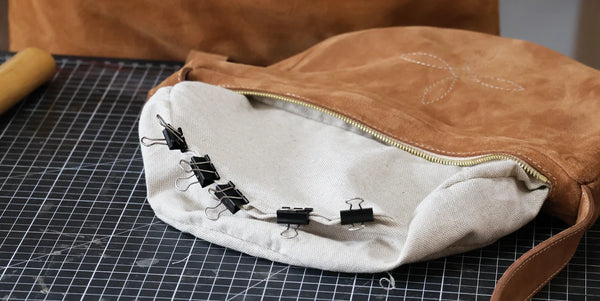
Secure only the lining with sewing clips. Be careful to align the ends of P2 with the ends of P4.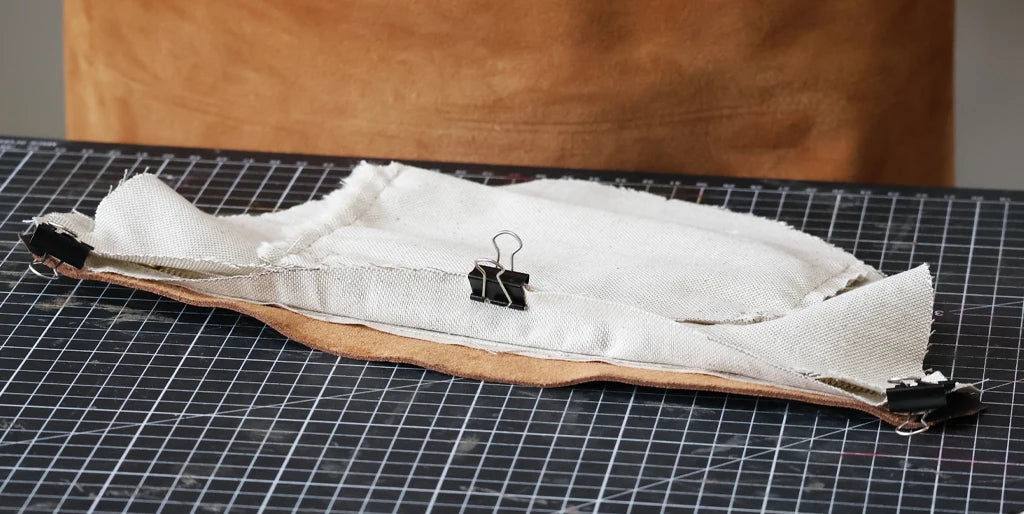
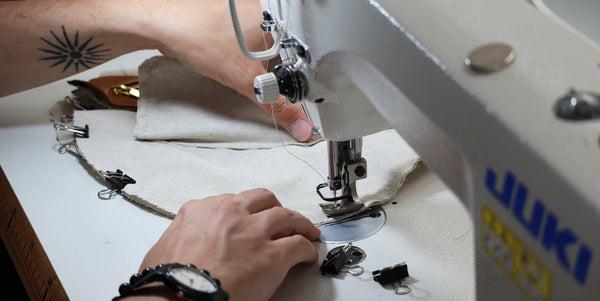
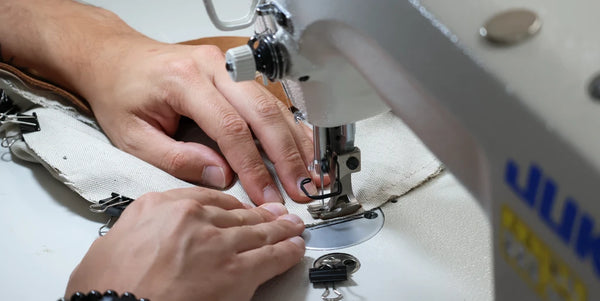
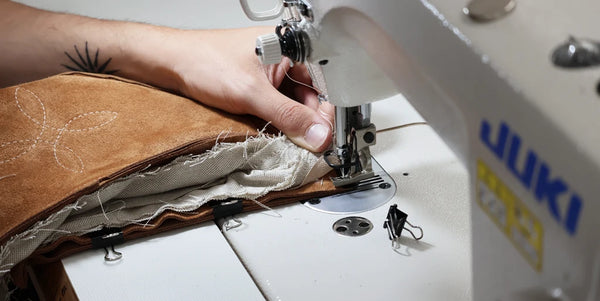
Sew this length without catching the leather.
 |
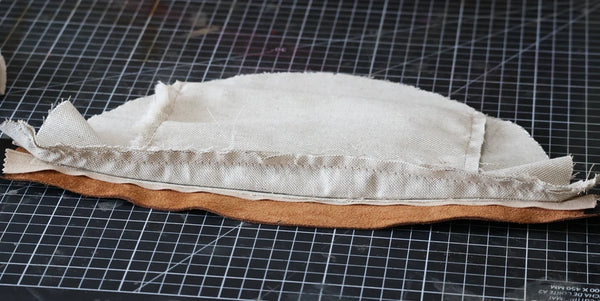 |

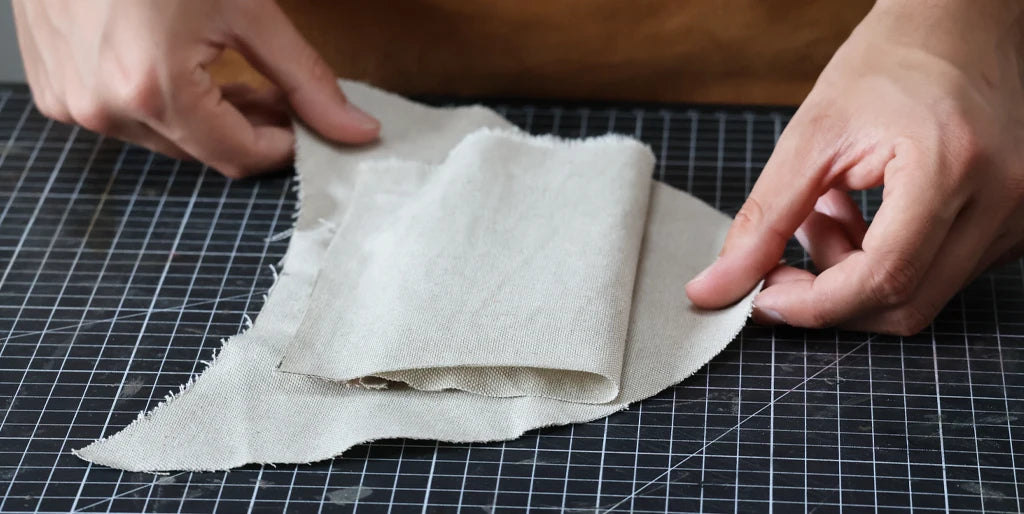
Assemble the top of P1 lining to the remaining length of P4 lining (right sides together). Match the centers and ends, then secure with sewing clips.
 |
 |
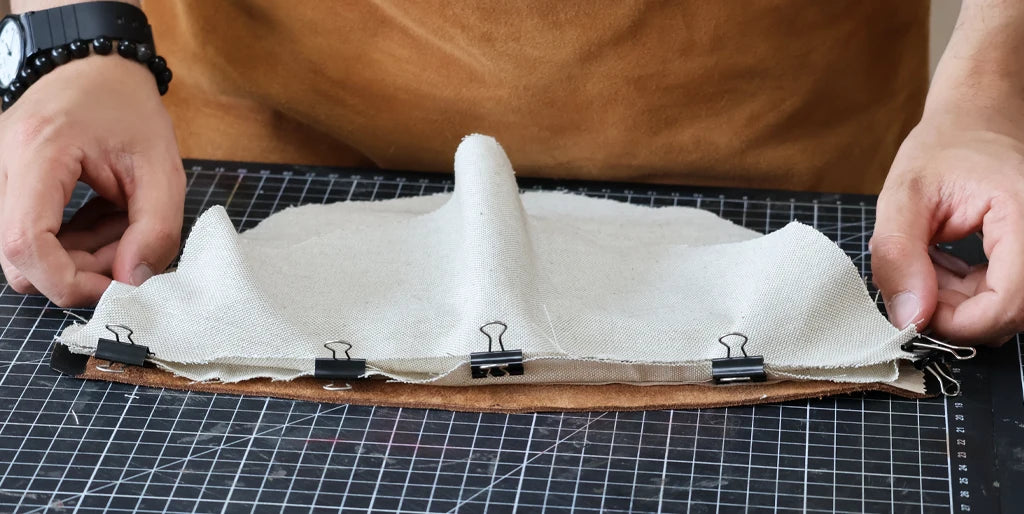
Sew this length without catching the leather.
 |
 |
Assemble lining piece P3 to the bottom of P2, right sides together. Match the centers and ends, then secure with sewing clips. Then sew 7 mm from the edge.
 |
 |
 |
 |
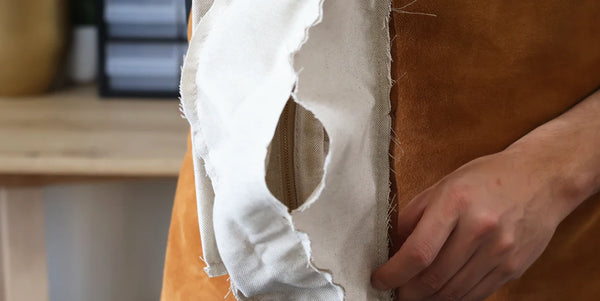
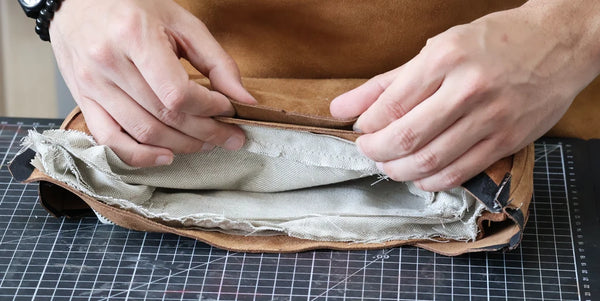
Open the zipper to be able to turn the fanny pack right side out at the end, and assemble the remaining length of P3 lining to the bottom of P1 lining. Match the centers and ends, then secure with sewing clips.
 |
 |
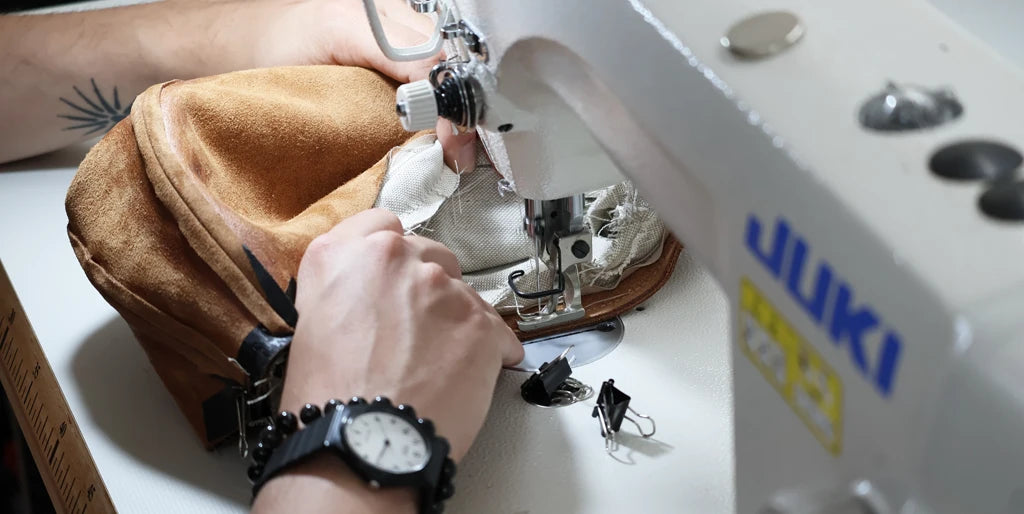
Sew, leaving an opening of about 10 cm to turn the fanny pack right side out at the end.
 |
 |
Finally, sew the two ends of the lining together to close it.
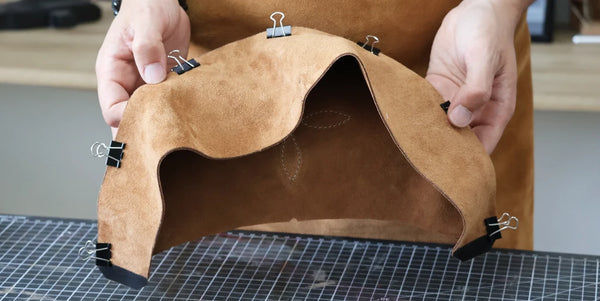
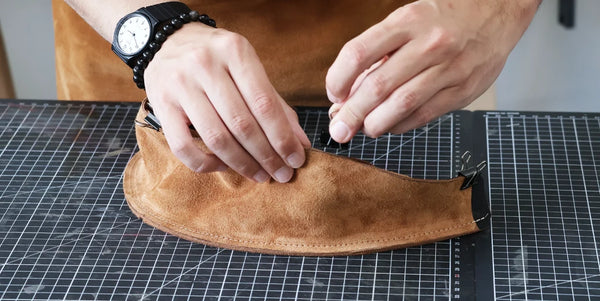
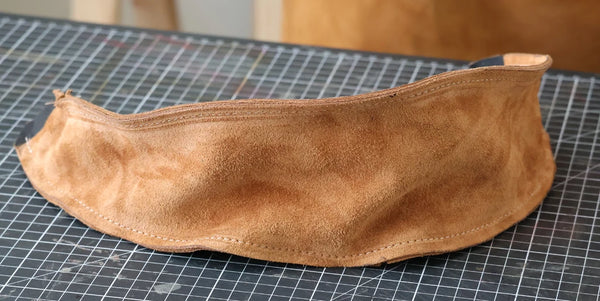
10. Assemble the leather
Assemble one length of P3 leather to the bottom of one of the P1 leather pieces, right sides together. Match the centers and sides, then secure with sewing clips. Sew 7 mm from the edge.
 |
 |
 |
 |
Assemble the bottom of the second P1 piece to the remaining length of the P3 leather piece, right sides together. Match the centers and sides, then sew 7 mm from the edge.
 |
 |
 |
 |
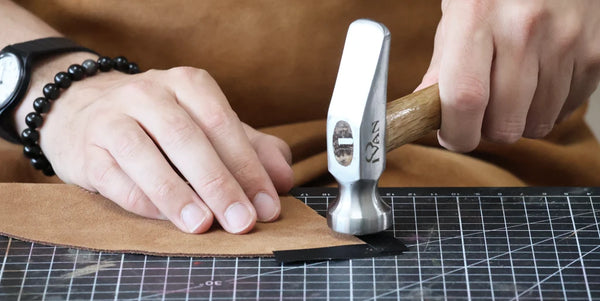
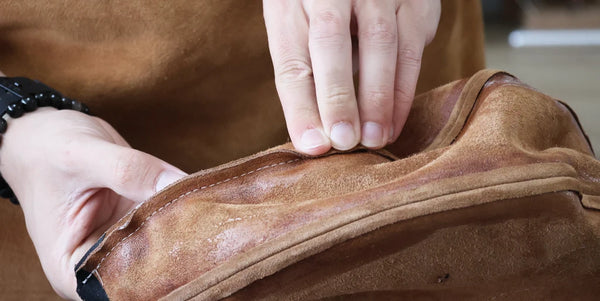
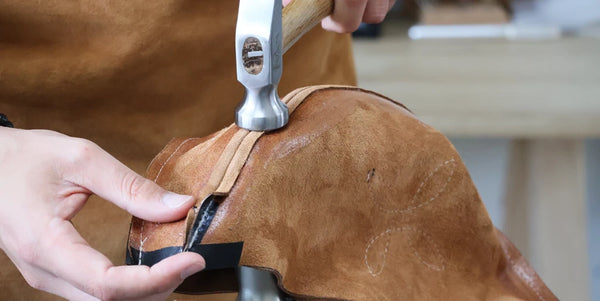
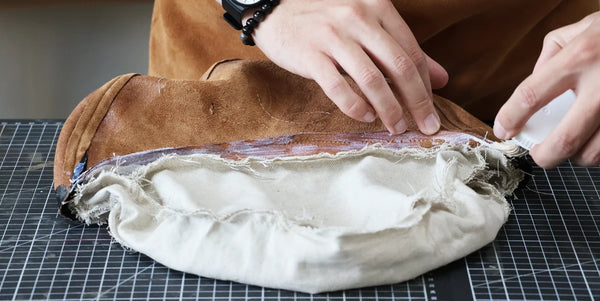
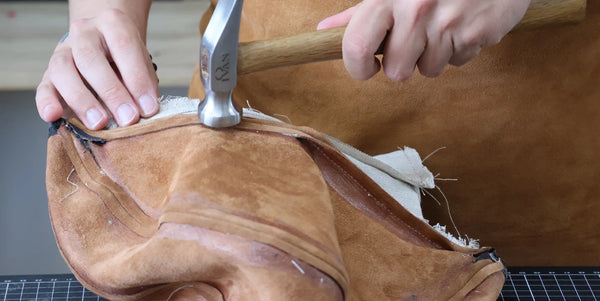
11. Open the seams
Apply contact cement for leather to the seams, then let the glue soak in.
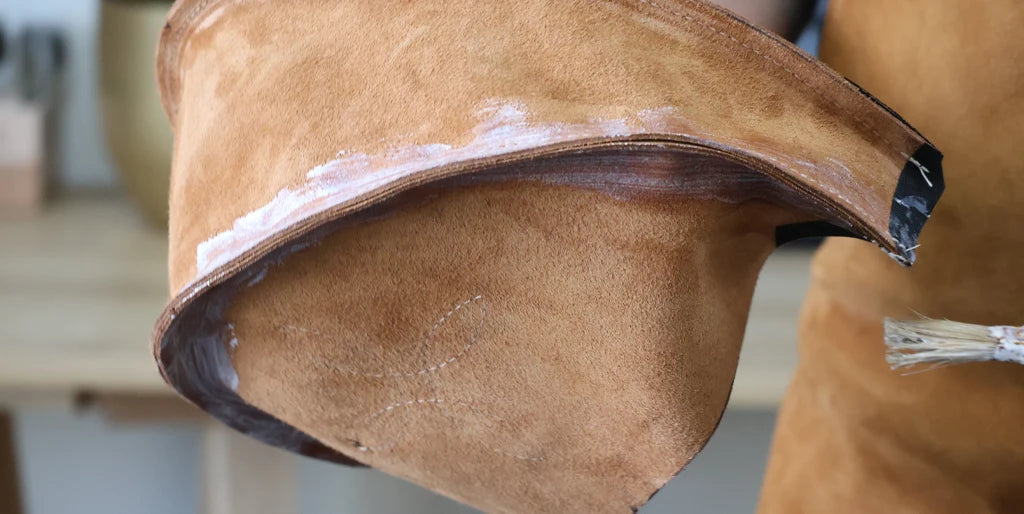
Open the seams and hammer them flat with a mallet.
 |
 |
|
Unopened seams:

|
Opened seams:

|
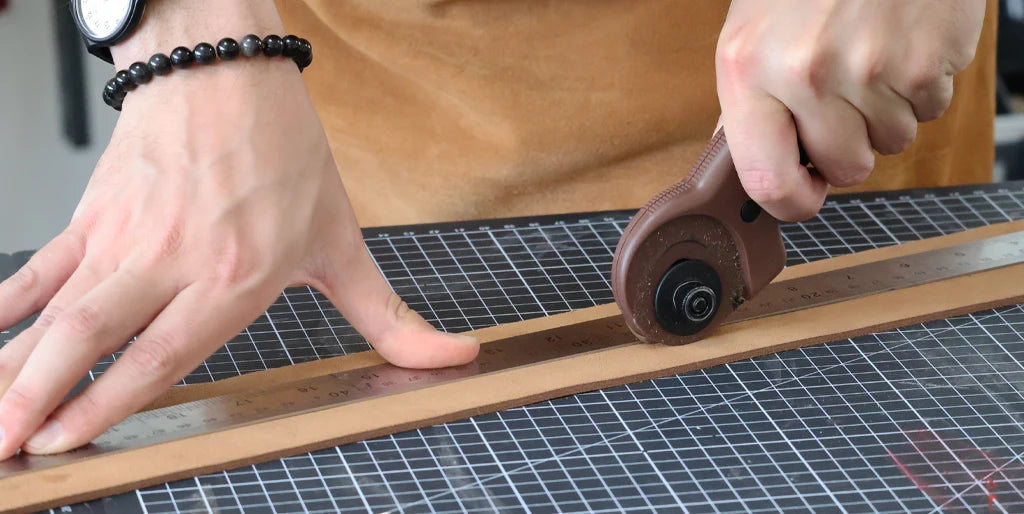
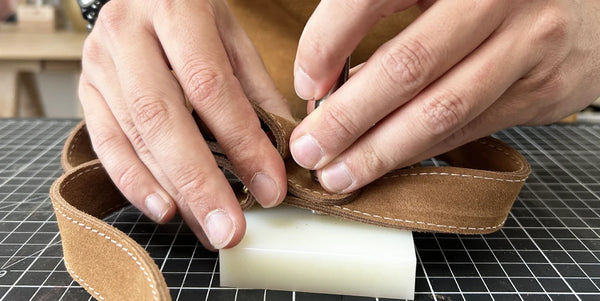
12. Work the straps
On the untrimmed end of each strap, cut the tip rounded or leave it straight, depending on preference.
 |
 |
Topstitch all around the straps 3 mm from the edge.
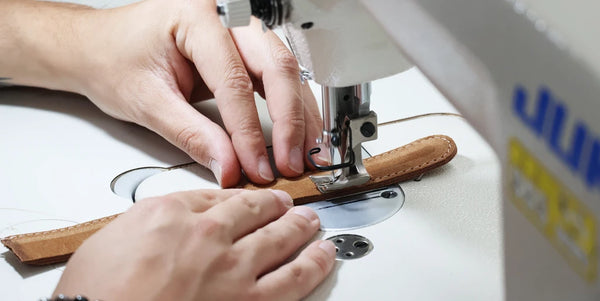 |
 |
OPTION: It is possible to work the leather edges. Be sure to do this at this stage for the straps, as well as at step 6 for the P4 leather piece, at the zipper opening.
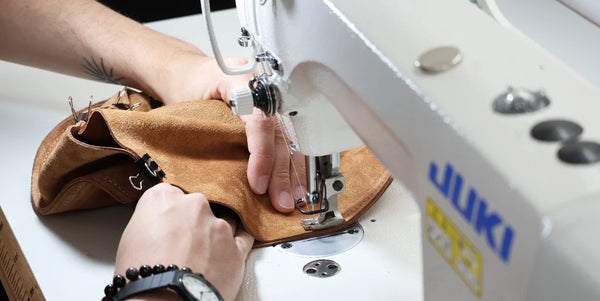
13. Assemble the leather and lining
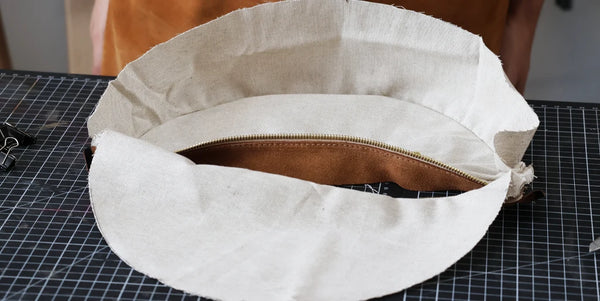
Assemble leather piece P4 right side to right side onto one of the P1 pieces. Pay attention to the direction of the zipper depending on the P1 leather with pattern. Match the centers and secure with sewing clips.
 |
 |
Sew this length (leather only). Start and stop sewing at the marks indicated on the pattern.
Assemble the other side of P4 leather to the other P1 piece, then sew.
 |
 |
Apply glue to the seams, then flatten them with a hammer.
 |
 |
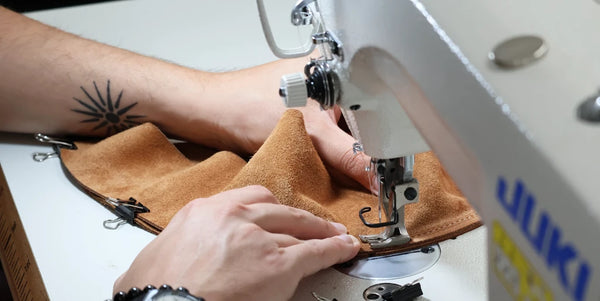
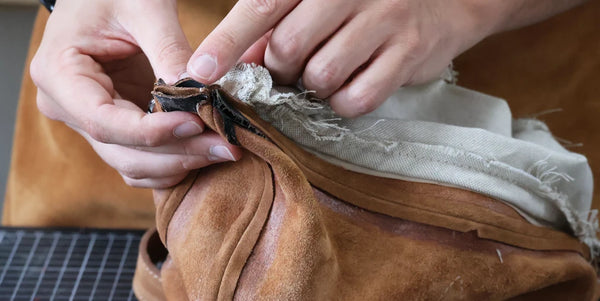
14. Sew the straps
Place the 92 cm strap inside the bag at the end of the zipper. The right side of the strap should face piece P3. Center it well and align it edge to edge with the rest.
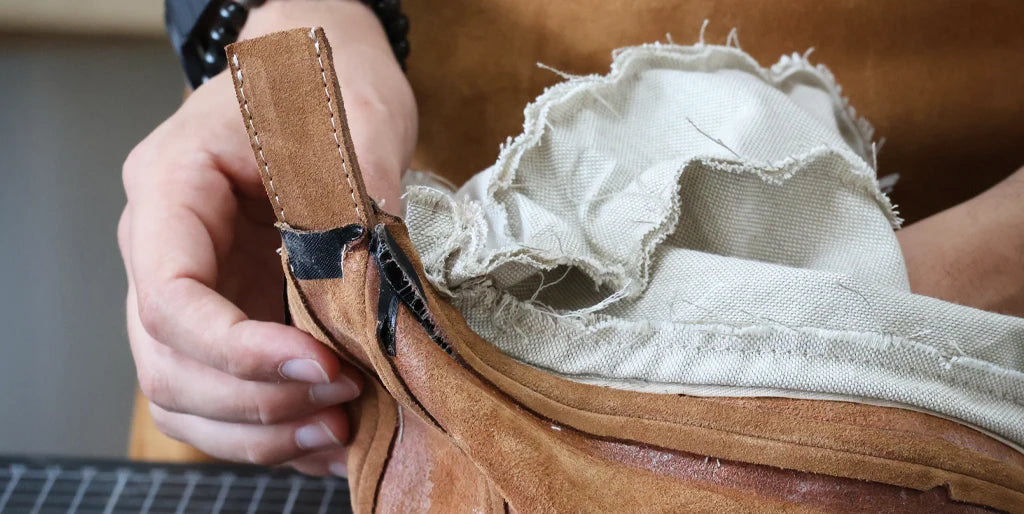
Stitch 2.5 cm following the markings indicated on the pattern (see P3 and P4).
 |
 |
Proceed in the same way with the second 22 cm strap, on the other side.
 |
 |
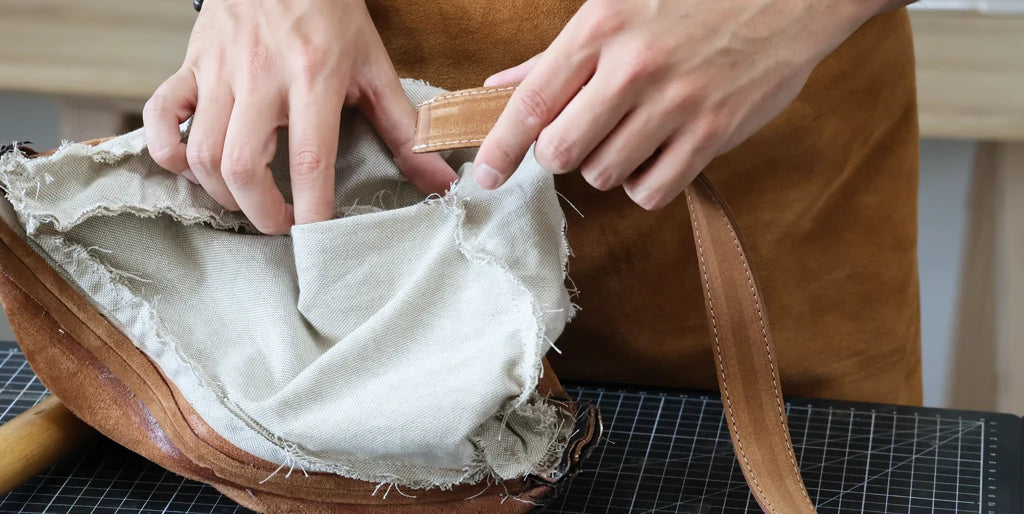
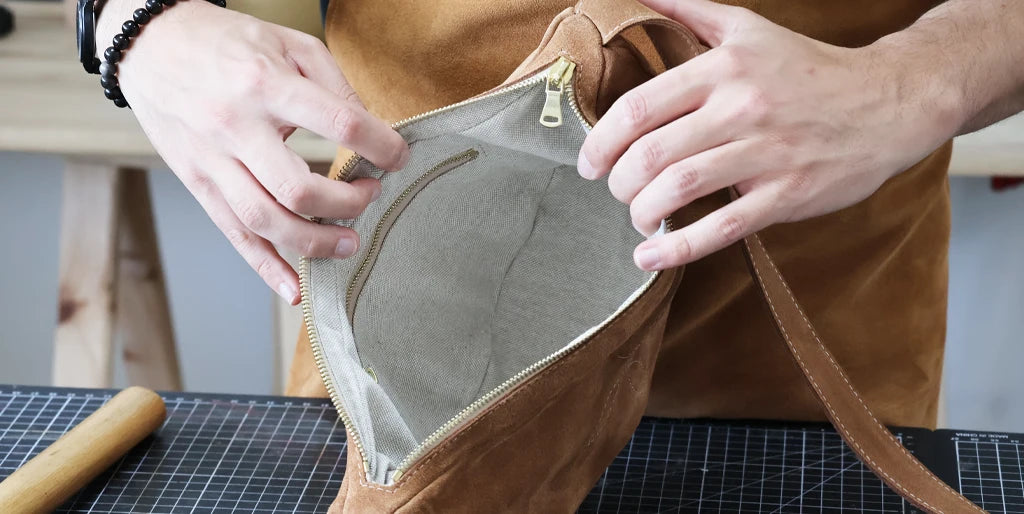
15. Turn the fanny pack right side out
Turn the fanny pack right side out through the 10 cm opening left in the lining. Pull the straps to make them stand out well.

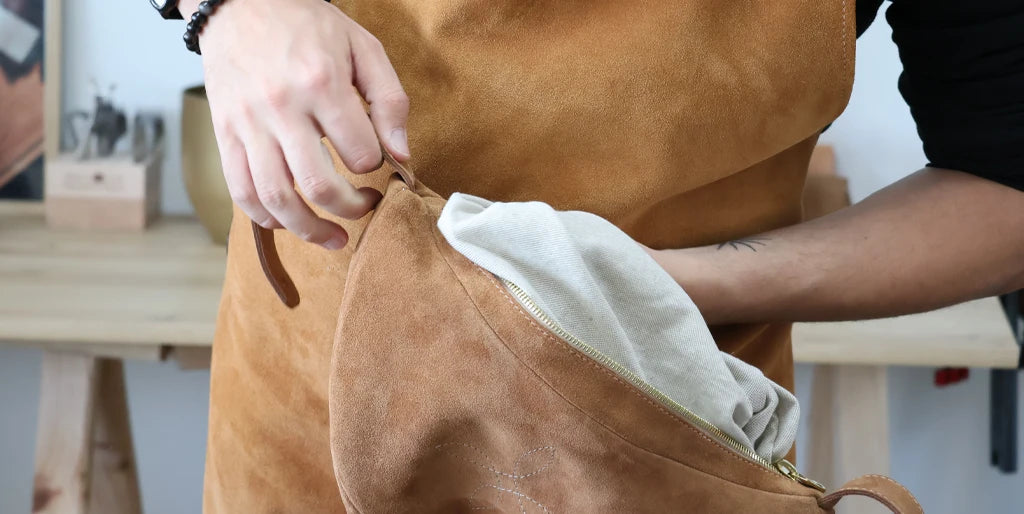
Roll the seams to position them correctly.

16. Stitch the lining opening
Stitch the lining opening by hand or machine.
 |
 |
 |
 |
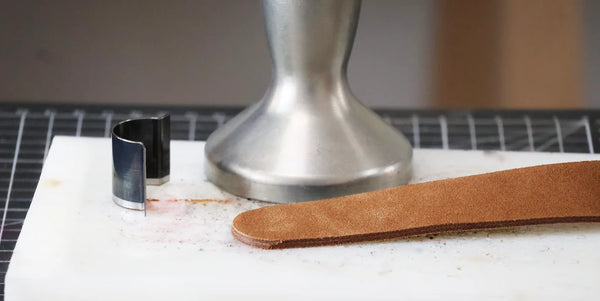
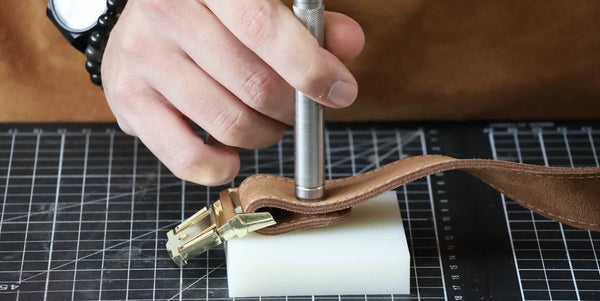
17. Finish the straps
On the straps, punch holes indicated on the pattern with a Ø 3 mm punch.

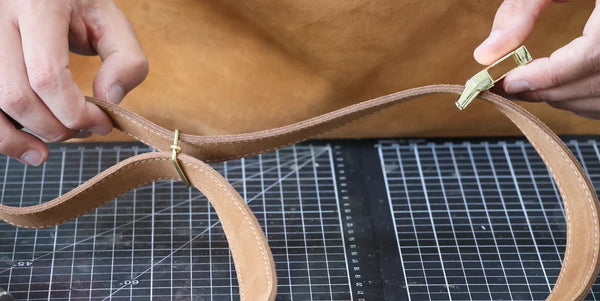
On the 22 cm strap, insert the male part of the clip clasp and secure it with a T4 rivet.
 |
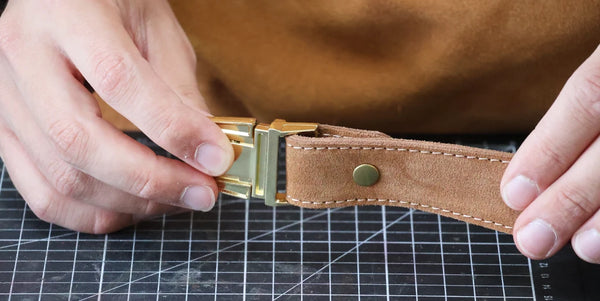 |
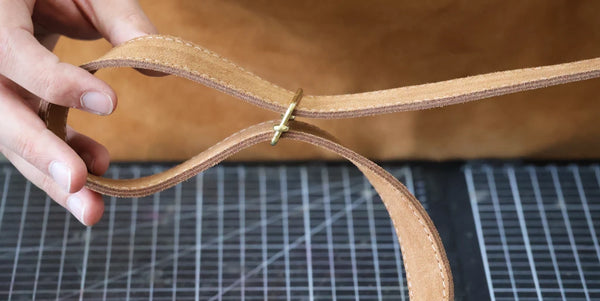
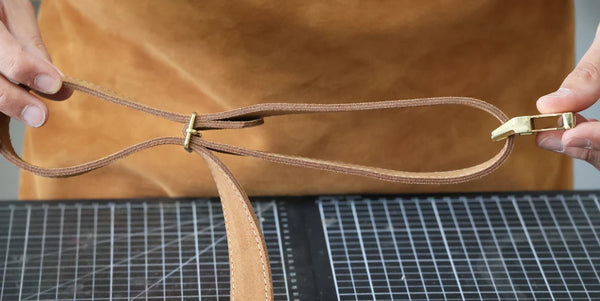
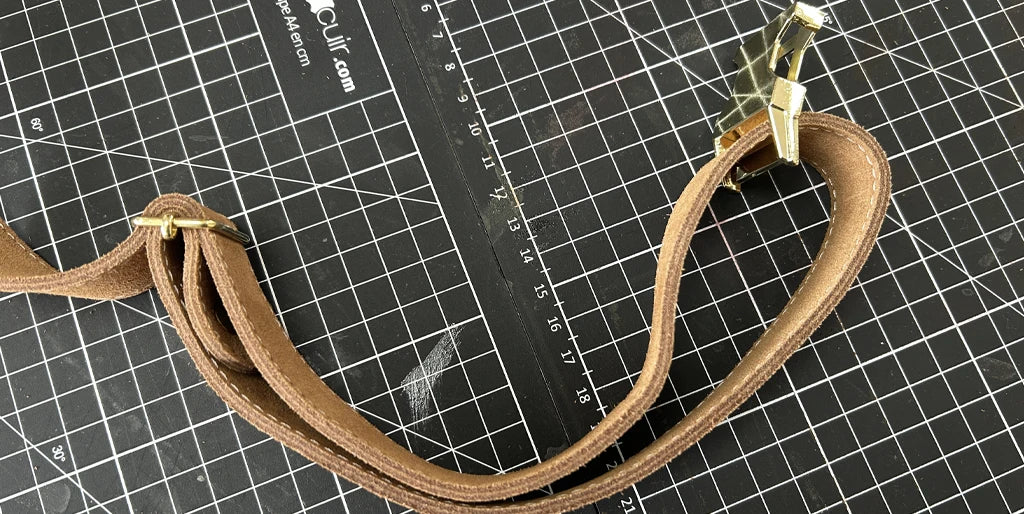
On the 92 cm strap, create an adjustable strap:
- Thread the strap through both sides of the sliding buckle.
- Then thread it through the female part of the clip clasp.
- Re-thread the end of the strap through the sliding buckle (as shown in the photo).
- Then secure the end with a T4 rivet.
 |
 |
 |
 |
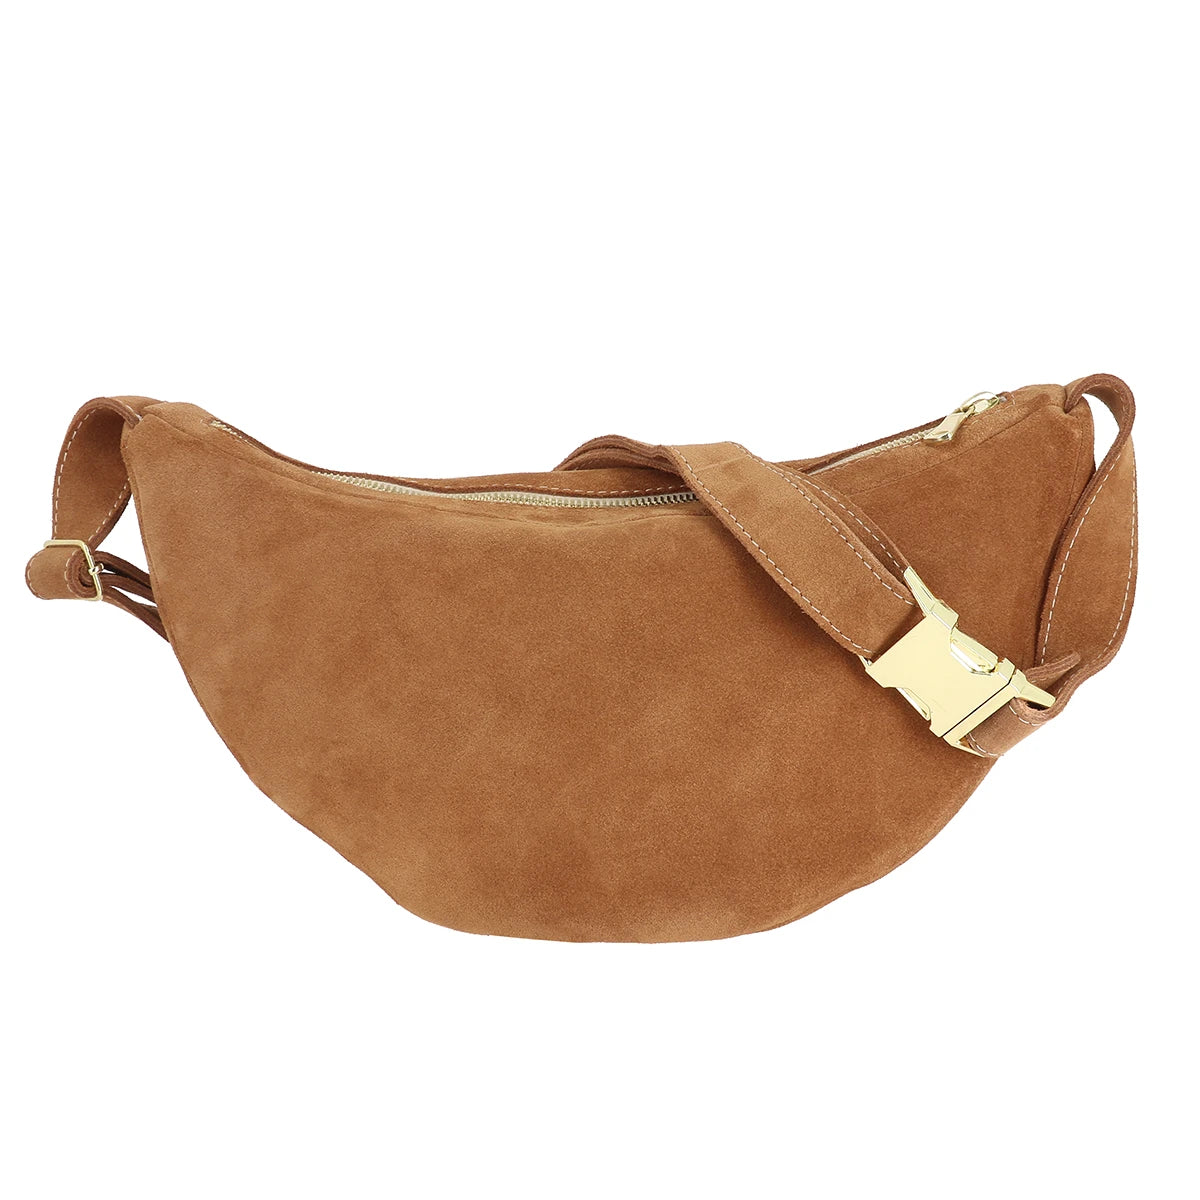
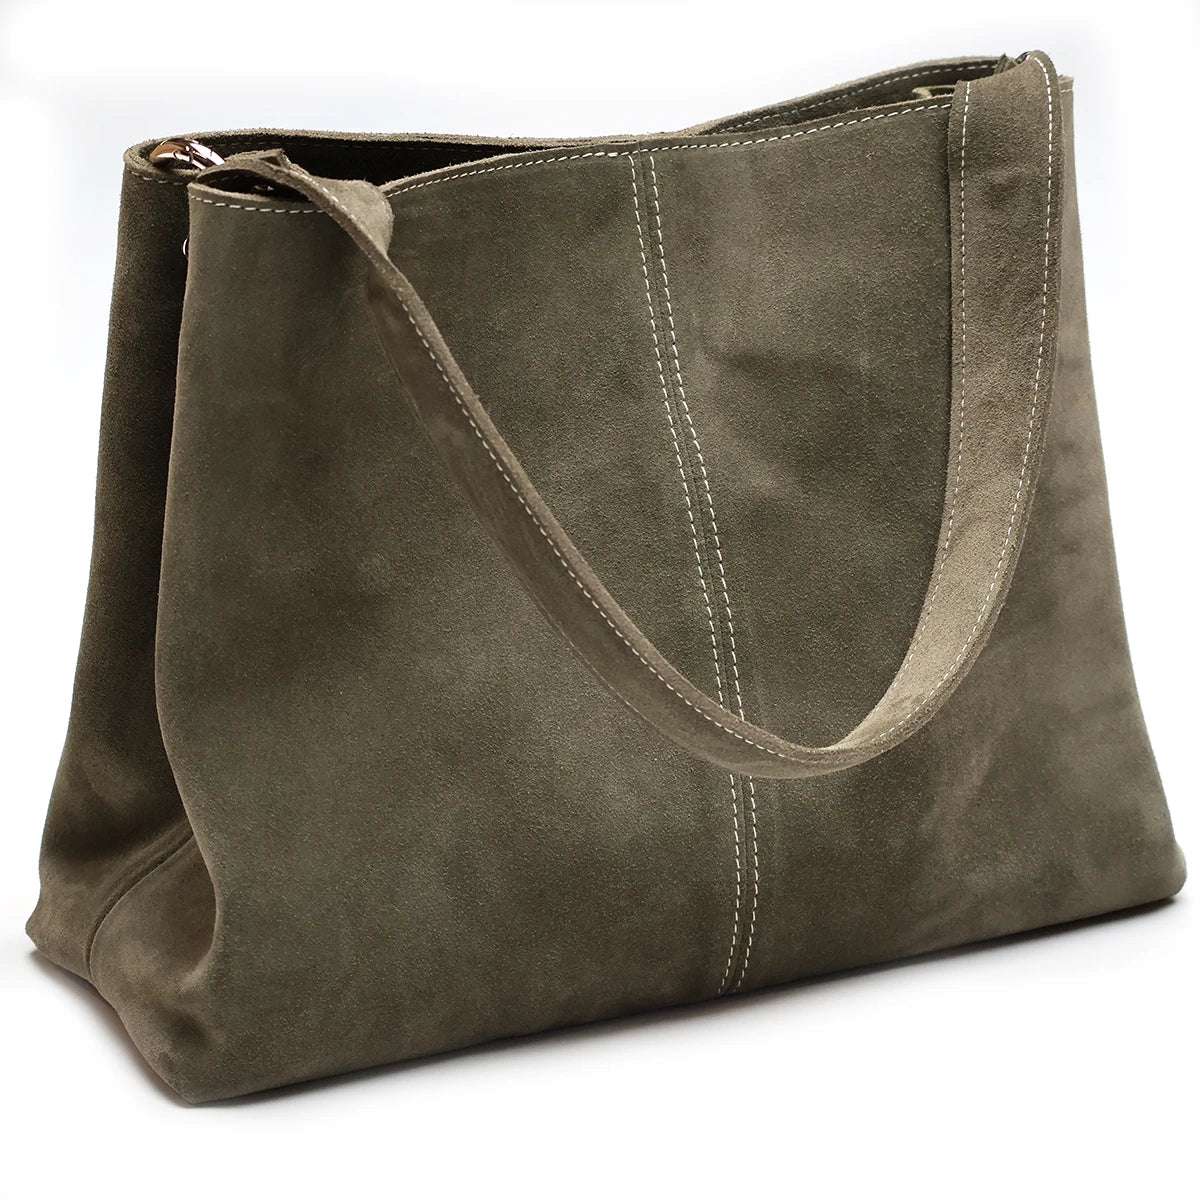
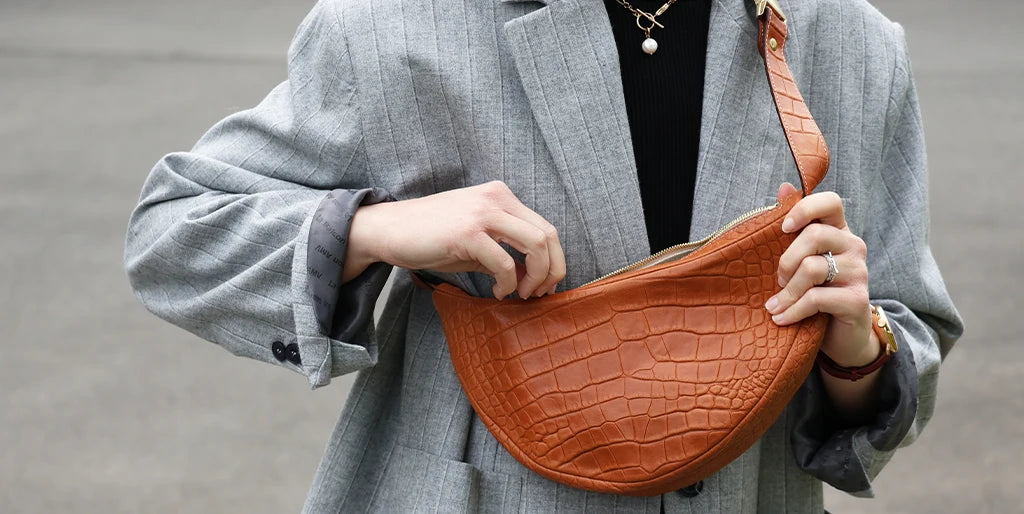
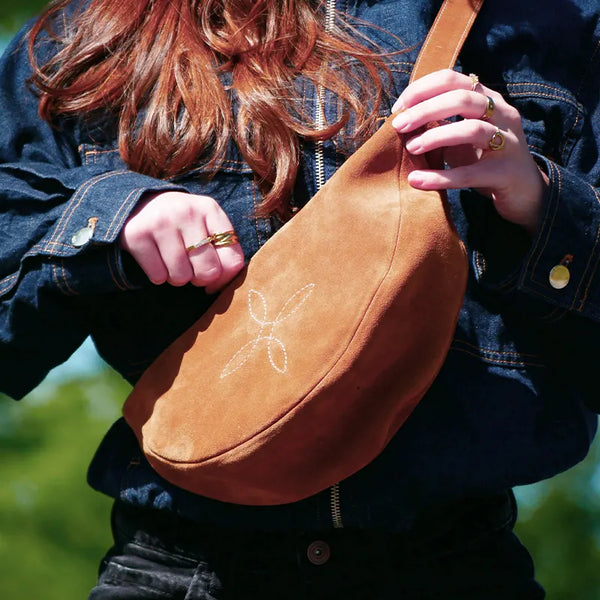
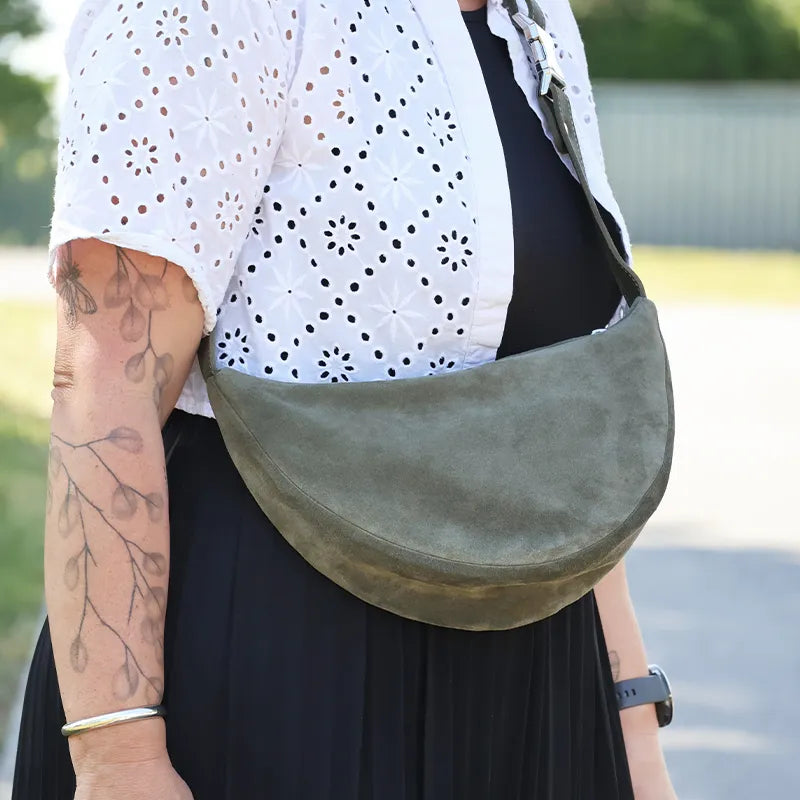
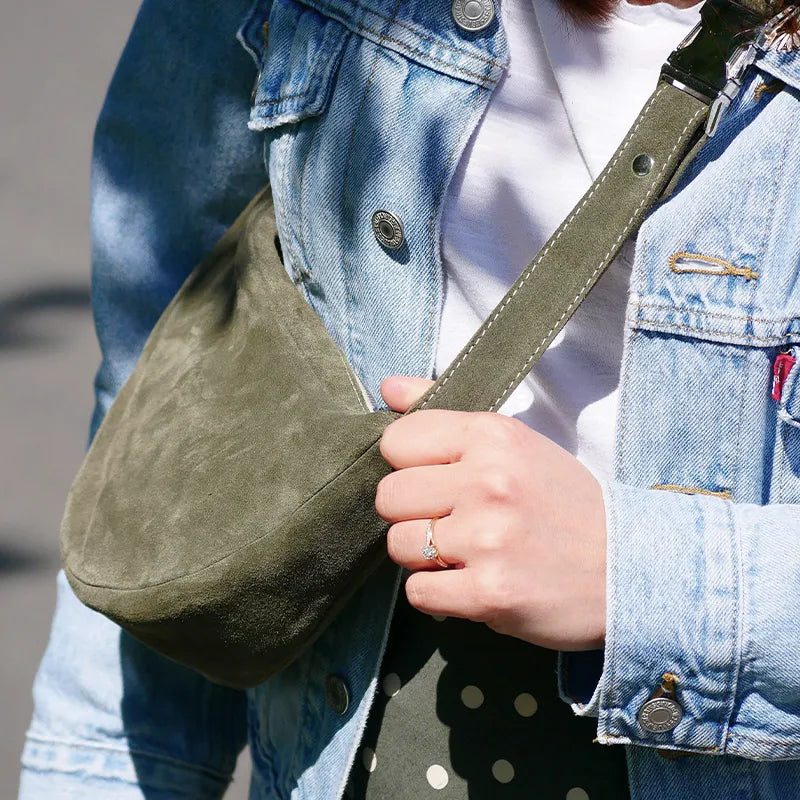
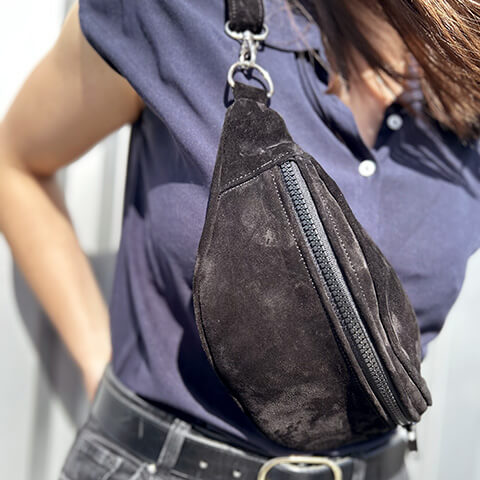
🎉 The fanny pack is finished
Congratulations, the "Luna" fanny pack is ready to be worn! Elegant, modern, and handmade, it can be crafted in a wide range of leathers, colors, and finishes, according to your desires. It's an ideal project for improving your leatherworking skills and creating a unique piece.
Tip: For suede leather, we recommend waterproofing the bag with a water-based spray.
 |
 |
 |
 |
 |
 |
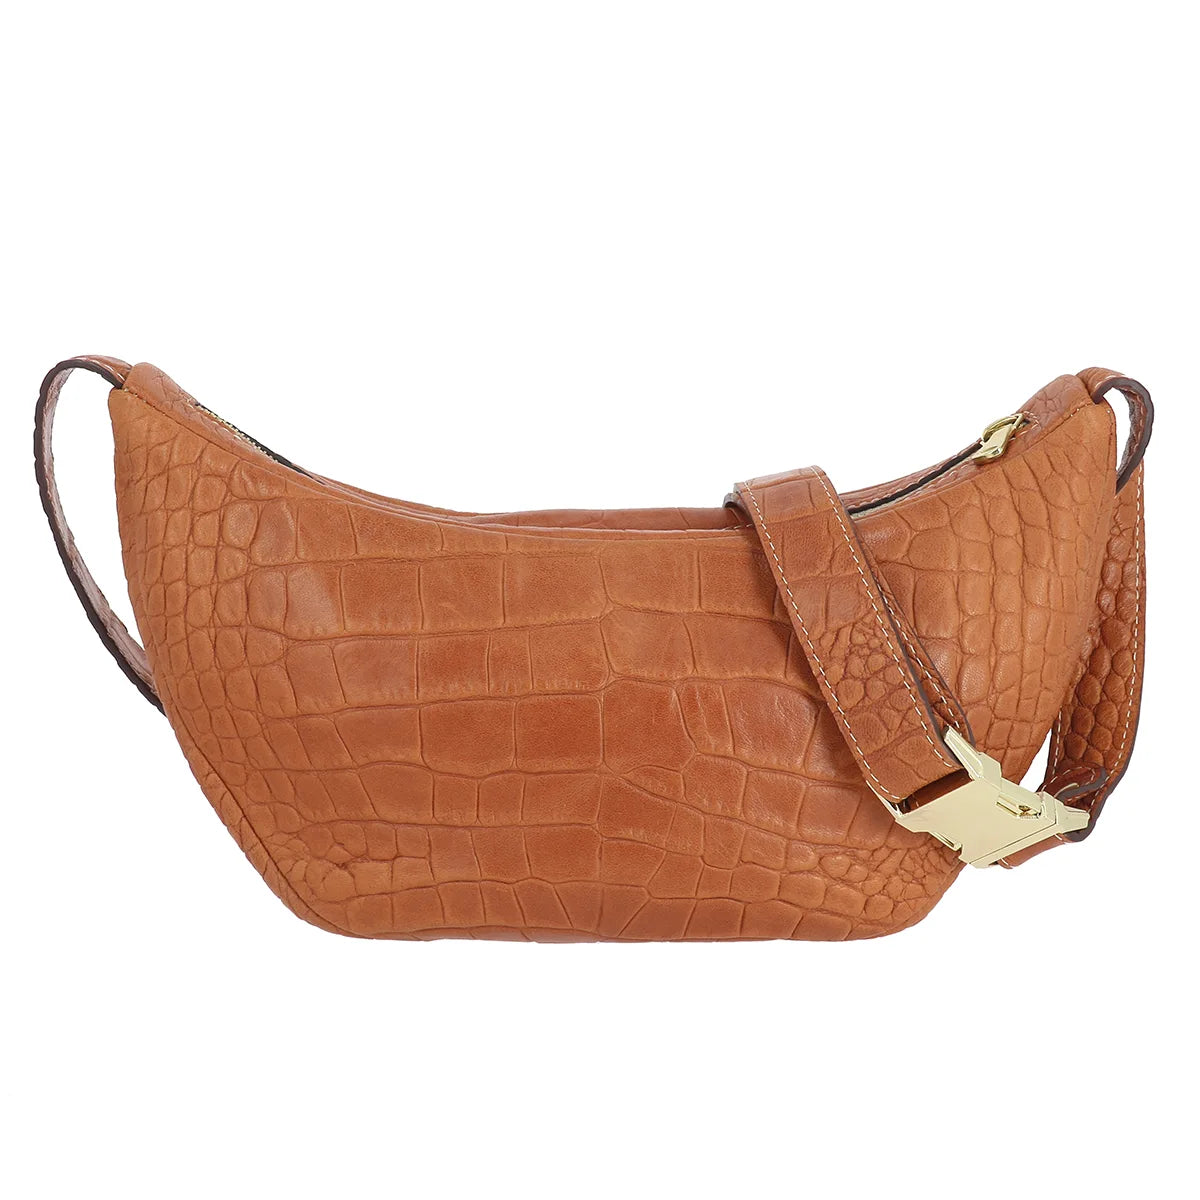
Another version of the fanny pack?
Discover the first version of our leather fanny pack, a model that is both practical and elegant. Available in two sizes, it adapts to all your needs and desires.
 |
 |

