


MATERIALS NEEDED
To complete this tutorial, you will need:
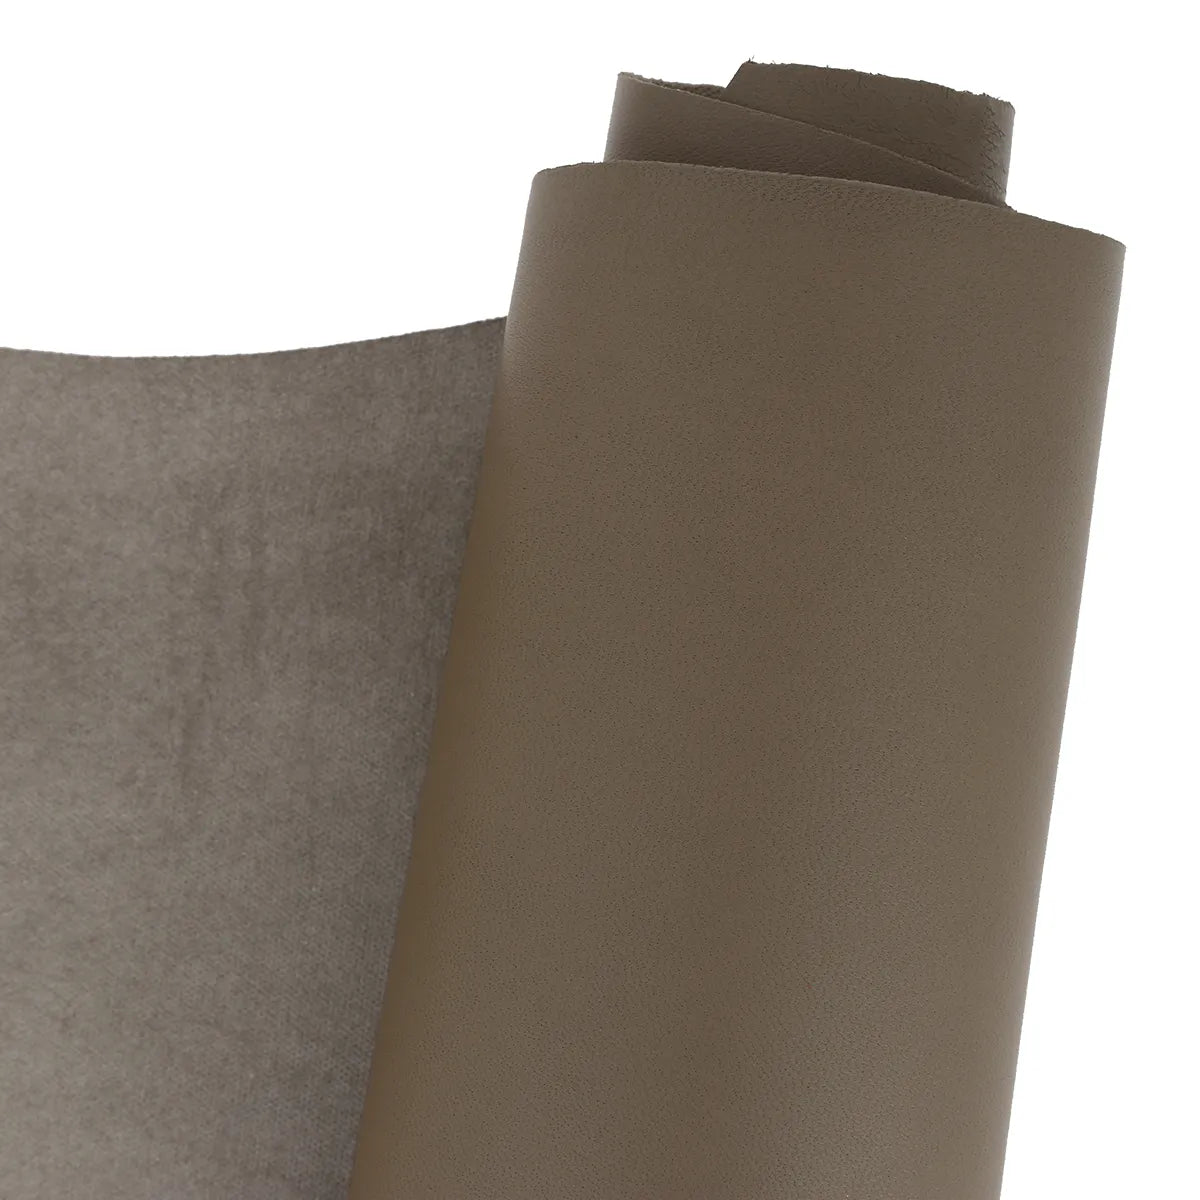
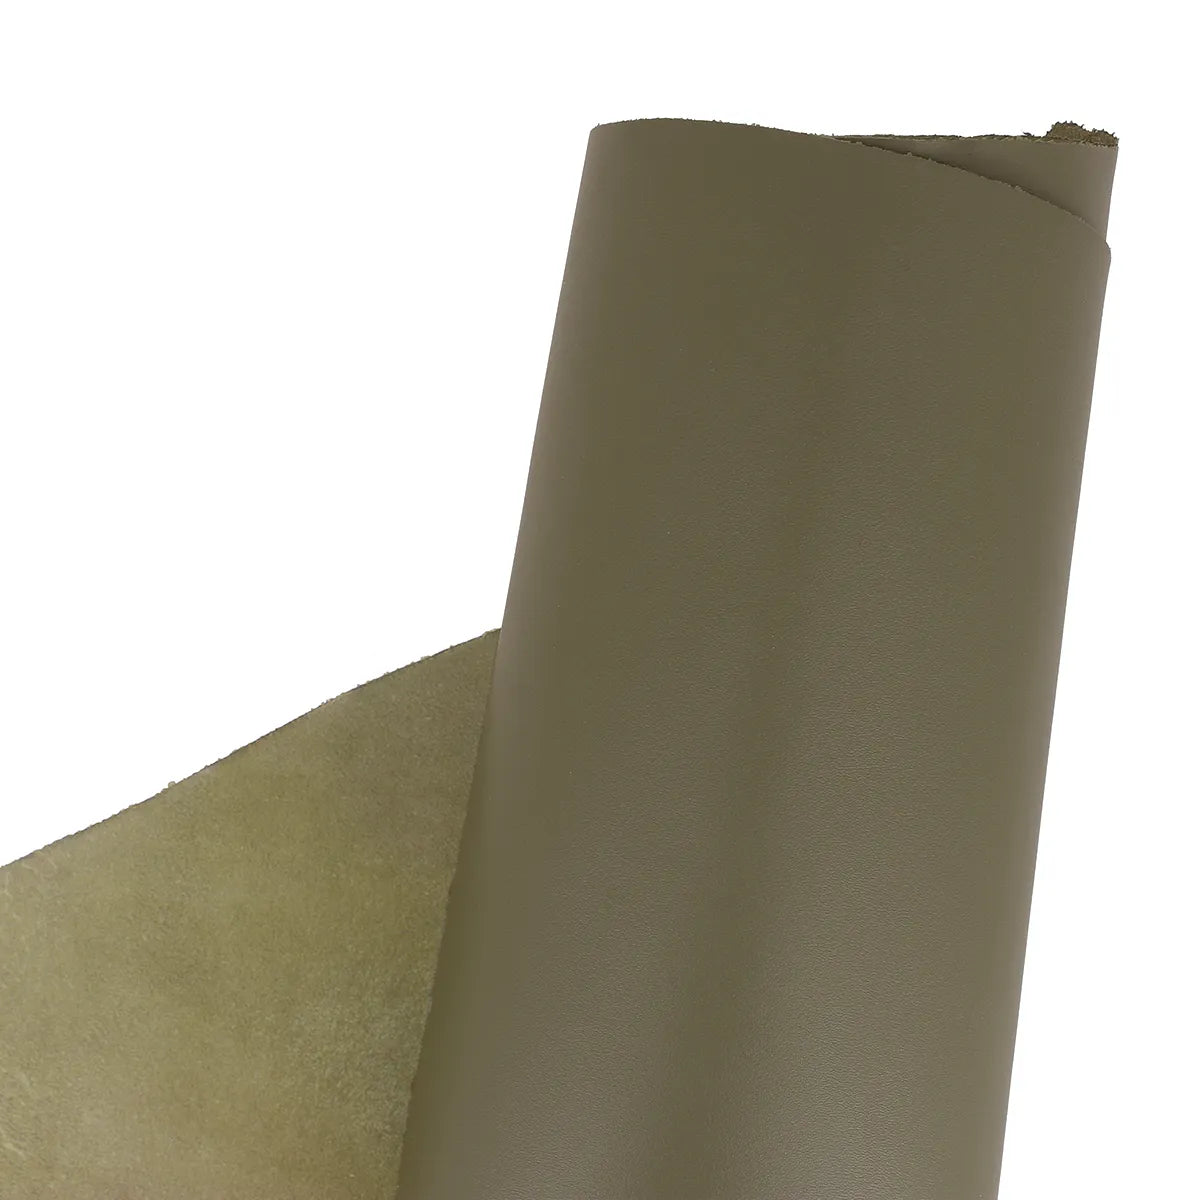
- 1 nappa lamb leather skin - 0.55 m² surface area - 1 mm thickness
- 1 Alcantara microfiber lining 0.50 x 1.45m
- 1 piece of Salpa reinforcement 30x40 - 0.4 mm thickness
- 1 piece of Salpa reinforcement 30x40 - 1 mm thickness
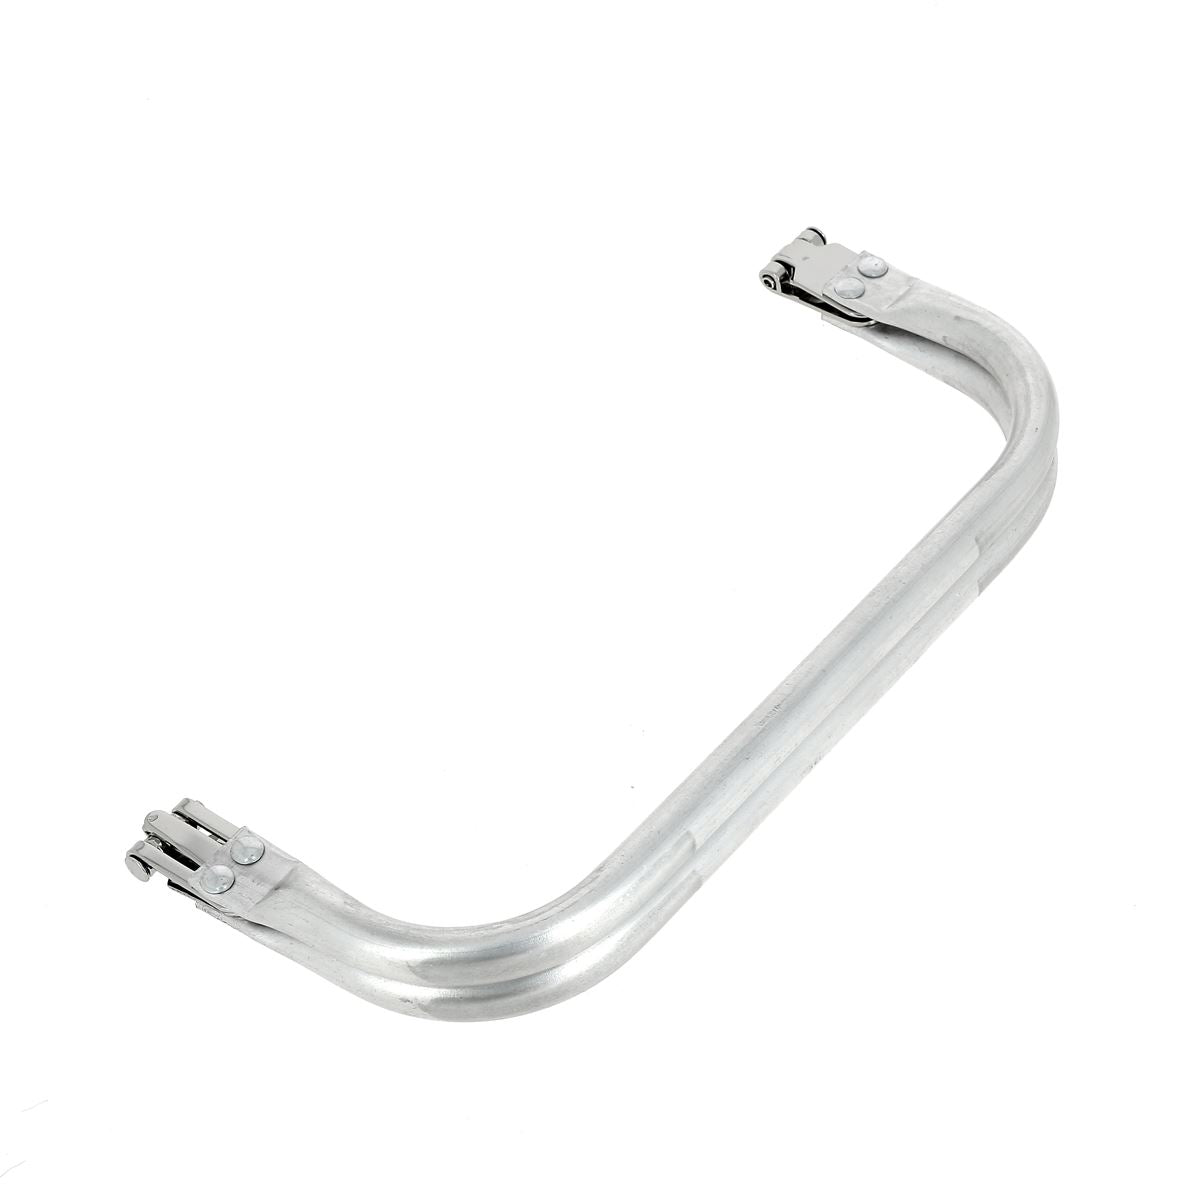
- 1 aluminum tubular frame / handle for bag - 19 cm length
- Spool of GRAL N°30 polyester thread
- Cardboard waxed linen thread MeiSi M50
- Neoprene glue
And the following equipment:
- Tear-proof adhesive tape
- Cutter
- Round punch Ø1 mm
- Saddler's round-point needles
Tutorial video
1. Glue the pattern
Download the pattern and print it at actual size. Assemble the different pieces using adhesive tape.

Attach the different pattern pieces to the grain side of the leather using masking tape so as not to damage the leather grain. Also, tape the pattern to the lining and salpa pieces.
Note: before taping pieces P5 to the leather, laminate two pieces of leather approximately 10 × 10 cm, flesh side to flesh side. Then, tape the pattern for pieces P5 to this laminated piece of leather.

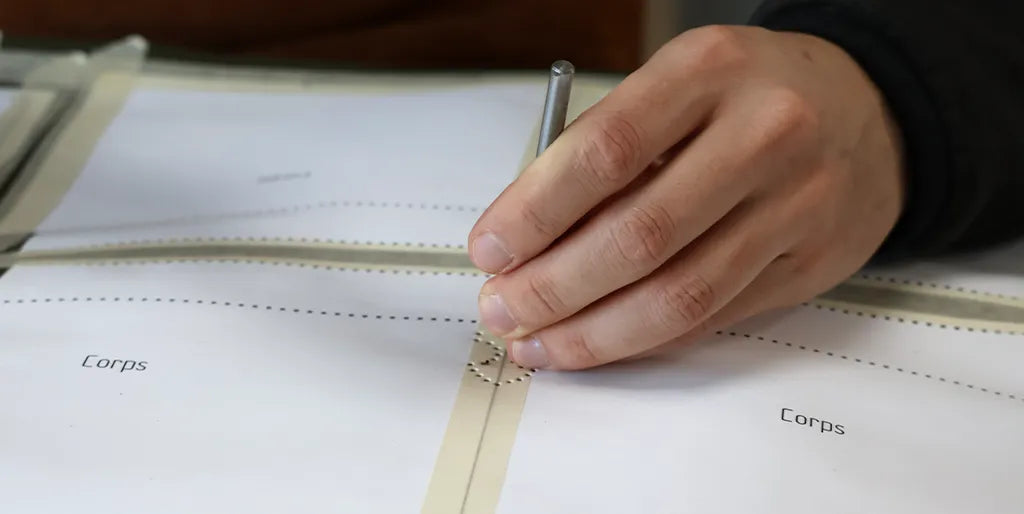
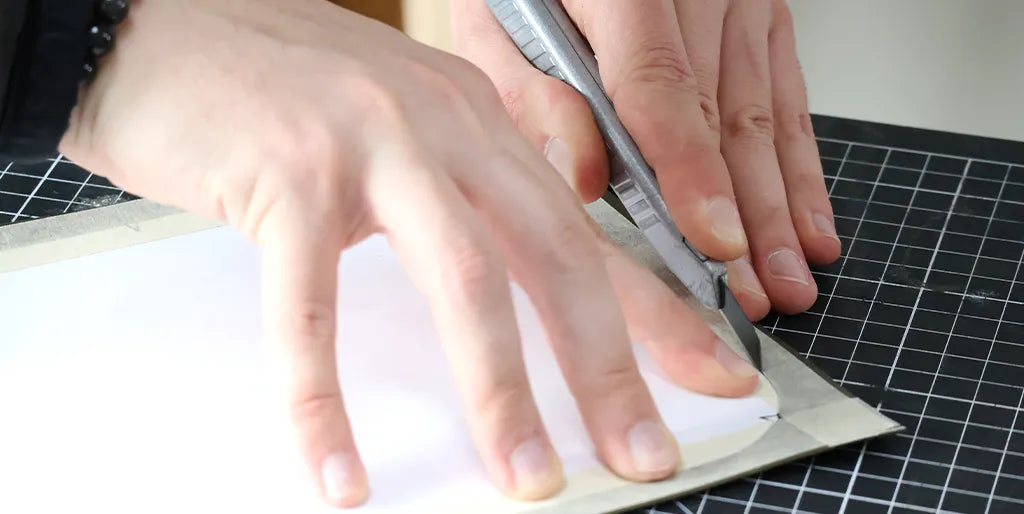
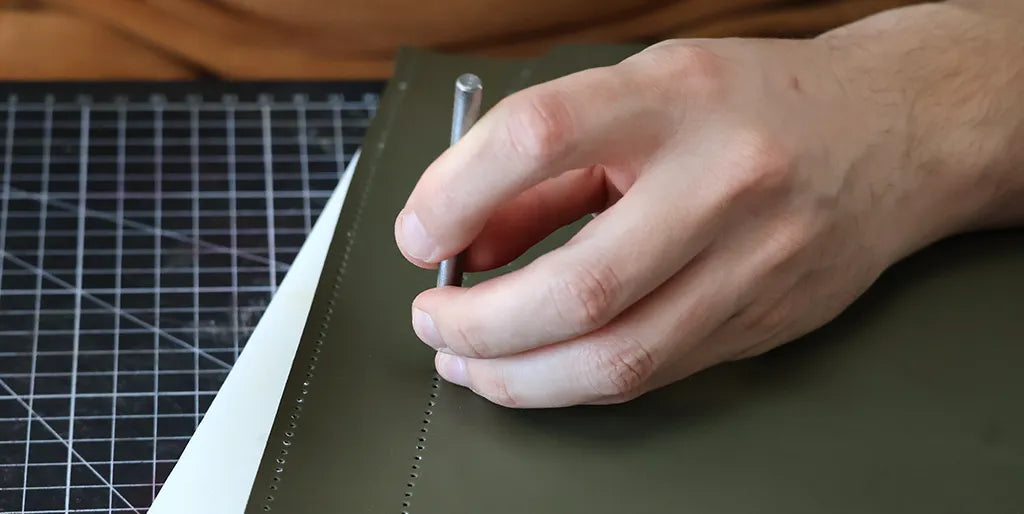
2. Punch holes and cut
For simplified leather stitching (perforated stitching), punch the stitching holes with a Ø 1 mm punch at this stage. The stitching holes are indicated on the pattern.
For saddle stitching, mark the stitch points with a pricking iron after cutting the pieces.
 |
 |

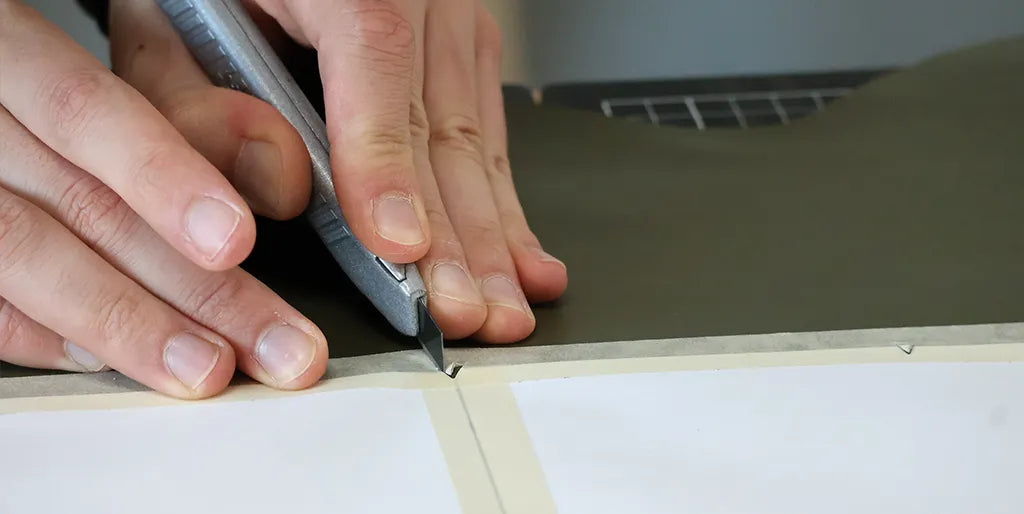
Cut the different leather pieces with a cutter. Note that the curves at the upper corners of pieces P1 and P6 will need to be cut after gluing the lining (see step 5). For the interior curves of pieces P5, use a Ø 10 mm punch.
Don't forget to make the notches: they are indicated by Vs on the pattern. Notches facilitate assembly and align the pieces.
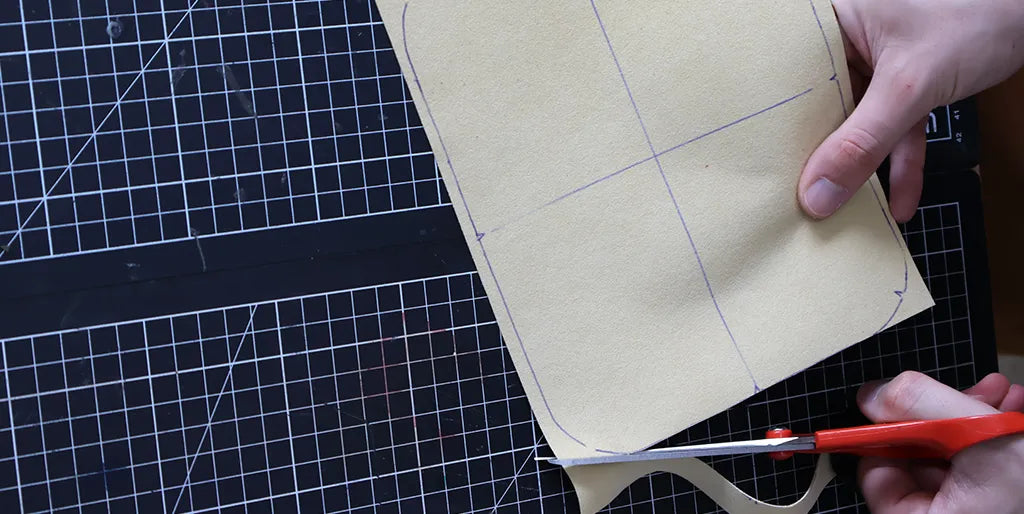
3. Cut the lining and reinforcement
Also cut the lining and salpa pieces. Also make the notches on the lining.
Salpa piece P4 (1 mm) is intentionally smaller than Salpa piece P3 (1 mm) to avoid excess thickness when the microfiber is folded over (next step).
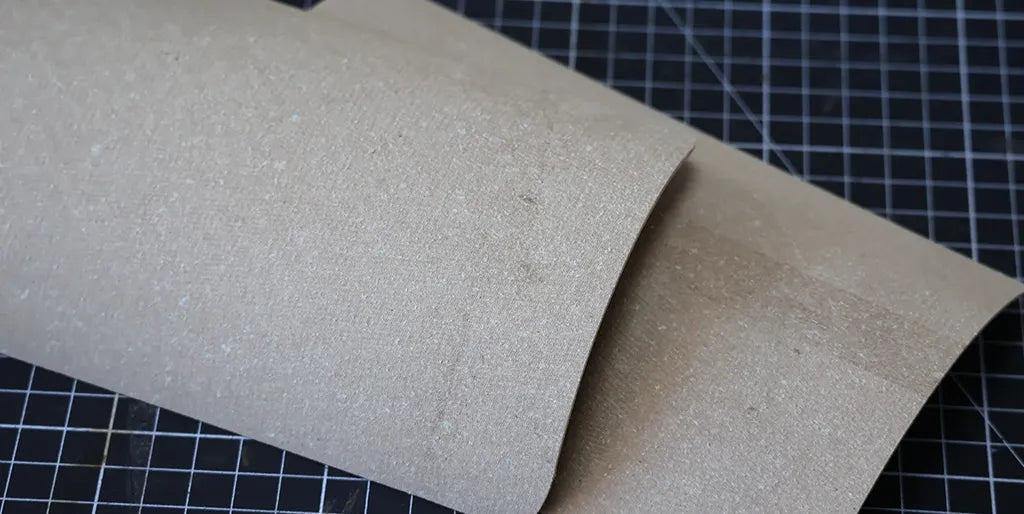
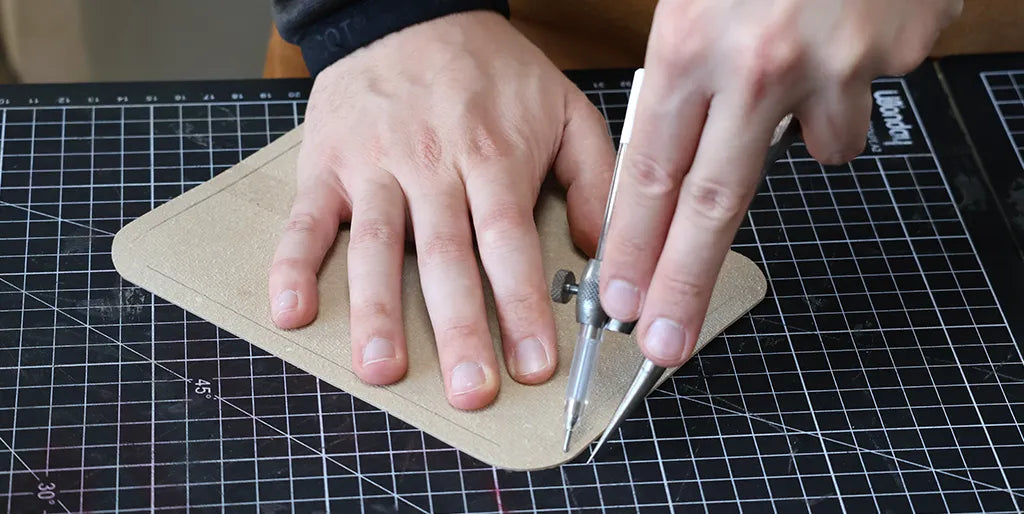
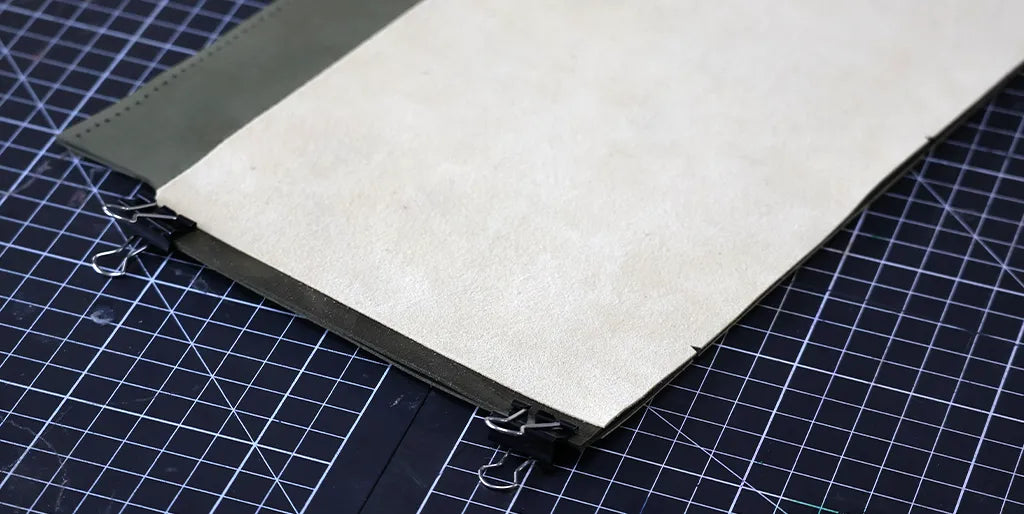
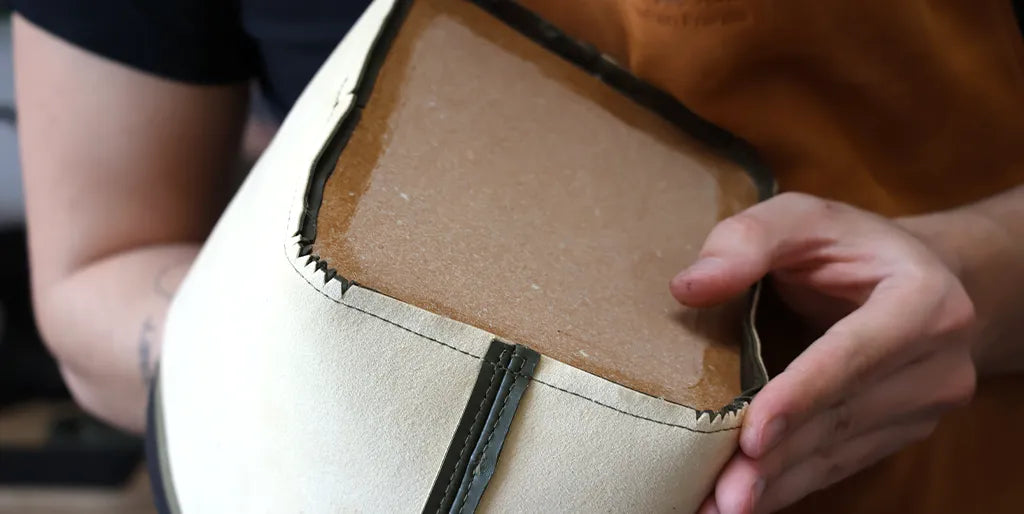
4. Make the base
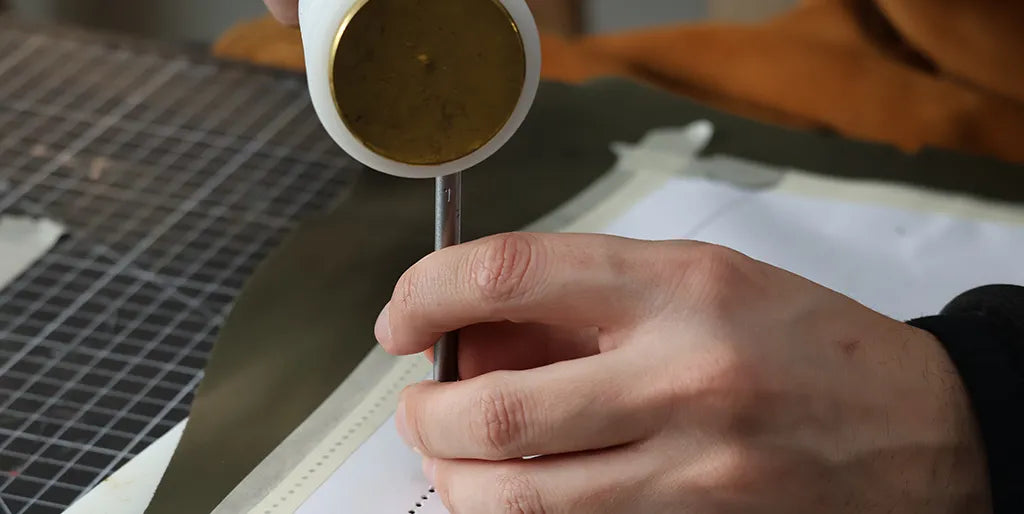
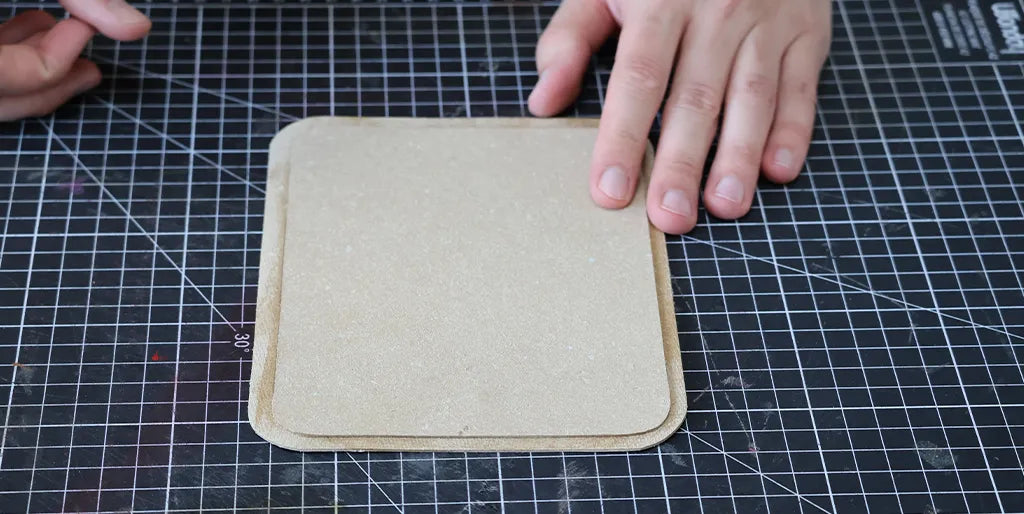
Using a compass, mark a reference point 1 cm from the edge of Salpa piece P3 (1 mm) to correctly position Salpa piece P4 (1 mm).
Using contact glue, laminate piece P4 to the center of piece P3.
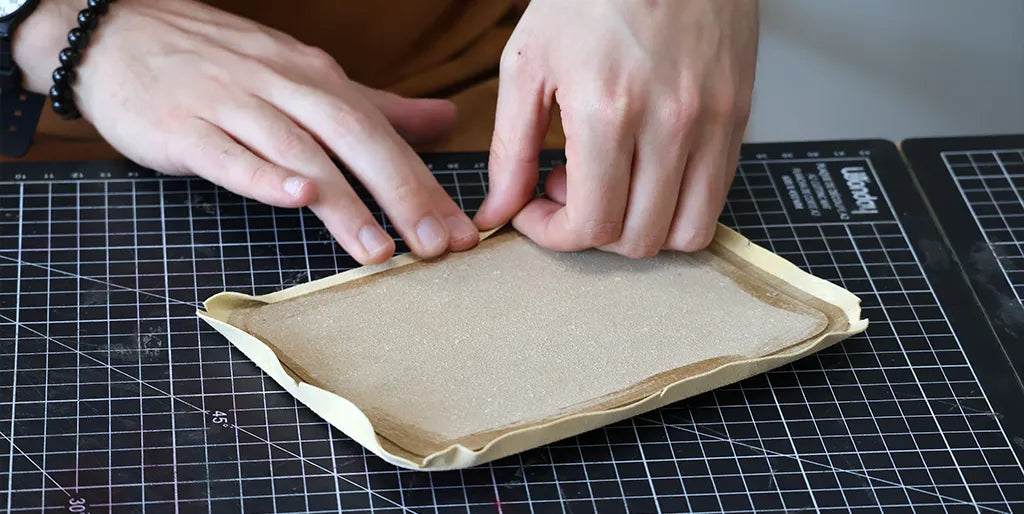
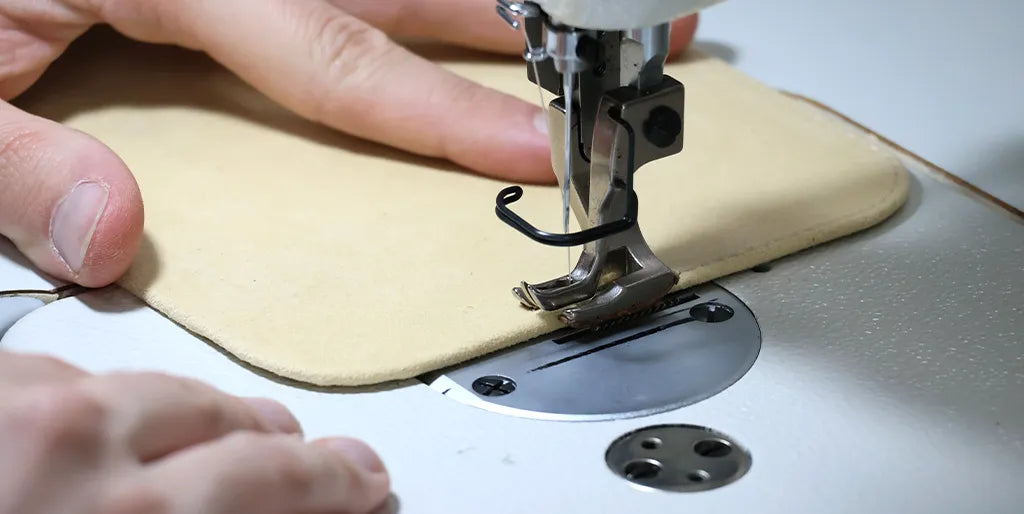
Apply contact glue to the wrong side of piece P2 (lining) and to the wrong side of piece P3/P4. Then glue the P3/P4 salpa reinforcement to the center of piece P2. Using a round awl, fold the lining over the salpa and tap the glued area with a saddler's hammer.
 |
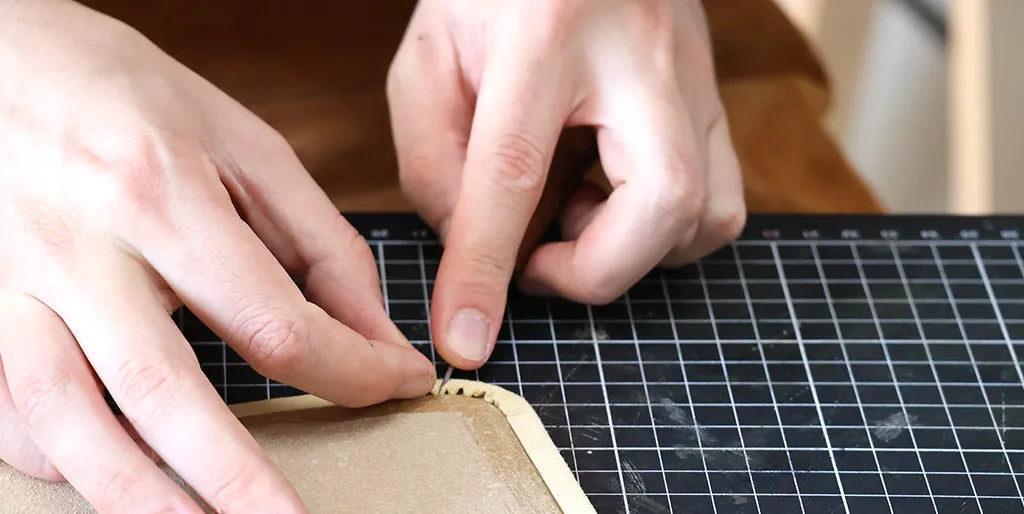 |
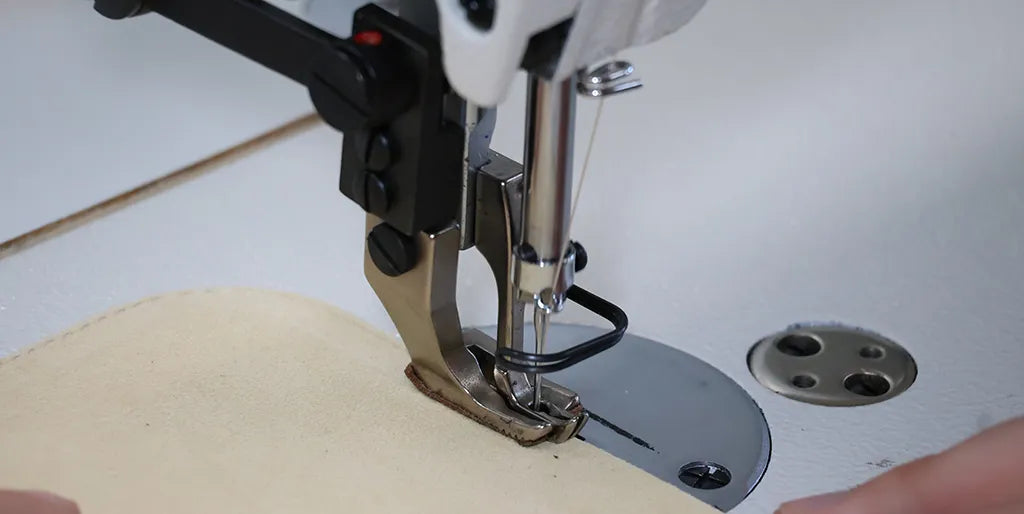
Stitch 3 mm from the edge.
 |
 |
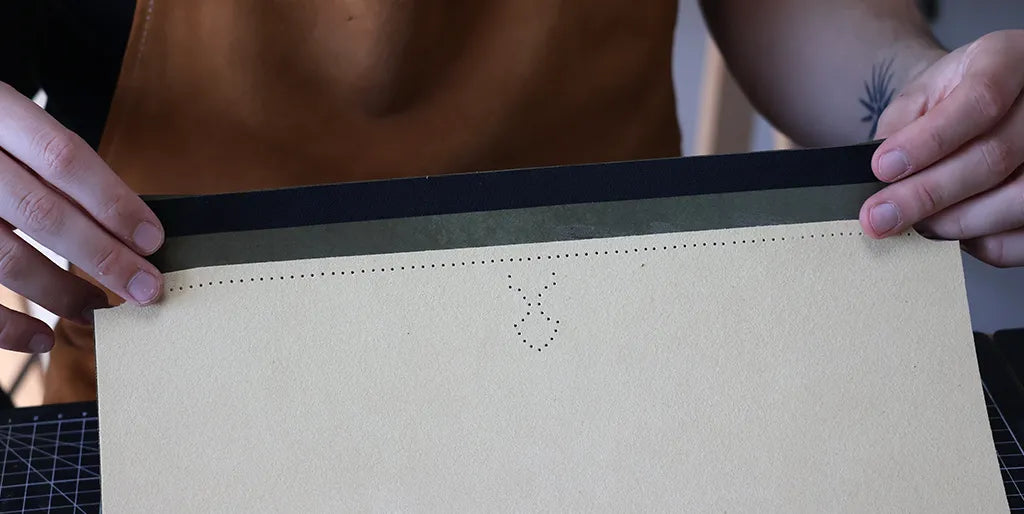
5. Glue the lining
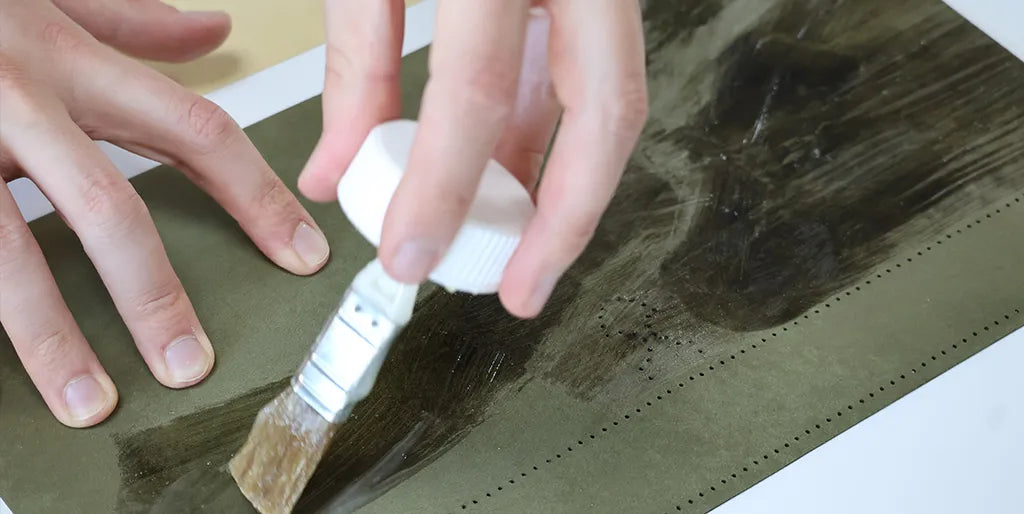
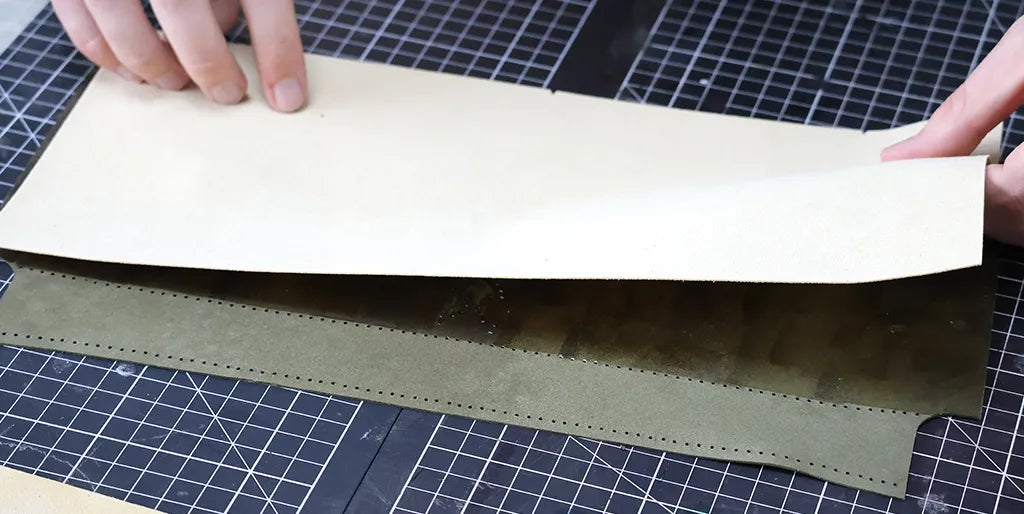
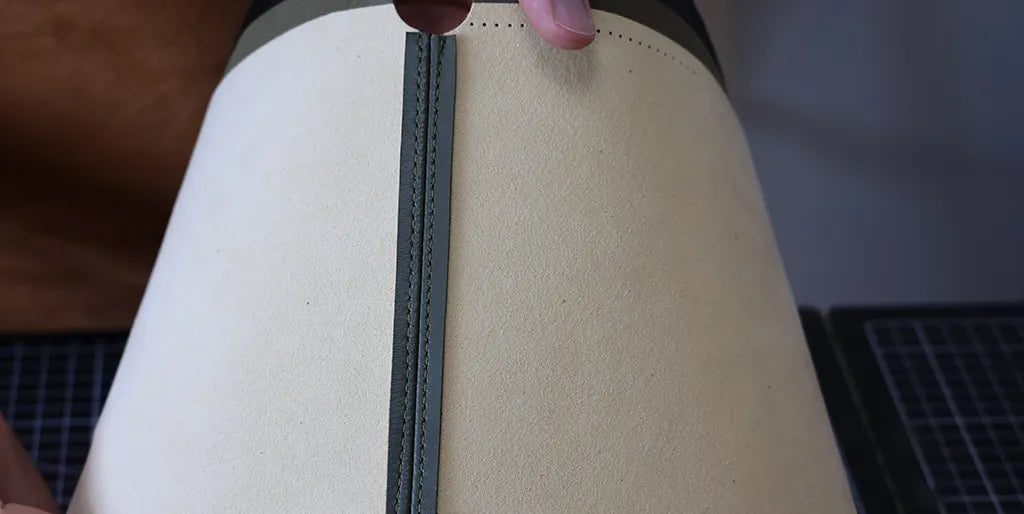
Apply contact glue to the wrong side of pieces P1 (leather), along the second stitch line (see photo), and to the wrong side of piece P6 (lining). Laminate pieces P6 to the bottom of pieces P1. Piece P6 should cover the stitch holes of the second line of piece P1.
 |
 |
Then, cut the rounded corners at the top of pieces P1 and P6. Use a round punch Ø 25 mm or a cutter.
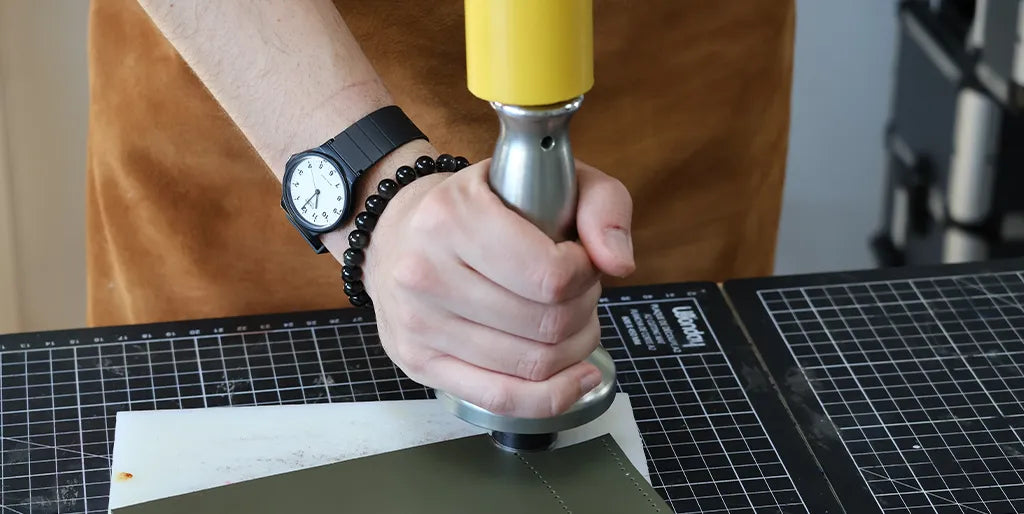
6. Punch holes
For simplified stitching, after laminating the pieces, punch stitching holes (with a Ø 1 mm punch) through the lining, using the holes already punched in the leather as a guide.
7. Reinforce the top
To reinforce the pouch, we recommend adding a tear-proof strip to the top of pieces P1. Note that for simplified stitching, the tear-proof material will also need to be perforated: proceed in the same way as in the previous step.
8. Sew the sides
Assemble the two P1 pieces, right sides together, then machine stitch the two widths 7 mm from the edge.
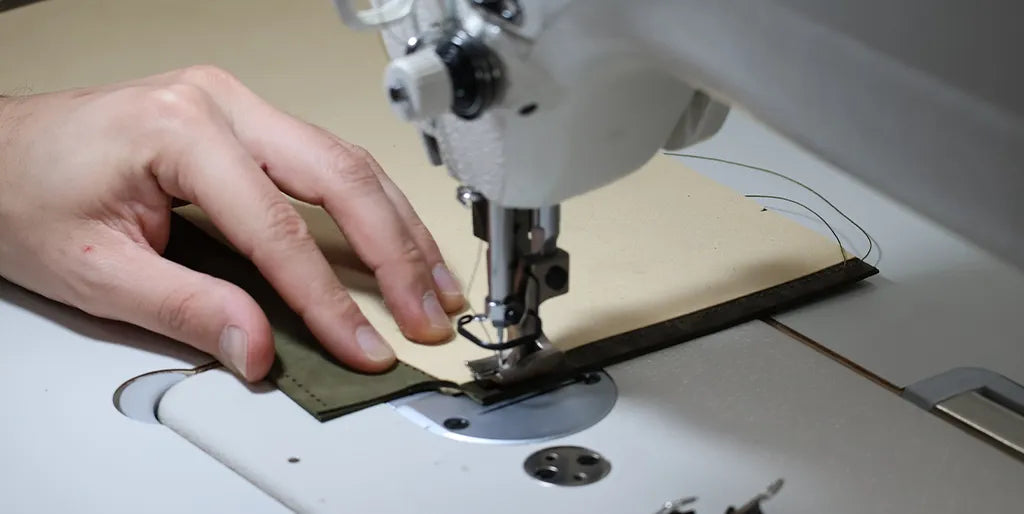
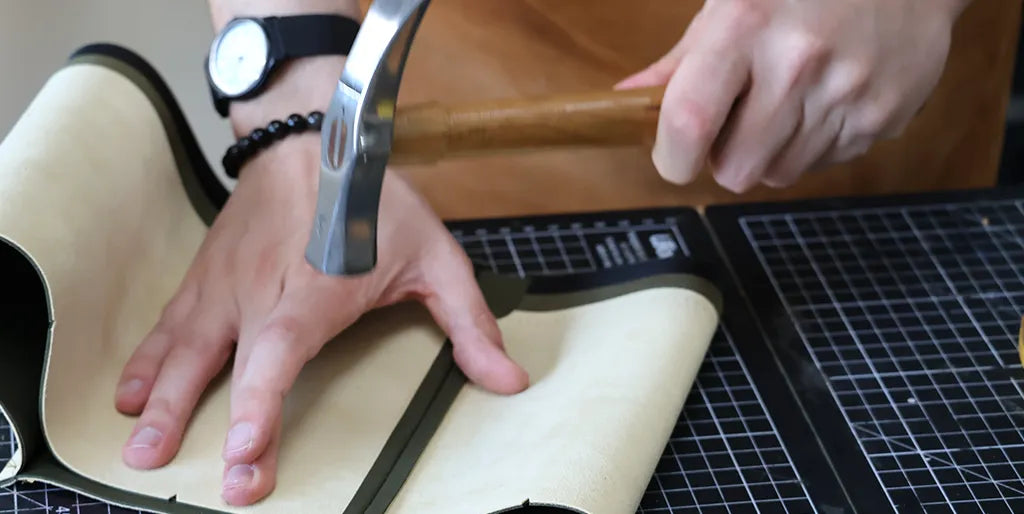
Apply double-sided tape to the inside of the seams, then open the seams. Flatten the glued area with a saddler's hammer or a leather roller.
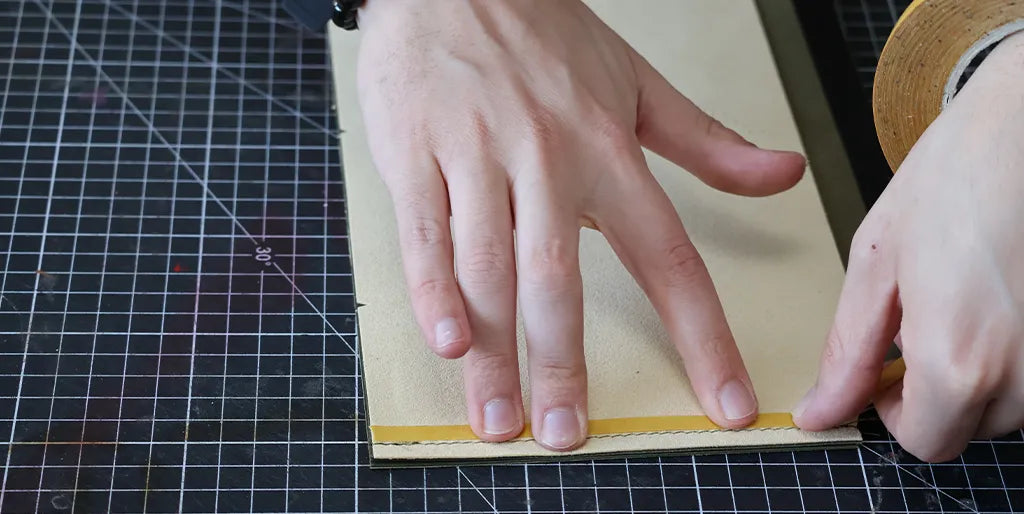
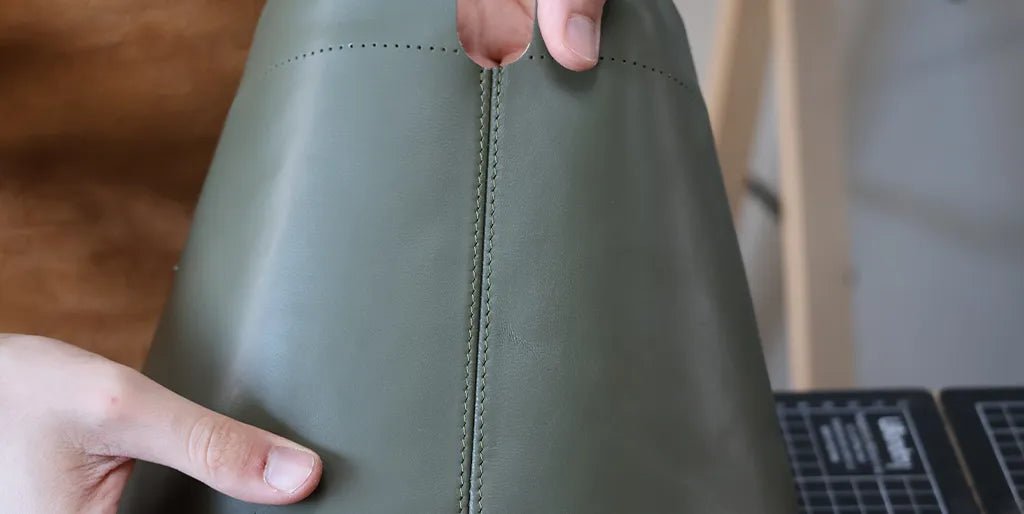
Option: if the leather is too stiff and the seams don't stay open, we recommend topstitching.
 |
 |
9. Sew the bottom
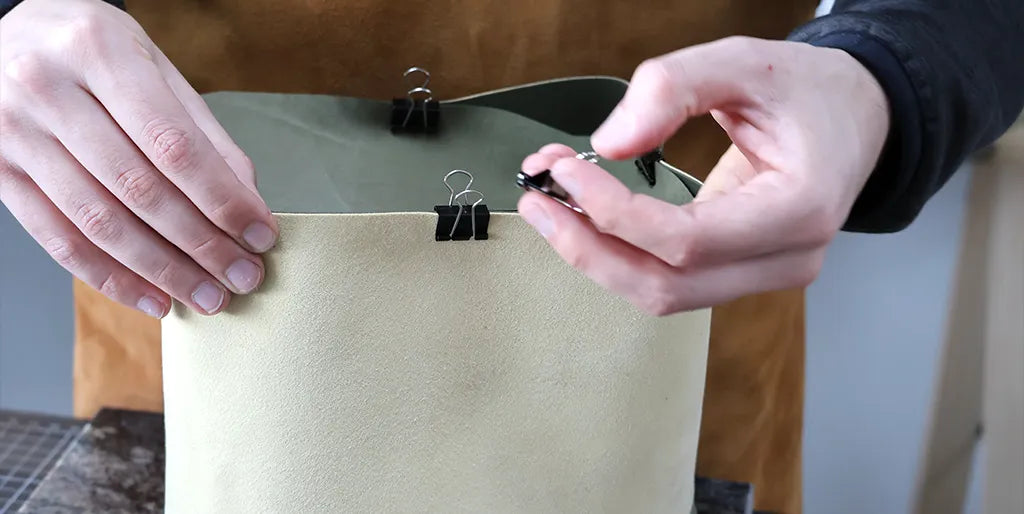
Using sewing clips, secure leather piece P2, right side together, to the bottom of leather pieces P1.
 |
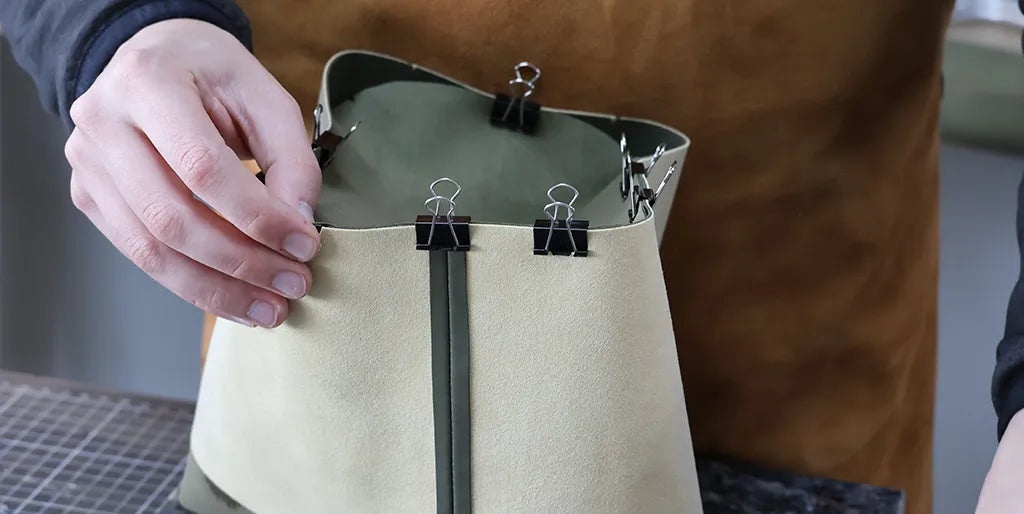 |
Rely on the notches to correctly position the bottom with the body.
Then machine stitch all around 7 mm from the edge.
10. Reinforce the bottom
With a pair of scissors, make notches in the corners of the bottom to facilitate gluing the reinforcement.
 |
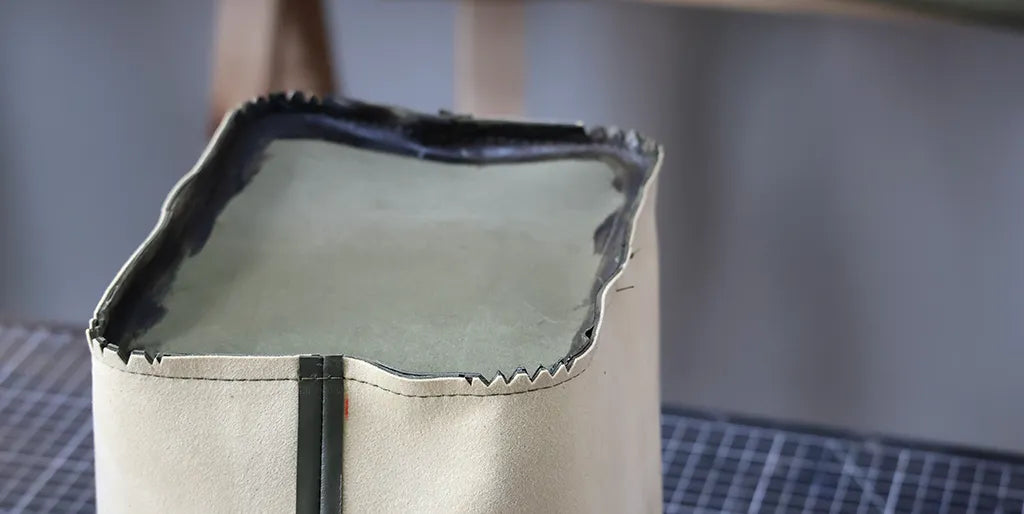 |
Apply contact glue to the wrong side of Salpa piece P3 (0.4 mm) and to the leather bottom. Glue the Salpa to the leather and fold over the sides, forming neat pleats in the corners.
 |
 |
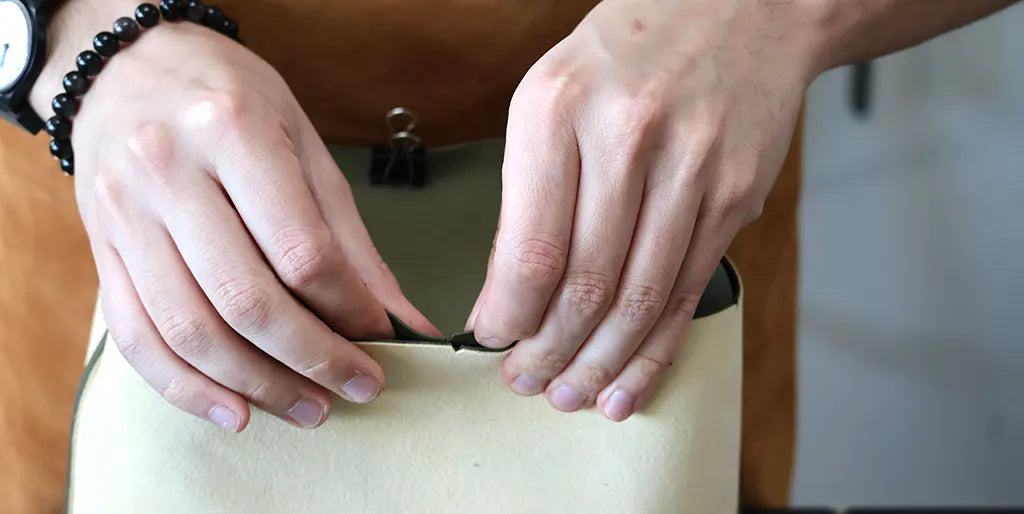
11. Shaping
Turn the pouch right side out and work the shape of the bottom by rolling the seams.

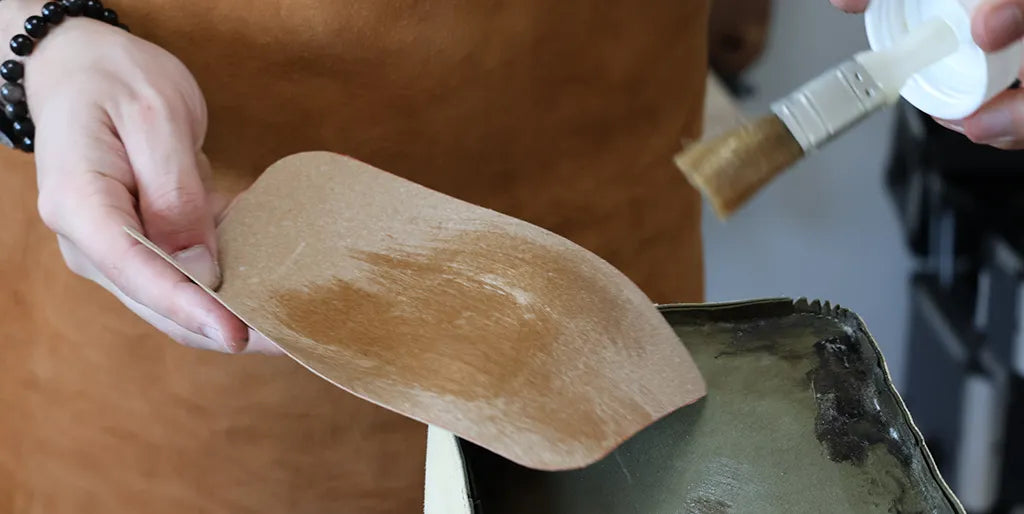
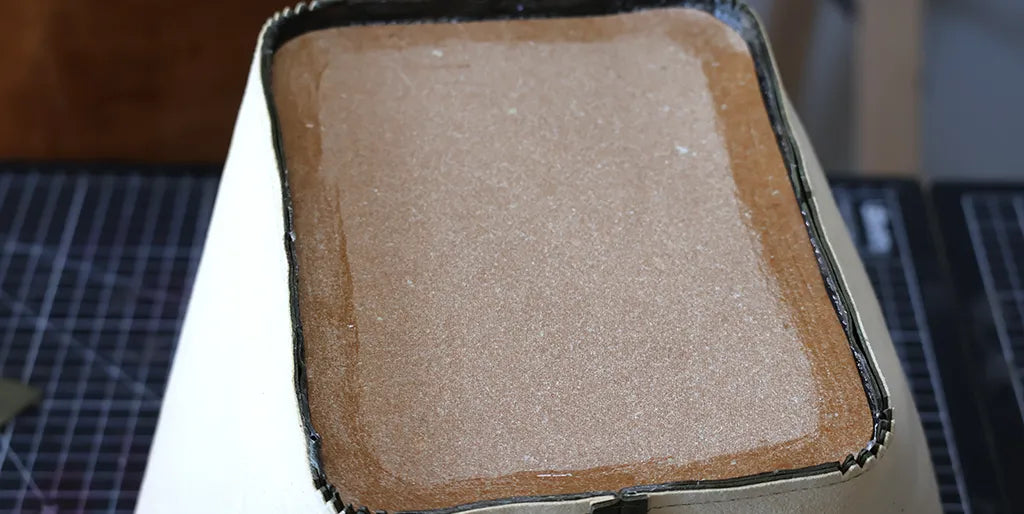
12. Glue the bottom
Apply neoprene glue to the 0.4 mm Salpa P3 reinforcement and to the 1 mm Salpa P3 reinforcement. Glue the bottom inside the pouch, on the 0.4 mm reinforcement.
 |
 |

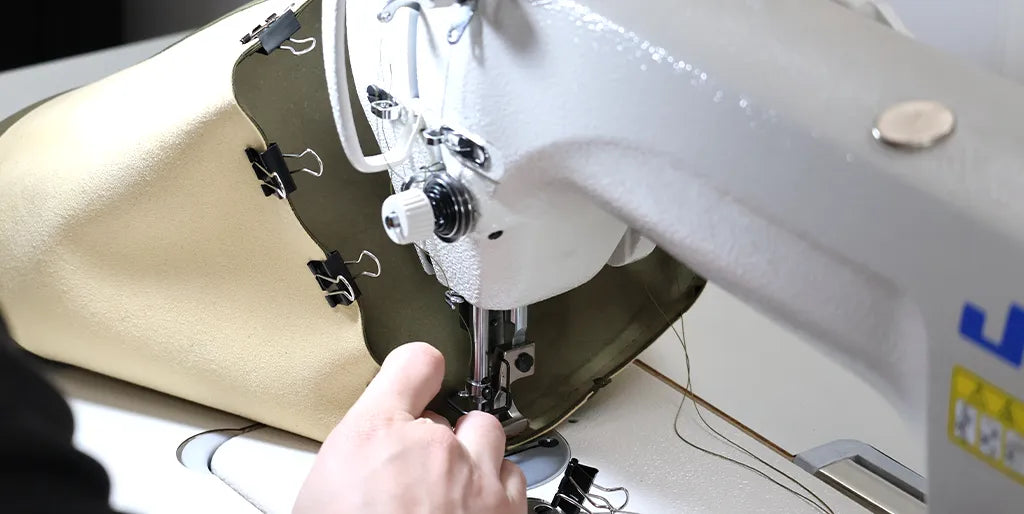
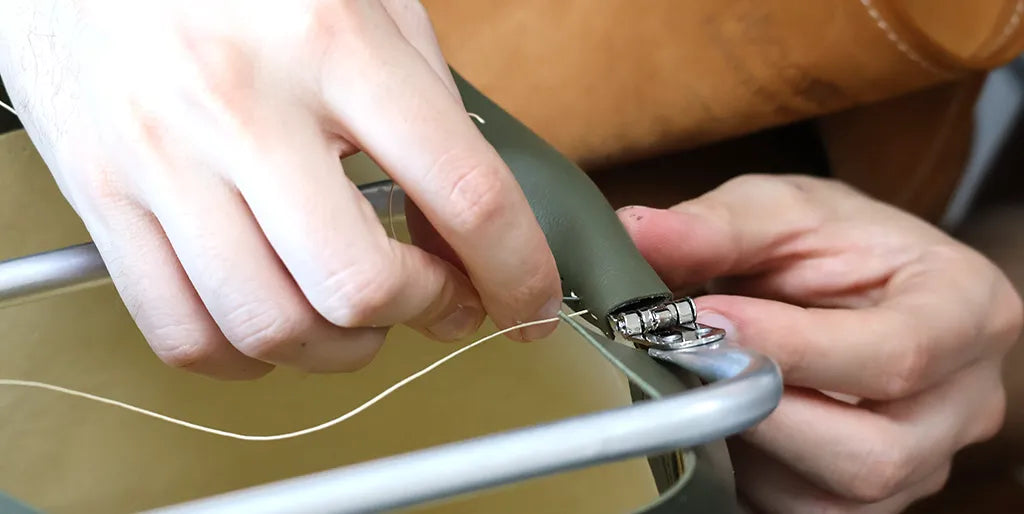
13. Sew the tubular clasp
Place the 19 cm tubular clasp between the two stitch lines, then hand stitch (simplified stitch or saddle stitch).
 |
 |
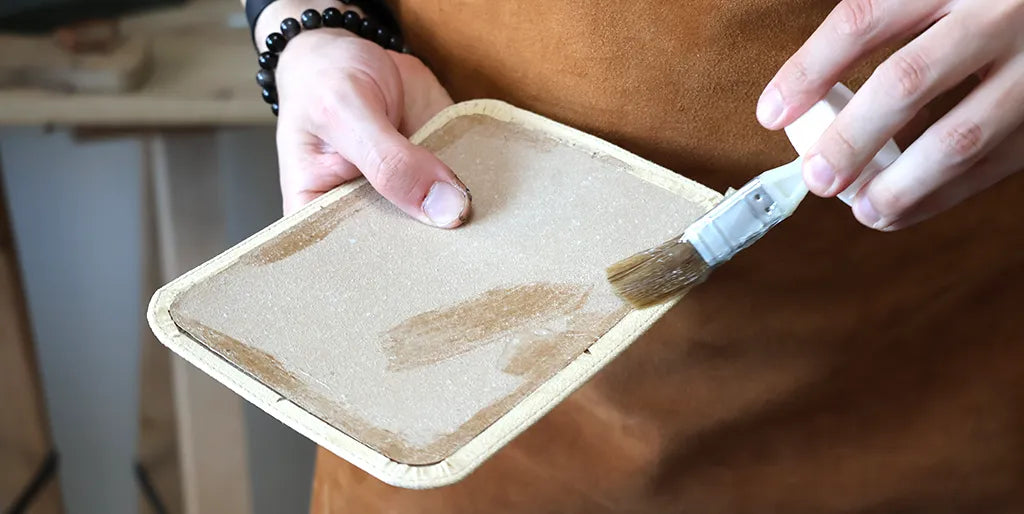
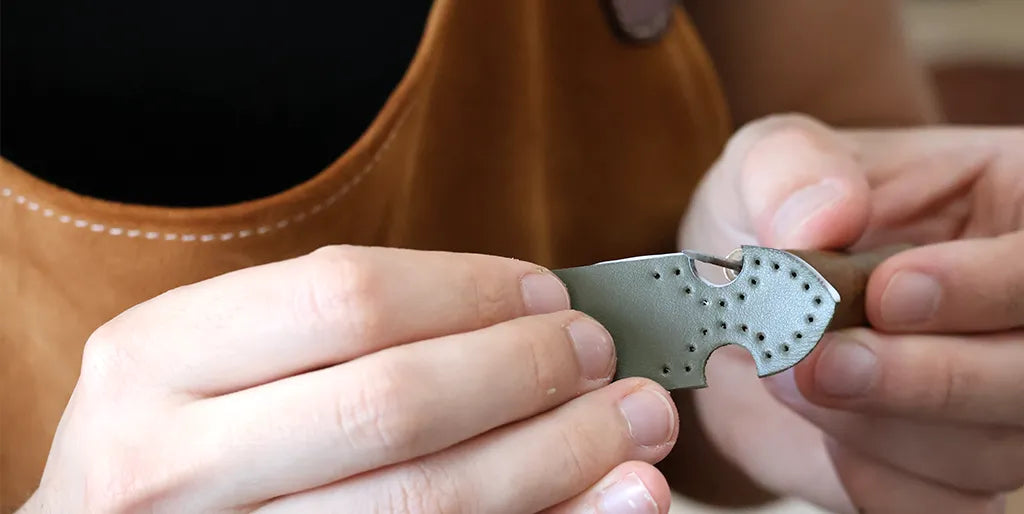
14. Work on pieces P5
Sand the edges of pieces P5. Apply a coat of edge paint and let dry. Then apply the edge finishing coats.
 |
 |
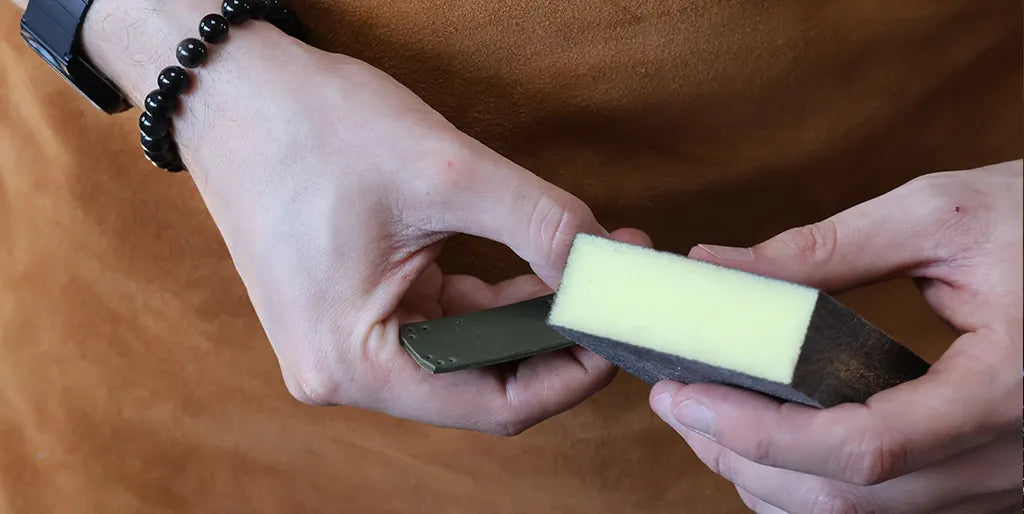
Skive the end of the P5 tabs (the one without the ogive end). Fold the tabs in half and glue with double-sided tape. This will facilitate stitching.


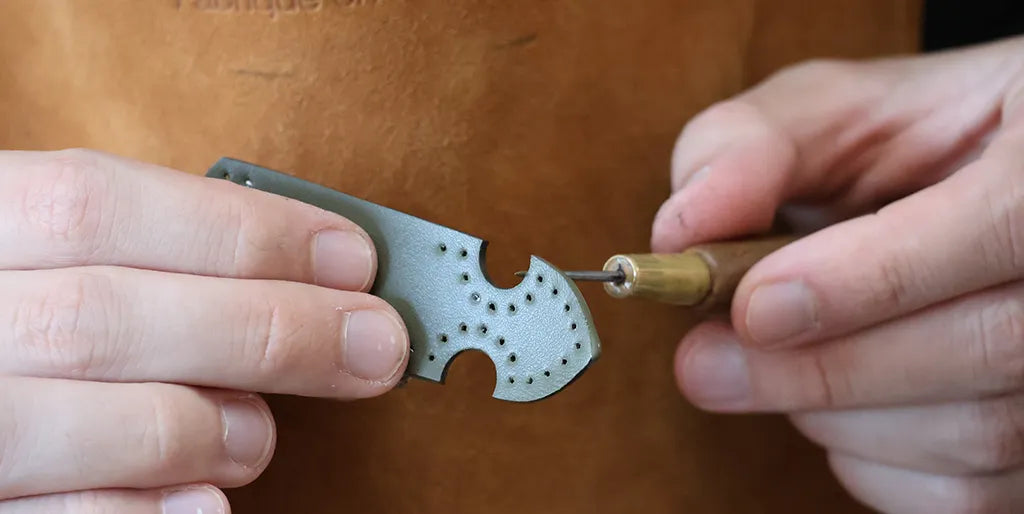
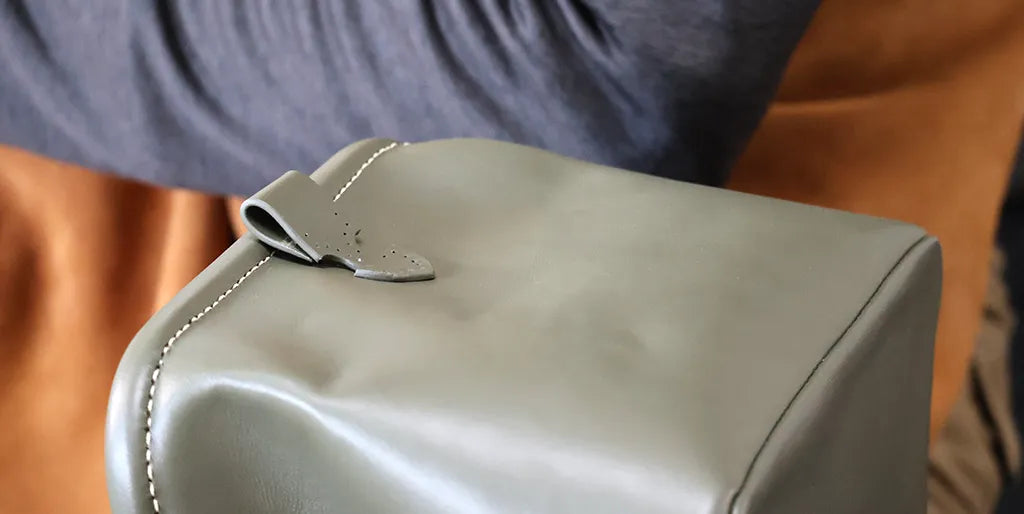
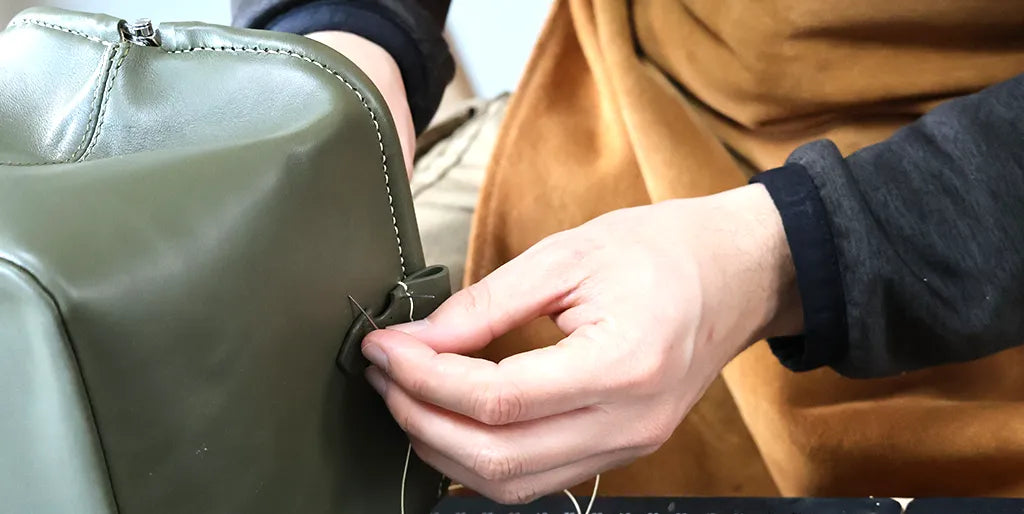
15. Stitching the tabs
Using double-sided tape, position pieces P5 in their designated location on pieces P1, then hand stitch. Make a saddle stitch on each side of the tab.
 |
 |
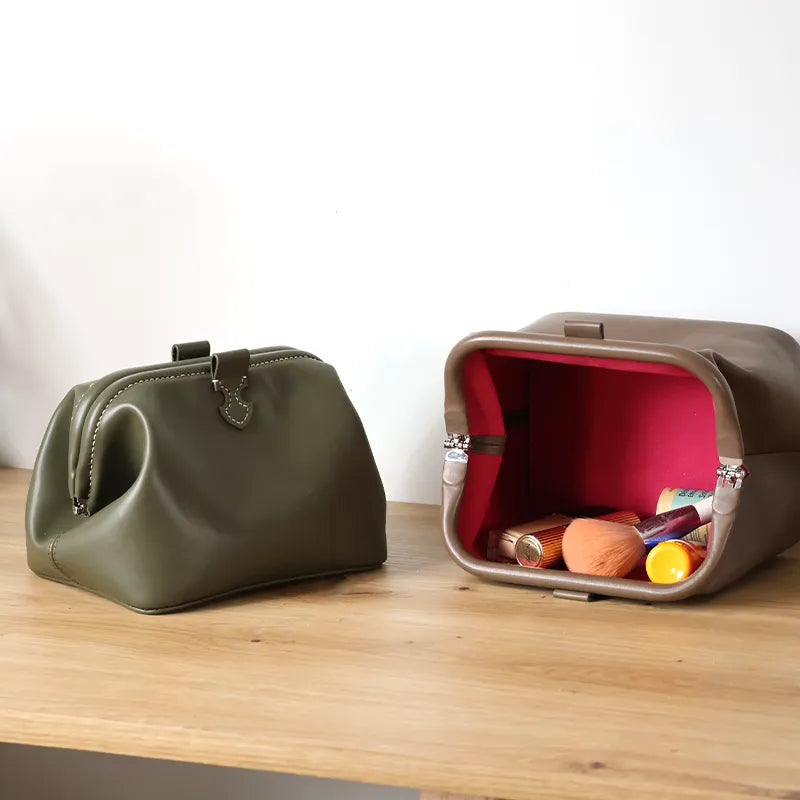
YOU'RE DONE!
 |
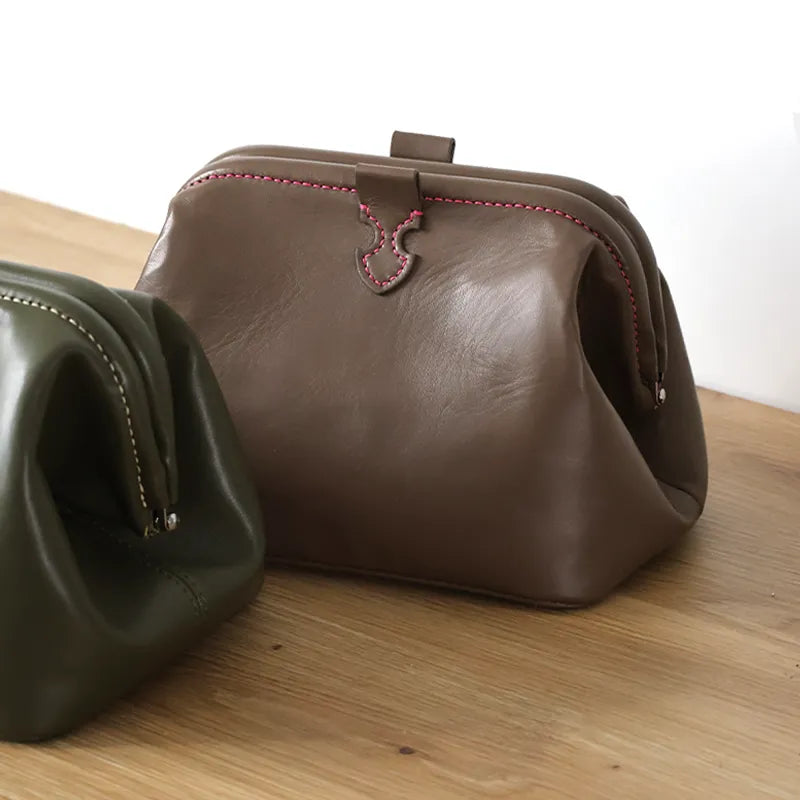 |
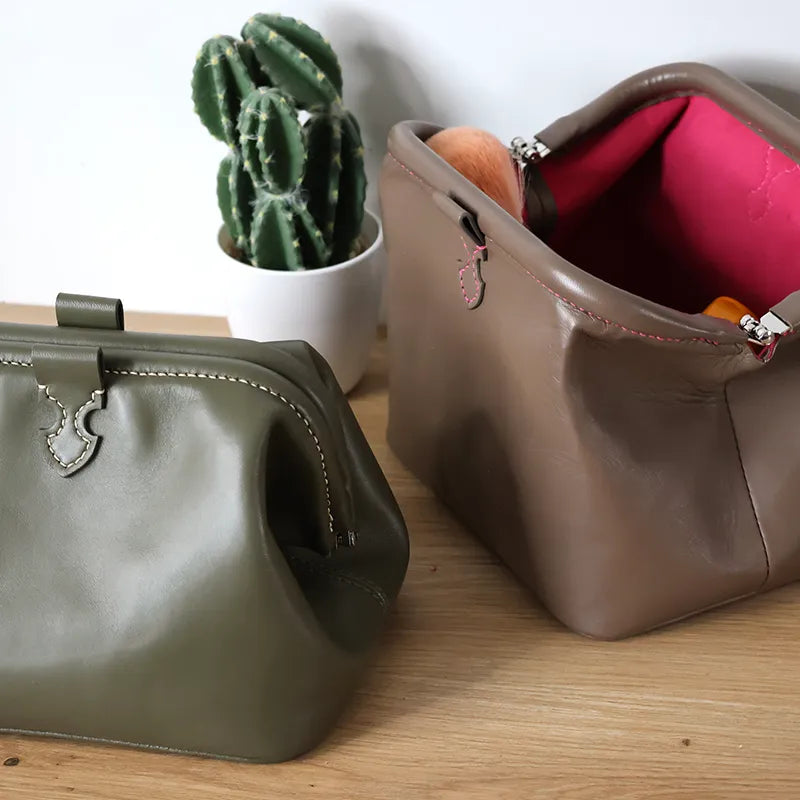
Clic-clac purse
In the same vein, discover our tutorials for making clic-clac coin purses!
 |
 |

