





VERSION 1: CLASSIC
REQUIRED MATERIALS
- 1 20 x 30 cm piece of leather - Semi-soft Semi-firm - 1.1 mm thick
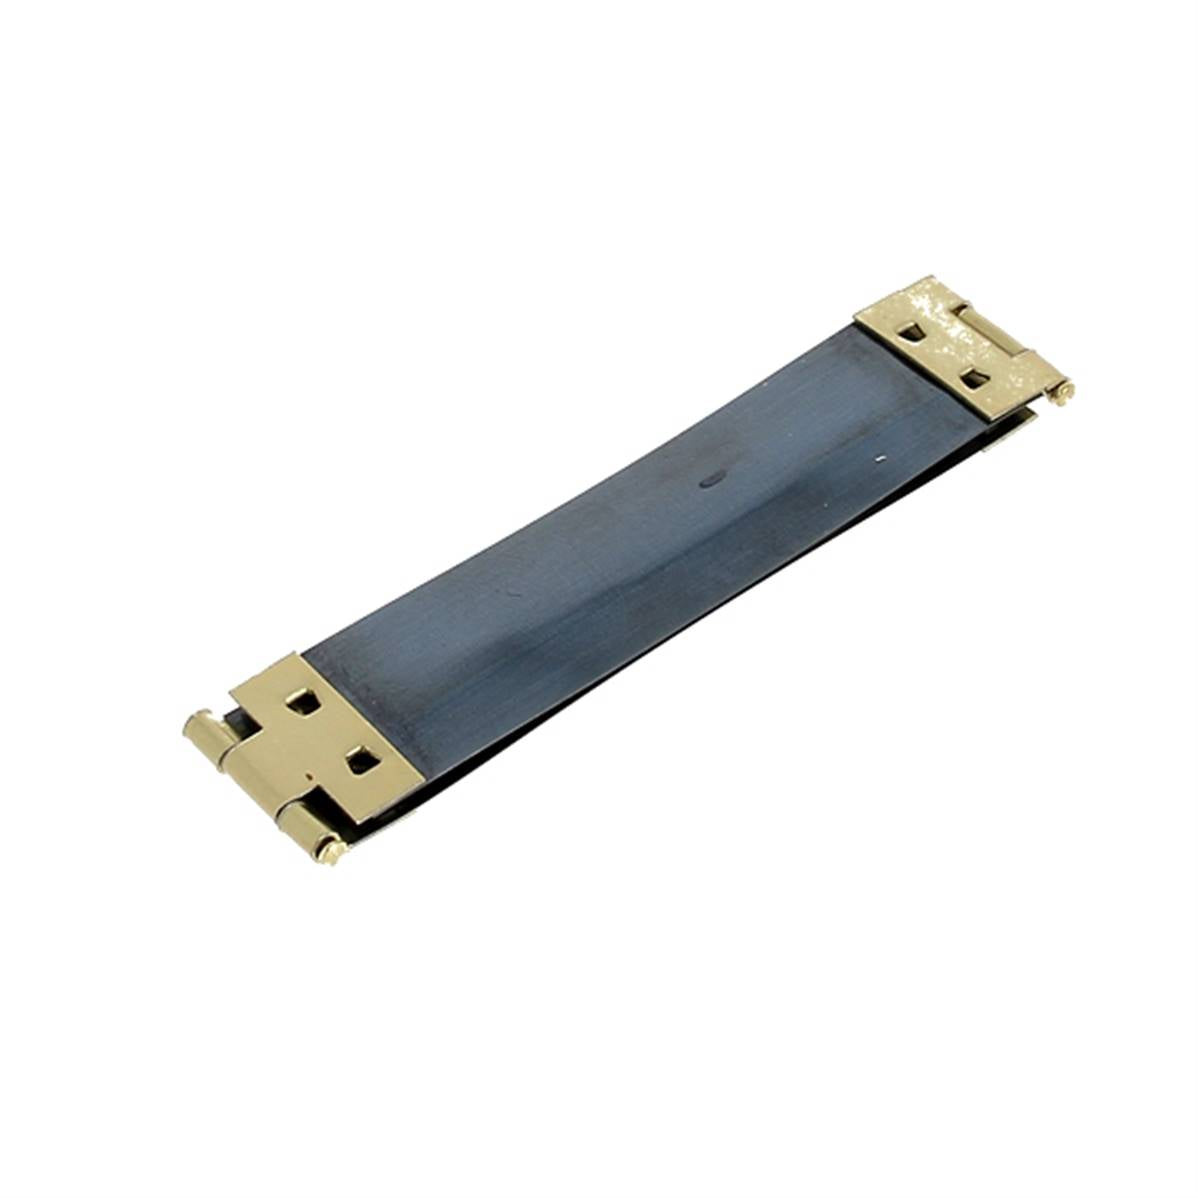
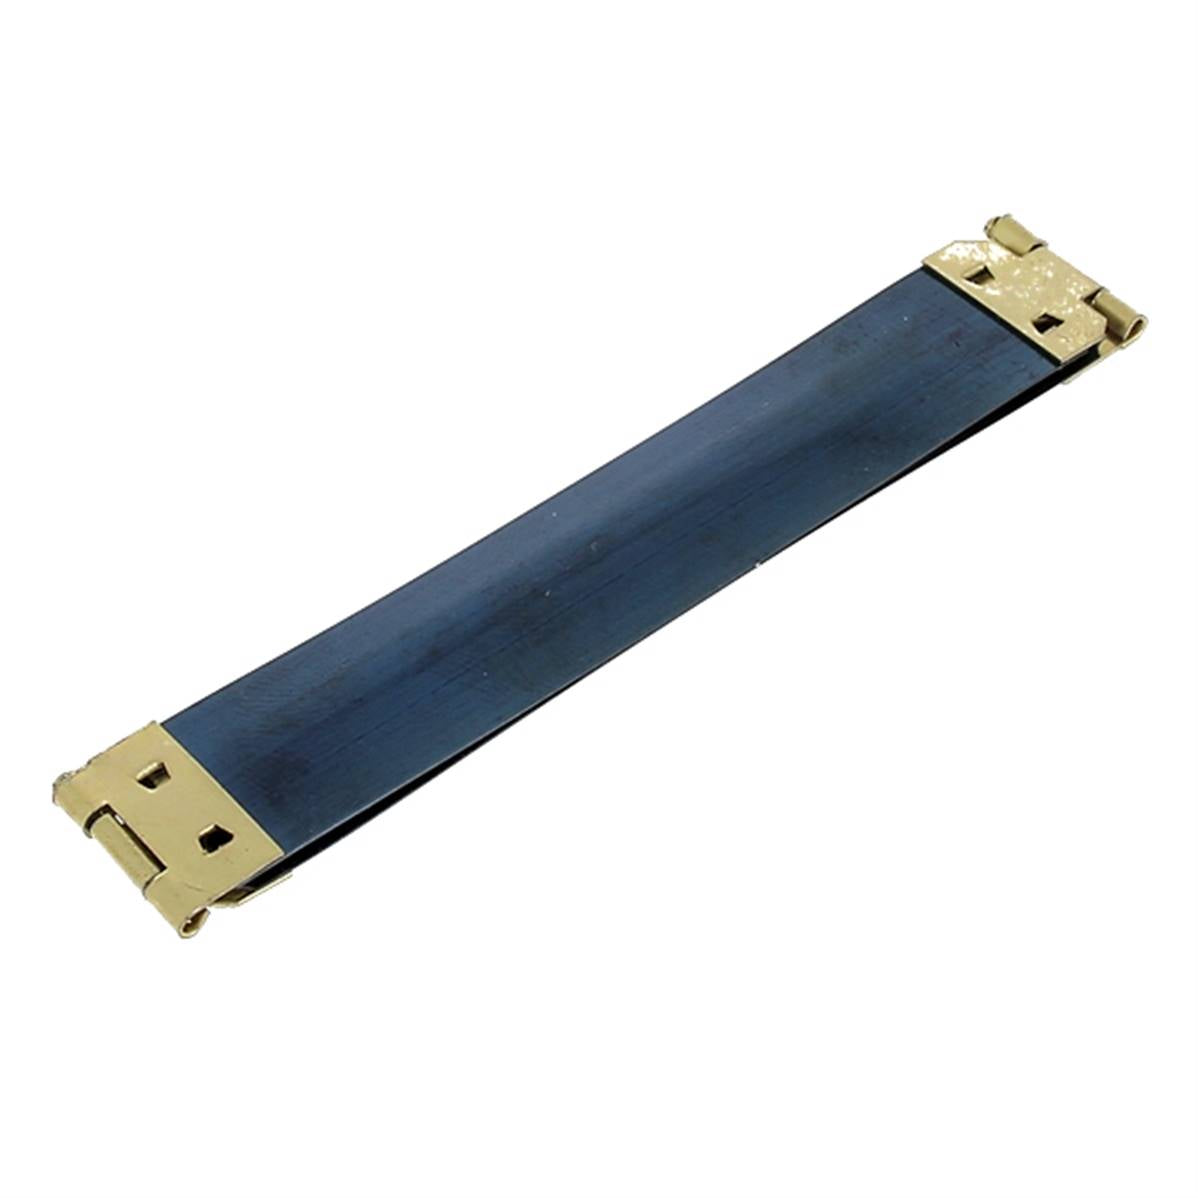
- 1 snap clasp - 9 x 1.5 cm
- Some double-sided tape
- 1 spool of GRAL N°40 polyester thread
Video
1. Cut out the pattern
Download the pattern and print it at full size. Cut out the pattern and tape it to the leather using masking tape so as not to damage the grain of the leather.
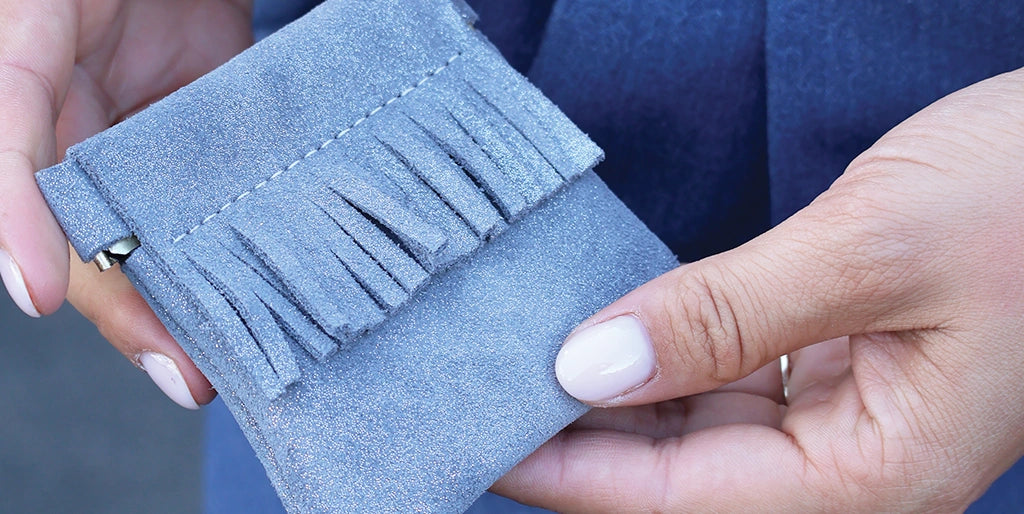
One of the lengths of the P2 pieces can be customized with shapes of your choice (fringes, waves, petals...).

Cut out the different pieces of the pattern with a cutter. Trace the markings indicated on the pattern on the flesh side of the leather (the back), using a silver pencil. These markings will be used for the final stitch.

2. Sew the top piece
Fold the P2 pieces in half and mark the fold with a hammer.

Apply double-sided tape to both lengths of the P2 pieces.

Position and glue the P2 pieces on top of the P1 pieces. The P2 piece must straddle the edge of P1.


Sew 3 mm from the edge with a sewing machine.

3. Assemble the body of the coin purse
Assemble the two P1 pieces right sides together, edge to edge, using sewing clips.


Sew all around with a sewing machine.

Cut out the bottom corners.

4. Open the seams
Open all the seams with contact adhesive. Flatten the glued areas with a hammer.
 |
 |

5. Sew the corners
Fold the corners of the coin purse and align the markings on each side.


Sew along the stitch lines at the markings.


Cut the corners with a pair of scissors, then turn the coin purse inside out.

 |
 |
6. Insert the snap clasp
Separate the clasp in two by removing the screws on each side. Insert each rod on each side of the coin purse. Replace the screws to reassemble the clasp.


Finally, insert the P3 pieces on each side to hide the clasp. Add a dot of glue if necessary.


Another solution for better support of P3: cut a single strip of 19.5 x 1.6 cm. Separate the snap clasp in two by removing the hinge rivets on each side. Hold the P3 strip on the clasp by passing the thread through the hinge holes, as well as through the holes of P3 on one of the ends. Pass the thread through one side of the coin purse, then pull to slide the clasp and the P3 strip through the leather. Repeat the operation on the other side.
Replace the rivets to reassemble the clasp. Finally, cut the excess of P3 on one of the ends. Punch two new holes and tie the two ends of the P3 strip by passing the thread several times through the four holes. Finish with a knot.
Then slide the end of the strip inside the coin purse to hide the joint.
You're done!
 |
 |

TWO OTHER CREATIONS WITH A SNAP CLASP
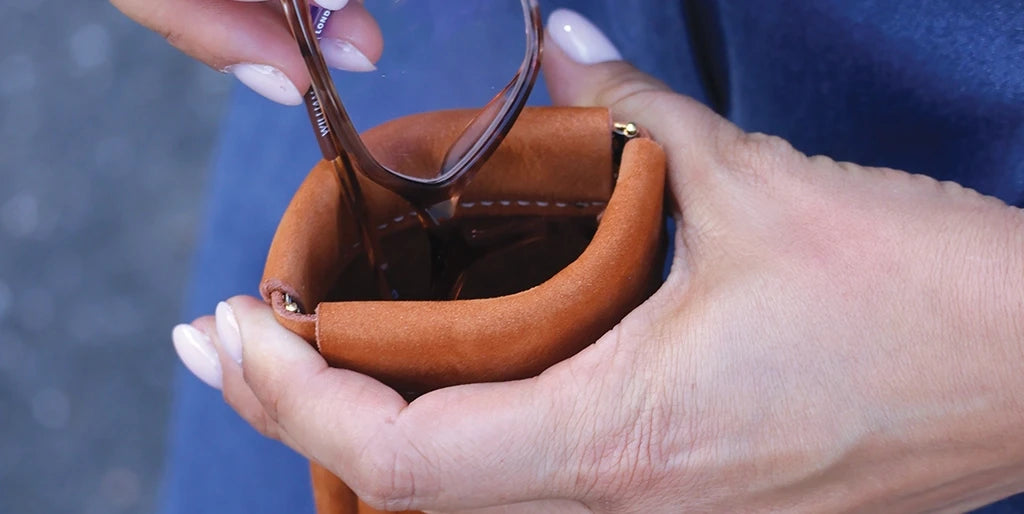
Discover in another blog post, a glasses case version or another coin purse (flat) with a snap clasp.
VERSION 2: THE FRUIT
REQUIRED MATERIALS
- 1 15 x 20 cm piece of leather - Soft - 1.4 mm thick - RED
- 1 15 x 20 cm piece of leather - Soft - 1 mm thick - GREEN
- 1 snap clasp - 7.2 x 1.5 cm
- Some double-sided tape
- 1 spool of GRAL N°40 polyester thread
- 1 punch round Ø2 mm
Video
1. Cut out the pattern
Download the pattern and print it at full size (version n°2 on the pattern). Cut out the pattern and tape it to the leather using masking tape so as not to damage the grain of the leather. Position the P1 pieces on red leather and the P2 pieces on green leather.


Punch the holes on the P1 pieces with a round Ø 2 mm punch.

Trace the outline of the P1 pieces with a silver pencil.

Using a cutter, neatly cut the straight line at the top of the P1 pieces, then roughly cut out the rest of the shape leaving about 1 cm margin around the outline.
 |
 |

With a cutter, cut out the P4 pieces following the outlines.


2. Sew the top piece
Fold the P2 pieces in half and mark the fold with a hammer, at the level of the line indicated on the pattern.
 |
 |
Apply double-sided tape to both lengths of the P2 pieces.

Position and glue the P2 pieces on top of the P1 pieces. The P2 piece must be between the right and wrong side of P1, and the fold must be on the edge.


Sew 3 mm from the edge with a sewing machine.


3. Insert the snap clasp
Separate the clasp in two by removing the screws on each side. Insert each rod on each side of the coin purse. Replace the screws to reassemble the clasp.
 |
 |

4. Sew the coin purse
Apply contact cement to the back of the pieces P1, only around the edge of the strawberry.

Then, glue the pieces together, making sure that the holes in the strawberry are perfectly aligned with each other.

Sew all around at a 3 mm distance, inside the line drawn with the silver pencil.

Cut off the excess leather along the line drawn with the silver pencil.


Option
Optional: finish the edges (with an edge finishing product) for a more professional look.
You're finished!
 |
 |


