


REQUIRED MATERIALS
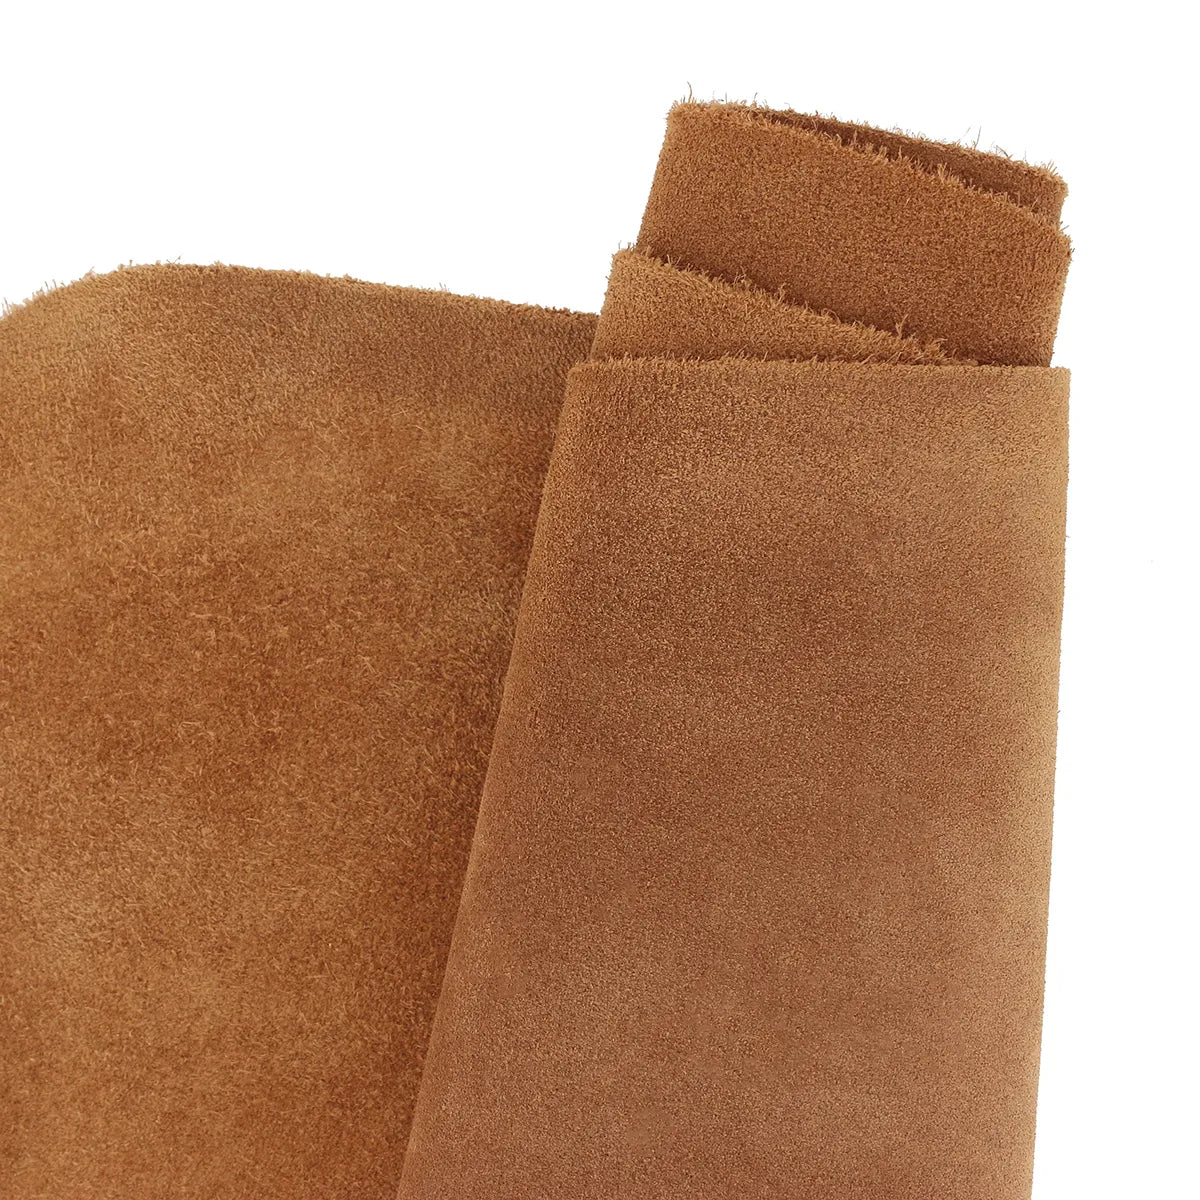
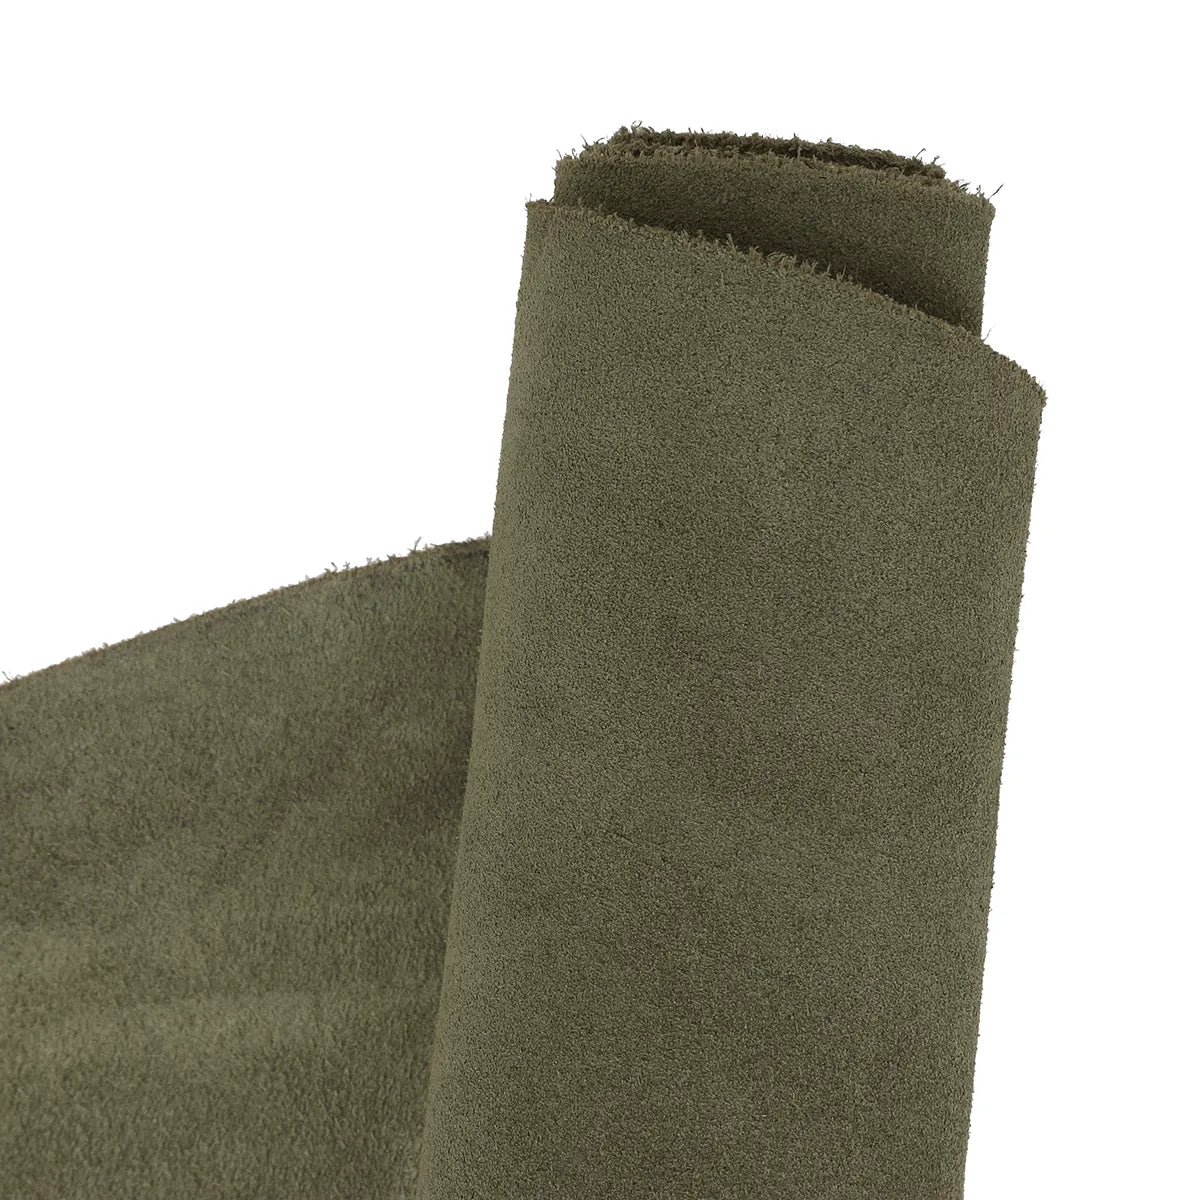
- 1 split calfskin leather hide, approximately 1.3 mm thick and 1.15 m² in area (area given for reference)
- 1 Salpa reinforcement sheet (synderme) - 70 x 150 cm - 0.4 mm thick
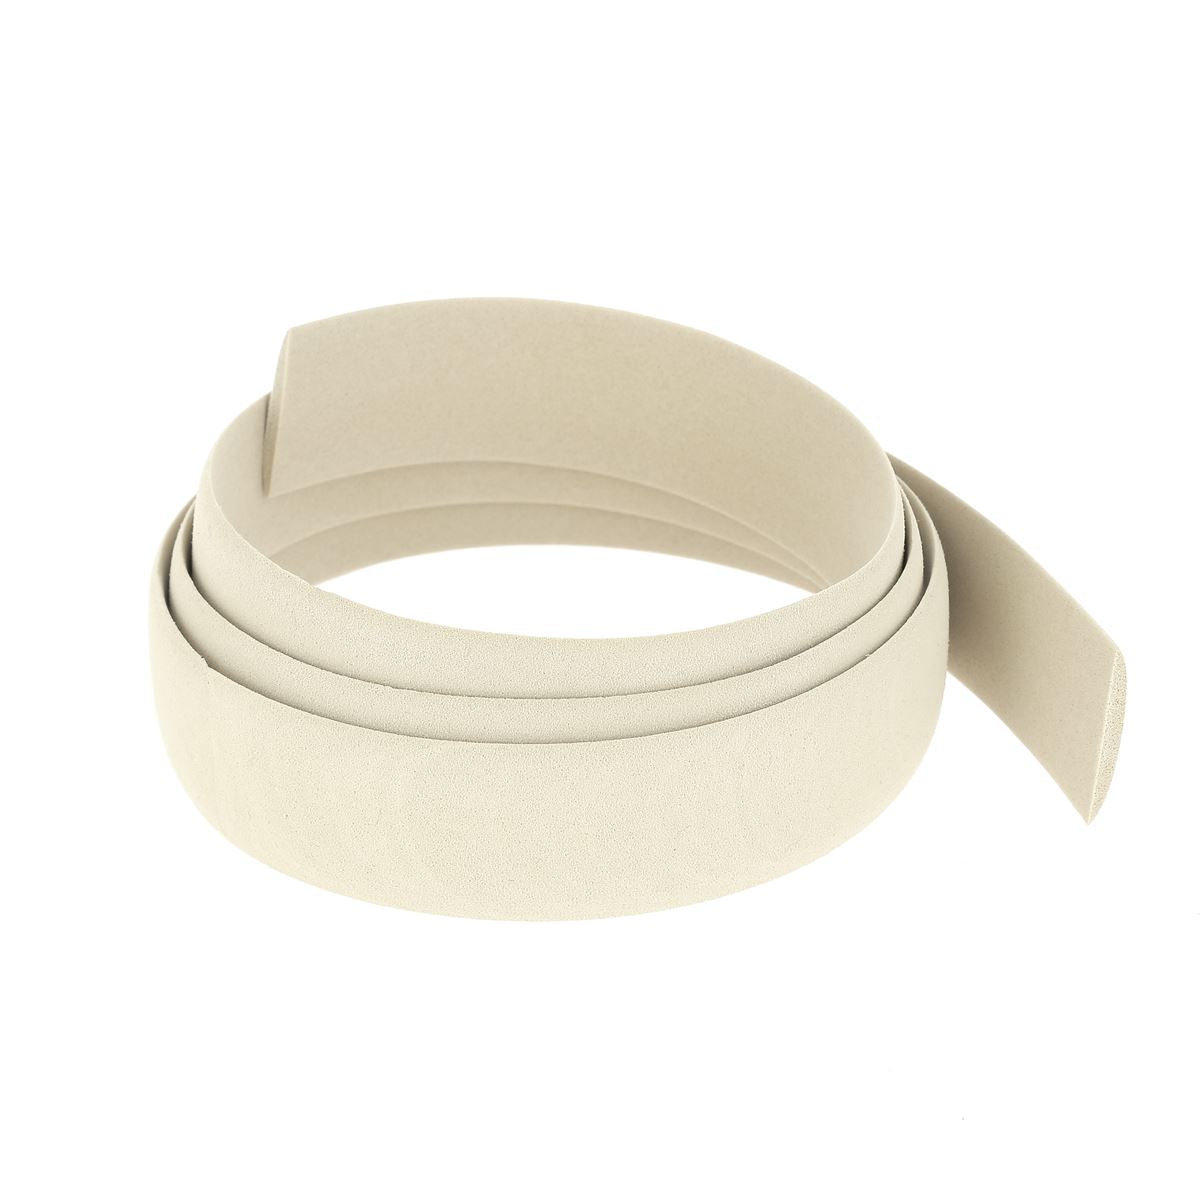
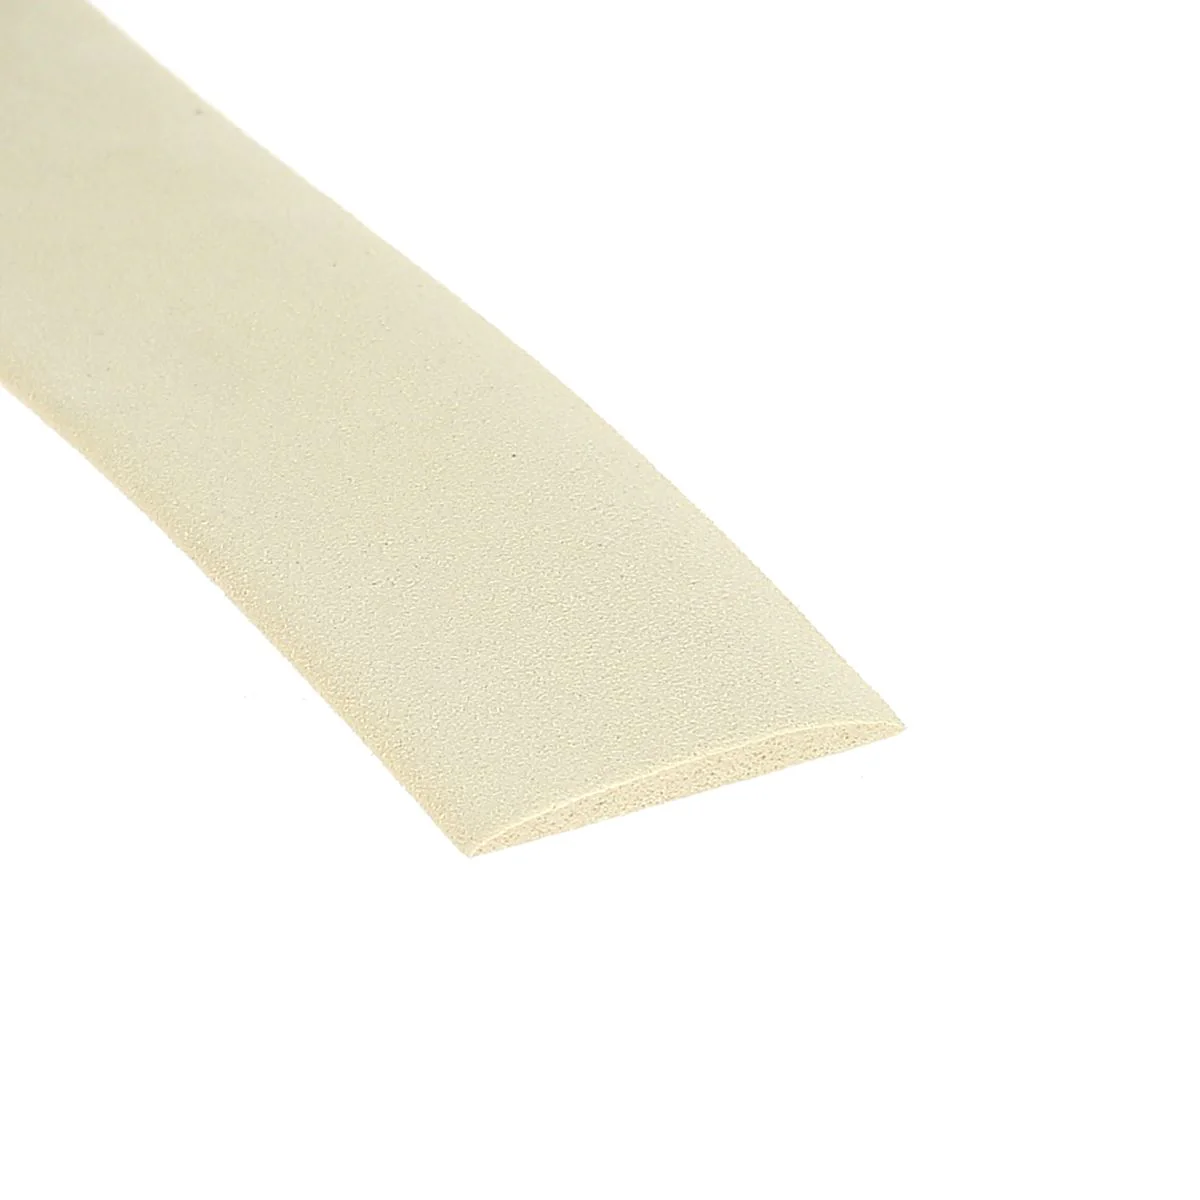
- 40 cm of sugherite internal reinforcement for handle - 25 mm wide
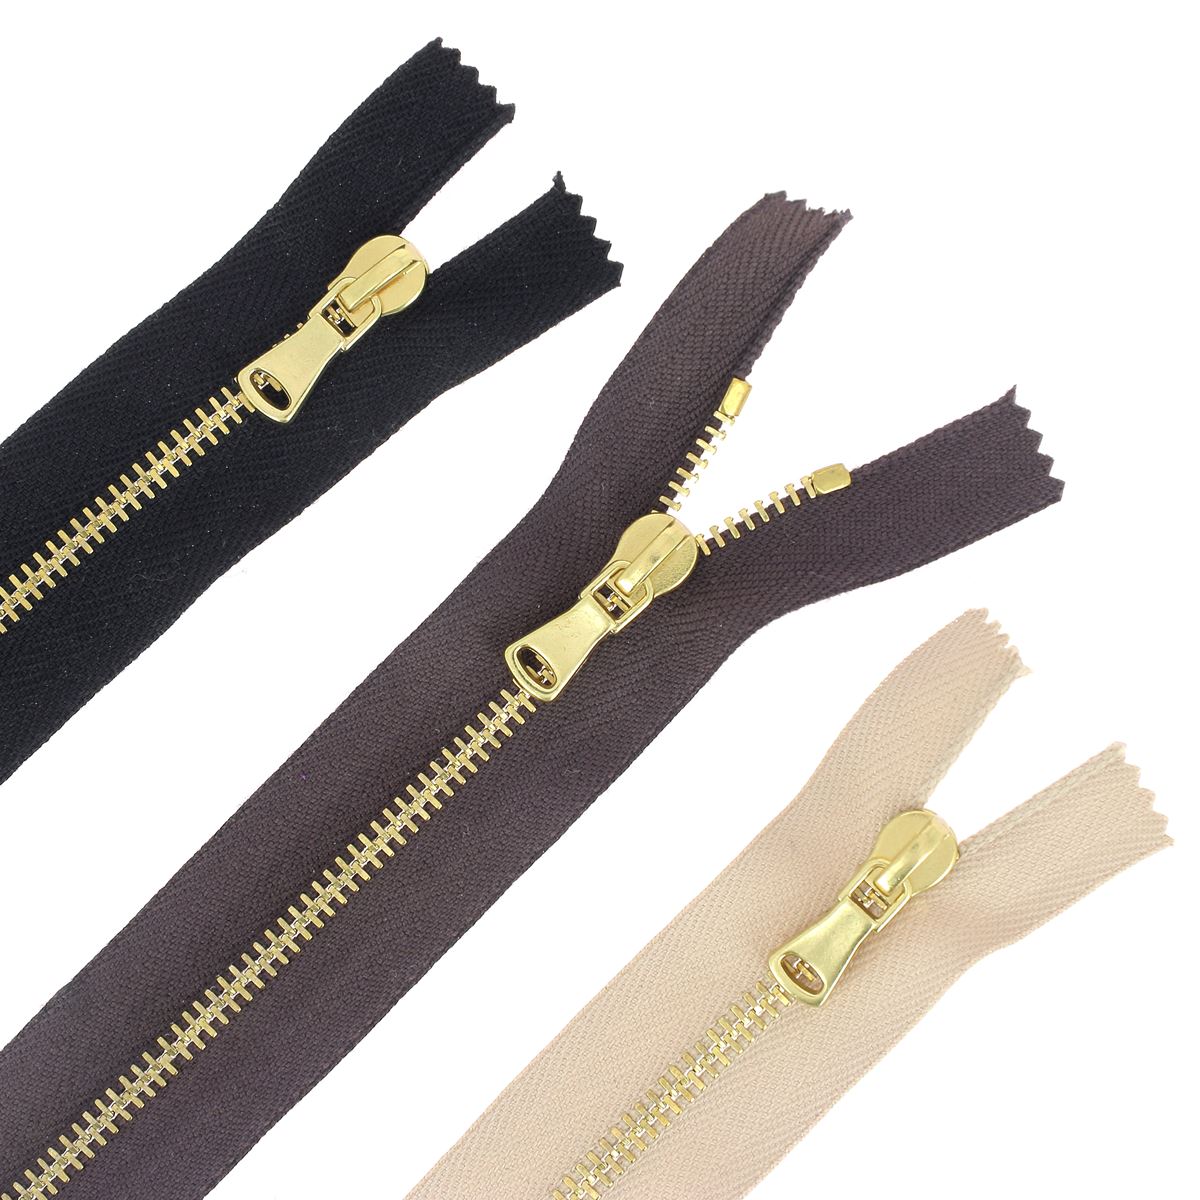
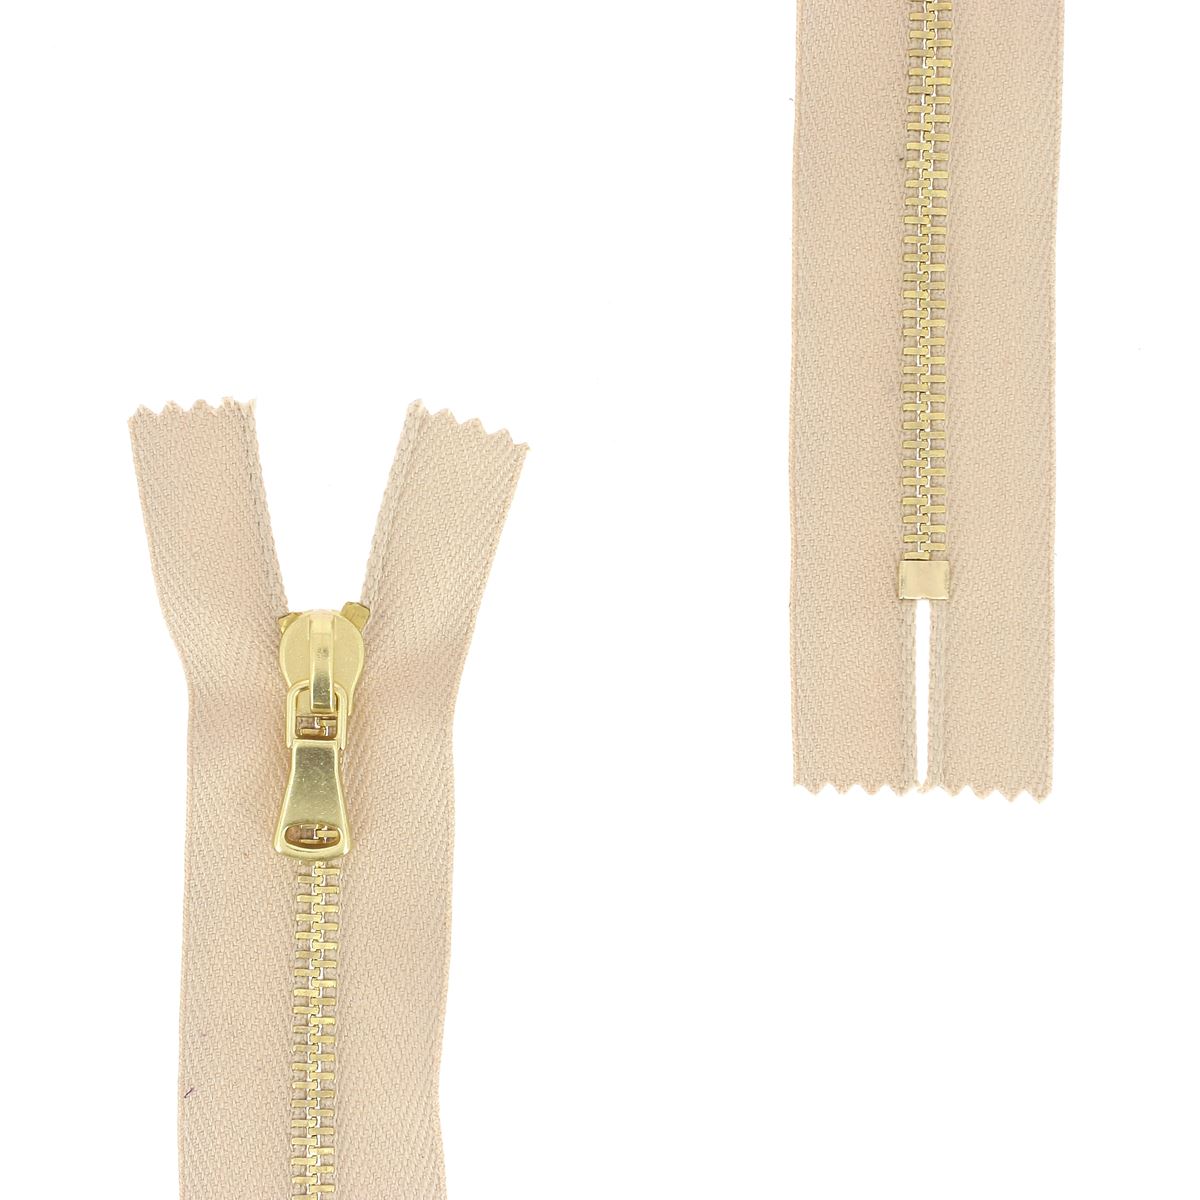
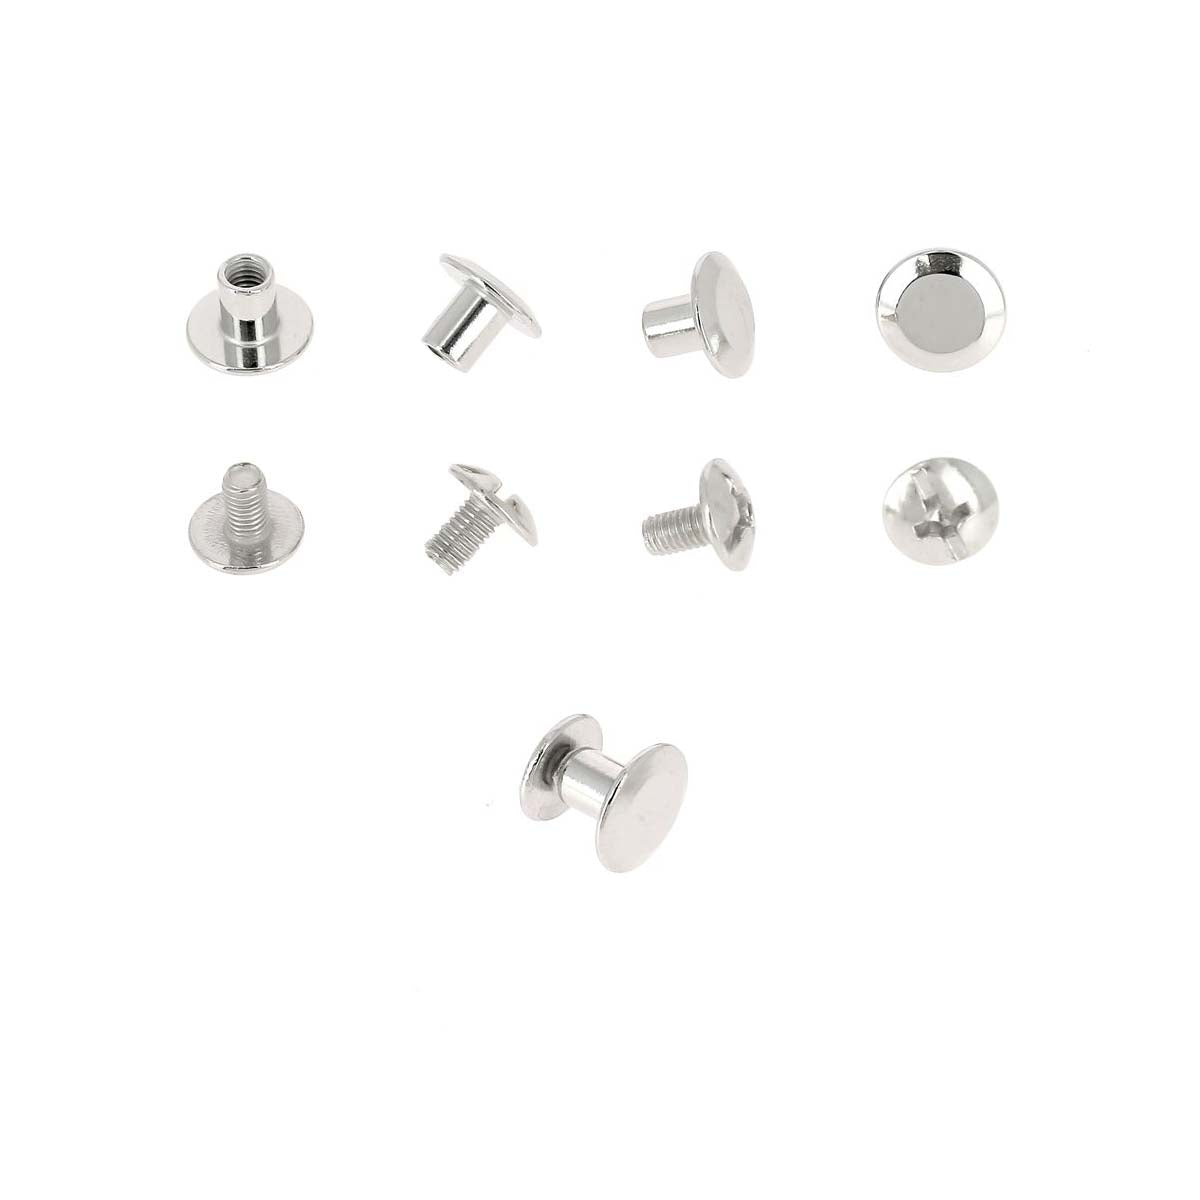
- 1 Metal zipper, 4 mm wide - SUPRA - 20 cm long
- 1 roll-up eyelet kit and installation tools - Ø 8 mm
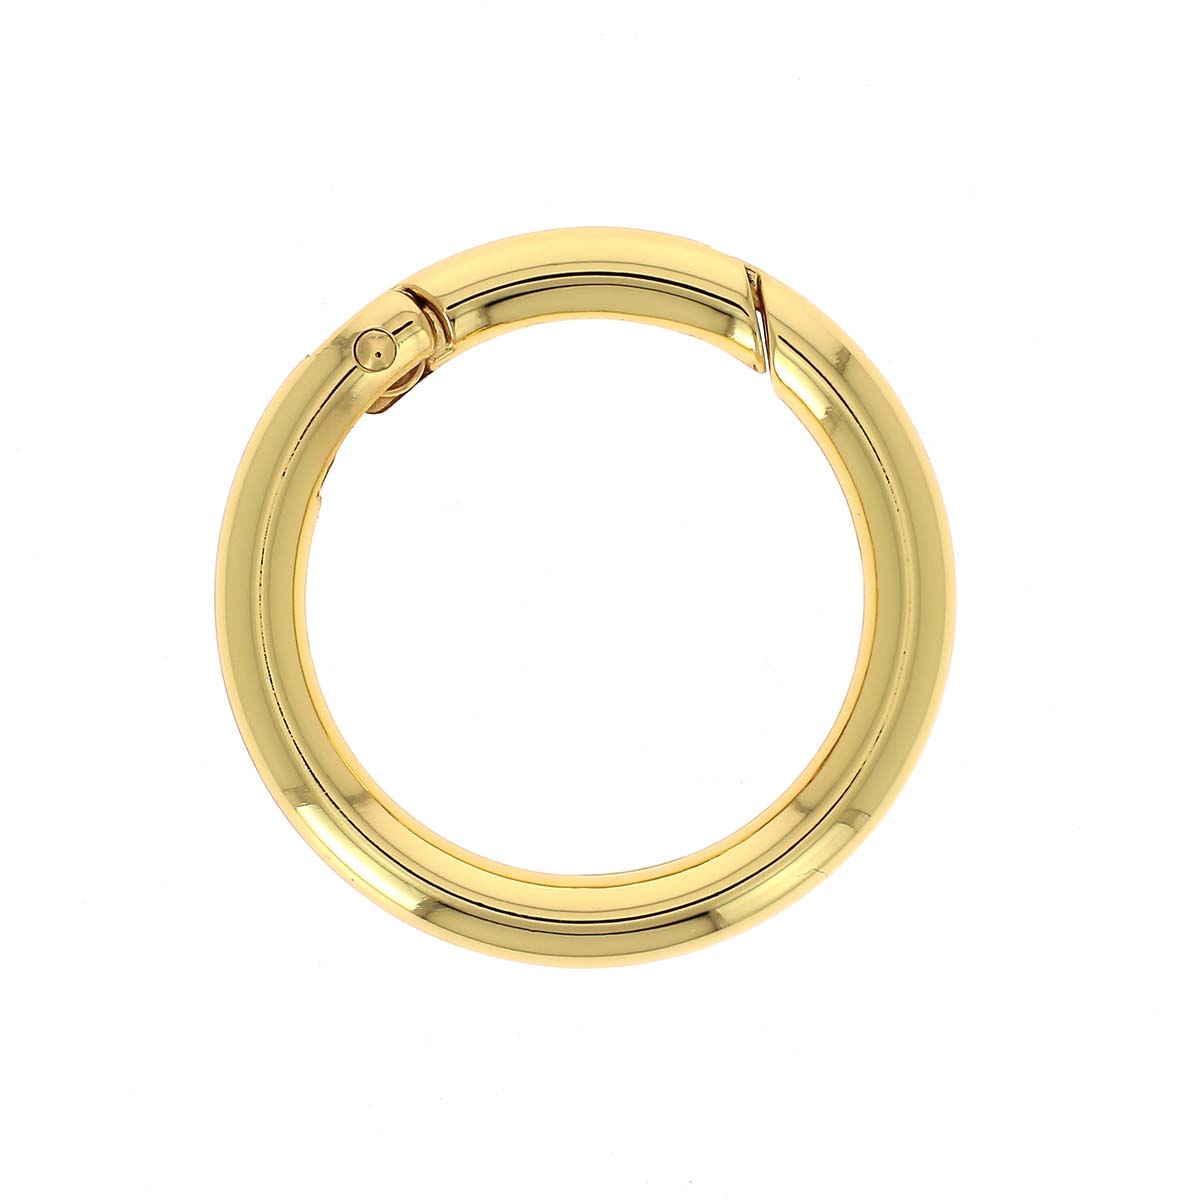
- 2 round snap hooks - Ø 26 mm
- 1 swiveling snap hook, 10 mm wide
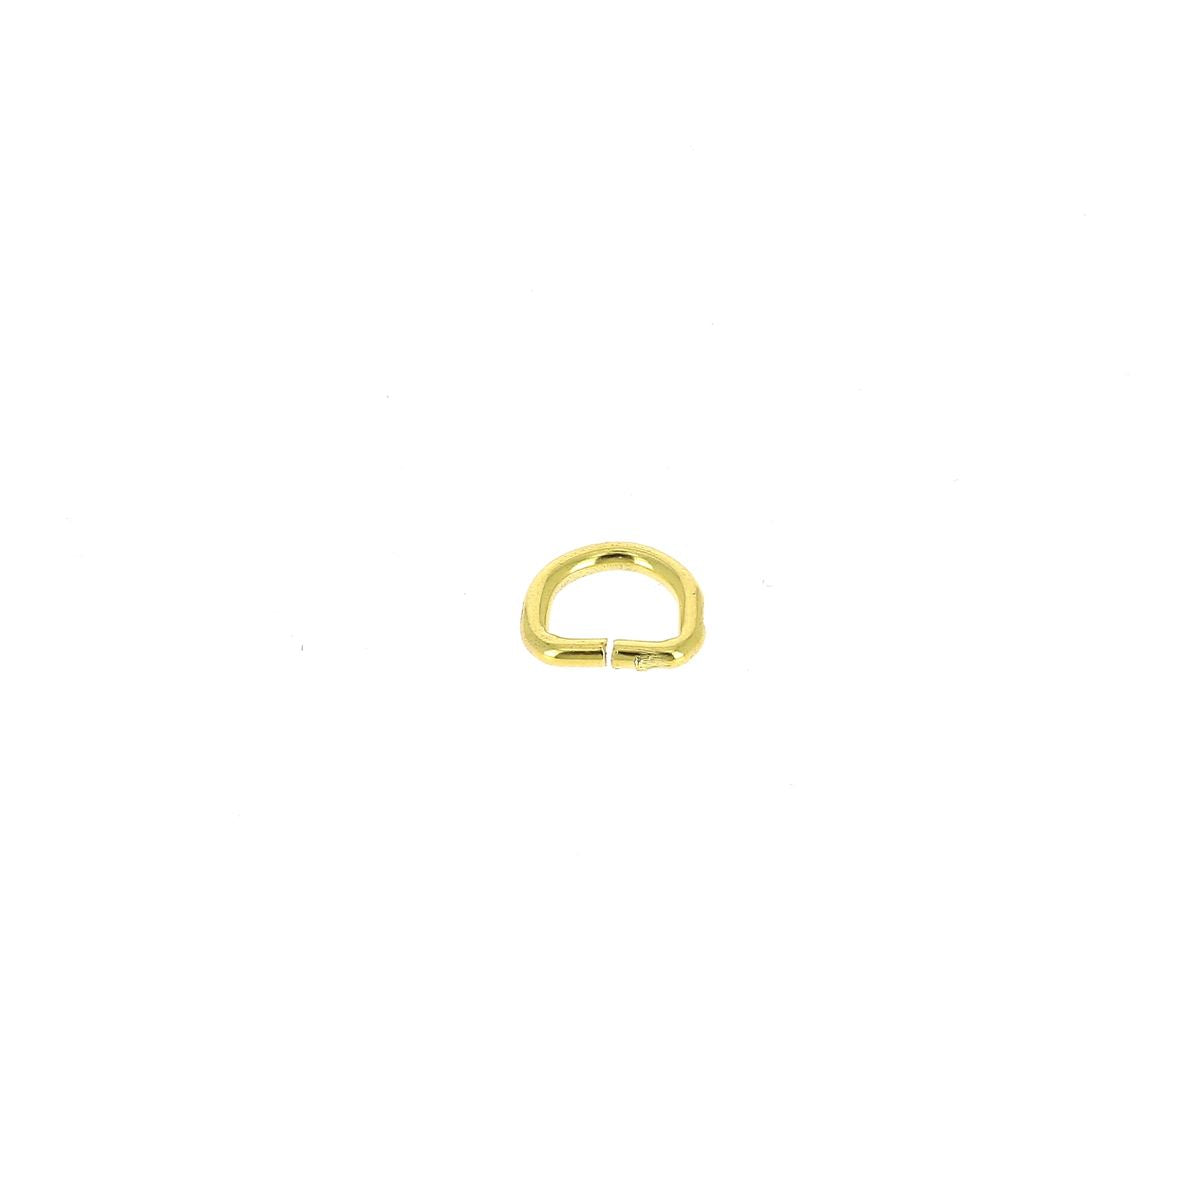
- 1 D-ring, 10 mm wide
- 1 round magnetic snap closure - 14 mm
- 2 Chicago screws Ø 9 mm or 2 T3 rivets
- Fabric lining - 55 x 75 cm (not sold on our website, can be found in haberdashery stores)
- Polyester thread No. 30
- Double-sided adhesive tape
- Tear-resistant tape
- Leather glue
GET THE PATTERN
Three options to purchase the pattern:
- digital version (PDF to print at actual size and assemble).
- digital version with a permanent commercial license.
- paper version (B1 poster that you will receive at home).
Available on our website (reference KA226) !

 |
 |
 |
 |
 |
 |
FULL TUTORIAL VIDEO
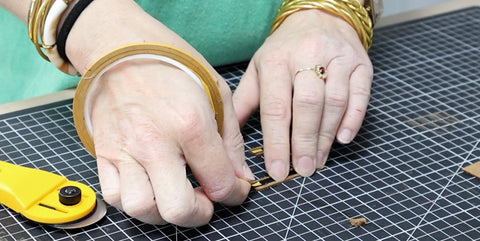
1. Cut out the pattern pieces
Cut out the paper pattern and transfer the different pieces onto the leather and lining.
Be careful to mirror the second P1 piece compared to the first. For the lining, remove 5 cm from the top and 5 cm from the bottom of the P1 pattern piece.
 |
 |
Draw a 62 x 30 cm rectangle on the 0.4 mm thick Salpa reinforcement.

Using a cutter, cut the leather, lining, and Salpa along the lines.
 |
 |

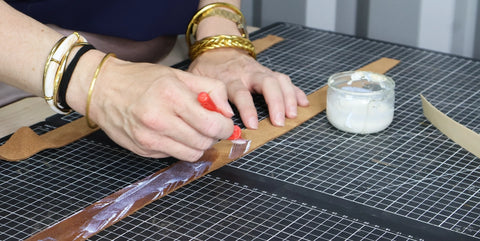
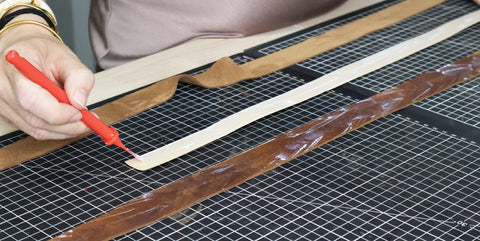
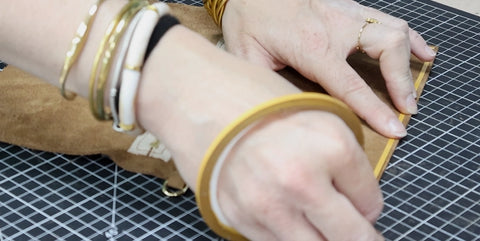
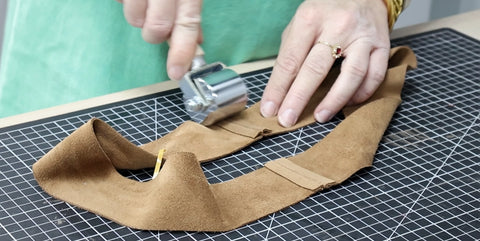
2. Work on the strap
Start by working on the strap so the glue dries thoroughly before topstitching. Cut a piece of sugherite 38 cm long.

Apply contact glue to the wrong side of piece P2(a), as well as to the flat side of the sugherite.
 |
 |
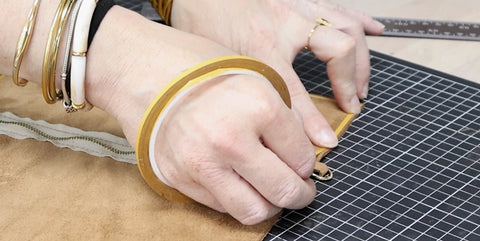
Glue the sugherite to the center of this P2(a) strap.

Then apply glue to the curved side of the sugherite as well as to the wrong side of piece P2(b).
 |
 |
Allow the glue to soak in, then assemble the two P2 pieces.

Press firmly all around the sugherite to shape the strap. Then overcut.

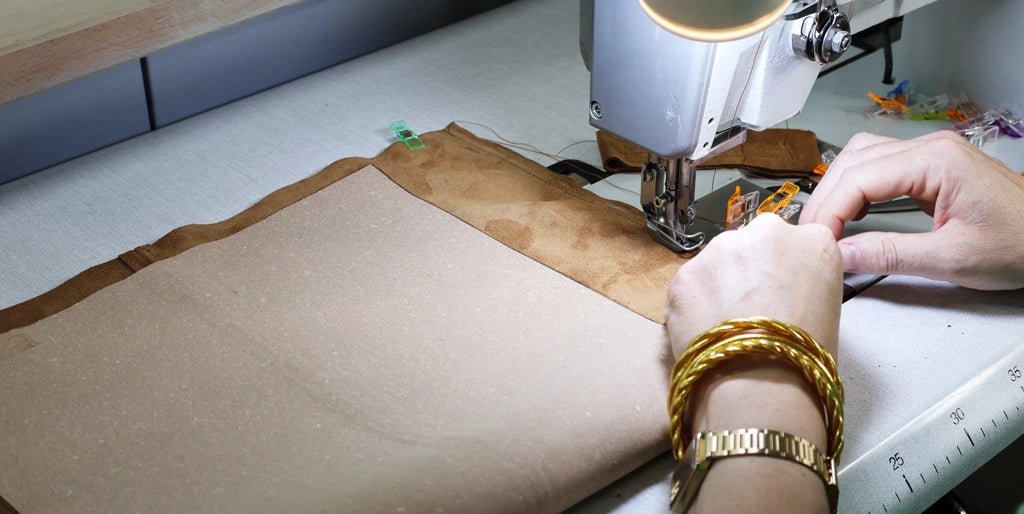
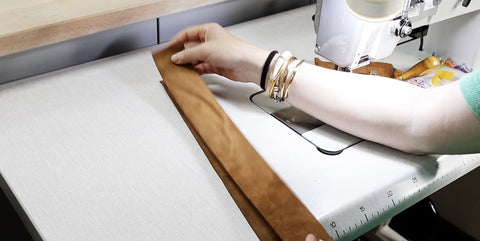
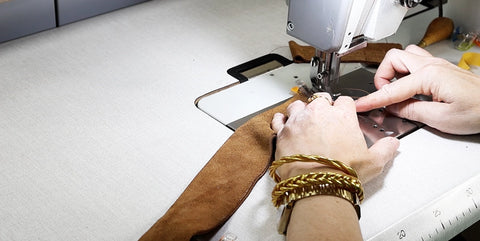
3. Sew the bag body
Position the two P1 pieces right sides together, edge to edge. Then, hold the pieces with sewing clips.
 |
 |

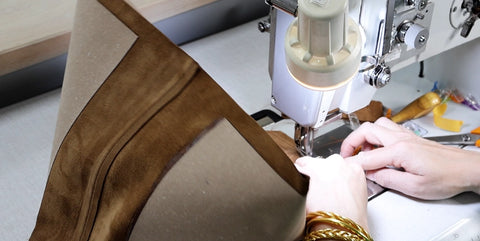
Sew the long side 1 cm from the edge, always starting from the top to avoid any misalignment (see sewing direction).

Open the seams using double-sided adhesive tape and a steel roller.
 |
 |
Topstitch on each side of the seam, 3 mm from the edge.

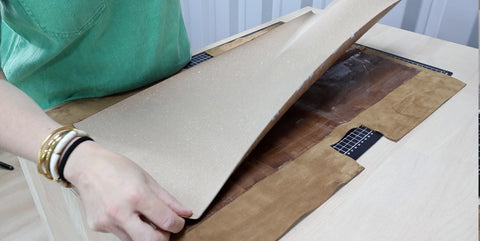
4. Reinforce the bag
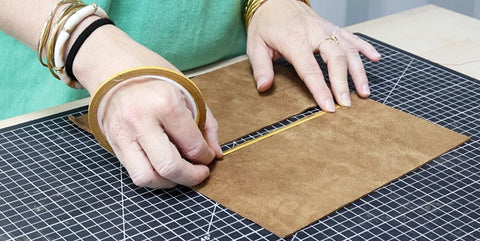
Using a silver pencil, mark the location of the SALPA reinforcement in the center of piece P1, on the wrong side of the leather. The Salpa should be positioned in the middle of the piece with a 1 cm margin at the top and bottom.

Apply contact glue to the marked area and to the wrong side of the SALPA.
 |
 |
Glue without exceeding the marked line, then press with a steel roller.
 |
 |
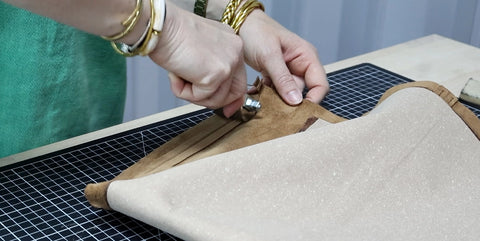
5. Sew the sides of the bag
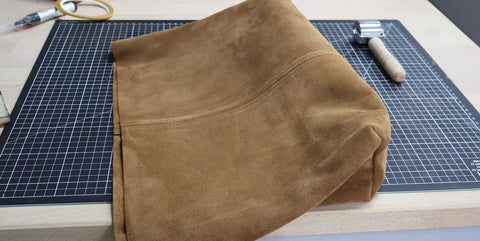
Fold piece P1 in half, right sides together. Match the sides and secure with sewing clips.

Sew both sides of the bag 1 cm from the edge, always starting from the top.
Open the seams using double-sided tape and a pressing roller.
 |
 |
Bring the corners of the bag together, then sew right sides together 1 cm from the edge. Do not open the seams at this stage, unlike the previous ones.
 |
 |
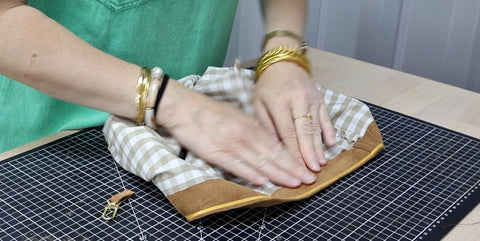
Turn the bag right side out.
 |
 |
6. Work on the small interior pocket
Position the zipper in the indicated location on piece P4 using double-sided tape.
 |
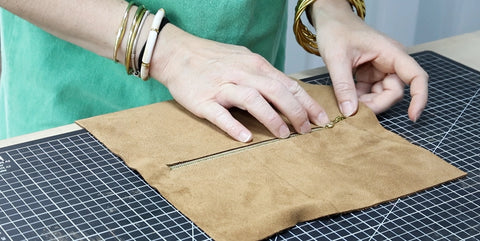 |
Sew all around using a zipper foot.

Trim the excess zipper ends, then lightly burn the ends to prevent fraying.
 |
 |
Glue tear-resistant tape to the back of the small tabs P5 and P6.

Place a small piece of double-sided tape on each tab. Insert the snap hook into the 6 cm tab (P5), and the D-ring into the 4 cm tab (P6). Fold the tabs in half and glue.
 |
 |
Place double-sided tape on the right side of the tabs. Position the 4 cm tab P6 with the D-ring 2 cm below the zipper (see pattern), on the wrong side of the leather, and secure it with the double-sided tape. Piece P5 will be attached to the facing at step 8.
 |
 |
Place double-sided tape all around one side of the pocket, on the wrong side of the leather. Fold the pocket in half at the zipper and glue edge to edge, wrong sides together.
 |
 |
 |
 |
Sew the three sides of the pocket 3 mm from the edge.

7. Sew the lining
Assemble the P1 lining pieces in the same way as the P1 leather pieces, without opening the seams with double-sided tape and without topstitching.
Position the two P1 (lining) pieces right sides together, edge to edge, then hold with sewing clips. Sew the long side 1 cm from the edge.

Then fold the P1 piece over on itself, right sides together. Match the sides and hold with clips. Sew both sides 1 cm from the edge.

Bring the corners together, then sew right sides together 1 cm from the edge.
 |
 |
8. Assemble the facing (P3)
Assemble the two sides of the P3 facing, right sides together. Sew 1 cm from the edge on each width.
 |
 |
Apply double-sided tape to each side of the seams, then flatten them with a steel roller.
 |
 |
Apply double-sided tape to the two long sides of the facing, on the wrong side of the leather.
 |
 |
Position the right side of the lining against the wrong side of the facing, overlapping them by 1 cm. Do not match the side seams to avoid bulk.
 |
 |
Insert tab P5 with the carabiner between the fabric lining and the facing (at the location of your choice).
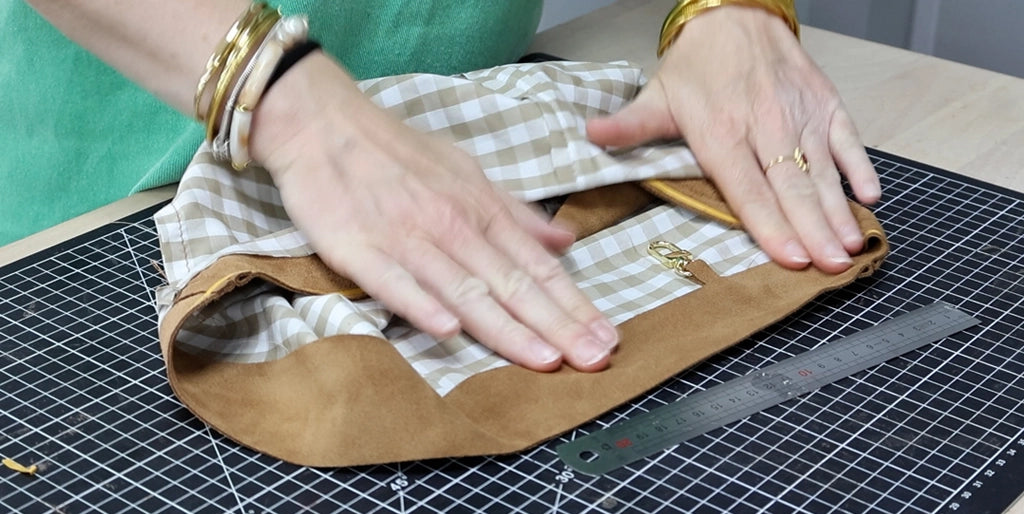
Sew the facing to the lining.

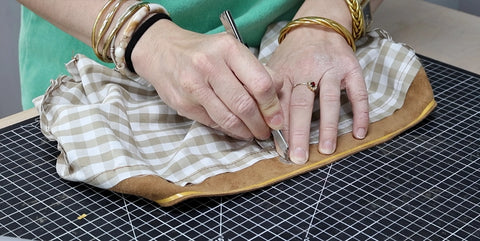
Using a cutter, make the slits in the center of the facing to attach the magnetic snap. Then attach the magnetic snap. The position of the clasp will depend on the position of your facing in the bag (see step 9).
 |
 |

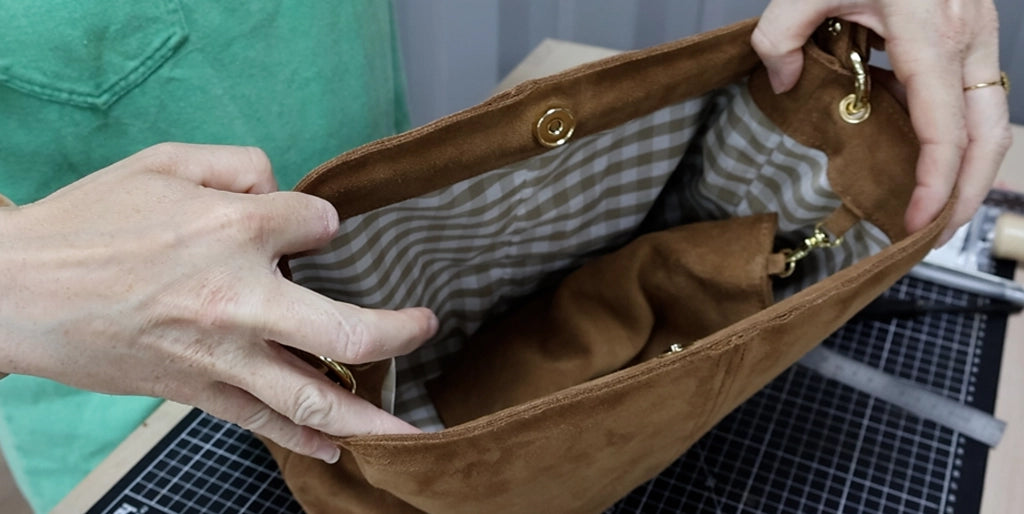
9. Assemble the bag
Position the lining inside the bag. Using double-sided tape, glue the facing edge to edge, wrong side to wrong side, with the top of the bag. Stagger the centers to avoid bulk. Be careful to position the facing correctly in relation to the position of the magnetic snap so that it is centered (see step 8).
Glue the edges with glue for nice edge finishes.
 |
 |
Topstitch all around the bag 3 mm from the edge.
 |
 |
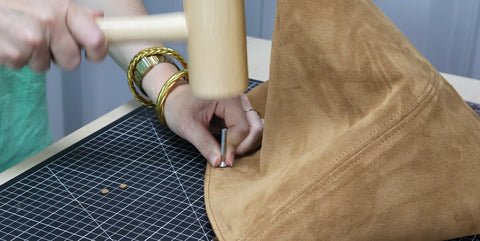
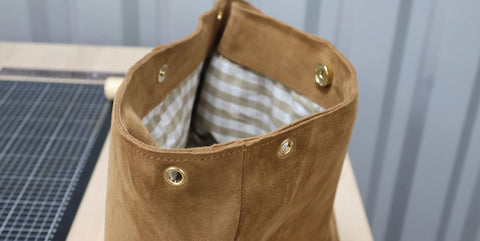
10. Install the eyelets
Punch the 4 Ø 8 mm holes for the eyelets in the corners of the bag (see pattern and instructions in the eyelet kit). Then install the Ø 8 mm eyelets.
 |
 |
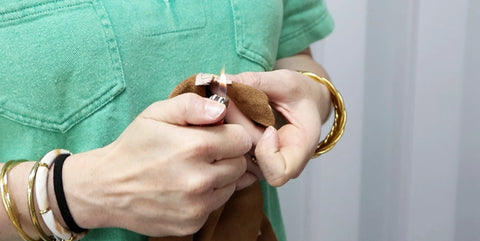
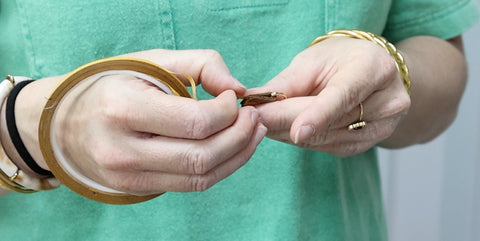
11. Sew the strap
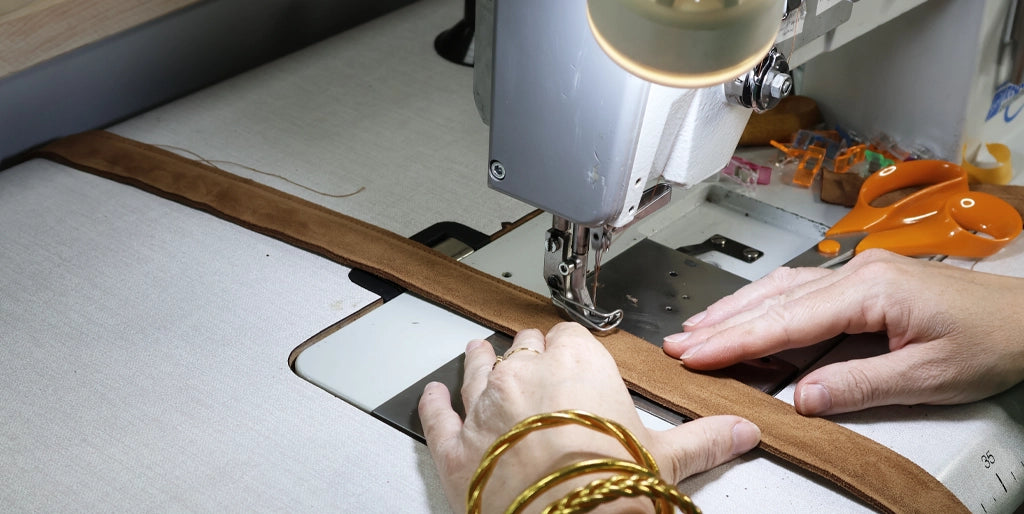
Stitch all around the P2 strap 3 or 4 mm from the edge (as close as possible to the sugherite).
Punch the Ø 3 mm holes indicated on the pattern.

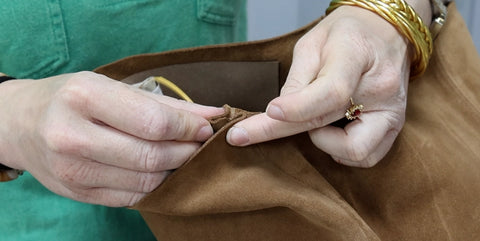
Fold each end of the P2 strap and attach/screw a Chicago screw to each side (put a dot of glue on the screw thread for a stronger hold).

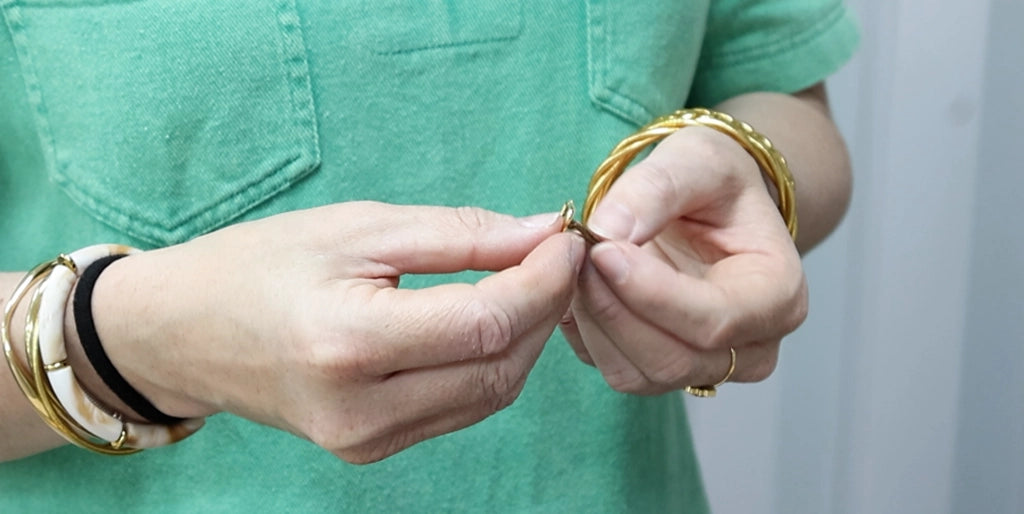
Then, attach a round carabiner to each end.
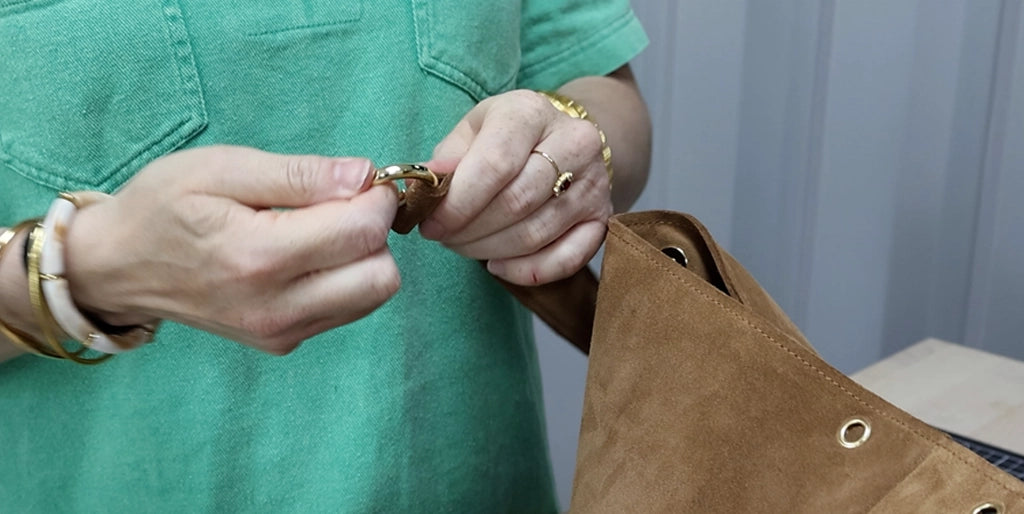
Pass the carabiners through the eyelets to attach the strap to the bag.

 |
 |
All that's left is to attach the small pocket inside the bag.
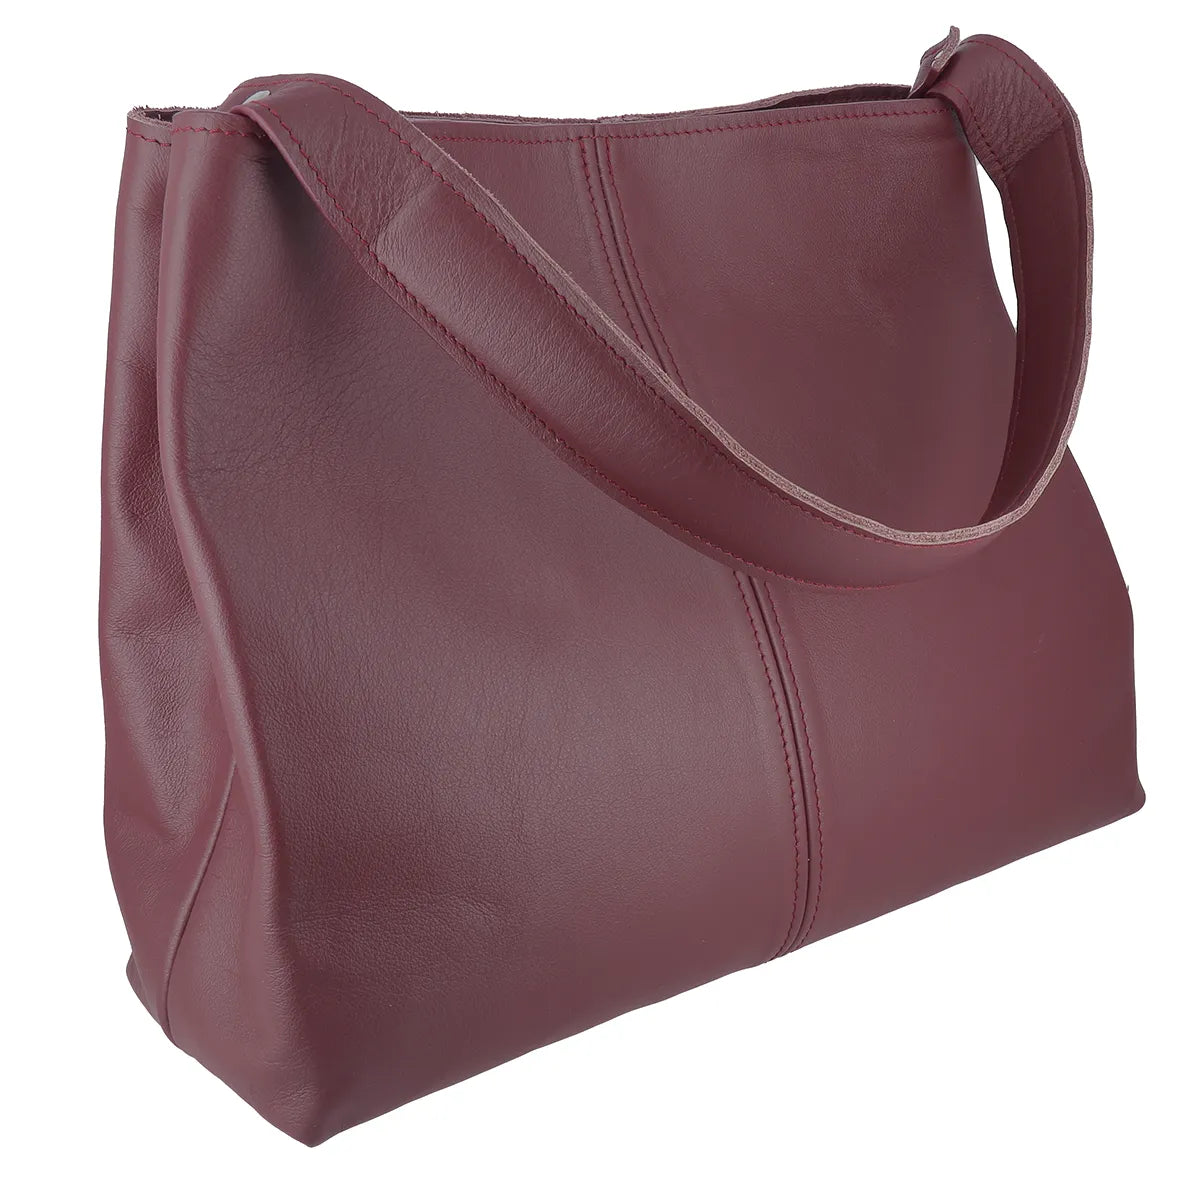
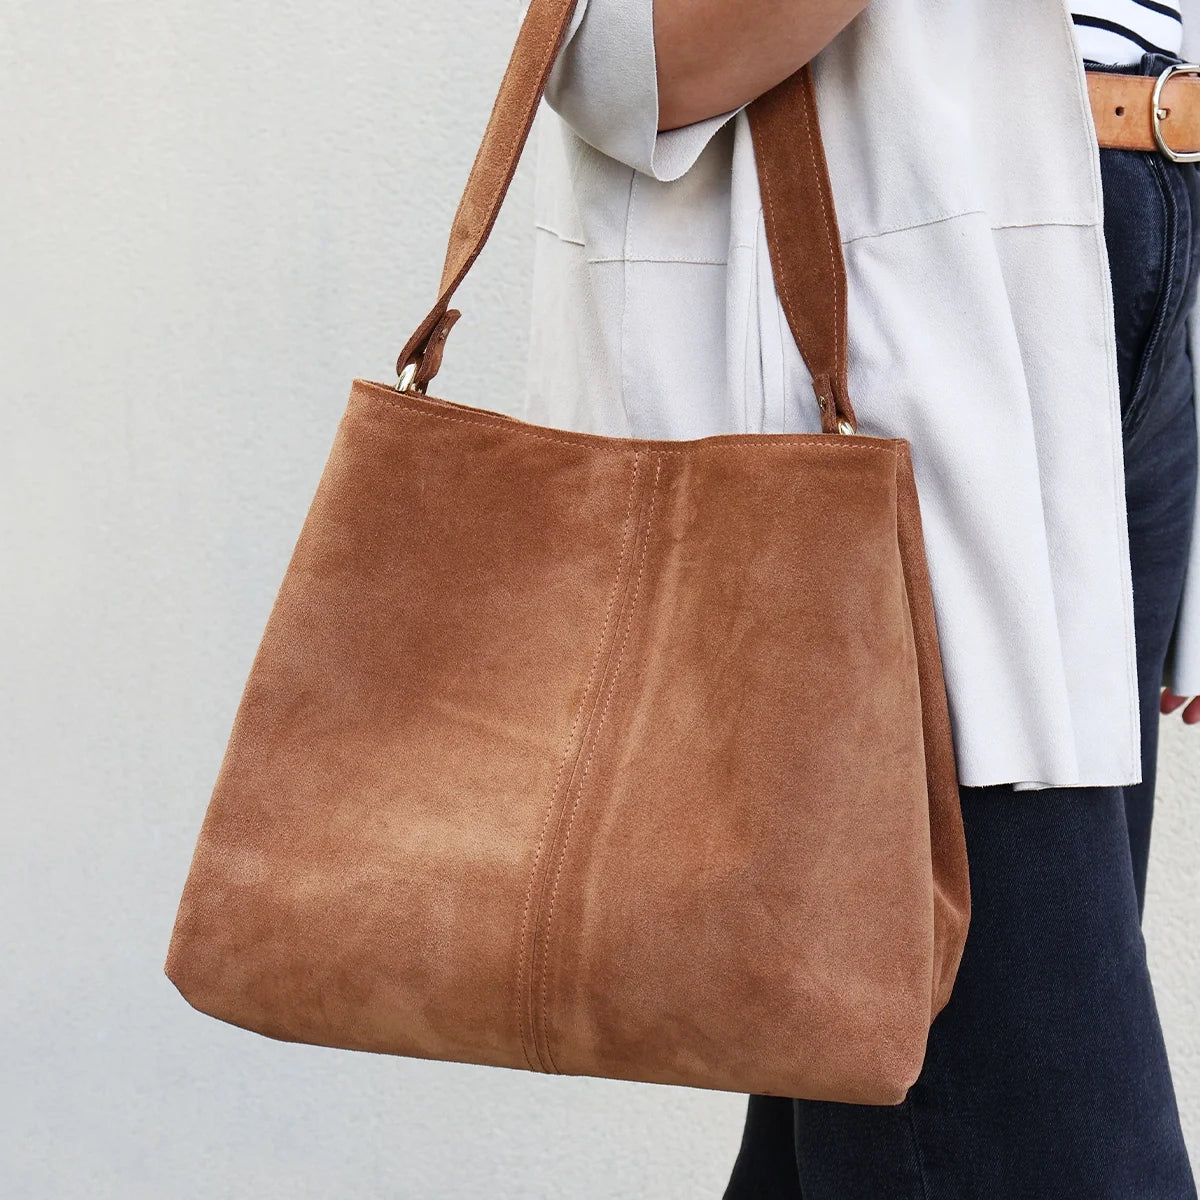
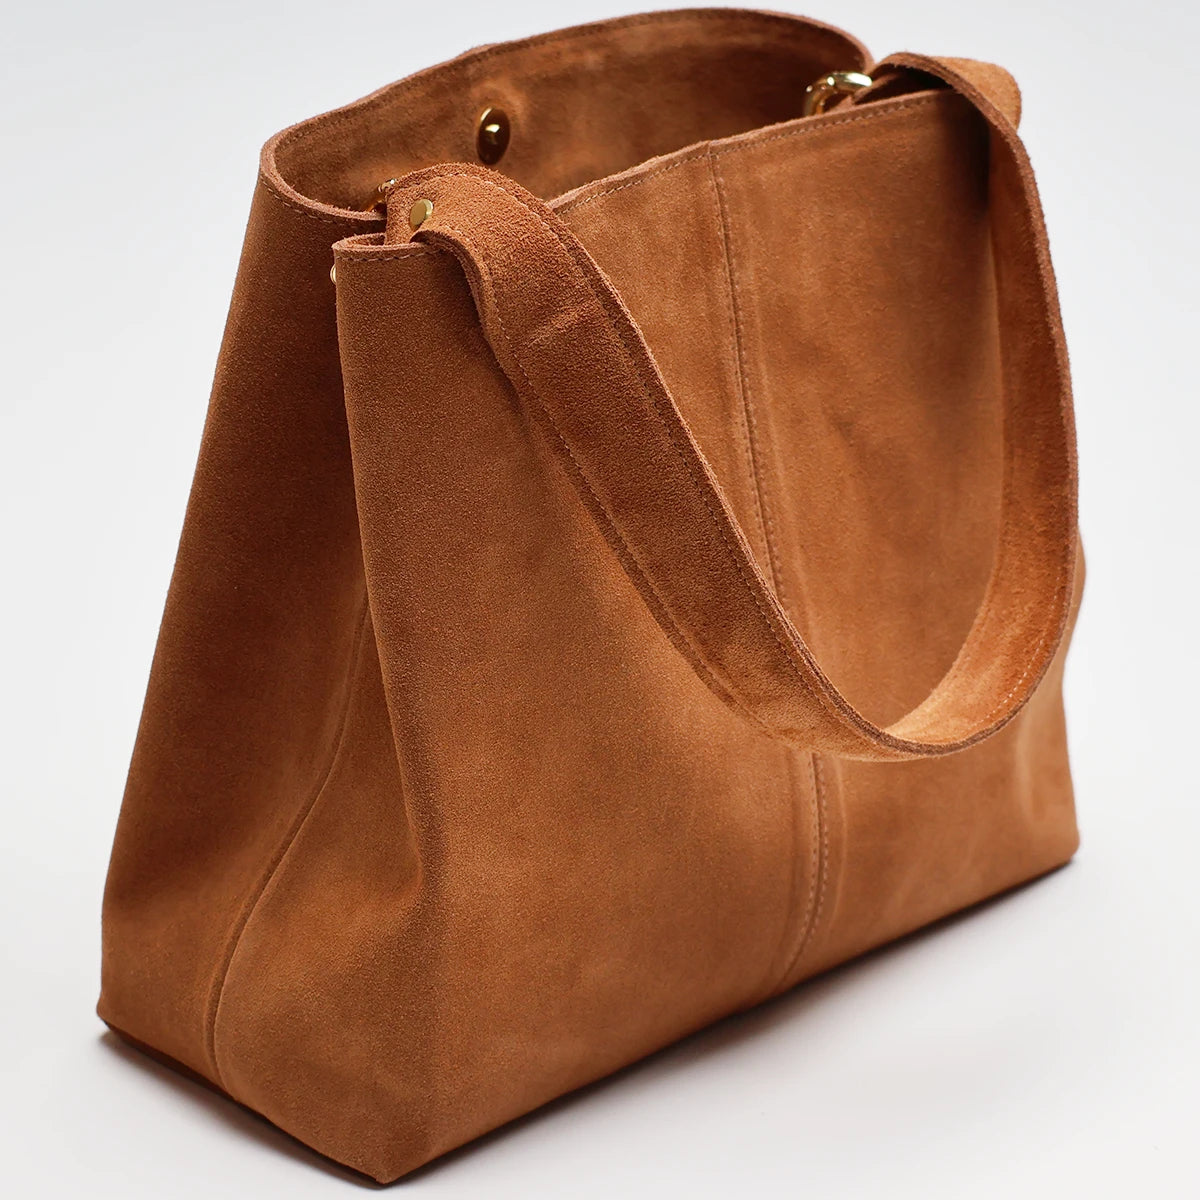
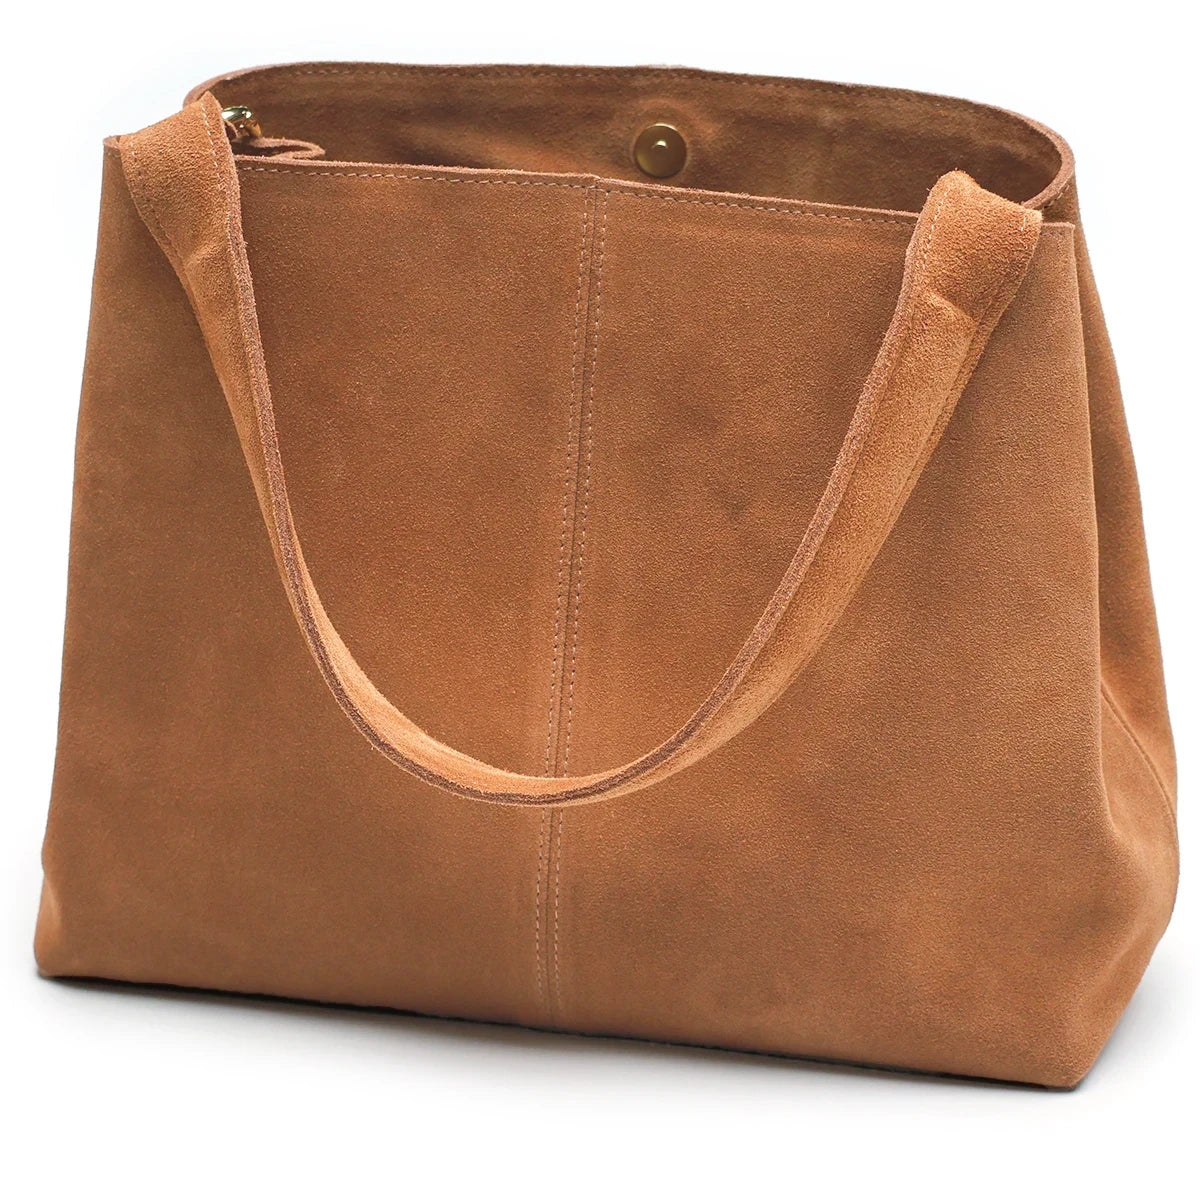
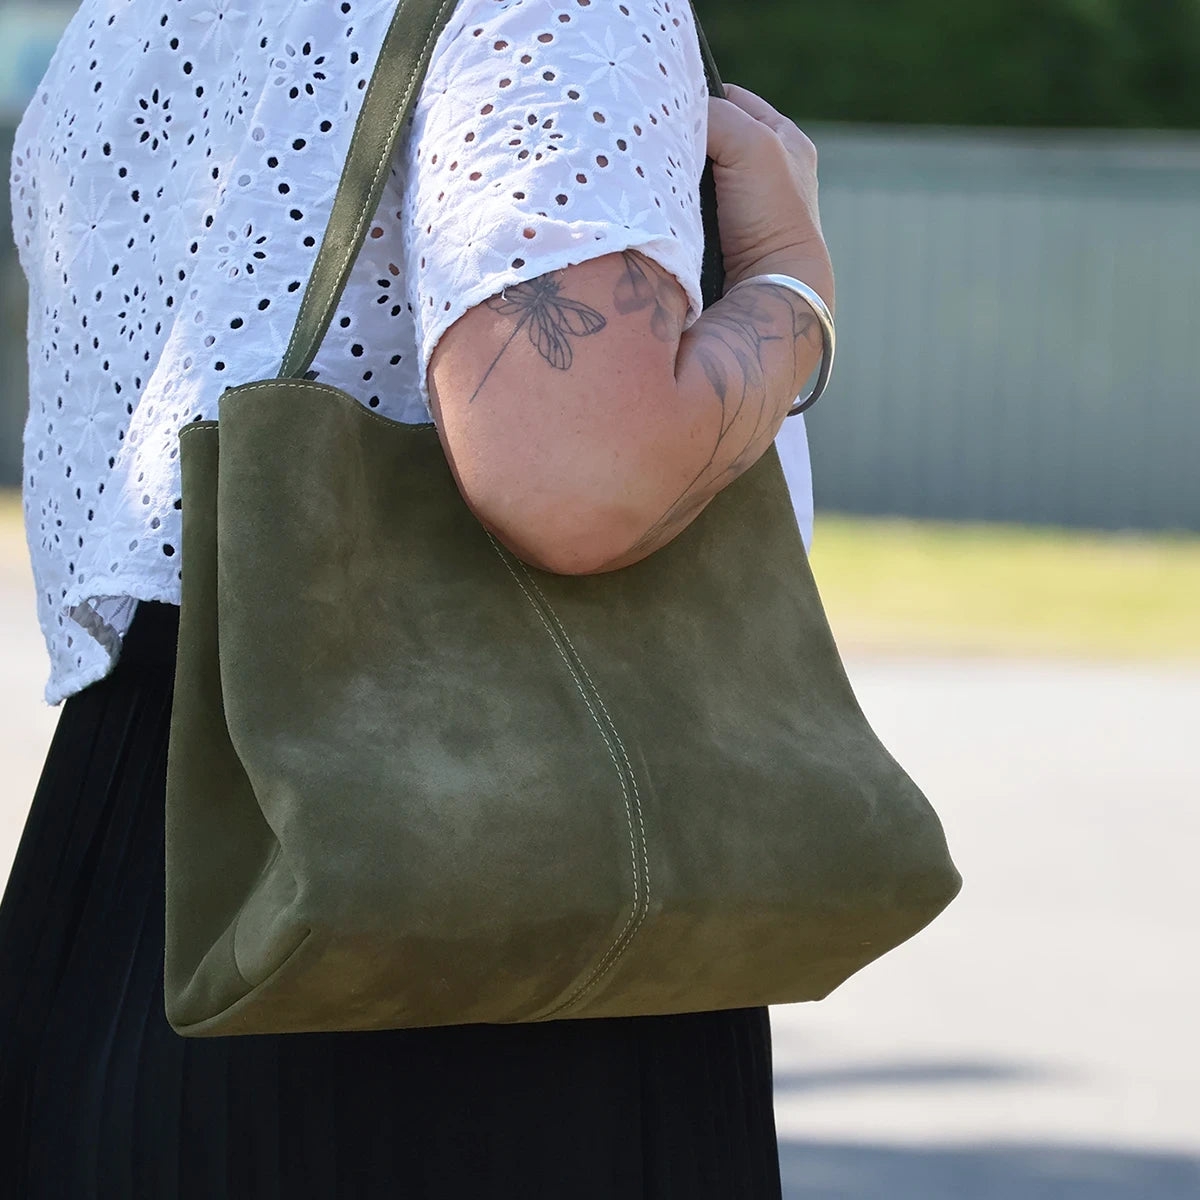
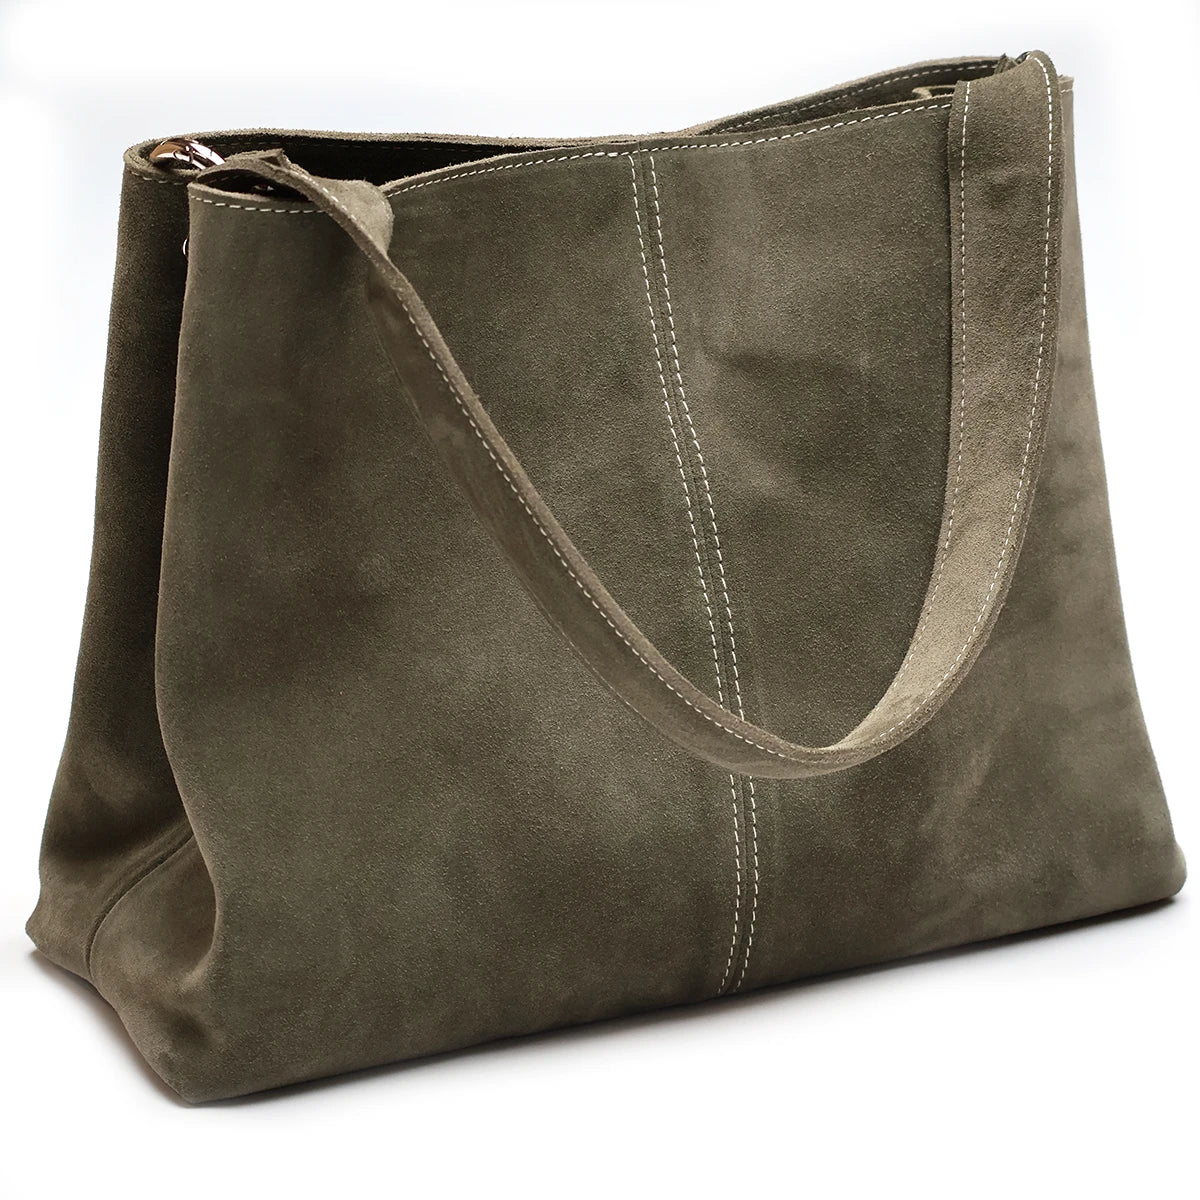
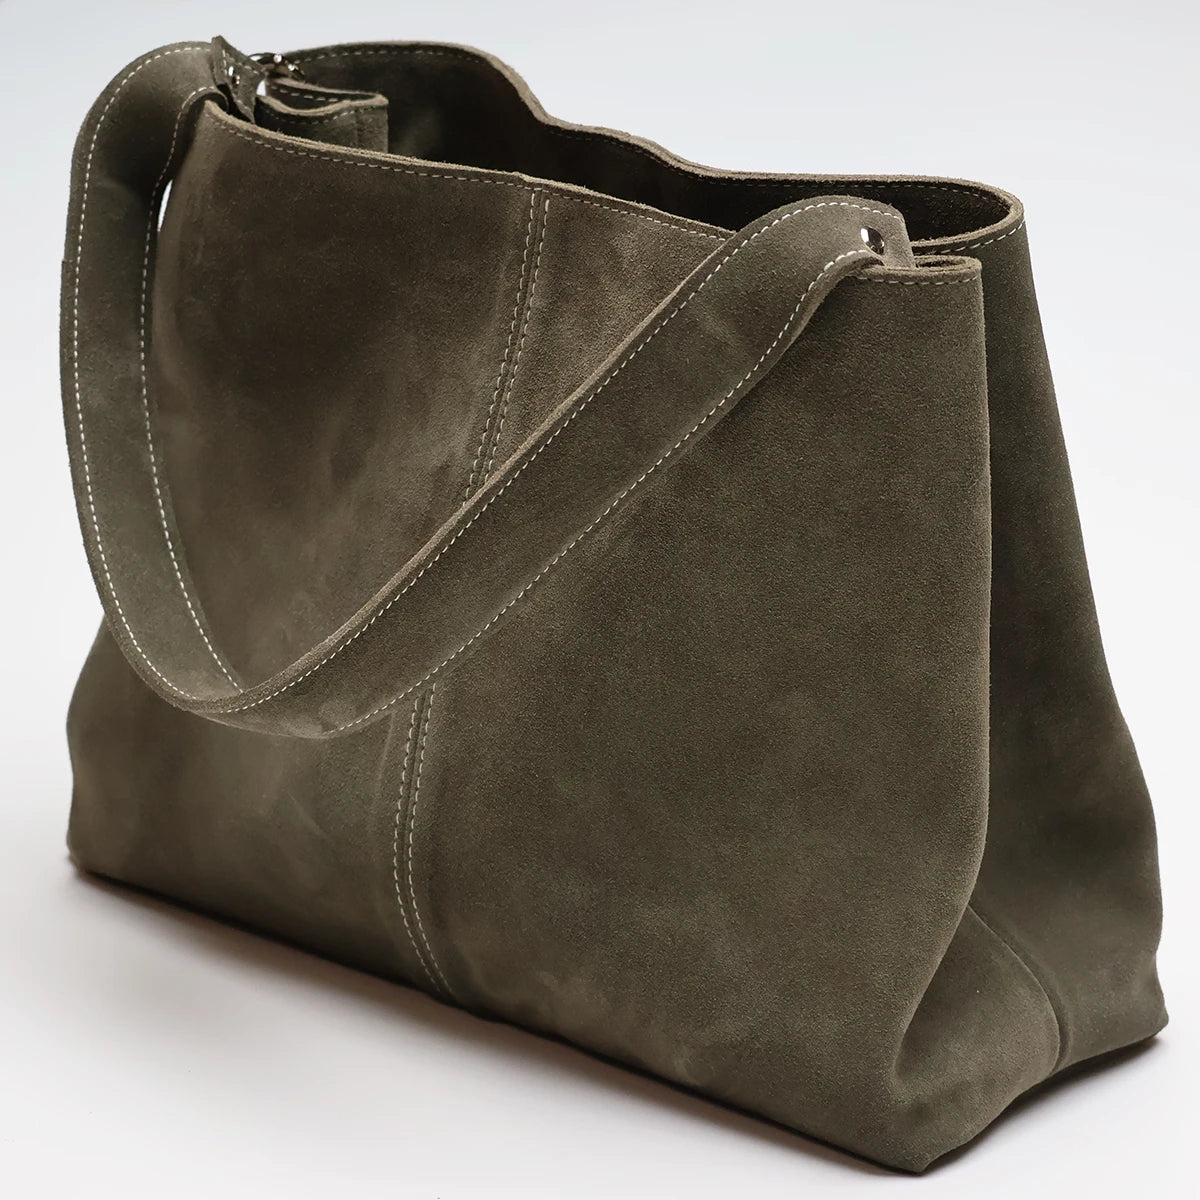
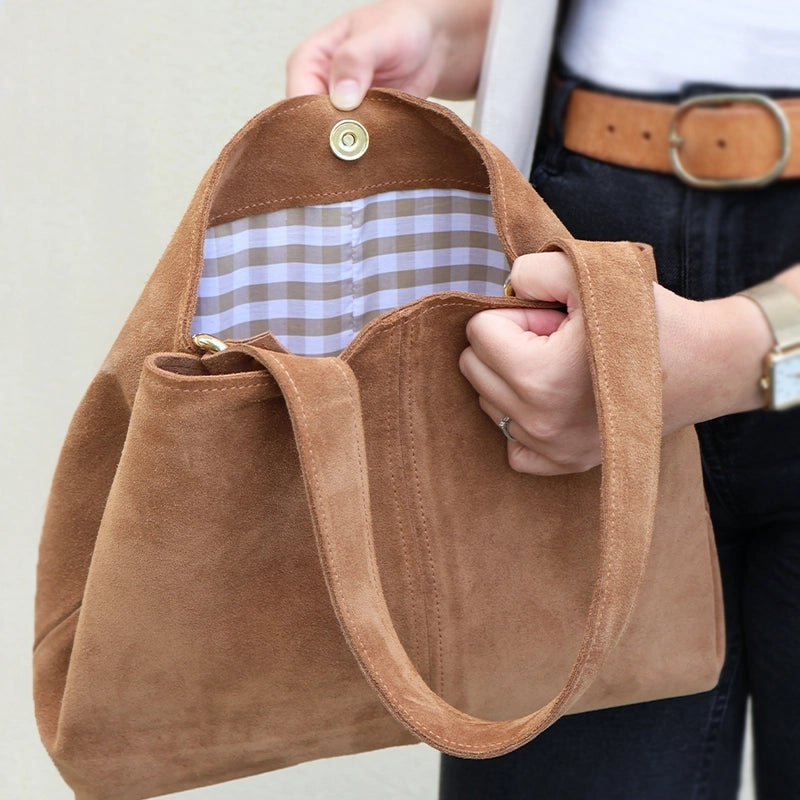
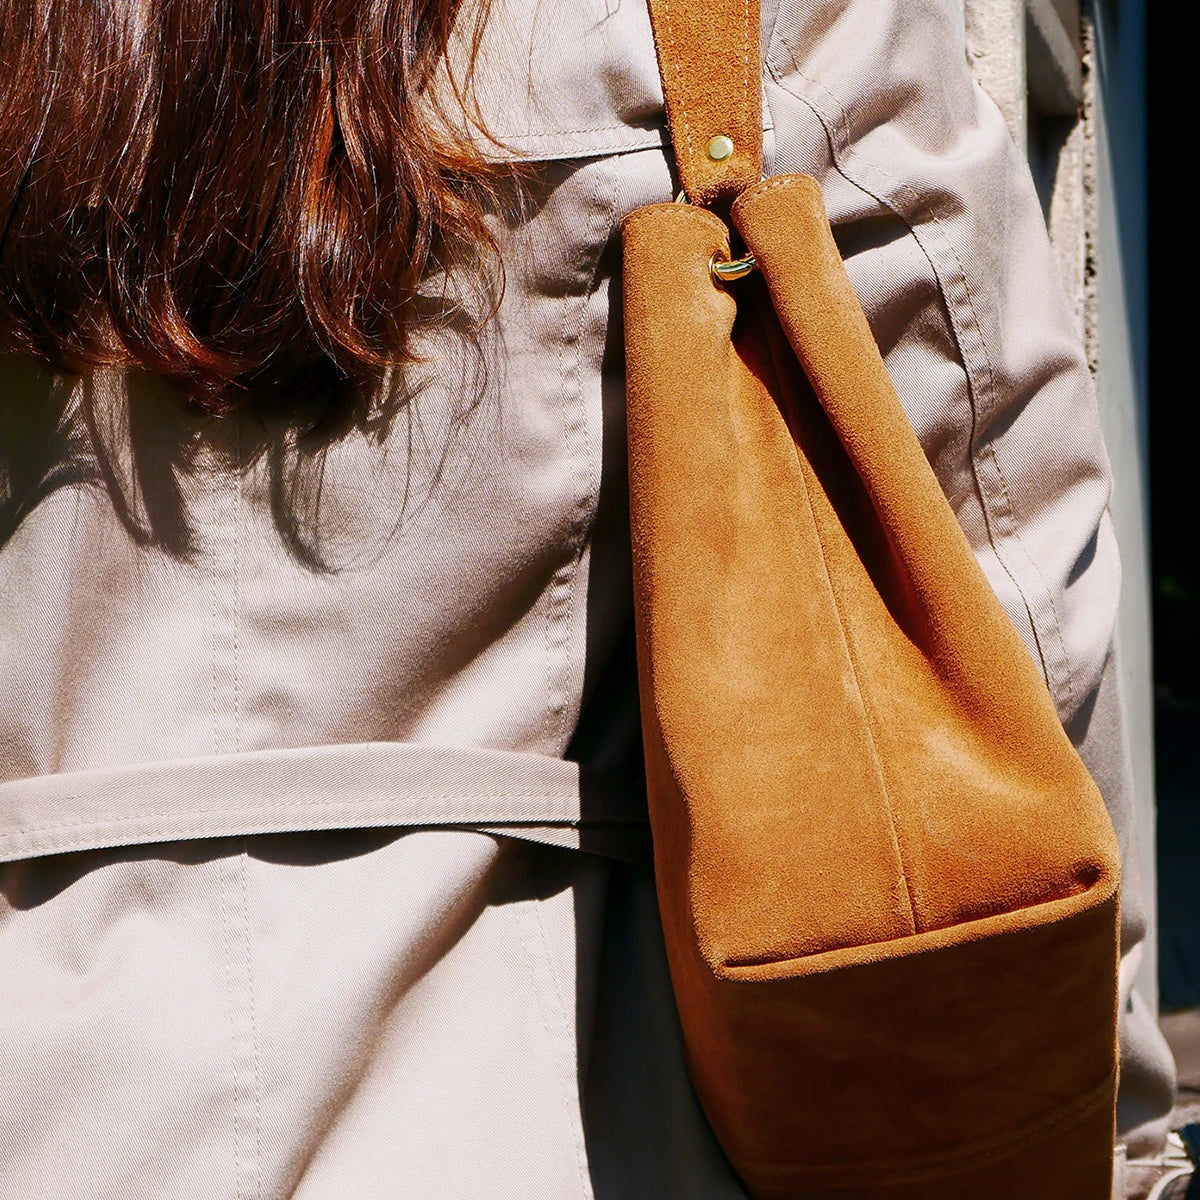
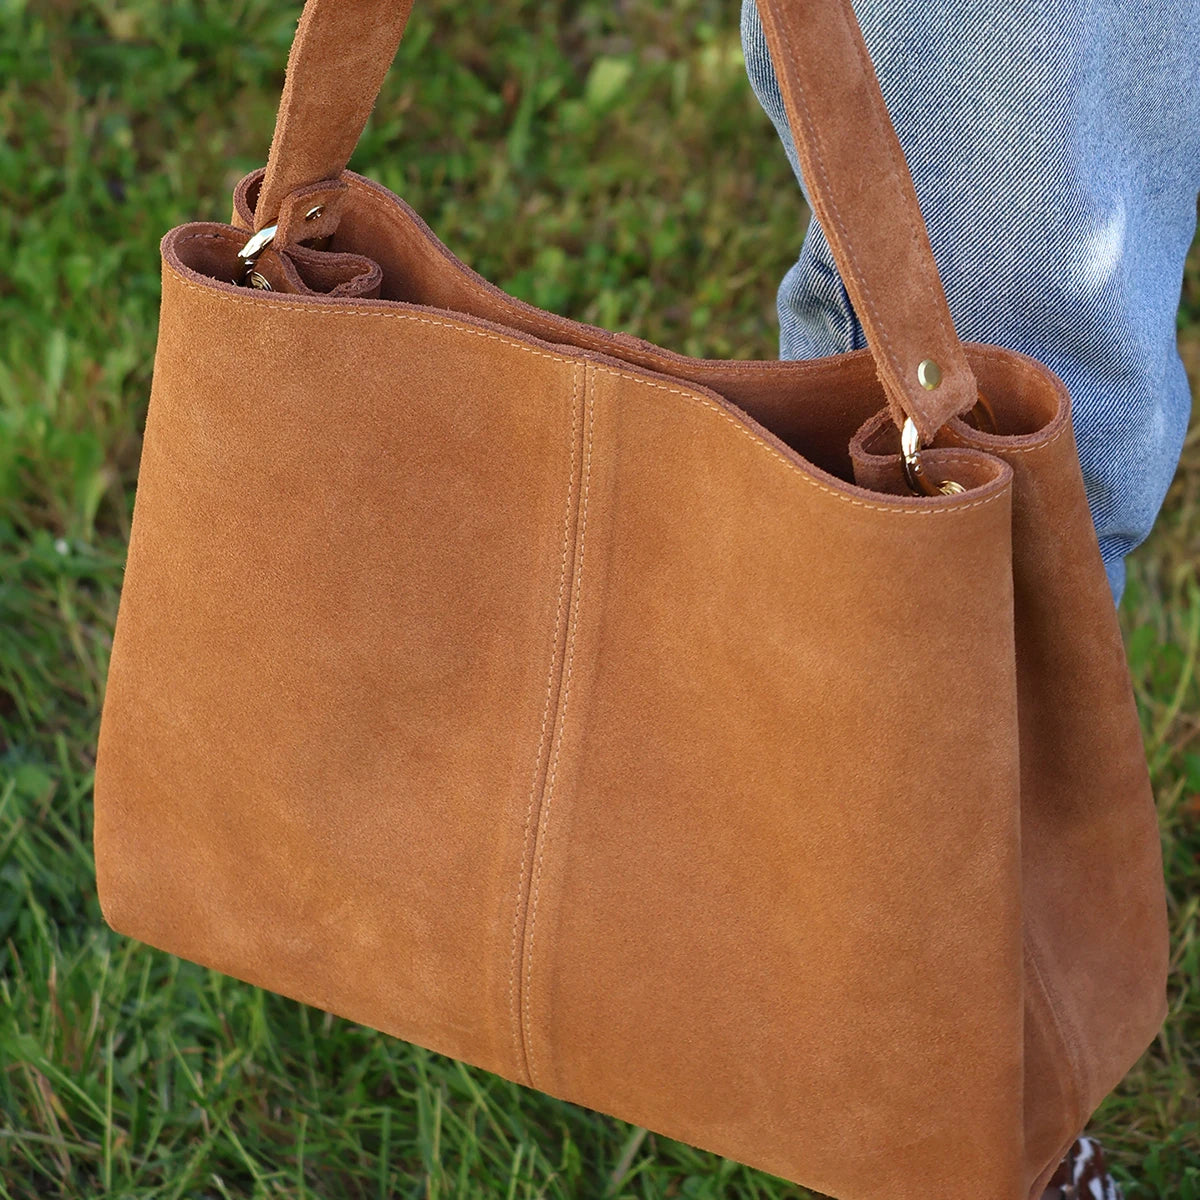
🎉 The bag is finished
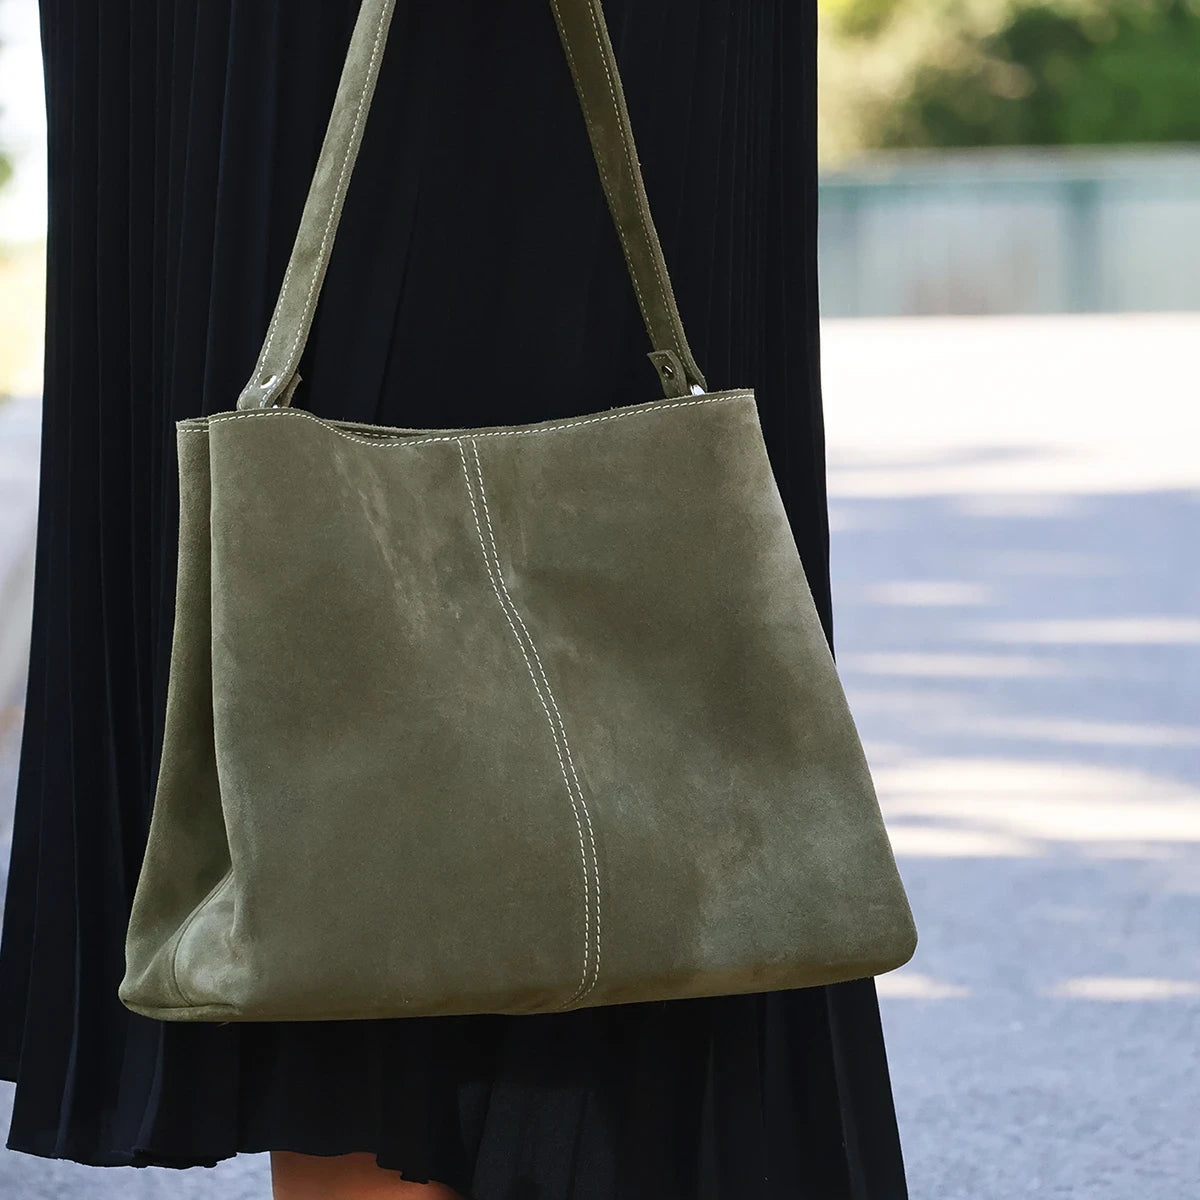
Congratulations, the "Séverine" bag is ready to be worn. Elegant, modern, and handmade, it can be customized in a wide range of leathers, colors, and finishes to suit your desires. An ideal project to improve your leather crafting skills and create a unique piece.
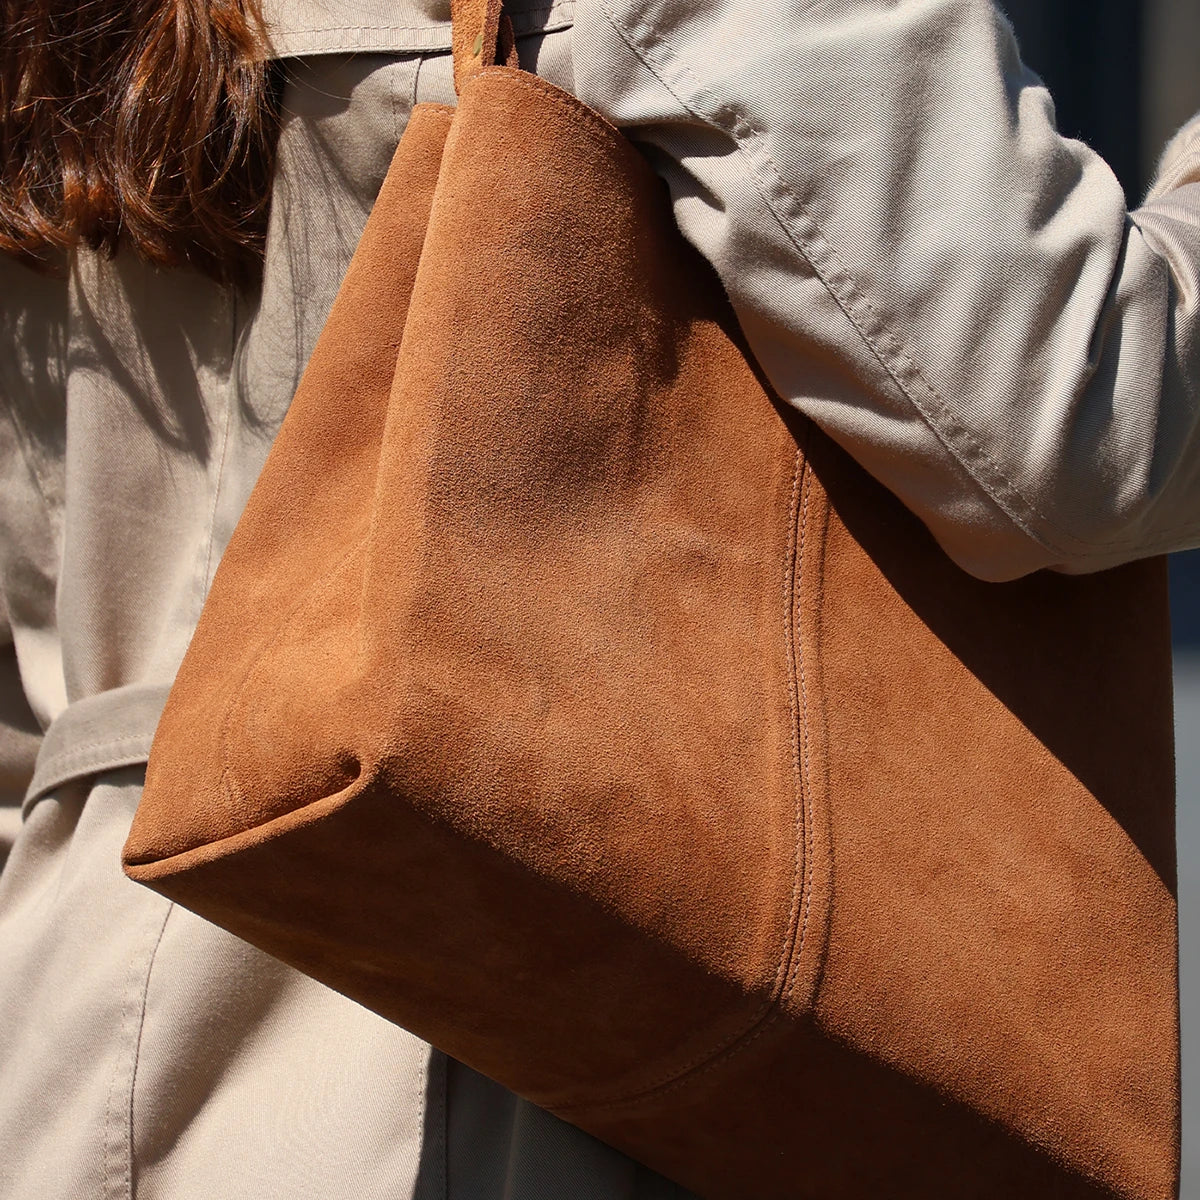
Tip: for a suede split leather, we recommend waterproofing the bag with a water-based spray.
 |
 |
 |
 |

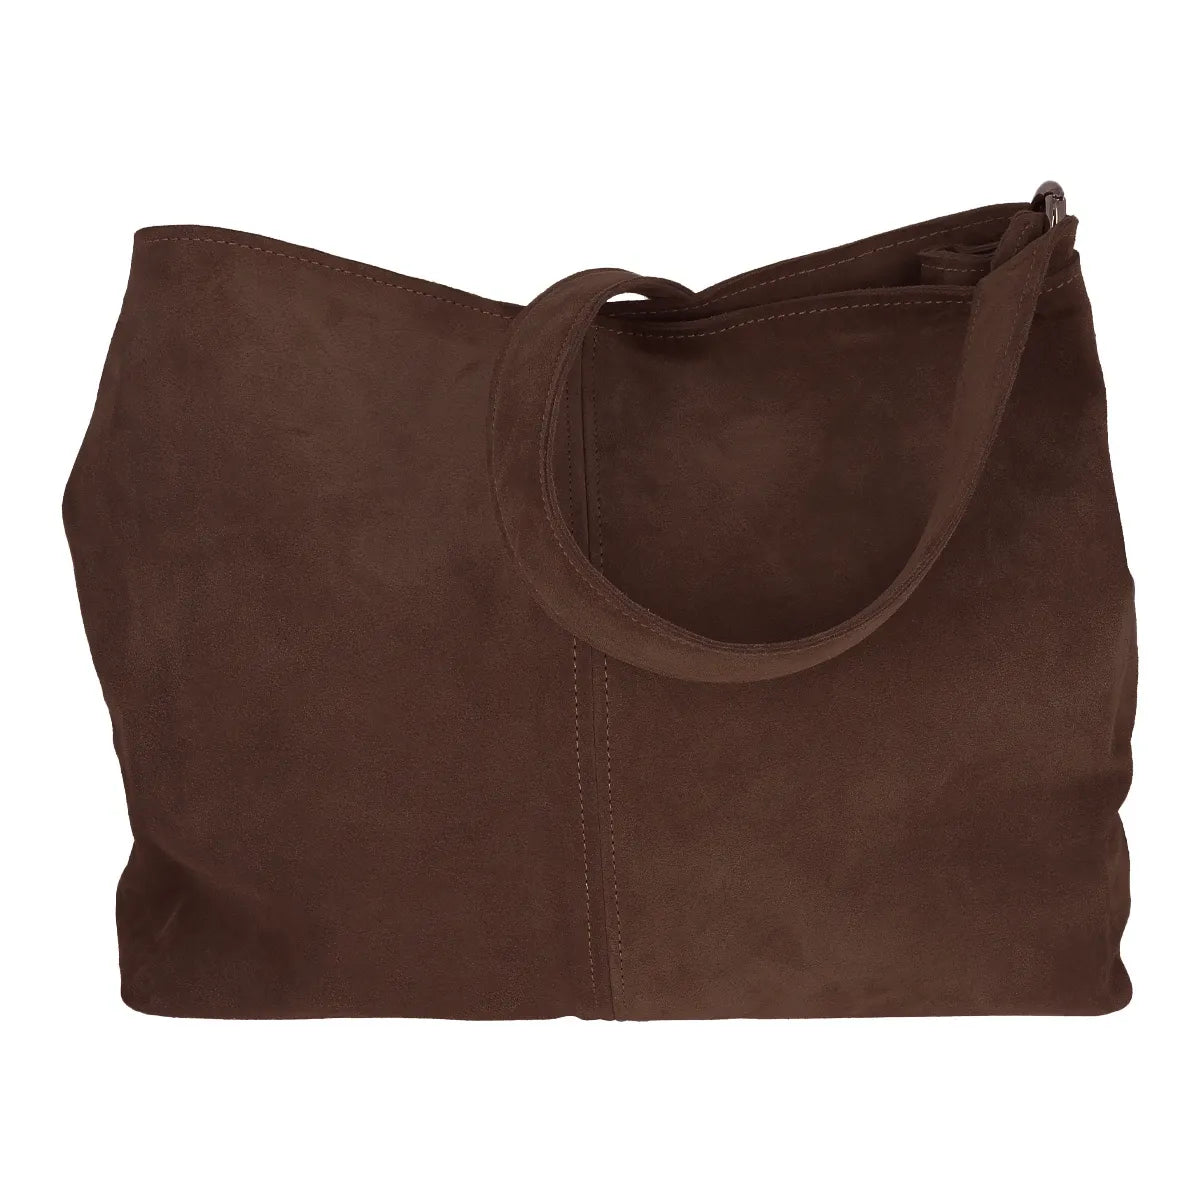
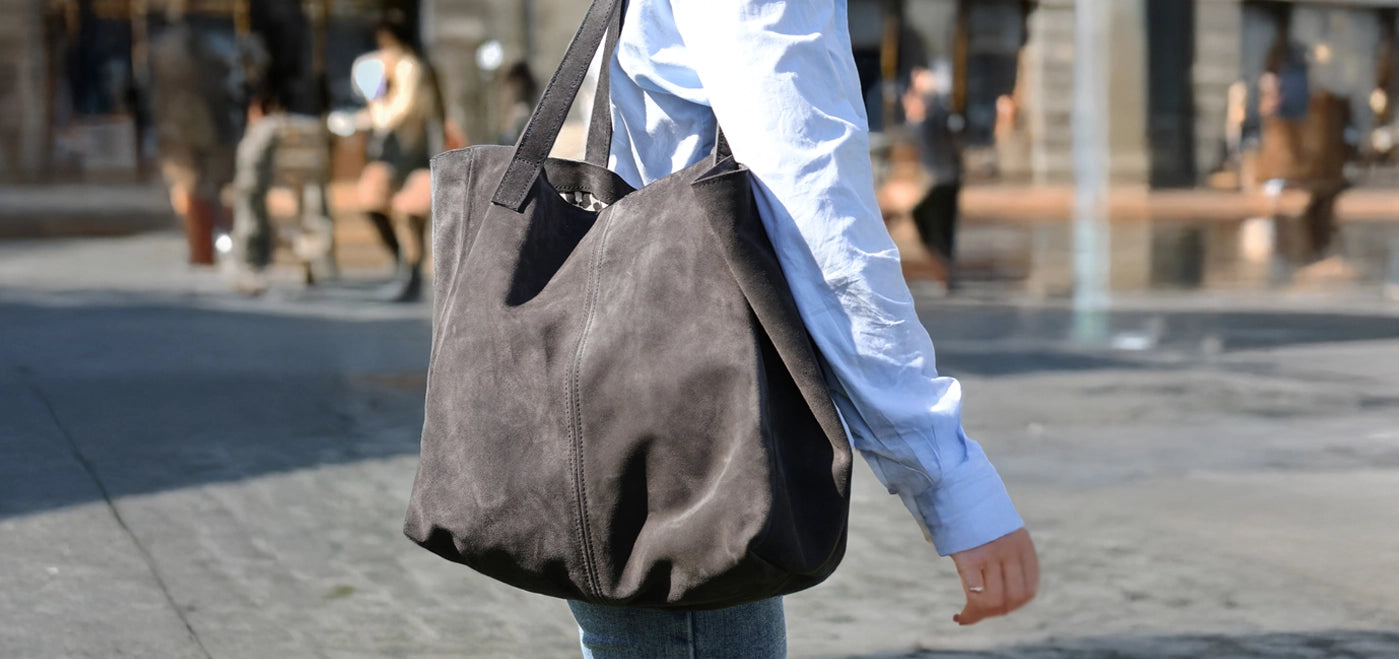
Want another sewing project? Let yourself be tempted by our tote bag tutorial
In the same style as the Séverine bag, the tote bag is more spacious and super practical to accompany you everywhere. Whether for a shopping trip, a weekend getaway or your daily commutes, the tote bag combines elegance and functionality. A must-have to sew!


2 comments
DECO CUIR
Bonjour Mme. Breton,
Pour une peau de croûte de cuir velours : l’envers correspond à la face moins lisse, plus douce et un peu “poilue” et l’endroit est la face plus lisse et uniforme.
Il est effectivement parfois difficile de faire la différence entre les deux faces. Sachez que cela ne change rien pour votre projet, que ce soit d’un côté ou de l’autre. Essayez cependant de garder toujours le même côté pour vos différentes pièces, pour un rendu uniforme.
Les pièces se découpent selon le patron, il n’y a pas de sens obligatoire pour la peau. Placez les pièces en fonction des zones les plus belles ou les mieux adaptées de la peau : le sens importe peu.
L’équipe DECO CUIR
Breton
Bonjour,
J’ai pris le kit pour le sac Séverine
Questions : comment savoir l’endroit de l’envers de la peau ?
Je coupe les morceaux dans quel sens de la peau ?