


MATERIALS REQUIRED
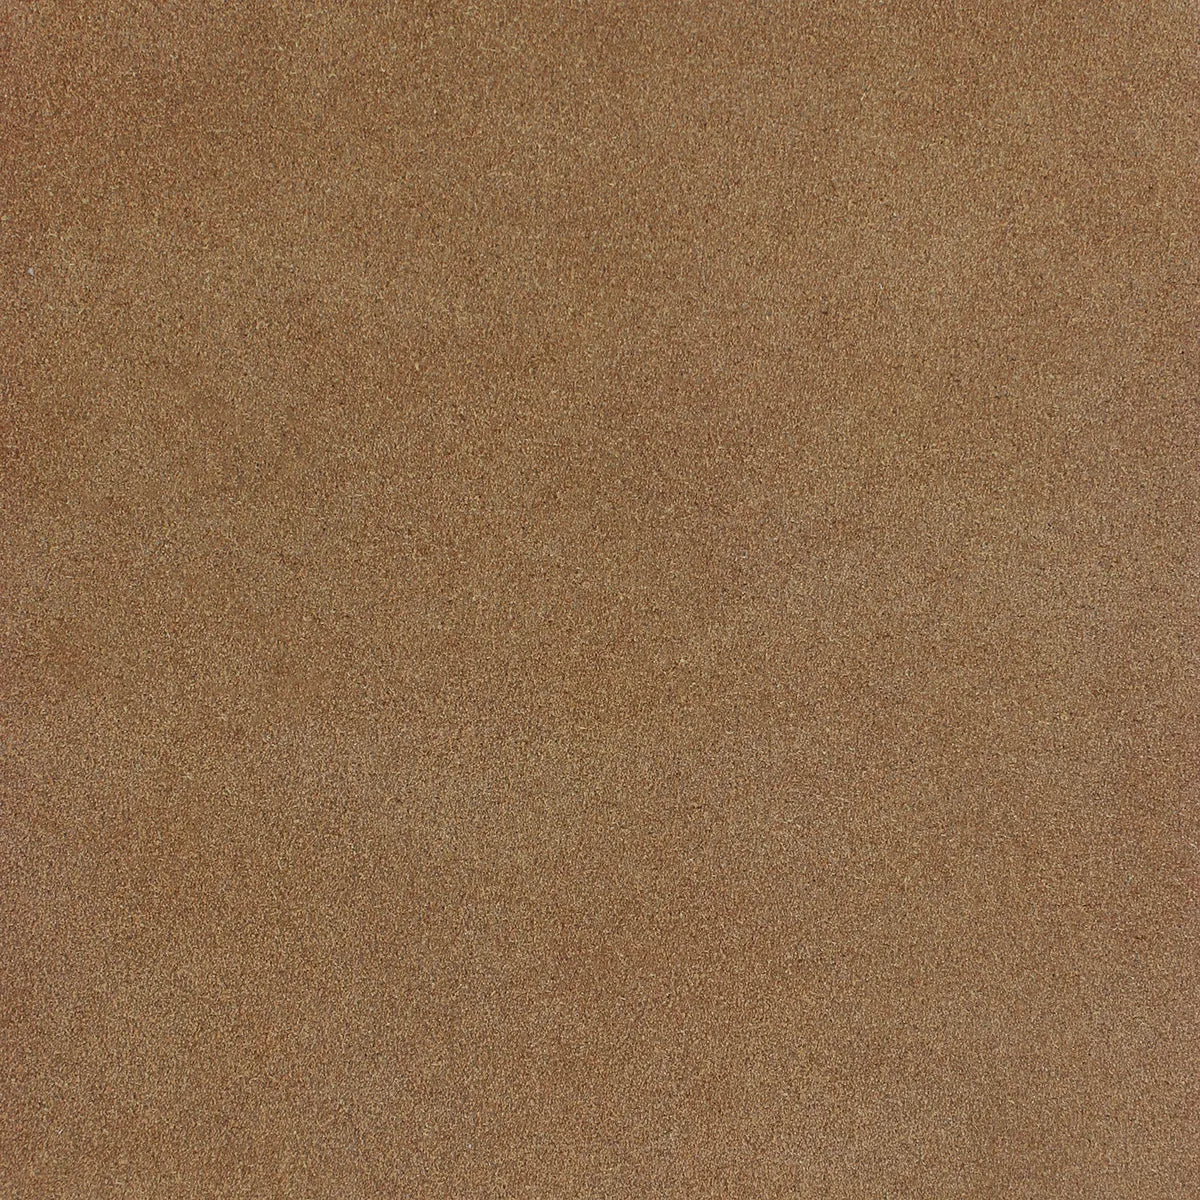
- 1 piece of full-grain leather, 30x40 cm - Thickness ≈ 1 mm
We invite you to explore our continuous ranges Sweet 2 or Granite for your leather choice.
- 1 piece of suede calfskin, 20x30 cm - Thickness ≈ 1.1 mm for the soles (or use the flesh side of an unsplit full-grain leather).
- Approximately 65 cm of flat elastic - Width 5 mm (not sold on our website)
- 1 OEKO-TEX fabric swatch, 50 (width) x 30 cm (not sold on our website)
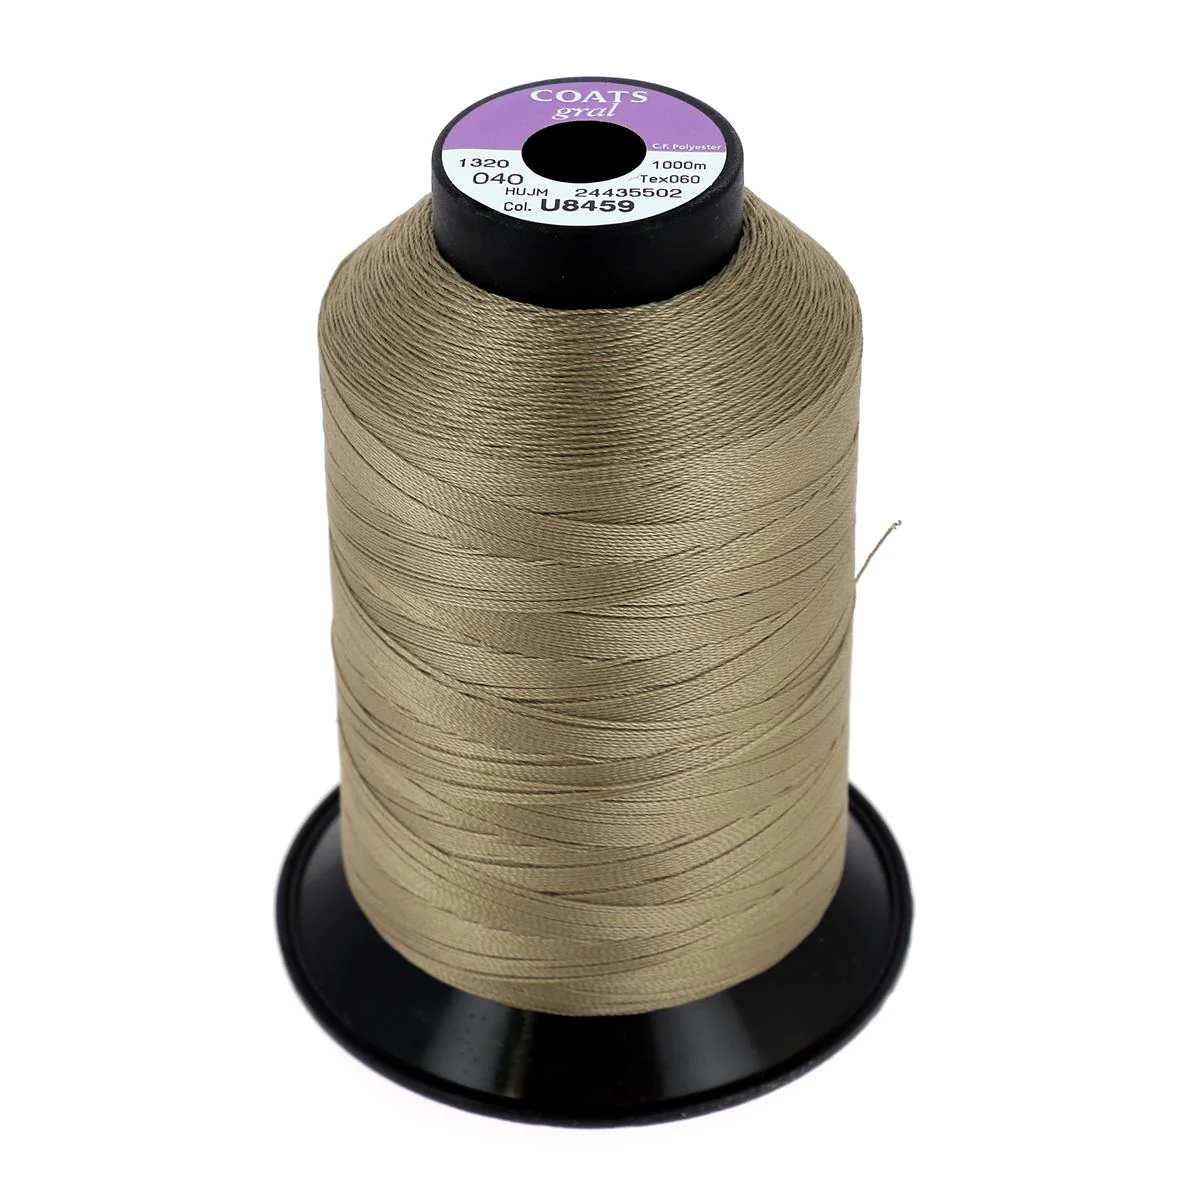
- 1 spool of polyester thread No. 40 - Diameter: 0.35 mm
- Leather glue
THE SHAPE IS IDENTICAL FOR BOTH RIGHT AND LEFT FEET.
GETTING THE PATTERN AND FOOT MEASURER
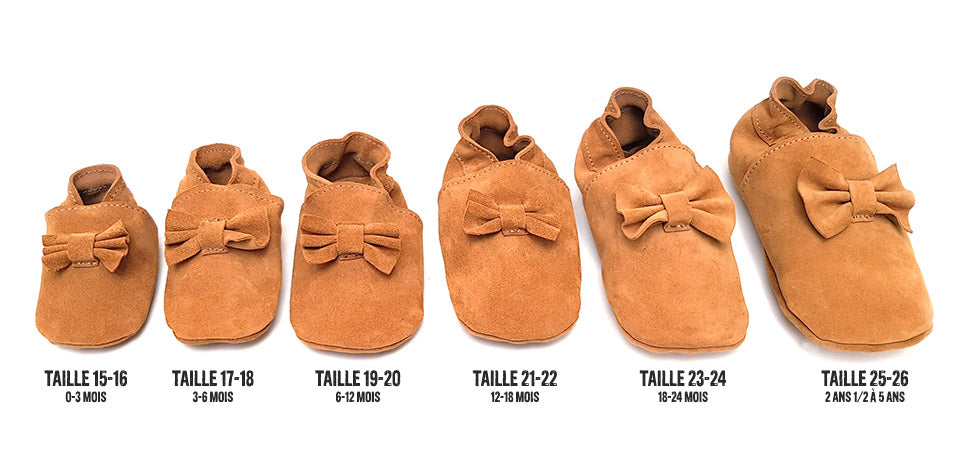
The pattern includes sizes 15 to 26 (0 to 5 years) as well as a foot measurer. By placing the child's heel on the foot measurer, you will know which size to sew!
Three options to purchase the pattern:
- digital version (PDF to print at actual size).
- digital version with a permanent commercial license.
- paper version (A2 poster that you will receive at home).
Available on our website (reference KA229)!

Seam allowances are included, except for the heel lining pieces.
GOOD TO KNOW: We sell complete kits made in our workshop with leathers from our continuous Granite range or from non-continuous leather scraps.


HOW TO SEW LEATHER WITH A DOMESTIC MACHINE?
It's important to note that for this tutorial, we recommend thin, supple leather that can easily be sewn with a domestic sewing machine (not a budget model). We advise you to consult our guide on sewing leather by machine. You will need polyester thread and leather needles (No. 90).
VIDEO - FABRIC LINING VERSION
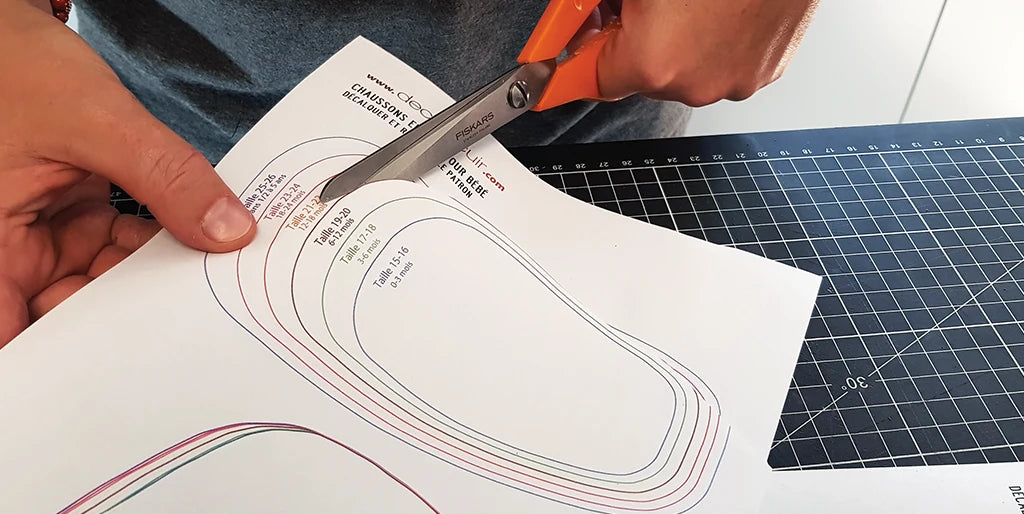
1. TRACE AND CUT THE PATTERN
Trace and cut out the pattern pieces (available on our website - reference KA229) according to the desired size. Use the foot measurer on the back to choose the correct size. Seam allowances are included, except for the heel lining pieces.
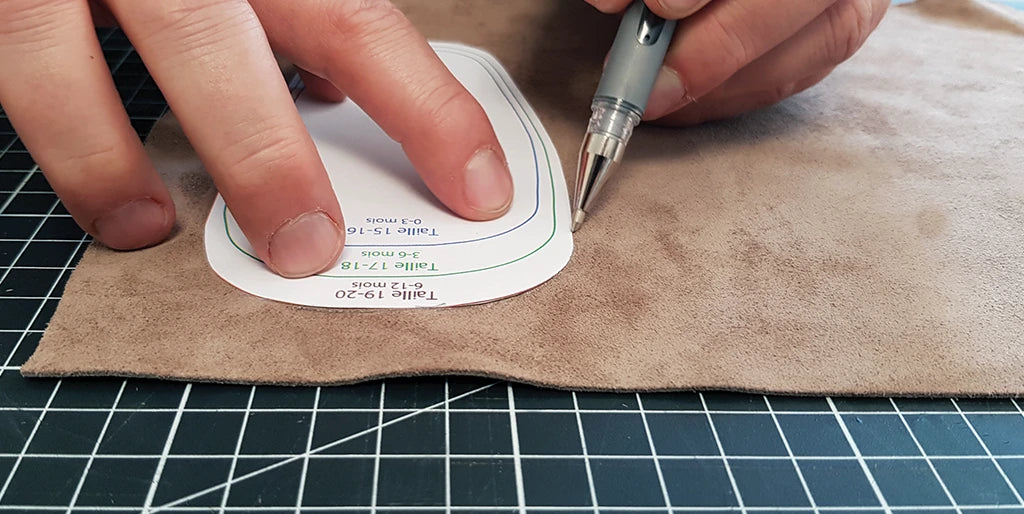
2. TRACE THE PIECES ON THE LEATHER
Using a silver pen, trace the different pieces onto the leather and fabric (make sure to place all pieces before cutting). Both sole pieces should be traced onto suede leather (the fuzzy side acts as a non-slip surface) or choose a full-grain leather with a very fuzzy flesh side.
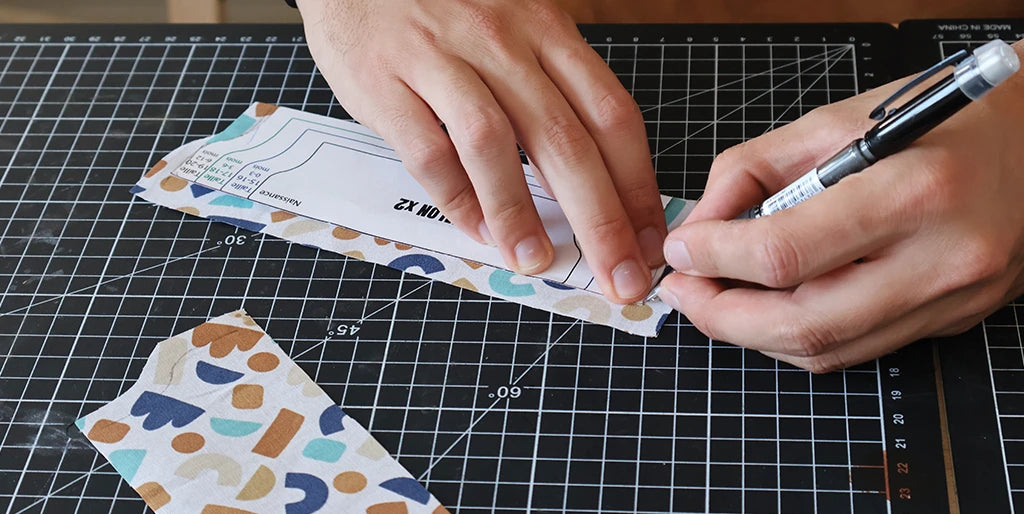
For the 2 heel lining pieces (fabric), you need to add seam allowances: 7 mm on the right and left, and 15 mm in height. Mark the added allowances with a pen (see step 8).
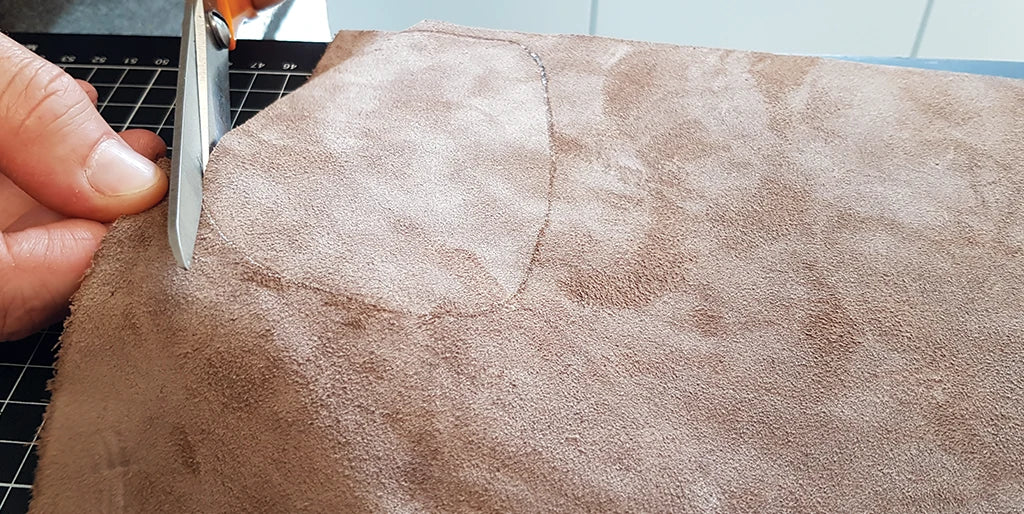
3. CUT THE LEATHER PIECES
Cut the pieces with a cutter or a good pair of scissors.
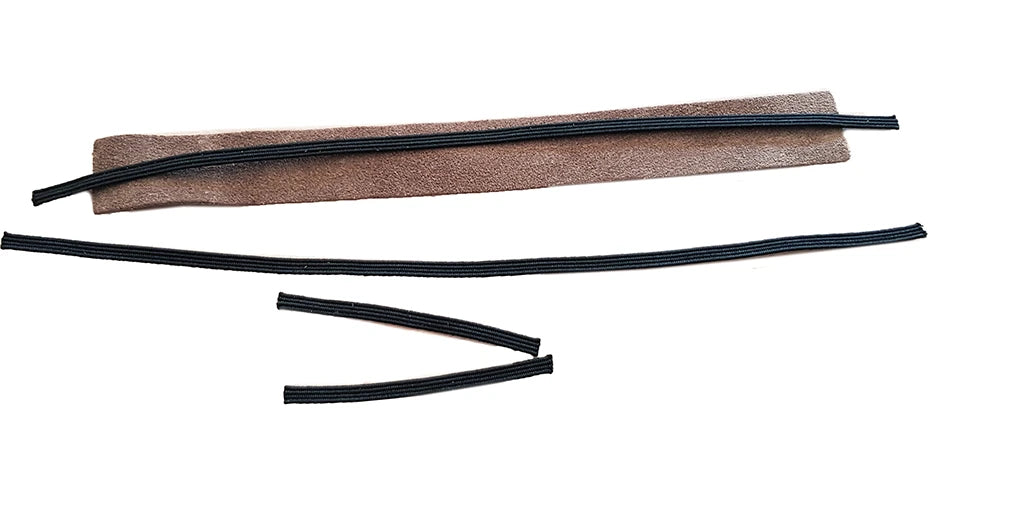
4. CUT THE ELASTIC
Cut 4 strips of elastic:
- 2 strips of 6 cm to be sewn onto the elastic reinforcements (x2 in leather).
- 2 strips the length of the reinforcement strip plus 2 cm (example: 2 strips of 22 cm for size 21-22).
5. PLACE THE ELASTIC IN THE REINFORCEMENT
Make an incision in the elastic reinforcement (x2 leather) and make 2 stop holes at each end (Ø 1 mm). Fold the small 6 cm elastic strips in half and pass them through each incision of the reinforcement (about 3-4 mm). Then sew (make a few stitches).
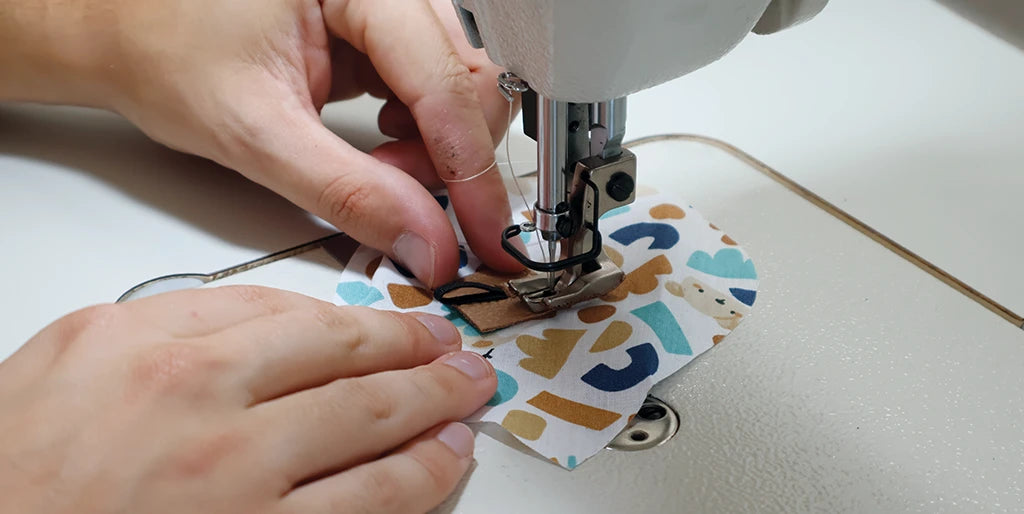
6. SEW THE REINFORCEMENT
Sew the elastic reinforcement onto the right side of the slipper upper lining (fabric) 2.5 cm from the top edge (longest edge) in the center for the first 3 sizes and 3 cm for the last 3 sizes (seam allowances included).
CUSTOMIZATION OPTION
BEFORE SEWING THE SLIPPER UPPERS
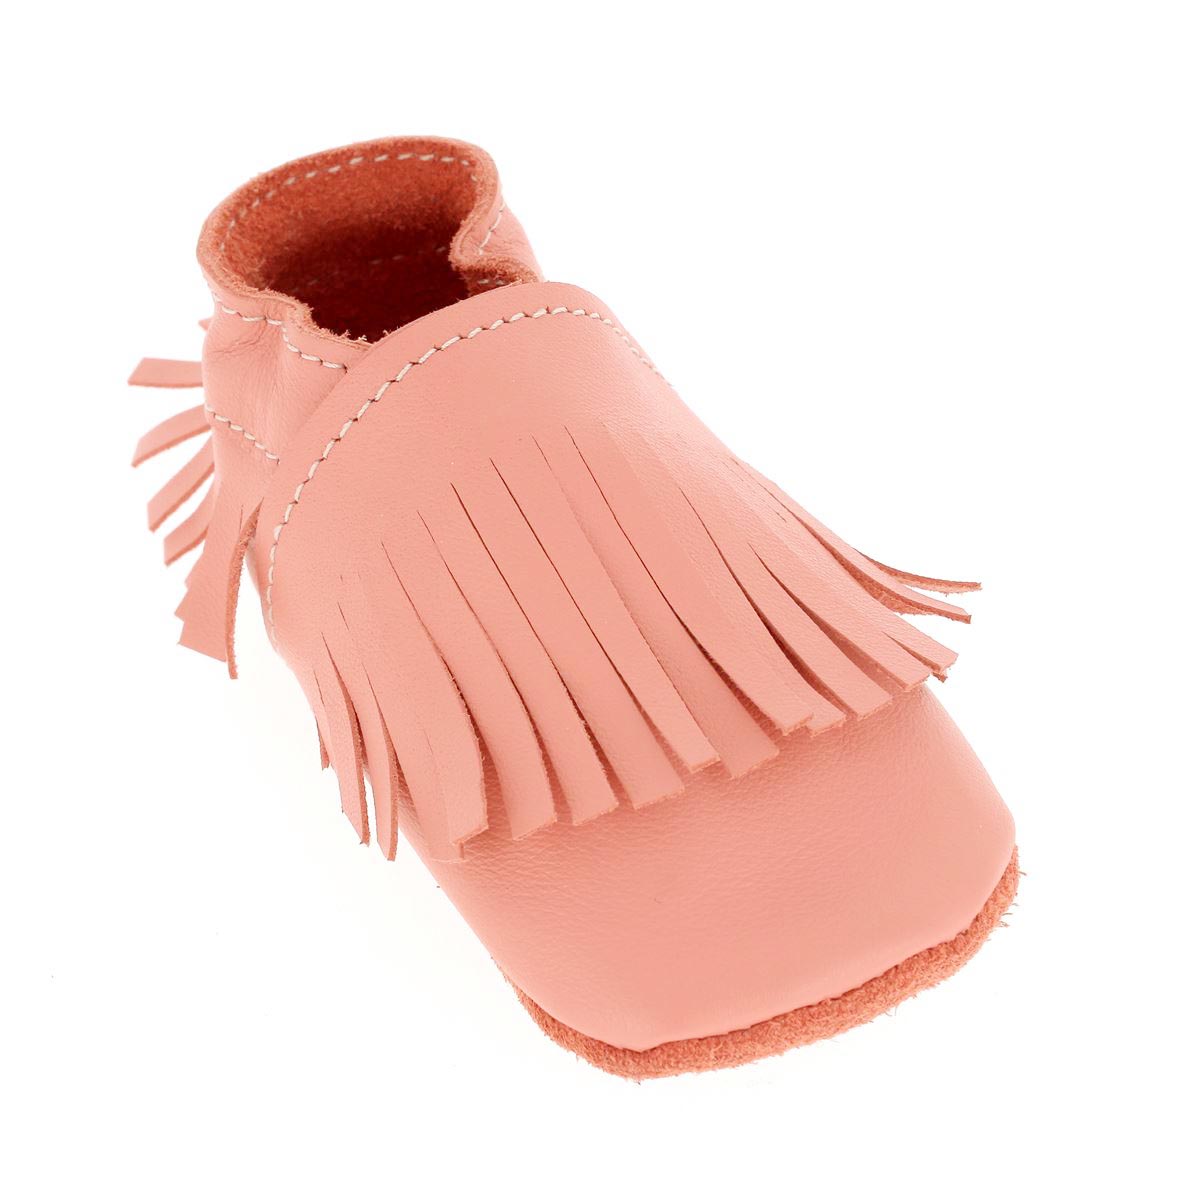
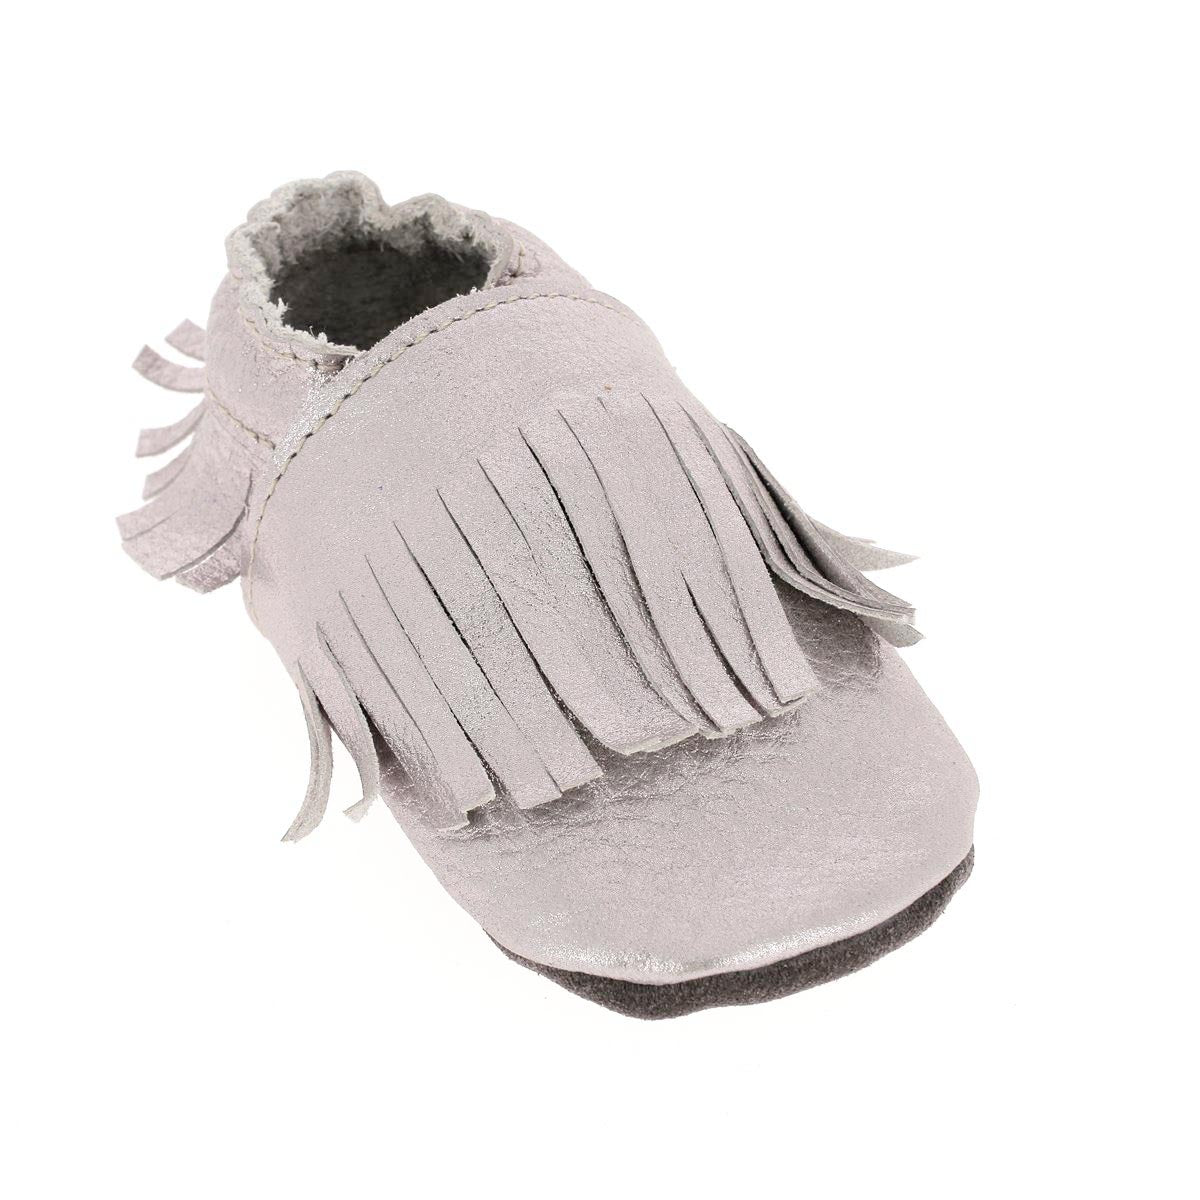
Personalize the right side of the leather slipper upper with a pattern, a bow, a name, fringes... Customization ideas can be found on the pattern.
For those who own a Cricut cutting machine, many possibilities are available to you (don't hesitate to check out our Cricut & Leather guide).
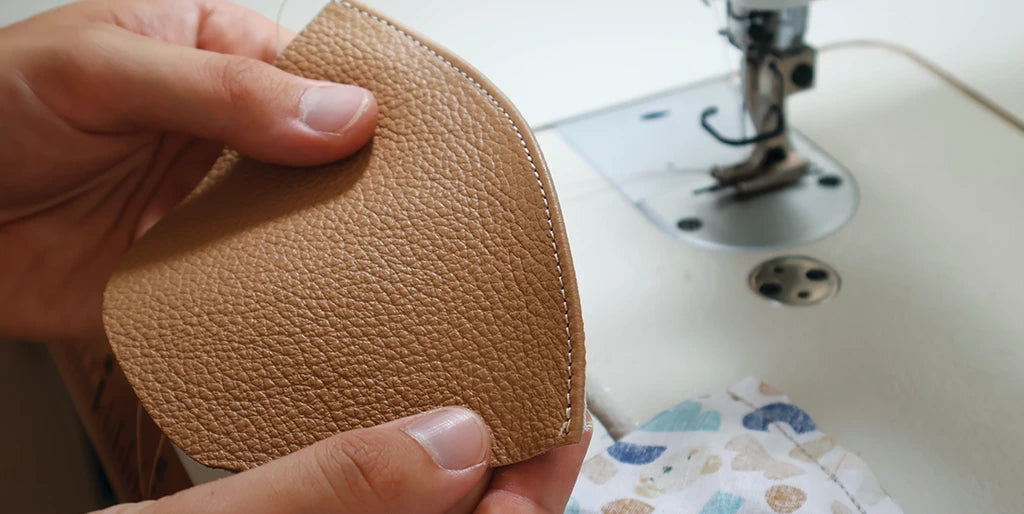
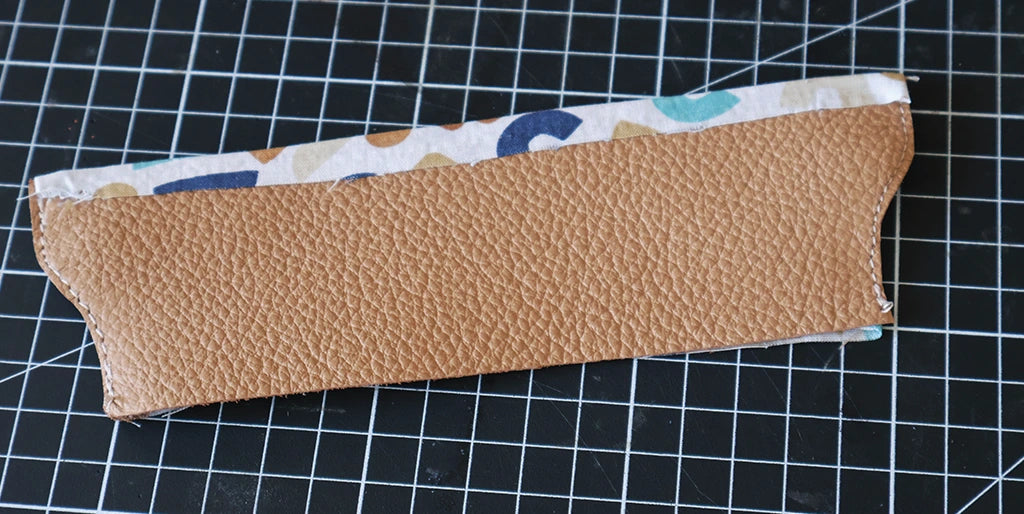
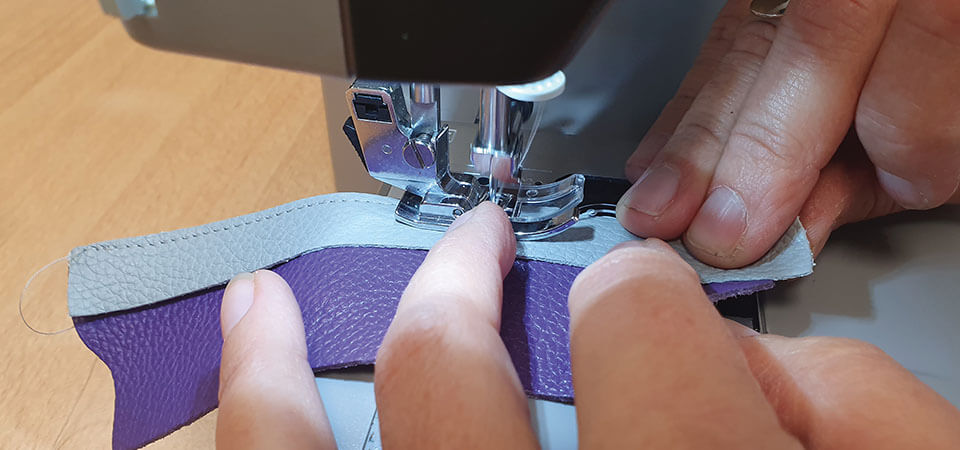
7. SEW THE SLIPPER UPPERS
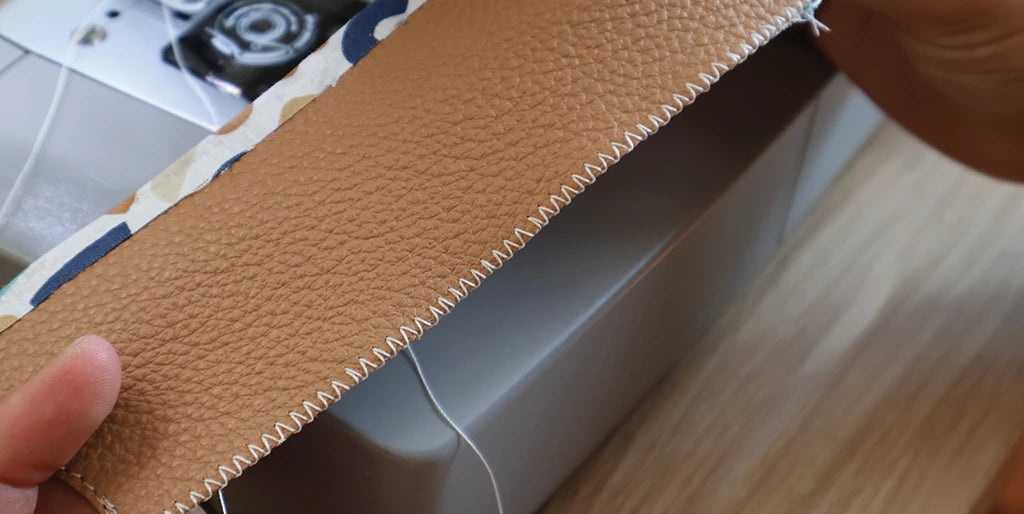
Sew the slipper upper pieces (leather + fabric lining) right sides together, only on the upper part (longest edge) 1 cm from the edge.
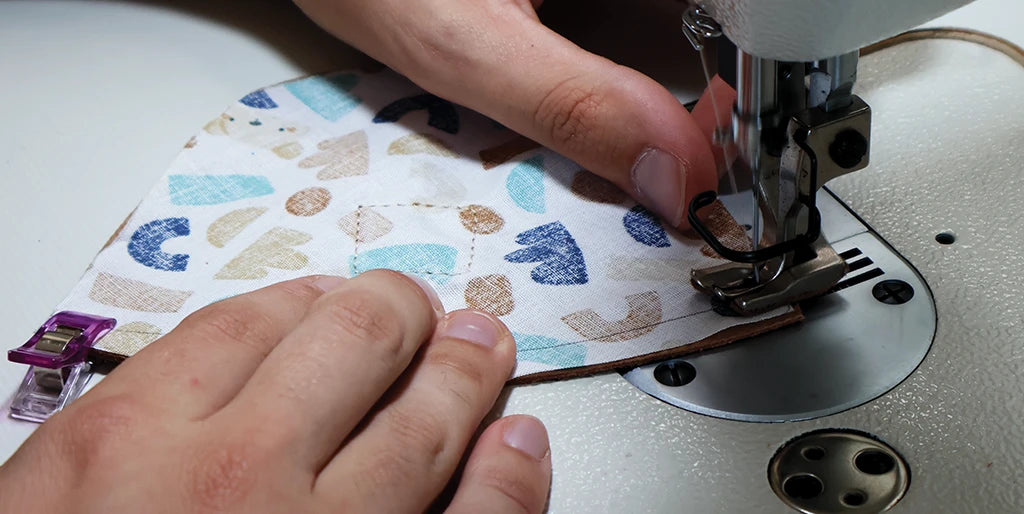
Turn the piece over then topstitch 3 mm from the edge of the slipper uppers. Use sewing clips to hold the pieces in place.
8. SEWING THE HEEL PIECES
To avoid bulk, assembling the leather heels and fabric lining is quite technical. We recommend watching the video (at the very top of the blog post).
Place the leather heel piece (wrong side - right side) on the right side of the lining heel (left side) and sew on the seam allowance added in step 2.
Do the same on the other side of the heel: left leather side (wrong side) on right fabric side (right side). Be careful to position the piece correctly when sewing.

9. WORK THE SLIPPER HEEL
Apply a thin line of glue to the upper margin of the lining heel (wrong side) and fold the fabric over the grain side of the leather heel (right side).
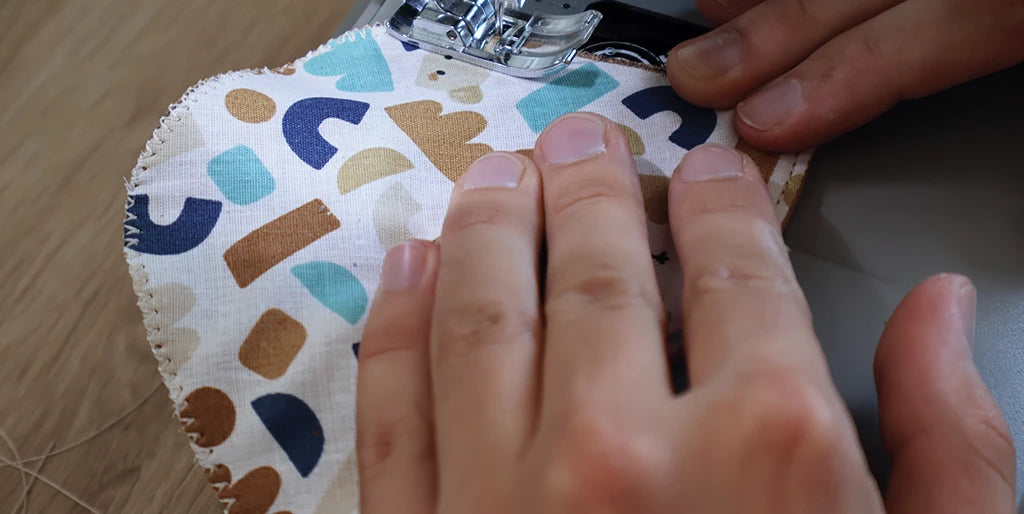
10. DO A ZIG ZAG STITCH
Do a zig-zag stitch or serge the unsewn sides of the slipper uppers and the bottom of the heels (to prevent the fabric from fraying).
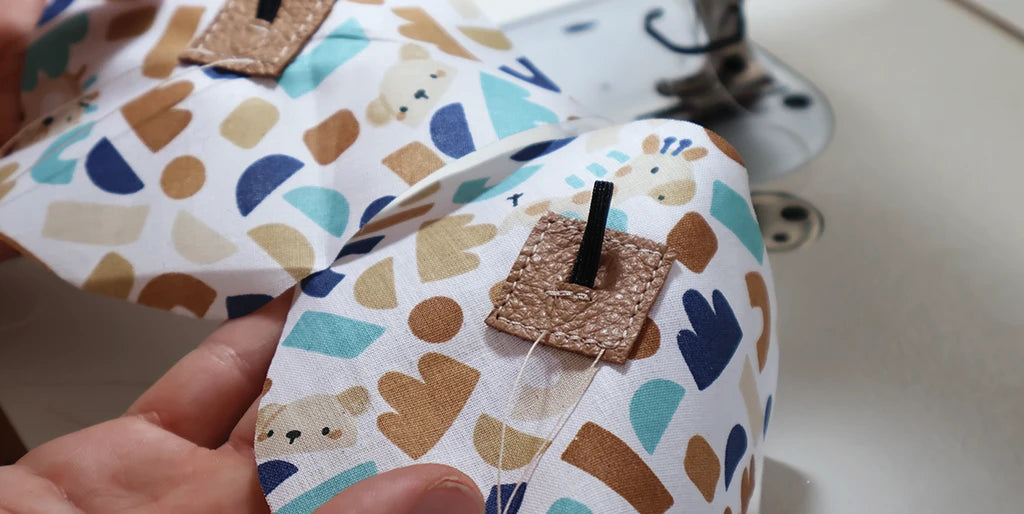
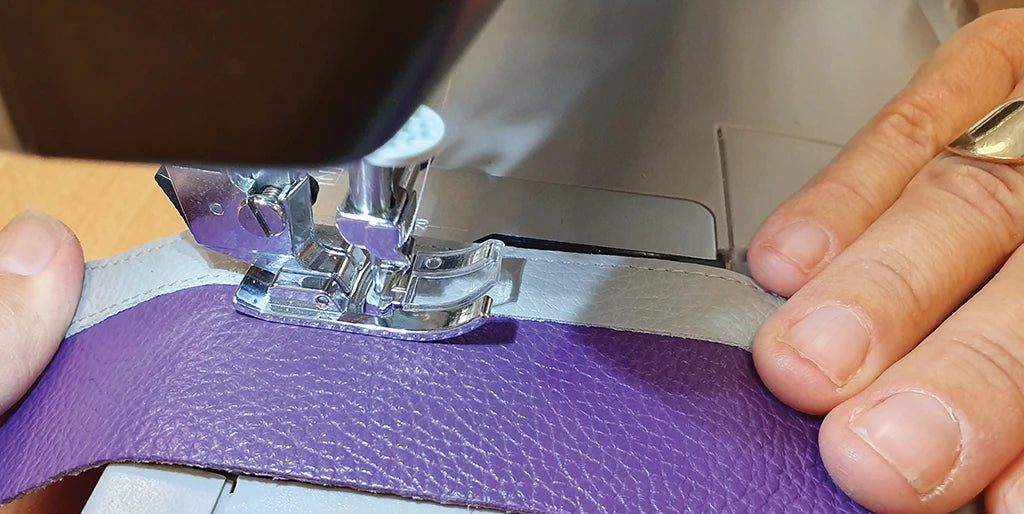
11. SEW THE HEEL REINFORCEMENT STRIP
Position the reinforcement strip on the top of the heel, wrong side against right side, and make 2 parallel stitches 3 mm from the edge along the length. Before sewing the lower line of the reinforcement strip, place the elastic strip. Be careful to position it correctly so that it does not get caught in the seam. Cut off the excess leather at the ends after sewing.
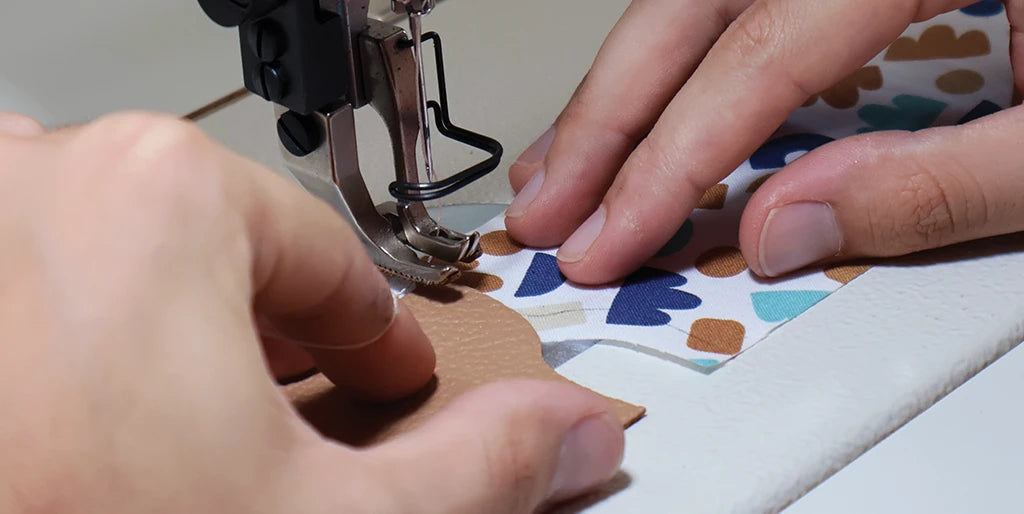
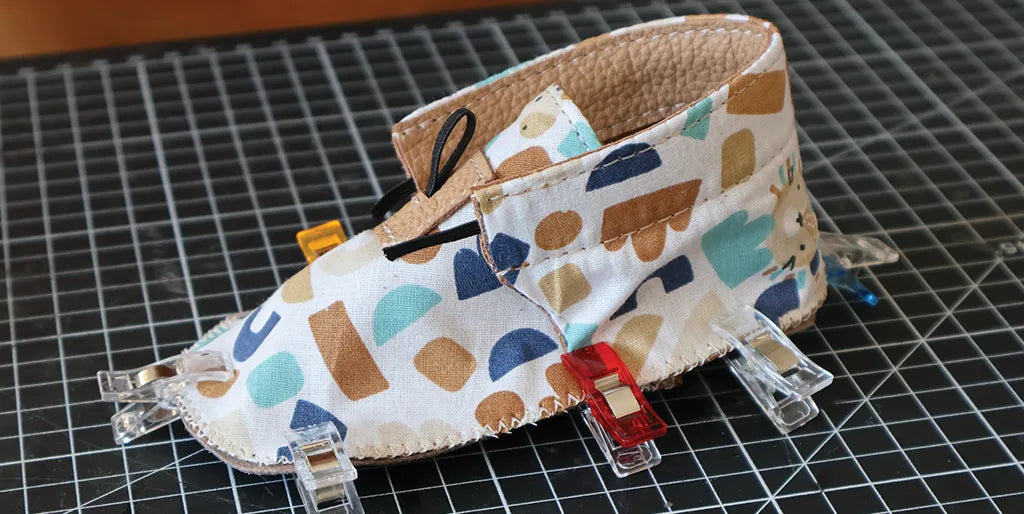
12. ASSEMBLE THE SLIPPER
Mark the middle of the pieces and position the slipper upper (right side - grain side) on the sole (fuzzy/suede side - wrong side if full-grain leather). It is important to respect the direction of the pieces so that once the slipper is finished, the fuzzy side of the sole is on the outside of the slipper to maintain grip on the floor. Then place the heel and use sewing clips to hold the pieces in place.
Start sewing from the center of the slipper upper, then move towards the back. Sew 4 mm from the edge to avoid too much bulk in the slipper (sew about 2 mm from the zigzag stitch).
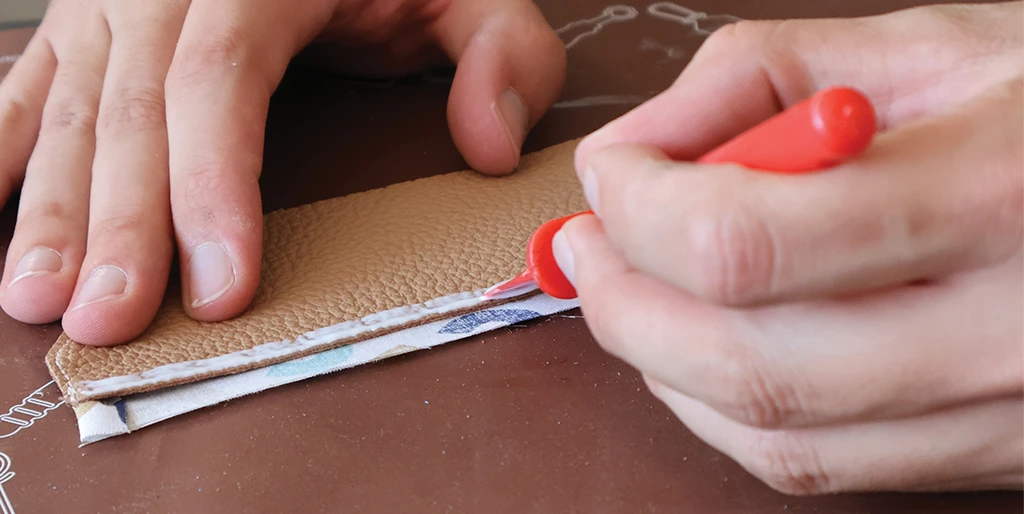
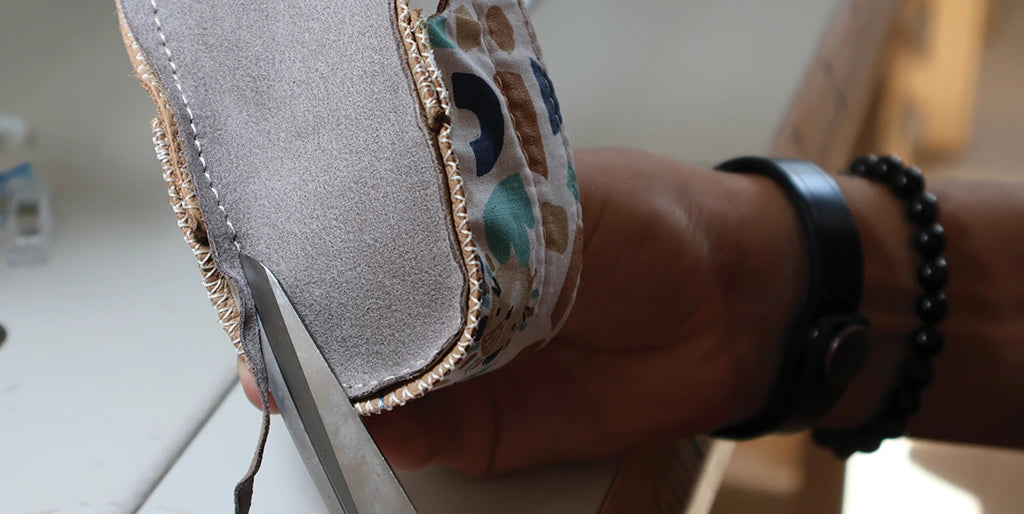
13. TRIM THE SOLE
Trim the slipper sole 2 mm from the seam (to avoid excess bulk in the slipper).
Turn the slipper inside out and flatten the seams well to give it a rounded shape.
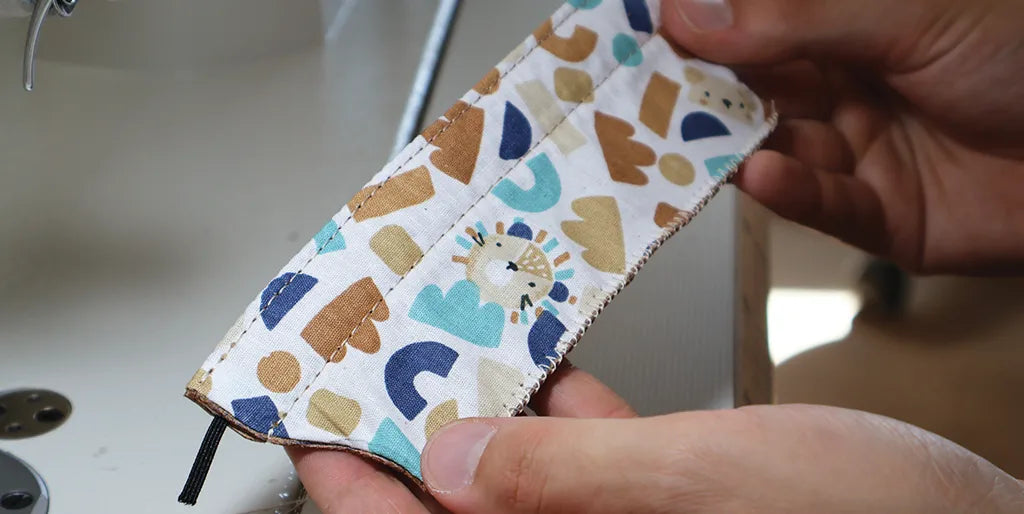
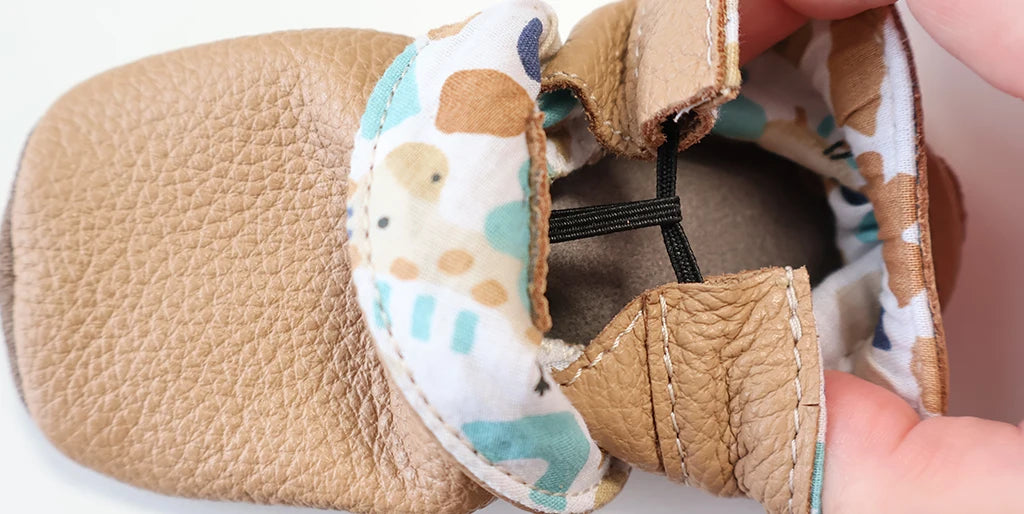
14. TIE A KNOT WITH THE ELASTIC
Pass the large elastic band through the loop of the small elastic band and tie a knot. The position of the knot will allow you to tighten or loosen the slipper around the baby's ankle. Tuck the knot into the reinforcement band to avoid any discomfort.
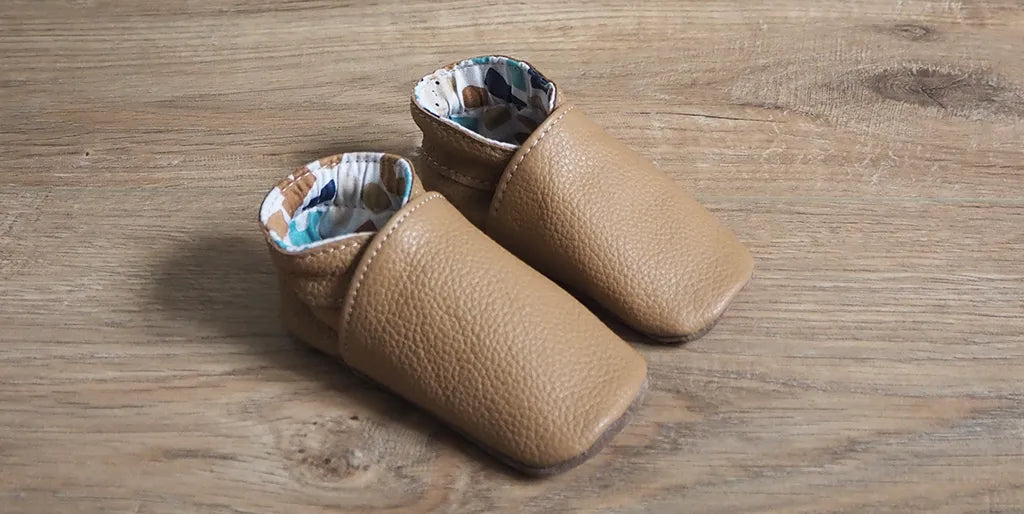
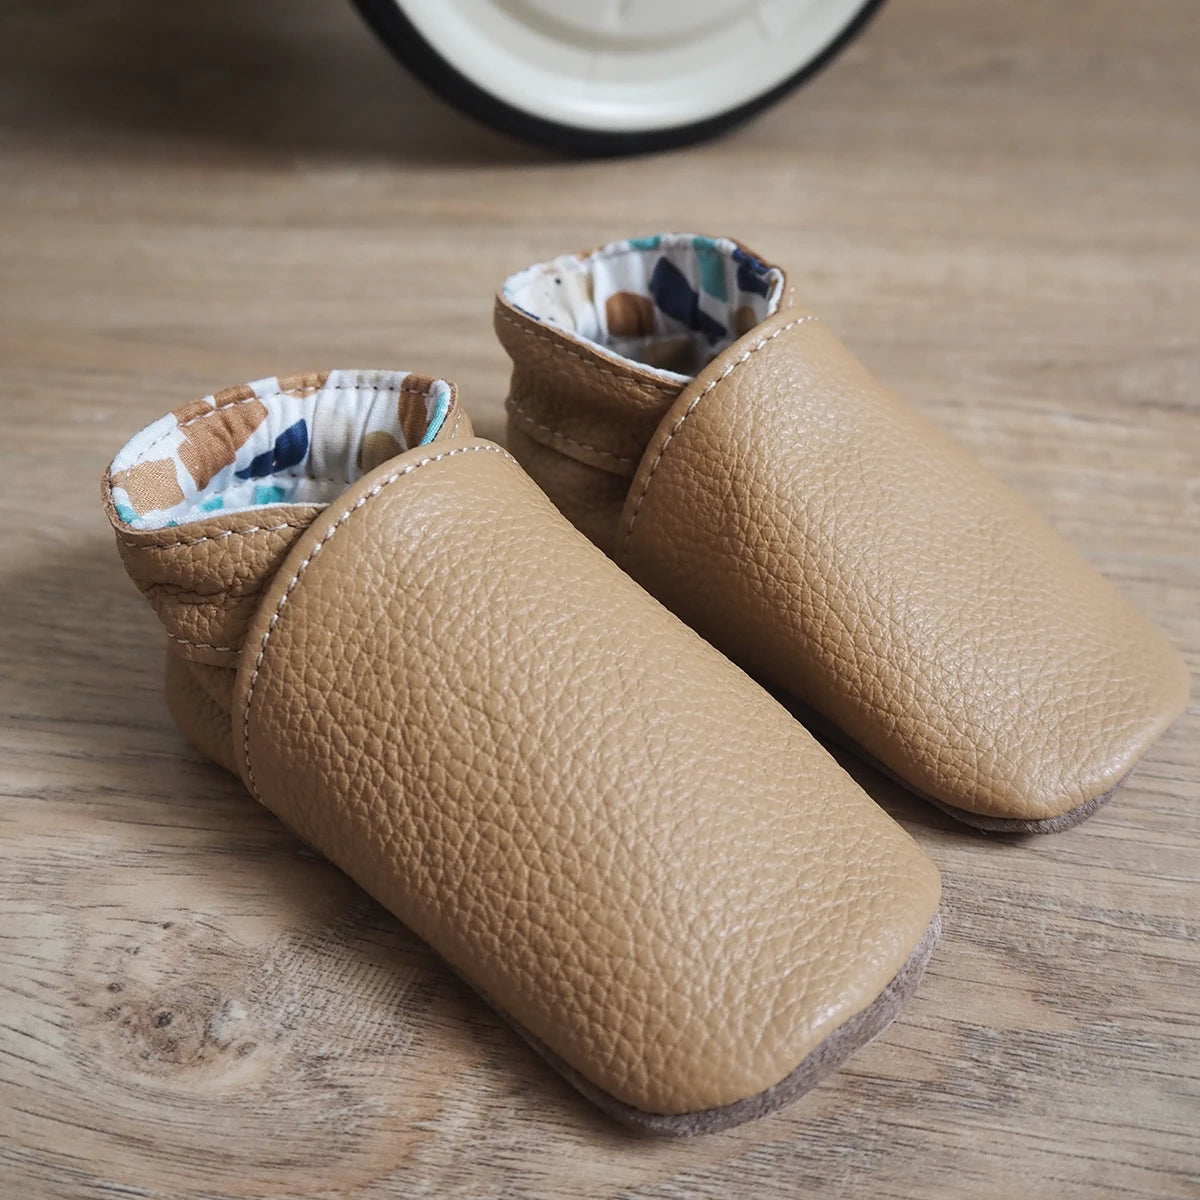
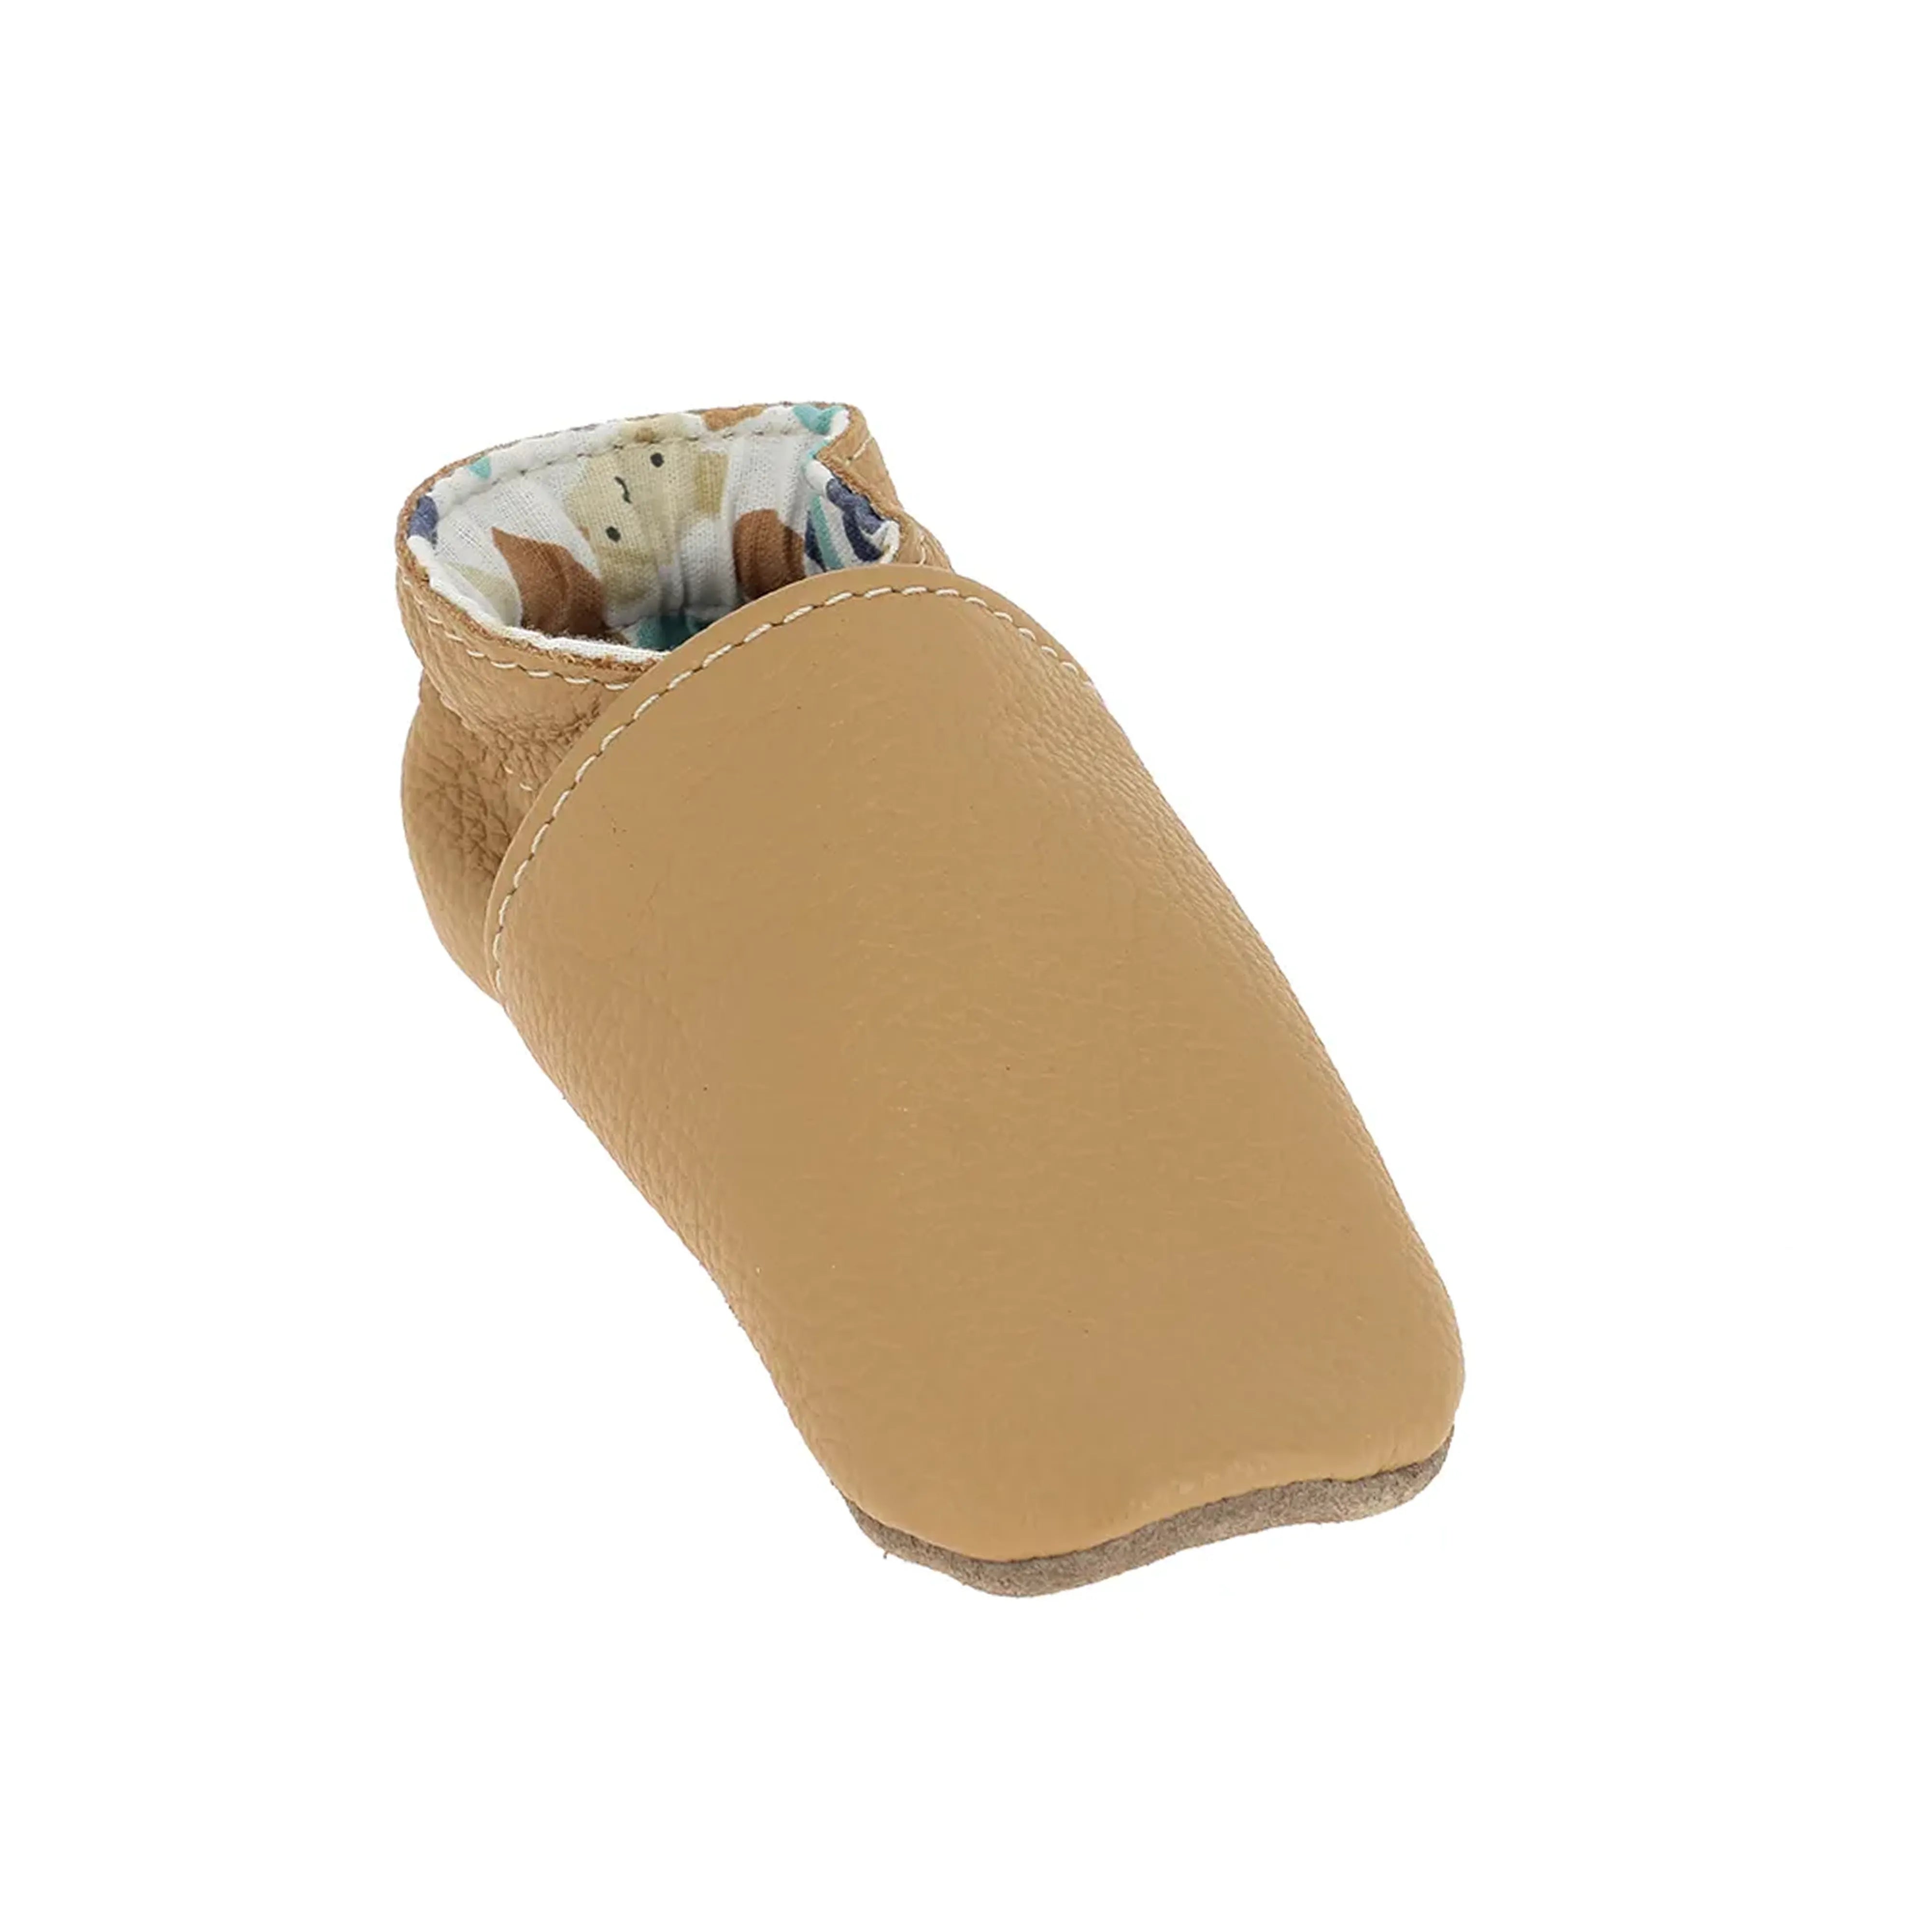
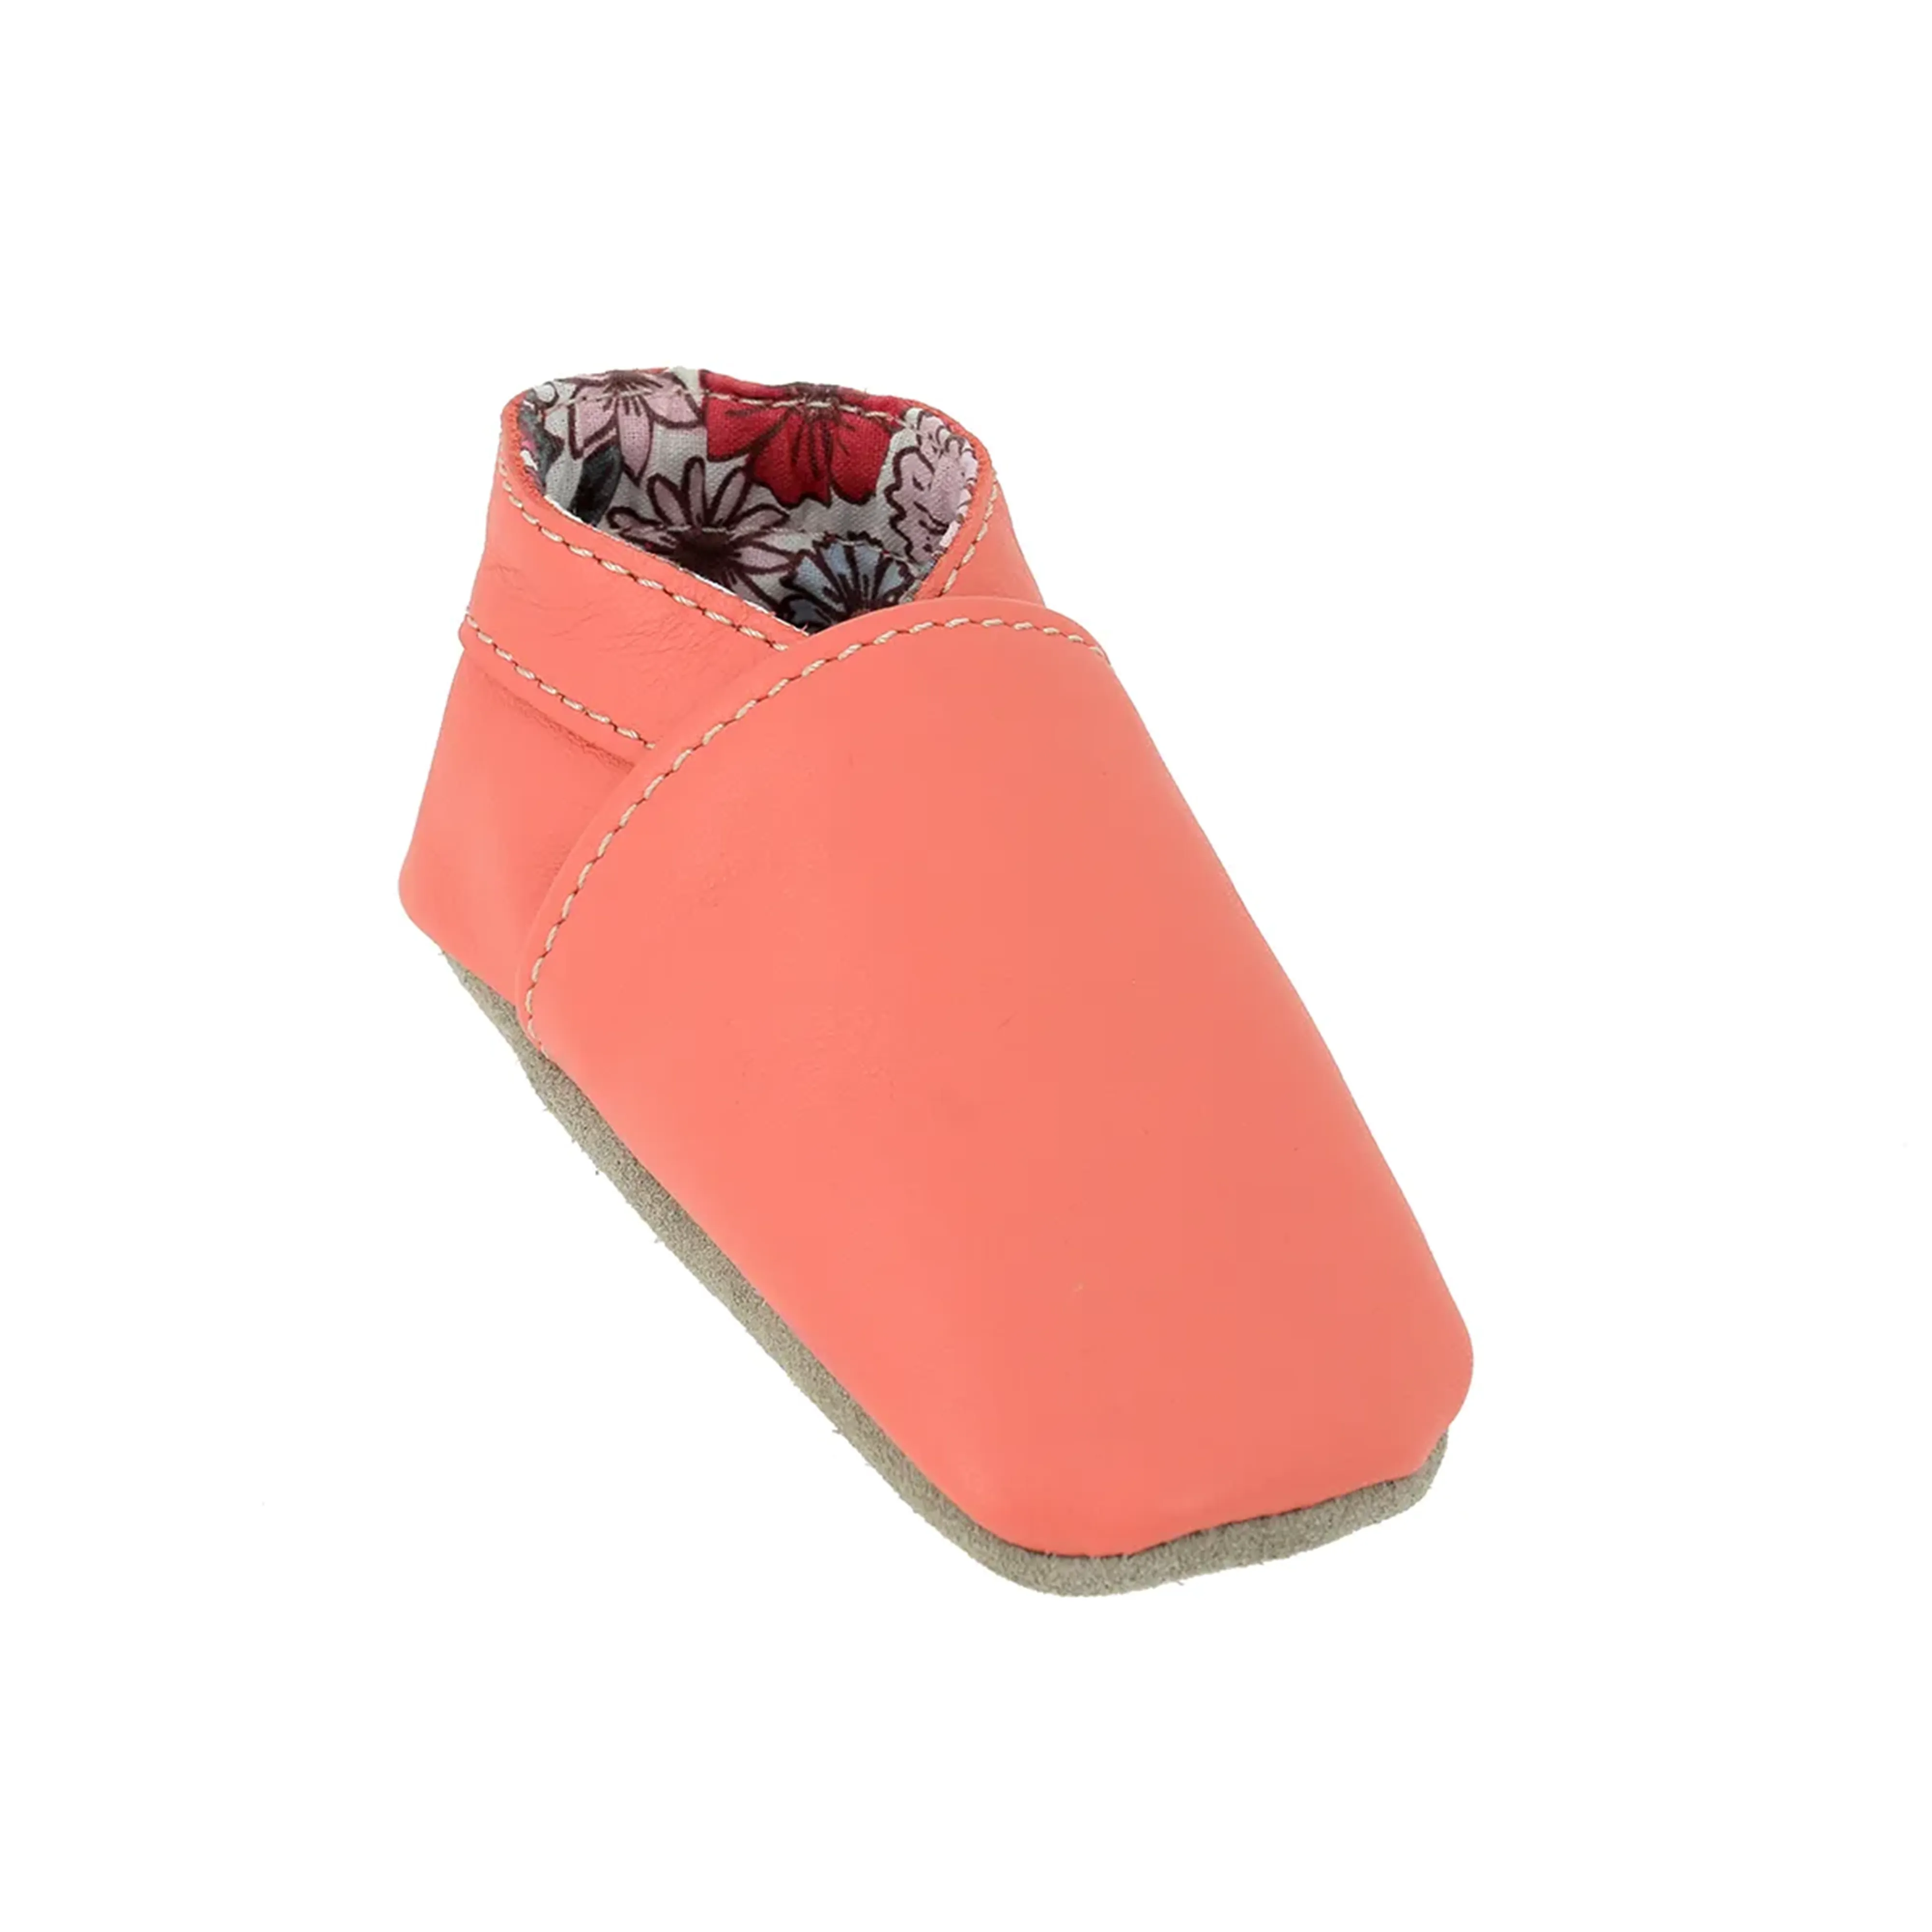
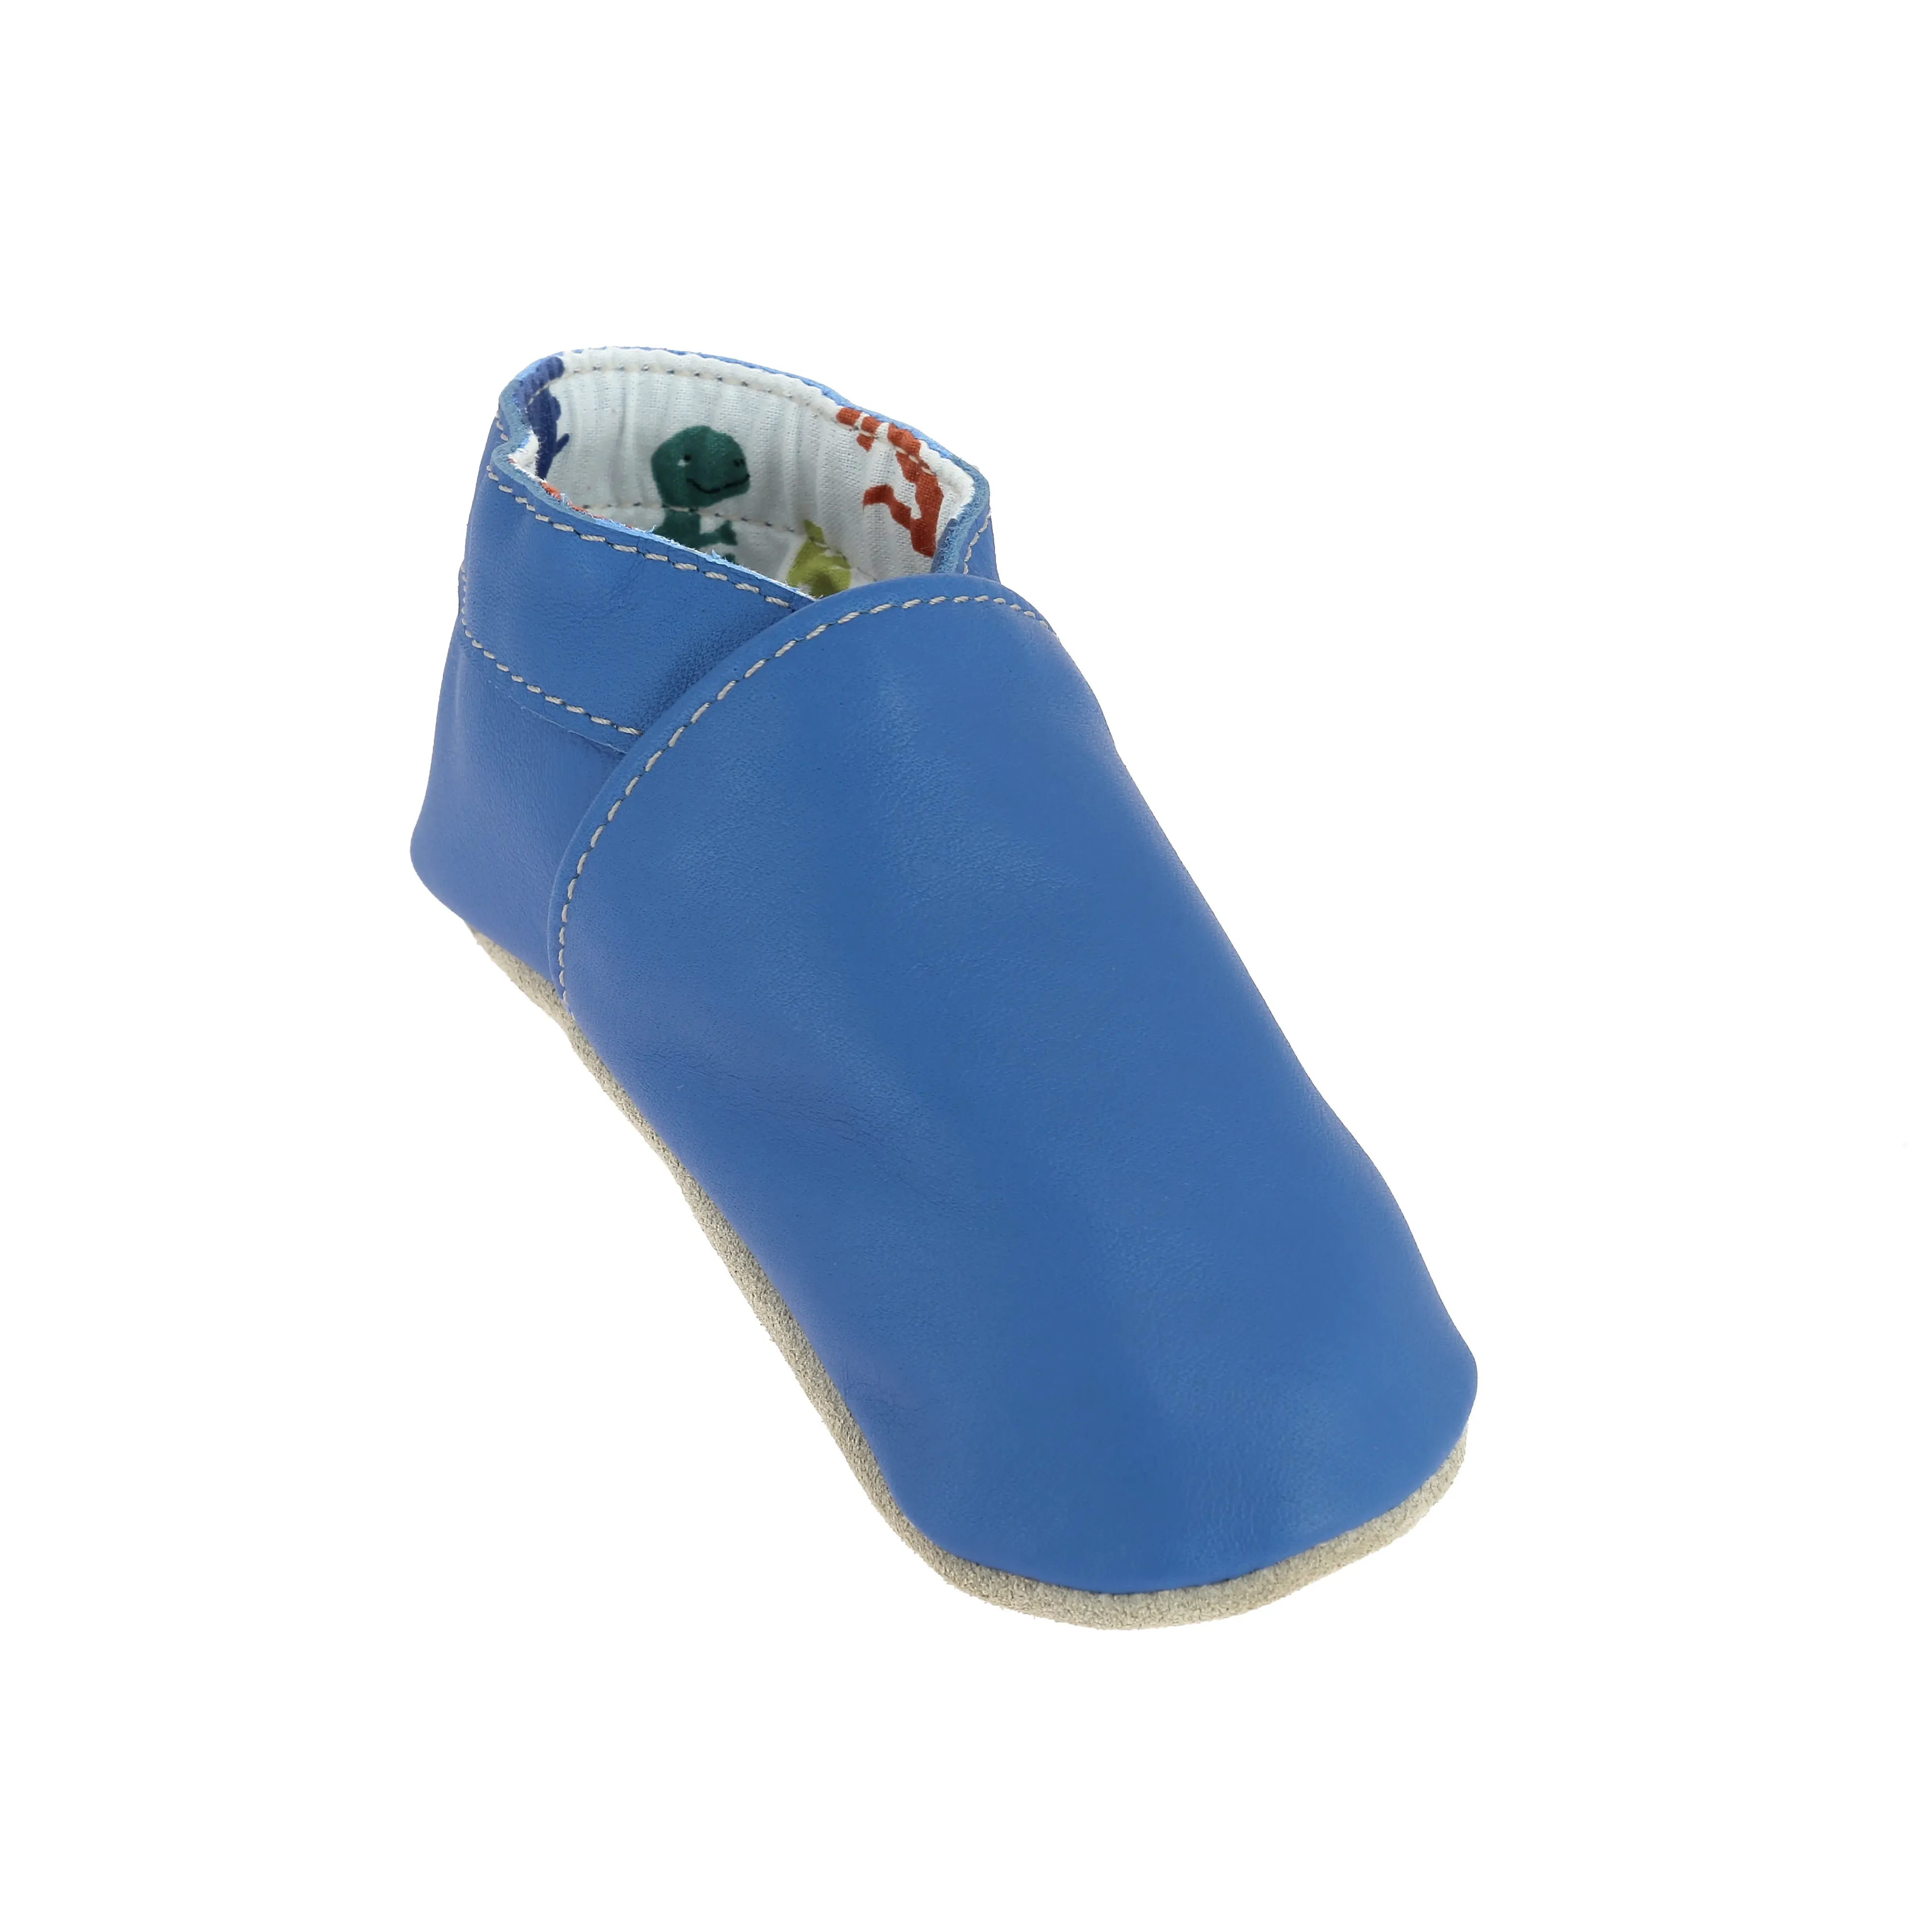
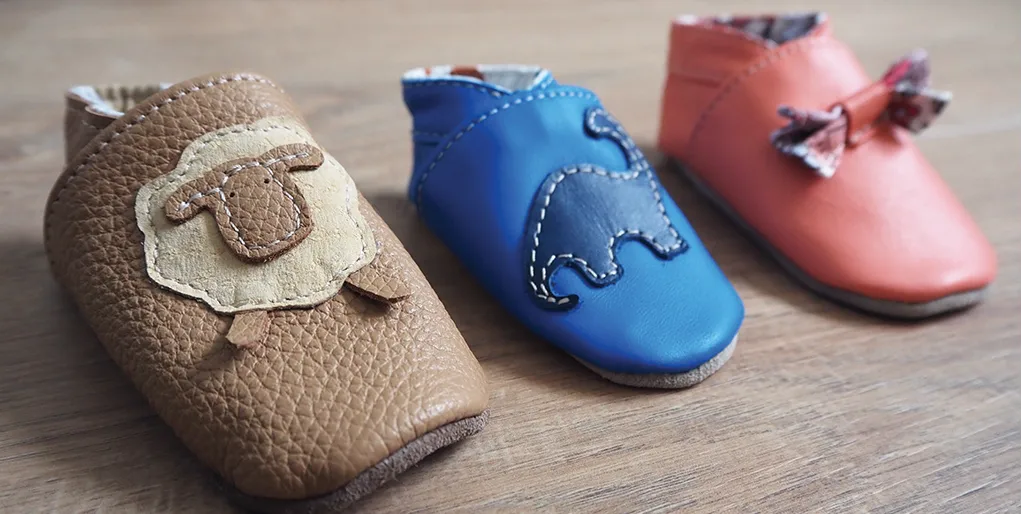
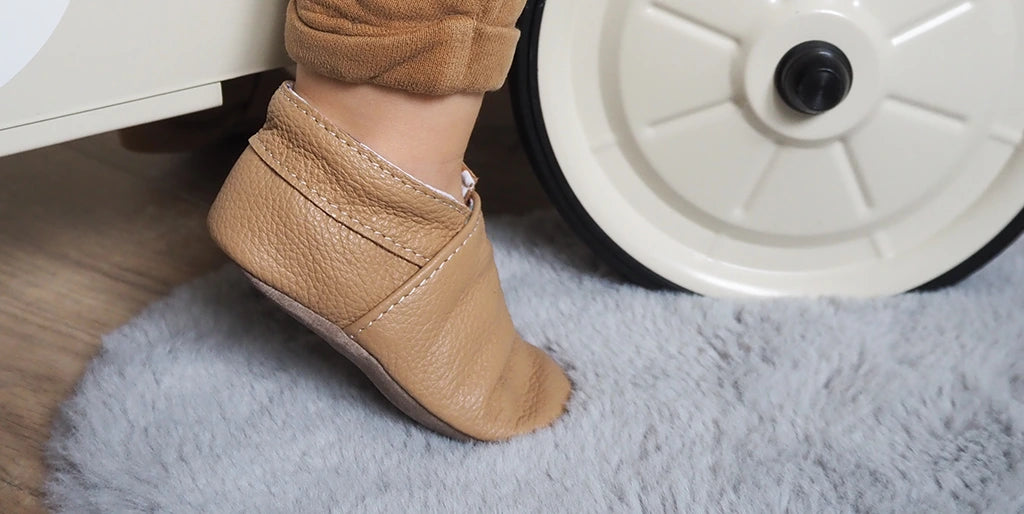
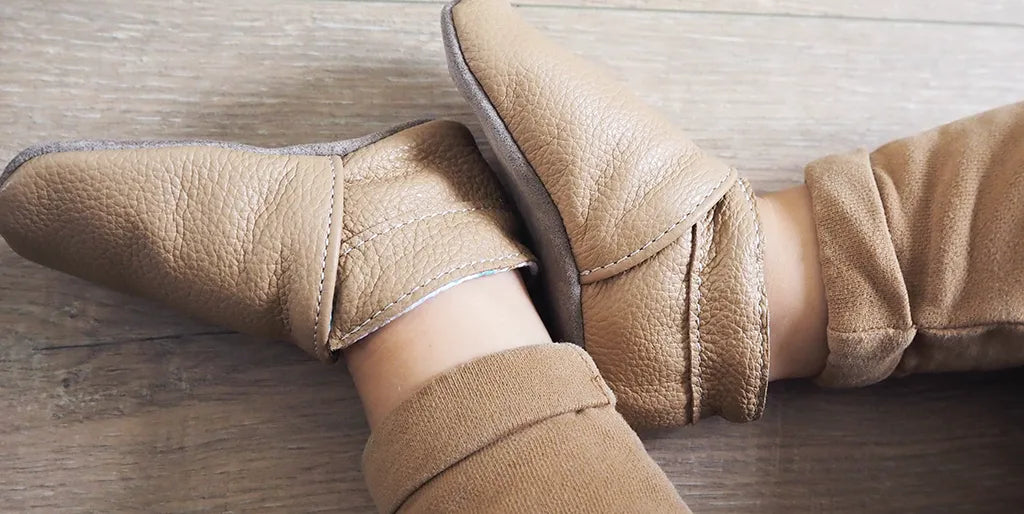
THE LINED PAIR IS FINISHED
BELOW IS THE OLD VERSION OF OUR BABY LEATHER SLIPPERS
This version offers simpler, unlined slippers.
1. CUT THE PATTERN PIECES
Purchase the pattern and, using the foot measurer, select the desired slipper size (sizes 15 to 26 - 3 months to 5 years). Then, trace the pattern and mark the pieces on the leather using a silver pencil. Cut the pieces with sewing scissors or a utility knife. Seam allowances are included.
Cut 4 elastic strips:
- 2 strips of 6 cm to sew on the wrong side of the slipper upper (see step 2).
- 2 strips the length of the reinforcement strip plus 2 cm (example: 2 strips of 22 cm for size 21-22).
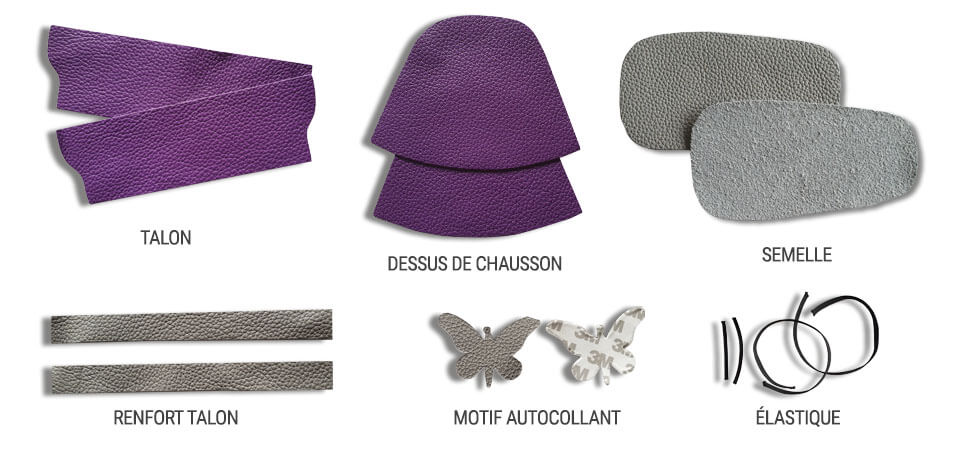
Each slipper is composed of 5 leather pieces:
- 1 heel
- 1 slipper upper
- 1 sole
- 1 heel reinforcement
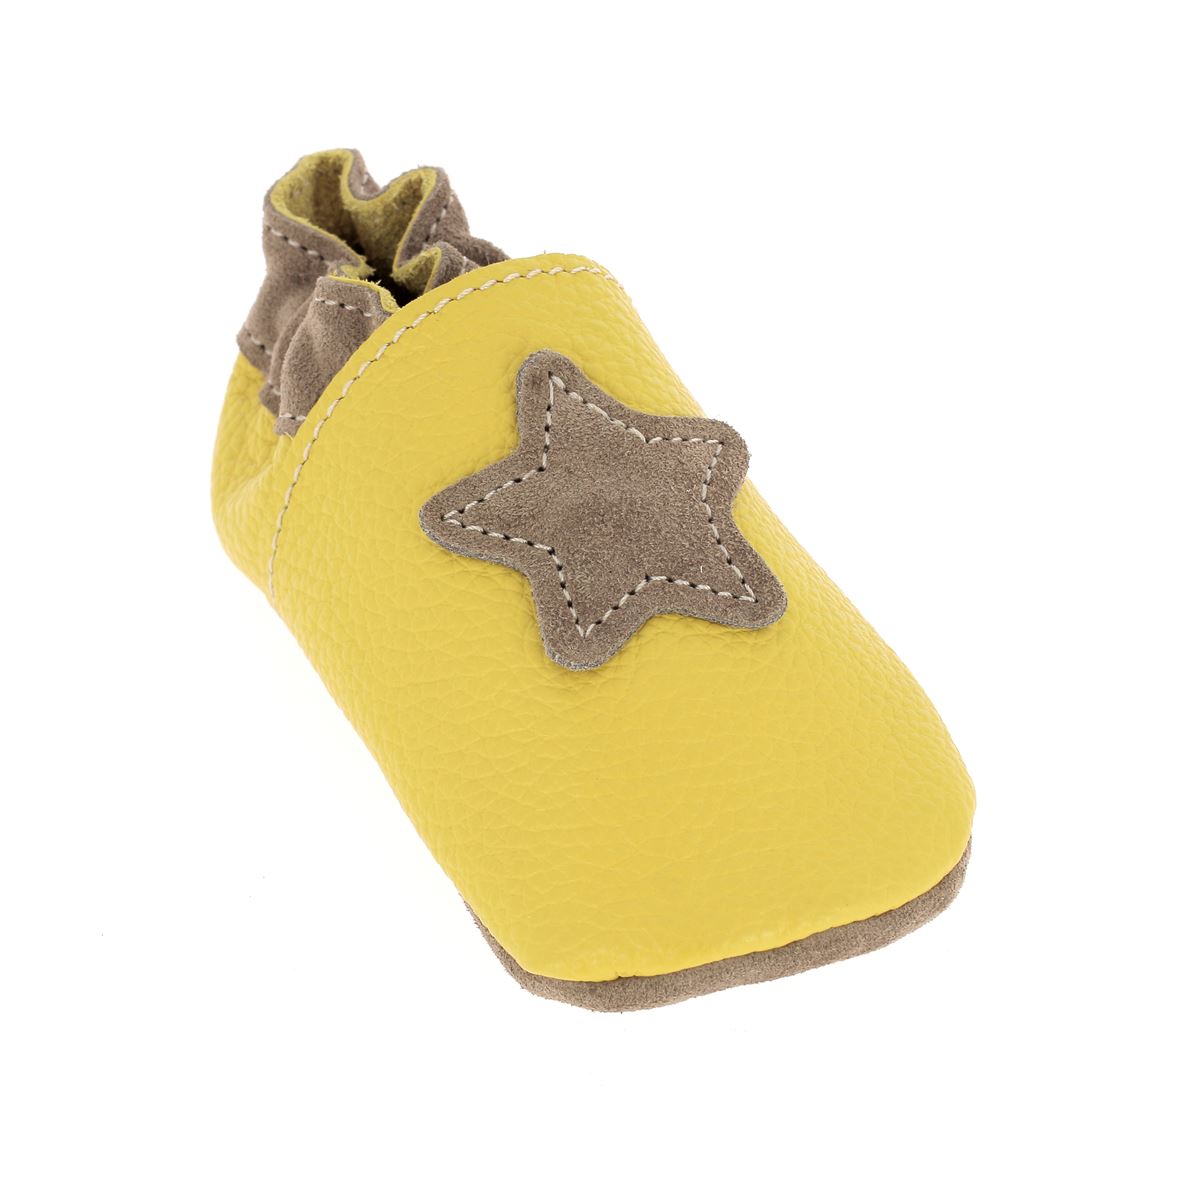
- 1 motif (let your creativity flow: fringes, butterfly, star, teddy bear...)
2. SEW THE ELASTIC
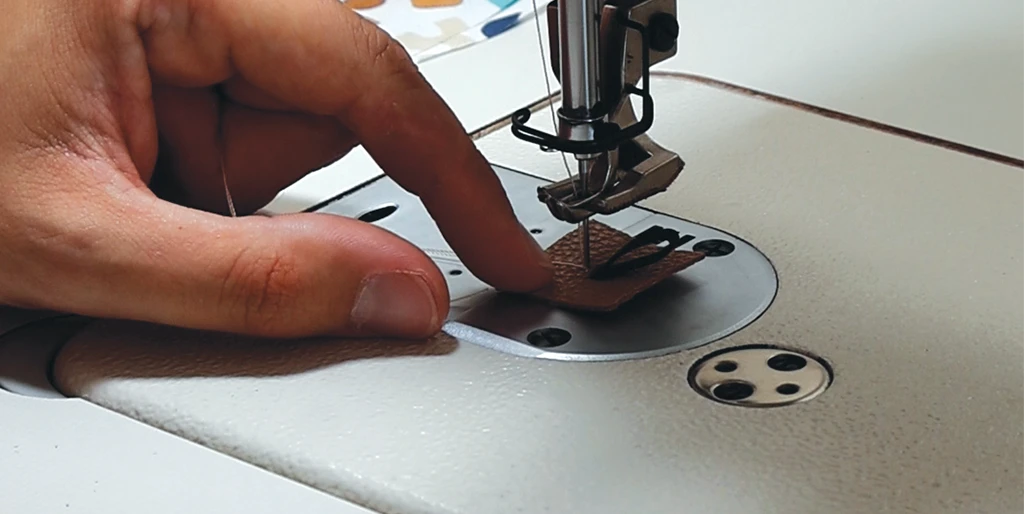
Fold the small elastic band in half and sew it to the wrong side of the leather (flesh side) of the slipper upper: stitch in the center 3.5 cm from the top edge (the largest edge) for the first 3 sizes and 4 cm for the last 4 sizes.


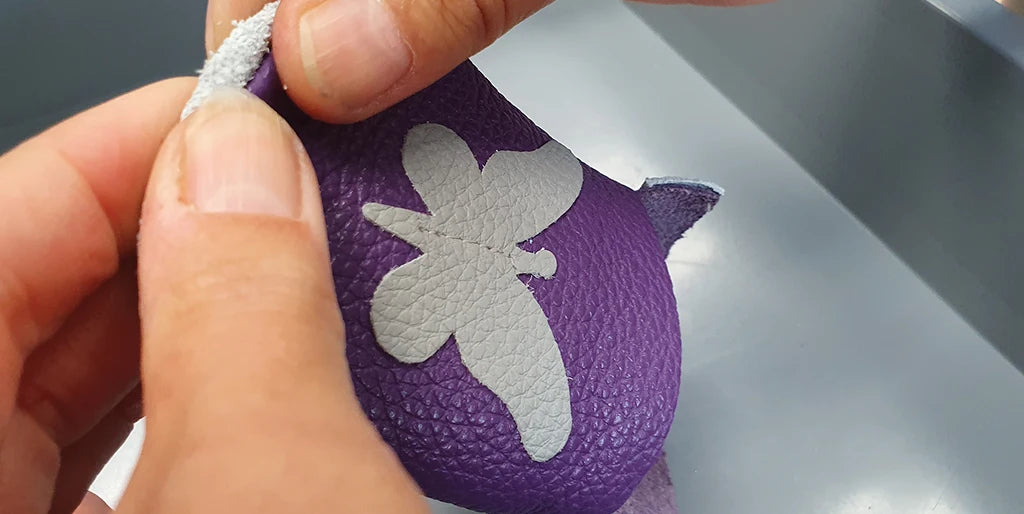
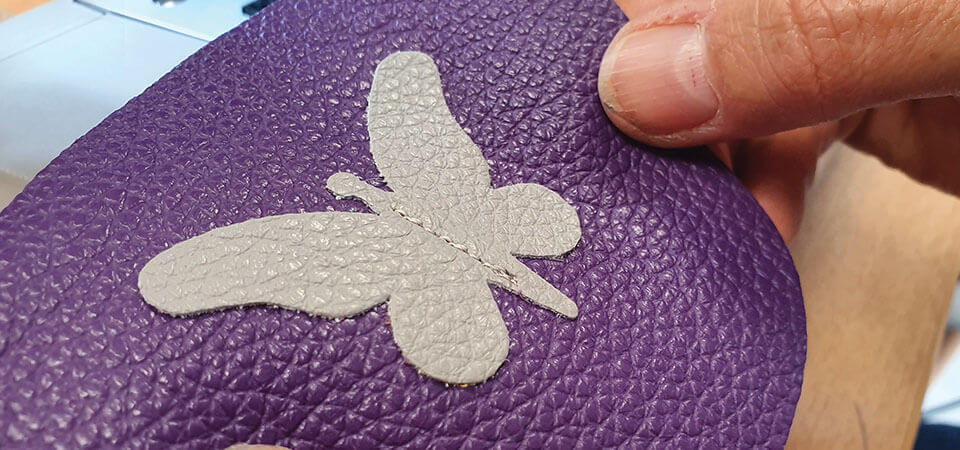
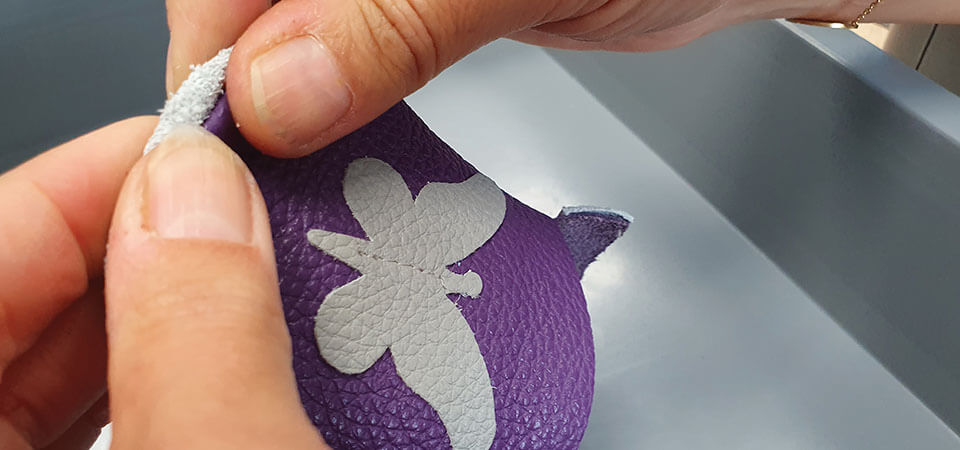
3. GLUE AND SEW A MOTIF ON THE SLIPPER UPPER
Glue and sew the motif to the right side of the leather - grain side. This hides the stitching of the small elastic band. Be careful not to sew the elastic when stitching.

4. SEW THE SLIPPER UPPER
Position the slipper upper (right side - grain side) on the sole (wrong side - suede/flesh side).
Tip: Use small clips to keep the pieces in place.
It is important to respect the direction of the pieces so that once the slipper is finished, the fuzzy side of the sole is on the outside of the slipper to maintain grip on the floor.

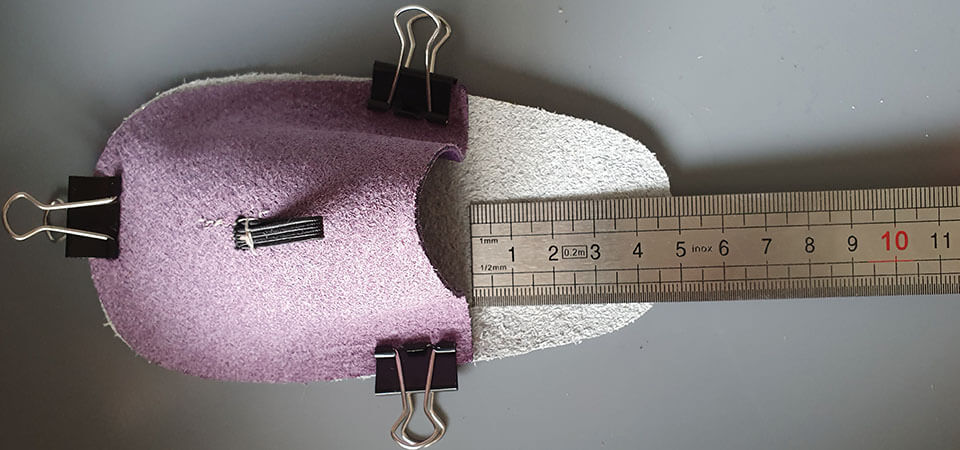
Start sewing from the center, then move to the back and sew 4 mm from the edge to avoid too much bulk in the slipper.


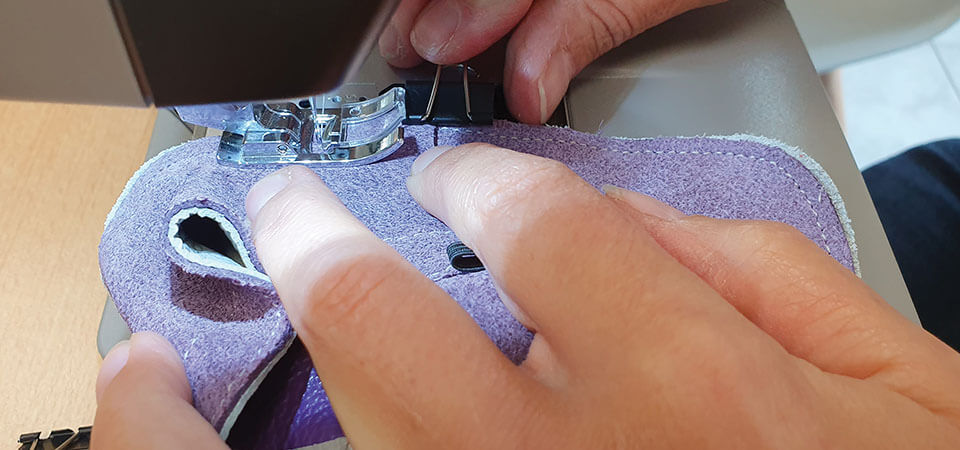
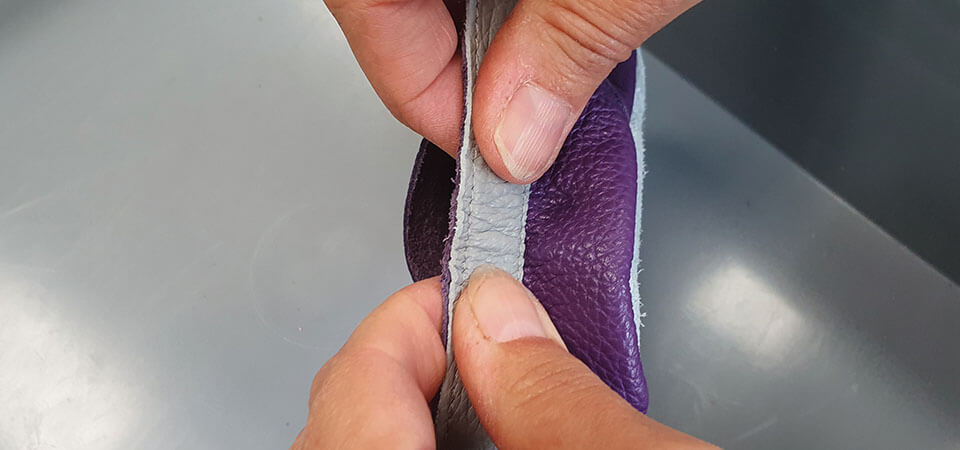
5. SEW THE HEEL
Position the reinforcement band on the top of the heel and sew it to the right side - grain side (make 2 parallel stitches 3 mm from the edge along the length of the band). Don't hesitate to cut off any excess leather after sewing.

6. SEW THE HEEL TO THE SOLE
Position the heel (right side - grain side) on the sole (wrong side - suede side) and sew it. Same tip: use clips and start sewing from the center.

7. TURN THE SLIPPER
Turn the slipper right side out and flatten the seams well to give it a rounded shape.
8. PASS THE ELASTIC BAND THROUGH THE REINFORCEMENT
Using a safety pin, thread the elastic band through the reinforcement sewn on the heel.

9. TIE A KNOT WITH THE ELASTIC
Pass the large elastic band through the loop of the small elastic band and tie a knot. The position of the knot will allow you to tighten or loosen the slipper around the baby's ankle.

THE FIRST SLIPPER IS FINISHED, NOW FOR THE SECOND!
The shape is identical for both the right and left foot.
Tip: You can add some sheep's wool to the slippers for extra softness and warmth.
 |
 |


4 comments
DECO CUIR
Bonjour Sabrina,
Nous vous conseillons du cuir de notre gamme Granite ou Suave.
Nous ne proposons pas de patrons pour chaussons adultes.
Bonne journée,
L’équipe Deco Cuir
Sabrina Boisbourdin
Bonjour je souhaiterais acheter le kit pour faire des chaussons. Je voudrais savoir si vous pouvez me donner les références des cuirs à acheter pour refaire une autre paire pour mon deuxième enfant. D’autre part je voudrais savoir si il existe un patron pour faire une paire de chaussons adulte pour moi ? Merci
Anonymous
il y a très longtemps que je veux me lancer
cette fois c est la bonne je fonce
un grand merci pour tout vos précieux conseils
et vos tutoriels très précis et très minutieux
Anonymous
Superbe, ces chaussons sont parfait après des sorties hivernales.