


MATERIALS NEEDED
- 1 20 x 30 cm piece of leather - Supple - Between 1 and 1.3 mm thick
We recommend the SUAVE leather range or the SWEET 2 range. - 1 piece of Salpa synderme reinforcement - 20 x 30 cm - 0.6 mm thick
- 1 VELVET pigskin suede leather hide - Approximately 0.25 m² surface area
-
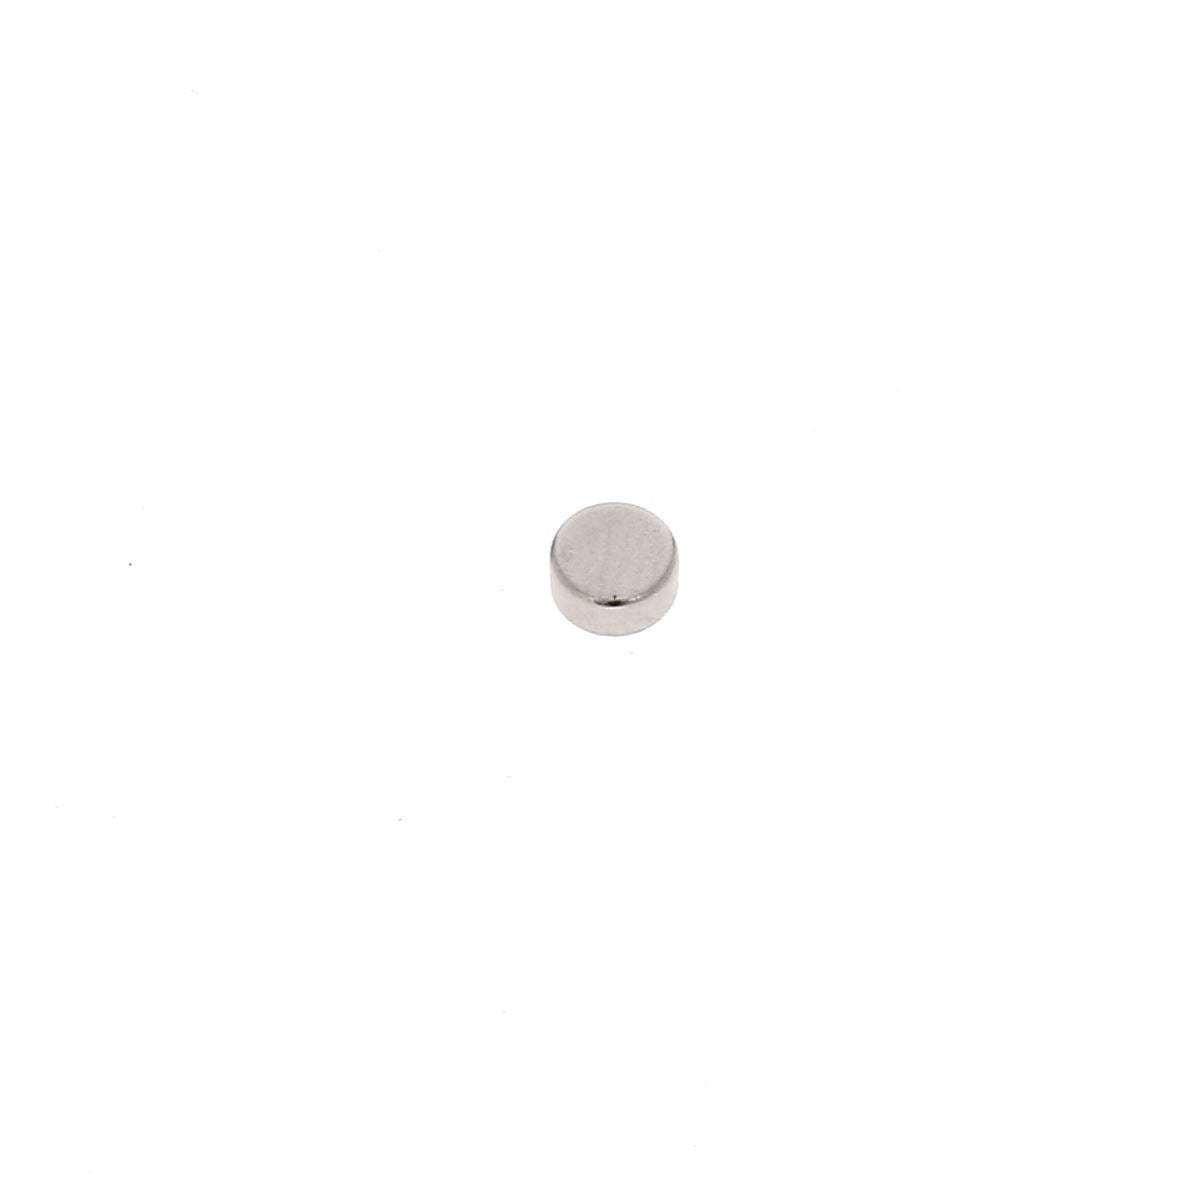
4 round neodymium magnets - 20 x 2 mm
- Polyester thread (machine sewing N°40) or linen thread (hand sewing M40/M50)
- Leather glue
- A cutter

FULL TUTORIAL VIDEO
1. Cut out the pattern pieces
Cut out the pattern, then transfer pieces P1 and P2 onto the leather piece.

Using a cutter, cut out the different leather pieces.

2. GLUE THE SALPA
Apply contact glue to the back of piece P1 (leather) and to one side of the Salpa reinforcement (0.6 mm thick).
 |
 |
Glue the leather and Salpa together. Flatten the glued assembly well with a pressing roller.
 Trim the Salpa to align it perfectly with the leather edges.
3. GLUE THE MAGNETS
Glue the four magnets (neoprene glue or super glue) in the designated locations on the pattern. Test their magnetism to ensure correct final positioning (a red mark is normally visible on one side of our magnets; glue the magnets with this red mark visible for all 4 magnets).
 |
 |
4. GLUE THE LINING
Apply contact glue to the back of pieces P1 and P2 and to the wrong side of the lining (pigskin).

Glue pieces P1 and P2 onto the lining. Flatten well and shape around the magnets (with an edge slicker).

Trim the lining to even out the edges.

5. SEW PIECE P2
Pierce a small hole at each end of piece P2. On piece P1, mark the four holes for the inner reinforcement P2 (see pattern). For each pair of holes, pass a needle or a round awl from one hole to the other, going only through the lining (do not pierce the Salpa reinforcement and leather). This method creates a discreet passage to attach piece P2.

With thread and needle, stitch into one hole, come out of the second, then pass through one of the holes of P2 and pull tight. Repeat several times to ensure a good hold.
 |
 |
Do the same for the other end of P2.

6. SEW THE CASE
Option: make a decorative machine stitch along the longest length and on the flap (be careful of the magnets - use the zipper foot if necessary).

Apply glue to the edges of the case along the stitching line. Fold down the bottom of the case then sew the two widths.
 |
 |
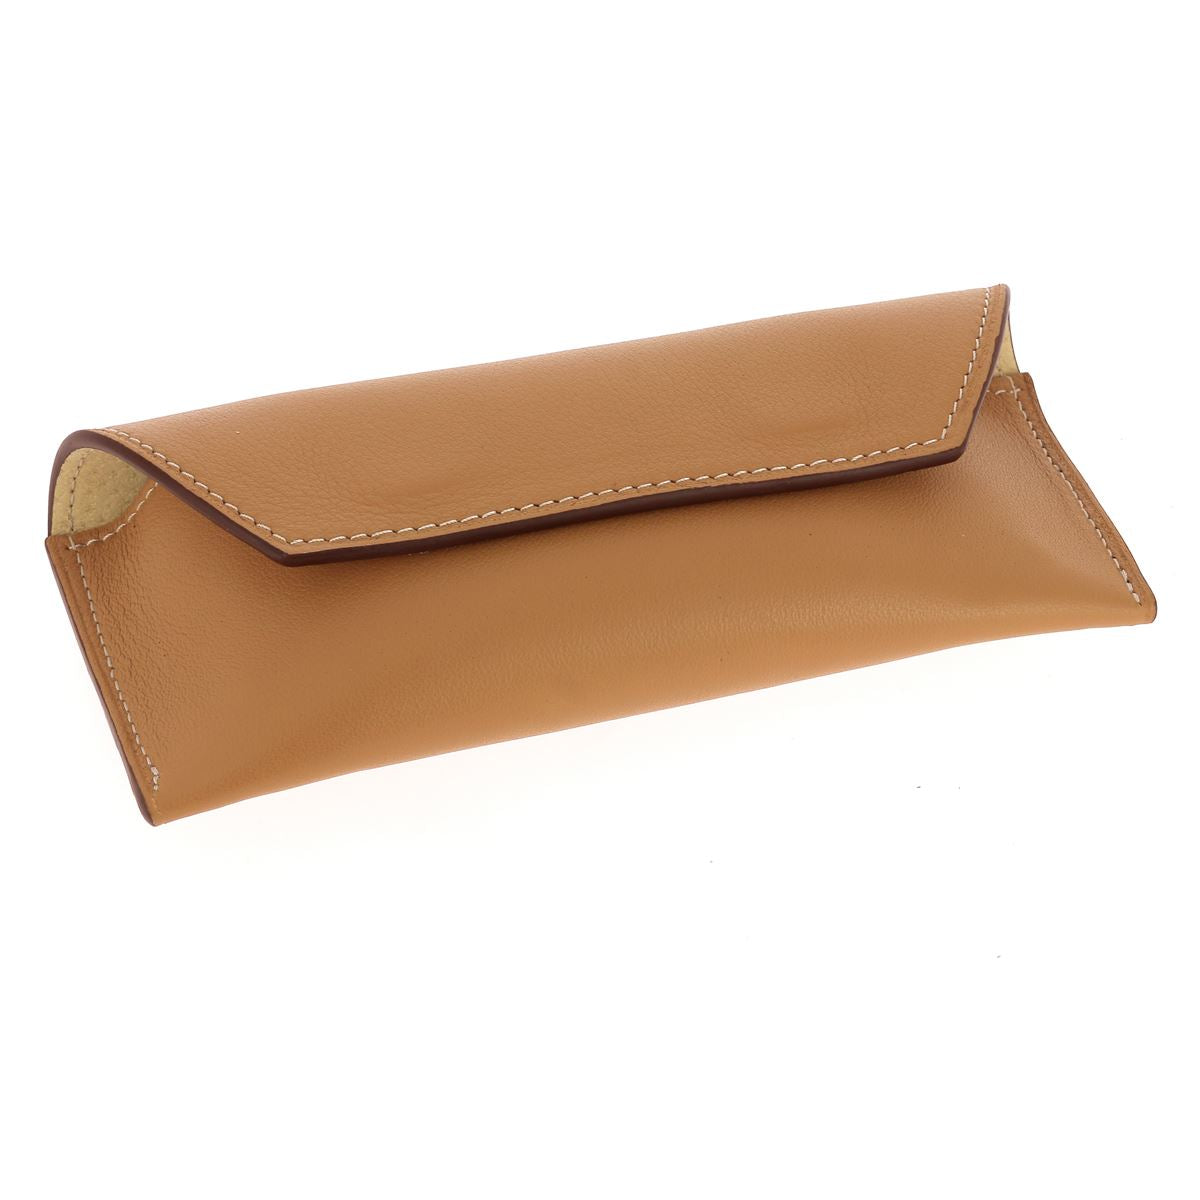
Shape the case, giving it its final form (see video).

The case can also be hand-sewn. We recommend a simplified stitch for beginners or a saddle stitch for the more experienced. Be careful when gluing the edges: on the pattern, there are 14 stitches on the front of the case and 15 on the back to create an overlap stitch (it is therefore normal to have an extra visible stitch when gluing the edges).

 |
 |
7. FINISH THE EDGES
Option: for a professional finish, treat the edges with an edge finish.

OPTION: Personalize the glasses case
Personalize the case with a date, a word, a name using our brass characters.

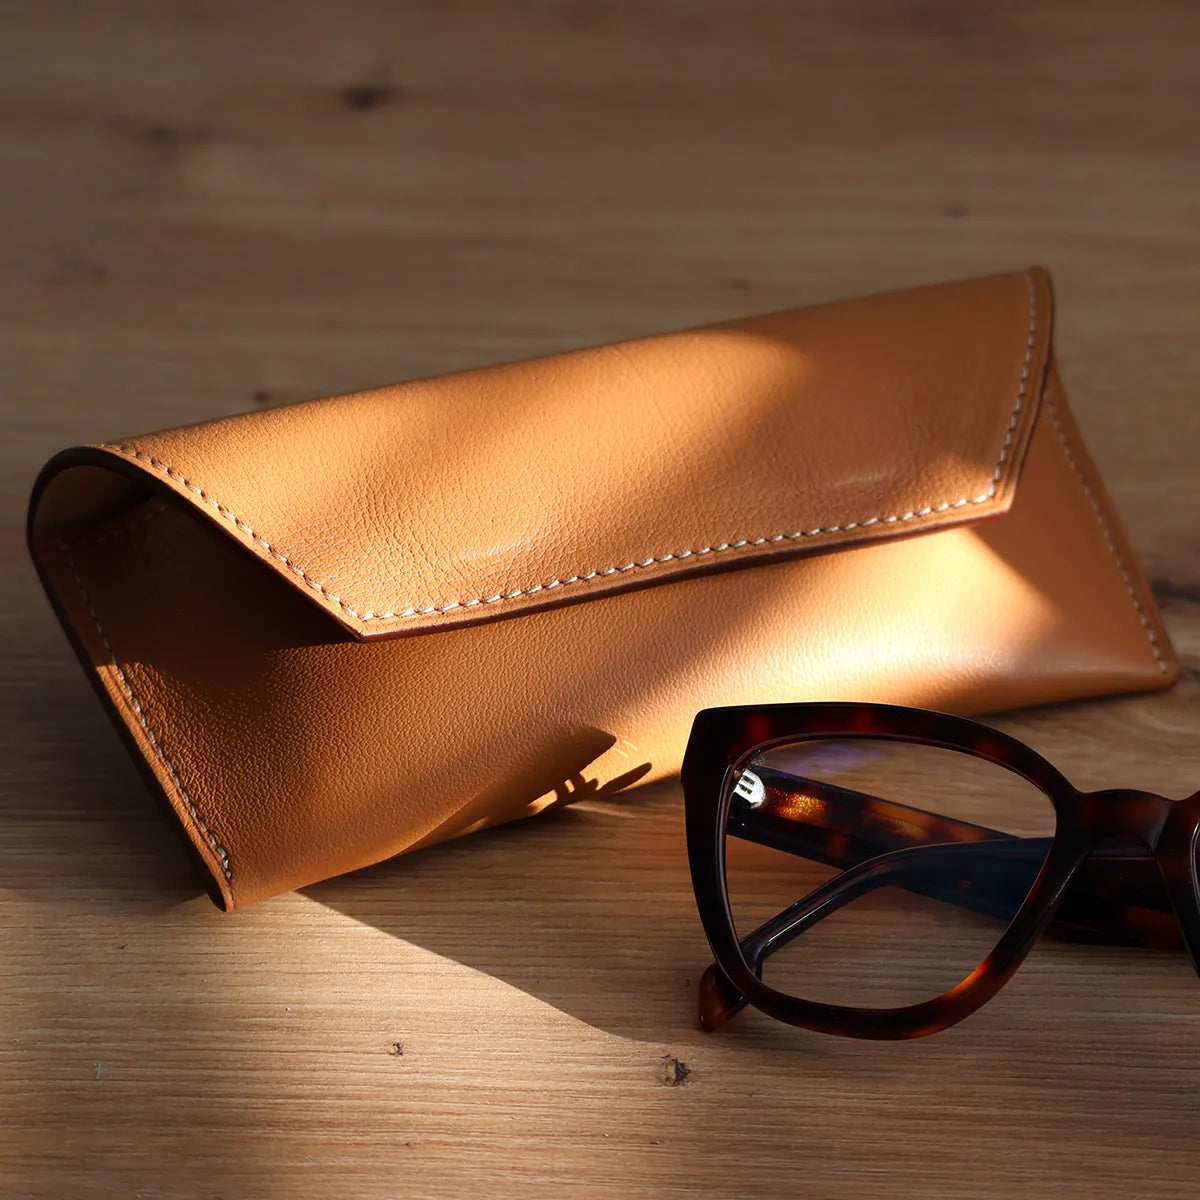
You're done!
And there you have it, your glasses now have their cozy, handmade nest! Practical, stylish, and above all, unique. All that's left is to choose the color for the next one!
 |
 |
 |
 |

