


MATERIALS NEEDED
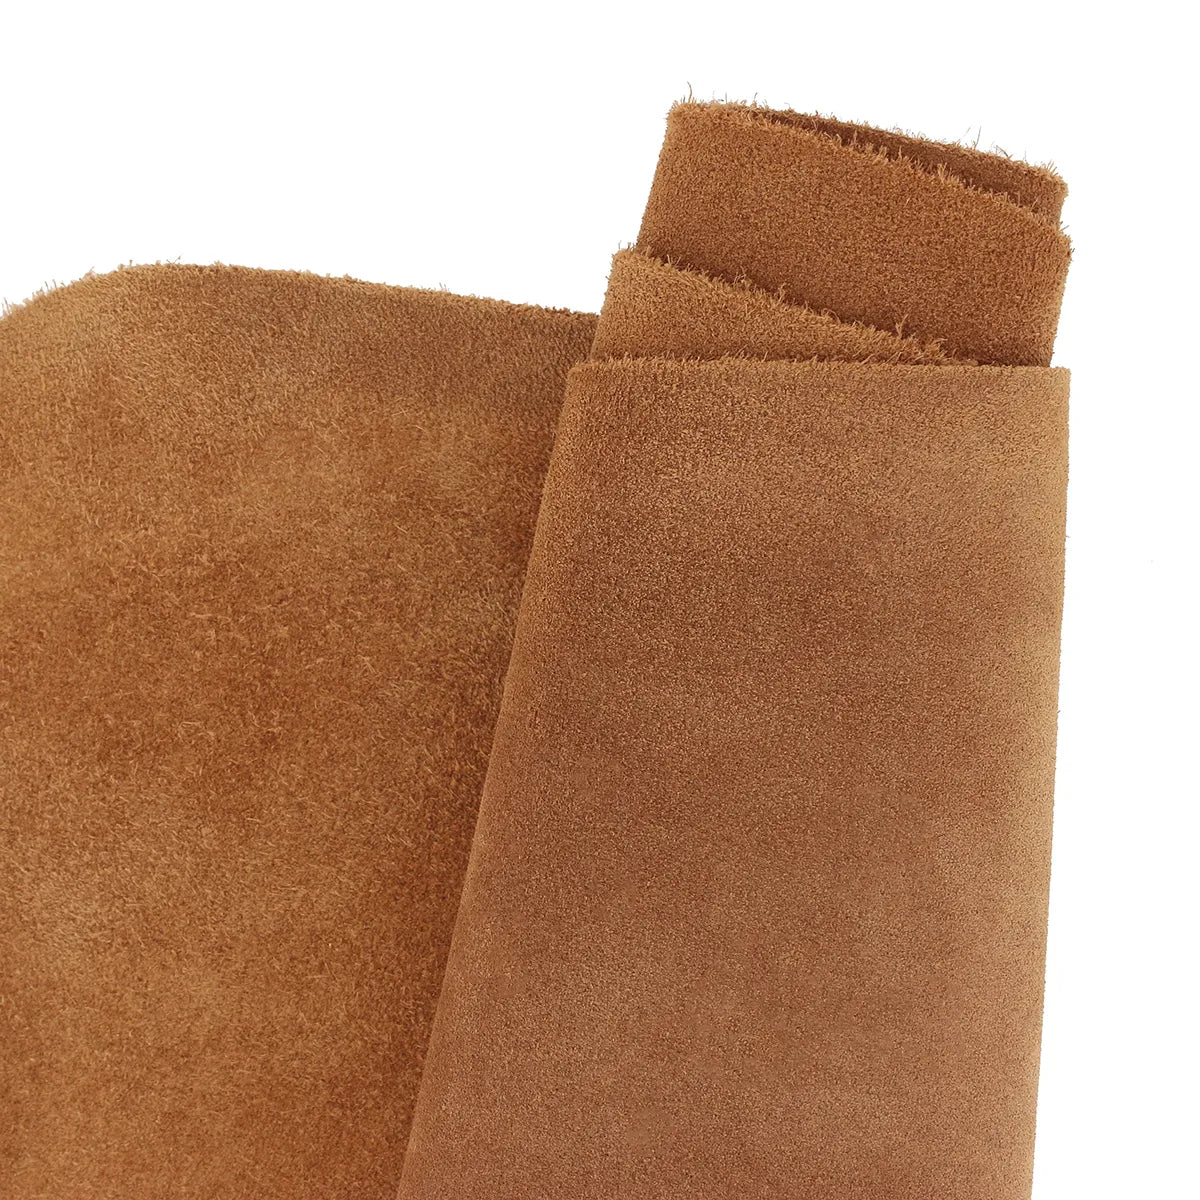
- 1 piece of leather 30 x 40 cm - Supple - between 1.2 and 1.5 mm thick
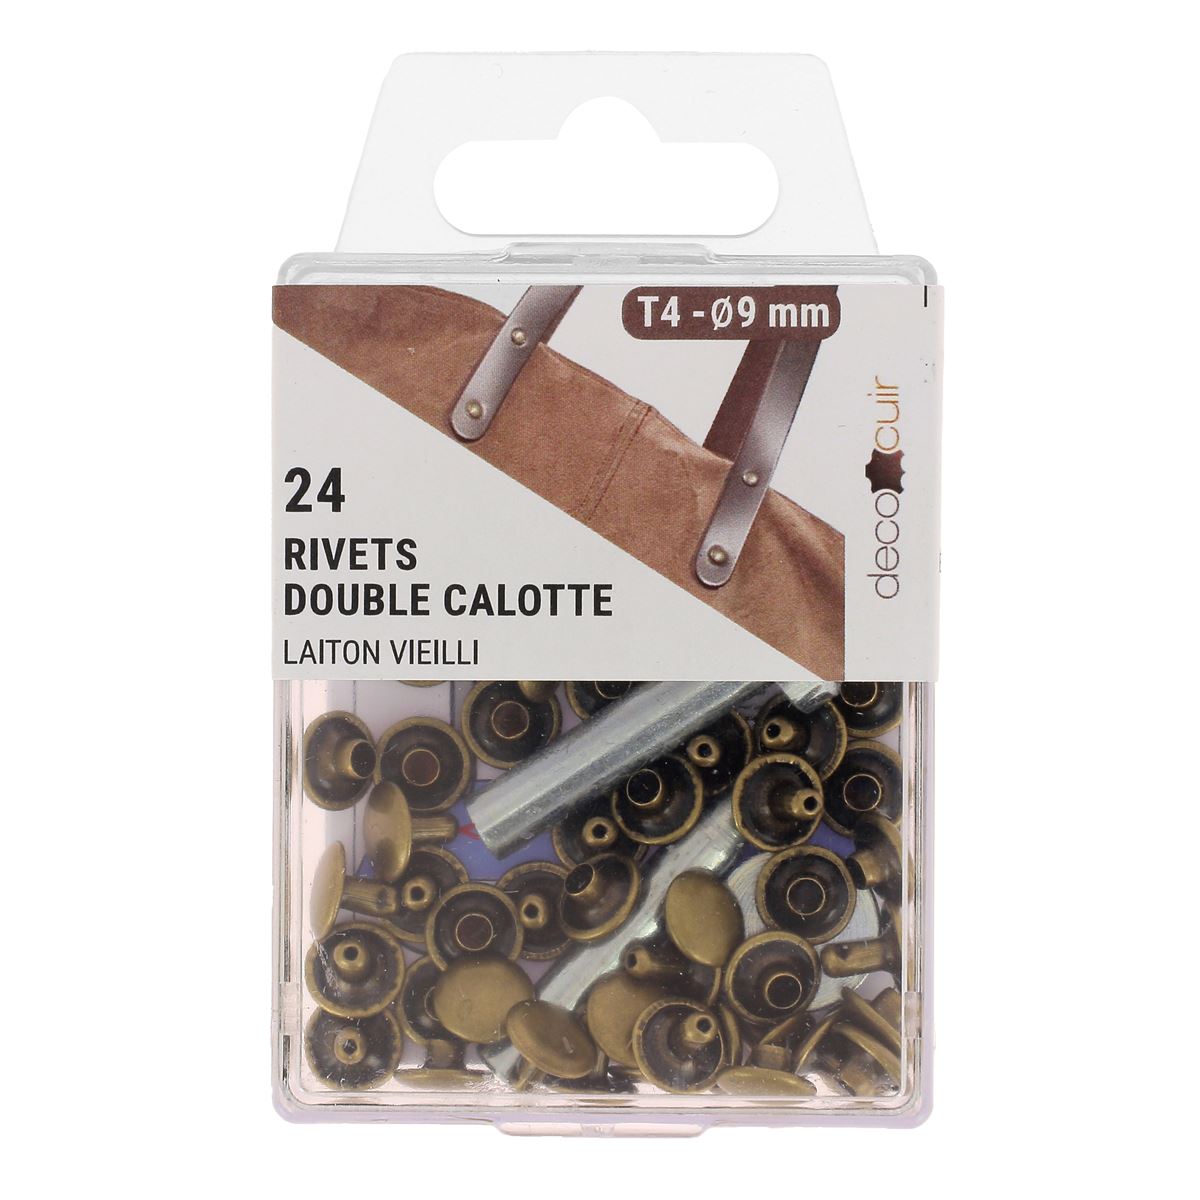
- 6 T3 or T4 rivets and an setting tool
-
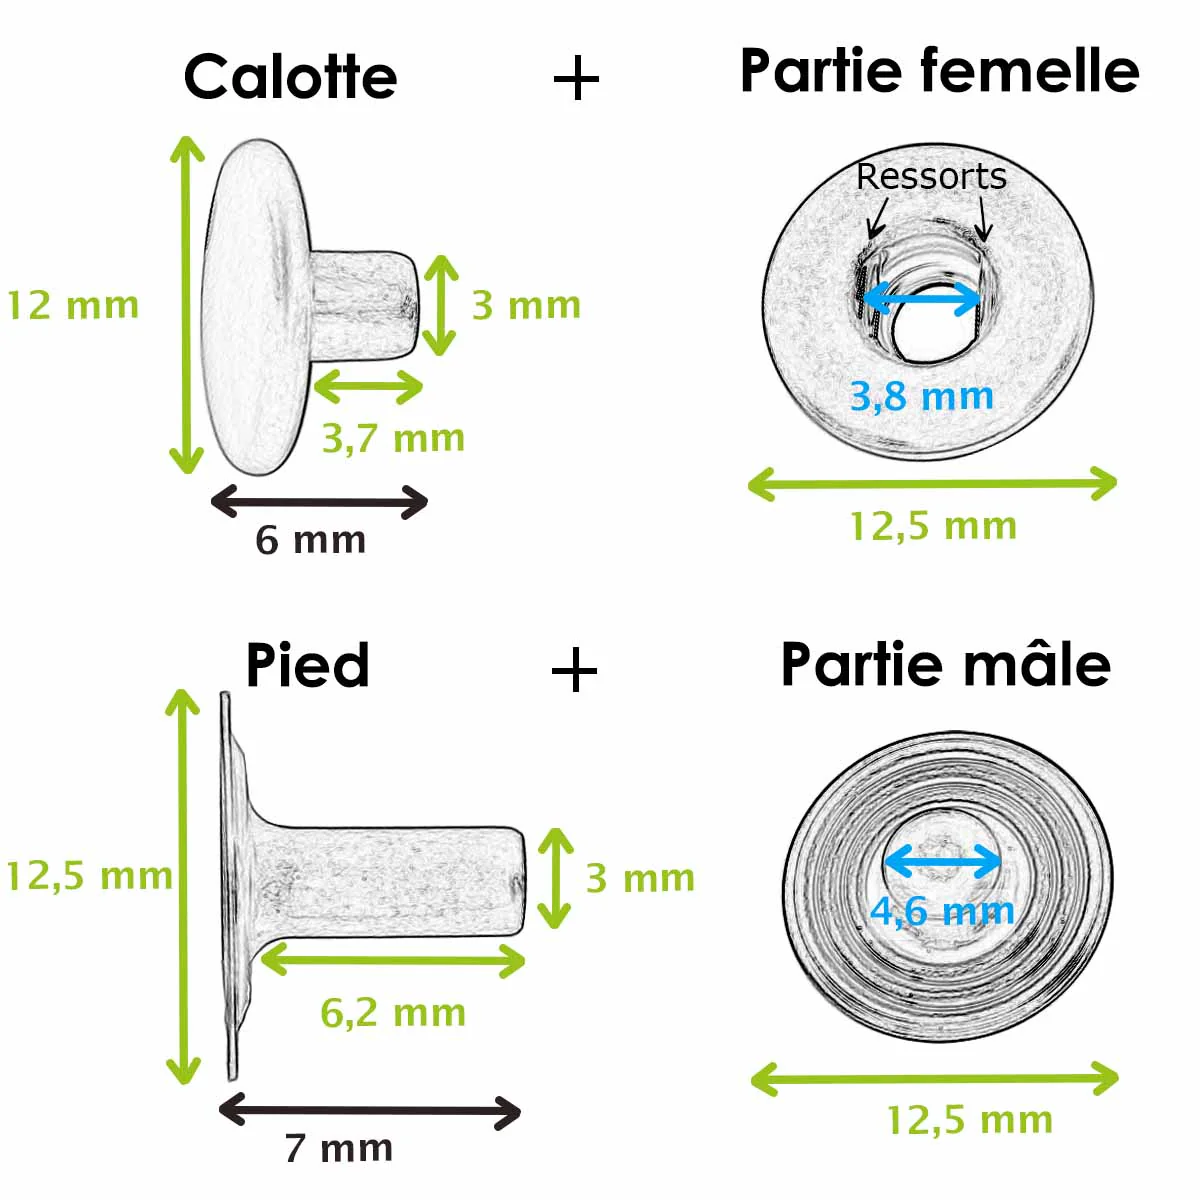
2 snap fasteners Ø 12 mm or Ø 15 mm and a setting tool
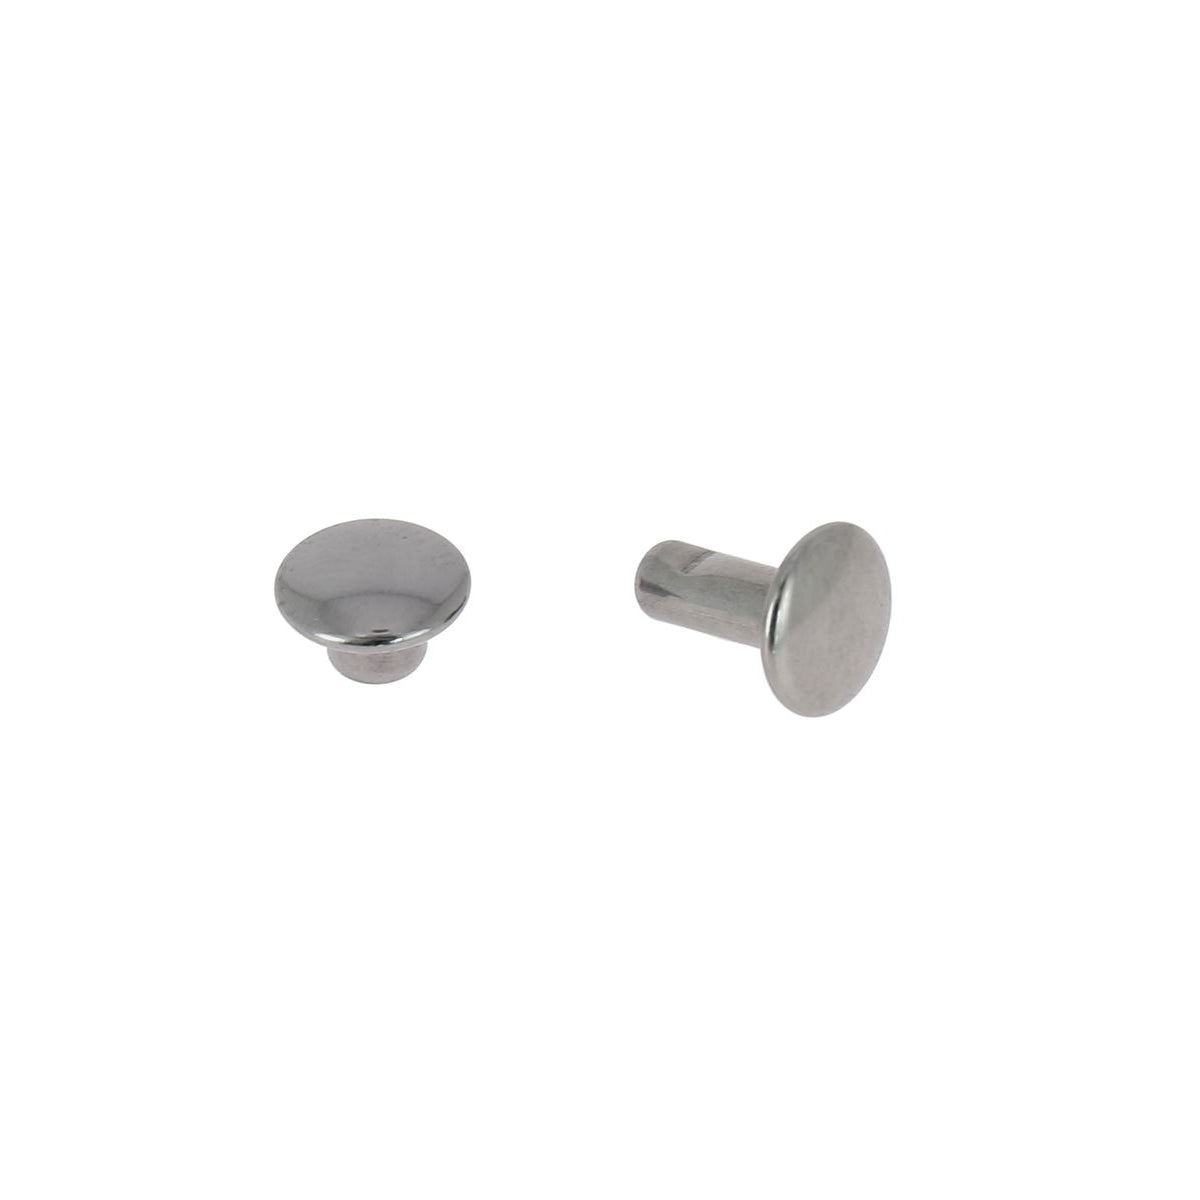
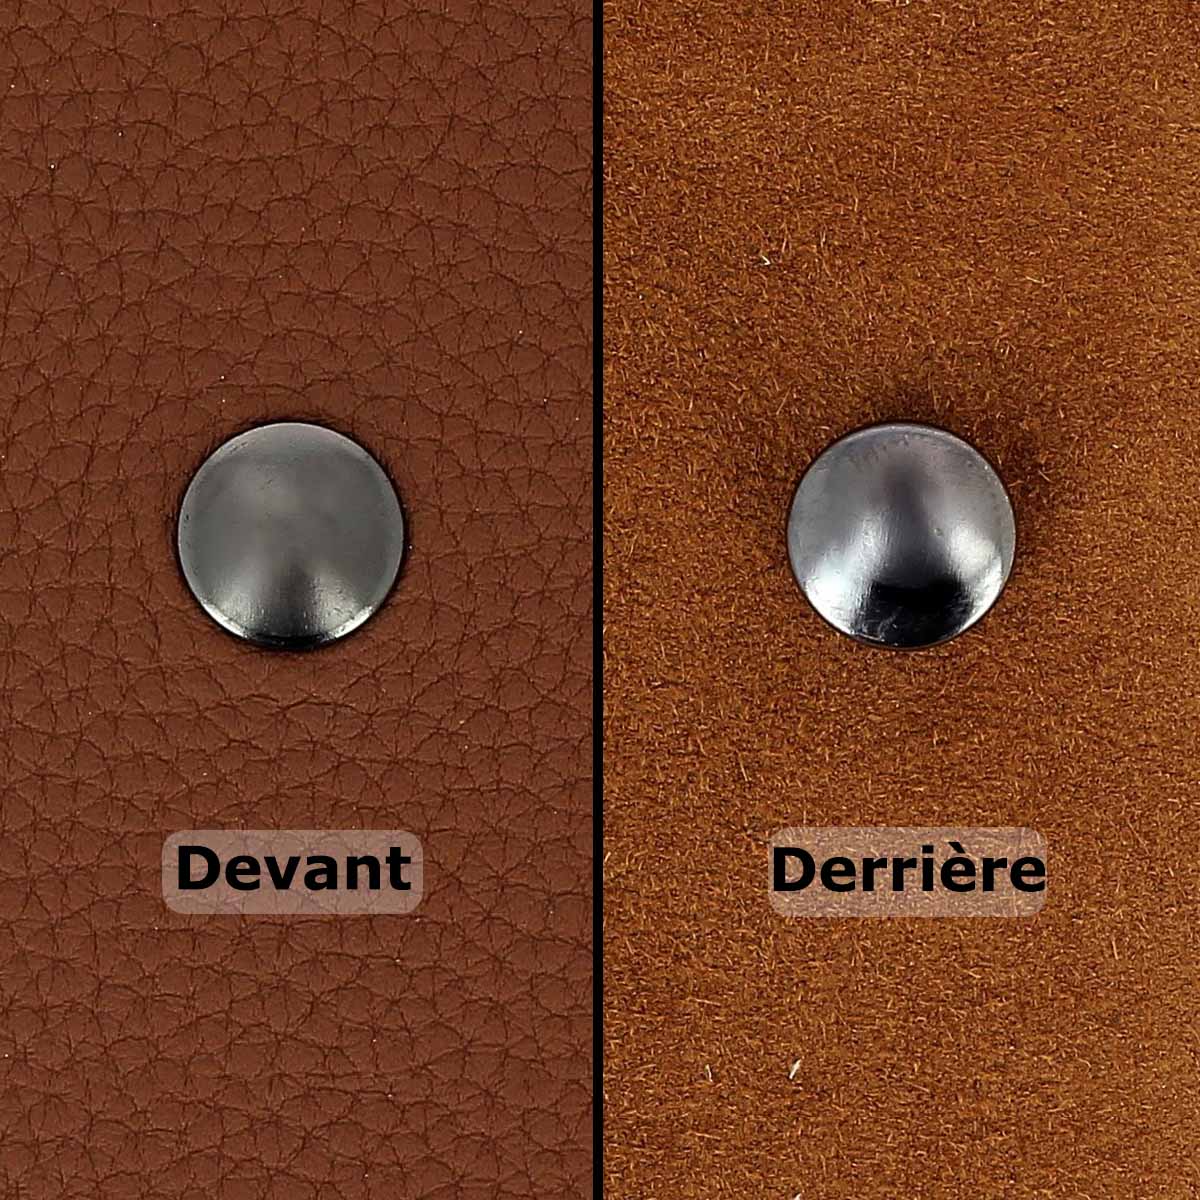
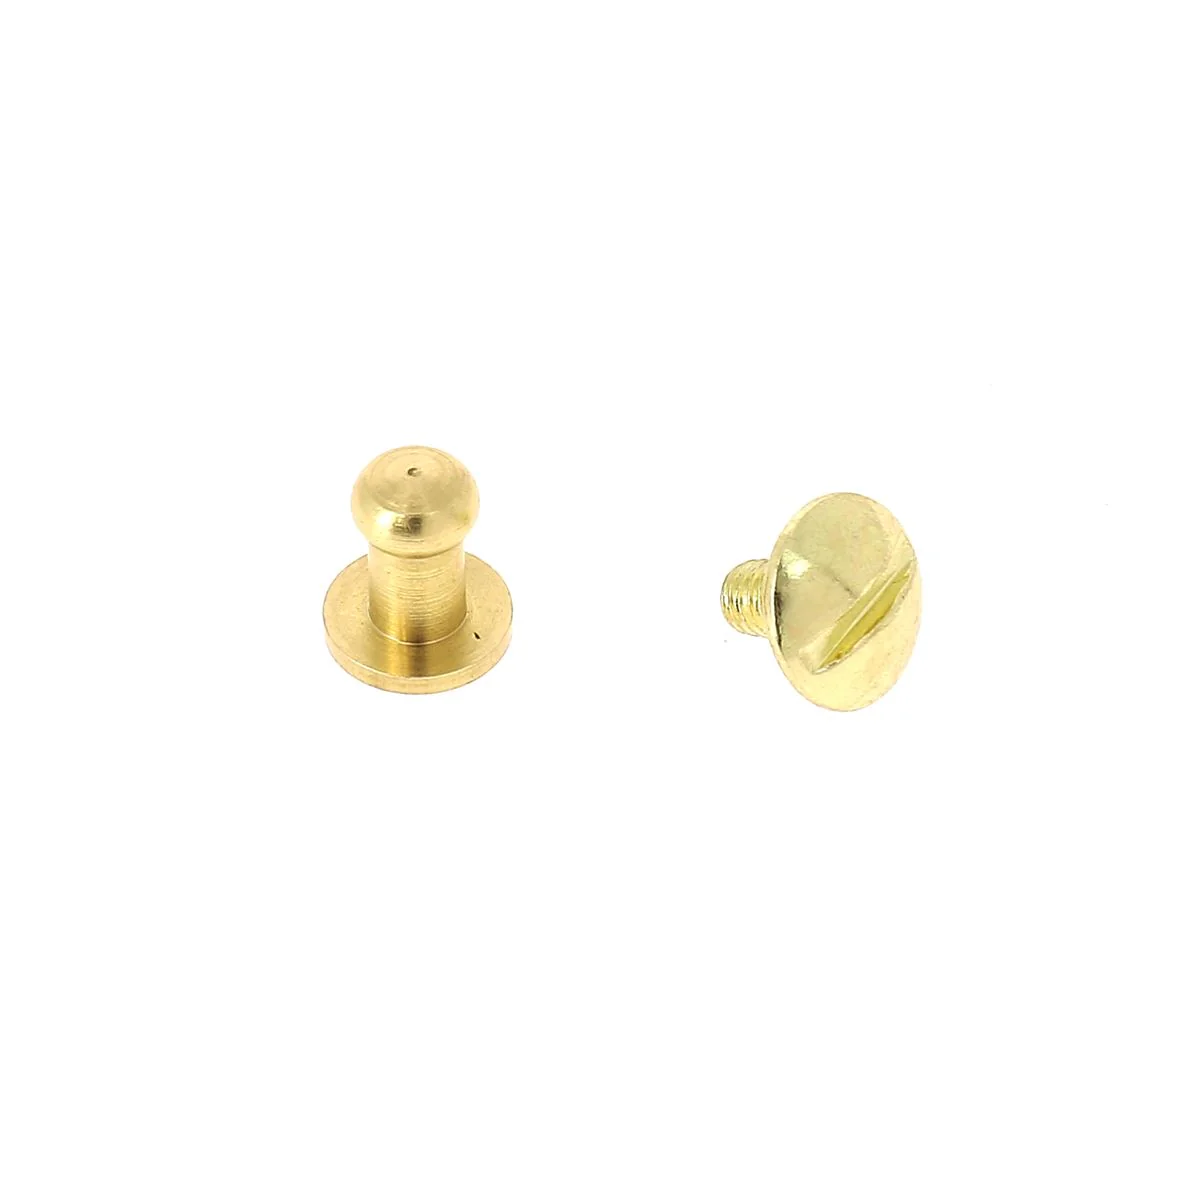
or 2 T3 collar buttons - 1 round punch Ø 3 mm
- 1 craft knife
COMPLETE TUTORIAL VIDEO
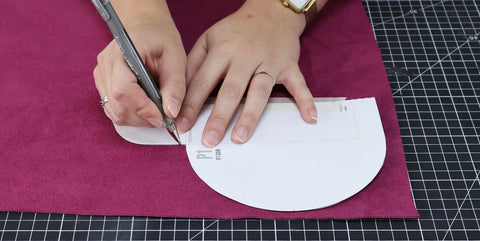
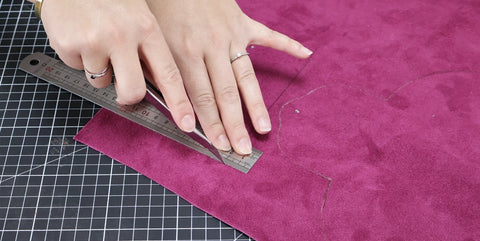
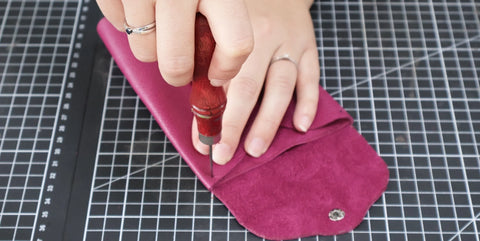
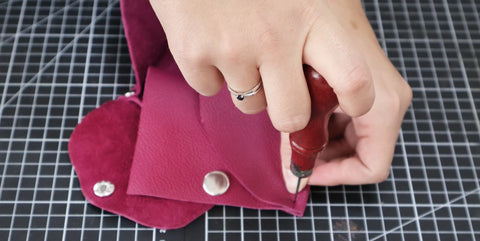
1. CUT THE LEATHER
Trace piece P1 twice (mirrored) on the back (flesh side) of the leather to get the final shape. For piece P2, draw a 14 x 10.2 cm rectangle. Also mark the reference points indicated on the pattern [1] and [2].
 |
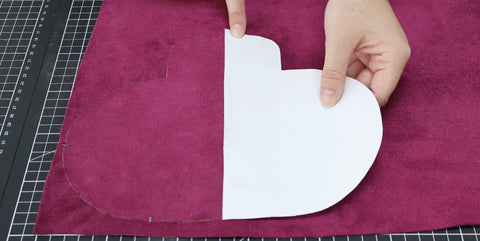 |
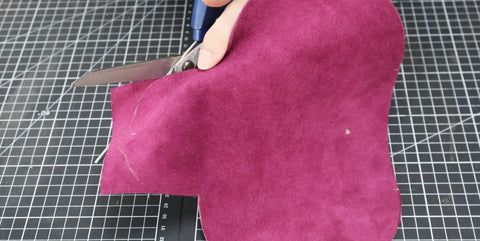
Cut the leather with a craft knife or a pair of scissors.
 |
 |
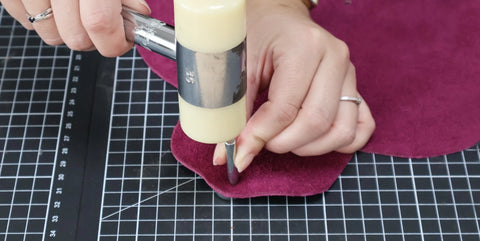
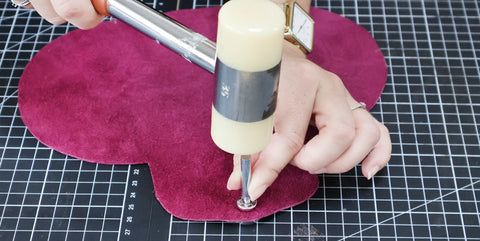
2. ATTACH THE SNAPS
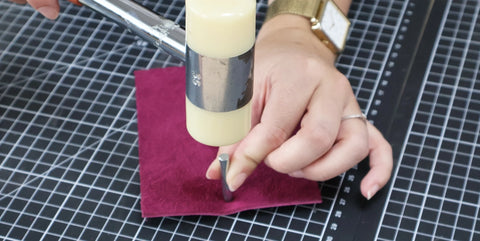
Punch the Ø 3 mm holes needed for attaching the snap fastener or collar button on piece P1 (locations indicated on the pattern). Also punch two Ø 3 mm holes at each end (width) of piece P2, centered and 1 cm from the edge.
 |
 |
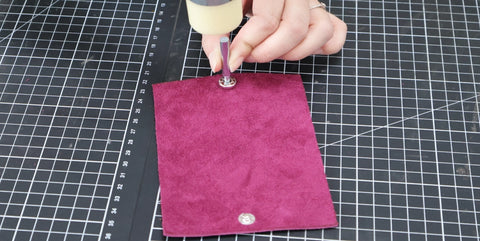
Attach the two snap fasteners, making sure to match the direction of the cap and socket. Or screw on the collar buttons.
 |
 |
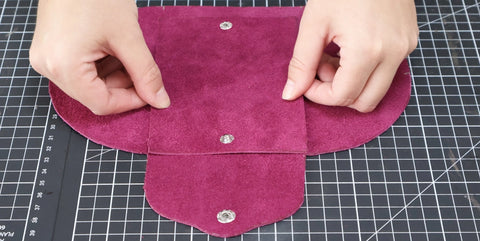
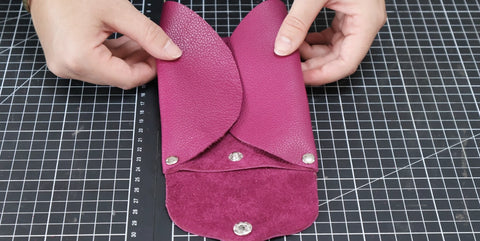
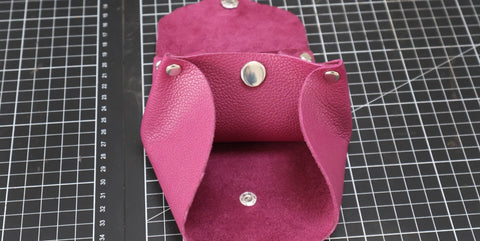
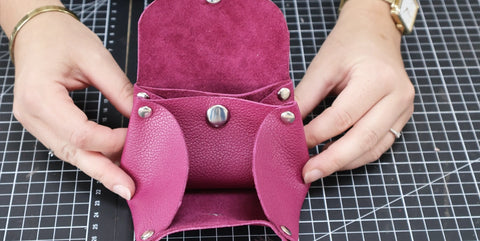
3. ATTACH PIECE P2
Place the right side of piece P2 (snap socket facing up) against the wrong side of piece P1, in the location indicated on the pattern. Fold one side of piece P1 over piece P2.
 |
 |
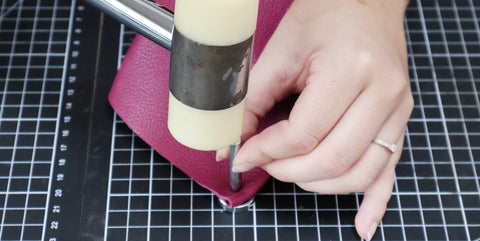
In the corner formed, punch a Ø 3 mm hole 7 mm from each edge. Then, attach a rivet using a setting tool. Repeat the operation on the other side.
 |
 |
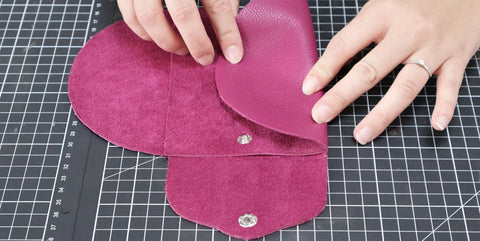
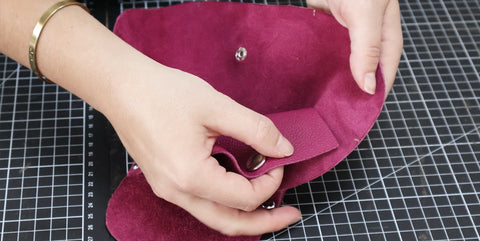
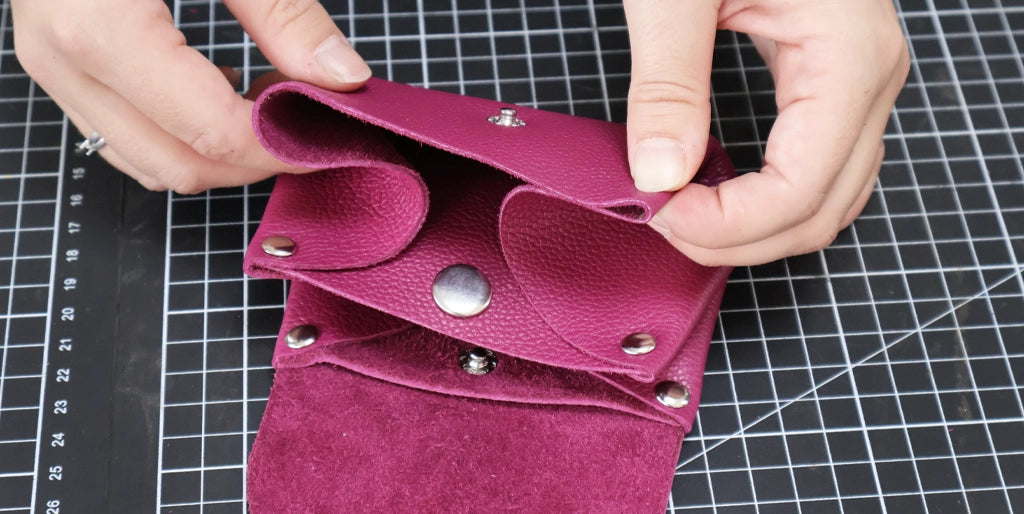
4. SECURE THE OTHER PART OF PIECE P2
Take one of the bottom corners of piece P2 (at the snap fastener's cap) and place it at mark [1] on piece P1. Fold piece P1 over itself, trapping the corner of P2 between its two layers, making sure to align the mark correctly.
 |
 |
Punch a Ø 3 mm hole, 7 mm from each edge, then attach a rivet. Repeat the same operation on the other side.
 |
 |
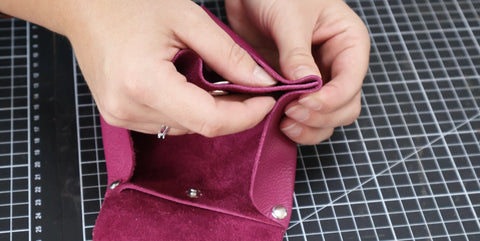
5. FINISH FOLDING
Fold piece P1 over itself (wrong side to wrong side) at mark [2].
Punch a Ø 3 mm hole, 7 mm from each edge, and attach a rivet. Repeat the operation on the other side.
 |
 |
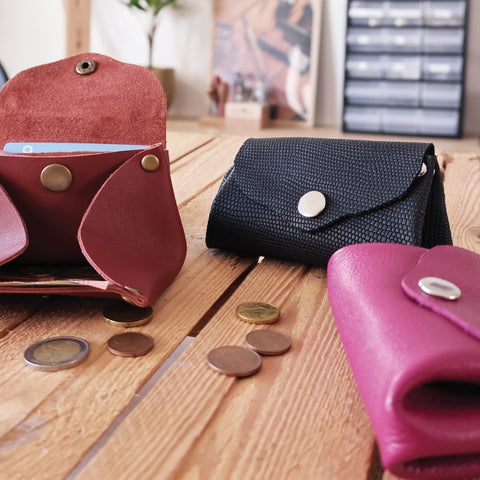
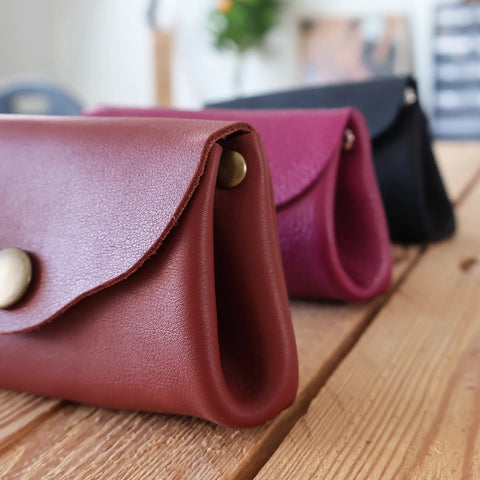
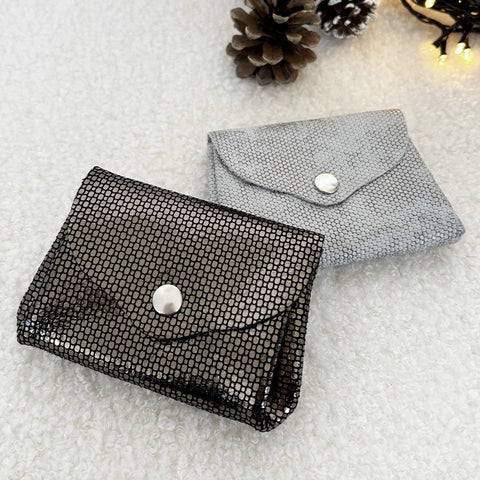
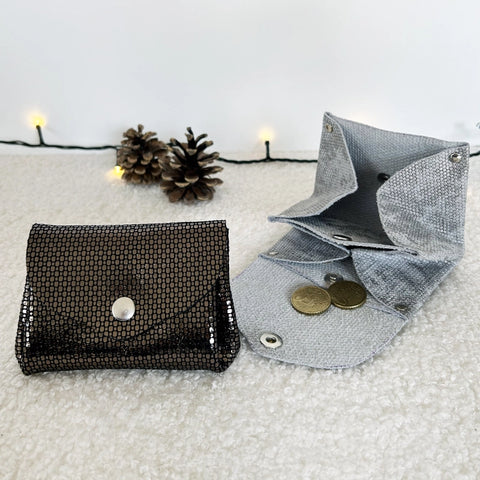
You're done!
 |
 |
 |
 |


