


REQUIRED MATERIALS
- 1 suede leather hide approximately 1.2 mm to 1.4 mm thick OR 1 soft leather hide (SUAVE) - Surface area approximately 0.85 m²
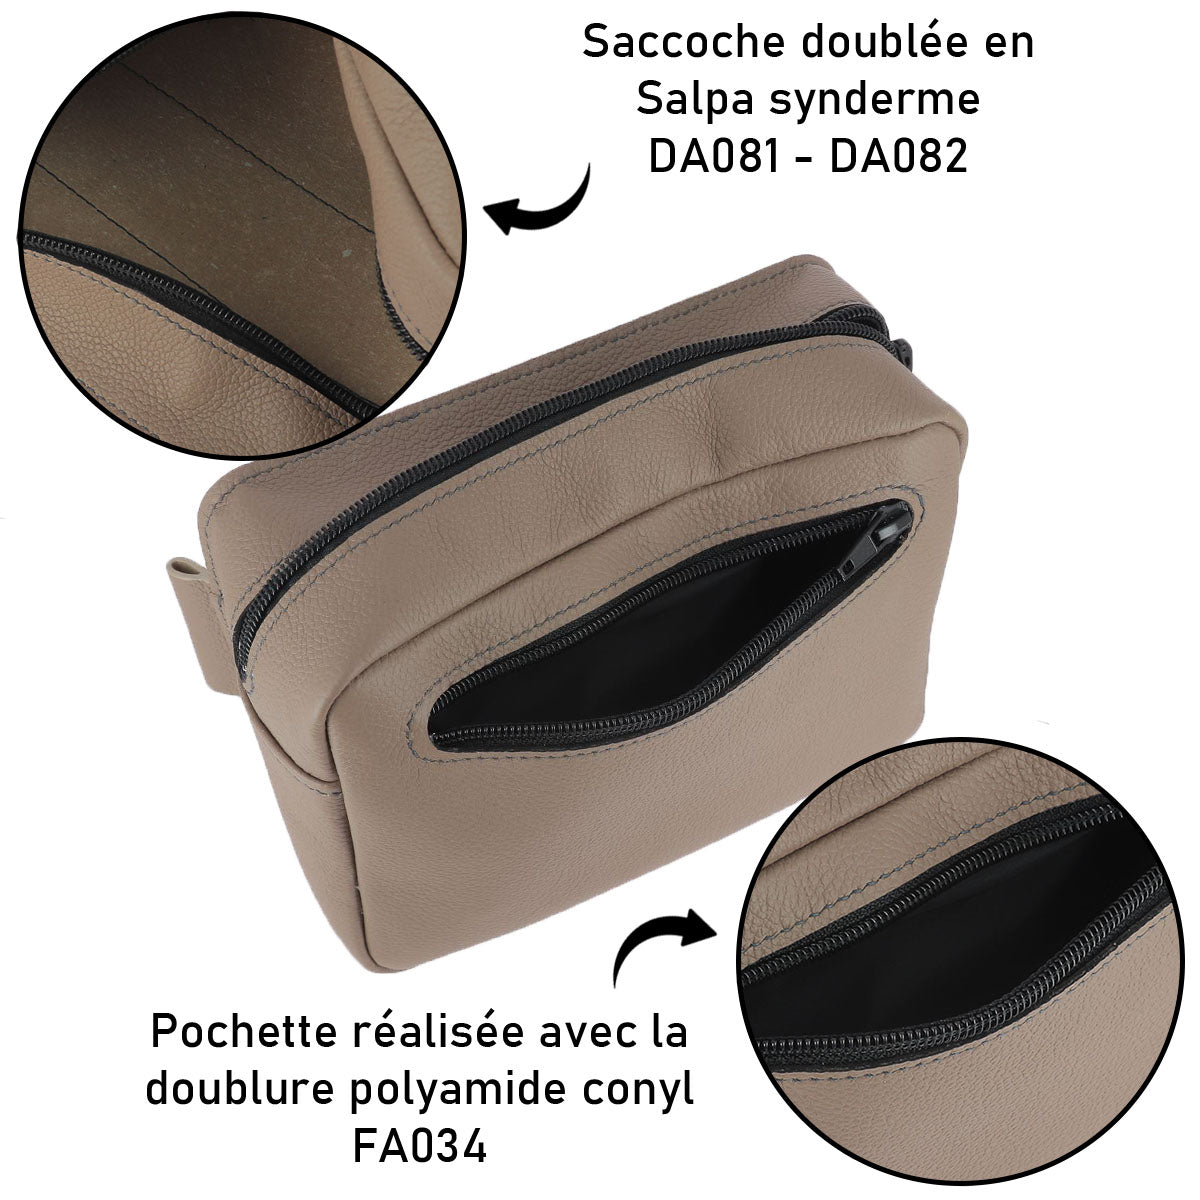
- 1 piece of Salpa synderme reinforcement - 30 x 40cm - 0.6 mm thick
-
1 VELVET pigskin suede leather hide - Surface area approximately 0.55 m²
-
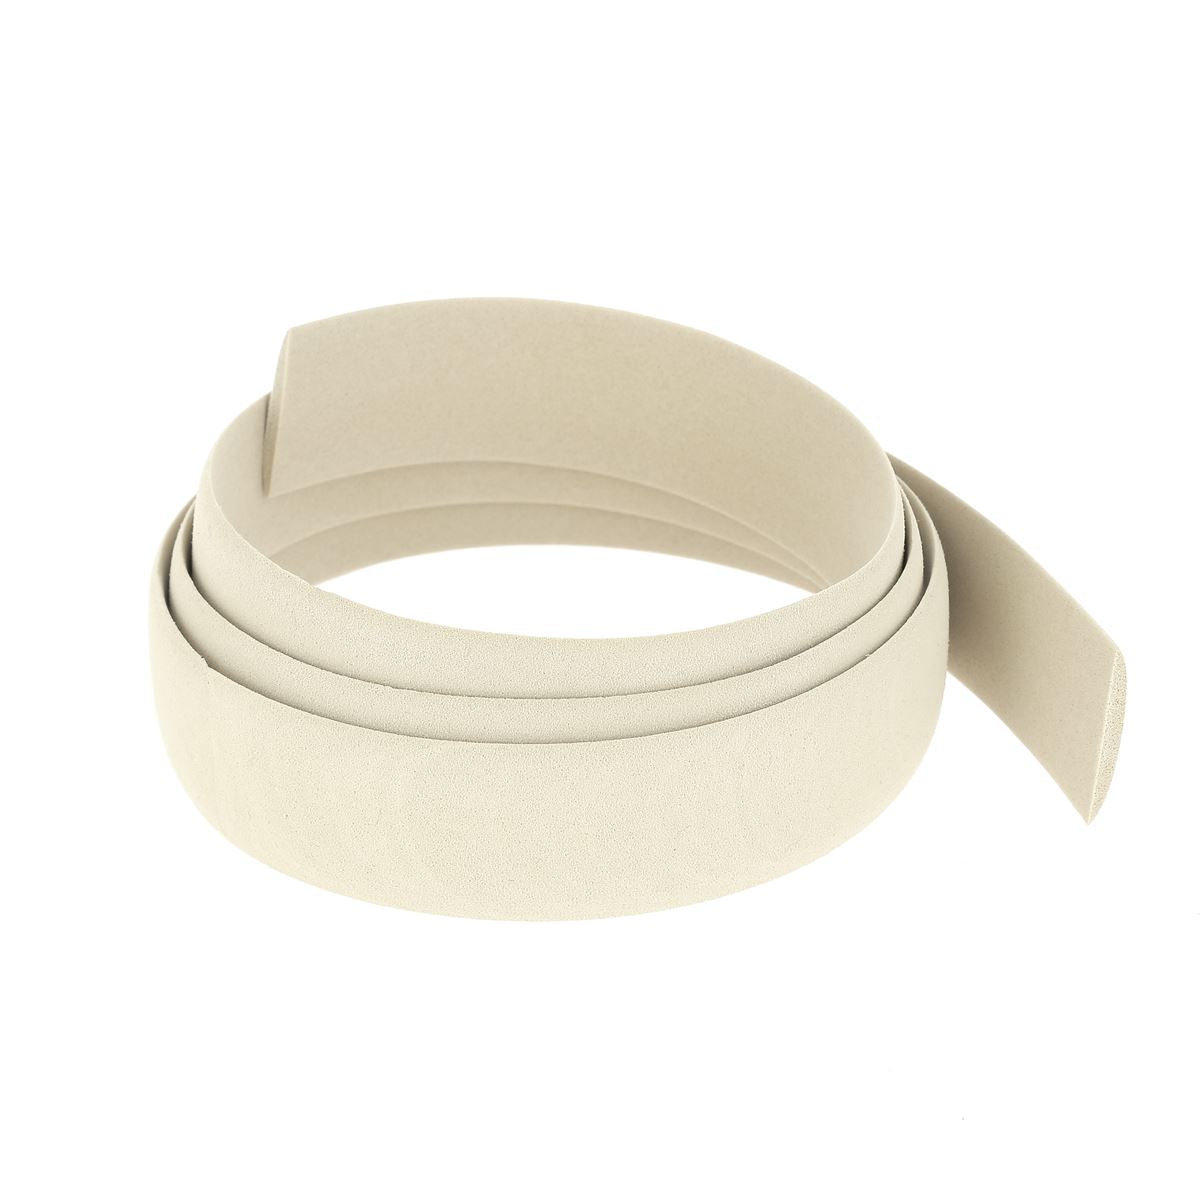
13 cm of Sugherite inner reinforcement for handle - 10 mm wide
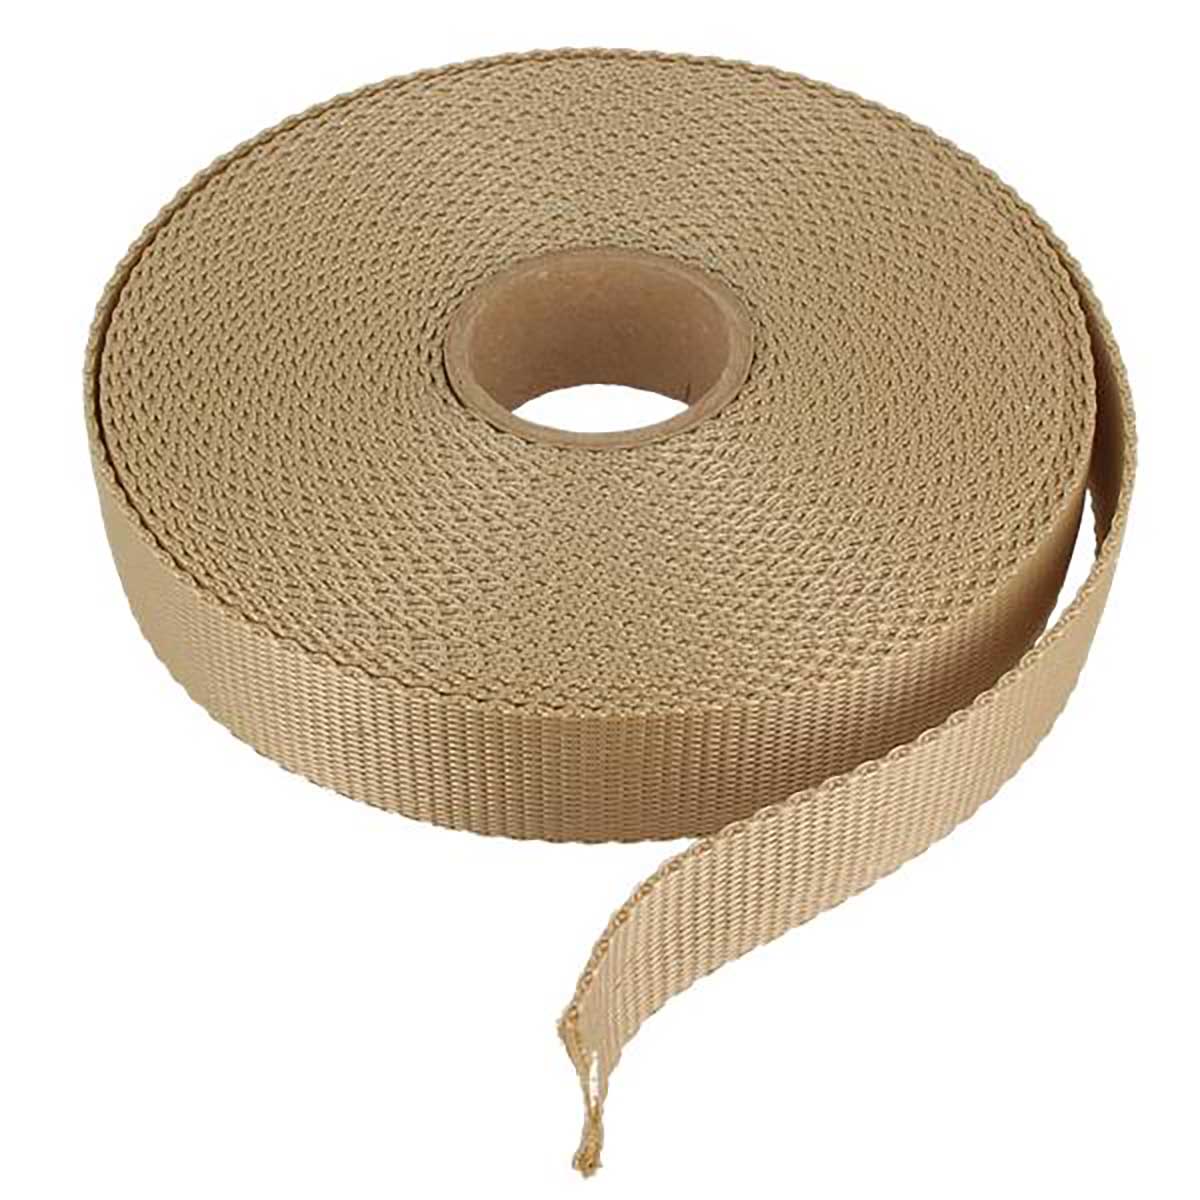
- 1.20 m of Nylon webbing - 20 mm wide
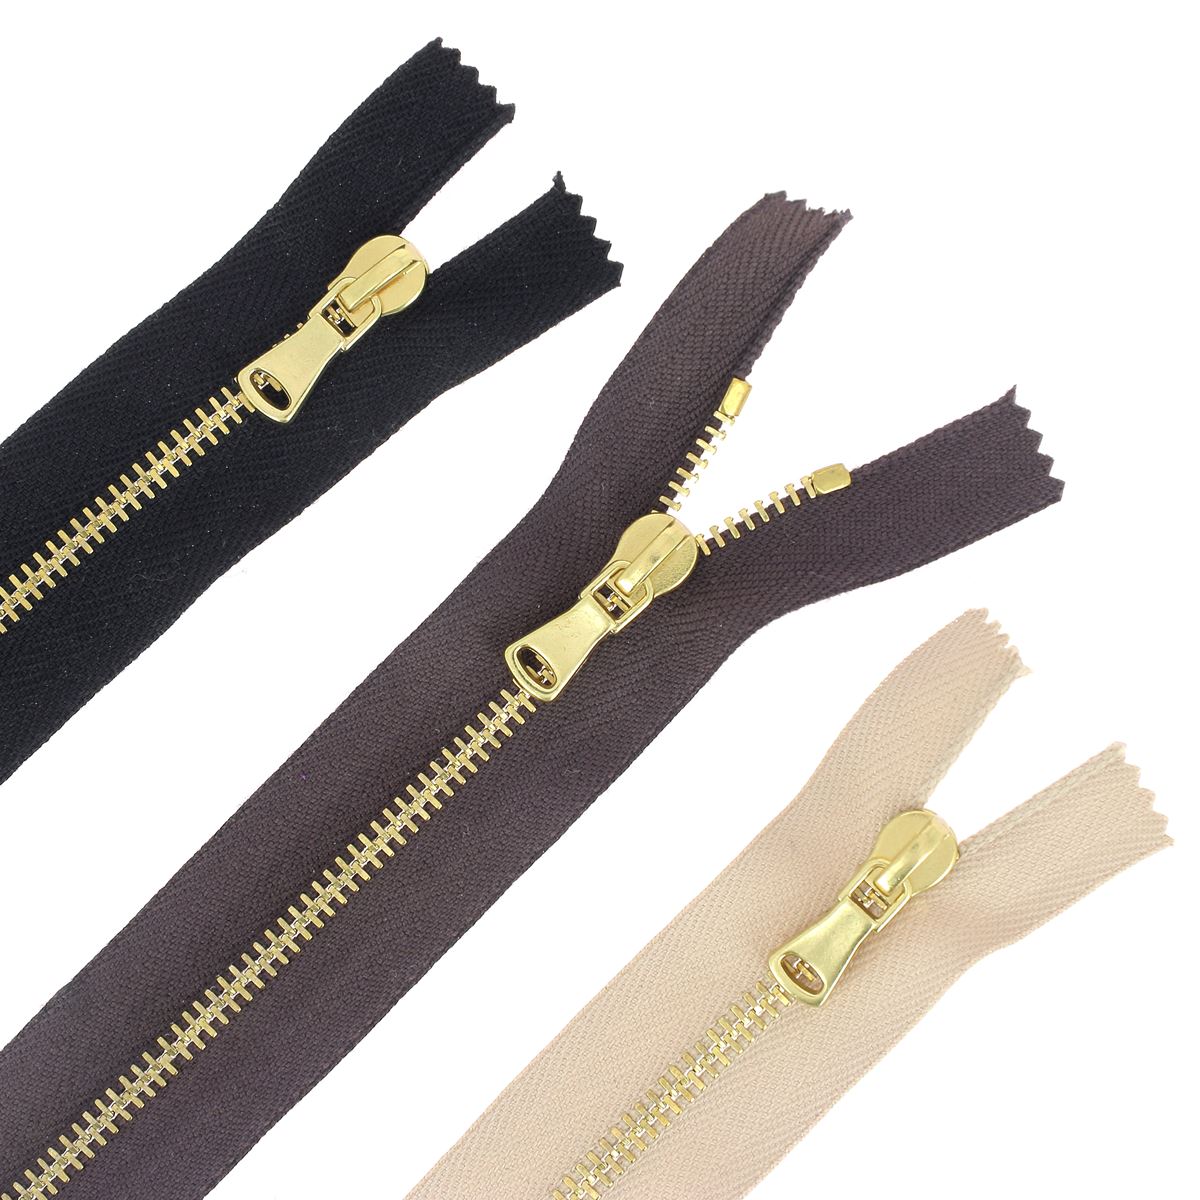
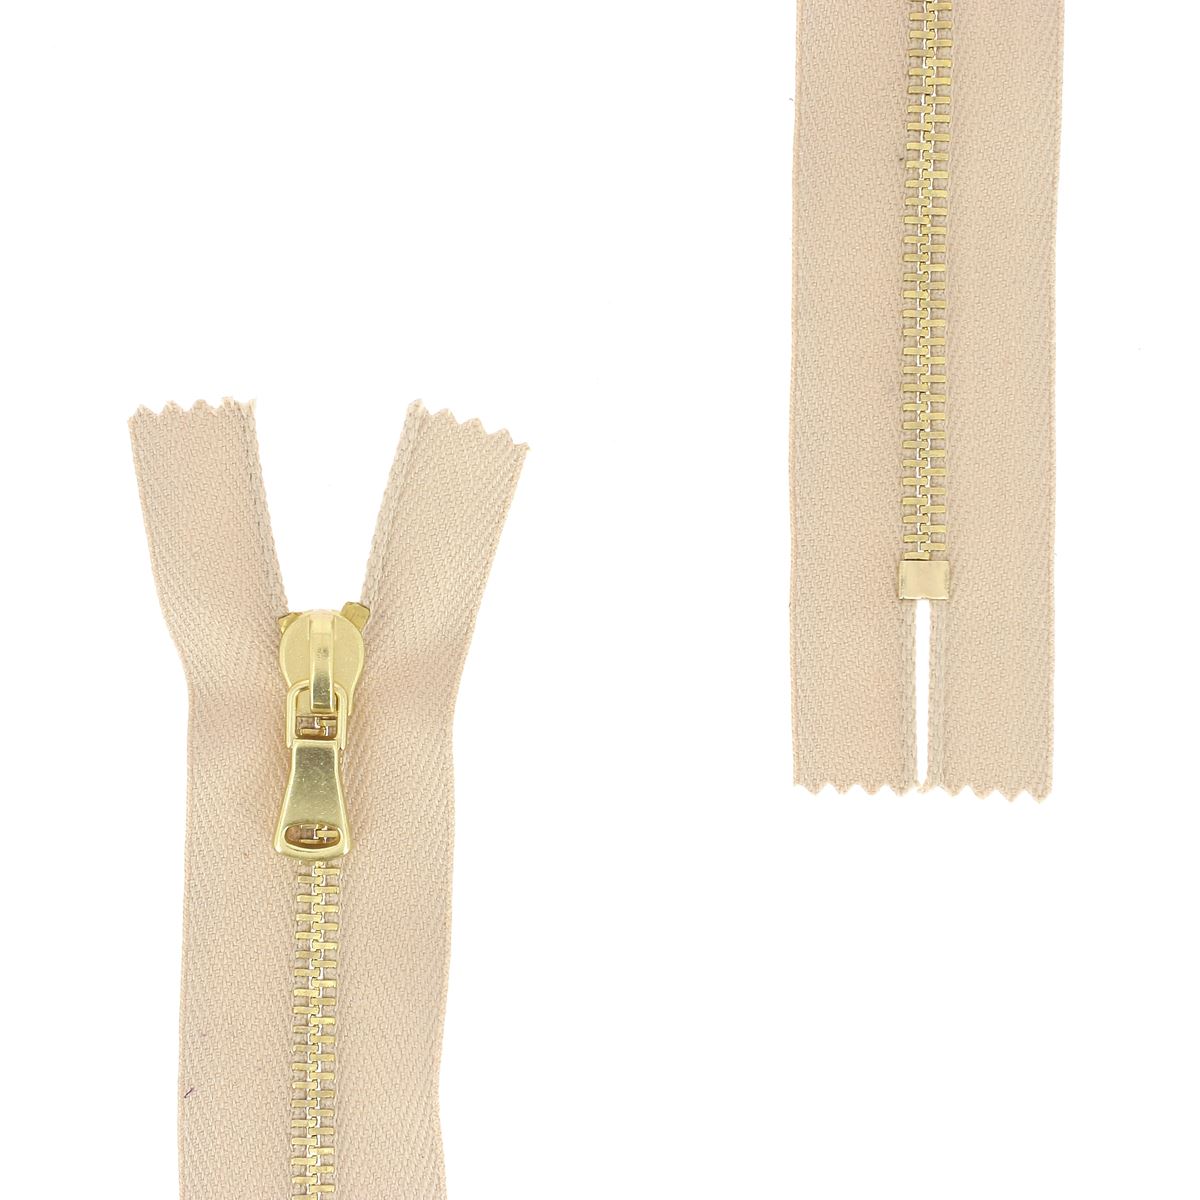
- 1 METAL zipper 4mm wide - SUPRA - 15 cm long
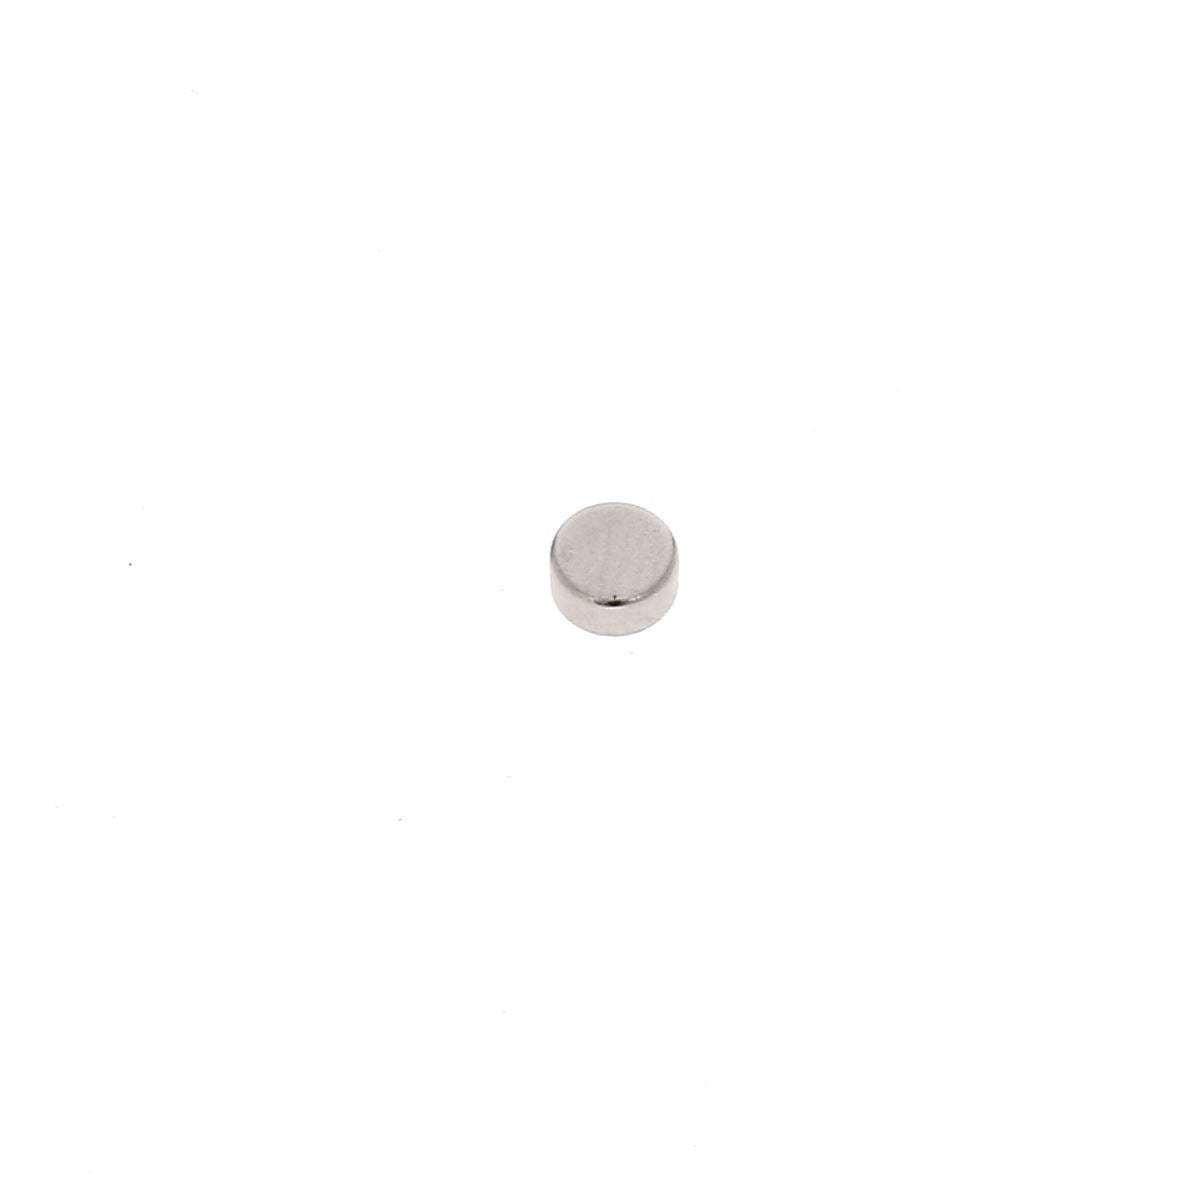
- 2 round neodymium magnets - 23 x 3 mm
- 2 swivel snap hooks - Oval attachment - 15 mm wide
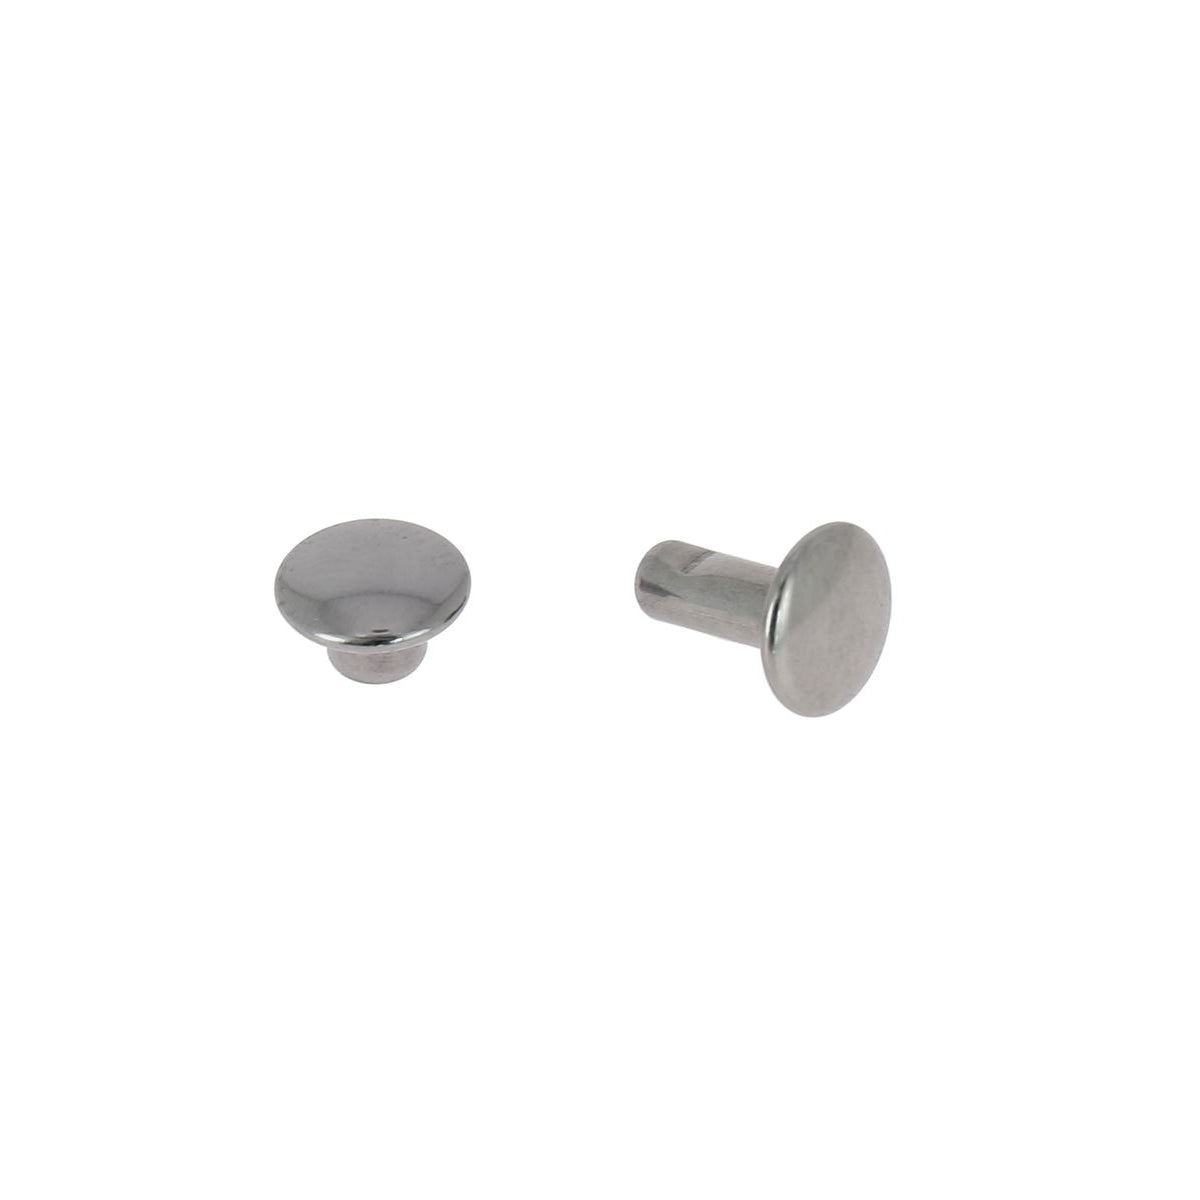
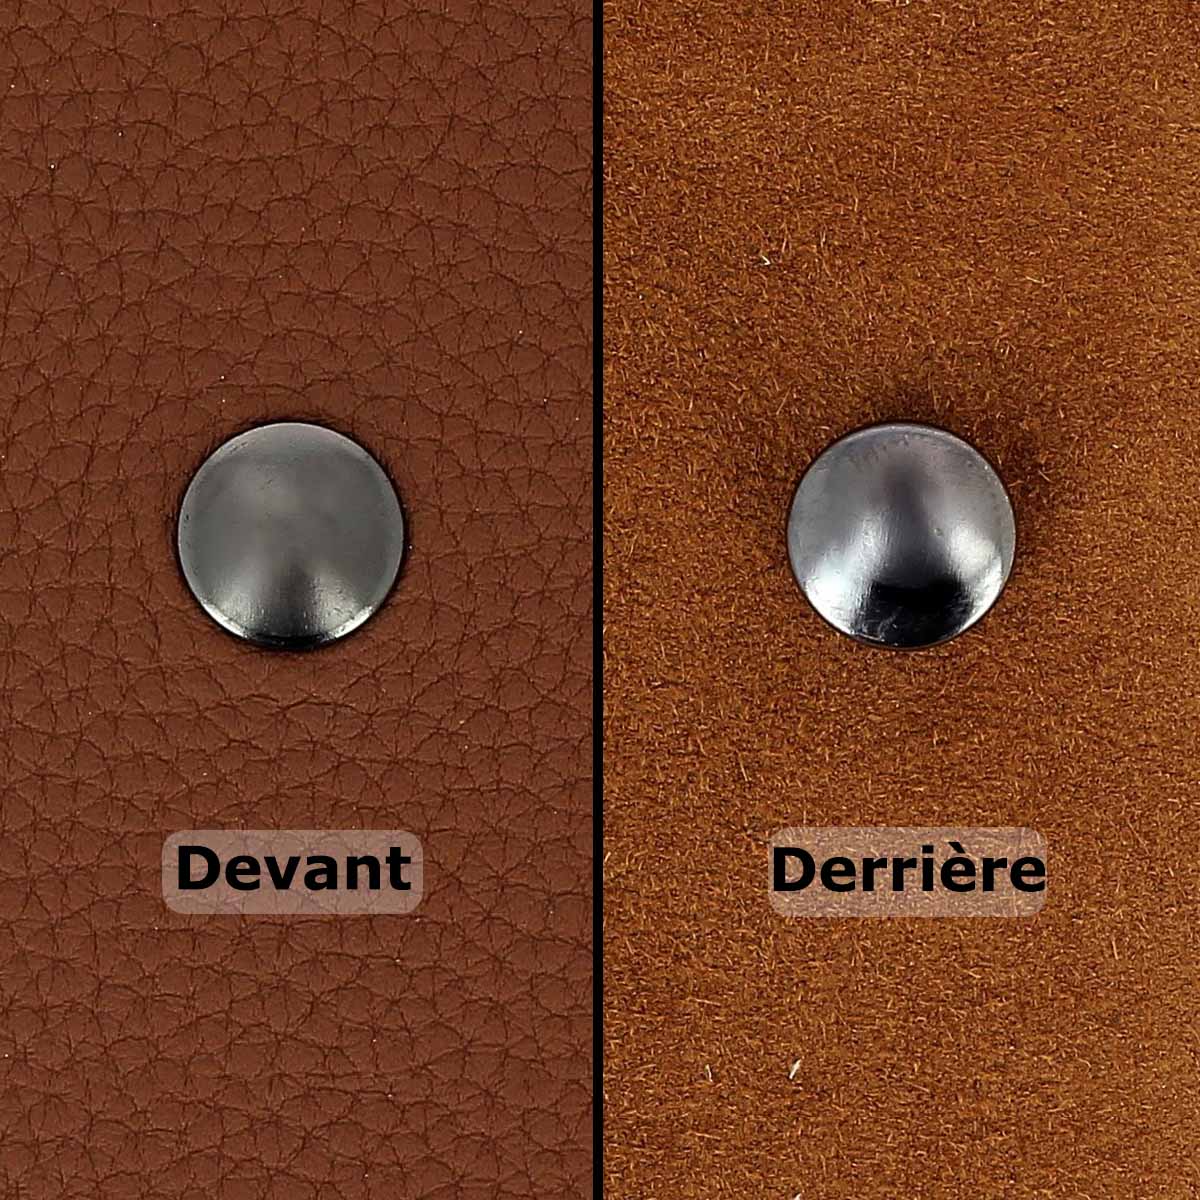
- 2 medium DOUBLE CAP rivets in brass (T3)
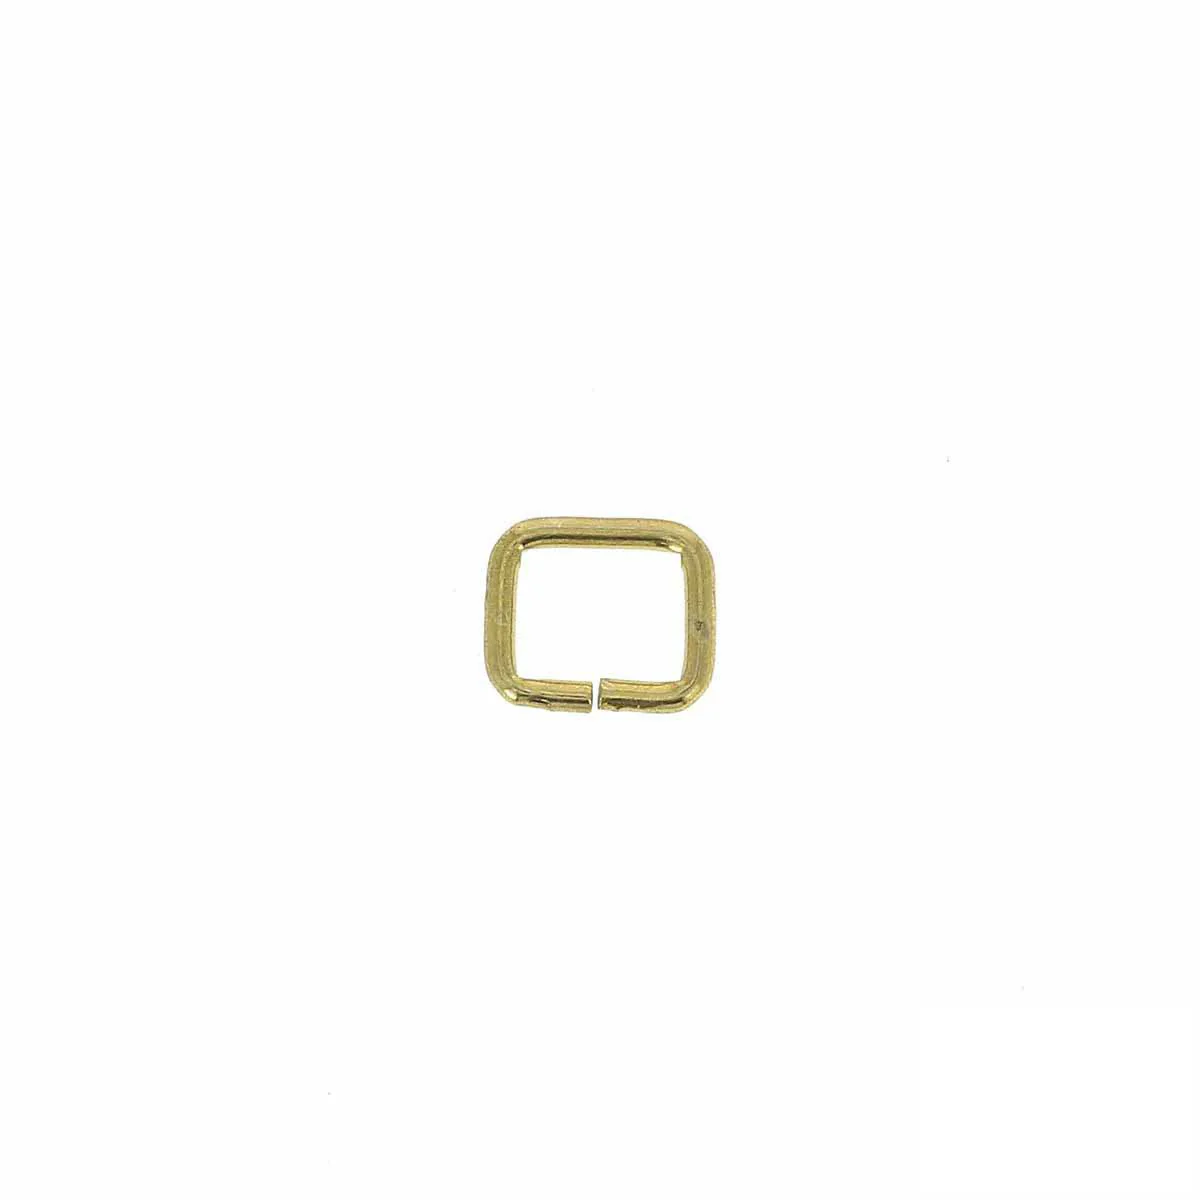
- 2 rectangular loops - 20 mm wide
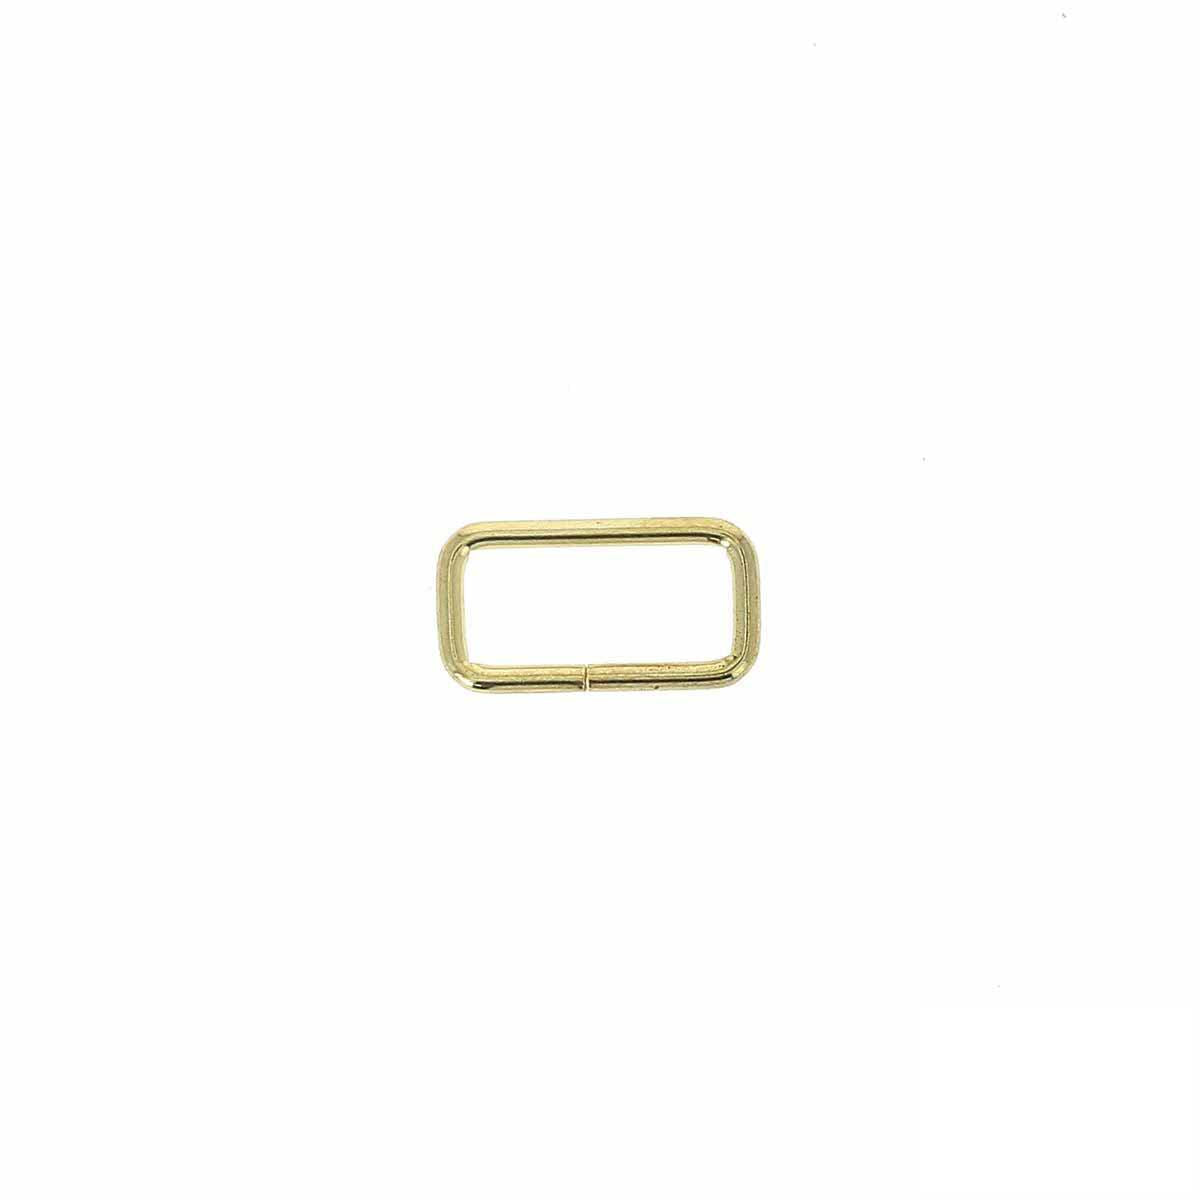
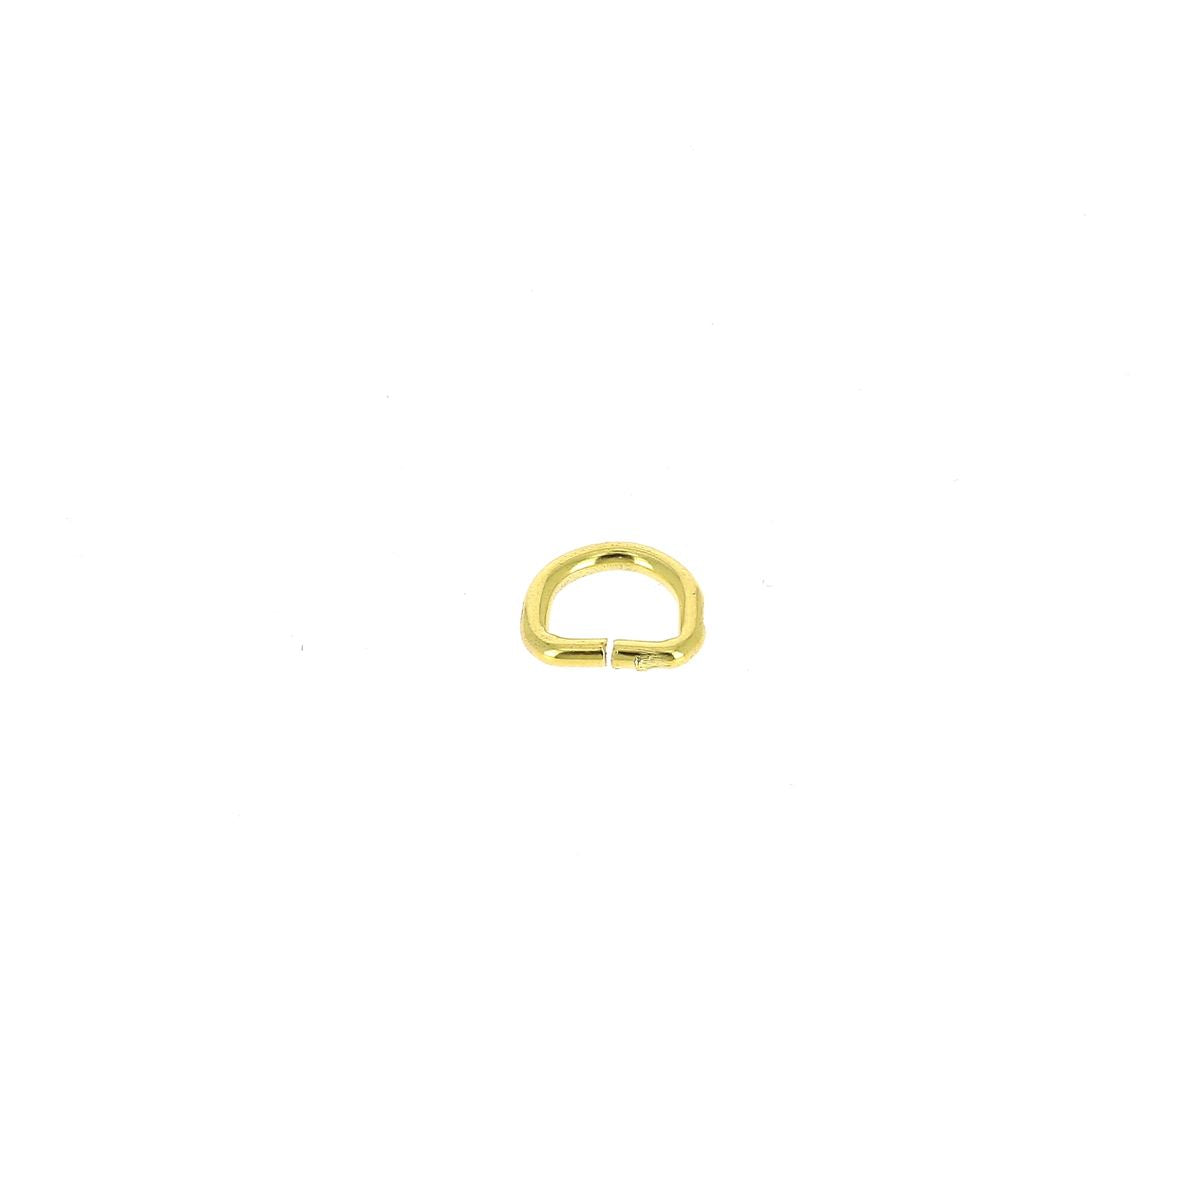
- 2 steel D-rings - 16 mm wide
- Polyester or polyester-cotton thread
- Double-sided adhesive tape
- Tear-resistant tape
- Leather glue
GET THE PATTERN
Three options to purchase the pattern:
- digital version (PDF to print full-size and assemble).
- digital version with a permanent commercial license.
- paper version (B1 poster that you will receive at home).
Available on our website (reference KA228)!


FULL TUTORIAL VIDEO
1. Cut out the pattern pieces
Cut out the paper pattern, then transfer the different pieces onto the leather, the lining (pigskin) and the Salpa reinforcement. Before cutting, carefully check the placement of the pieces on the leather.

Using a utility knife or scissors, cut the leather, lining, and Salpa following the lines.
Note 1 : For piece P1, follow the black lines to cut the piece from the leather. Then follow the blue lines to cut the lining piece. On some sides, a 3 mm margin has been removed so that the lining does not protrude from the edges of the bag.
Note 2 : For piece P2, proceed in the same way as for P1. First cut a rectangle from the lining following the blue line. Then cut the leather following the black lines (do not cut the ogival end immediately - dotted lines).
 |
 |
Note 3 : For the two P9 pieces, fold the pieces in half and cut the corners at the fold to easily create the notches.
 |
 |
2. Prepare the bag strap
In this version, the strap is made from nylon webbing. Depending on the desired style, it is also possible to choose a cotton strap, a bag chain, a leather strap, or no strap at all. It is also entirely possible to make an adjustable shoulder strap with a sliding buckle.
Cut the nylon strap to the desired length and burn the ends.

Place tear-resistant tape on the back of both P9 pieces.

Place the two snap hooks inside the P9 pieces.

Apply contact glue to the back of the P9 pieces, as well as to the ends of the strap (for about 4 cm).
 |
 |
Fold the P9 pieces over the ends of the strap, then let dry.

Sew the P9 pieces onto the nylon strap.
 |
 |
3. Prepare the chapes
Glue tear-resistant tape to the back of the P8 pieces.

Apply contact glue to the back of the P8 pieces.

Insert the rectangular loops into the P8 pieces, then fold in half and glue. The pieces will be sewn in the next step.

4. Prepare the flap
Trace the location of piece P7 on the right side of piece P2, using an awl or a silver pencil.

Apply contact glue to the right side of piece P2 (in the designated area for P7) as well as to the wrong side (flesh side) of piece P7.
 |
 |
Assemble the two pieces, then press with a steel roller.
 |
 |
Trace and cut the ogival end.
 |
 |
Sew P7 to P2. Only sew the two lengths of piece P7 (do not sew the ogival end or the top width). Make two parallel seams. The bar tack stitches should only be visible at the top of the piece. At the ogival end, we recommend pulling the threads to the wrong side of the leather and tying a knot. Then secure the sewing threads with tear-resistant tape (see step 6).
 |
 |
Using double-sided tape or glue, attach pieces P8 to the designated locations on piece P2.

Sew the two lengths of P8 pieces onto P2 (green lines on the pattern).

Glue the Salpa P4 reinforcement piece to the wrong side (flesh side) of the leather P2 piece, in the location indicated on the pattern. There is a margin of approximately 0.6 cm all around and 1.5 cm on the upper part (area where the flap will be sewn).
 |
 |

Glue the magnet to P2 in the position indicated on the pattern (about 2 cm from the ogival end). Reinforce the attachment with a cross of tear-resistant tape to ensure better hold and reduce the magnet's thickness.
 |
 |
Apply contact glue to the wrong side of lining P2 and to the wrong side of piece P2 (leather and Salpa). Assemble the two, then press with a steel roller. Carefully shape the magnet's outline using a bone folder.
 |
 |
 |
 |
Sew all around piece P2, 3 mm from the edge, except on the top line, which will be sewn later to the bag body (P1). Check that the presser foot can pass around the magnet, otherwise prioritize the zipper foot.

Using a rotary cutter, trim the excess lining flush with piece P2.
 |
 |
5. Work the handle
Cut 13 cm of Sugherite, 10 mm wide.

Glue tear-resistant tape to the back of the P6 pieces.

Apply contact glue to the back of one of the P6 pieces and to the flat side of the Sugherite. Center and glue the Sugherite to the P6 piece (see location on the pattern).
 |
 |

Then apply contact glue to the curved side of the Sugherite and to the back of the other P6 piece.
 |
 |
Assemble pieces P6 edge to edge, press, and form the handle.
 |
 |
Topstitch the assembly as close as possible to the Sugherite.

Trim the handle width to 3 mm from each seam. The final width of the handle is approximately 2 cm.
 |
 |
Punch Ø 3 mm holes, 1 cm and 4 cm from each end (see pattern).

Position the handle at the strap anchors and thread the ends through the rectangular loops. Then secure it with 2 T3 double-cap rivets. Install the rivets with the appropriate setting tool or a mallet (protect them with a scrap piece of leather if you choose the mallet).
 |
 |
6. Working on the decorative strap
Apply double-sided tape along the entire length of piece P10, on the wrong side of the leather (or use glue).

Fold each end of the strap over by 3 cm and insert a D-ring into each fold. Glue with double-sided tape.

Mark the placement of piece P10 on piece P1. Glue the wrong side of piece P10 to this location, on the right side of piece P1.
 |
 |

Stitch all around the strap in one continuous line 3 mm from the edge and start stitching in the middle without backstitching (for aesthetic reasons). Pull the threads to the wrong side and tie a knot. Secure the stitching threads with tear-resistant tape.
 |
 |

7. Working on the bag body
Trace the placement of piece P3 on the wrong side of piece P1 (see position on the pattern).

Apply contact adhesive to the wrong side of P1 as well as to the Salpa piece P3.
 |
 |
Glue the Salpa to the marked location on piece P1 and flatten the glued area.
 |
 |
Glue the magnet to the designated spot on piece P1 (centered and approximately 8 cm from the edge). Reinforce the attachment with a cross of tear-resistant tape.
Glue the magnet with the correct side/pole so it can magnetize properly to the flap's magnet (test the magnetism as if it were the final assembly: wrong side of flap against right side of body).

Apply contact adhesive to the wrong side of piece P1 (leather + Salpa) as well as to the wrong side of lining P1.
 |
 |
Assemble the two pieces wrong side to wrong side, carefully aligning the edges. If possible, get help from another person for this step. If necessary, trim the lining with a rotary cutter.
 |
 |
8. Working on the pocket
Using double-sided tape, position the zipper at the indicated location on piece P5.
 |
 |
Stitch all around the zipper using a zipper foot.

Trim any excess zipper ends, then lightly burn the tips to prevent fraying.

Apply double-sided tape or glue to the top and both long sides of the pocket, on the wrong side of the leather.

Fold the pocket in half wrong side to wrong side, then glue edge to edge.

Stitch both widths of pocket P5.
 |
 |
9. Assembling the bag body
Topstitch 3 mm from the edge on all four ends of piece P1: both widths and both lengths.
 |
 |
Using double-sided tape or glue, attach the wrong side of flap P2 to the designated location on the right side of piece P1.
 |
 |
Make a first stitch 3 mm from the edge, then a second one 1 cm from the edge to reinforce the assembly.
 |
 |
10. Sewing the pocket
Using double-sided tape or glue, attach pocket P5 to the upper part of the bag body's back (at the flap on the wrong side of the leather).

Position edge to edge, then stitch 3 mm from the edge.

11. Sewing the bag body
Apply contact adhesive to all 6 side faces, about 3 mm wide.

Assemble the sides edge to edge and press the glued area firmly.
 |
 |
Finally, stitch all four sides of the bag 3 mm from the edge.
 |
 |
🎉 The bag is finished
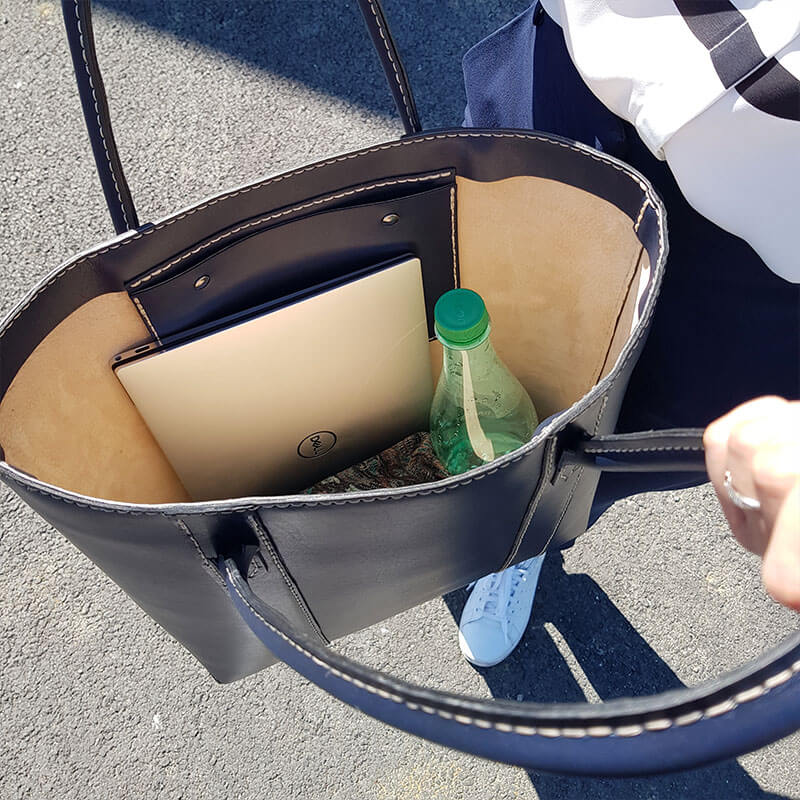
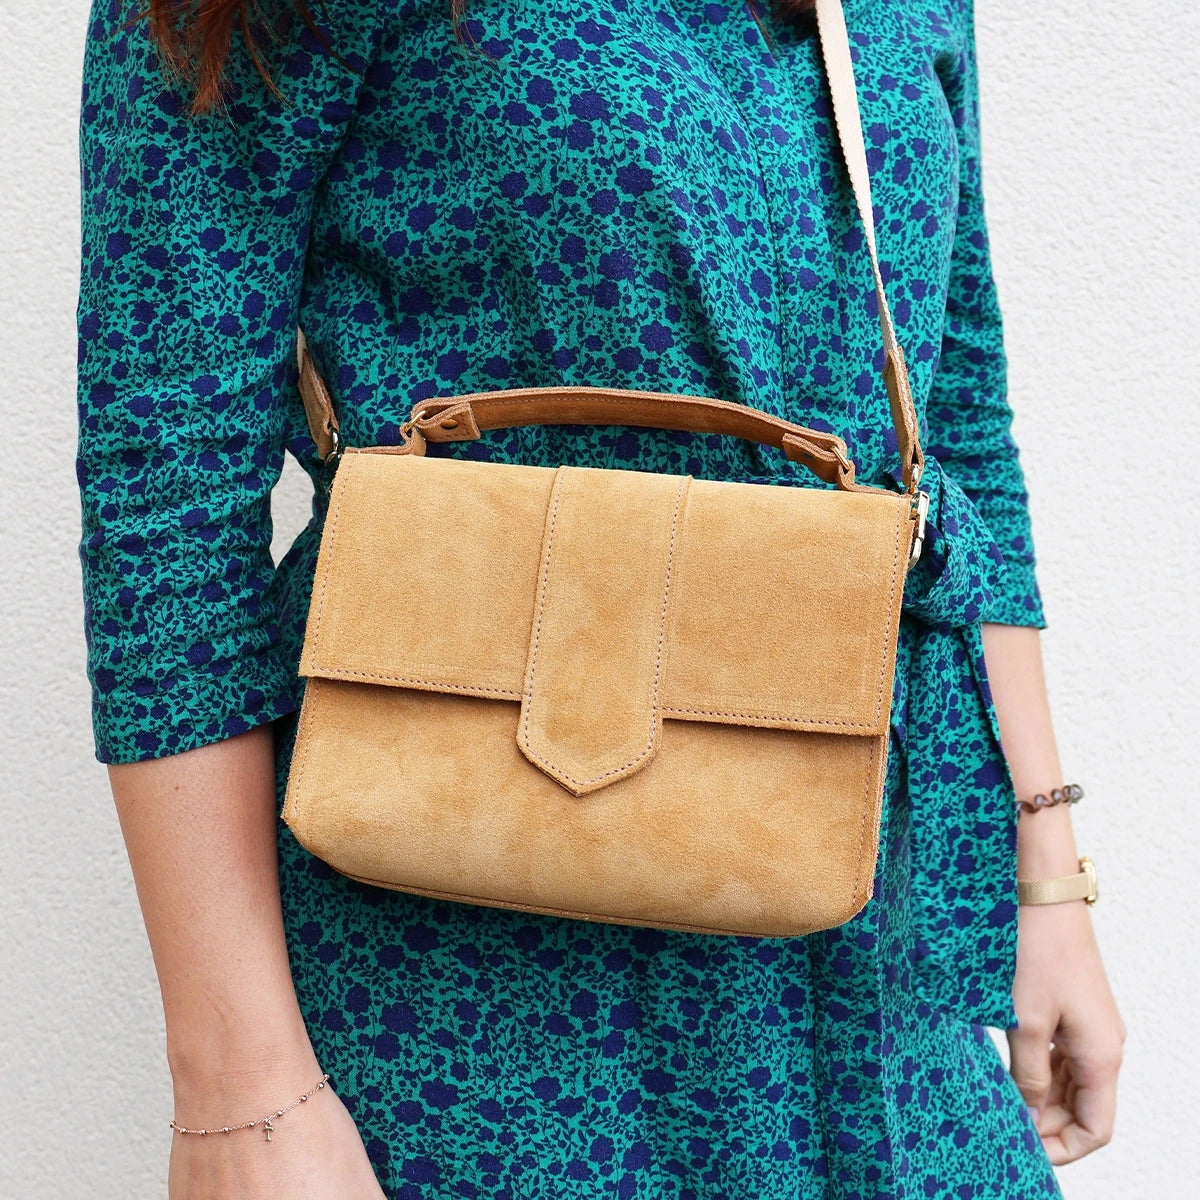
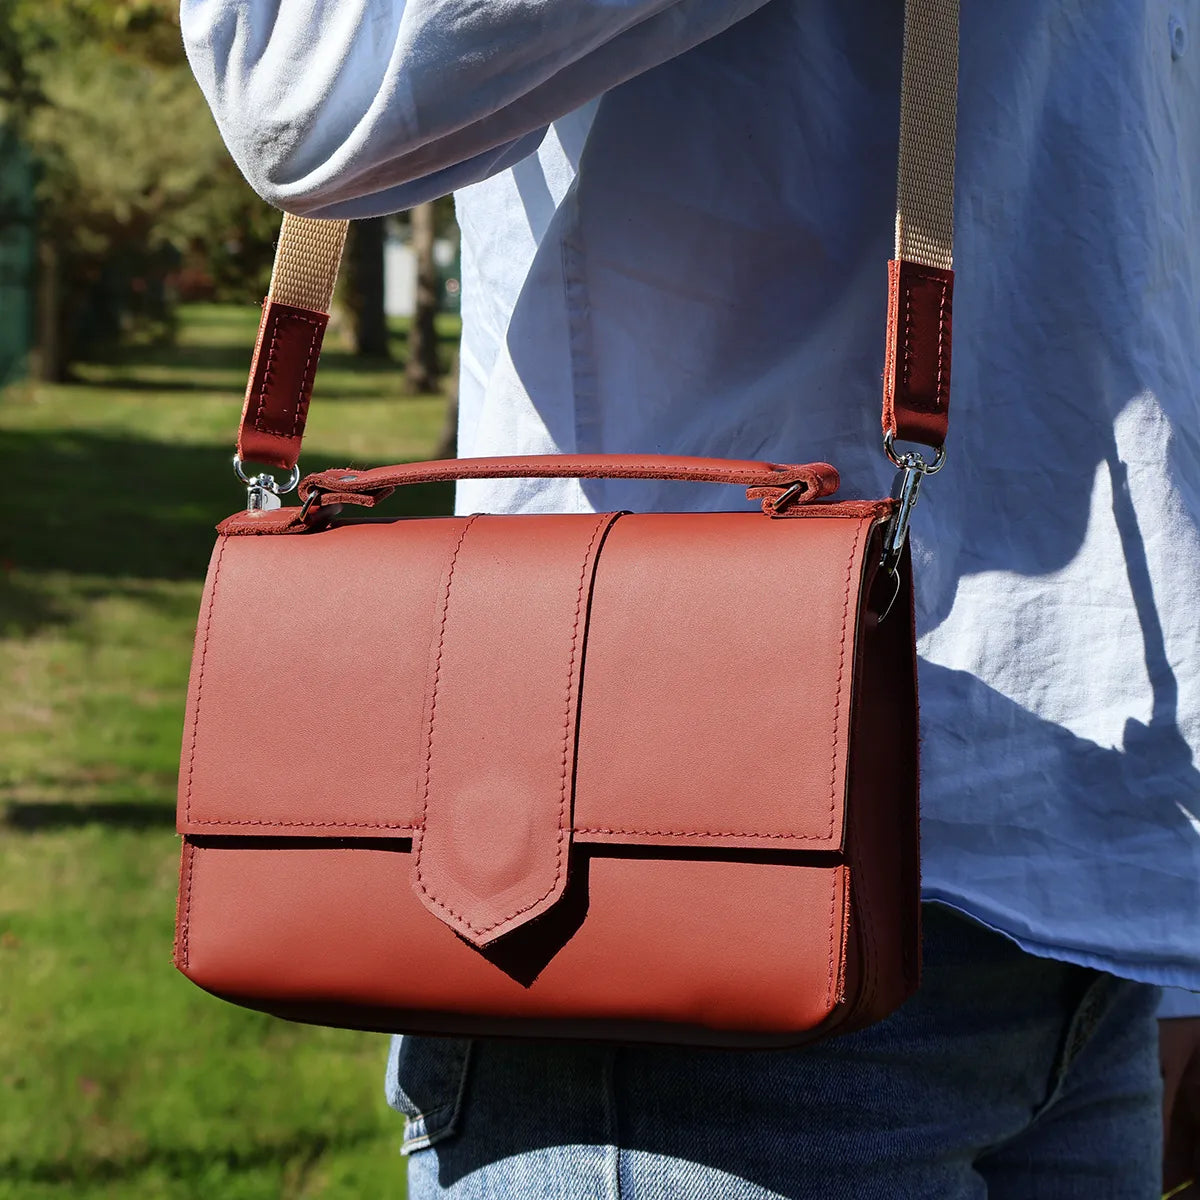
Congratulations, the "ROMA" bag is ready to be worn. Elegant, modern, and handmade, it can be customized in a wide range of leathers, colors, and finishes according to your desires. An ideal project to progress in leather crafting and create a unique piece.

 |
 |
 |
 |
 |
 |

